The Simple Amaryllis Method Oregon Gardeners Use For Bigger Winter Blooms
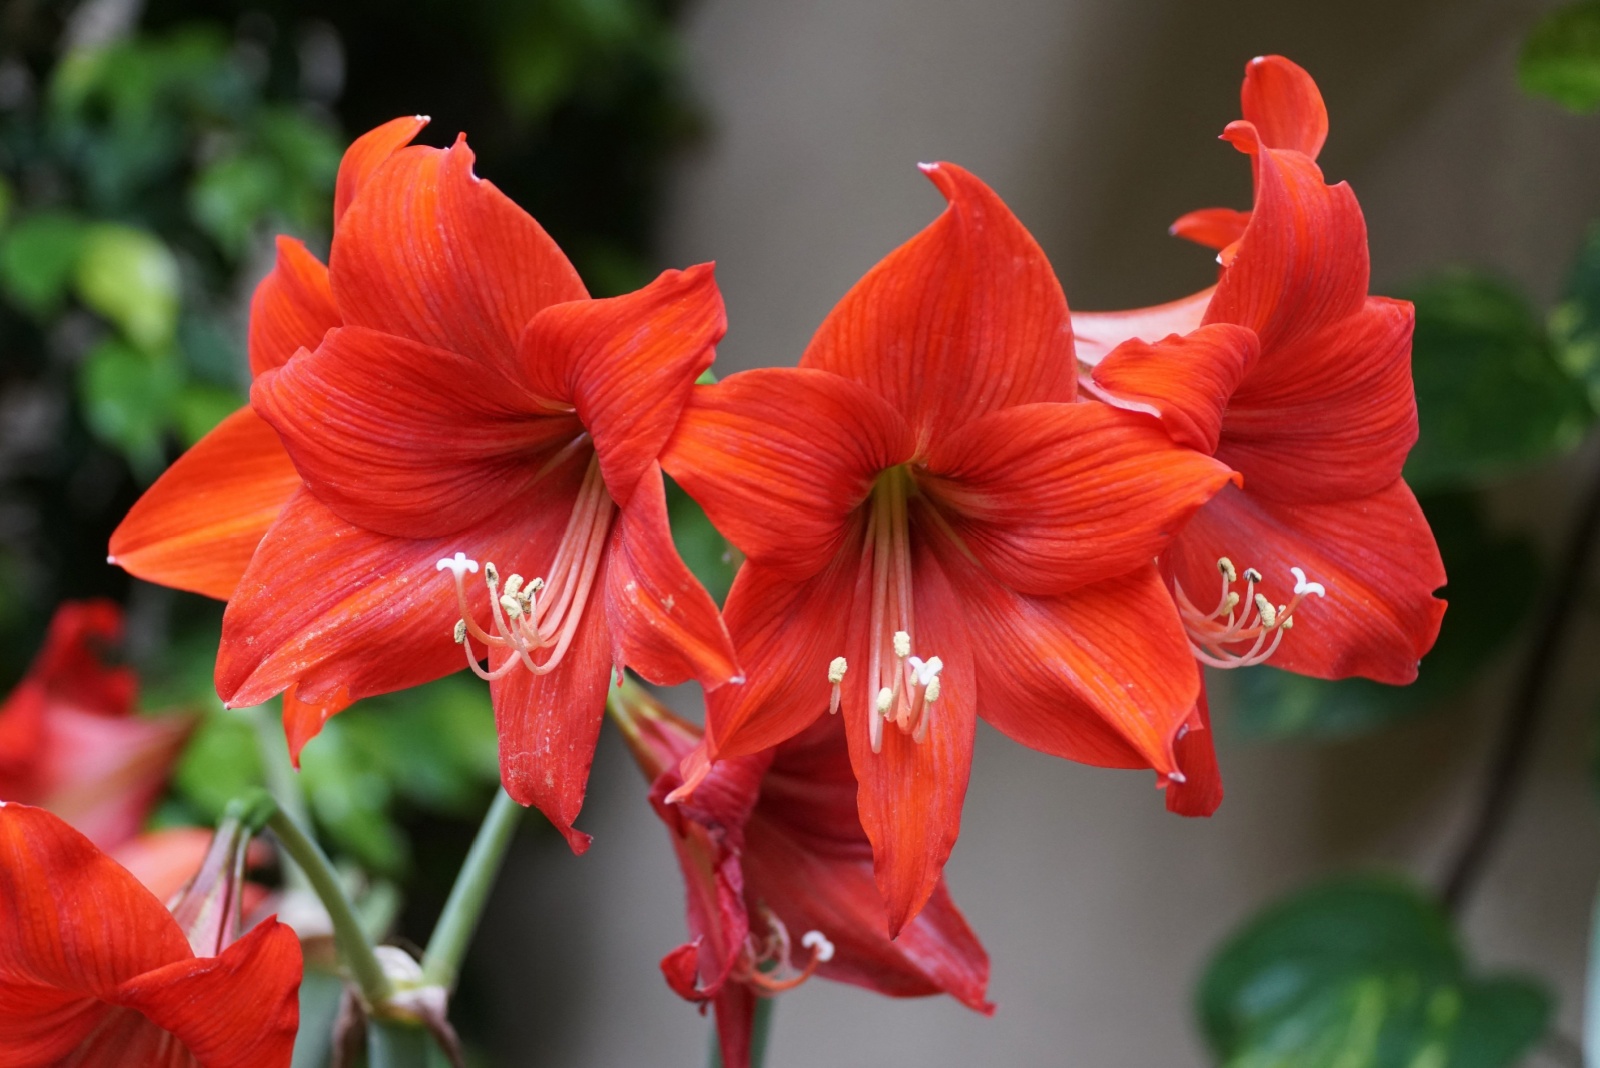
Oregon gardeners have discovered a straightforward approach to growing amaryllis bulbs that produces massive, show-stopping flowers during the coldest months of the year. This method combines smart timing, temperature control, and careful attention to the bulb’s natural cycle.
Whether you’re growing your first amaryllis or looking to improve your results, these proven techniques will help you achieve spectacular winter blooms that brighten even the gloomiest days.
Pre-Planting Cold Treatment Works Wonders
Oregon’s expert gardeners swear by chilling amaryllis bulbs before planting them. Place your bulb in a paper bag inside the refrigerator for six to eight weeks before you want blooms.
This cold period mimics the bulb’s natural dormancy cycle and triggers stronger flowering hormones. Keep the bulb away from ripening fruit, which releases gases that can damage the developing flower inside.
After chilling, your amaryllis will produce larger, more vibrant blooms with thicker stems that stand tall throughout the winter season.
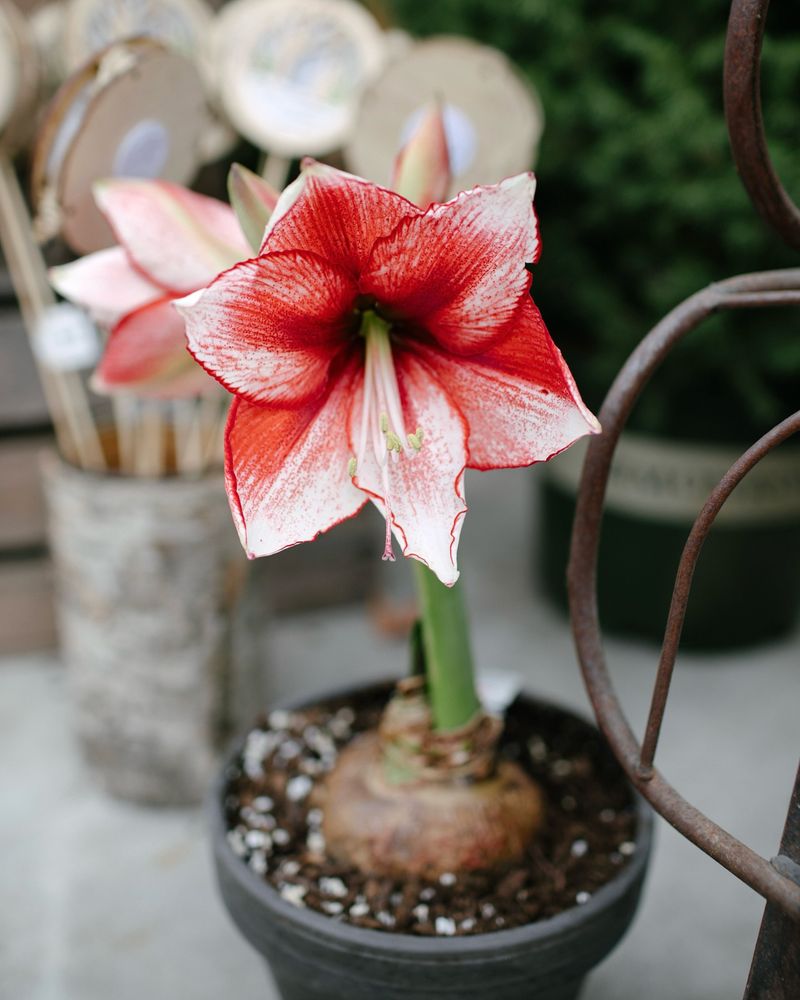
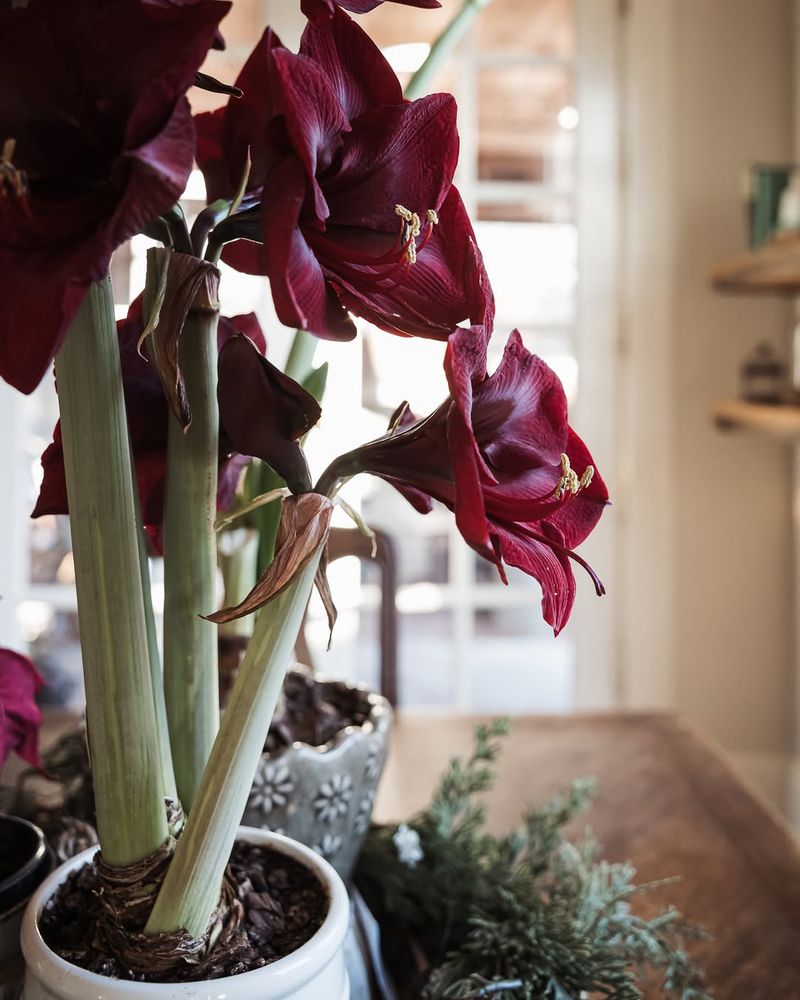
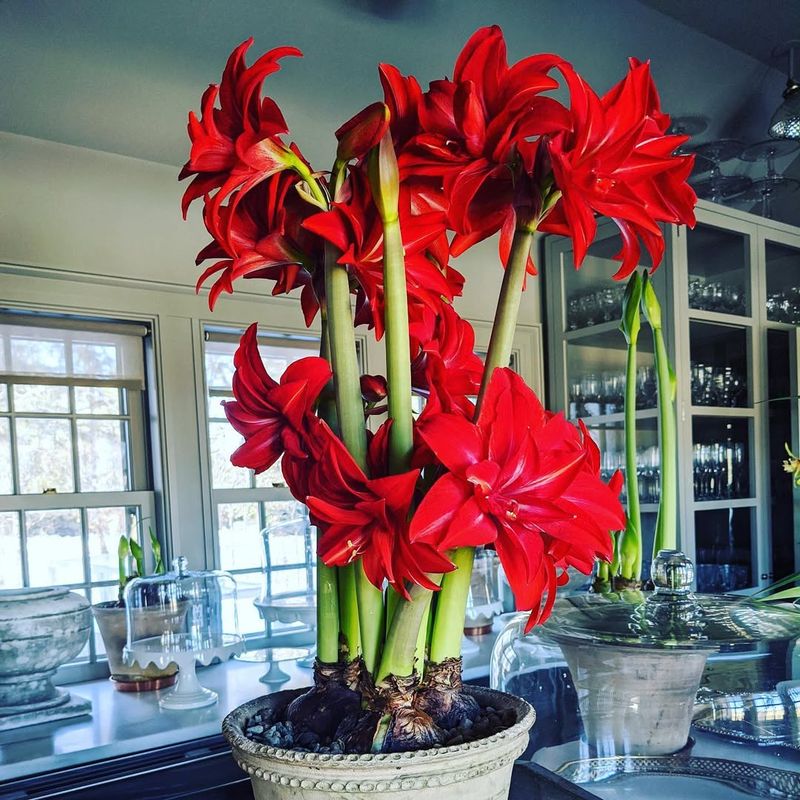
Picking The Perfect Bulb Size Matters
Bigger bulbs create bigger blooms, plain and simple. Gardeners in Oregon recommend choosing amaryllis bulbs that measure at least three inches across for the most impressive results.
Jumbo bulbs often produce multiple flower stalks instead of just one, giving you double or even triple the blooms from a single bulb. Check that your bulb feels firm and heavy, with no soft spots or mold.
Healthy, large bulbs contain more stored energy, which translates directly into powerful growth and enormous flowers that become conversation starters.
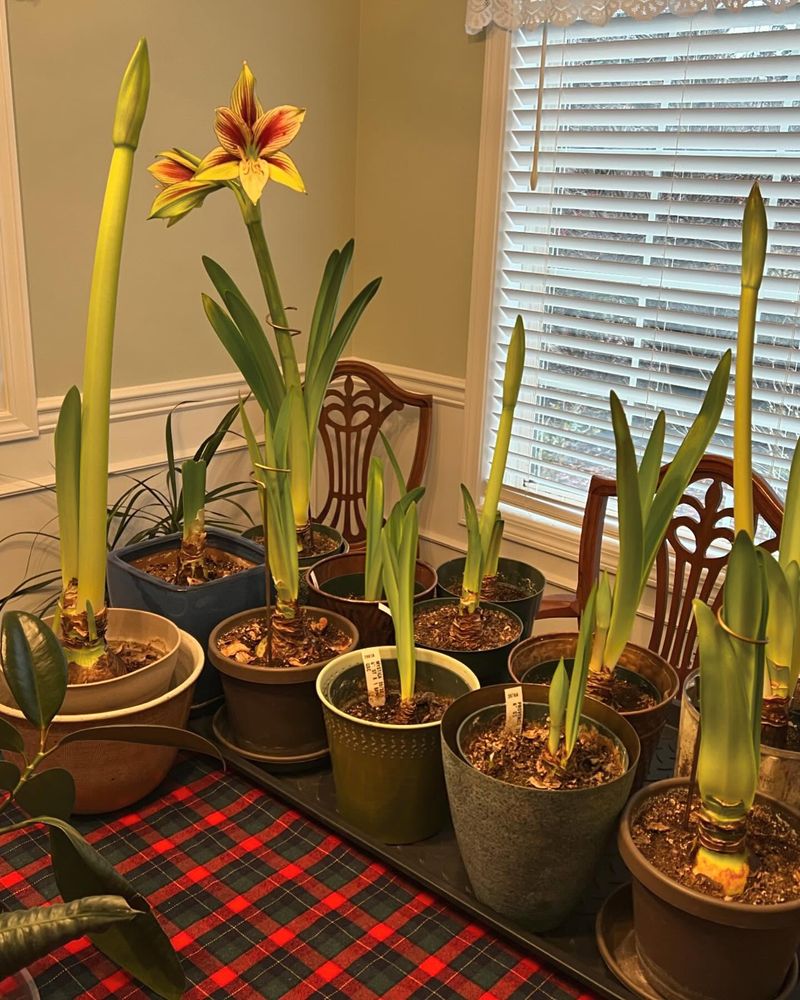
Container Choice Affects Growth Speed
Your pot selection influences how quickly your amaryllis blooms and how healthy it stays. Choose a container that provides only one inch of space around all sides of the bulb.
Snug pots encourage faster blooming because the roots fill the space quickly and signal the plant to focus energy on flowers. Make sure your container has drainage holes to prevent root rot.
Heavy ceramic or terracotta pots work best since they provide stability for top-heavy blooms and won’t tip over when flowers open fully.
Strategic Watering Creates Stronger Stems
Water management makes the difference between weak, floppy stems and strong, upright flower stalks. When you first plant the bulb, give it one thorough watering and then wait.
Hold off on additional water until you see green growth emerging from the top of the bulb. This patience forces the roots to search for moisture and develop a robust system.
Once growth begins, water regularly but avoid soaking the bulb itself, which can cause rot and ruin your chances for beautiful blooms this season.
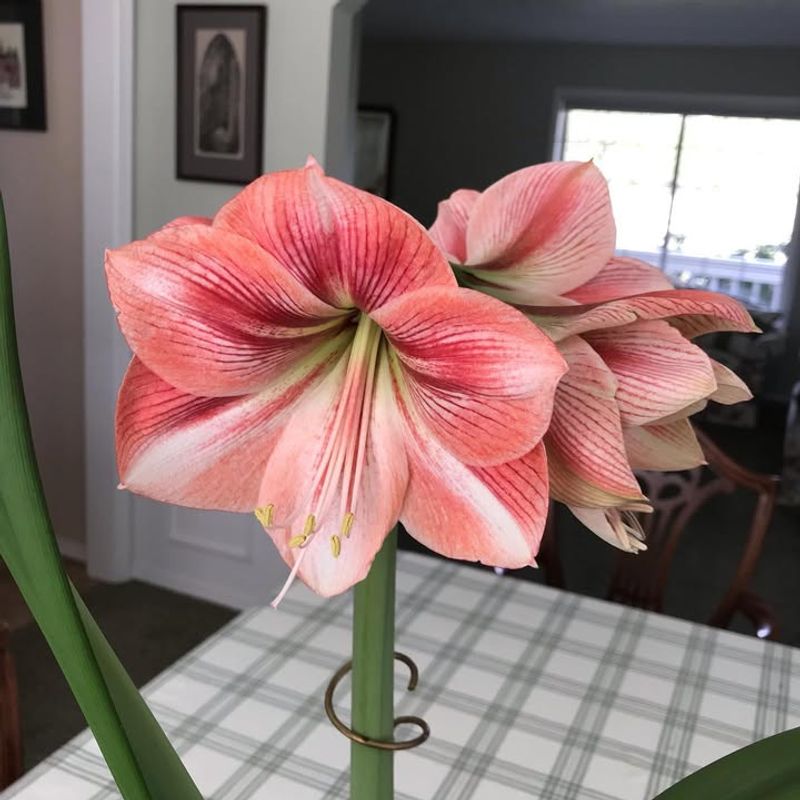
Temperature Timing Speeds Up Blooming

Room temperature control determines when your amaryllis will flower. Oregon gardeners keep newly planted bulbs in cooler spaces around 60 degrees Fahrenheit for the first two weeks.
Once you spot green shoots, move the pot to a warmer location between 68 and 70 degrees to accelerate growth. Consistent warmth encourages the flower stalk to develop quickly and produce larger blooms.
Avoid placing your amaryllis near heating vents or drafty windows, which create temperature swings that stress the plant and reduce flower quality significantly.
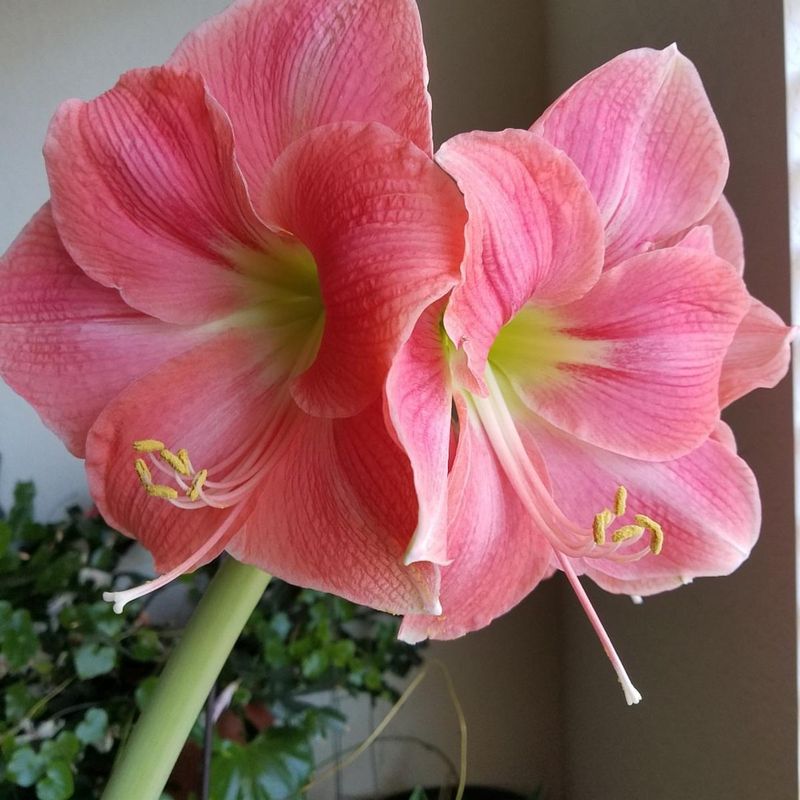
Light Positioning Prevents Leaning Stalks
Sunlight direction causes amaryllis stalks to lean dramatically if you’re not careful. Position your pot in a bright location with indirect light rather than harsh, direct sun that can scorch leaves.
Rotate the container a quarter turn every few days so all sides receive equal light exposure. This simple habit keeps the flower stalk growing straight and prevents that awkward sideways tilt.
South-facing windows work perfectly in Oregon’s winter light conditions, providing enough brightness without overwhelming the developing plant with excessive heat or intensity.
Post-Bloom Care Ensures Next Year’s Success
What happens after flowering determines whether your bulb will bloom again next winter. Cut off the faded flowers but leave the stalk until it turns completely yellow and hollow.
Keep watering and provide bright light so the leaves can make food for next season’s blooms. Feed the plant with diluted liquid fertilizer every two weeks during this recovery period.
Oregon gardeners know that treating the bulb well after flowering stores enough energy to produce even more spectacular blooms when the next winter season arrives.