The Ultimate California Home Guide For Growing Dracaena
There’s something familiar about a houseplant that just quietly does its job. You water it now and then, give it a bit of light, and it keeps your space looking fresh without asking for much.
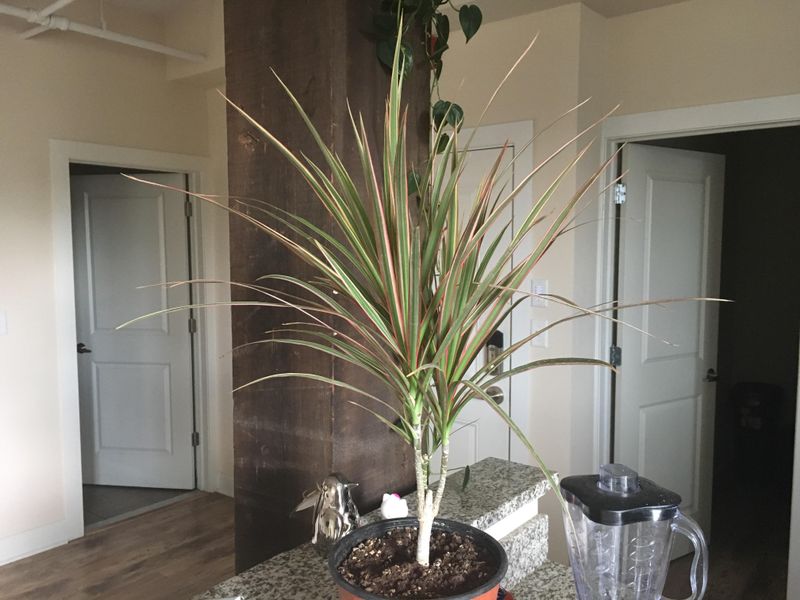
Dracaena has been that kind of plant in many homes for years, sitting in corners, near windows, or by the front door.
Dracaena tends to adjust without much fuss, which makes it a reliable choice for California homes where conditions can change throughout the day.
It doesn’t need constant attention and still keeps a clean, structured look that works in almost any space.
A few small adjustments can make a noticeable difference in how it grows, from where you place it to how often you water it, and some of those details are easier than you might expect next.
1. Pick The Right Dracaena For Your California Home
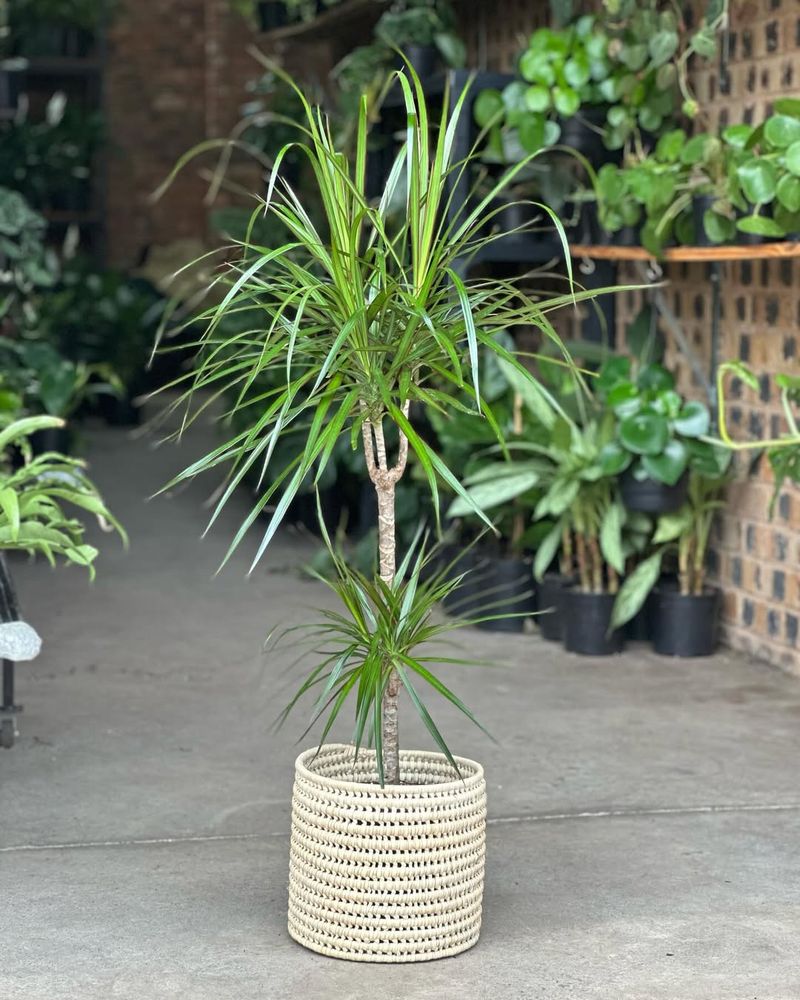
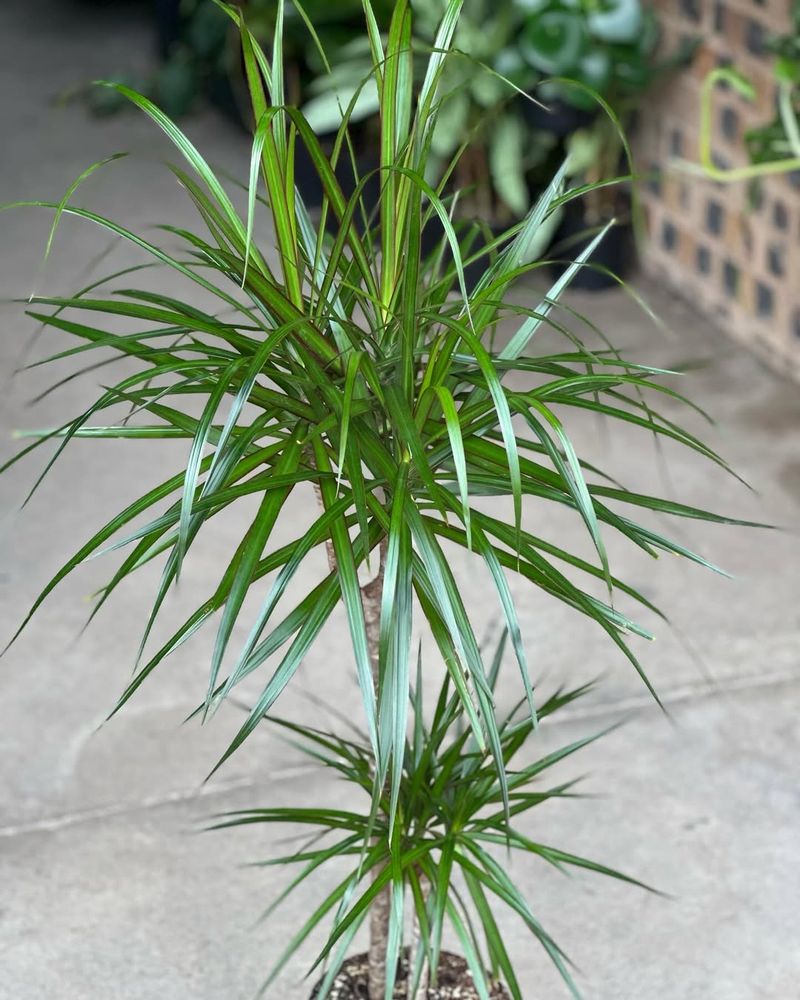
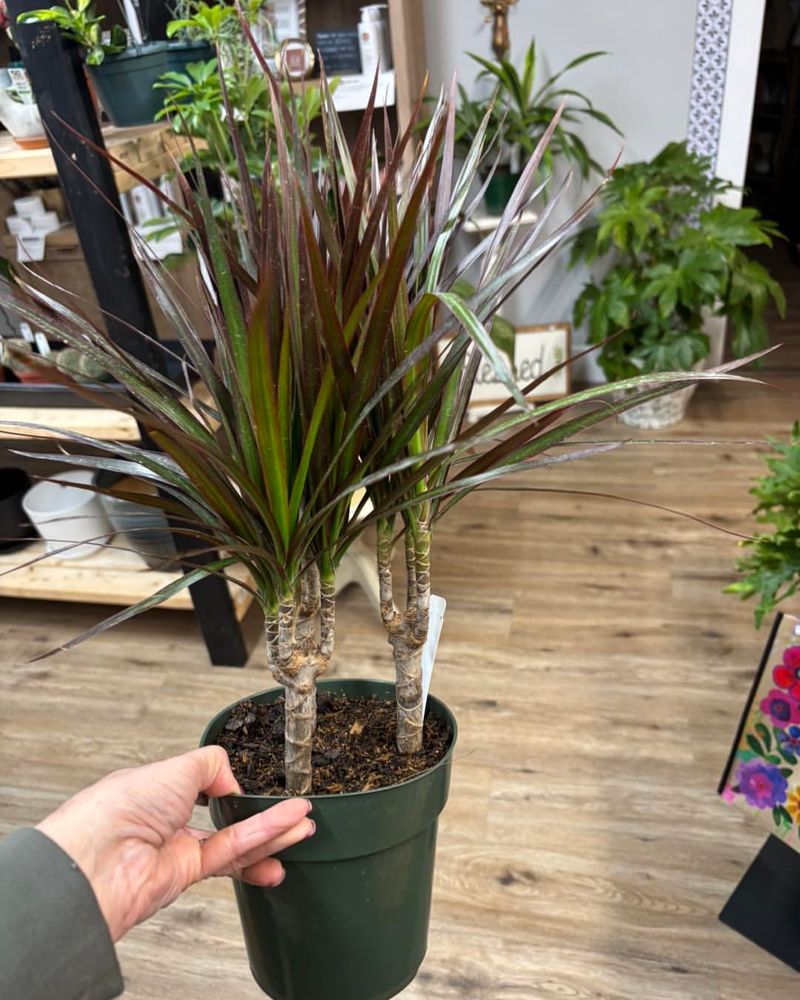
Not every Dracaena is built the same, and picking the right one for your California home can make all the difference. With over 100 species available, narrowing it down might feel overwhelming, but a few standout varieties work especially well in California homes.
Dracaena marginata, often called the dragon tree, is a top pick because it handles dry indoor air without complaining, which is perfect for Southern California homes with air conditioning running most of the year.
Dracaena fragrans, also known as corn plant, grows wide and lush, making it a stunning floor plant for living rooms or sunlit entryways. If you want something compact for a desk or shelf, Dracaena sanderiana fits beautifully in smaller spaces.
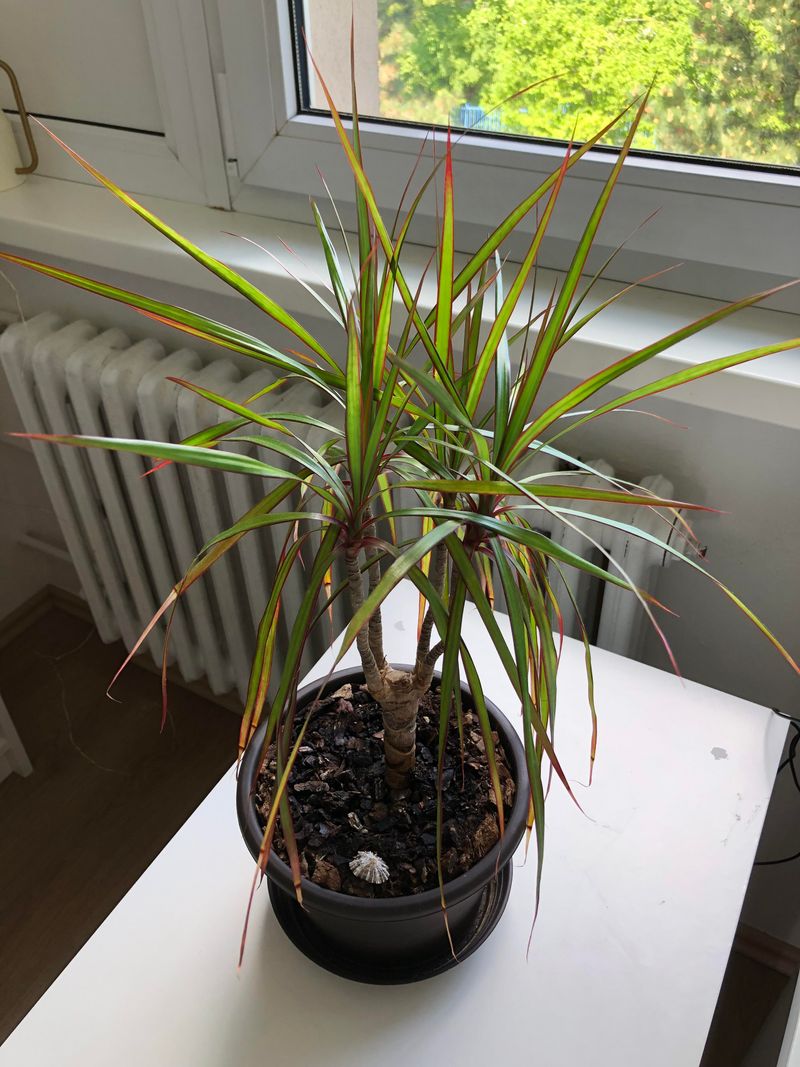
California homes in coastal regions tend to have more humidity, which opens up options like Dracaena reflexa, a gorgeous variety with rich green and yellow-striped leaves.
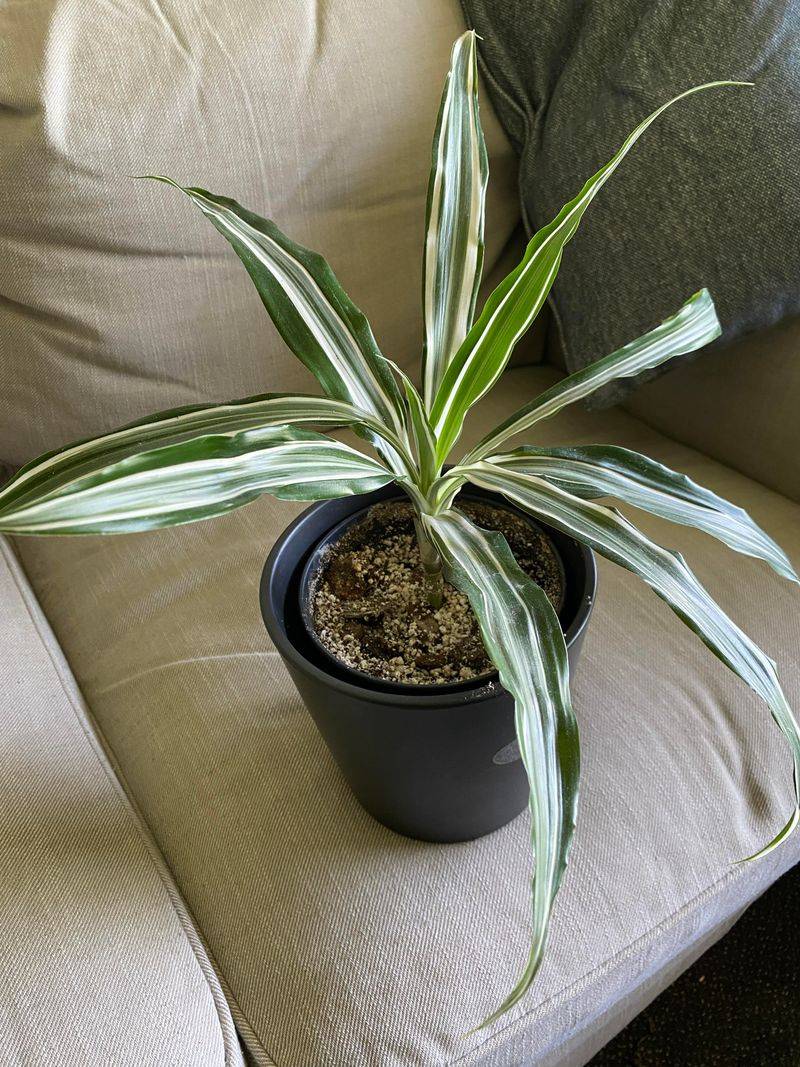
Think about your home’s light levels before buying. Variegated varieties need a bit more light to keep their colors vivid, while solid green types tolerate lower light surprisingly well.
Matching the plant to your actual conditions, rather than just picking the prettiest one at the nursery, sets you up for long-term success. Knowing your space is honestly the smartest first step any new Dracaena owner can take.
2. Place Dracaena Where It Actually Thrives
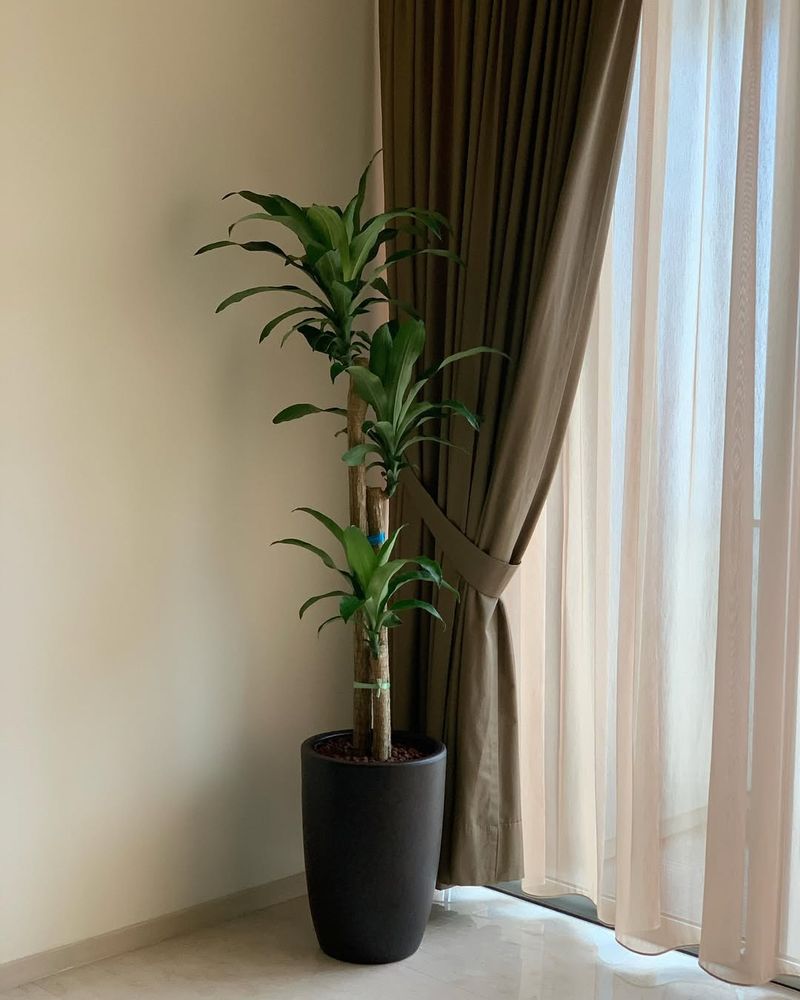
Placement matters more than most people realize, and getting it right from the start saves you a lot of trouble down the road. Dracaena plants prefer bright, indirect light, which means a spot near a window that gets plenty of natural light without harsh, direct afternoon sun beating on the leaves.
In California, south-facing windows can get intense, especially in the summer months, so a sheer curtain can soften the light perfectly without blocking it entirely.
Rooms that get consistent warmth work best because Dracaena is a tropical plant that genuinely dislikes cold drafts. Keep it away from air conditioning vents, which pump out cold, dry air that can stress the plant over time.
A spot near a west-facing window in a California home often hits the sweet spot, offering warm afternoon light that is bright but not scorching.
Think about traffic flow in your home too. Dracaena leaves can be knocked around by people brushing past, which causes brown tips and bent stems over time.
A corner spot or a dedicated plant shelf gives it stability and makes it a real design feature rather than an afterthought. Rooms with consistent temperatures between 65 and 80 degrees Fahrenheit are ideal, and most California homes naturally stay within that range for most of the year.
3. Get Light Right Without Overthinking It
Bright, indirect light is what every Dracaena thrives on, even though the idea of “light” can feel complicated at first. Giving your plant the right balance ensures its leaves stay vibrant and growth stays steady without any stress.
Dracaena plants genuinely thrive in filtered light, the kind you get when sunlight passes through a thin curtain or bounces off a light-colored wall before reaching the plant. Direct sunlight for extended periods will scorch the leaves, leaving pale, bleached patches that are hard to reverse.
California sunshine is intense, especially in inland areas like the Central Valley or the Inland Empire. If your home gets strong afternoon sun, positioning your Dracaena a few feet back from the window gives it plenty of brightness without the burn risk.
North-facing rooms can work for low-light varieties like Dracaena fragrans, though growth will be slower and colors less vivid compared to brighter spots.
A simple trick to test your light is to hold your hand about a foot above a white piece of paper in the spot where you plan to put the plant. A sharp, defined shadow means the light is too intense.
A soft, blurry shadow is exactly what you want. Most California homes have at least one room that hits this sweet spot naturally, and once you find it, your Dracaena will reward you with steady, healthy new growth season after season.
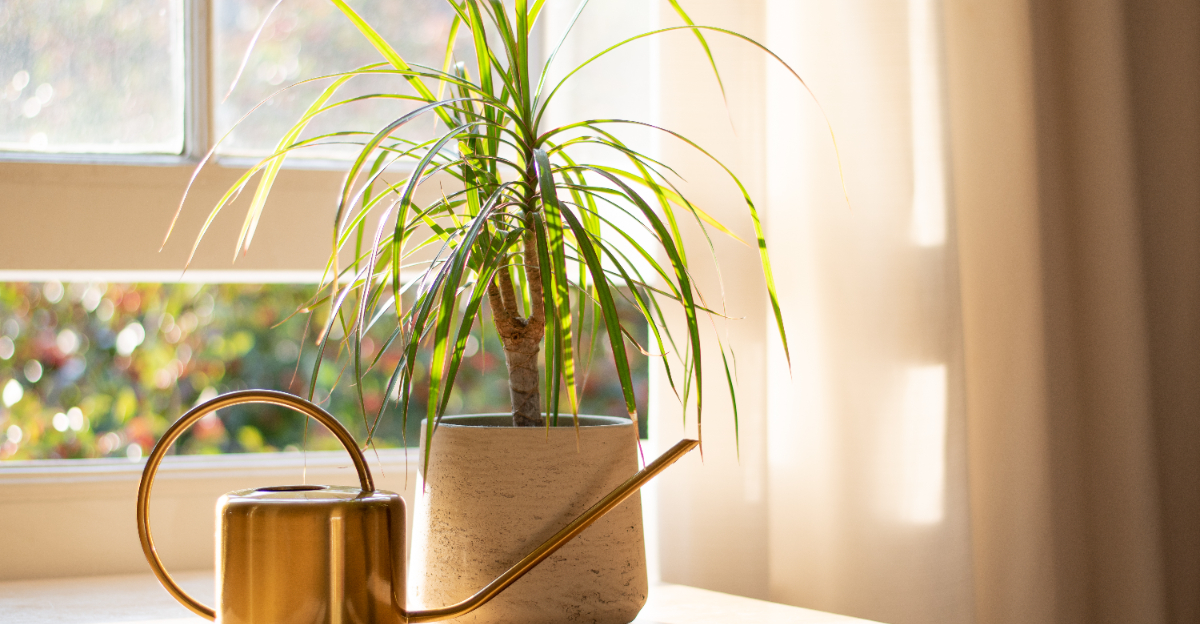
4. Water Dracaena The Right Way Every Time
Many Dracaena owners struggle with watering, but the solution is easier than it seems. These plants are sensitive to too much moisture, and letting their roots stay soggy is one of the quickest ways to invite serious problems.
The golden rule is to wait until the top inch or two of soil feels dry before adding any water, and when you do water, do it thoroughly so moisture reaches the entire root zone.
California’s dry climate can actually work in your favor here because the soil tends to dry out at a steady pace, especially in warm inland areas. Coastal regions with more humidity may require you to stretch your watering schedule a little longer between sessions.
Always check the soil with your finger rather than following a fixed schedule, because every home, pot size, and season changes how fast the soil dries.
Dracaena can be sensitive to certain minerals, including fluoride, depending on water source and concentration. In some homes, this may show up as browning leaf tips over time, though not every plant or location is affected the same way.
If you notice tip browning, using filtered water or collected rainwater can help reduce mineral buildup. Letting tap water sit overnight may help reduce chlorine, but it does not remove fluoride.
Using a pot with drainage holes is essential because standing water at the bottom of a pot creates conditions that stress the roots quickly.
5. Avoid The Most Common Dracaena Mistakes
Even experienced plant owners make a few classic Dracaena mistakes, but knowing what to watch for puts you way ahead of the curve. The most common one is overwatering, and it is worth repeating because so many people lose healthy plants to it.
Dracaena stores water in its thick stems and roots, so it handles dry spells far better than it handles sitting in wet soil for days at a time.
Another mistake is placing the plant somewhere with dramatic temperature swings. In California, this often happens near sliding glass doors that get cold at night or near heating vents that blast hot, dry air in the winter months.
Dracaena prefers steady warmth, and sudden changes in temperature cause the leaves to droop, yellow, or develop brown patches along the edges.
Skipping fertilizer is also a missed opportunity, especially during the growing season from spring through early fall. A balanced liquid fertilizer applied once a month gives the plant nutrients it needs to push out fresh leaves and maintain its color.
Do not fertilize in winter when growth naturally slows down. Repotting too frequently is another surprisingly common issue because Dracaena actually prefers being slightly snug in its pot.
Moving it to a much larger container too soon can lead to excess soil holding moisture and creating more problems than it solves.
6. Keep Dracaena Full Not Leggy
A leggy Dracaena with long bare stems and a sparse cluster of leaves at the top is a common sight, but it is often manageable with a few simple adjustments. Legginess is frequently linked to low light, where the plant stretches toward a light source, but it can also be influenced by natural growth patterns and how the plant has been pruned over time.
Improving light conditions usually helps encourage more compact and balanced growth, especially in brighter indoor spots with indirect light.
Pruning is one of the most effective ways to shape the plant and encourage fuller growth. Trimming the top of the stem can stimulate new shoots to form below the cut, creating a bushier appearance over time.
It may feel a bit intimidating at first, but Dracaena typically responds well when cuts are made cleanly just above a node using sharp, clean tools.
Rotating the pot every few weeks is another simple habit that supports even growth. Since Dracaena tends to grow toward its light source, leaving it in one position can cause uneven development.
Turning the plant slightly every couple of weeks helps maintain a more balanced shape. In California homes with multiple light sources, this process becomes even easier, especially in rooms with large windows or overhead lighting that spreads brightness more evenly.
7. Repot Dracaena Without Stressing The Plant
Repotting feels like a big deal, but with the right approach it is actually a smooth, satisfying process that sets your Dracaena up for another few years of healthy growth. The best time to repot is in spring, just as the growing season begins, because the plant is actively producing new roots and can recover quickly from any minor disturbance.
Signs that your plant needs a new home include roots circling the bottom of the pot, roots poking out of drainage holes, or soil that dries out unusually fast after watering.
Choose a new pot that is only one to two inches larger in diameter than the current one. Going too big too fast is a common mistake because extra soil holds extra moisture, which increases the chance of root issues.
A terracotta pot is a great choice for California homes because the porous material helps excess moisture evaporate more quickly, keeping the root zone healthier in the long run.
Use a well-draining potting mix designed for tropical plants or mix regular potting soil with perlite to improve drainage. Gently loosen the root ball before placing it in the new pot, and fill in the sides with fresh soil without packing it down too tightly.
Water thoroughly right after repotting and then hold off on watering again until the top layer of soil dries out, giving the roots a chance to settle in comfortably.