9 Things Every Gardener Should Do When Snow Starts To Melt In Vermont
Spring in Vermont can feel like a gentle tease—one day the snow is melting, the next a late frost sneaks in.
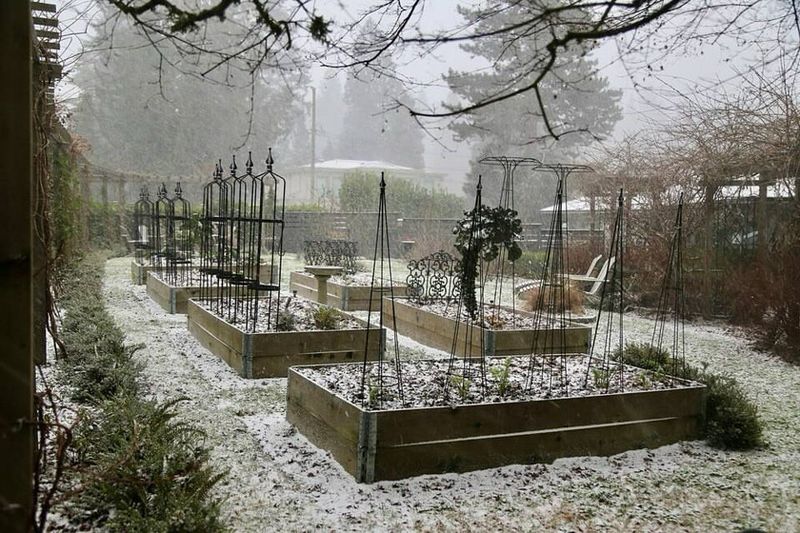
But when that white blanket finally starts to recede, gardeners know it’s a golden opportunity to get a head start before the growing season kicks into full gear.
Snow melt signals that the soil is waking up, plants are stirring, and it’s time to act.
The snow is melting—your garden’s spring reset starts now!
From inspecting perennials and pruning damaged branches to cleaning beds and testing soil, these nine tasks set the stage for a healthy, productive season.
Early attention prevents small winter damages from becoming bigger problems, ensures proper drainage, and primes your garden for vibrant growth.
Waiting too long can mean missed opportunities—and frustrated plants.
Act now, and your garden will thank you all season long.
Vermont gardeners can turn the snowmelt into a strategic advantage.
By following these key steps, you protect your plants, plan your layouts, and start spring with confidence.
Snow may be leaving, but your garden’s busy season is just beginning.
1. Inspect Beds Without Stepping On Soggy Soil
Walking across waterlogged garden beds might seem harmless, but it creates lasting problems that follow you through the entire growing season.
Vermont’s spring thaw leaves soil saturated and fragile, and every footprint compresses the delicate air pockets that plant roots need to breathe and expand.
Compacted soil drains poorly, warms slowly, and makes it nearly impossible for seedlings to establish strong root systems.
Instead of stepping into your beds, take a careful walk around the perimeter and observe from the edges.
Look for signs of erosion, any areas where mulch has washed away, and spots where water seems to be pooling instead of draining.
Check whether your perennials are beginning to peek through and note any sections that look unusually bare or disturbed.
If you absolutely must reach the center of a bed, lay down a wide plank or board to distribute your weight evenly across a larger surface area.
This simple trick protects the soil structure while still allowing you to get a closer look.
Patience during these early weeks pays off with healthier, more productive plants once the weather truly warms and the soil is ready to work.
Resisting the urge to walk on wet ground is one of the easiest ways to set your garden up for success.
2. Check For Frost Heave And Exposed Roots
Frost heave is one of winter’s sneakiest tricks, and Vermont gardeners see it every single year.
As the ground freezes and thaws repeatedly throughout late winter, ice crystals form beneath the soil and literally push plants upward out of their original positions.
Perennials like strawberries, heuchera, and newly planted shrubs are especially vulnerable to this lifting action.
Once the snow melts, you might find roots sitting exposed on the surface, which leaves them at risk of drying out or suffering further damage from cold winds.
Walk through your beds and gently press any heaved plants back into place using your hands, not your feet.
Firm the soil around the crown of the plant just enough to make good contact, but avoid packing it down too hard.
If the ground is still frozen solid beneath the surface, wait a few days until it softens before attempting to reset anything.
Adding a light layer of compost or soil around the base can help stabilize plants and encourage new root growth as temperatures rise.
Catching frost heave early prevents long-term stress and keeps your perennials healthy and vigorous.
This simple inspection takes only minutes but can save plants that might otherwise struggle or decline throughout the season.
3. Clear Debris That Traps Excess Moisture
Last season’s leftover leaves and stems might have provided winter shelter for beneficial insects, but once snow starts melting, that same debris can become a soggy blanket that encourages rot.
Matted layers of wet leaves trap moisture against plant crowns and create the perfect environment for fungal diseases to take hold.
Vermont’s cool, damp springs make this issue even more pronounced, since the soil stays wet for weeks and airflow is limited.
Rake away heavy leaf piles and remove any broken stems or branches that have collapsed onto your beds during winter storms.
Pay special attention to areas around the base of perennials, where moisture tends to collect and linger.
Clearing debris now allows sunlight to reach emerging shoots and helps the soil surface dry out more quickly between rain showers.
Toss the old plant material onto your compost pile, or use it as mulch in pathways where airflow is less critical.
If you left ornamental grasses or perennial stems standing for winter interest, now is the time to cut them back before new growth starts pushing through.
A clean garden bed not only looks tidier but also creates healthier growing conditions that reduce the risk of disease and pest problems later in the season.
4. Prune Winter-Damaged Branches At The Right Time
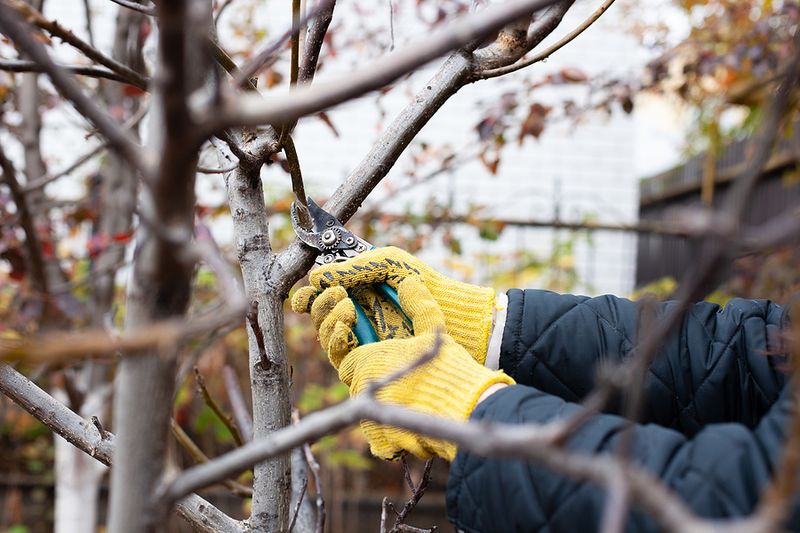
Spotting genuine winter damage on trees and shrubs can be tricky in early spring, because some branches may simply be slower to wake up than others.
Brown, brittle twigs that snap easily are likely beyond saving, but flexible branches with intact bark might just be taking their time to leaf out.
Vermont’s unpredictable spring weather means that a warm week can be followed by a hard freeze, so plants are understandably cautious about breaking dormancy too early.
Start by examining the tips of branches for signs of life, such as swelling buds or a hint of green beneath the bark when you gently scrape it with your thumbnail.
If you find green tissue, the branch is still alive and should be left alone for now.
Remove any limbs that are clearly broken, cracked, or rubbing against other branches, since those won’t recover and can create entry points for disease.
For shrubs like roses or hydrangeas, wait until you see which buds begin to swell before making major cuts.
Pruning too early can stimulate new growth that gets nipped by a late frost, so patience is your best tool during this transition period.
Mark questionable branches with a piece of colored tape and revisit them in a few weeks once the picture becomes clearer.
5. Watch For Rodent And Rabbit Damage Revealed By Snowmelt
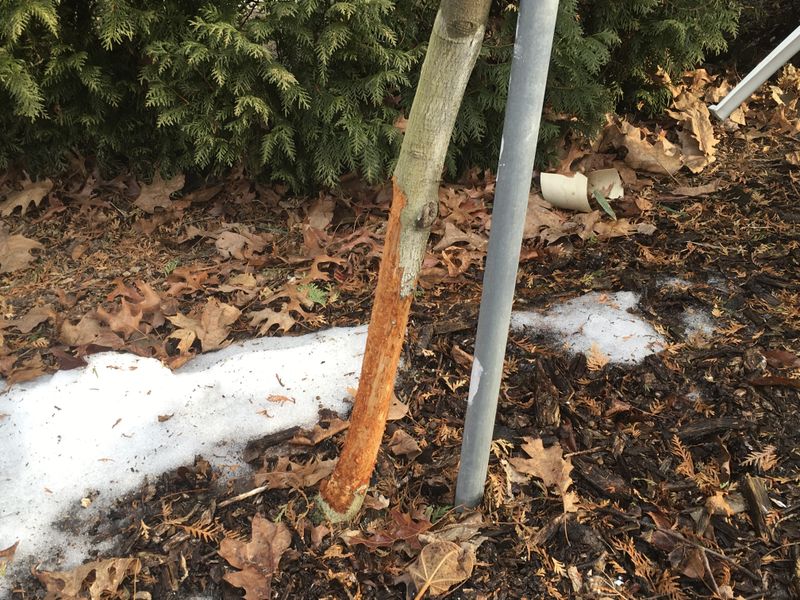
Snow cover provides the perfect hideout for hungry voles, mice, and rabbits, and once it melts away, you might discover the evidence they left behind.
Voles create shallow surface tunnels and gnaw on plant roots and bark at ground level, often girdling young trees and shrubs in a complete ring.
Mice tend to nibble on stems and bark just above the soil line, while rabbits leave clean, angled cuts on woody stems and can strip bark several feet up the trunk.
Walk around your garden and inspect the base of trees, shrubs, and perennials for missing bark, chewed stems, or suspicious tunnels running through mulch and leaf litter.
If you find girdled bark, the plant may still survive if at least a narrow strip of intact bark remains to transport nutrients.
Trim away any loose or ragged edges to prevent further peeling, and avoid piling mulch or soil against the wound.
For future protection, consider wrapping young tree trunks with hardware cloth or plastic guards before next winter, and keep mulch pulled back a few inches from the base of plants.
Reducing ground cover and keeping the area around vulnerable plants clear makes it less inviting for rodents to set up camp.
Catching damage early gives you time to adjust your care plan and protect your plants moving forward.
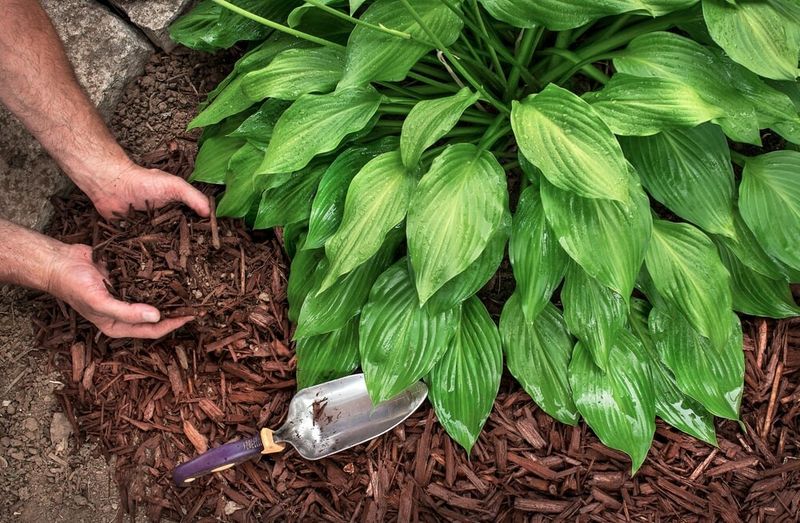
6. Refresh Mulch—But Don’t Rush It
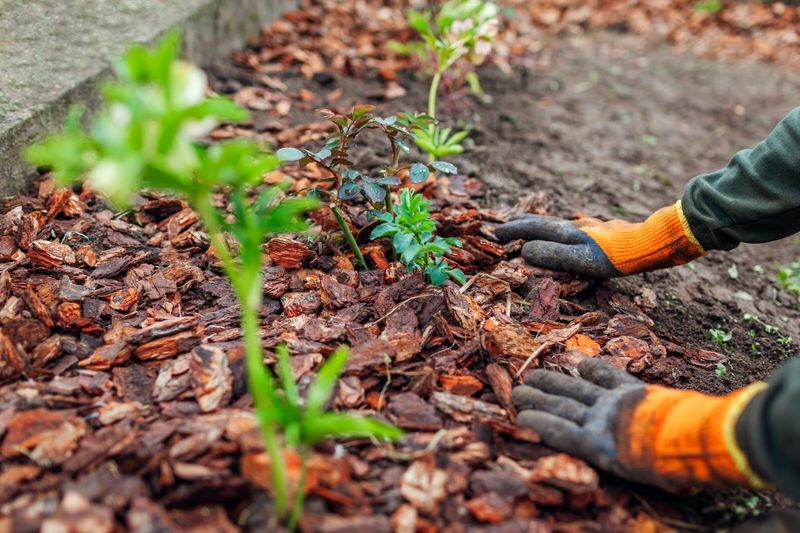
Mulch serves as insulation, and while that’s helpful in winter, it can actually slow down soil warming in early spring when you want beds to heat up quickly.
Vermont’s short growing season means every warm day counts, so pulling mulch back from perennial crowns and planting areas allows sunlight to reach the soil surface directly.
Bare soil absorbs heat more efficiently and dries out faster, which encourages root activity and signals plants that it’s safe to start growing.
Rake existing mulch into pathways or pile it temporarily at the edges of beds, leaving a few inches of open ground around emerging shoots.
Once daytime temperatures stabilize and the risk of hard frost has passed, you can redistribute the mulch or add a fresh layer to suppress weeds and retain moisture through the summer.
If your mulch has broken down significantly over the winter, top it off with a new two-to-three-inch layer of shredded bark, compost, or straw.
Avoid piling mulch directly against plant stems or tree trunks, since this creates a damp environment that invites rot and provides cover for pests.
Timing your mulch application correctly gives you the best of both worlds—warmer soil in spring and protected, weed-free beds once the season is in full swing.
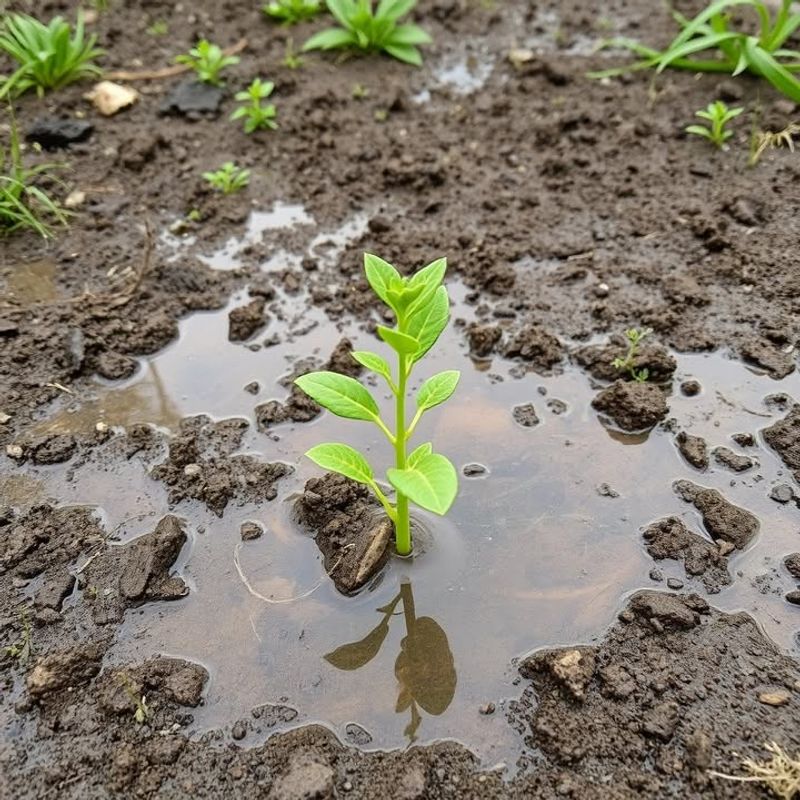
7. Assess Drainage Problems Before Planting Season
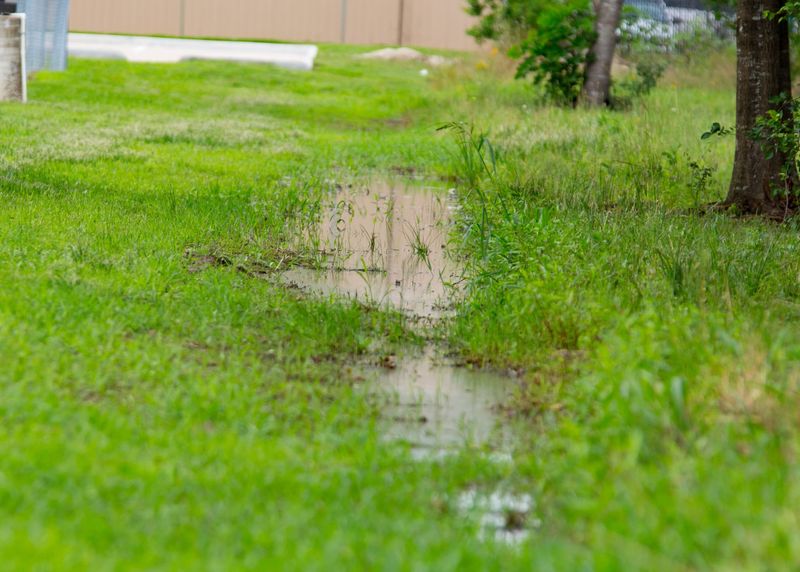
Melting snow reveals the truth about how water moves through your garden, and early spring is the ideal time to spot drainage issues before you commit to planting.
Look for areas where water pools and lingers for hours or even days after the snow melts or rain falls.
These low spots can drown plant roots, encourage fungal problems, and make it impossible to work the soil when you’re ready to plant.
Walk your garden during or right after a rainstorm to see where runoff collects and which paths it follows as it flows downhill.
If you notice persistent wet zones, consider simple fixes like adding organic matter to improve soil structure, creating shallow drainage swales to redirect water, or installing a rain garden in a natural low spot.
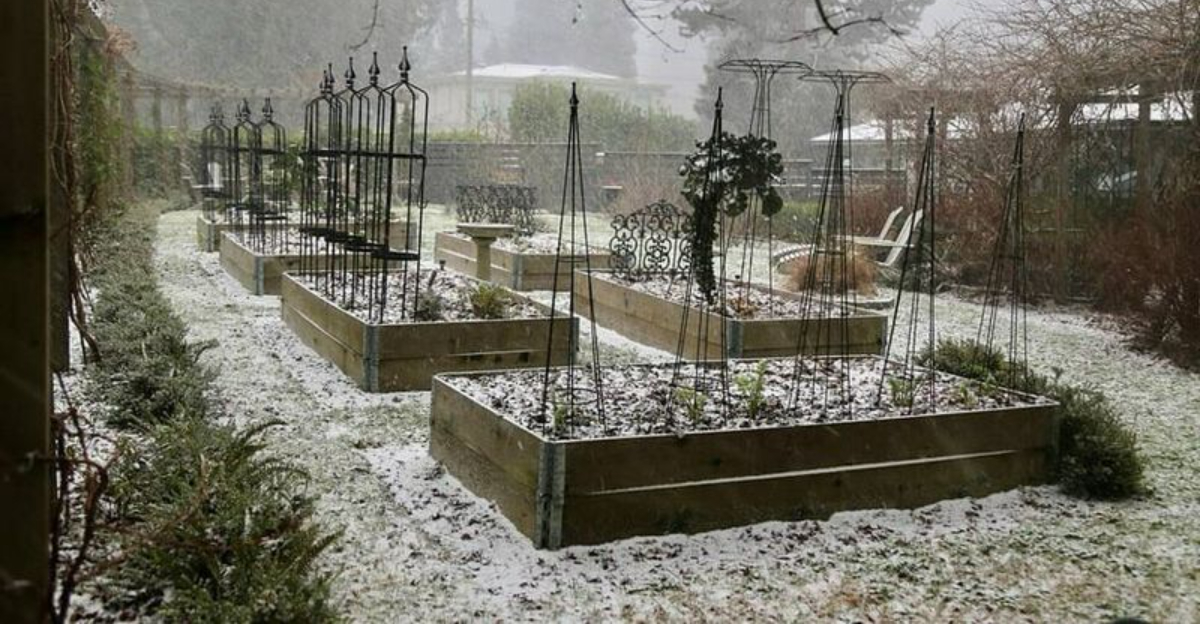
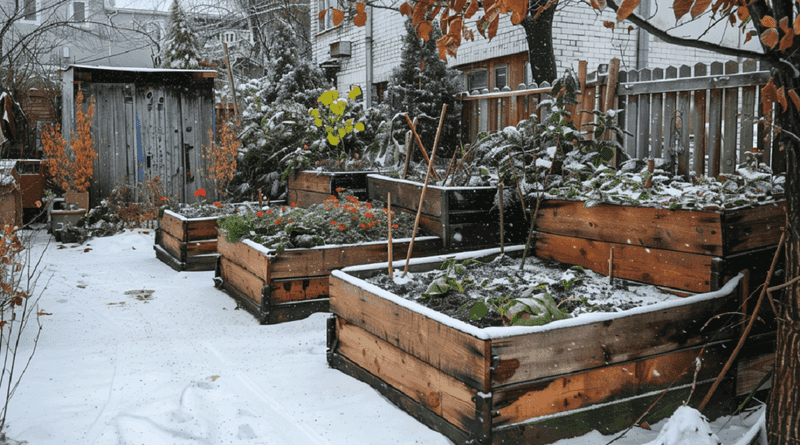
Raised beds are another excellent solution for areas with heavy clay or poor drainage, since they lift plant roots above the problem zone entirely.
For more serious issues, you might need to install perforated drain pipe or regrade sections of your yard to encourage water to flow away from planting areas.
Tackling drainage problems now saves you from watching plants struggle or fail later in the season.
A little observation and planning during the thaw can transform a frustrating wet spot into a productive, healthy garden bed.
8. Start Cold-Hardy Seeds Indoors While Waiting On Soil
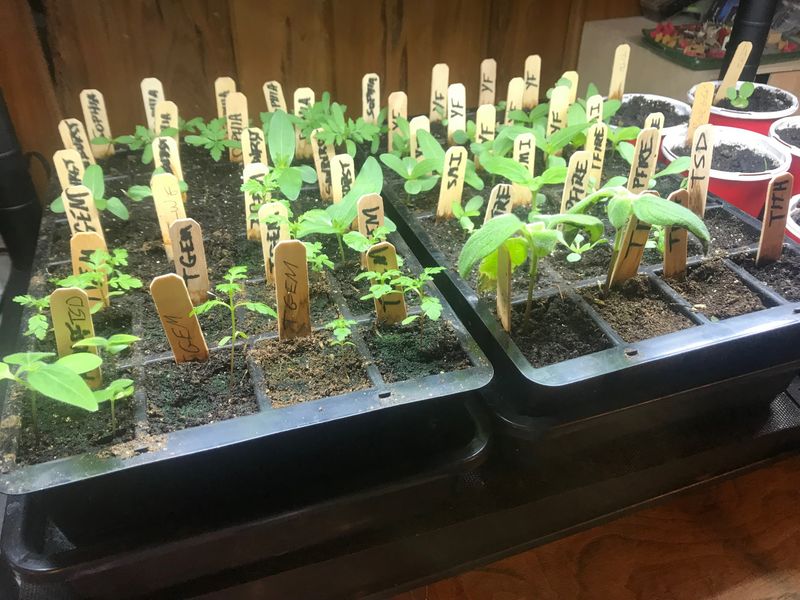
Just because outdoor beds are too wet or cold to plant doesn’t mean you have to sit idle and wait for perfect conditions.
Vermont gardeners can make excellent use of this in-between time by starting cold-hardy crops indoors under lights or on sunny windowsills.
Vegetables like broccoli, cabbage, kale, and cauliflower thrive in cool weather and can be transplanted outside well before the last frost date.
Sow seeds in small pots or cell trays filled with quality seed-starting mix, and keep them in a bright location where temperatures stay between sixty and seventy degrees.
Most brassicas germinate quickly and grow into sturdy seedlings within four to six weeks, giving you a head start on the growing season.
Lettuce, spinach, and other leafy greens can also be started indoors, though many gardeners prefer to direct-sow these once the soil is workable.
Starting seeds indoors not only extends your growing season but also gives you more control over plant health and timing.
By the time your outdoor beds are ready, you’ll have strong, vigorous transplants waiting to go into the ground instead of starting from scratch with tiny seeds.
This strategy is especially valuable in Vermont, where the window between last frost and first frost can feel surprisingly short.
9. Be Patient—Spring Comes In Stages In Vermont
Vermont spring is a slow dance, not a sudden leap, and trying to rush the process often leads to setbacks and disappointment.
Soil that looks ready on a warm afternoon might still be too cold or wet to plant, and jumping in too early can compact beds, stunt seedlings, and set your garden back by weeks.
The best test for soil readiness is the squeeze test—grab a handful of soil and squeeze it into a ball, then tap it gently with your finger.
If it crumbles apart easily, the soil is ready to work, but if it stays in a muddy clump, it needs more time to dry out.
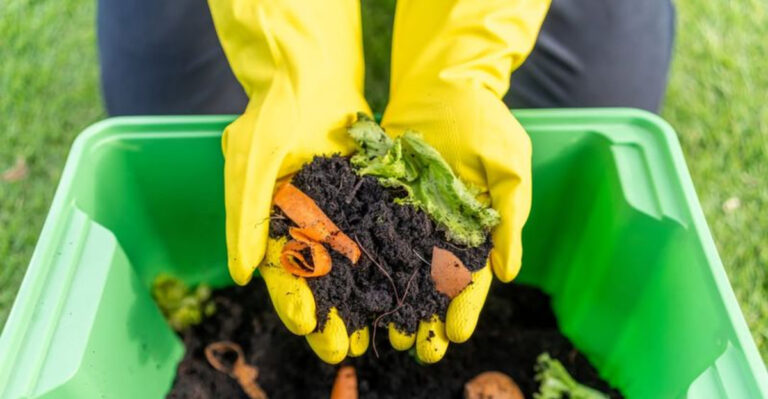
Use these waiting weeks to sharpen tools, organize seeds, plan crop rotations, and prepare compost or amendments for mixing into beds once conditions improve.
Watch for natural signs that the season is shifting, like the appearance of spring peepers, the blooming of early bulbs, or the return of robins and other migratory birds.
Gardening in Vermont requires a combination of patience, observation, and flexibility, since the weather rarely follows a predictable script.
By pacing yourself and respecting the rhythm of the season, you’ll end up with healthier plants, better yields, and a lot less frustration.
Spring will arrive in full when it’s truly ready, and your garden will thank you for waiting.