This Is How To Safely Repot Aloe Vera In Oregon Homes

Aloe vera is a household favorite in many parts of the country, but it’s not exactly a superstar in Oregon homes.
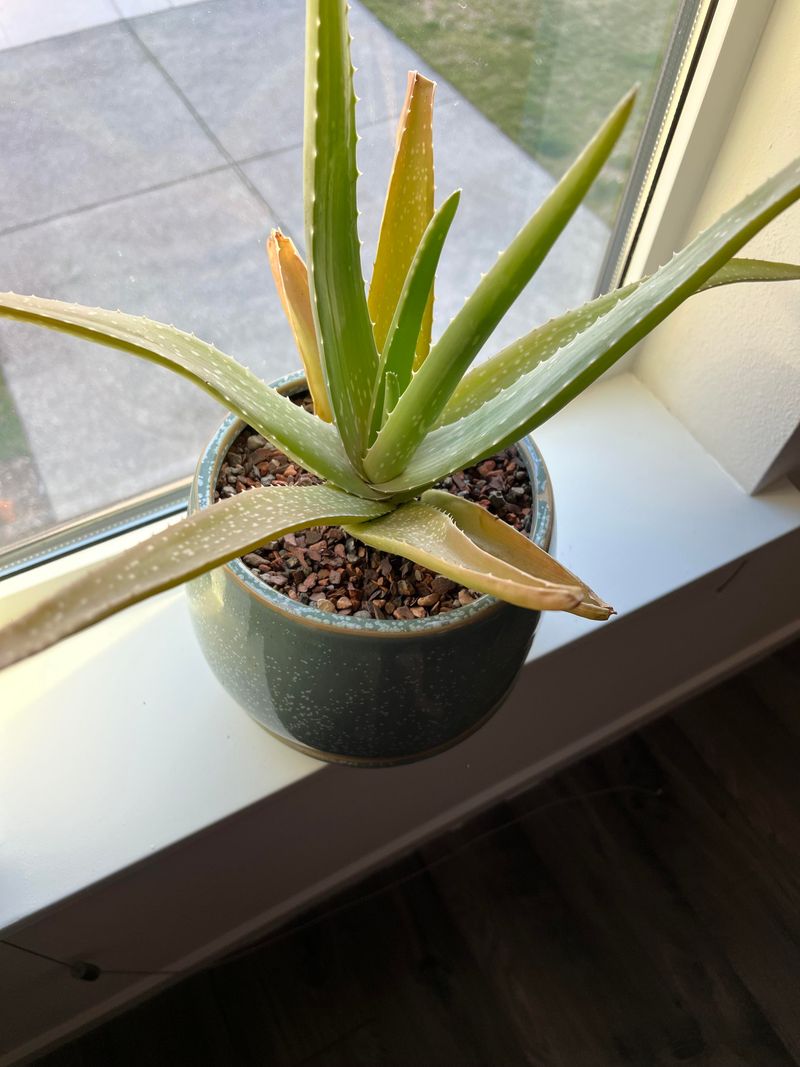
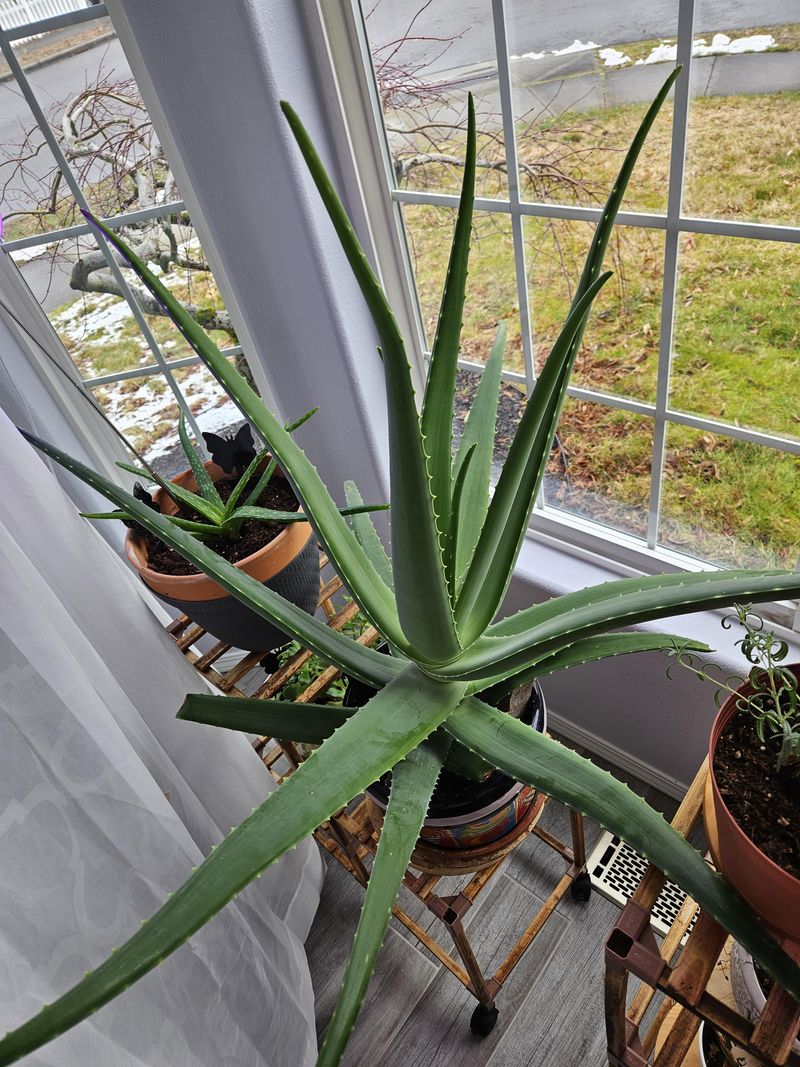
Its love for warmth and sun makes it a little trickier to grow here, which is why seeing a healthy, thriving aloe in an Oregon window can feel like a small victory.
Despite being less common, it’s worth the effort, this hardy succulent not only looks cool with its spiky, fleshy leaves, but it also offers soothing gel for minor burns, skin care, and even a pop of greenery indoors.
One of the most important parts of keeping an aloe happy is giving it enough room to grow. Over time, it can outgrow its pot or develop crowded roots, which is when repotting becomes necessary.
Doing it safely ensures the plant continues to thrive without stress or damage. Fortunately, repotting aloe is easier than it looks with a little preparation, the right pot, and some well-draining soil.
For Oregon plant lovers willing to give it some extra care, repotting aloe is a simple way to keep this unique succulent healthy, vibrant, and productive.
With the right steps, even less-common aloe plants can flourish in local homes, brightening windowsills and adding a touch of tropical charm all year long.
1. Select A Pot With Proper Drainage Holes
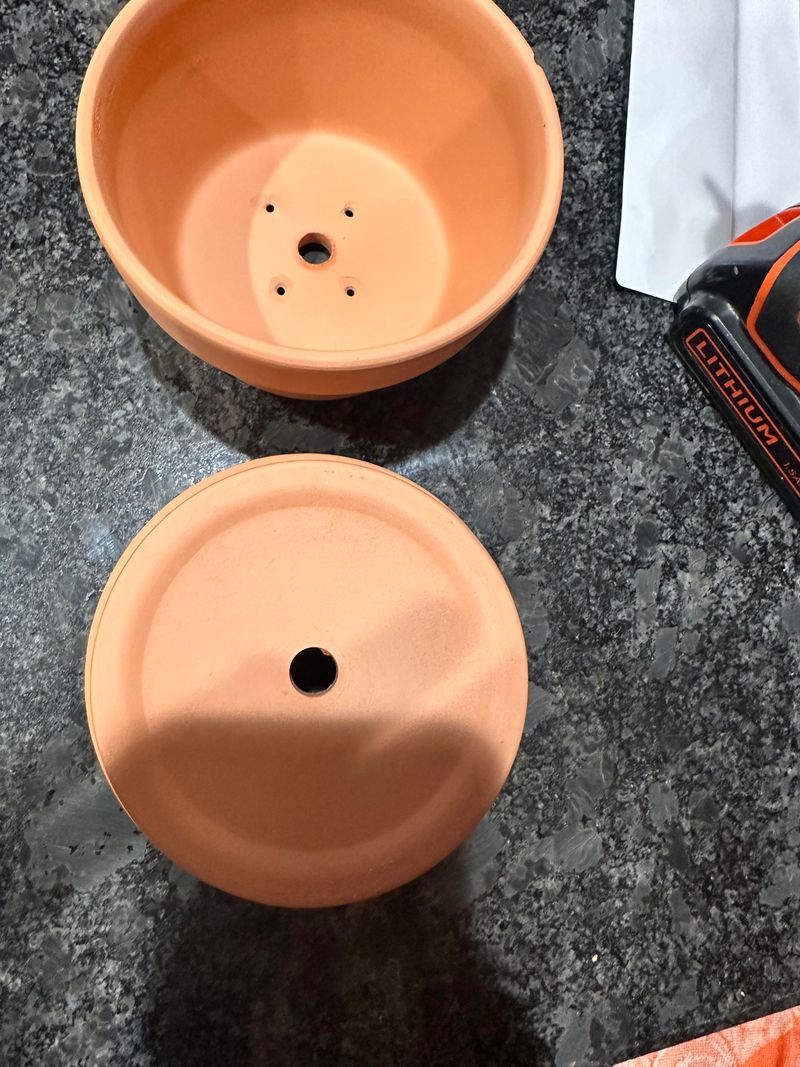
Choosing the right container is your first line of defense against root rot. Aloe vera roots need air circulation and quick water drainage, which means your pot must have holes at the bottom.
Without these openings, water sits in the soil and creates a swampy environment that aloe plants absolutely hate.
Look for a pot that is only one to two inches larger in diameter than your current container. Going too big is a common mistake because excess soil holds moisture for too long.
Terra cotta pots work wonderfully for aloe vera since the porous material allows the soil to dry out faster than plastic or glazed ceramic.
Check that the drainage holes are not blocked by anything. Some decorative pots come with just one small hole, but multiple holes work even better for preventing water buildup.
If you find a pot you love that does not have drainage, you can drill holes yourself with a masonry bit if it is ceramic or clay.
Oregon’s rainy climate means our homes can be more humid than the dry conditions aloe prefers. A well-draining pot helps balance this out by giving your plant the best chance to stay healthy indoors, even when the weather outside is gray and wet.
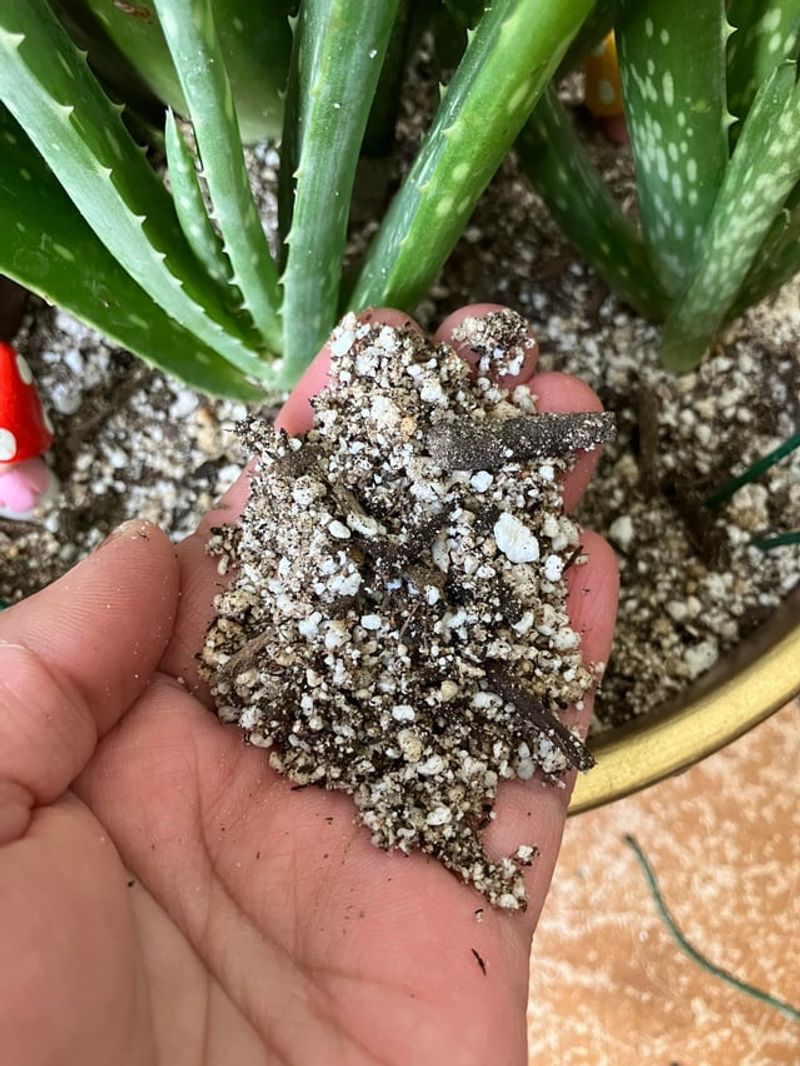
2. Prepare A Well-Draining Succulent Soil Mix

Aloe vera comes from arid regions where soil drains almost instantly after rare rainstorms. Regular potting soil holds too much moisture and can suffocate the roots.
You need a special mix that mimics the sandy, gritty conditions these plants evolved to thrive in.
Succulent and cactus soil mixes are available at most garden centers in Oregon. These blends typically contain sand, perlite, or pumice that create air pockets and prevent compaction.
You can also make your own by mixing equal parts regular potting soil, coarse sand, and perlite or pumice.
The texture should feel loose and grainy in your hands, not dense or sticky. When you water this type of soil, you should see the liquid drain through quickly rather than pooling on top.
This rapid drainage is exactly what aloe roots need to stay healthy and avoid rot.
Some gardeners add a bit of coconut coir to their mix for a touch of water retention without going overboard.
Just remember that in Oregon’s naturally humid environment, erring on the side of drier soil is smarter.
Your aloe will thank you with plump, vibrant leaves that grow strong and green all year round.
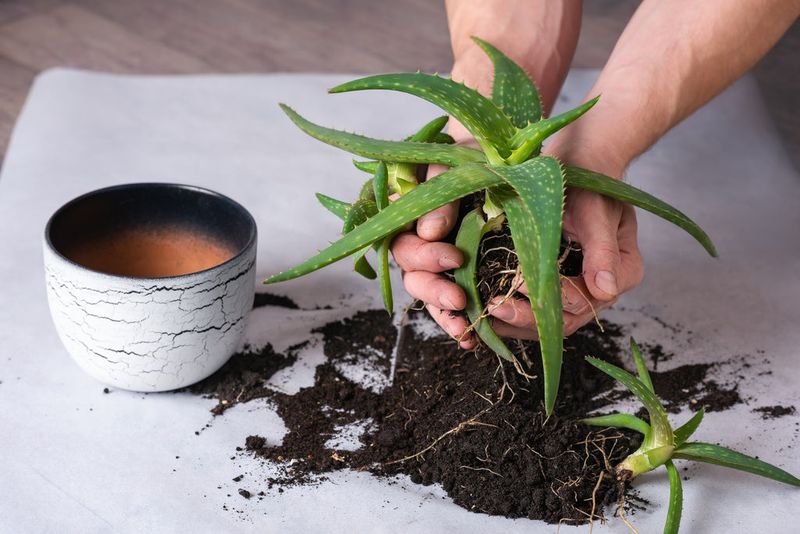
3. Remove The Aloe Carefully From Its Current Pot
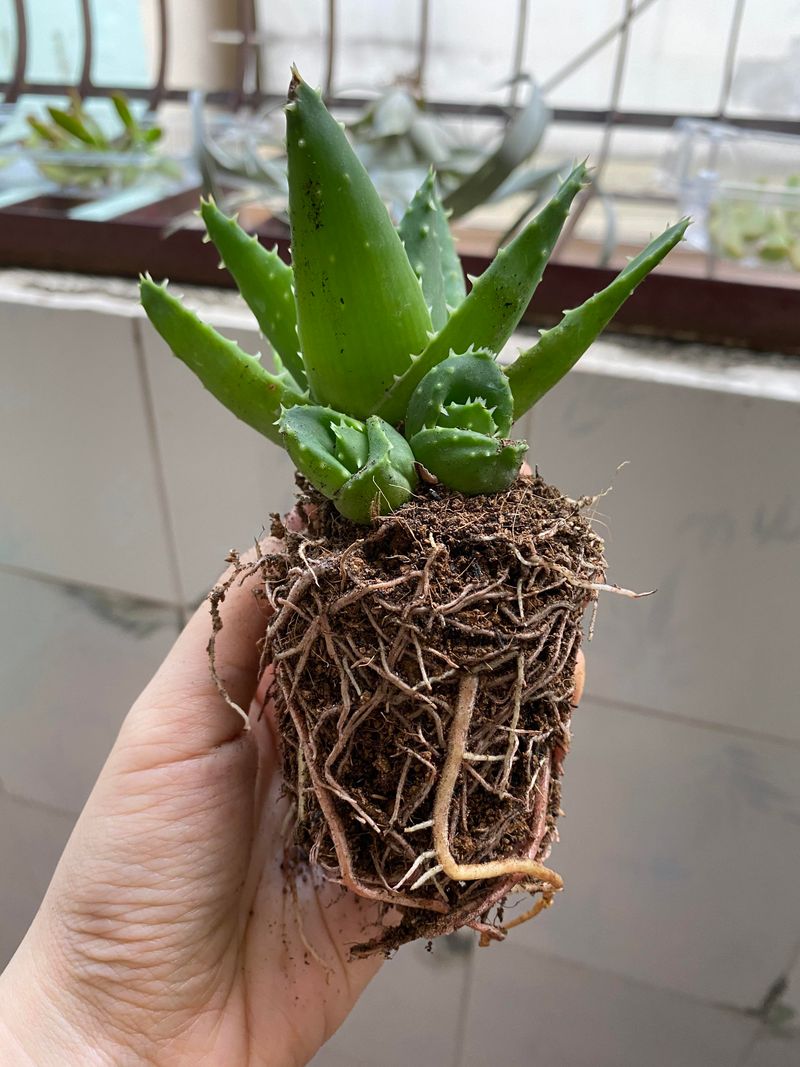
Getting your aloe out of its old home requires a gentle touch. Start by watering the plant lightly a day or two before repotting, which helps the root ball slide out more easily.
Turn the pot on its side and tap the bottom and sides to loosen the soil from the container walls.
Support the base of the plant with one hand while you tip the pot with the other. Sometimes the roots grip the pot tightly, especially if the plant has been there for a while.
You can run a butter knife around the inside edge to break the seal if needed.
Avoid pulling on the leaves themselves because they can break or tear, leaving scars that take months to heal. If the plant is really stuck, you might need to squeeze flexible plastic pots or even break clay pots that are too stubborn.
Your aloe’s health is worth more than the old container.
Once free, lay the plant on a clean surface like newspaper or a tarp. You want to inspect the roots without damaging them further.
Oregon gardeners often find that plants kept indoors during our wet winters can develop compacted root systems that need extra care during this step.
4. Inspect And Trim Any Damaged Roots
Now comes the detective work. Healthy aloe roots should be firm and white or light tan in color.
Roots affected by rot turn brown, black, or gray and feel mushy when you touch them. This is your chance to remove the problem before it spreads to the rest of the plant.
Use clean, sharp scissors or pruning shears to cut away any roots that look or feel wrong. Sterilize your tools with rubbing alcohol first to prevent introducing bacteria.
Make clean cuts rather than tearing the roots, which creates ragged edges that can invite infection.
Sometimes you will find that a large portion of the root system is compromised. Do not panic if you have to remove quite a bit, because aloe plants are remarkably resilient and can regrow roots from healthy tissue.
Just make sure you leave enough healthy roots to support the plant while it recovers.
After trimming, some gardeners like to dust the cut ends with cinnamon or sulfur powder, which acts as a natural fungicide. You can also let the roots air dry for a few hours before repotting, giving any wounds time to callus over.
This extra step is especially helpful in Oregon’s moist climate where fungal issues are more common.
5. Add A Layer Of Soil To The New Pot
Before placing your aloe in its new home, you need to create a proper foundation. Pour enough of your well-draining soil mix into the bottom of the pot so that when you set the plant inside, the base sits about an inch below the rim.
This leaves room for watering without overflow.
Some people like to add a thin layer of gravel or small stones at the very bottom for extra drainage. While this can help, it is not necessary if you have a pot with good drainage holes and the right soil mix.
The most important thing is that water can escape quickly.
Press the soil down lightly with your fingers to remove large air pockets, but do not pack it tight. Aloe roots need to breathe, and compacted soil defeats the purpose of using a fast-draining mix.
The texture should be loose enough that you can easily poke your finger into it.
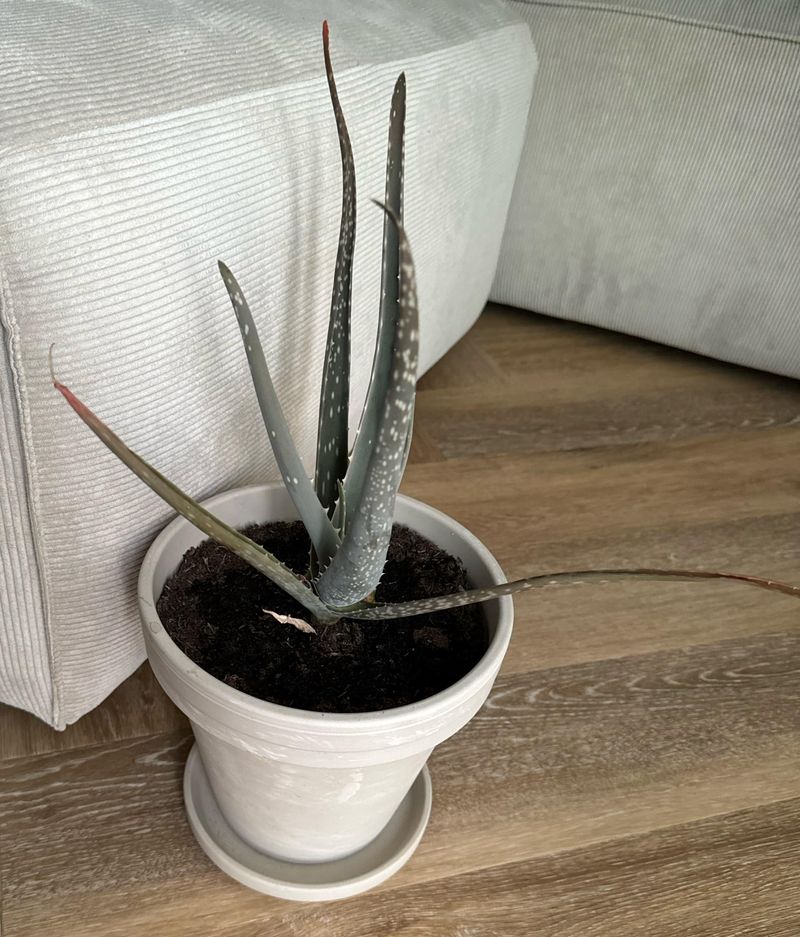
Check the depth by holding your aloe above the pot before committing. The plant should sit at the same level it was in the old pot, or even slightly higher.
Planting too deep can cause the lower leaves to rest on moist soil, which invites rot in our Oregon climate where humidity already runs high indoors.
6. Position The Plant And Fill With Soil
Hold your aloe vera centered in the pot while you begin adding soil around the sides. Work slowly and rotate the pot as you go to make sure the soil settles evenly on all sides.
The plant should stand upright without leaning, which might mean adjusting it a few times until you get it just right.
Fill in the gaps between the root ball and the pot walls with your soil mix, using your fingers to gently work it into spaces. Tap the pot on your work surface occasionally to help the soil settle naturally without packing it down too hard.
You want good contact between roots and soil, but not a dense, airless mass.
Leave about half an inch to an inch of space between the soil surface and the pot rim. This gap is your watering zone and prevents soil from washing over the edge when you water.
The base of the aloe should rest just at or slightly above the soil line, never buried deep.
Check that the plant feels stable when you give it a gentle wiggle. If it moves around too much, add a bit more soil to anchor it.
Oregon’s indoor air can be still and humid, so good soil contact helps roots establish quickly and start absorbing nutrients right away.
7. Wait Before Watering Your Repotted Aloe
This step surprises many people, but it is crucial for preventing root rot. After repotting, give your aloe vera at least three to seven days before you water it for the first time.
This waiting period allows any damaged or cut roots to heal and form protective calluses that resist infection.
Aloe plants store water in their thick leaves, so they can handle a dry spell without stress. In fact, they prefer it.
Watering too soon after repotting can push moisture into fresh wounds on the roots, creating the perfect environment for rot to take hold.
Place your newly repotted aloe in a spot with bright, indirect light during this waiting period. Avoid direct sun, which can stress the plant while it adjusts to its new home.
Oregon homes often have plenty of natural light near north or east-facing windows that work perfectly for this recovery time.
You might notice the leaves look a bit droopy or dull during the first week, and that is normal. The plant is focusing its energy on root development rather than maintaining plump foliage.
Once you do water for the first time, use just enough to moisten the soil, then return to a regular schedule that allows complete drying between waterings.
8. Establish A Proper Watering Schedule
Once your aloe has settled into its new pot for a week or more, you can begin a watering routine that prevents root rot. The golden rule for aloe vera is to water deeply but infrequently.
When you do water, soak the soil thoroughly until water runs out the drainage holes, then wait until the soil is completely dry before watering again.
In Oregon’s climate, this might mean watering every two to three weeks during winter when indoor heating dries the air, and every three to four weeks in summer. Always check the soil with your finger first, pushing down about two inches to feel for moisture.
If it feels even slightly damp, wait a few more days.
Overwatering is the number one reason aloe plants develop root rot, especially in our humid Pacific Northwest environment. These plants evolved to survive long droughts, so they handle dryness much better than constant wetness.
When in doubt, skip a watering and check again in a few days.
Watch your plant for signs that it needs water, such as leaves that feel thin or slightly wrinkled. Healthy aloe leaves should be plump and firm to the touch.
If you notice brown, mushy spots at the base or a foul smell coming from the soil, you may be watering too often and need to cut back immediately.