This Is The Most Important Thing Oregon Gardeners Should Do In January

January can feel like a quiet month in Oregon gardens, but it’s actually one of the most important times to set plants up for a successful year.
While the soil may be cold and many plants appear dormant, there’s one key thing that can make a huge difference for gardens once spring arrives.
Even a little attention now pays off later. Properly preparing plants, protecting vulnerable trees and shrubs, and checking garden beds can prevent problems and encourage healthy growth.
Winter pruning, soil checks, and mulching aren’t just chores, they’re investments that help gardens thrive in the months ahead.
For gardeners who want vibrant blooms, productive vegetables, and strong, healthy plants, focusing on this single crucial task can save time, effort, and headaches later.
It’s the kind of small action in January that pays big dividends when buds start to open and growth picks up.
With the right timing and a little care, Oregon gardens can recover from winter stress and start the year on the right foot. Taking this one important step now ensures that plants are strong, resilient, and ready to shine when warmer weather arrives.
1. Why January Is The Best Pruning Month In Oregon
Oregon winters create ideal conditions for pruning because your trees and shrubs are completely dormant. Without leaves blocking your view, you can see the entire structure of each plant clearly.
You notice crossing branches, awkward angles, and dead wood that would hide beneath summer foliage.
Cold temperatures slow sap flow, which means your cuts heal slowly but cleanly. Diseases and pests are also dormant, reducing the risk of infection through fresh wounds.
When you prune in January, you remove stress from plants before they wake up in spring.
Western Oregon gardeners appreciate the dry spells between rain showers, giving you windows to work outside comfortably. Eastern Oregon sees colder weather, but your plants still benefit from dormant-season cuts.
You can work at your own pace without worrying about damaging tender new growth.
Your pruning work now directs energy toward the branches you want to keep. Come March, those branches will push out vigorous shoots and blooms.
January gives you control over shape, size, and overall plant health before the growing season begins.
Standing in your garden with sharp shears and a clear plan feels productive even on the coldest mornings. You shape your landscape while everything else rests.
2. Which Trees And Shrubs Benefit Most From Dormant Pruning
Fruit trees like apples, pears, plums, and cherries respond beautifully to January pruning. Removing crowded branches improves air circulation and sunlight penetration, which leads to better fruit production.
You also eliminate branches that rub together, preventing bark damage and disease entry points. Roses thrive when you cut them back during dormancy.
Hybrid teas, floribundas, and climbing roses all benefit from strategic cuts that remove old canes and encourage fresh growth. You shape the plant while it rests, and it rewards you with abundant blooms later.
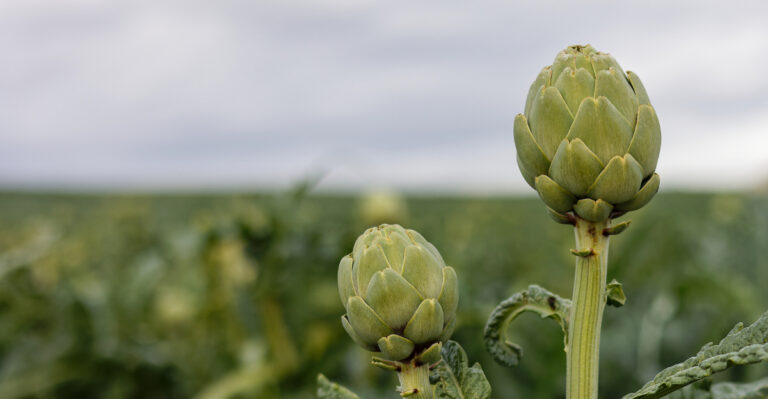
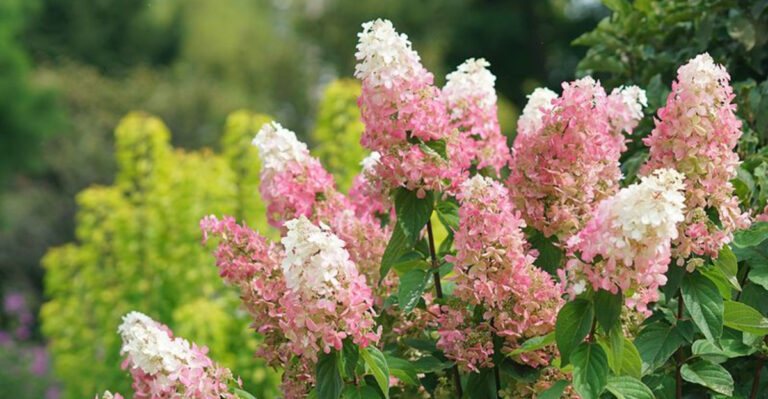
Deciduous ornamental shrubs such as hydrangeas, spirea, and weigela also respond well to winter pruning. You can control their size and shape without interfering with spring flowering.
Some hydrangeas bloom on old wood, so you prune lightly, while others bloom on new growth and tolerate heavier cuts.
Avoid pruning spring-blooming trees like magnolias, dogwoods, and flowering cherries in January.
These plants set their flower buds in late summer, and cutting now removes your spring display. Save those for pruning right after they finish blooming.
Evergreens generally need minimal pruning, but you can remove dead or damaged branches anytime during winter. Your backyard likely holds several candidates ready for attention this month.
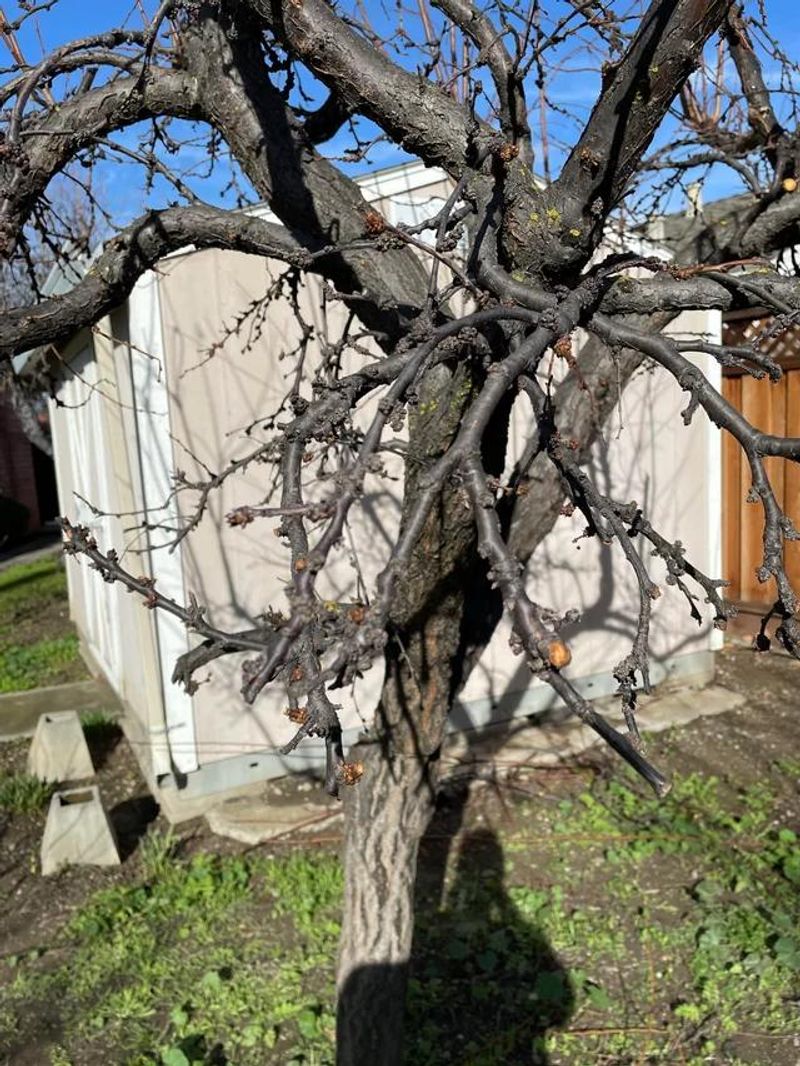
3. How To Spot Damaged And Crossing Branches

Withered branches appear dry, brittle, and discolored compared to healthy wood. When you bend a dead twig, it snaps cleanly instead of flexing.
Scraping the bark with your thumbnail reveals brown tissue underneath instead of green living cambium. Damaged branches show cracks, splits, or wounds from storms, heavy snow, or accidental impacts.
These injuries create openings for disease and pests, so removing damaged wood protects the rest of your plant. You cut back to healthy tissue, making clean cuts that heal quickly.
Crossing branches rub against each other whenever the wind blows, wearing away bark and creating weak spots. You choose one branch to keep and remove the other, preserving the stronger or better-positioned limb.
This decision shapes your tree and prevents future problems. Step back frequently while you work to examine the overall shape.
Sometimes a branch looks fine up close but disrupts the balance when you view the whole plant. Your goal is an open center that allows light and air to reach every part of the canopy.
Walking around your tree from different angles helps you spot issues you might miss from one position. January mornings give you plenty of time to observe and plan each cut carefully.
4. Proper Pruning Cuts That Promote Healthy Growth
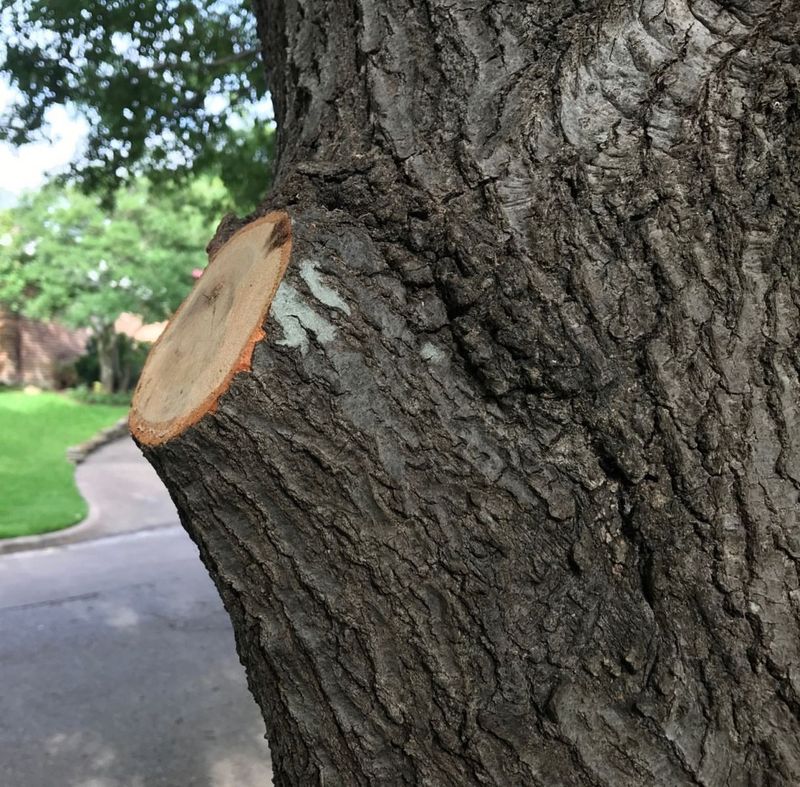
Every cut you make should happen just above a bud or branch collar, the slightly swollen area where a branch meets the trunk. Cutting too close damages the collar and slows healing.
Leaving a long stub invites decay because the plant cannot seal the wound effectively. Angle your cuts slightly away from the bud to prevent water from pooling on the wound.
A clean cut made with sharp tools heals faster than a ragged tear. Your pruning shears should slice through wood smoothly without crushing or splintering the tissue.
Remove large branches in stages to prevent tearing bark down the trunk. Make an undercut first, then a top cut slightly farther out, and finally remove the stub cleanly at the branch collar.
This three-cut method protects the tree from unnecessary damage. Choose outward-facing buds when you shorten branches, directing new growth away from the center of the plant.
This habit creates an open, vase-shaped canopy that resists disease and produces better fruit or flowers. Your cuts guide the plant toward the form you envision.
Pause between cuts to wipe your blades clean, especially when moving between plants. This simple step prevents spreading diseases.
Your careful technique now pays off with vigorous spring growth.
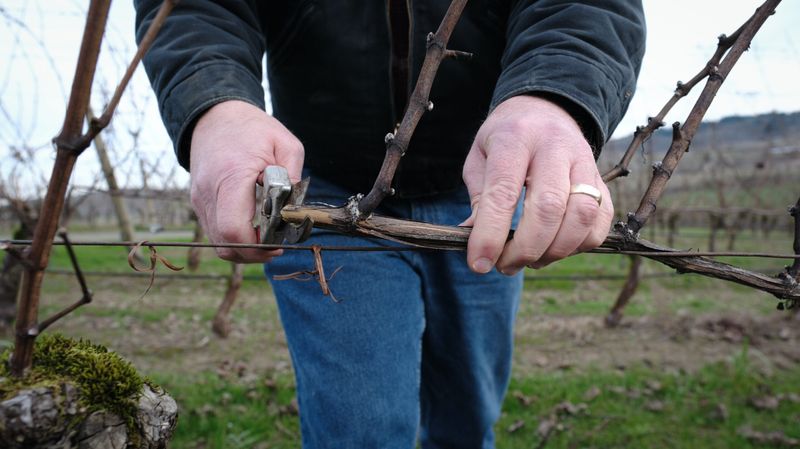
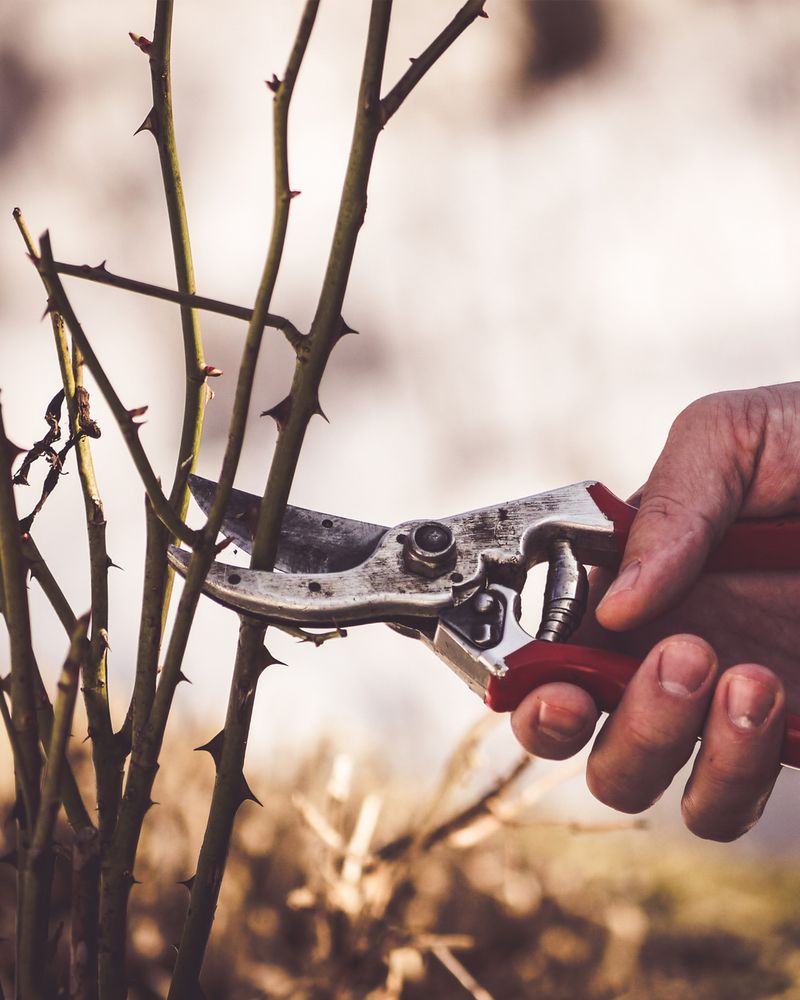
5. Tools That Make Winter Pruning Easier And Safer
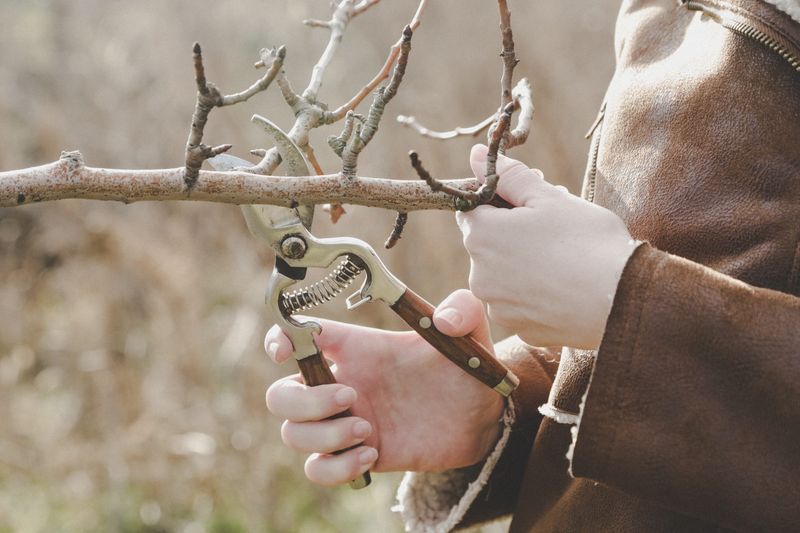
Sharp bypass pruners handle branches up to about three-quarters of an inch thick with clean, precise cuts. Unlike anvil-style pruners that crush stems, bypass blades slice like scissors and leave smooth wounds that heal quickly.
You keep them sharp with a small file or sharpening stone between uses. Loppers extend your reach and multiply your cutting power for branches up to two inches thick.
Long handles give you leverage without straining your arms or shoulders. You choose models with comfortable grips because January mornings can make your hands cold and stiff.
A folding pruning saw cuts through larger limbs that defeat your loppers. The curved blade cuts on the pull stroke, giving you control and reducing effort.
You keep the saw folded when not in use to protect the blade and prevent accidents. Pole pruners let you reach high branches without climbing ladders, improving safety and speed.
Some models telescope to different lengths, adapting to various tree heights. You work from the ground and avoid the risk of slipping on wet winter grass or frozen soil.
Gloves protect your hands from thorns, rough bark, and cold weather. A small bottle of rubbing alcohol or bleach solution keeps your tools sanitized.
Investing in quality tools makes pruning more enjoyable and your results more professional.
6. Common January Pruning Mistakes To Avoid
Over-pruning weakens plants by removing too much wood at once. A good rule limits removal to about one-third of the total growth in a single season.
Taking more shocks the plant and reduces its ability to produce energy through photosynthesis once leaves return. Pruning too early in winter, especially during November or December, can stimulate new growth during a warm spell.
That tender growth dies when freezing temperatures return, wasting plant energy and creating damage. January timing ensures plants stay dormant until spring arrives for real.
Using dull tools crushes stems instead of cutting them cleanly, creating ragged wounds that heal slowly and invite disease. You sharpen your blades before each pruning session and stop to resharpen if you notice frayed cuts.
Your tools should glide through wood effortlessly. Topping trees by cutting main branches back to stubs ruins their natural shape and triggers weak, crowded regrowth.
Instead, you thin selectively to maintain the tree’s structure while controlling size. Proper pruning enhances natural form rather than fighting against it.
Forgetting to step back and assess your work leads to unbalanced results. You pause regularly to view the plant from all sides, ensuring symmetry and proportion.
Your best pruning decisions come from thoughtful observation rather than rushing through cuts.
7. What To Do After You Finish Pruning

Gather all pruned branches and remove them from your garden to prevent pests and diseases from overwintering in the debris.
Healthy clippings make excellent additions to your compost pile, breaking down into nutrient-rich material for future use.
Diseased or pest-infested wood goes into your yard waste bin instead. Clean your tools thoroughly with soapy water to remove sap and debris, then wipe the blades with rubbing alcohol or a diluted bleach solution.
This sanitation step prevents spreading diseases between plants. Dry your tools completely and apply a light coat of oil to prevent rust during storage.
Inspect your trees for any cuts that might need attention, though modern pruning wisdom suggests skipping wound dressings. Plants seal their own wounds naturally, and paint or tar can actually trap moisture and encourage decay.
Your clean cuts heal best when left alone. Take a few photos of your pruned plants to document their winter shape.
Come spring, you can compare new growth against your January work and refine your technique for next year. These records help you learn what works best in your specific garden.
Reward yourself with a warm drink and the satisfaction of knowing you have given your garden a strong foundation for the growing season ahead. Your January efforts will show in every bloom and fruit.