15 Tips And Tricks For Planting A Hedgerow That Grows Strong And Thick
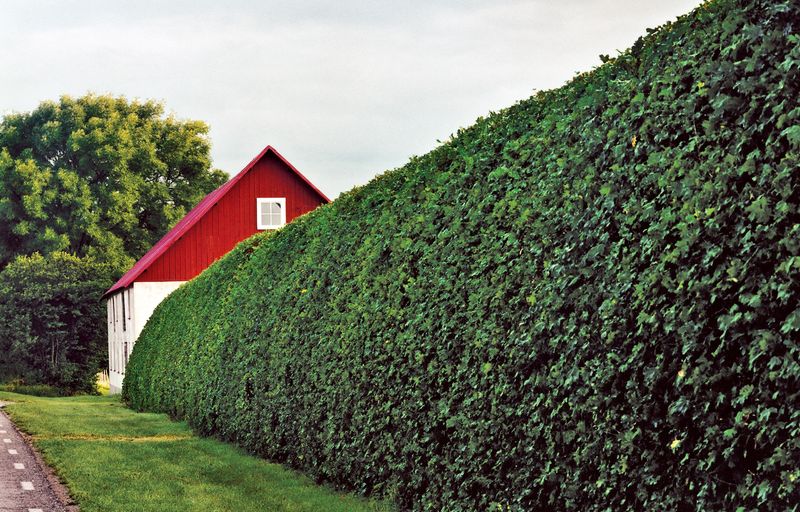
Looking to create a natural boundary that offers privacy and supports wildlife? A well-planned hedgerow can transform your property while providing habitat for birds and beneficial insects. The secret to success lies in proper preparation and ongoing care.
When I first planted my own hedgerow, I made the mistake of choosing just one type of shrub. The result was disappointing—patchy growth with gaps that never quite filled in. I discovered that diversity is key to creating that dense, lush barrier we all want.
Establishing a thriving hedgerow doesn’t happen overnight, but following these proven techniques will save you years of frustration. From soil preparation to species selection, these tips represent lessons learned from both professional landscapers and backyard gardeners who’ve mastered the art of hedgerow cultivation.
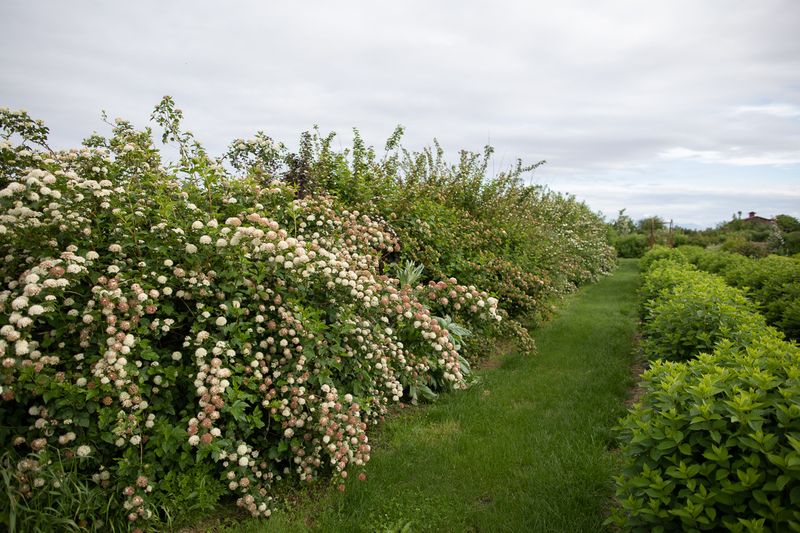
1. Choose The Right Mix Of Species
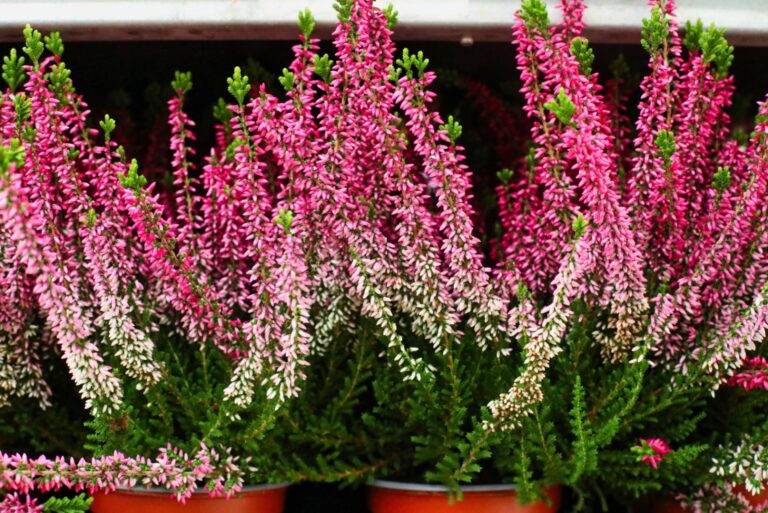
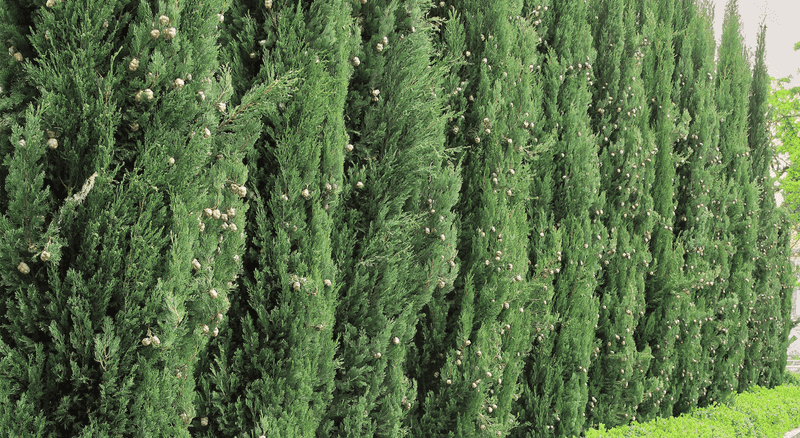
Mixing different plant species creates a stronger, more resilient hedgerow than using just one type. Native plants typically perform better since they’re already adapted to local conditions and will support more wildlife.
My neighbor’s single-species hedge struggled during a drought, while my mixed hedgerow stayed healthy. Consider combining deciduous and evergreen varieties for year-round coverage and interest.
Good companions include hawthorn, beech, holly, and dogwood. Each brings different growth habits, root structures, and seasonal features that work together to create a fuller, more natural-looking barrier.
2. Prepare Your Soil Thoroughly
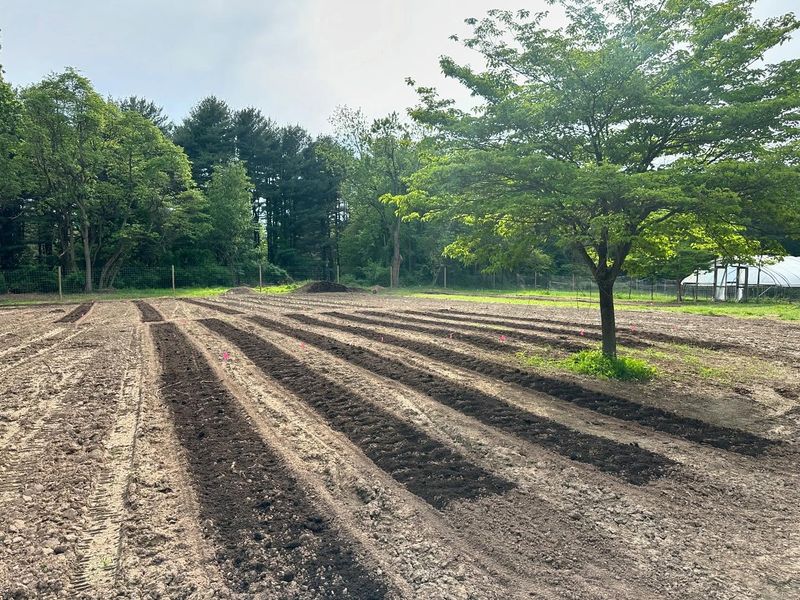
Skip this step and you’ll regret it for years! Before planting, remove all existing weeds and grass from your planting strip. Breaking up compacted soil allows young roots to establish quickly and access nutrients more easily.
Working in organic matter like compost or well-rotted manure improves drainage in clay soils and helps sandy soils retain moisture. I spent an entire weekend preparing soil for my hedgerow, and that investment paid off with faster growth and healthier plants.
Test your soil pH too—most hedgerow plants prefer slightly acidic to neutral soil (pH 6-7), but some have specific requirements that might need addressing.
3. Space Plants Correctly For Mature Size
Many gardeners plant too close together, creating competition that weakens the entire hedgerow. Research each plant’s mature width and space accordingly—usually 12-24 inches apart for smaller species and up to 3-4 feet for larger varieties.
Remember that proper spacing looks sparse initially but prevents overcrowding later. During my first attempt, I planted everything too close together, thinking it would create instant thickness.
Instead, the plants competed fiercely for resources, resulting in weak growth and disease problems. Proper spacing might require patience, but produces stronger, healthier plants that will naturally fill the gaps as they mature.
4. Plant During Dormant Seasons
Timing matters tremendously when establishing a hedgerow. Fall and winter planting gives roots time to establish before the stress of summer heat arrives. Bare-root plants are typically available during these dormant months and cost significantly less than container-grown specimens.
Last year, I planted sections in both spring and fall. The fall-planted section developed twice the root mass by summer compared to the spring-planted area.
If you must plant during warmer months, be prepared to provide much more frequent watering. Avoid planting during freezing conditions when the ground is too hard to work properly, as this can damage delicate root systems.
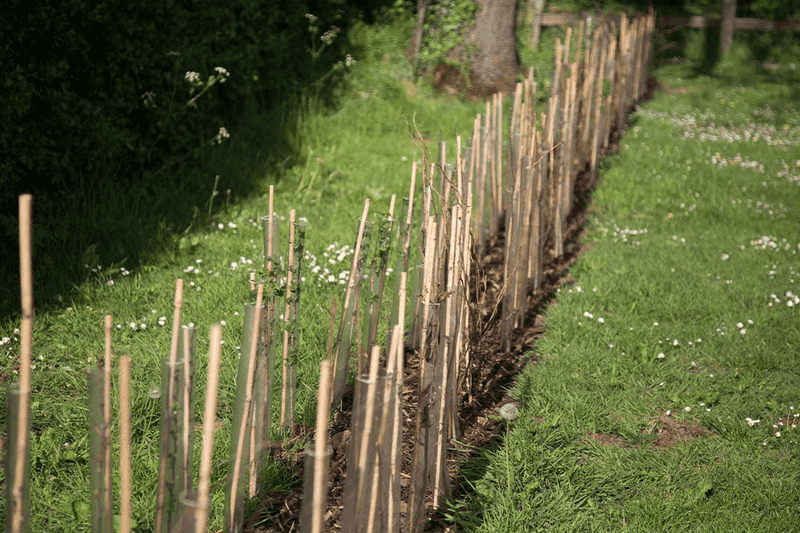
5. Create A Double-Row Planting
Single-row hedgerows often develop gaps and thin spots over time. Creating a staggered double row instantly doubles your hedge’s thickness and creates a more natural-looking boundary. Plants should be offset in a zigzag pattern rather than placed directly across from each other.
This approach creates natural competition that encourages upward growth while maintaining thickness throughout. The additional row provides insurance against plant failures too—if one plant dies, the gap is less noticeable.
My double-row hedge filled in completely within three years, while my neighbor’s single row still had visible gaps after five years. The extra plants cost more initially but created a superior result worth the investment.
6. Install Weed Barriers Properly
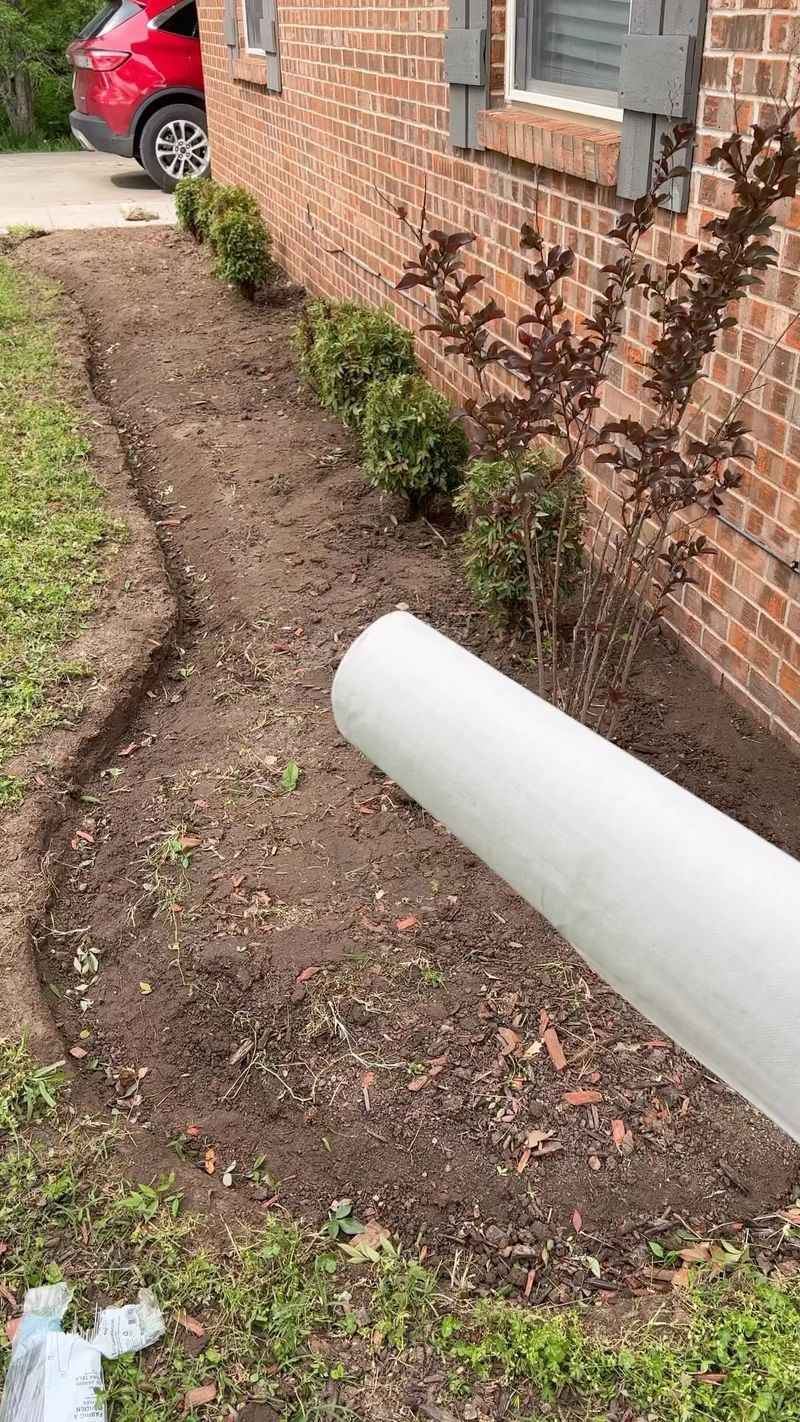
Weed competition can stunt or kill young hedgerow plants. Landscape fabric or mulch mats around each plant suppress weeds while allowing water to reach the roots. Avoid using solid plastic as it prevents proper water penetration and can cause root rot.
Cut an X-shaped opening in the fabric for each plant rather than a simple hole. This allows for trunk expansion as the plant grows without causing strangulation.
After struggling with constant weeding in my first hedgerow, I installed proper weed barriers in my second attempt. The difference was remarkable—plants grew twice as fast without competing with aggressive weeds, and I spent far less time on maintenance.
7. Apply Mulch To Retain Moisture
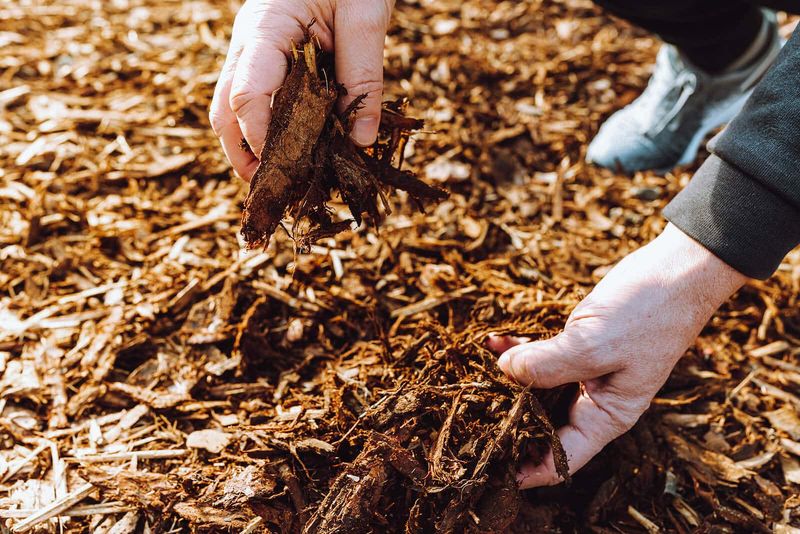
Mulch is a hedgerow’s best friend. A 2-3 inch layer of organic mulch helps retain soil moisture, suppress weeds, and gradually improves soil quality as it breaks down. Keep mulch slightly away from direct contact with stems to prevent rot issues.
Wood chips, shredded bark, or leaf mold work exceptionally well. Avoid using fresh grass clippings which can mat down and prevent water penetration.
During last summer’s drought, my mulched hedgerow sections needed watering half as often as unmulched areas. The moisture-retaining properties made a visible difference in plant health and growth rate, especially during the critical first two years of establishment.
8. Water Deeply But Infrequently
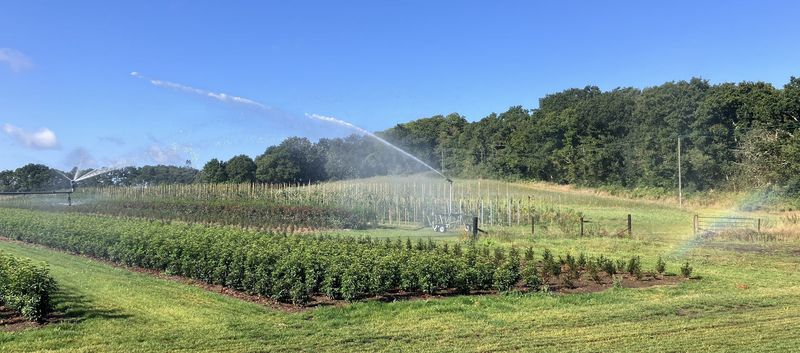
Shallow, frequent watering encourages weak surface roots instead of deep, drought-resistant root systems. Water newly planted hedgerows deeply once or twice weekly rather than giving small amounts daily. This approach forces roots to grow downward in search of moisture.
A soaker hose or drip irrigation system delivers water efficiently right to the root zone without wasting water on foliage. During my hedgerow’s first summer, I installed a simple timer-controlled soaker hose system.
The plants that received consistent deep watering developed extensive root systems by fall, while hand-watered sections showed less impressive growth. After the first two growing seasons, most established hedgerows only need supplemental water during extreme drought.
9. Formative Pruning Builds Structure
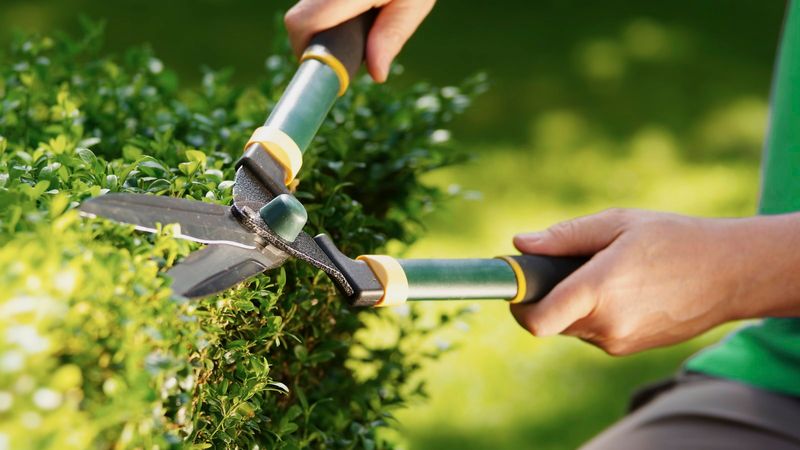
Many gardeners avoid pruning young hedgerow plants, fearing it will slow growth. Actually, early formative pruning encourages branching and creates a stronger framework. Cut back deciduous plants by about one-third after planting to stimulate low branching.
For the first two years, focus on creating a good structure rather than maintaining a specific height. My mentor taught me to prune when plants are dormant for framework and lightly during growing season for shaping.
The hedgerow section I pruned properly from the start developed a denser structure with multiple stems from the base. The unpruned section grew taller more quickly but remained leggy and sparse near the ground—exactly what you don’t want in a privacy hedge.
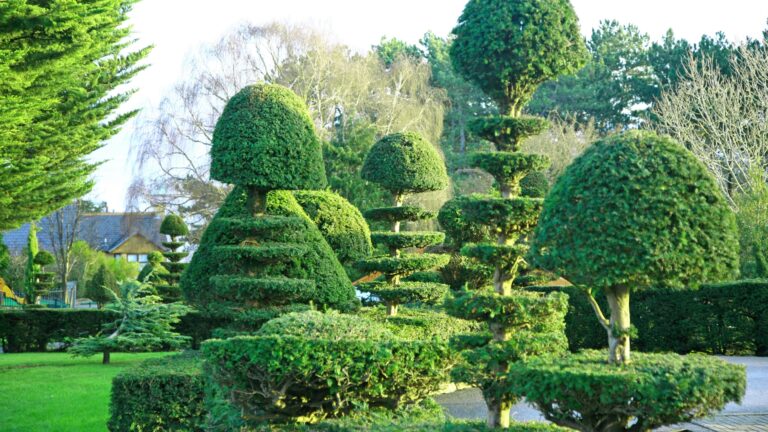
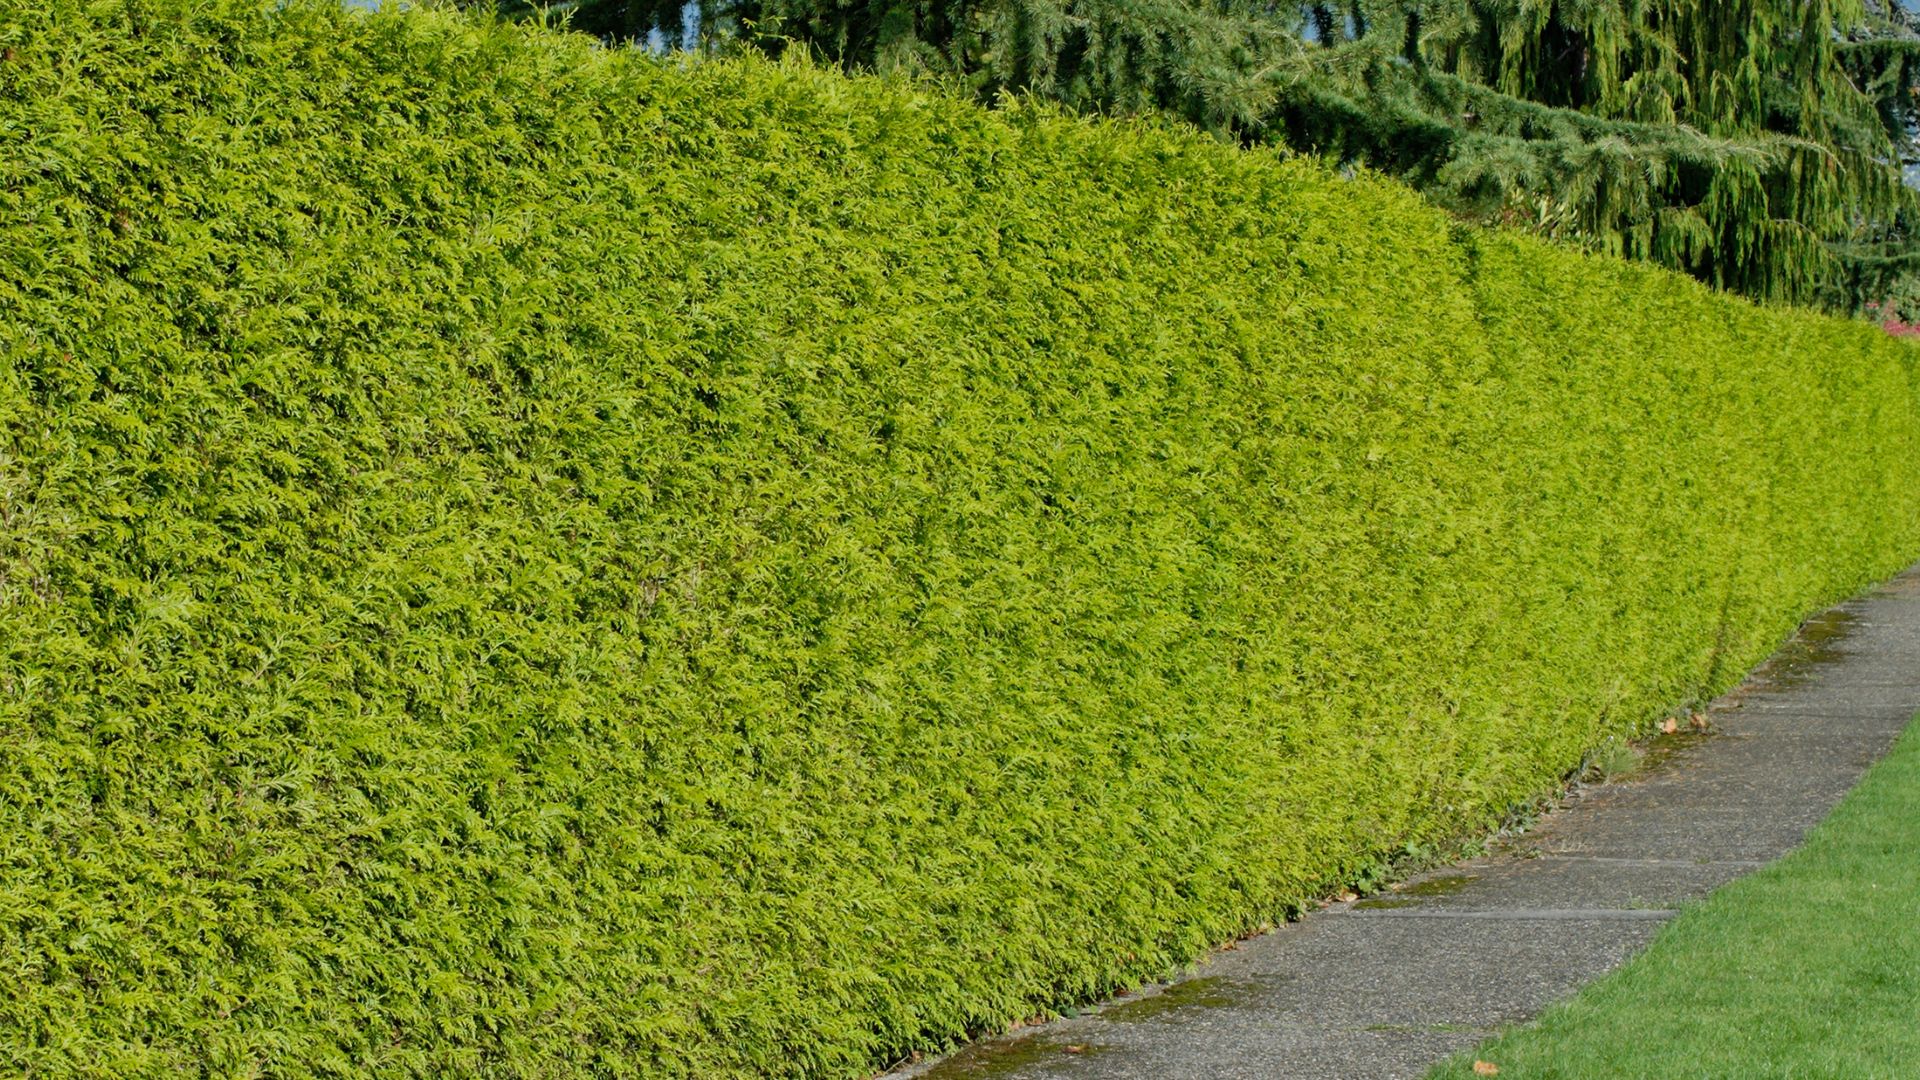
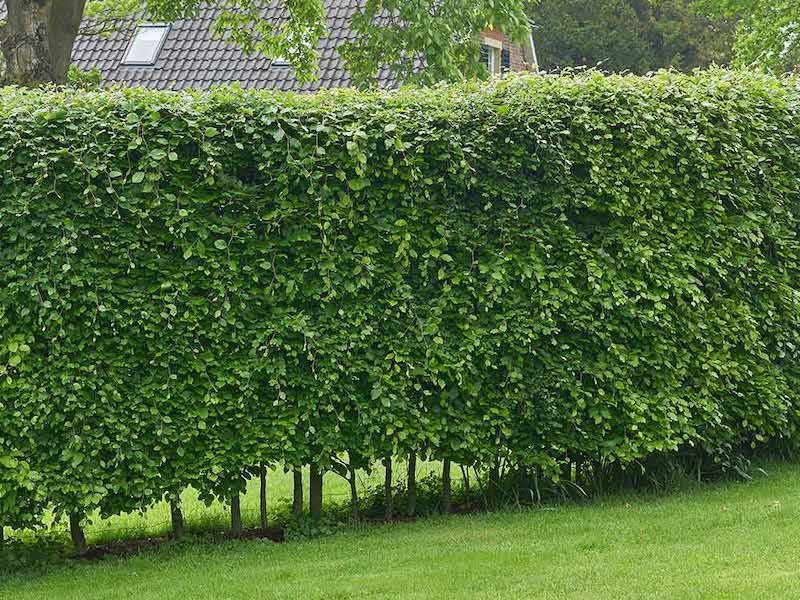
10. Taper The Sides For Sun Exposure
A common mistake is creating hedgerows with straight sides or, worse, sides that widen toward the top. This shape prevents sunlight from reaching lower branches, eventually causing them to die back and creating bare patches at the base.
The ideal hedgerow has a slight A-shape, with the base wider than the top. This allows sunlight to reach all parts of the plants, maintaining foliage density from top to bottom.
After noticing my neighbor’s hedge developing bare spots near the ground, I adjusted my pruning approach. The slight taper I created allows each part of the plant to receive adequate light, resulting in consistent growth and thickness throughout the entire hedgerow height.
11. Feed With Balanced Fertilizer
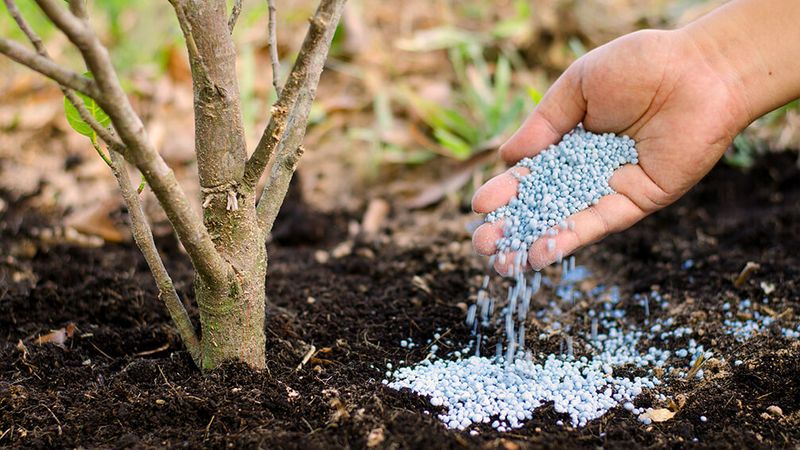
Hedgerows benefit from regular feeding, especially in poor soils. A balanced, slow-release fertilizer (like 10-10-10) applied in early spring provides essential nutrients without forcing excessive soft growth that’s vulnerable to pests and disease.
Avoid high-nitrogen fertilizers which promote leafy growth at the expense of strong structural development. I learned this lesson the hard way when my over-fertilized section produced lush growth that flopped over after rain.
For established hedgerows, compost tea or a layer of well-rotted manure applied in fall provides gentle nutrition. The slow breakdown of these organic materials feeds soil microorganisms that help plants access nutrients naturally, creating a self-sustaining system over time.
12. Monitor And Treat Pests Early
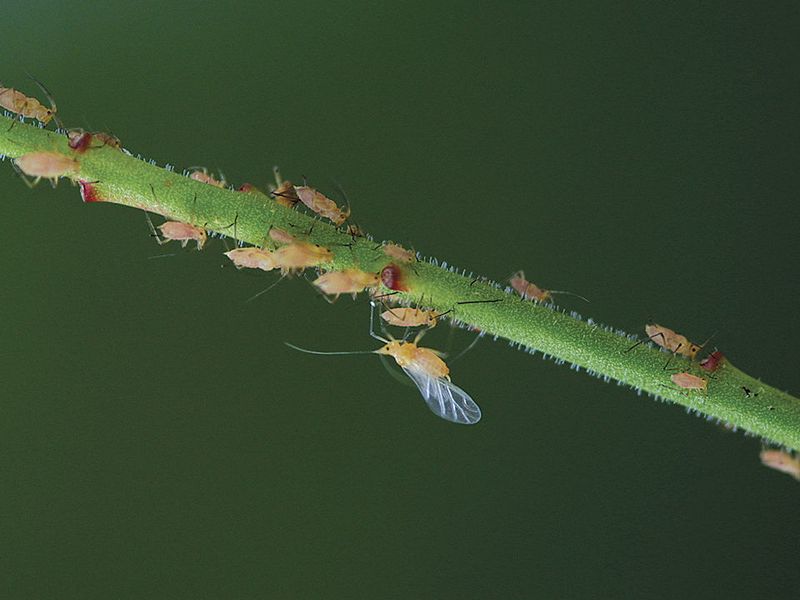
Healthy hedgerows naturally resist most pest problems, but early detection prevents small issues from becoming major infestations. Regularly inspect both sides of leaves, stems, and branch unions for signs of trouble like discoloration, holes, or sticky residue.
Encourage beneficial insects by planting companion flowers nearby. My hedgerow stayed relatively pest-free after I added flowering herbs along its base, attracting ladybugs and parasitic wasps that control aphids naturally.
For serious infestations, consider organic controls like neem oil or insecticidal soap before reaching for stronger chemicals. These gentler options target problem insects while sparing beneficial ones that help maintain the ecological balance within your hedgerow.
13. Renovate Mature Hedgerows Gradually
Even well-maintained hedgerows eventually become overgrown or develop bare patches. Rather than removing everything and starting over, renovate in stages over several years. Hard pruning should be done in late winter when plants are dormant.
For deciduous hedges, cut one-third of the oldest stems to the ground each year for three years. This stimulates fresh growth from the base while maintaining enough foliage for the plant to photosynthesize.
My 15-year-old mixed hedgerow had become leggy and sparse at the bottom. By implementing this three-year renovation approach, I rejuvenated it completely without losing the privacy screening or habitat value during the process.
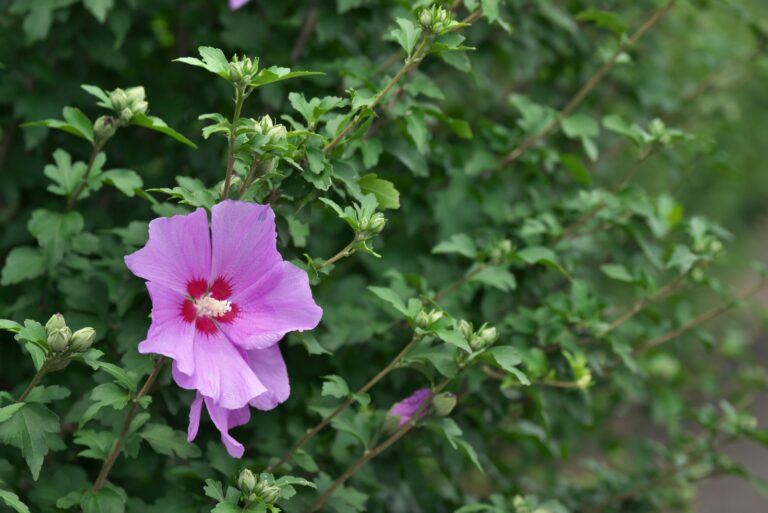
14. Interplant With Spring Bulbs
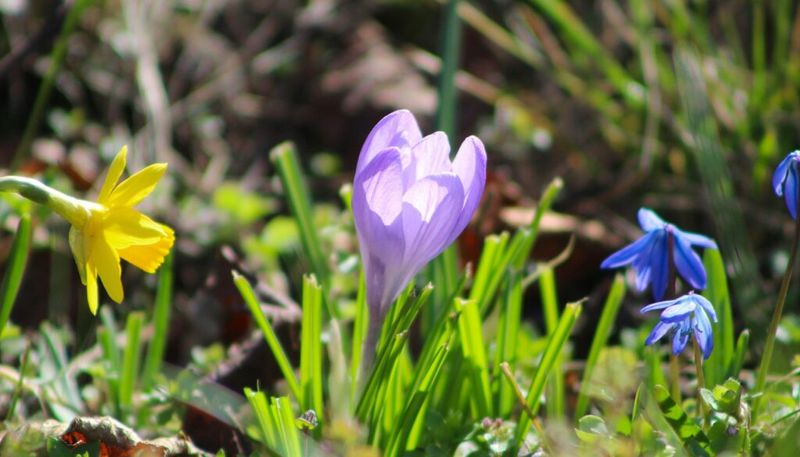
Transform your hedgerow into a seasonal showcase by planting spring-flowering bulbs along its base. Daffodils, crocuses, and snowdrops thrive in the dappled shade and emerge before hedgerow plants leaf out fully, adding color when the landscape needs it most.
These early bloomers complete most of their growth cycle before the hedge creates dense shade. Plus, many spring bulbs naturalize over time, multiplying to create impressive displays with minimal effort.
The area beneath my beech and hornbeam hedge section was once bare soil collecting weeds. After planting several varieties of daffodils and bluebells, it’s become a spring highlight that draws compliments from everyone walking past, while also suppressing weeds during a critical growth period.
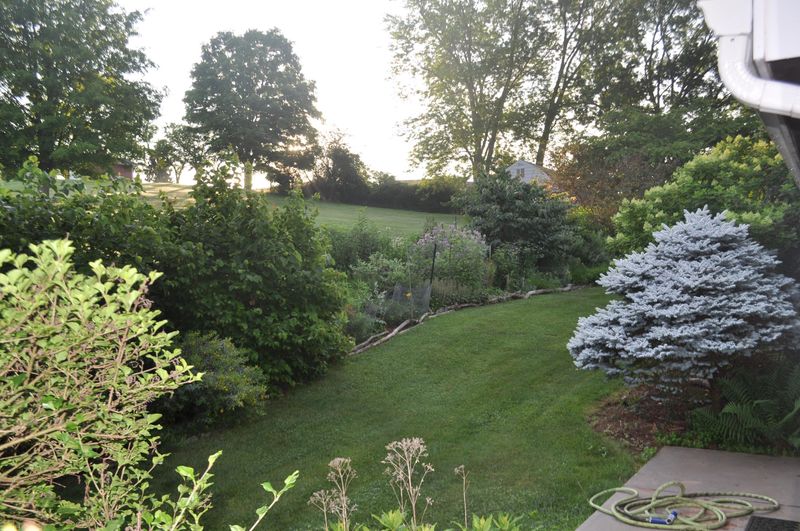
15. Create Wildlife Corridors With Access Points
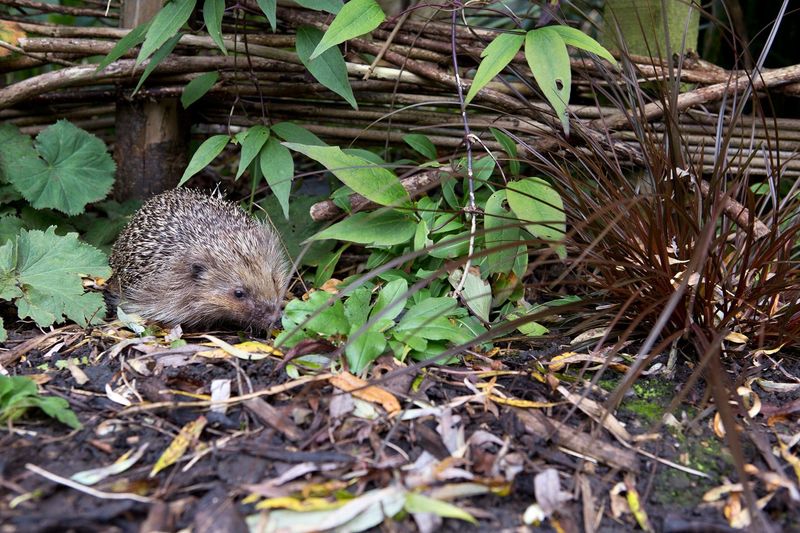
Hedgerows serve as valuable wildlife highways when they connect to other habitat features. Small openings at ground level allow hedgehogs, frogs, and other beneficial creatures to move through while maintaining the hedge’s privacy function for humans.
Leave occasional small gaps in the lowest branches or create 5-inch holes at the base every 30-50 feet. Bird nesting boxes attached to larger stems add habitat value without compromising the hedge’s structure.
After adding these wildlife-friendly features to my boundary hedge, I noticed increased biodiversity throughout my garden. Hedgehogs began visiting regularly to control slugs, and bird species I’d never seen before appeared during nesting season—turning my simple property boundary into a thriving ecosystem.