10 Tips On Harvesting, Curing, And Storing Garlic In Wisconsin
Growing garlic in Wisconsin offers both rewards and challenges for home gardeners. Our state’s distinct seasons create perfect conditions for growing flavorful bulbs, but they also demand specific techniques for successful harvesting and storage.
Over my years of gardening in central Wisconsin, I’ve discovered that timing and proper handling make all the difference between garlic that lasts until spring and bulbs that spoil by December.
1. Watch For The Right Harvest Signs
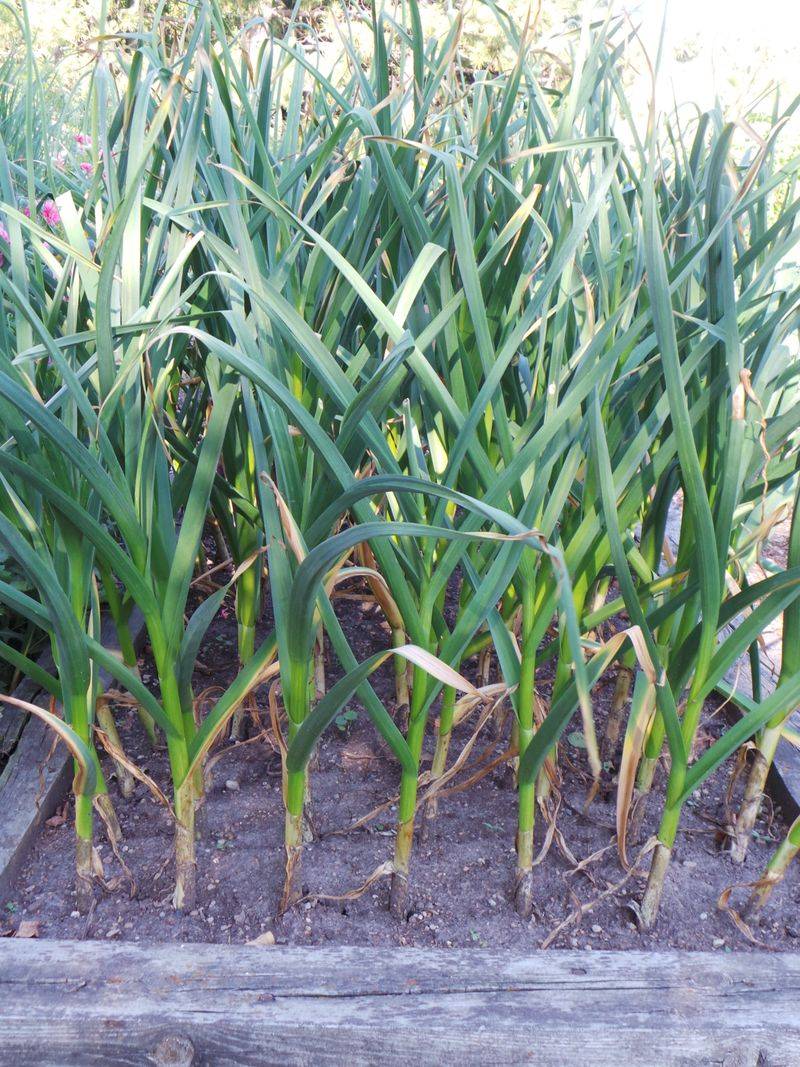
The perfect harvest window for Wisconsin garlic typically falls between mid-July and early August. Look for yellowing of the lower leaves while the top leaves remain green – this signals maturity without over-ripening.
I check my plants after morning dew has dried but before the afternoon heat intensifies. Digging up a test bulb can confirm readiness – properly formed cloves with intact wrappers indicate it’s harvest time.
Waiting too long risks split bulbs, while harvesting too early results in smaller bulbs that won’t store well through our long winters.
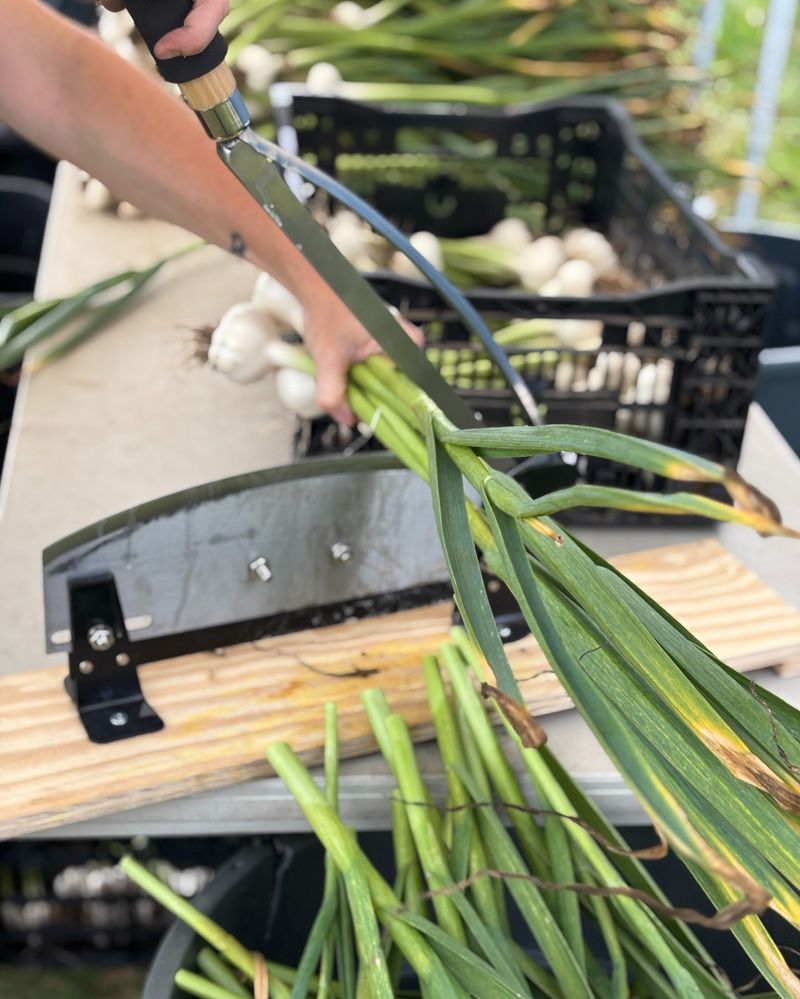
2. Choose Your Digging Tools Wisely
Garden forks work better than shovels for lifting garlic, allowing you to loosen the soil without slicing through bulbs. Position your fork about 6 inches away from the stem and gently pry upward.
For smaller plantings, a hand trowel provides excellent control. One summer I switched from my trusty shovel to a garden fork and immediately reduced damage to my harvest by nearly half.
Keep your tools clean and sharp – rusty implements can transfer diseases to freshly harvested bulbs.
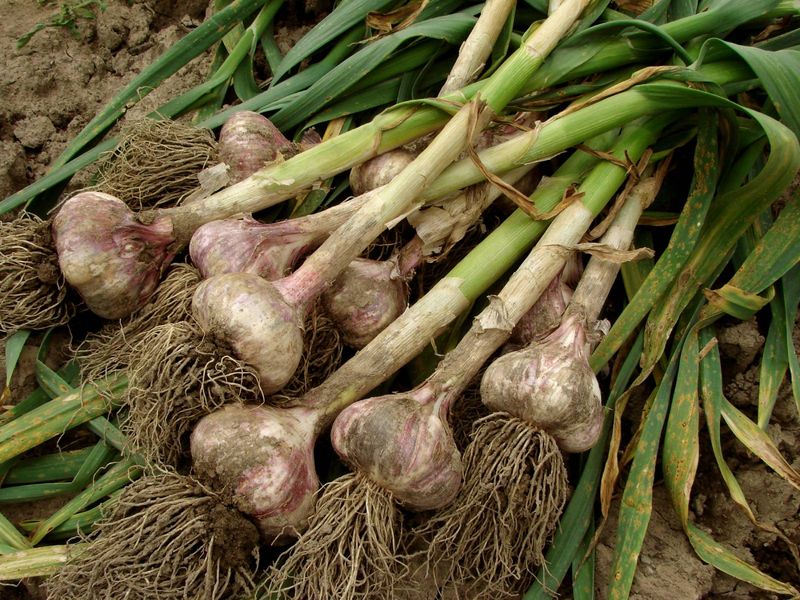
3. Handle Freshly Dug Bulbs Like Eggs

Freshly harvested garlic bruises easily, potentially reducing storage life by months. Lift each bulb gently and avoid banging them together or dropping them into collection containers.
Leave the stems and roots attached during the initial handling phase. Last season, I carelessly tossed several bulbs into my basket and found those exact bulbs sprouting prematurely in November.
Brush off loose soil with your fingers rather than washing, as moisture introduces the risk of mold during the crucial curing period.
4. Create An Ideal Curing Environment
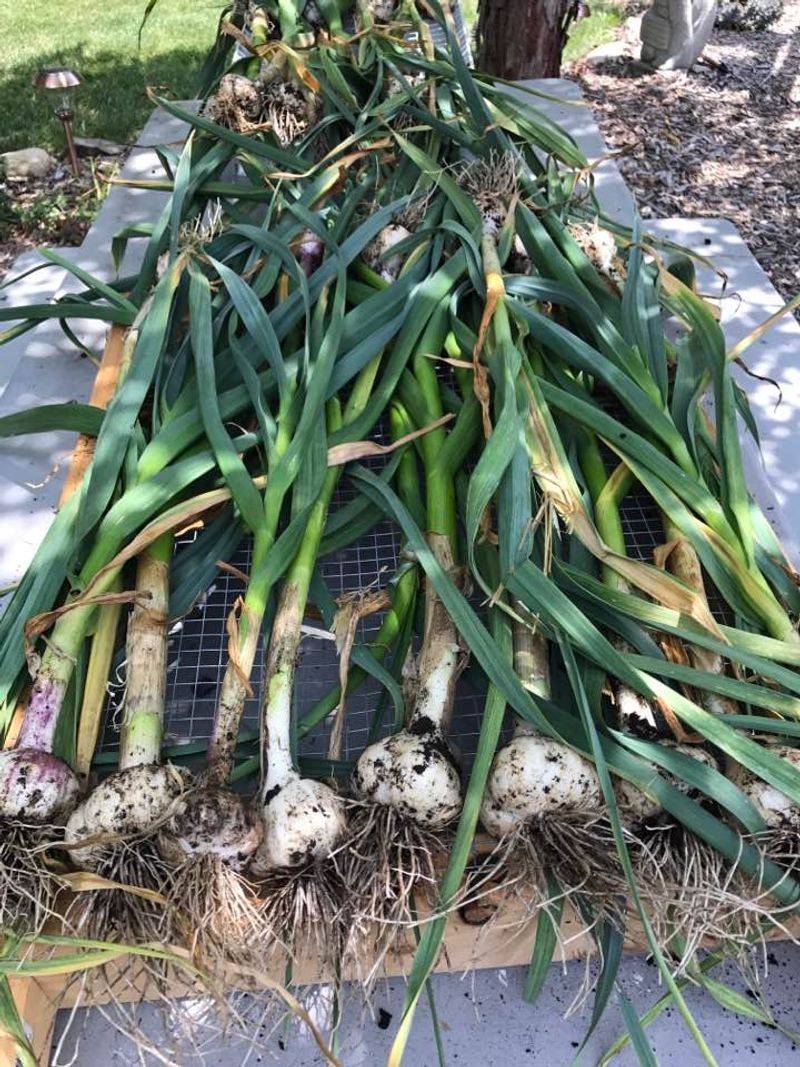
Wisconsin’s humid summers require special attention to garlic curing spaces. The perfect spot offers good air circulation, indirect light, and protection from rain – think porches, well-ventilated garages, or barns.
Temperatures between 60-80°F work best for developing flavor while drying outer wrappers. My screened porch has become my go-to curing location after a basement experiment resulted in moldy bulbs.
Avoid curing near apples or other fruits that release ethylene gas, which can trigger premature sprouting in your freshly harvested garlic.
5. Maximize Airflow During Curing
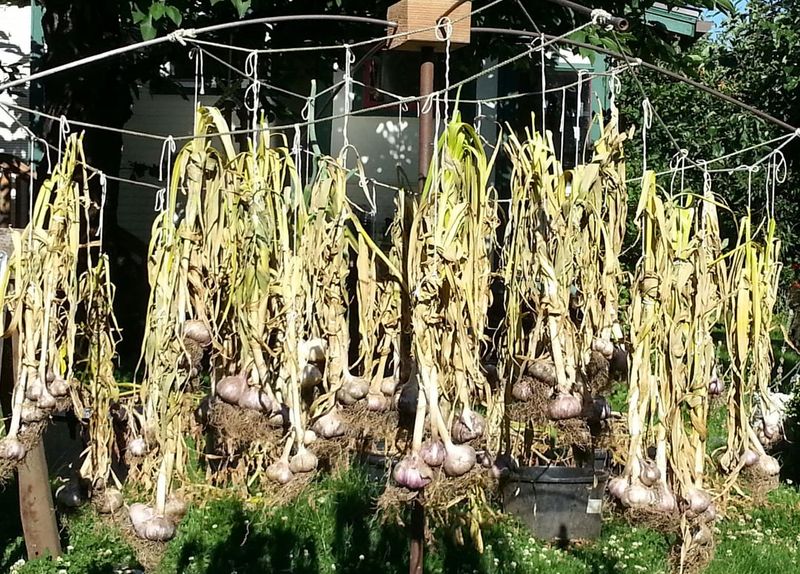
Hang garlic in bundles of 6-10 plants using natural twine, leaving enough space between bunches for air to circulate freely. The stems actually transfer moisture away from bulbs during curing.
Alternatively, lay bulbs in a single layer on mesh racks or old window screens. One particularly humid August, I set up a small fan on low setting nearby to keep air moving, which prevented mold issues.
Check your garlic every few days, rotating bundles or rearranging bulbs on screens to ensure even drying throughout your harvest.
6. Time Your Curing Period Correctly
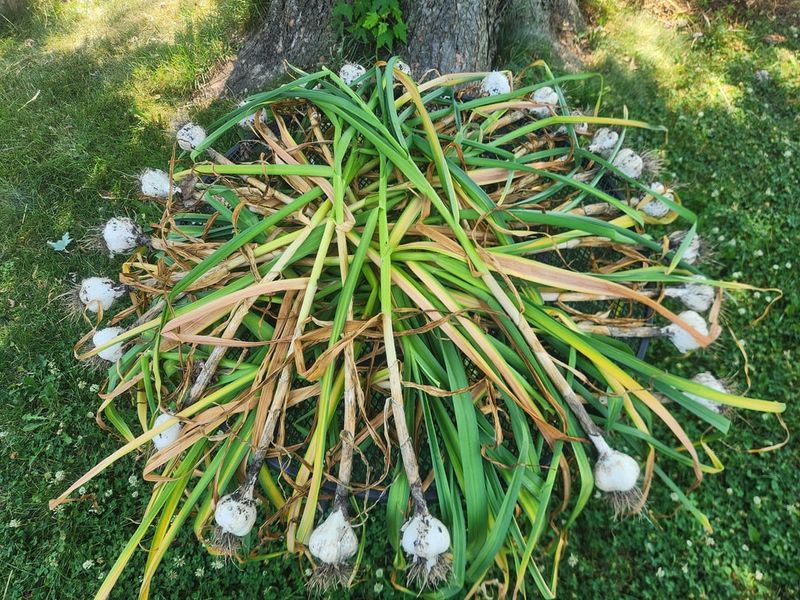
Wisconsin’s variable late-summer humidity means garlic curing isn’t a one-size-fits-all timeline. Generally, allow 2-4 weeks for complete curing, though particularly damp periods may require longer.
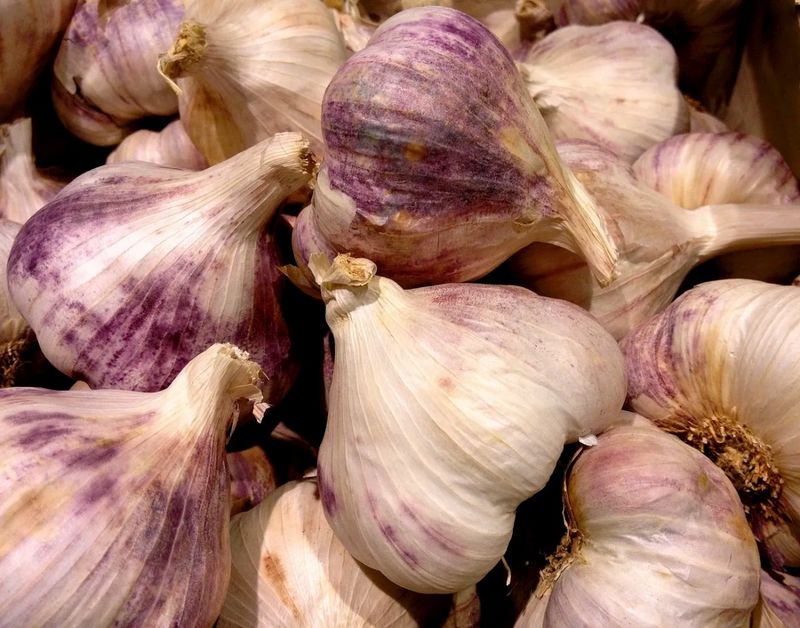
You’ll know curing is complete when the outer wrappers feel papery and stems are completely dry. The roots should be brittle, and the garlic’s distinctive aroma will have mellowed somewhat.
I once rushed the process during a cool spell and regretted it when several bulbs developed mold spots by October – patience pays off with longer storage life.
7. Trim And Clean Before Storage
Once curing is complete, it’s time for the final cleaning. Trim roots to about 1/4 inch using sharp scissors or pruners, and cut stems to 1-2 inches for hardneck varieties or braid softneck types.
Gently brush away any remaining soil and remove only the outermost wrapper if it’s dirty. Last year I experimented with leaving longer stems on half my harvest and found they actually stored better through February.
Save your trimmings – garlic roots make excellent additions to homemade broths, adding subtle flavor and nutrients.
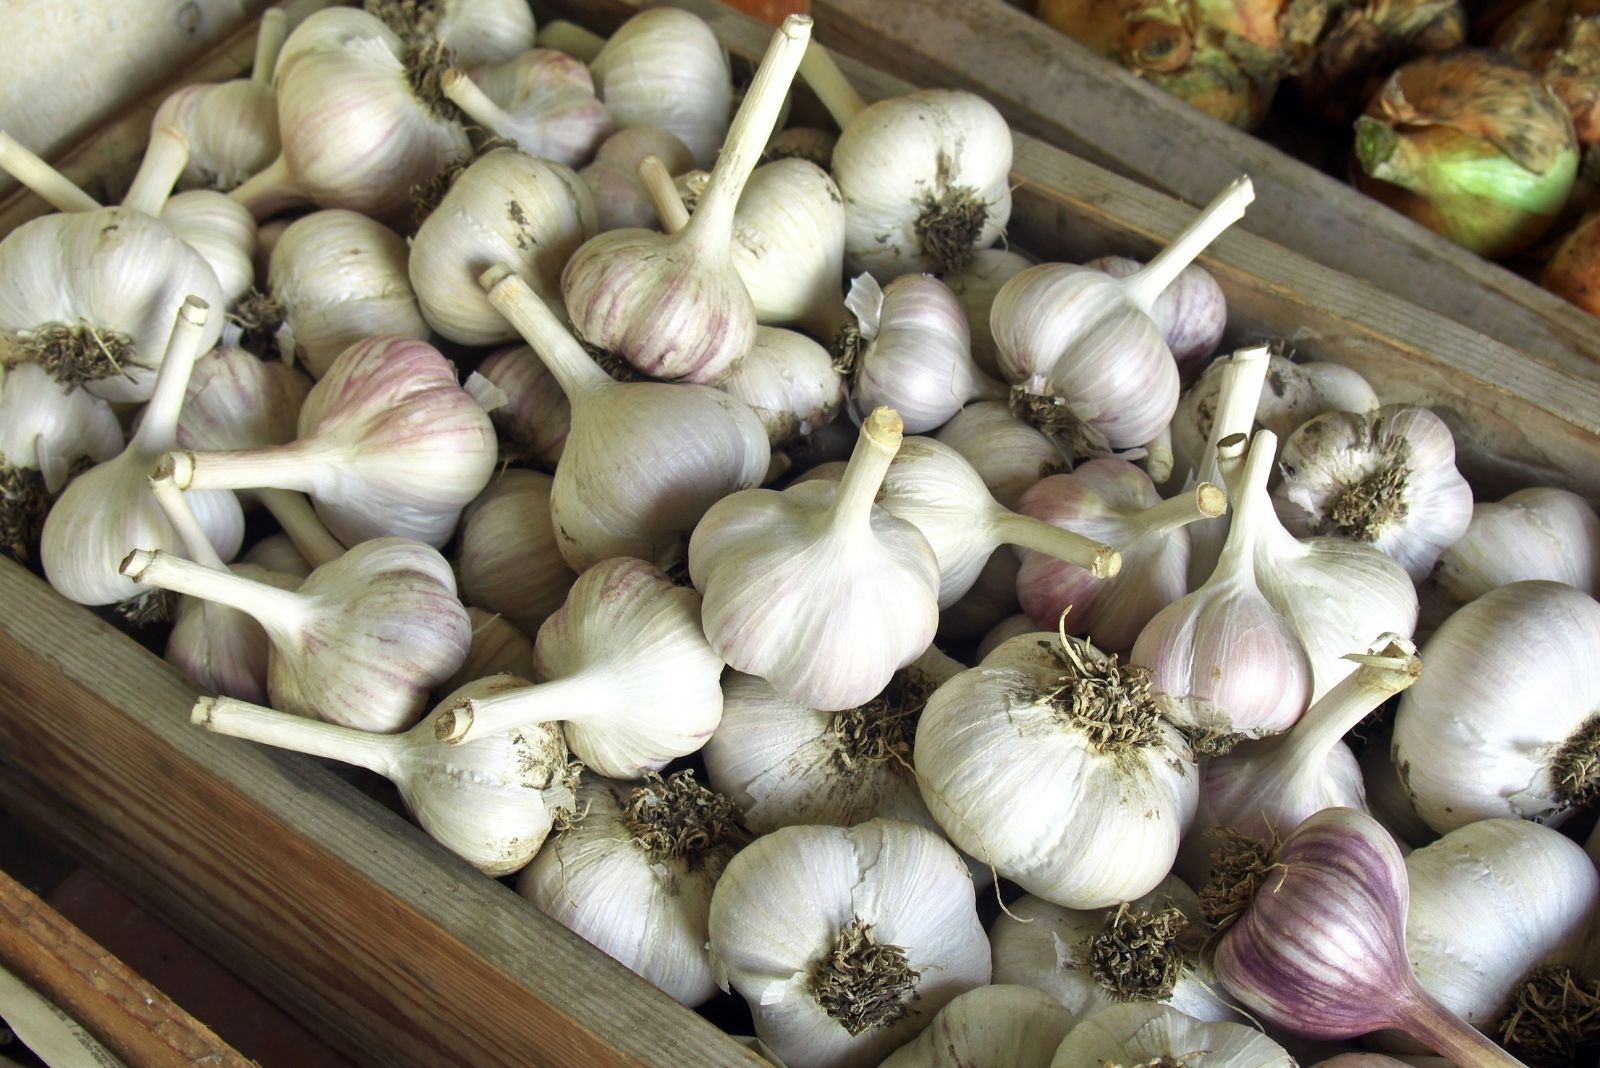
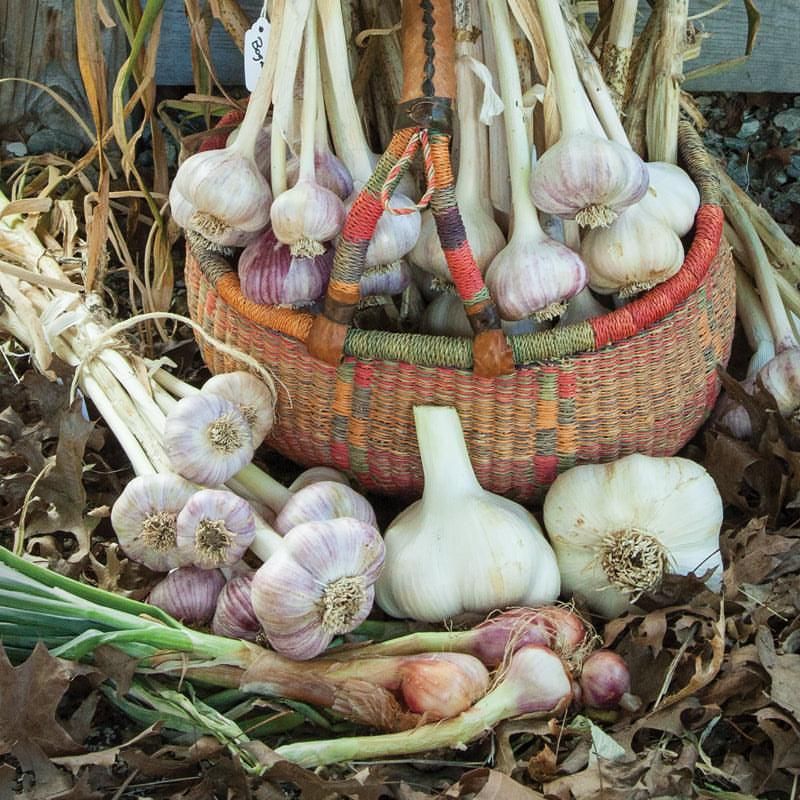
8. Select The Right Storage Containers
Breathable containers prevent moisture buildup that leads to sprouting or mold. Paper bags, mesh bags, or loosely woven baskets work wonderfully for Wisconsin’s fluctuating humidity levels throughout fall and winter.
Avoid plastic containers or sealed bags which trap moisture and accelerate spoilage. My grandmother’s old egg baskets have become my favorite garlic storage solution after trying numerous options over the years.
Label your containers with variety names and harvest dates – this simple step helps track which types store best in your specific home conditions.
9. Monitor Storage Conditions Through Winter
The ideal storage environment for Wisconsin-grown garlic maintains temperatures between 32-40°F with 50-60% humidity. A cool basement, unheated spare room, or attached garage often works perfectly during our cold months.
Check your garlic regularly for any signs of sprouting or softening. One winter I noticed premature sprouting and discovered my storage area was catching heat from a nearby furnace vent.
Adjust your storage location seasonally – what works in November might become too warm by February as furnaces run more frequently.
10. Save Your Best Bulbs For Planting
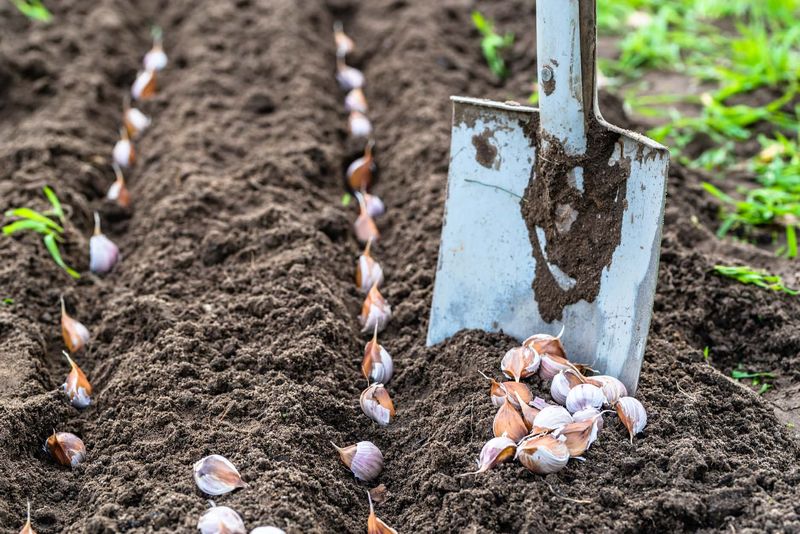
Set aside your largest, healthiest bulbs for fall planting – typically mid-October in Wisconsin. These premium specimens will pass their superior genetics to next year’s crop.
Store seed garlic separately from your culinary supply, ideally in slightly cooler conditions. Breaking cloves apart just 1-2 days before planting helps prevent premature sprouting while maintaining vigor.
I mark my calendar for Wisconsin’s first expected frost date, then count back two weeks – this has consistently given me the perfect planting window for strong establishment before winter.