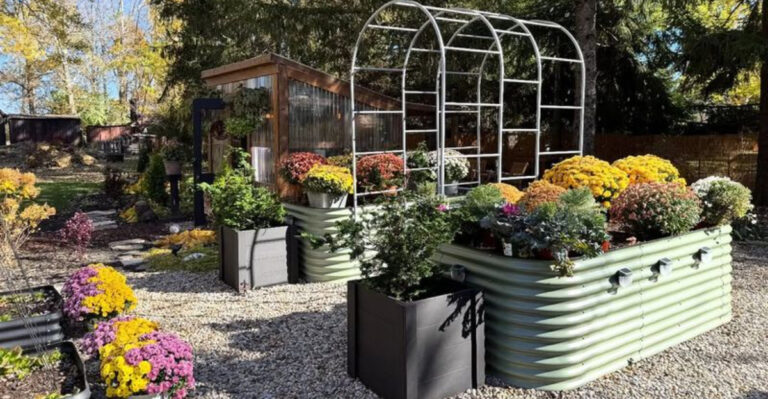
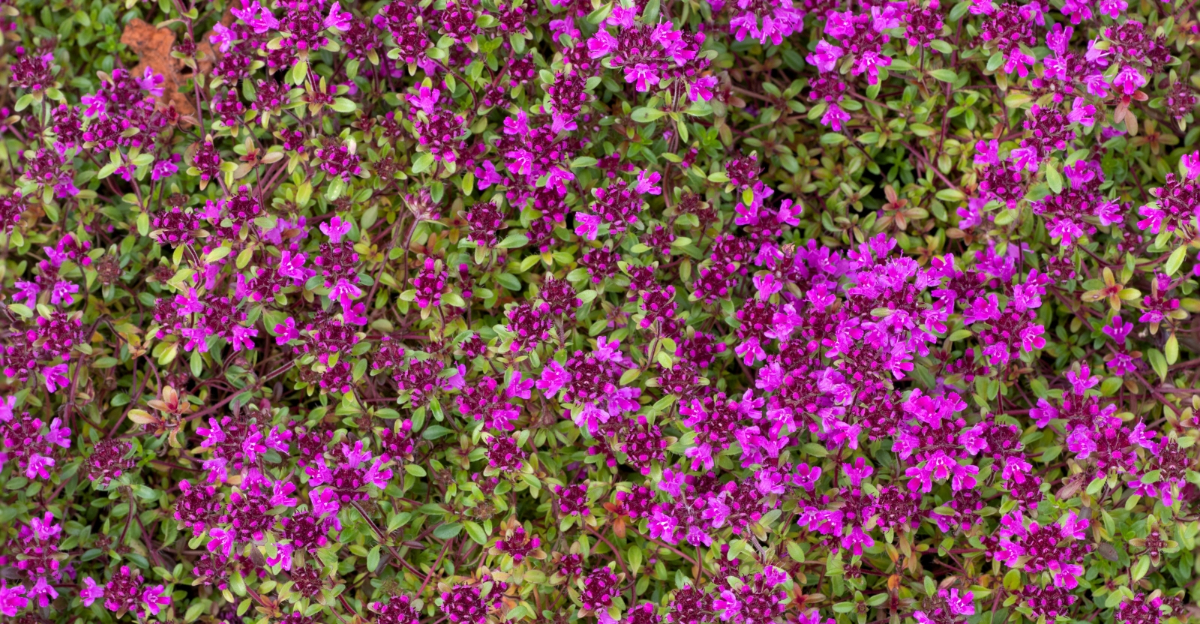
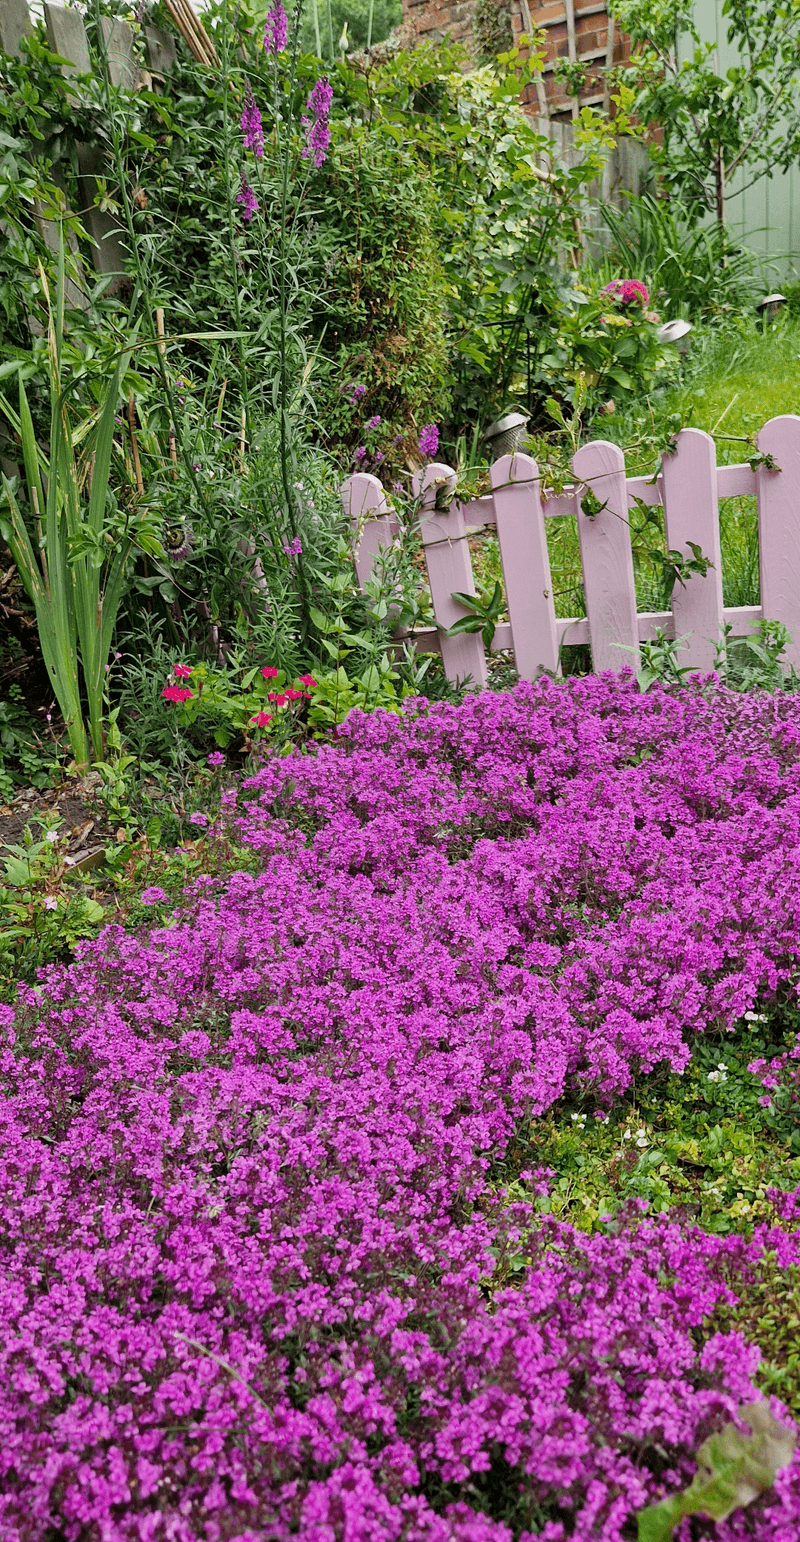
8 Tips To Make Red Creeping Thyme Thrive In Your Idaho Garden
Is red creeping thyme really as effortless as it looks when you see it spilling neatly between stones and along garden edges?
That expectation is common in Idaho gardens, especially when this plant is marketed as tough and low-maintenance.
In reality, how it performs depends heavily on a few early choices that don’t always seem important at the time.
Small details around placement, soil feel, and daily conditions quietly shape how well it spreads and holds color.
These aren’t the kinds of issues that cause fast failure, which is why they often go unnoticed at first.
Many gardeners only realize something is off after growth slows or bare patches appear. Paying attention to what this plant responds to can remove much of the uncertainty.
With the right adjustments, red creeping thyme can settle in comfortably and become a reliable feature in an Idaho garden.
1. Plant In Full Sun To Handle Cool Temperatures
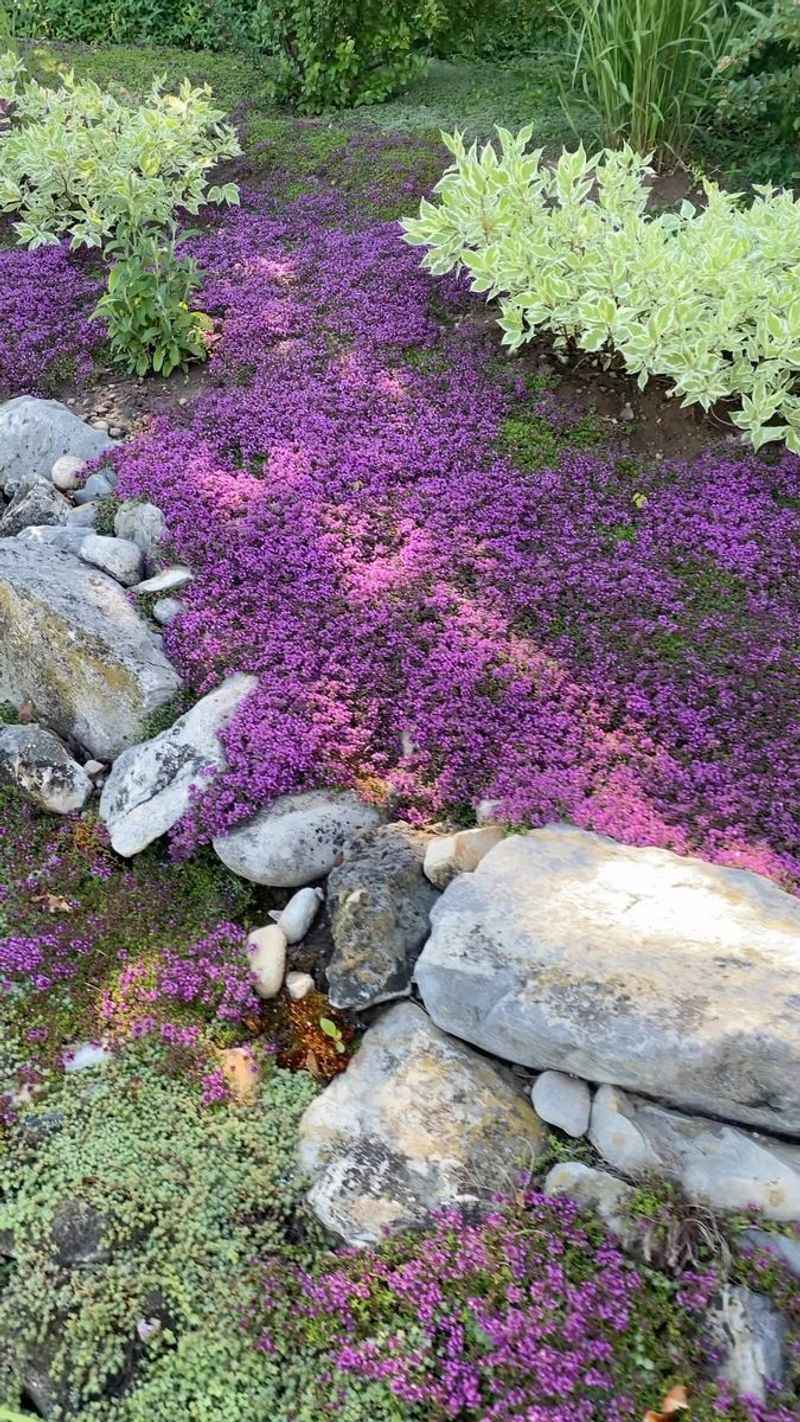
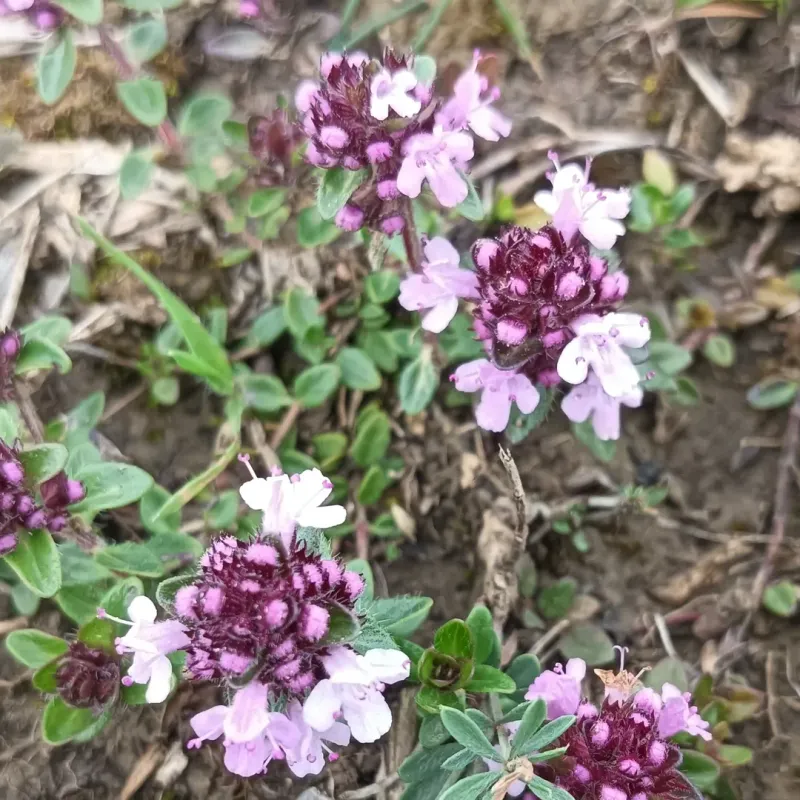
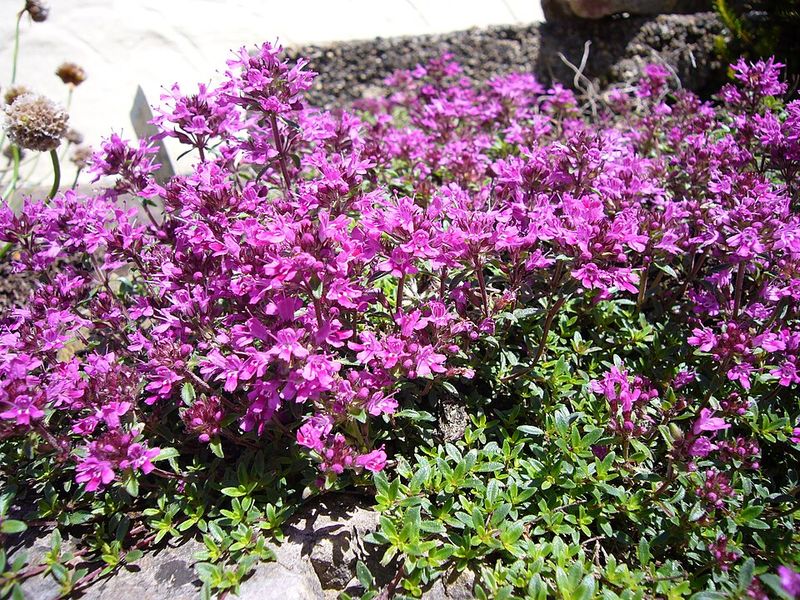
Morning sunshine warms the soil faster than anything else, and that matters a lot when you’re growing herbs in a place with shorter summers. Red creeping thyme needs at least six hours of direct light each day to build strong roots and produce those gorgeous magenta blooms.
Without enough sun exposure, the plant stays weak and struggles to survive winter.
Idaho’s cool nights mean the soil takes longer to heat up in spring. Choosing a sunny spot helps offset that challenge by giving your thyme the warmth it craves.
Sunlight also keeps the foliage dry, which reduces the chance of fungal problems during damp weather.
Southern or western exposures work best because they capture the most intense afternoon rays. Avoid shady corners or spots under trees, even if they seem protected.
Thyme planted in dim light grows leggy and thin, losing that dense, mat-like appearance that makes it so attractive.
Heat retention is another benefit of full sun placement. Rocks, gravel, or pavement nearby can reflect extra warmth onto your thyme, mimicking the Mediterranean conditions it loves.
Idaho gardeners often use stone borders or gravel mulch to amplify this effect.
Even in cooler regions, full sun exposure helps thyme photosynthesize efficiently. This process fuels growth, strengthens stems, and prepares the plant for the dormant season.
Strong, sun-hardened thyme bounces back faster in spring.
Watch for afternoon shade creeping in as trees leaf out. What seems sunny in April might be partly shaded by July.
Plan your planting site with the full growing season in mind.
Thyme planted in marginal light often survives but never truly thrives. You’ll notice sparse blooms, slower spreading, and a generally lackluster appearance.
Full sun transforms thyme into a vibrant, resilient ground cover.
2. Use Well-Draining Soil To Prevent Cold-Season Moisture Issues
Soggy roots spell trouble for thyme, especially when temperatures hover near freezing. This herb originates from dry, rocky regions where water drains away quickly after rain.
Idaho winters bring snow and spring thaw, so drainage becomes even more critical during cold months.
Clay soil holds water like a sponge, and that’s bad news for thyme. When roots sit in cold, wet soil, they suffocate and rot.
Amending heavy soil with coarse sand, perlite, or small gravel improves drainage dramatically.
Raised beds offer an easy solution if your yard has dense, poorly draining soil. Building beds just six inches high allows excess water to flow away from thyme roots.
Fill them with a mix of topsoil, compost, and gritty material for best results.
Testing drainage is simple: dig a hole about a foot deep, fill it with water, and see how long it takes to empty. If water remains after an hour, you need to improve drainage before planting.
Idaho’s clay-heavy soils in some valleys require extra attention.
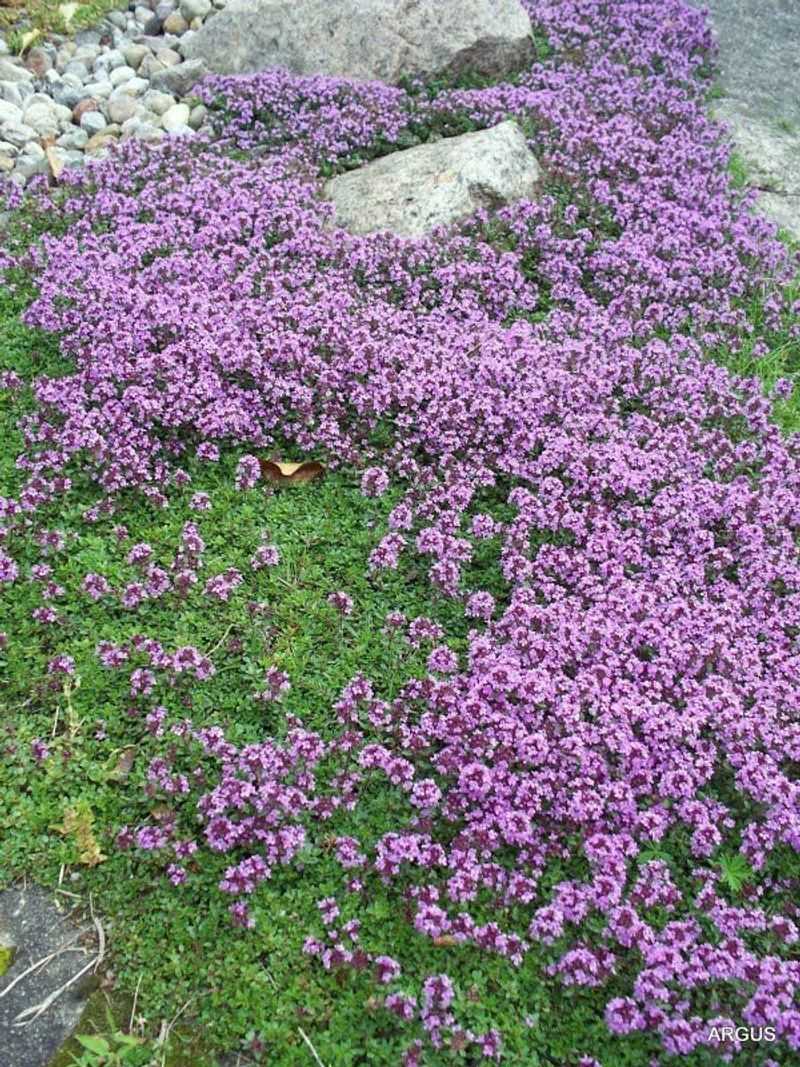
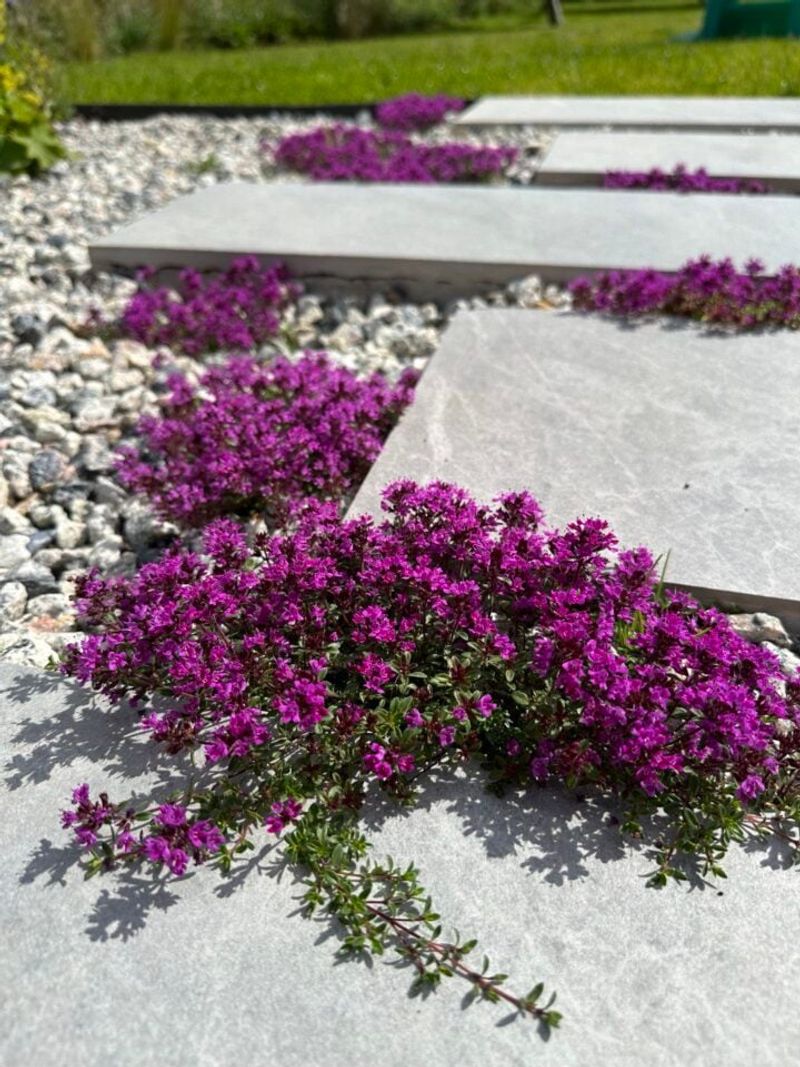
Gravel mulch around thyme plants serves double duty. It keeps soil from splashing onto leaves during rain and speeds up drying after storms.
A two-inch layer of small stones works perfectly without smothering the low-growing foliage.
Organic matter helps, but too much can backfire. Thyme prefers lean, gritty soil over rich, moisture-retentive compost.
A light amendment of compost is fine, but the bulk of your soil mix should be mineral-based.
Sloped areas naturally drain better than flat ground. If you have a gentle slope in your yard, that’s an ideal spot for thyme.
Gravity pulls water downward, keeping roots drier even during wet spells.
Winter moisture is trickier than summer rain because frozen ground prevents drainage. Planting in well-draining soil ensures that when thaw comes, water moves through quickly rather than pooling around roots.
3. Avoid Low Spots Where Water Collects In Spring
Puddles after rain tell you everything you need to know about a planting site. Low-lying areas act like shallow bowls, trapping water that takes days to evaporate or soak in.
Thyme planted in these spots faces constant moisture stress, especially during Idaho’s wet spring season.
Snowmelt in March and April creates standing water in yards with poor grading. These temporary ponds might disappear by summer, but the damage to thyme roots happens long before the ground dries out.
Choose higher ground where runoff flows away naturally.
Observing your yard during heavy rain reveals problem zones. Walk around after a storm and note where puddles linger.
Those are exactly the spots to avoid when planting thyme or any other drought-loving herb.
Depressions near downspouts or at the base of slopes collect water from surrounding areas. Even if the soil drains well, the sheer volume of runoff overwhelms it.
Redirect downspouts and consider regrading severe low spots before planting.
Frost pockets form in low areas because cold air sinks. This double whammy of excess moisture and colder temperatures makes low spots particularly harsh for thyme.
Idaho gardeners in mountain valleys know these microclimates well.
Building up planting areas by adding soil creates elevation that solves two problems at once. A gentle mound just a few inches high diverts water and lifts thyme roots above the soggy zone.
This simple trick works wonders in flat yards.
Pathways and patios often slope toward planting beds, channeling water where you don’t want it. Reversing that slope or installing a small drainage channel protects your thyme from unintended flooding.
Idaho’s spring rains can be intense, so plan accordingly.
4. Water Sparingly Once Plants Are Established
Overwatering is one of the fastest ways to weaken thyme, even though it seems like you’re helping. Established plants have deep enough roots to find moisture on their own, and they actually prefer dry conditions most of the time.
Idaho’s naturally low humidity means thyme adapts well once it’s settled in.
Newly planted thyme needs regular watering for the first few weeks while roots spread into surrounding soil. After that initial period, you can back off significantly.
A deep soak every two weeks during dry spells is usually plenty, and many Idaho gardeners water even less.
Checking soil moisture before watering prevents overdoing it. Stick your finger two inches into the ground near the plant.
If it feels cool and slightly damp, skip watering. Thyme tolerates dryness far better than excess moisture.
Drip irrigation works well because it delivers water slowly and directly to roots. Overhead sprinklers wet the foliage unnecessarily, inviting fungal issues and wasting water through evaporation.
Idaho’s dry air means surface water disappears quickly, but it’s still better to water at soil level.
Summer heat might tempt you to water more often, but resist that urge. Thyme’s silvery-green leaves have a natural coating that reduces water loss.
The plant evolved to thrive in hot, dry conditions, so it handles Idaho summers just fine with minimal help.
Early morning watering gives moisture time to soak in before afternoon heat causes evaporation. Evening watering leaves foliage damp overnight, which can encourage disease.
Timing matters almost as much as quantity.
Rainfall usually provides enough moisture for established thyme in many Idaho locations. Track precipitation with a simple rain gauge, and only supplement when nature falls short.
Thyme planted in well-draining soil rarely needs extra water beyond what the sky provides.
5. Provide Good Air Flow To Reduce Cold-Weather Stress

Stagnant air traps moisture and cold around plants, creating conditions that weaken thyme during winter. Good circulation keeps foliage dry and moderates temperature swings, both of which help the plant handle Idaho’s cold season.
Spacing plants properly is the first step toward better airflow.
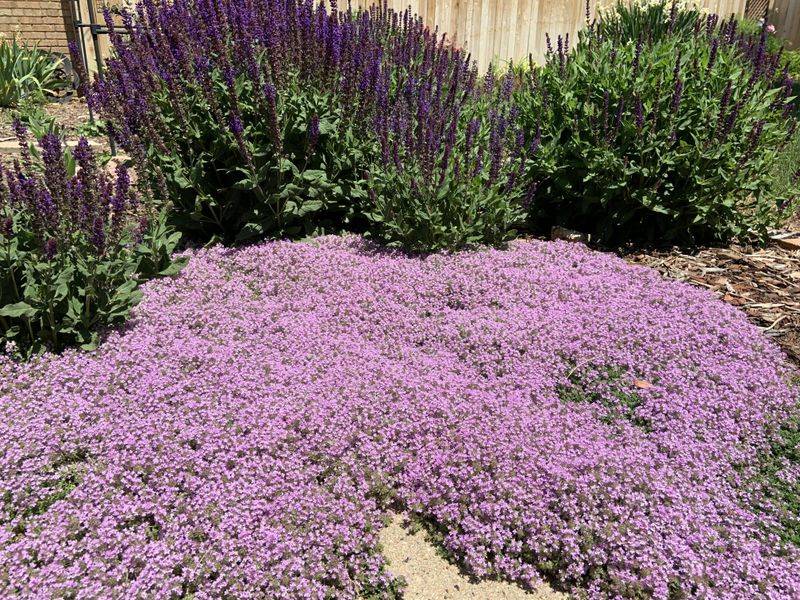
Crowding thyme against walls, fences, or other plants blocks wind and creates pockets of still air. Leave at least a foot of open space around thyme plantings so breezes can flow freely.
This spacing also makes it easier to inspect plants and spot problems early.
Strategic placement near pathways or open areas ensures constant air movement. Thyme planted in enclosed corners or tight garden beds stays damp longer after rain or snow.
Idaho’s winter humidity might be low, but trapped moisture still causes issues.
Thinning out nearby shrubs or perennials improves airflow without replanting your entire garden. Pruning back overgrown neighbors opens up space and lets wind reach your thyme.
This simple maintenance task pays off by reducing cold-weather stress.
Mulch can interfere with airflow if piled too thickly around thyme. Keep organic mulch away from the base of plants, or use gravel instead.
Gravel allows air to circulate while still protecting roots from temperature extremes.
Frost forms more readily in still air, so good circulation reduces frost damage. Moving air mixes warmer and cooler layers, preventing the coldest air from settling directly on your thyme.
This matters during Idaho’s clear, calm nights when frost is most likely.
6. Plant After Hard Frost Risk Has Passed
Timing your planting makes all the difference between success and frustration. Thyme can handle cold once it’s established, but newly planted starts are vulnerable to hard freezes.
Idaho’s last frost date varies by location, but most areas are safe by mid to late May.
Checking local frost records gives you a reliable planting window. County extension offices provide average last frost dates based on decades of data.
Adding an extra week or two to that date ensures you’re truly in the clear.
Tender new growth can’t withstand temperatures below 25 degrees Fahrenheit. A surprise late-season freeze damages leaves and sets plants back by weeks.
Waiting until consistent warmth arrives lets thyme establish roots without that risk.
Soil temperature matters as much as air temperature. Cold ground slows root development, leaving plants sitting idle instead of growing.
Wait until soil at planting depth reaches at least 50 degrees before putting thyme in the ground. Idaho’s high elevation means soil warms slowly in spring.
Starting thyme indoors from seed gives you a head start without risking outdoor freezes. Transplant seedlings outside once they’re sturdy and frost danger has passed.
This approach extends your growing season without exposing vulnerable plants to cold.
Hardening off indoor-started plants prepares them for outdoor conditions. Set them outside for a few hours daily over a week, gradually increasing exposure.
This transition reduces transplant shock and helps thyme adjust to Idaho’s bright sun and cool breezes.
Fall planting works in mild years, but it’s risky in Idaho’s unpredictable climate. Spring planting gives thyme a full season to establish before winter arrives.
Strong roots developed over summer help plants survive their first cold season.
Covering plants with cloches or row covers extends the planting season slightly. These protections guard against light frosts but won’t save plants from a hard freeze.
Use them as insurance, not as a substitute for proper timing.
7. Limit Fertilizer To Prevent Weak Growth
Rich soil produces lush, soft growth that can’t handle stress. Thyme evolved in poor, rocky soil where nutrients are scarce, and it actually performs better under lean conditions.
Idaho gardeners who fertilize heavily end up with plants that look impressive but lack hardiness.
Nitrogen pushes leafy growth at the expense of root development and cold tolerance. Thyme pumped full of nitrogen grows tall and floppy instead of low and compact.
That soft tissue freezes more easily and attracts more pests than tough, slow-grown foliage.
Skipping fertilizer entirely works well for thyme in average garden soil. If your soil is extremely poor or sandy, a single light application of balanced fertilizer in spring provides enough nutrition for the whole season.
Idaho’s volcanic soils in some regions are naturally fertile enough without amendments.
Compost used as mulch releases nutrients slowly over time. A thin layer in spring feeds thyme gently without overwhelming it.
Avoid thick compost applications that hold too much moisture and provide excessive nutrients.
Phosphorus supports root growth and flowering without causing leggy stems. A fertilizer with higher phosphorus relative to nitrogen, like a 5-10-5 blend, works if you feel you must feed your thyme.
Apply it sparingly, at half the recommended rate.
Observing plant color tells you about nutrient levels. Healthy thyme has gray-green foliage, not bright green.
Dark, lush leaves indicate too much nitrogen, while pale yellow leaves might signal a true deficiency. Idaho’s alkaline soils rarely cause nutrient problems for thyme.
Organic matter improves soil structure without overfeeding plants. Mixing a small amount of compost into planting holes gives thyme a good start.
After that, the plant finds what it needs from surrounding soil.
8. Trim Lightly After Blooming To Keep Plants Compact
Flowers fade by midsummer, leaving behind spent blooms and lanky stems. A quick trim at this point refreshes the plant and encourages dense, tidy growth.
Cutting back thyme after flowering is one of the easiest maintenance tasks with big visual rewards.
Using sharp scissors or hand pruners makes clean cuts that heal quickly. Trim stems back by about one-third, removing old flower heads and any straggly growth.
Idaho’s dry summer air means cuts dry out fast, reducing the chance of disease entering through wounds.
Timing matters because you want to avoid cutting into old, woody stems. Trim while stems are still somewhat green and flexible.
Later in the season, thyme becomes woodier and doesn’t regenerate as easily from hard pruning.
Shaping plants during this trim keeps thyme spreading evenly. If one side grows faster than another, cut it back more aggressively to maintain balance.
A uniform mat looks better and covers ground more effectively.
Removing spent flowers prevents seed formation, which can weaken the plant. Thyme puts energy into making seeds when flowers are left on, energy better used for root growth and preparing for winter.
Idaho’s short growing season means every bit of stored energy counts.
Fresh growth after trimming stays low and compact, exactly the look you want from ground cover thyme. Untrimmed plants get leggy and develop bare patches in the center.
Regular trimming keeps the entire mat filled in and attractive.
Collecting trimmings for kitchen use turns maintenance into harvest. Thyme stems cut after flowering still have good flavor and dry beautifully for winter storage.
Idaho’s low humidity makes drying herbs quick and easy.