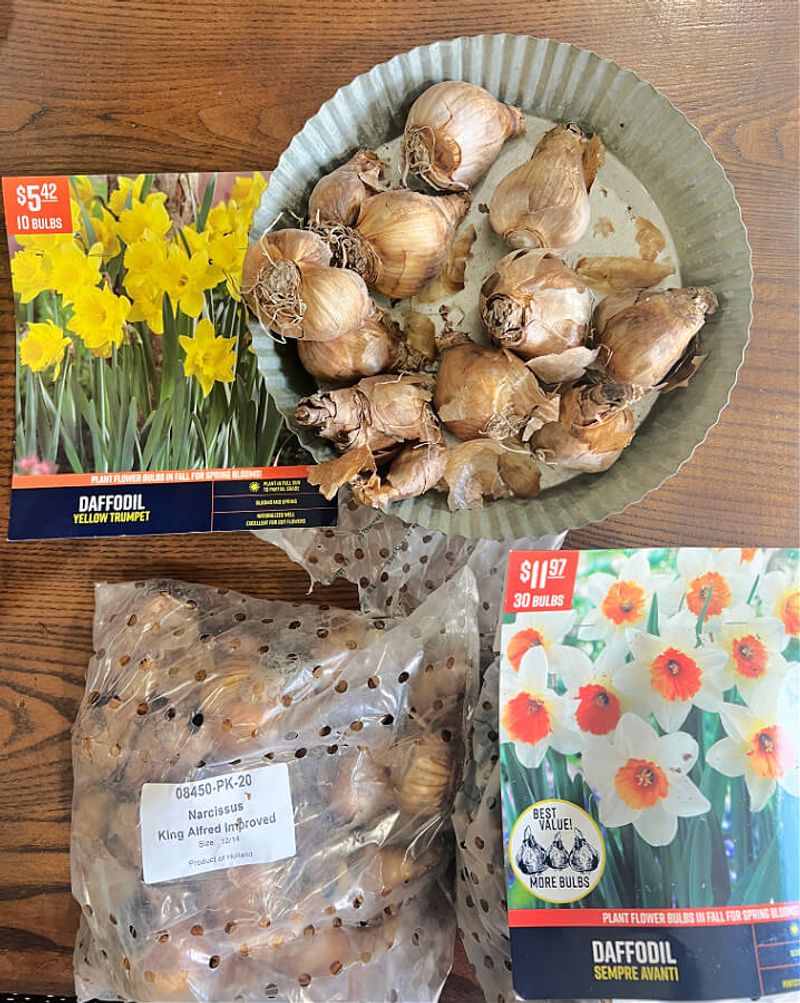
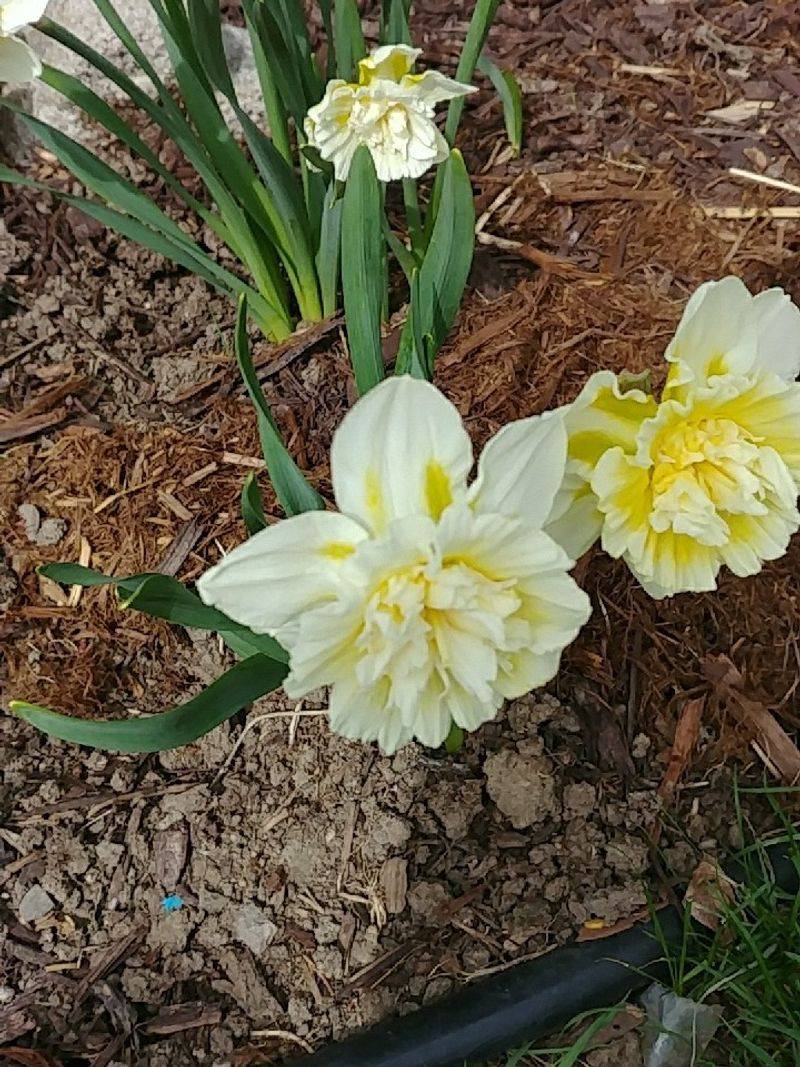
17 Tips To Plant, Grow, And Care For Daffodils The Right Way

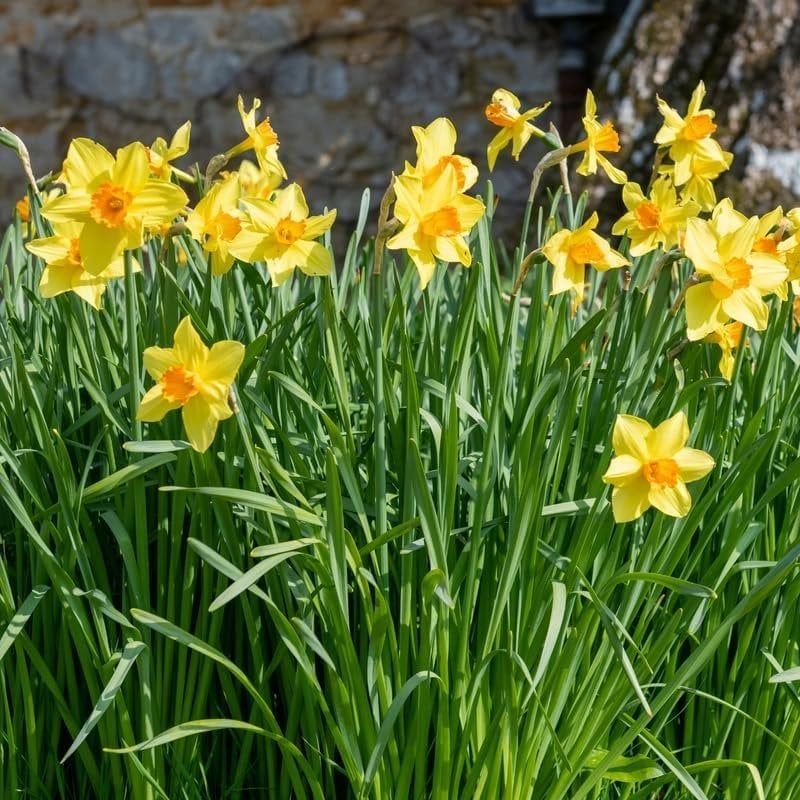
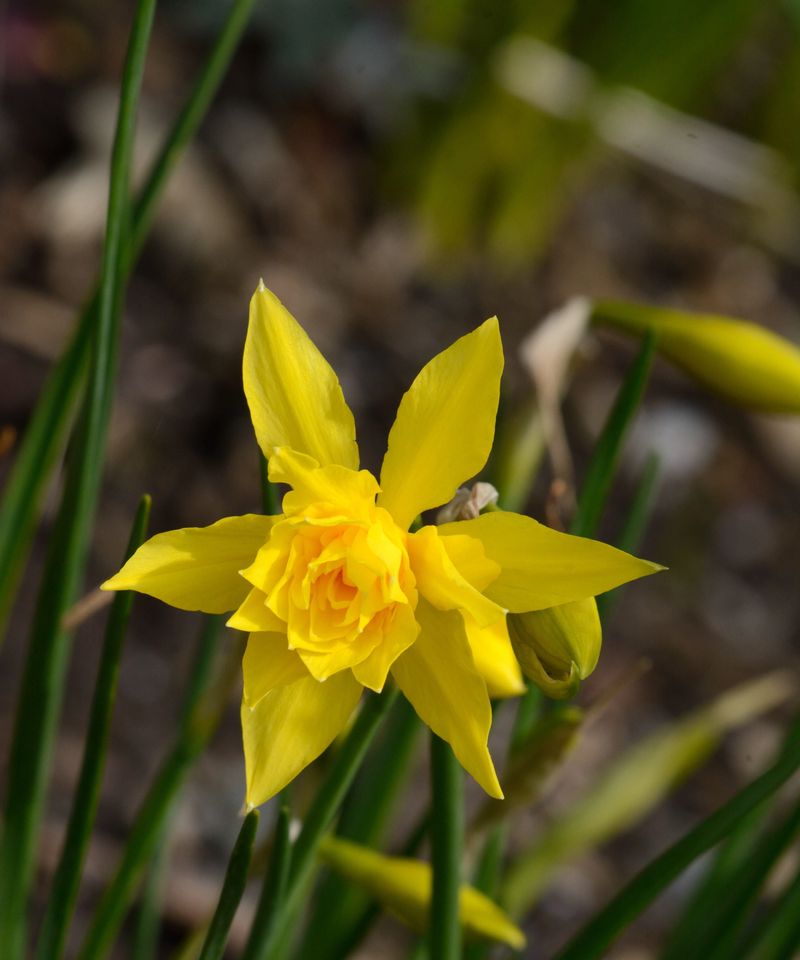
Daffodils are the cheerful messengers of spring, bursting through the soil just when you need a splash of color. Their sunny yellow blooms feel like a warm hello after winter’s chill. It’s a little celebration that returns, like clockwork, each year.
These hardy bulbs are remarkably low-maintenance once planted. With proper care, they multiply effortlessly, gracing your garden with even more blooms over time. They’re nature’s version of sustainable joy—no fancy tricks required.
Whether you’re a seasoned gardener or just getting started, daffodils make it easy to succeed. Learn the right steps, and you’ll have a garden that comes alive each spring with vibrant color and lasting charm.
1. Choose The Perfect Planting Site

Finding the right spot makes all the difference for daffodil success. These sun-lovers need at least 6 hours of direct light daily, especially in spring when they’re actively growing.
Well-draining soil prevents bulb rot, so avoid areas where water pools after rain. I’ve found slightly sloped areas work wonderfully since water naturally runs off.
From my experience, daffodils planted near deciduous trees do well – they get full sun in spring before the trees leaf out, then partial shade during summer dormancy.
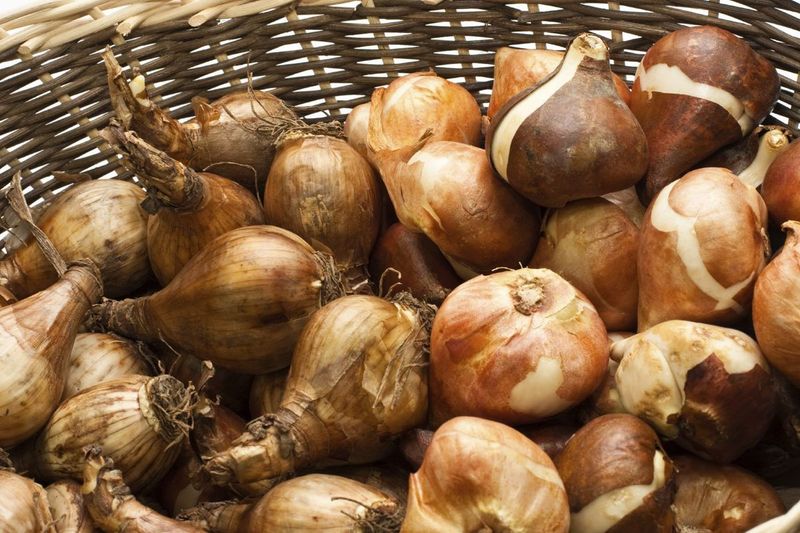
2. Plant At The Right Time
Fall is prime planting season for these spring bloomers. Aim to get bulbs in the ground 2-4 weeks before your first hard frost, typically September through November depending on your climate zone.
This timing allows roots to develop before winter while preventing premature top growth. The soil should still be workable but cool enough that bulbs won’t start growing immediately.
I’ve noticed that daffodils planted at the optimal time consistently produce stronger stems and bigger flowers the following spring compared to those planted too early or late.
3. Dig To The Proper Depth
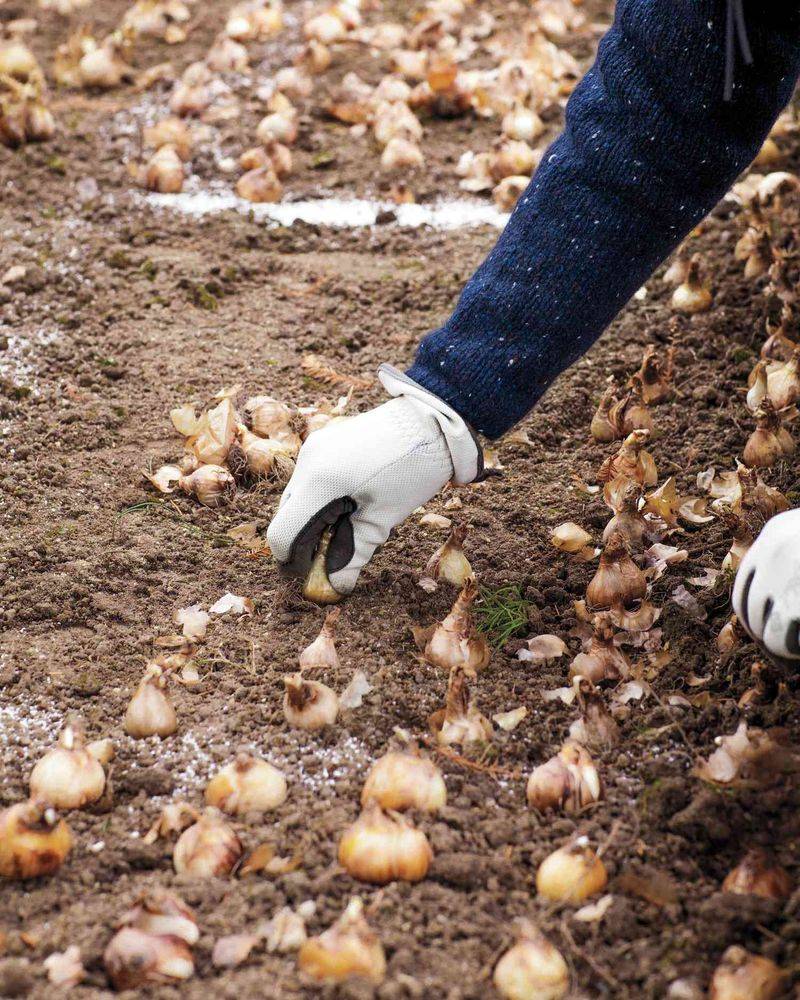
Proper planting depth makes a huge difference in daffodil performance. The general rule is to plant bulbs at a depth three times their height – typically 6-8 inches deep for standard varieties.
Measuring from the base of the bulb, not the tip, ensures accuracy. In sandy soils, you might want to go slightly deeper, while in heavy clay, a bit shallower works better.
I’ve found using a bulb planter with depth markings takes the guesswork out of this process and helps maintain consistent spacing throughout the garden.
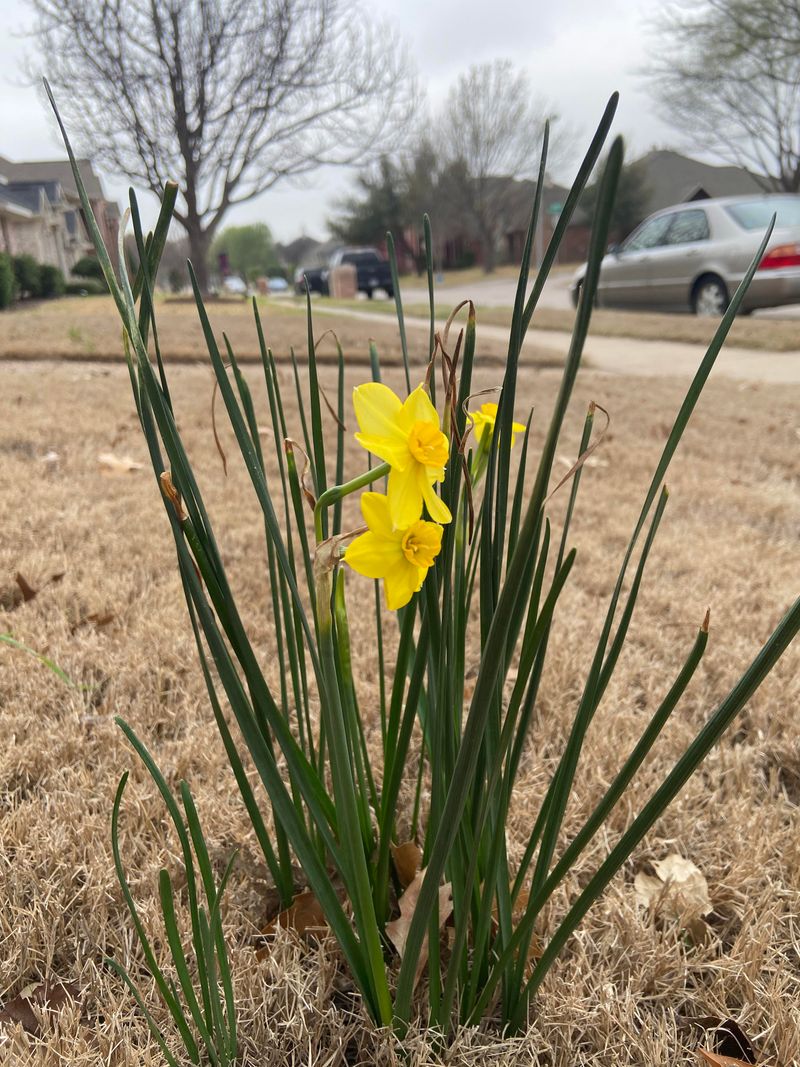
4. Space Bulbs For Maximum Impact
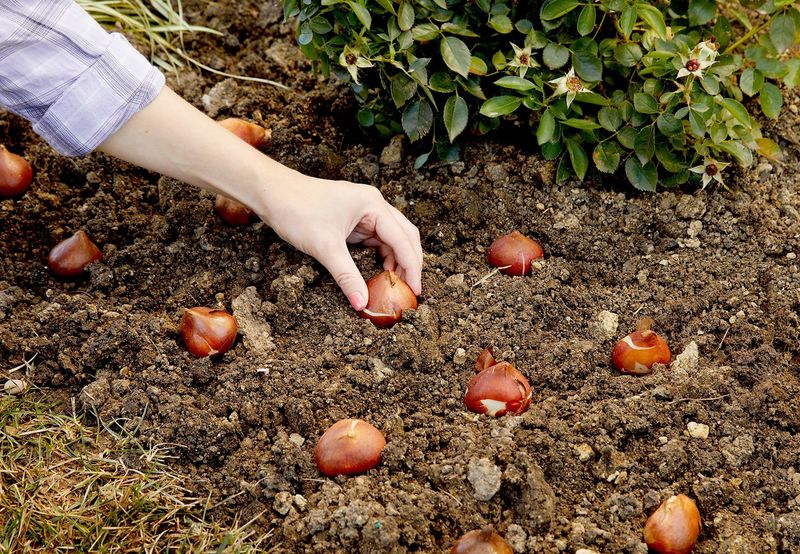
Correct spacing creates the most stunning daffodil displays. For individual blooms, space bulbs 3-6 inches apart, measuring from center to center. Larger varieties need more room than miniatures.
For natural-looking drifts, try the handful method – toss bulbs gently across the planting area and plant them where they land. This creates more realistic groupings than strict grid patterns.
Based on my gardening experience, planting in clusters of at least 7-12 bulbs creates the most impressive visual impact compared to single bulbs scattered throughout the garden.
5. Enrich The Soil Before Planting
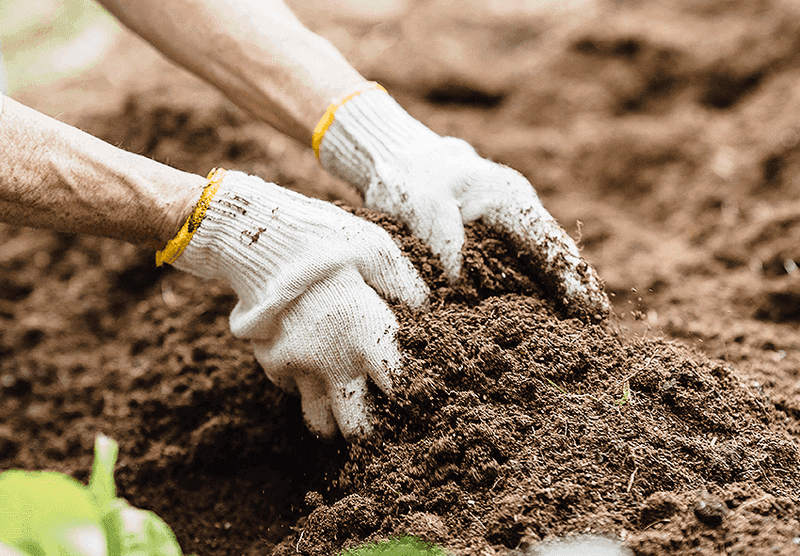
Soil preparation pays dividends in daffodil performance. Mix in compost or well-rotted manure to improve both drainage and fertility before planting your bulbs.
Adding bone meal or a low-nitrogen, high-phosphorus fertilizer (like 5-10-10) to the planting hole promotes strong root development. Just a tablespoon per bulb is plenty – too much can actually burn the roots.
I’ve tested different soil amendments over the years and found that bulbs planted in properly prepared soil consistently produce larger blooms and multiply more readily than those stuck into poor soil.
6. Position Bulbs The Right Way Up
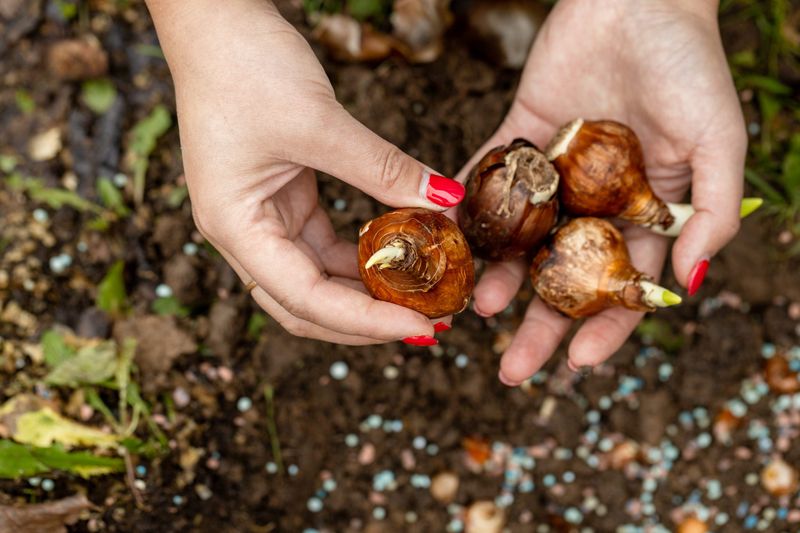
Orientation matters when planting daffodil bulbs. The pointed end should always face upward, while the flatter base with visible root remnants goes down into the soil.
If you’re unsure which end is which, plant the bulb on its side – the stem will find its way upward. Incorrectly positioned bulbs waste energy making a U-turn toward the surface.
When planting large quantities, I’ve found it helpful to lay out all the bulbs in their correct orientation first, then go back and plant them one by one to avoid confusion during the process.
7. Water Thoroughly After Planting
A good initial soaking helps daffodil bulbs establish quickly. Water deeply right after planting to settle the soil and eliminate air pockets around the bulbs.
Unless your fall is exceptionally dry, you typically won’t need to water again until spring. Excess moisture during dormancy can lead to bulb rot, especially in heavy soils.
During my years of gardening, I’ve noticed that bulbs given this initial thorough watering establish faster and produce more consistent blooms than those planted in dry soil and left unwatered.
8. Apply Mulch For Protection

A 2-3 inch layer of mulch helps regulate soil temperature and moisture around daffodil bulbs. Shredded leaves, straw, or pine needles work well and break down to improve soil over time.
Mulching is especially important in regions with freeze-thaw cycles that can push bulbs out of the ground. Just keep the mulch from directly touching stems once growth appears to prevent rot.
I’ve found that mulched daffodil beds consistently emerge with stronger, more uniform growth in spring compared to unmulched areas, particularly after harsh winters.
9. Fertilize At The Right Time
Timing is everything when feeding daffodils. Apply a balanced bulb fertilizer (like 5-10-10) when shoots first emerge in spring, then again right after flowering ends.
Avoid high-nitrogen fertilizers which promote lush foliage at the expense of flowers. Always water after fertilizing to help nutrients reach the root zone where they’re needed.
From my gardening trials, I’ve learned that this twice-yearly feeding schedule produces the best results – any more is wasteful, while skipping the post-bloom feeding can lead to fewer flowers the following year.
10. Remove Spent Flowers Promptly
Deadheading extends your daffodils’ energy. Snip off faded flowers just below the swollen seed pod, but leave the stem and all foliage intact.
This simple step prevents the plant from wasting energy on seed production. Instead, that energy goes back into the bulb, strengthening it for next year’s display. I’ve conducted small garden experiments leaving some daffodils to set seed while deadheading others.
The difference becomes apparent over time – deadheaded clumps consistently produce more and larger flowers in subsequent seasons.
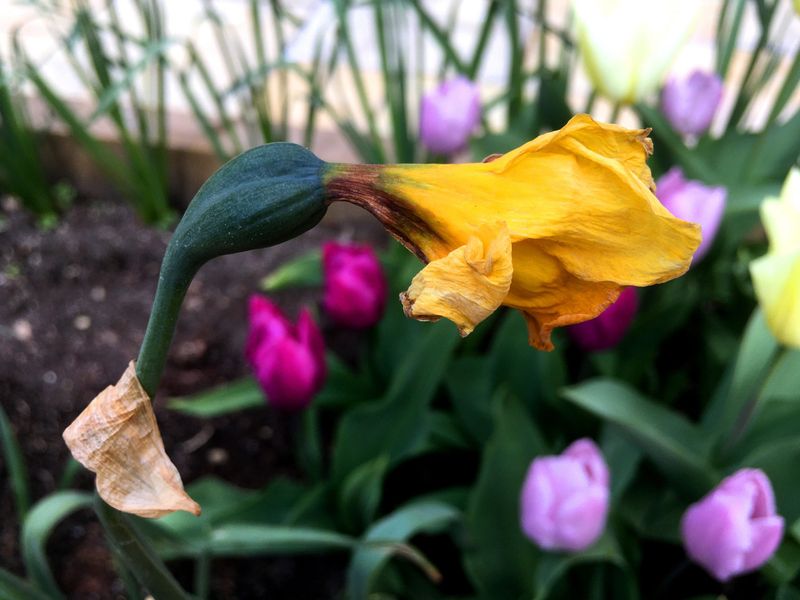
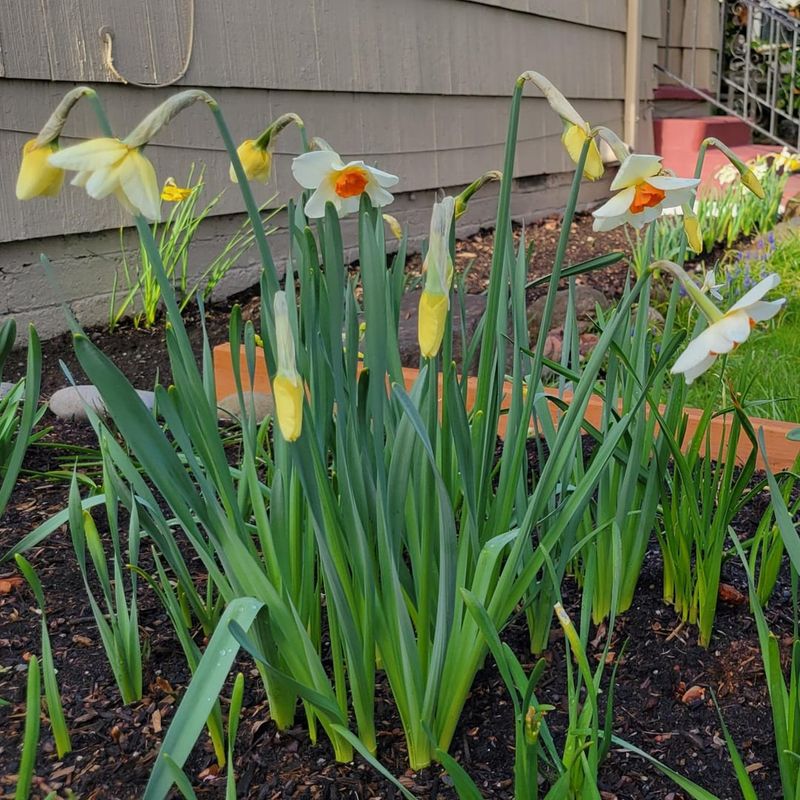
11. Let Foliage Yellow Naturally
Patience with yellowing leaves pays off in future blooms. Those fading leaves are working hard, photosynthesizing to store energy in the bulb for next year’s flowers.
Resist the urge to cut, braid, or tie foliage – this reduces the leaf surface area that captures sunlight. Wait until leaves turn completely yellow and pull away easily with a gentle tug.
In my garden, I’ve noticed daffodil clumps where foliage was removed too early gradually produce fewer and smaller flowers, while those allowed to die back naturally remain vigorous year after year.
12. Hide Fading Foliage With Companion Plants
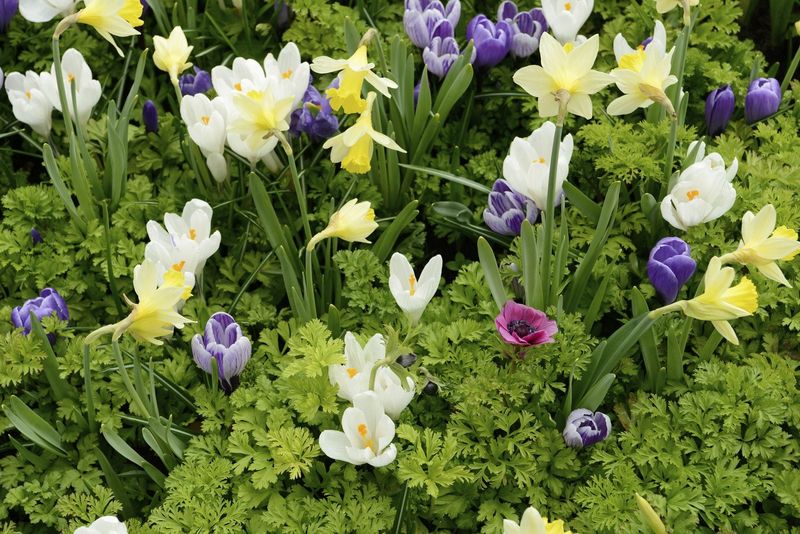
Strategic planting makes daffodil cleanup less of an eyesore. Interplant daffodils with later-emerging perennials like hostas, daylilies, or ornamental grasses that will grow up and hide the yellowing leaves.
These companions serve double duty – masking the unsightly foliage while filling in the space daffodils leave behind after dormancy. Choose plants with similar water and light requirements.
After trying various combinations in my garden, I’ve found that medium-height perennials work best – tall enough to conceal the yellowing leaves but not so large they overshadow the daffodil display in spring.
13. Divide Clumps When Flowering Decreases
Daffodils signal when they need dividing. When once-prolific clumps produce fewer flowers or mainly foliage, it’s time to separate the bulbs.
Wait until foliage has yellowed completely, then carefully dig up the entire clump, separate individual bulbs, and replant immediately at proper spacing. This typically needs doing every 3-5 years.
I’ve revitalized many declining daffodil patches this way. What seemed like tired, spent plants often bounce back with magnificent displays the following spring after being divided and given fresh soil.
14. Store Lifted Bulbs Properly
Sometimes you’ll need to temporarily store daffodil bulbs. Clean off excess soil, trim away dead roots and foliage, and let them cure in a single layer in a cool, dry, well-ventilated spot for 1-2 weeks.
Once cured, store bulbs in mesh bags or paper (never plastic) containers with good air circulation. The ideal storage temperature is 60-65°F with low humidity.
From my experience, properly stored bulbs maintain their vigor remarkably well. I’ve successfully kept daffodil bulbs for several months when needed to relocate gardens or share with friends.
15. Protect From Pests And Wildlife
One major advantage of daffodils is their natural resistance to most garden pests. The bulbs contain lycorine, which makes them toxic and unpalatable to deer, rabbits, squirrels, and most rodents.
For problematic areas, adding crushed gravel or oyster shells to planting holes can deter burrowing animals. Wire mesh cages around bulbs provide extra protection in severe cases.
I’ve used daffodils as a protective border around more vulnerable plants in my garden. They effectively create a toxic barrier that keeps most critters from venturing further into prized tulips and other tasty bulbs.
16. Watch For Signs Of Disease
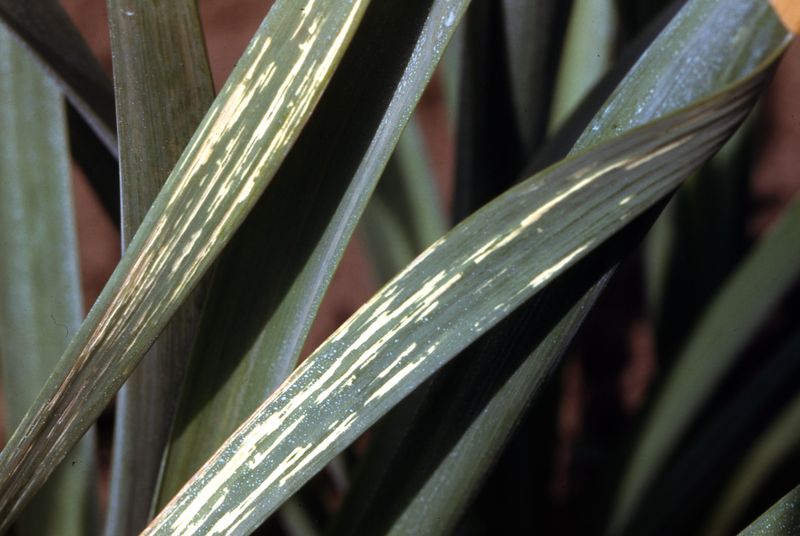
Healthy daffodils resist most problems, but a few diseases can occur. Yellow streaking on leaves might indicate viral infection, while soft, mushy bulbs suggest basal rot fungus.
Remove and destroy (don’t compost) any diseased plants immediately to prevent spread. For fungal issues, improve drainage and avoid replanting daffodils in the same spot for several years.
Through trial and error in my garden, I’ve found that maintaining good air circulation by proper spacing and avoiding overhead watering significantly reduces disease problems in daffodil plantings.
17. Enjoy As Cut Flowers With Care
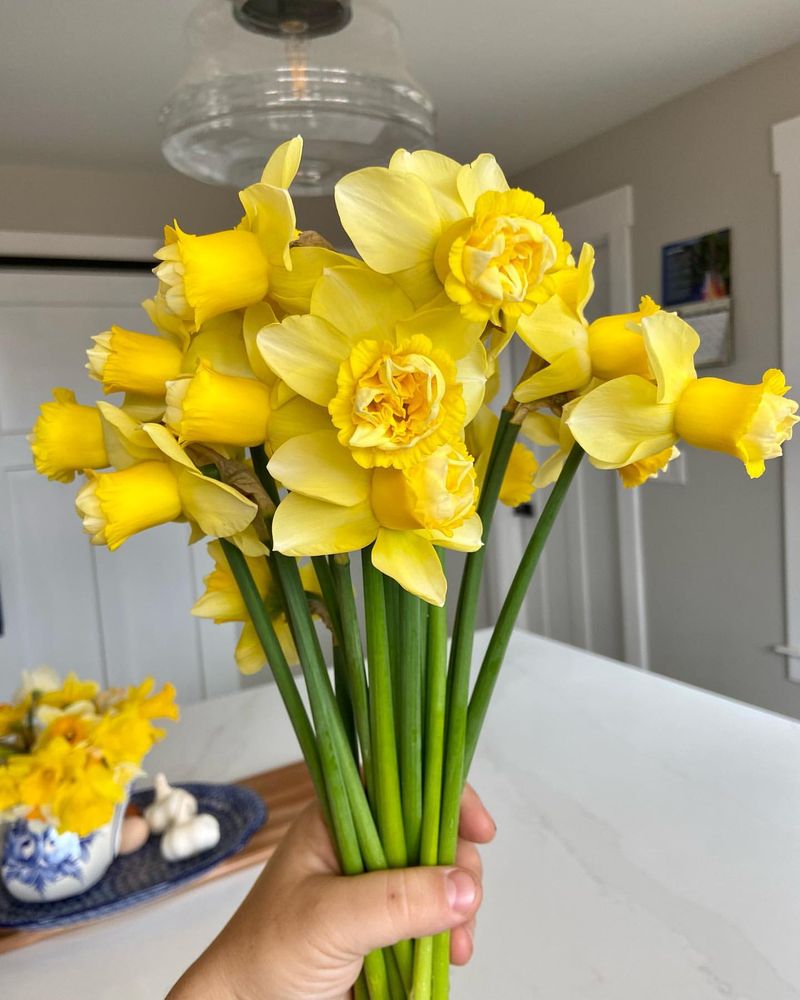
Daffodils make wonderful cut flowers but require special handling. Cut stems when the buds are just showing color but not fully open for longest vase life.
Never mix freshly cut daffodils directly with other flowers – they release a sap that’s harmful to other blooms. Place them in a separate vase for at least 6 hours first, then rinse stems before combining.
I’ve found that adding a teaspoon of sugar to the vase water extends daffodil bloom time significantly. With proper care, cut daffodils can brighten your indoor space for up to a week.