12 Tips To Use A Humidity Dome Seed Propagator For Faster Growth And Healthier Plants
Unlock the secrets to faster germination and stronger seedlings with these 12 game-changing tips for using a humidity dome! This simple yet powerful tool creates the perfect environment for seeds to thrive, giving your plants a head start on healthy growth. Whether you’re a beginner or an experienced gardener, these insights will help you maximize success and take your propagation skills to the next level. Get ready to transform your seed-starting routine and watch your plants flourish!
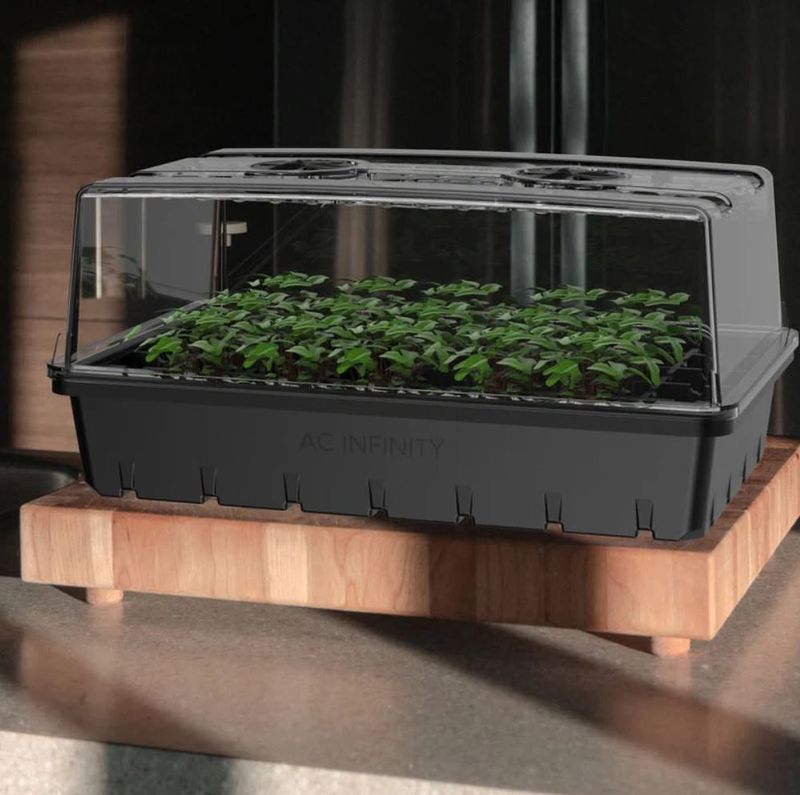
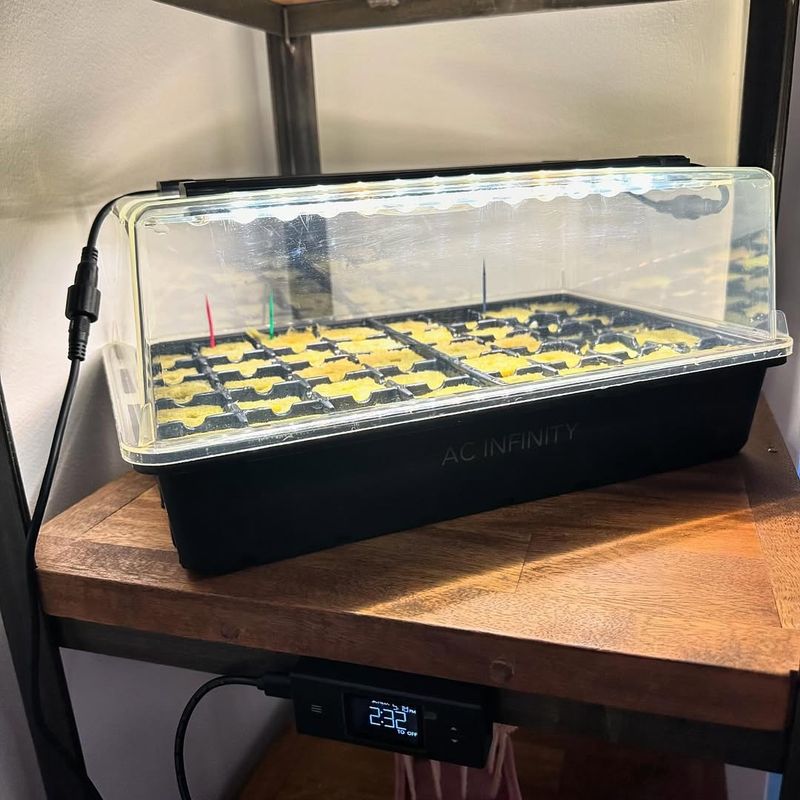
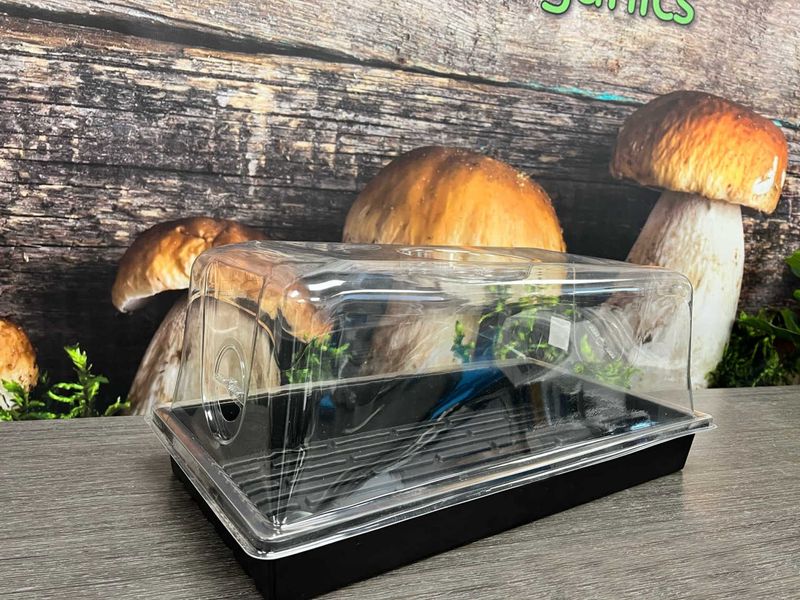
1. What Is A Humidity Dome Seed Propagator?
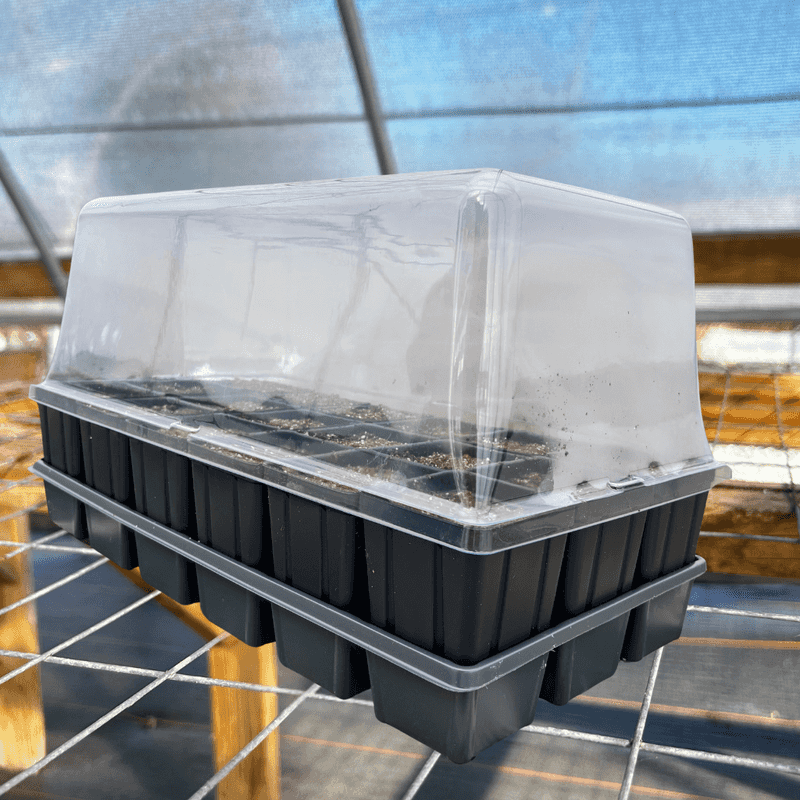
Imagine a cozy greenhouse for your seeds. A humidity dome seed propagator is designed to create a warm, moist environment ideal for germination. Typically made from clear plastic, it fits snugly over seed trays to trap moisture and warmth.
This mini greenhouse effect ensures seeds sprout faster and healthier by maintaining consistent humidity and temperature levels. Perfect for those looking to kick-start their gardening season or ensure better success rates with delicate seeds.
2. Benefits Of Using A Humidity Dome
Enjoy the perks of a humidity dome that acts like a spa retreat for your seeds! By retaining moisture, these domes ensure a consistent environment vital for quick germination. They also help in preventing diseases by reducing mold and mildew risks through controlled conditions.
Healthy plants are a natural outcome when the microenvironment is just right. Improved germination rates mean more bang for your buck, and sturdier seedlings lead to more flourishing gardens.
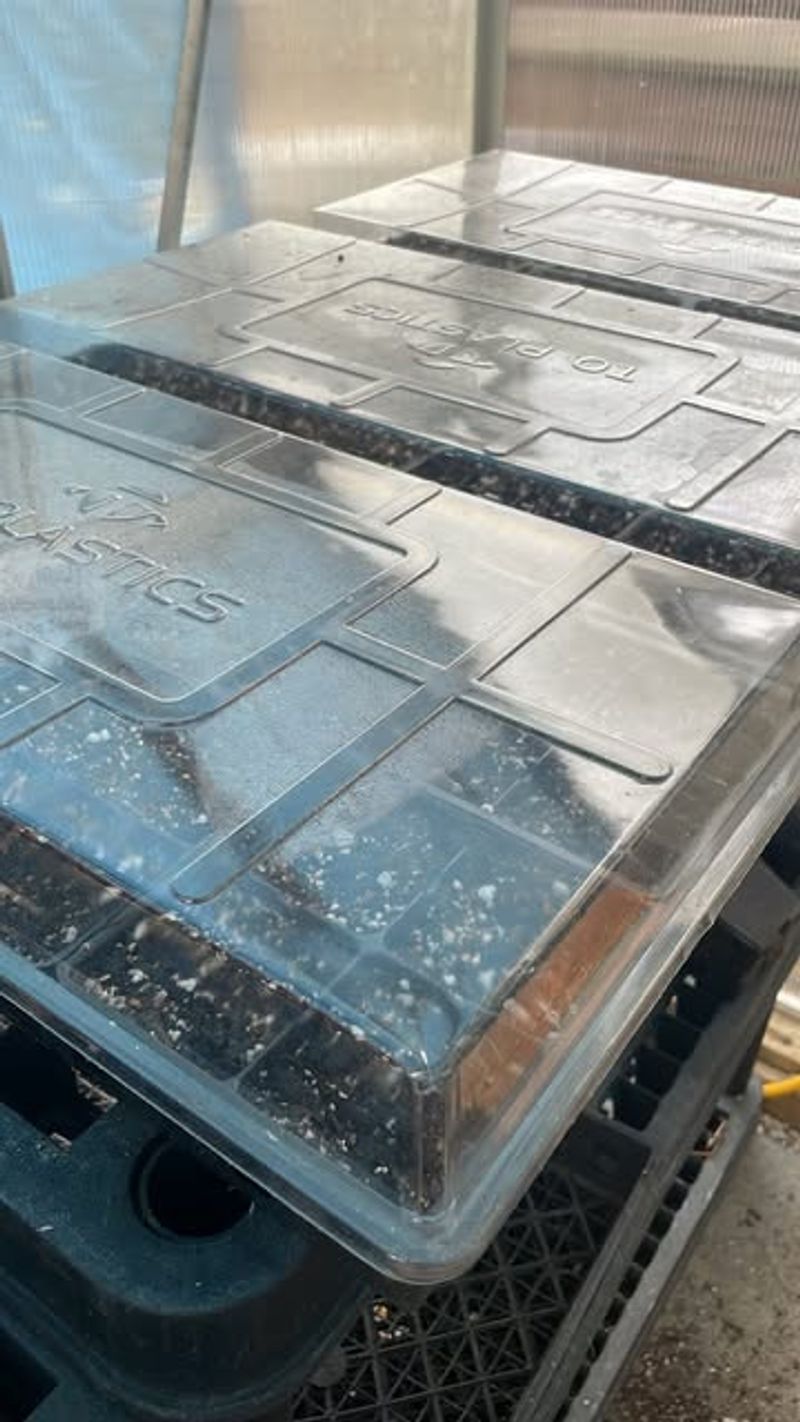
3. Choosing The Right Humidity Dome Propagator
Selecting the perfect dome is like matchmaking for seeds! Consider the size of your seed trays and the space available. Ventilation options are crucial to prevent mold and overheating; some domes come with adjustable vents.
Heating elements can be a bonus in colder climates, so look for those if needed. Material matters too—sturdy plastic can endure multiple seasons. A well-chosen humidity dome not only accelerates growth but also simplifies your gardening chores.
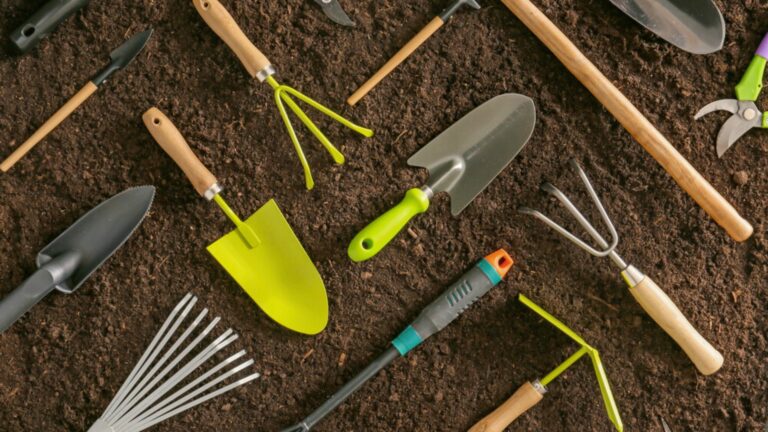
4. Preparing The Seed Trays And Growing Medium
Setting the stage for seeds means choosing the right soil. An ideal mix helps retain moisture without waterlogging. Ensure the soil is damp, not drenched, to avoid seed rot. Labeling trays is a small step that saves future headaches—knowing which seed is which prevents mix-ups.
The growing medium’s quality directly impacts seedling health, so don’t skimp here. Whether using peat, coir, or a special mix, consistency is key.
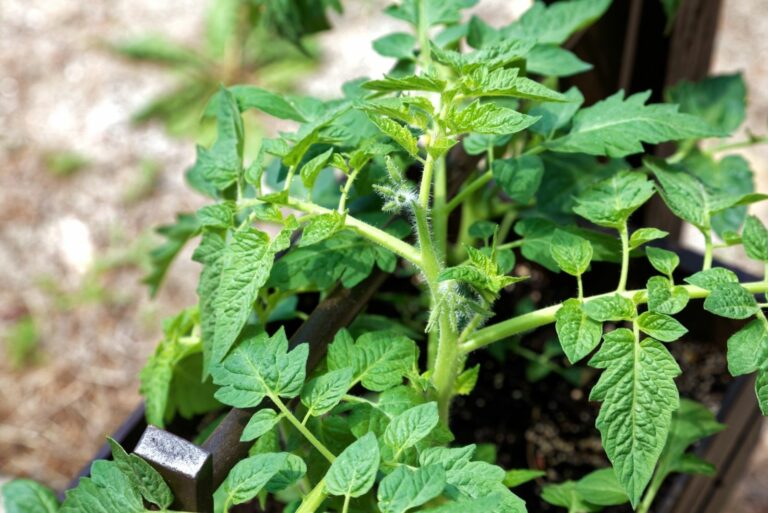
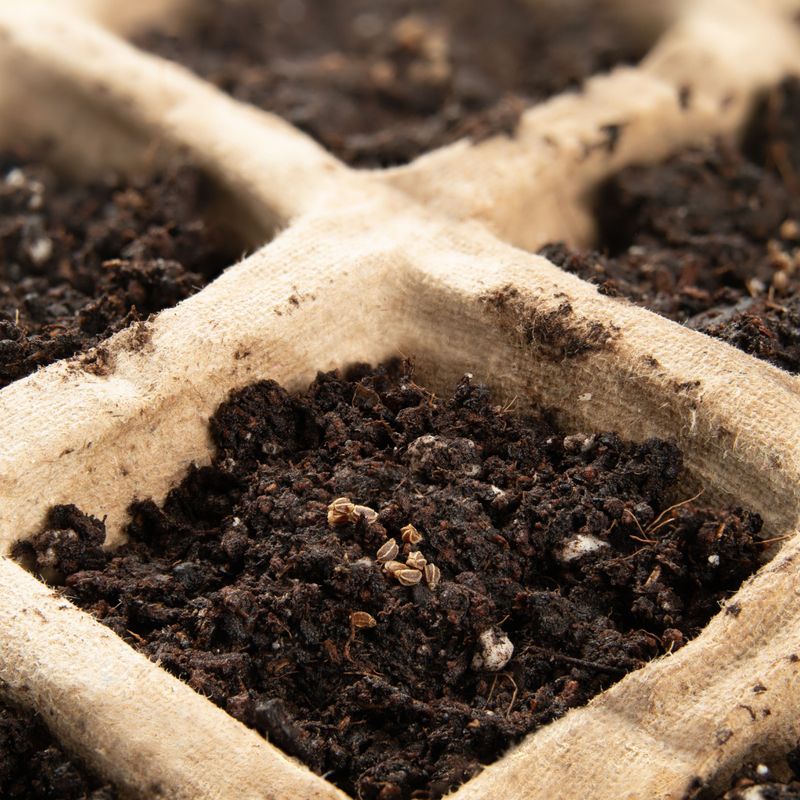
5. Planting Seeds In A Humidity Dome
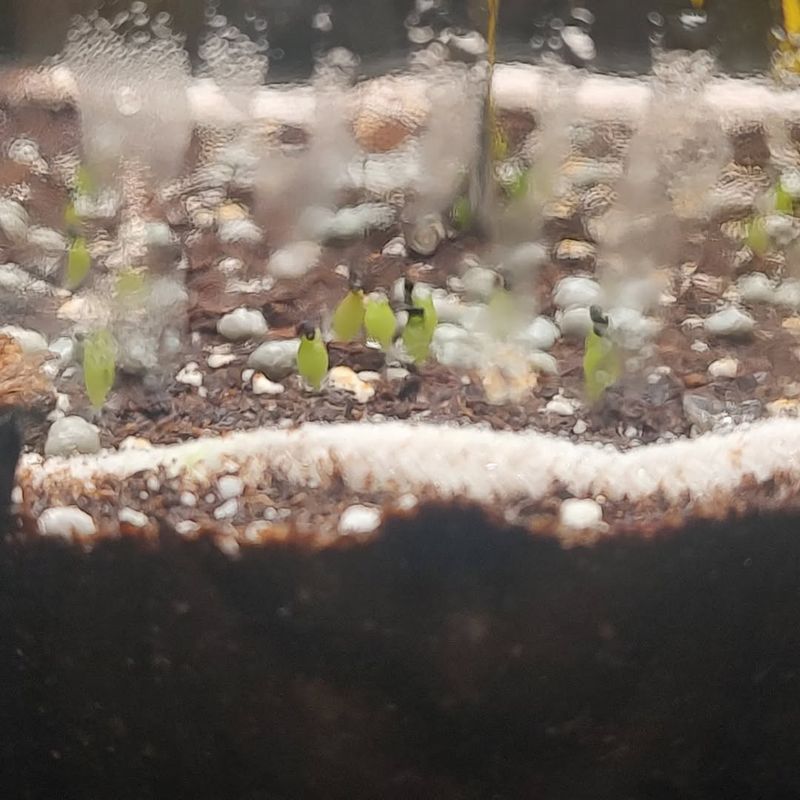
Planting in a dome feels like crafting a masterpiece. Depth matters; sprinkle some mix on top of the seeds—too deep and they might never surface. Spacing is crucial to prevent overcrowding as seedlings grow.
Ensuring good soil contact is like giving your seeds a warm hug, crucial for moisture absorption. Each seed has potential, and the right start maximizes it. The dome creates an inviting cocoon, enhancing germination odds.
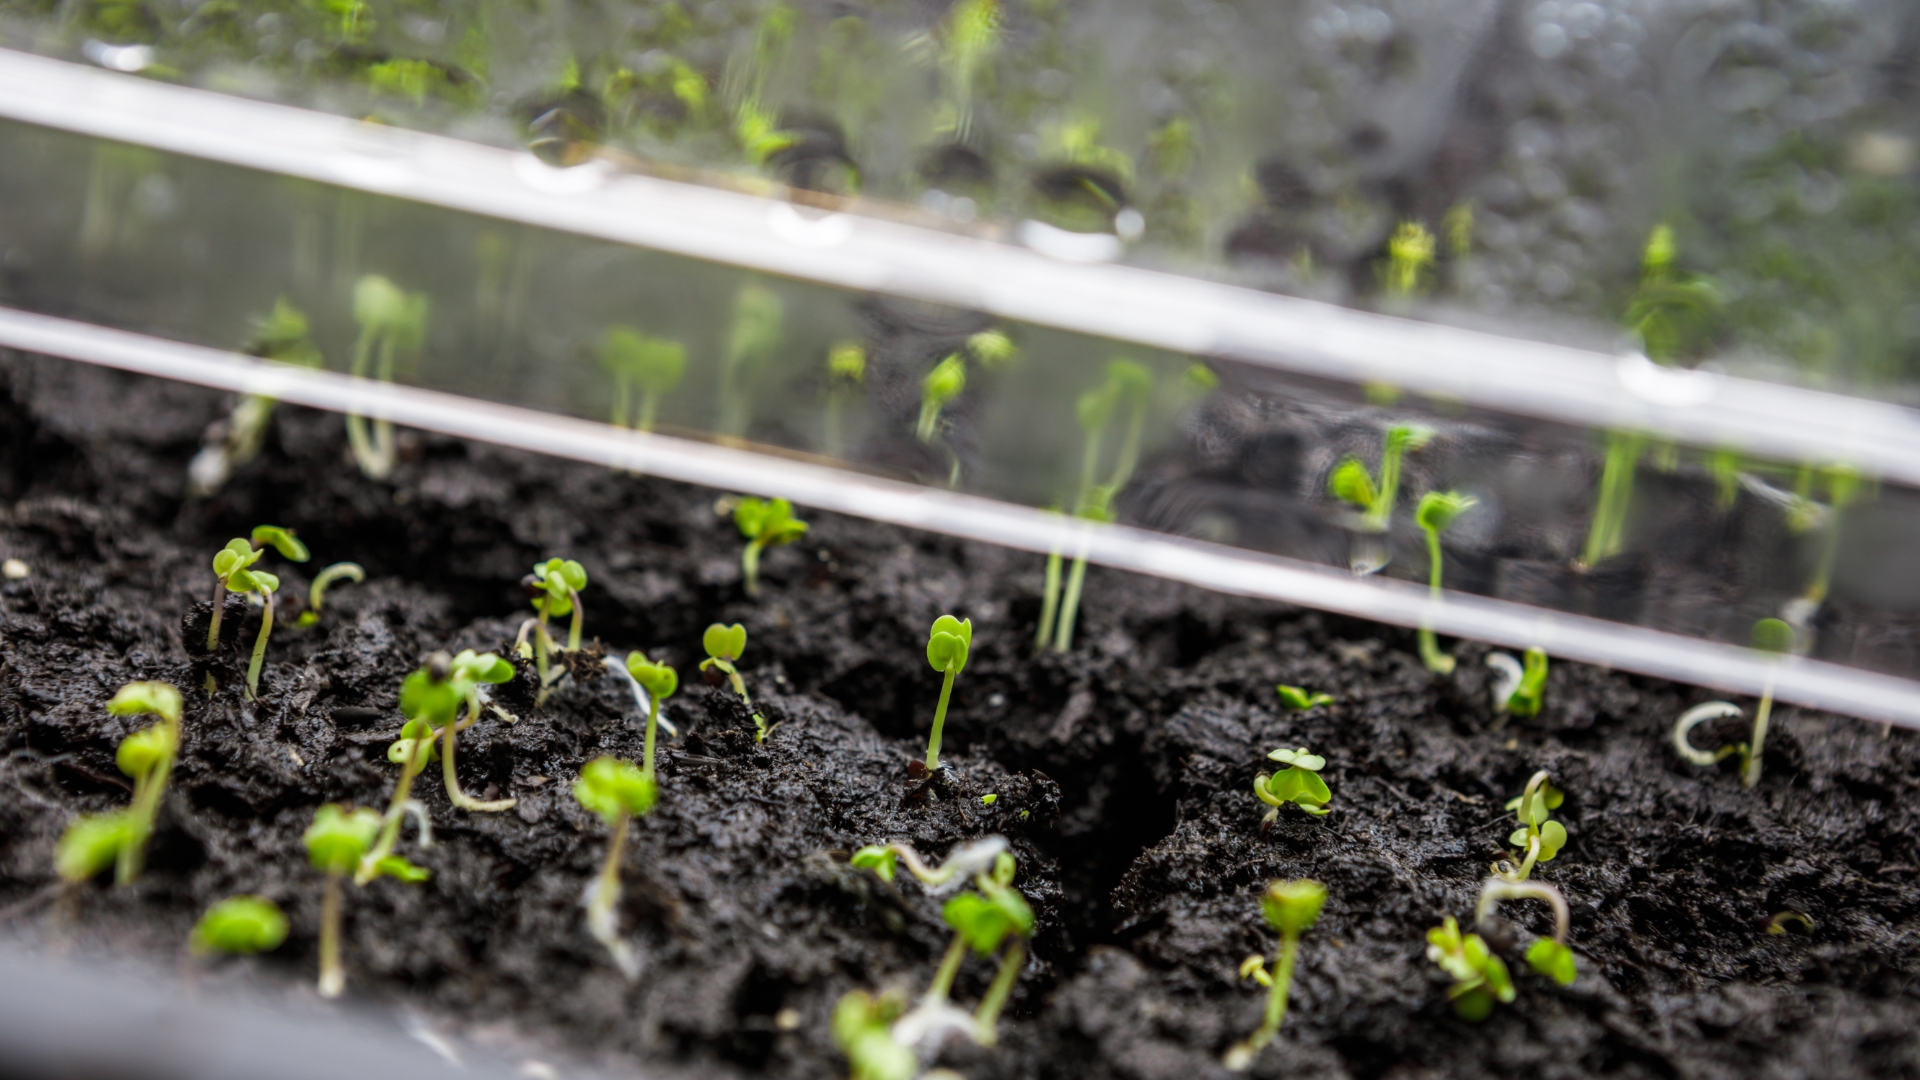
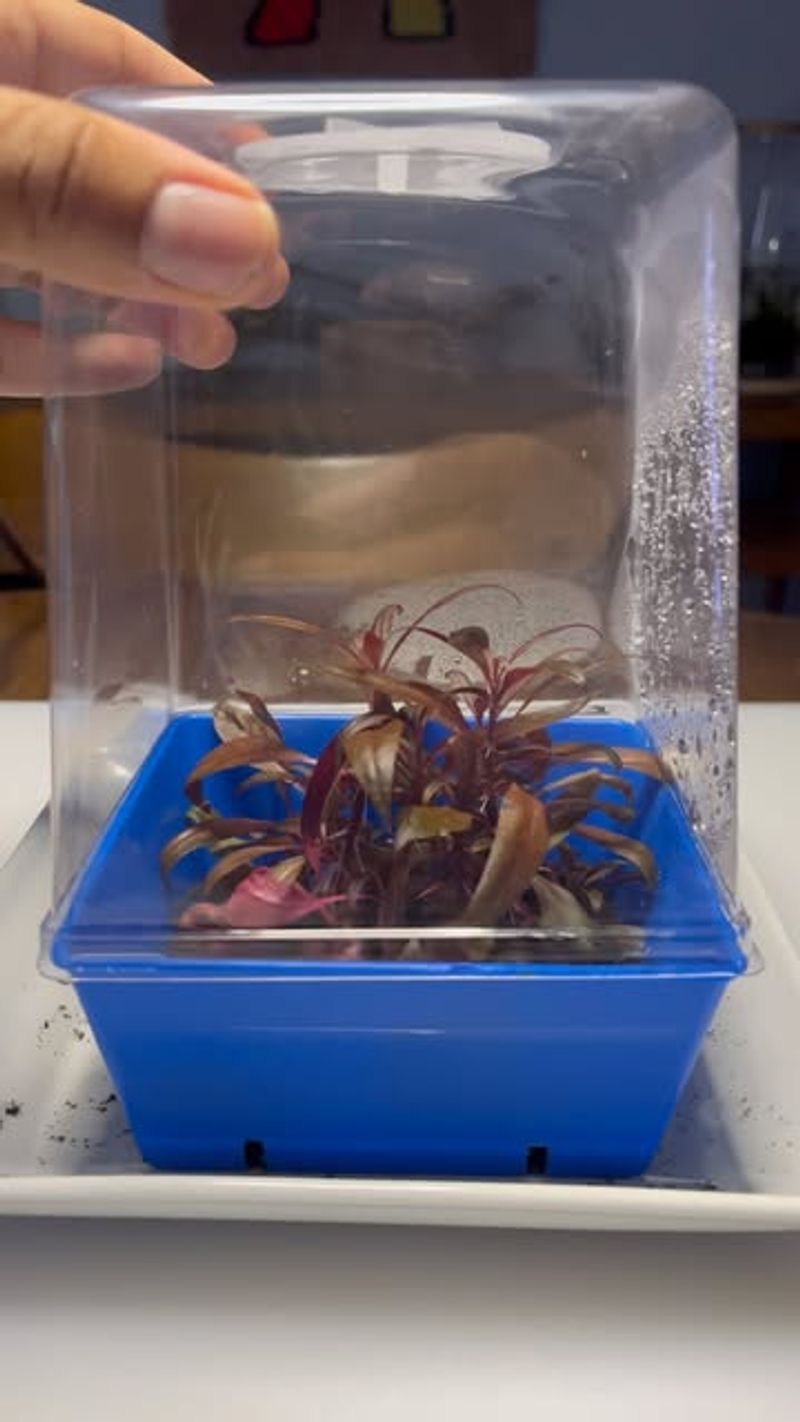
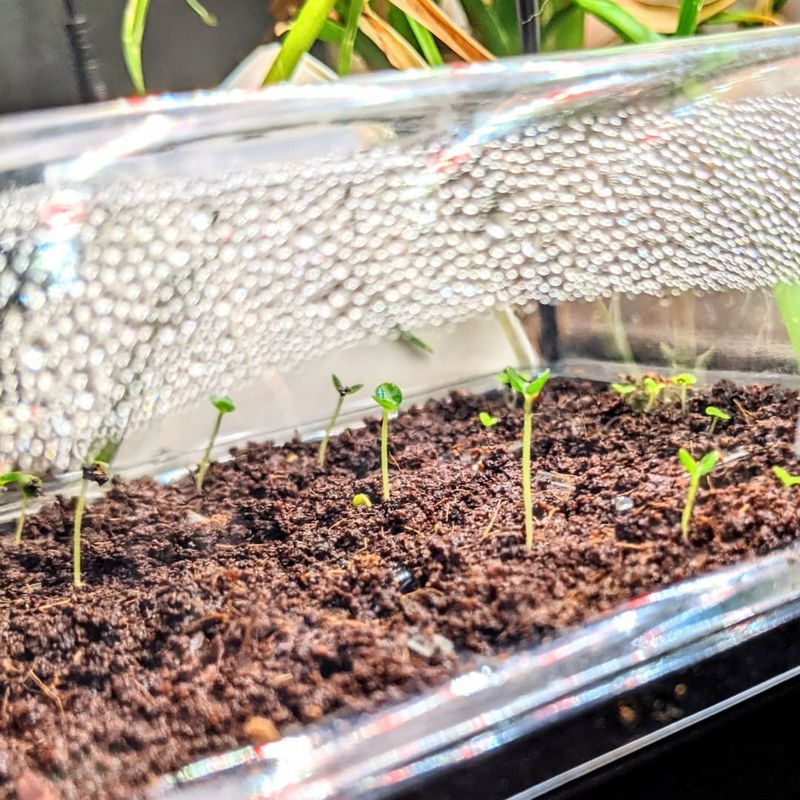
6. Maintaining Proper Humidity Levels

Keeping things moist but not soggy is the key challenge. Misting the dome gently ensures seeds have enough moisture without flooding them. Adjusting vents helps regulate humidity, preventing mold and mildew buildup.
Monitoring condensation levels is like being a weather forecaster—predicting and adjusting to the seeds’ needs. Striking the right balance keeps seedlings happy and healthy, paving the way for robust plants.
7. Regulating Temperature For Faster Germination
Temperature tweaking can be the secret sauce. Seeds are picky about warmth; too hot or cold and they’ll sulk. Using heat mats under trays can maintain the ideal temperature for germination.
Place your dome in a cozy spot, away from cold drafts. Venting helps avoid overheating, especially in sunny locations. With the right balance, seeds sprout faster, saving precious growing time.
8. Providing Light For Seedlings
Light is the magical ingredient seeds crave. Natural sunlight works wonders if you have a bright spot, but artificial grow lights can substitute effectively. Keep lights at the right height—not too close to prevent burning, not too far to avoid stretching.
Proper light exposure ensures sturdy, not leggy, seedlings. Adjust timing and intensity based on the plant type to mimic natural cycles. With the right setup, your seedlings will grow strong and vibrant, ready to face the world outside the dome.
9. Ventilation And Airflow Management
Airflow might just be the hero your seedlings need. Opening vents occasionally allows fresh air in, reducing mold risks. Gradually increasing airflow prepares seedlings for life beyond the dome. It’s like training wheels for plants, helping them adapt smoothly.
Managing ventilation is crucial in avoiding fungal diseases and ensuring vigorous growth. A breath of fresh air keeps your green friends in top shape. Timing is everything; start slow and increase as they mature.
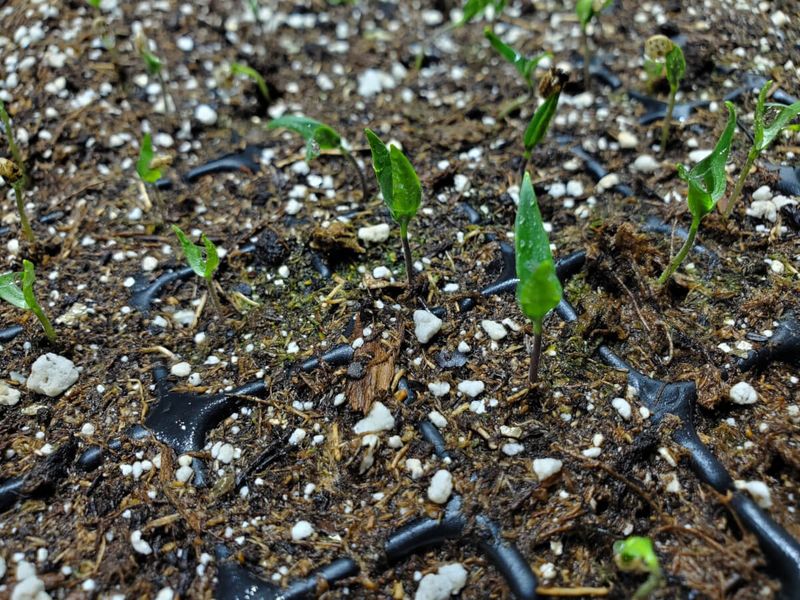
10. Knowing When To Remove The Humidity Dome

Timing the dome’s removal is an art. Seedlings signal readiness by developing true leaves. Gradually acclimatize them by lifting the dome for longer periods each day. This process is like weaning—gentle and gradual to reduce shock.
Removing the dome too early can stunt growth, while too late can lead to mildew. Proper timing ensures seedlings are ready for the real world. Handle with care for a smooth, healthy transition into the open air.
11. Common Problems And How To Fix Them
Every gardener faces hiccups; it’s part of the adventure. Mold and leggy seedlings are frequent foes. Combat mold with proper ventilation and reducing moisture. Leggy seedlings crave more light; adjust your setup accordingly.
Poor germination can often be a seed quality issue or incorrect conditions. Diagnose and tweak your methods for better results. It’s a learning curve with each planting season, but overcoming these challenges leads to more satisfying outcomes.
12. Cleaning And Storing The Humidity Dome
A tidy dome is a happy dome! Cleaning after each use prevents disease transmission. Disassemble and wash with mild soap, ensuring all nooks are spotless. Dry thoroughly before storing to avoid mildew.
Proper storage extends the dome’s life, making it ready for action come next planting season. Regular maintenance keeps it in top condition, supporting healthy plant growth year after year. A little care now sets the stage for flourishing gardens ahead.