Turn Kitchen Scraps Into Garden Fertilizer With Simple Tricks North Carolina Gardeners Love
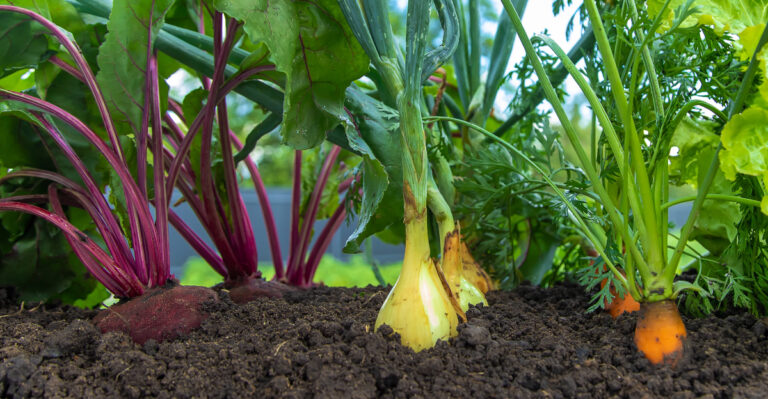
What if the secret to healthier plants and richer soil was already sitting in your kitchen, waiting to be used? In North Carolina, many gardeners are discovering how everyday scraps can become powerful tools for building strong, thriving gardens.
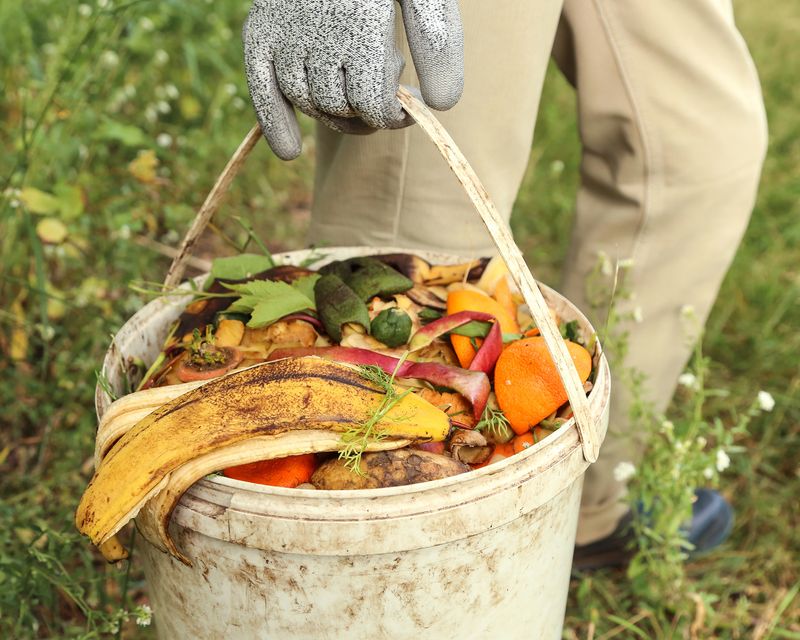
Instead of throwing away vegetable peels, coffee grounds, and eggshells, these simple leftovers can be transformed into natural nutrients that feed the soil and support steady plant growth.
This approach not only reduces household waste but also improves soil structure, encourages beneficial organisms, and provides essential elements plants need to flourish.
Across North Carolina, gardeners are turning to these practical, budget friendly methods to create more sustainable and productive outdoor spaces.
With just a little effort, common kitchen scraps can become a valuable resource that strengthens your garden from the ground up.
These nine easy techniques will help you turn everyday leftovers into effective, natural fertilizer that keeps your North Carolina garden healthy and full of life.
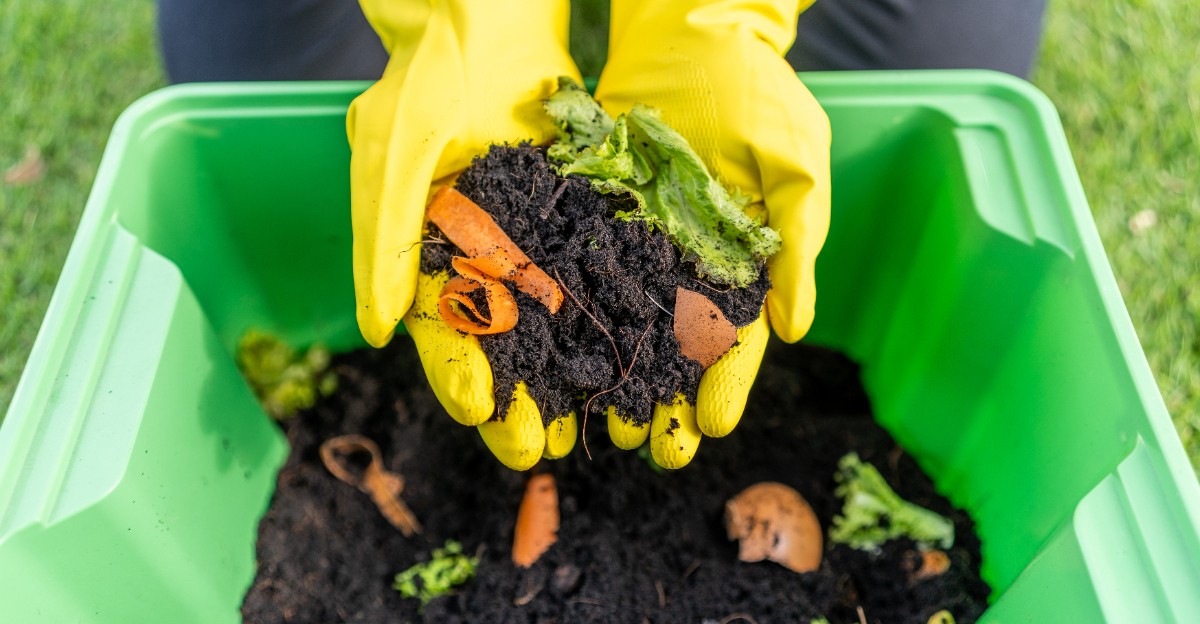
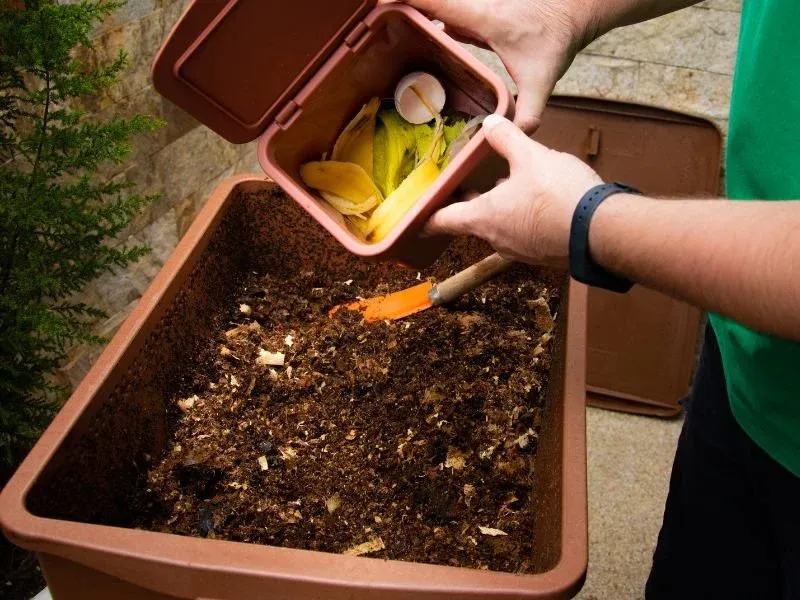
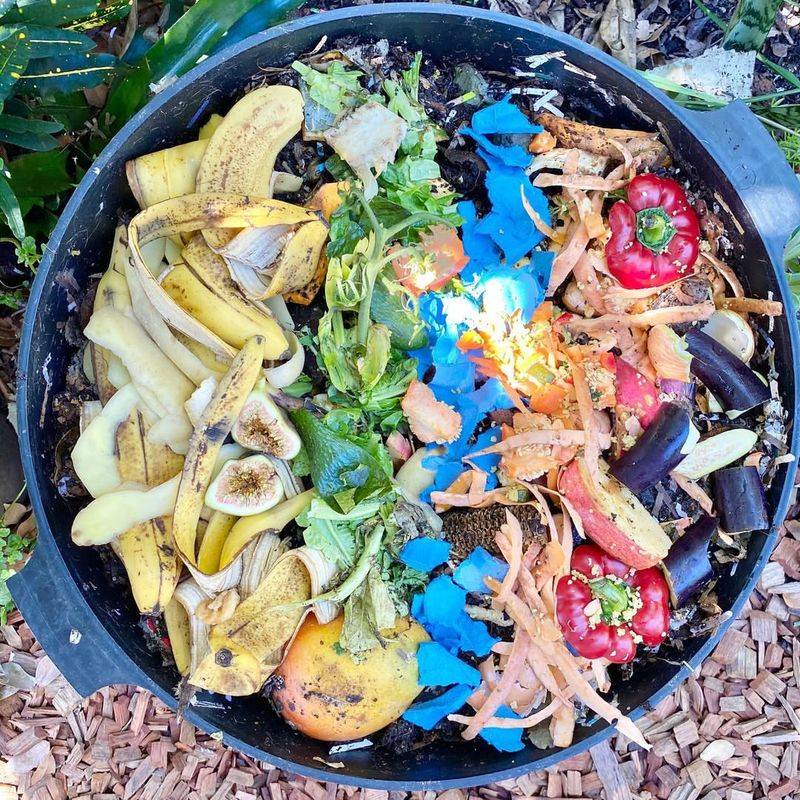
1. Start A Simple Compost Pile With Everyday Kitchen Scraps
Building a compost pile transforms fruit and vegetable scraps into black gold for your garden beds. Carrot tops, apple cores, lettuce leaves, and potato peels all break down naturally when layered properly.
The process happens through microbial activity that converts organic waste into nutrient-rich humus.
Your compost needs a balance of green materials like fresh scraps and brown materials such as dry leaves or shredded paper. This carbon to nitrogen ratio keeps decomposition moving at a steady pace.
Turn the pile every few weeks to add oxygen and speed up the breakdown process. Location matters when starting your compost system. Pick a spot with good drainage that stays partially shaded during hot summer months.
North Carolina humidity actually helps composting happen faster than in drier climates. Avoid adding meat, dairy, or oily foods to your pile since these attract pests and create unpleasant odors. Stick with plant-based kitchen waste for best results.
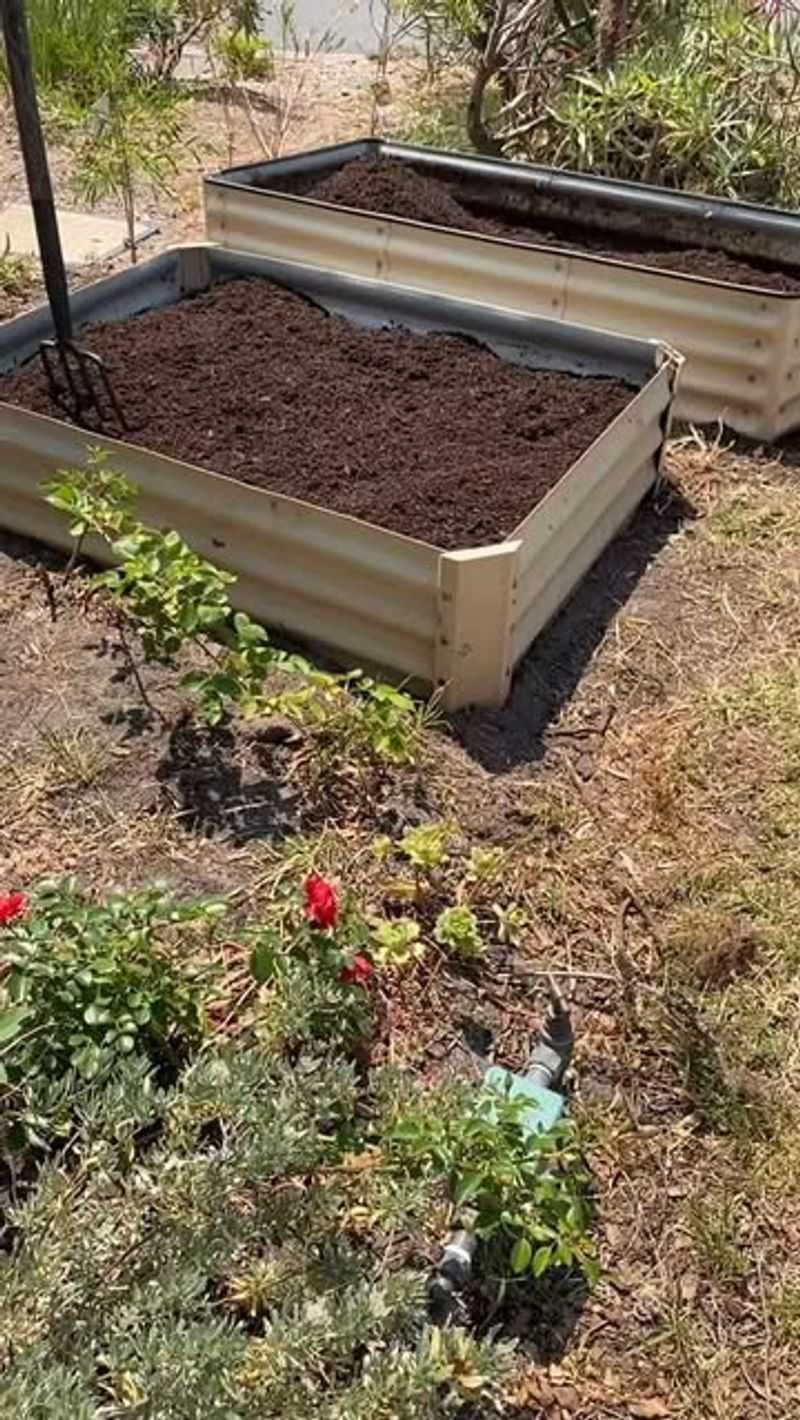
Within three to six months, you’ll have finished compost ready to enrich your garden soil. The finished product looks dark and crumbly with an earthy smell that signals it’s ready to use. Spread this compost around plants or mix it into beds before planting season begins.
2. Use Crushed Eggshells To Add Calcium To Garden Soil
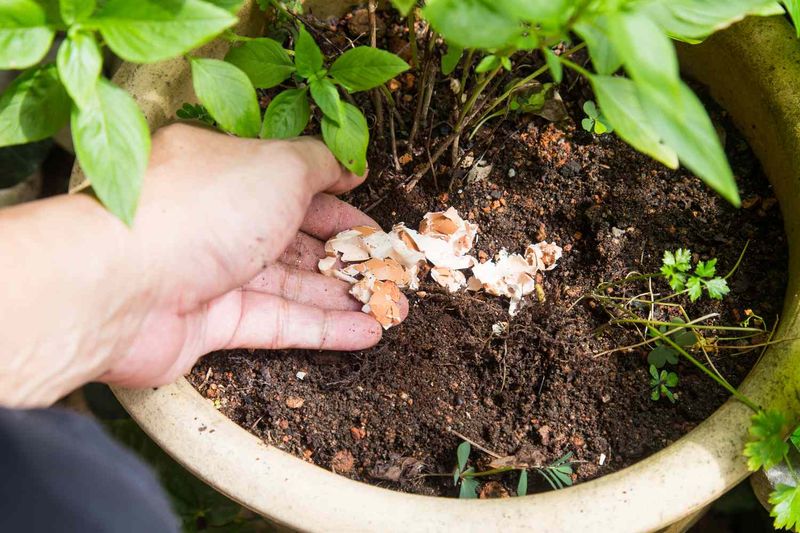
Eggshells contain roughly 95 percent calcium carbonate, making them a valuable soil amendment for gardens. Tomatoes, peppers, and other vegetables benefit from extra calcium during their growing season.
Crushing the shells into small pieces helps them break down faster in soil. Rinse your eggshells after cracking eggs and let them dry completely on a countertop or windowsill.
Once dry, crush them using a mortar and pestle, blender, or simply place them in a sealed bag and roll over them. Finer particles decompose quicker and release calcium more readily.
Sprinkle crushed shells around the base of plants or work them into the top few inches of soil. The calcium slowly becomes available as the shells break down over several months.
This gradual release provides steady nutrition rather than a quick burst. Eggshells also improve soil structure by adding small particles that create air pockets. Better aeration helps roots grow stronger and water drain more effectively.
Some gardeners swear eggshells deter slugs, though scientific evidence remains limited on this benefit.
Save shells throughout the week in a container near your kitchen sink. Once you accumulate enough, process them all at once for your garden beds. This simple habit keeps waste out of landfills while feeding your plants.
3. Brew Compost Tea From Food Scraps For Soil Enrichment
Compost tea offers a liquid way to deliver nutrients and beneficial microorganisms to garden plants. This mild solution forms when finished compost steeps in water for one to three days.
The resulting liquid carries water-soluble nutrients that plants can absorb quickly through roots or leaves.
Fill a bucket with water and add several handfuls of finished compost in a mesh bag or old pillowcase. Let this mixture sit at room temperature while stirring occasionally to keep oxygen flowing.
The steeping process extracts nutrients and multiplies beneficial bacteria naturally present in compost.
After steeping, remove the compost bag and dilute the tea until it looks like weak iced tea. Strong concentrations can overwhelm plants, so lighter is better for most applications.
Use this solution within a day or two for maximum microbial activity. Pour compost tea around plant roots or spray it on leaves during early morning or evening hours. The moisture helps nutrients absorb while avoiding leaf burn from hot sun.
Many gardeners apply this treatment every two weeks during the growing season. The leftover compost from your tea bag goes right back into the garden or compost pile. Nothing gets wasted in this circular system.
Regular compost tea applications can improve soil health and boost plant vigor throughout the season.
4. Bury Vegetable Scraps Directly In Garden Beds
Trench composting brings nutrients directly to plant roots by burying scraps right where they’ll be used. This method works particularly well between rows or around established plants.
Small amounts of vegetable matter decompose underground without attracting pests or creating odors.
Dig a hole or trench about eight to twelve inches deep in your garden bed. Place chopped vegetable scraps in the hole and cover them completely with soil.
The buried material breaks down over several weeks, releasing nutrients gradually as plants grow.
Chopping scraps into smaller pieces speeds up decomposition significantly. Tiny bits of carrot, celery, and pepper break down much faster than large chunks.
This preparation step takes just a minute but makes a real difference in how quickly nutrients become available.
Bury scraps at least four inches below the soil surface to prevent animals from digging them up. Raccoons, opossums, and neighborhood pets can smell food waste and may disturb your garden beds.
Proper depth keeps everything secure and undisturbed. This technique works best during the growing season when soil microbes are most active. Warm temperatures and moisture help decomposition happen faster.
Space your burial sites throughout the garden so nutrients spread evenly rather than concentrating in one spot.
Avoid burying citrus peels, onions, or garlic near sensitive plants since these can temporarily affect soil chemistry.
5. Use Banana Peels To Add Potassium To Soil
Banana peels pack potassium along with smaller amounts of phosphorus and magnesium. These nutrients support flower and fruit development in vegetables and ornamental plants.
Potassium strengthens plant cell walls and helps regulate water movement within plant tissues.
Cut banana peels into strips or small pieces before adding them to soil or compost. Smaller pieces decompose faster and release their nutrients more quickly. Some gardeners blend peels with water to create a slurry that mixes easily into soil.
Place chopped peels directly into planting holes when setting out tomatoes, peppers, or roses. As the peels break down, roots grow into the enriched area and absorb available nutrients.
This method gives plants a slow-release potassium boost throughout the season. You can also dry banana peels in the oven or dehydrator, then grind them into powder.
This concentrated form stores well in a jar and can be sprinkled around plants as needed. The dried powder breaks down more slowly but lasts longer in storage.
Banana peels work especially well for potassium-loving crops like tomatoes and flowering plants. Regular applications during the growing season support healthy fruit development and vibrant blooms.
Just remember that peels alone don’t provide complete nutrition, so combine them with other organic amendments.
Worms in compost bins particularly enjoy banana peels, making them an excellent vermicompost ingredient too.
6. Save Coffee Grounds To Improve Soil Organic Matter
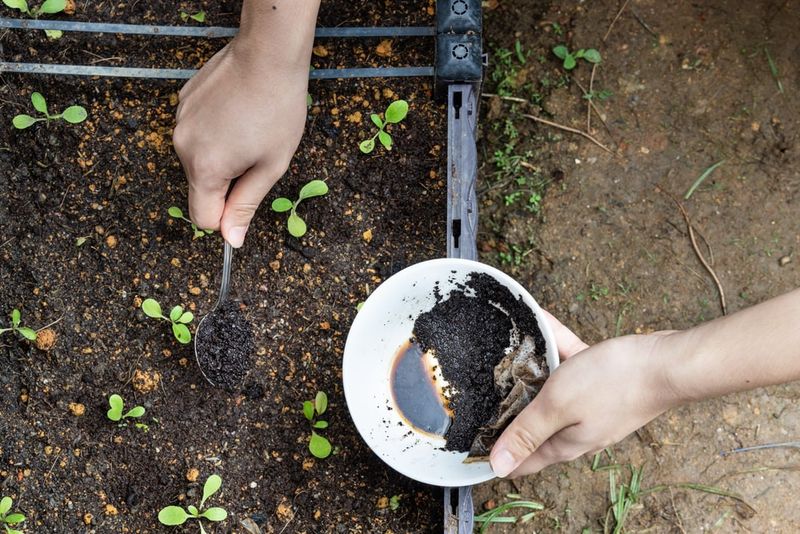
Used coffee grounds add organic matter and small amounts of nitrogen to garden soil. The brewing process removes most acidity, leaving behind a nearly neutral material that benefits most plants.
Grounds improve soil texture and help retain moisture in sandy North Carolina soils. Sprinkle coffee grounds directly on the soil surface around plants or mix them into the top inch of soil.
A thin layer works better than thick piles since heavy applications can form a water-resistant crust. Moderation ensures grounds break down properly without causing drainage problems.
Coffee grounds contain about two percent nitrogen by weight along with trace amounts of phosphorus and potassium. While not a complete fertilizer, they contribute valuable organic matter as they decompose.
Microorganisms feeding on grounds release nutrients slowly over time. Many gardeners add grounds to compost bins where they count as green material.
Mix them with brown materials like leaves or shredded paper to maintain proper compost balance. The grounds heat up quickly and help speed overall decomposition.
Collect grounds from your morning coffee or ask local coffee shops for their used grounds. Many cafes happily give away grounds to gardeners rather than sending them to landfills.
Store collected grounds in a covered container until you have enough to use. Avoid using grounds around acid-hating plants like lavender or rosemary just to be safe, though most plants tolerate them well.
7. Add Vegetable Broth Water To Compost Or Soil

Water left from boiling vegetables contains small amounts of water-soluble nutrients that leached out during cooking. Instead of pouring this liquid down the drain, let it cool and add it to compost bins or directly to garden soil.
This simple practice recycles every bit of nutrition from your food. Plain unsalted vegetable water works best for garden use. Salt from cooking can accumulate in soil and harm plants over time.
If you add salt while cooking, that batch of water should go down the drain instead of into the garden.
Let cooking water cool completely before applying it to plants or compost. Hot water can harm beneficial soil organisms and damage plant roots. Room temperature or cool water integrates safely into your garden ecosystem.
The nutrient content in vegetable water varies depending on what you cooked and for how long.
Potatoes, carrots, and leafy greens release more nutrients than some other vegetables. While the concentration remains low, every bit helps when building healthy soil.
Pour cooled vegetable water around the base of plants early in the day so foliage dries before nightfall. Wet leaves overnight can encourage fungal problems in humid North Carolina conditions.
Morning watering gives plants all day to absorb moisture and nutrients. This method works particularly well for container plants that need frequent watering anyway. The small nutrient boost supplements regular fertilizing without any extra effort.
8. Create A Small Indoor Scrap Compost Bin
An indoor compost bin collects kitchen scraps conveniently until you have enough to take outside. These containers keep odors contained while making it easy to save every scrap throughout the day.
Many styles fit neatly on countertops or under sinks in even small kitchens. Choose a bin with a tight-fitting lid and good ventilation to control smells. Carbon filters in the lid help absorb odors naturally.
Stainless steel or ceramic bins clean easily and last for years of daily use. Line your bin with newspaper or compostable bags for easy emptying. When the container fills up, carry everything out to your outdoor compost pile or bury it in garden beds.
Daily or every-other-day emptying prevents odors from building up inside your home.
Keep your bin near the main food preparation area so tossing in scraps becomes automatic. Convenient placement makes this habit stick better than keeping the bin in a far corner.
Most families fill a countertop bin every two to three days during regular cooking.
Clean the bin weekly with hot soapy water to prevent residue buildup and lingering smells. A quick scrub keeps everything fresh and sanitary. Some gardeners keep two bins and rotate them so one is always clean and ready.
This system works perfectly for apartment dwellers who take scraps to community gardens or for anyone wanting to streamline their composting routine.
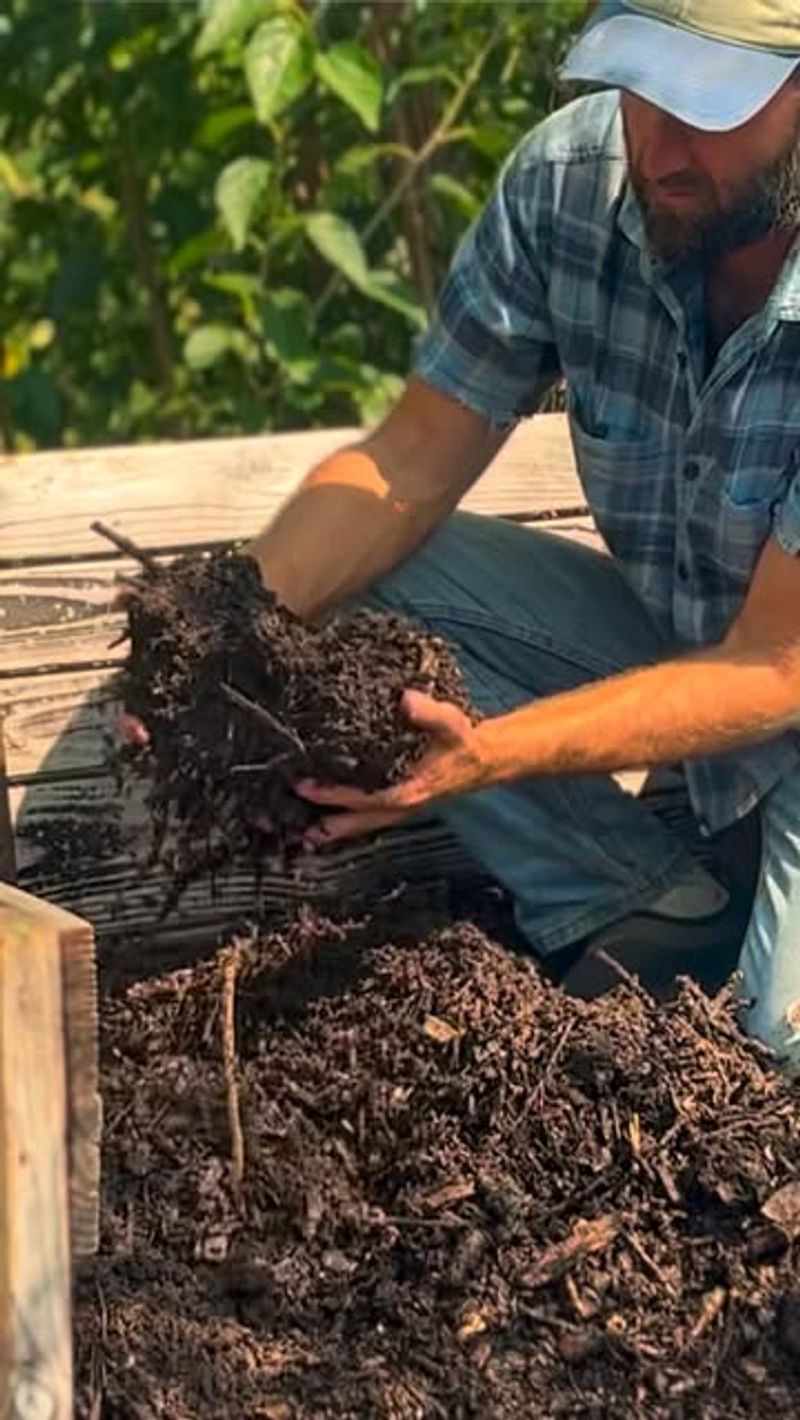
9. Turn Leaf And Scrap Mix Into Rich Garden Humus
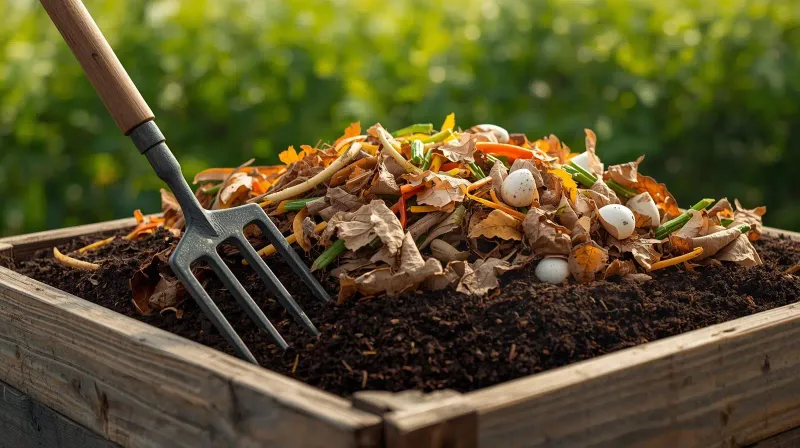
Combining dry leaves with kitchen scraps creates the perfect compost recipe for rich, stable humus. Leaves provide carbon while food scraps add nitrogen, creating the ideal balance for efficient decomposition.
This mixture breaks down into dark, crumbly material that dramatically improves any garden soil.
Collect fallen leaves in autumn and store them in bags or bins for year-round use. Shred leaves with a mower or shredder to speed decomposition.
Smaller leaf pieces mix better with kitchen scraps and break down much faster than whole leaves.
Layer shredded leaves with kitchen scraps in roughly equal volumes for best results. The brown leaves absorb excess moisture from wet scraps while providing structure that allows air circulation.
This combination prevents the soggy, smelly conditions that happen when scraps compost alone.
Turn your leaf and scrap mixture every few weeks to keep oxygen flowing through the pile. Active aeration speeds decomposition and produces finished compost in four to six months.
North Carolina’s mild winters mean composting continues year-round with just slight slowdowns during coldest months.
The finished humus looks uniformly dark with no recognizable leaves or scraps remaining. This stable organic matter improves soil structure, increases water retention, and provides slow-release nutrients.
Spread it generously around perennials, mix it into vegetable beds, or use it as mulch. This method produces the highest quality compost by balancing all the elements nature needs for perfect decomposition.