15 Things You Should Know About Growing Veggie Seeds In A Hydroponics Grow Box
Growing veggie seeds in a hydroponics grow box might sound high-tech, but it’s easier (and more fun) than you’d think. I gave it a shot last year, and now I’m hooked—fresh greens without the dirt? Yes, please.
It’s perfect if you’re short on outdoor space or just love geeking out over garden gadgets. There are a few tricks to getting those seeds started strong, and I learned some of them the hard way.
Here’s what I wish I knew from the beginning!
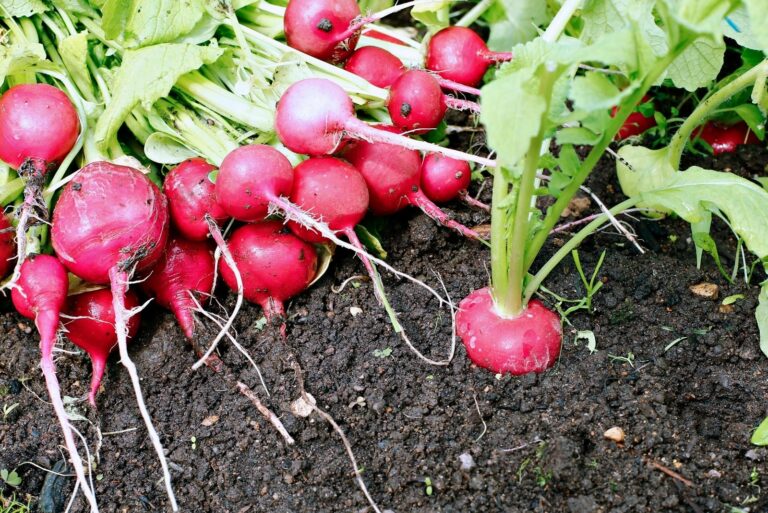
1. Seed Selection Matters
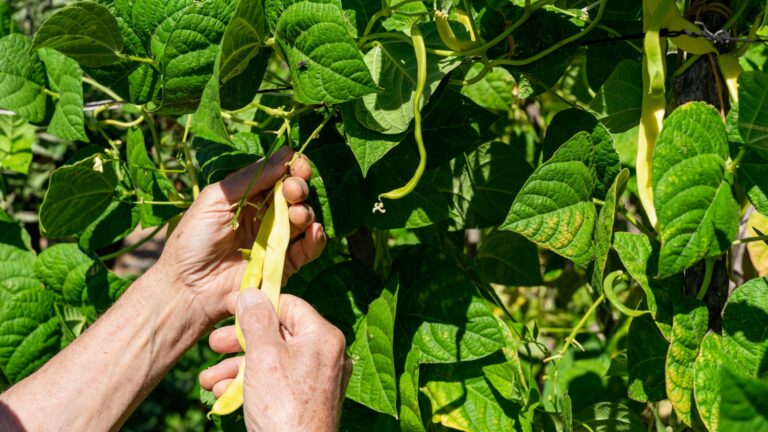
Not all seeds perform equally in hydroponic systems. Look for varieties specifically labeled for hydroponics or those known to thrive in water-based environments. Compact varieties often work best in limited grow box spaces.
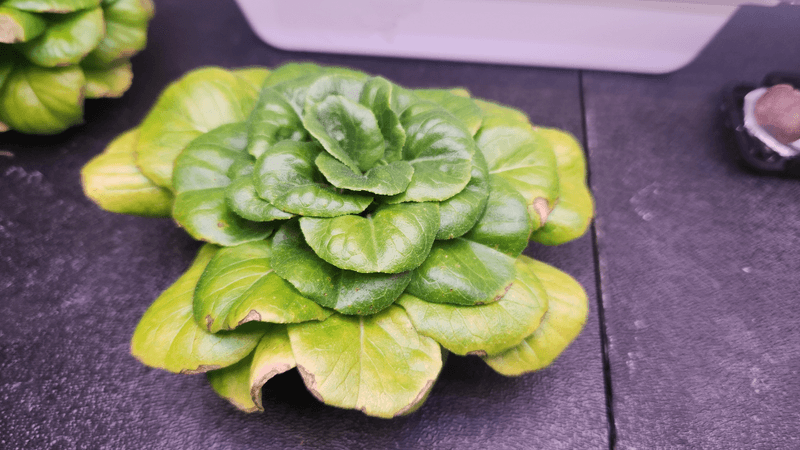
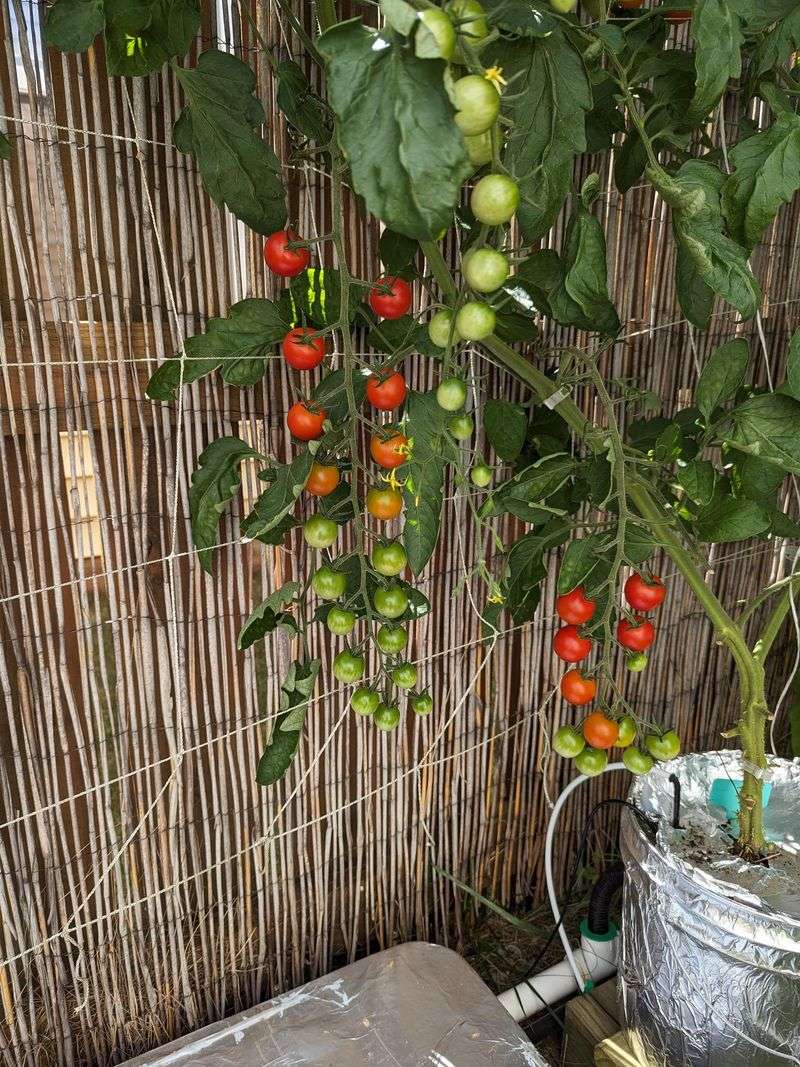
Leafy greens like lettuce and herbs are perfect for beginners, while tomatoes and peppers work well for those with a bit more experience. Always check germination rates before purchasing – fresher seeds with 85%+ germination rates will give you the best results.
2. Germination Methods
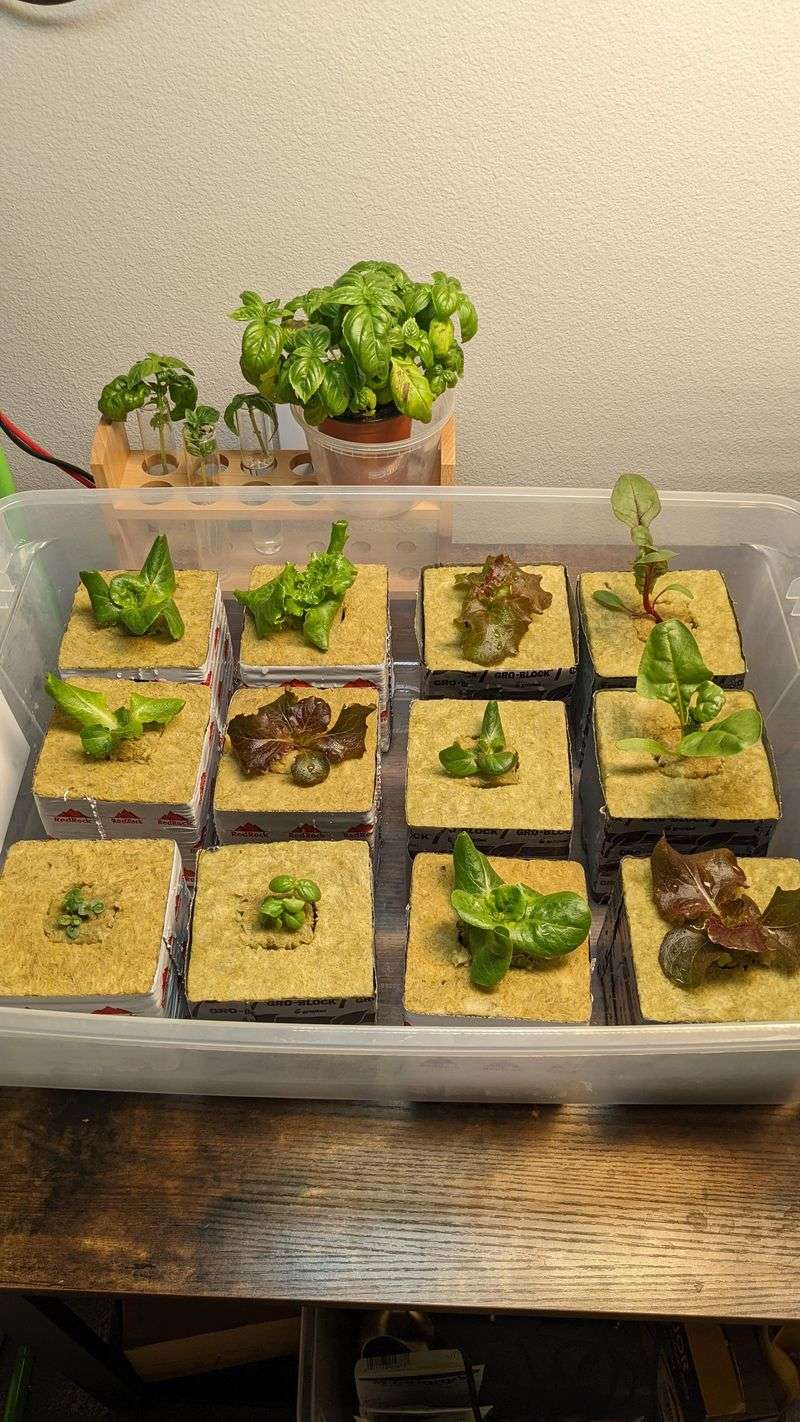
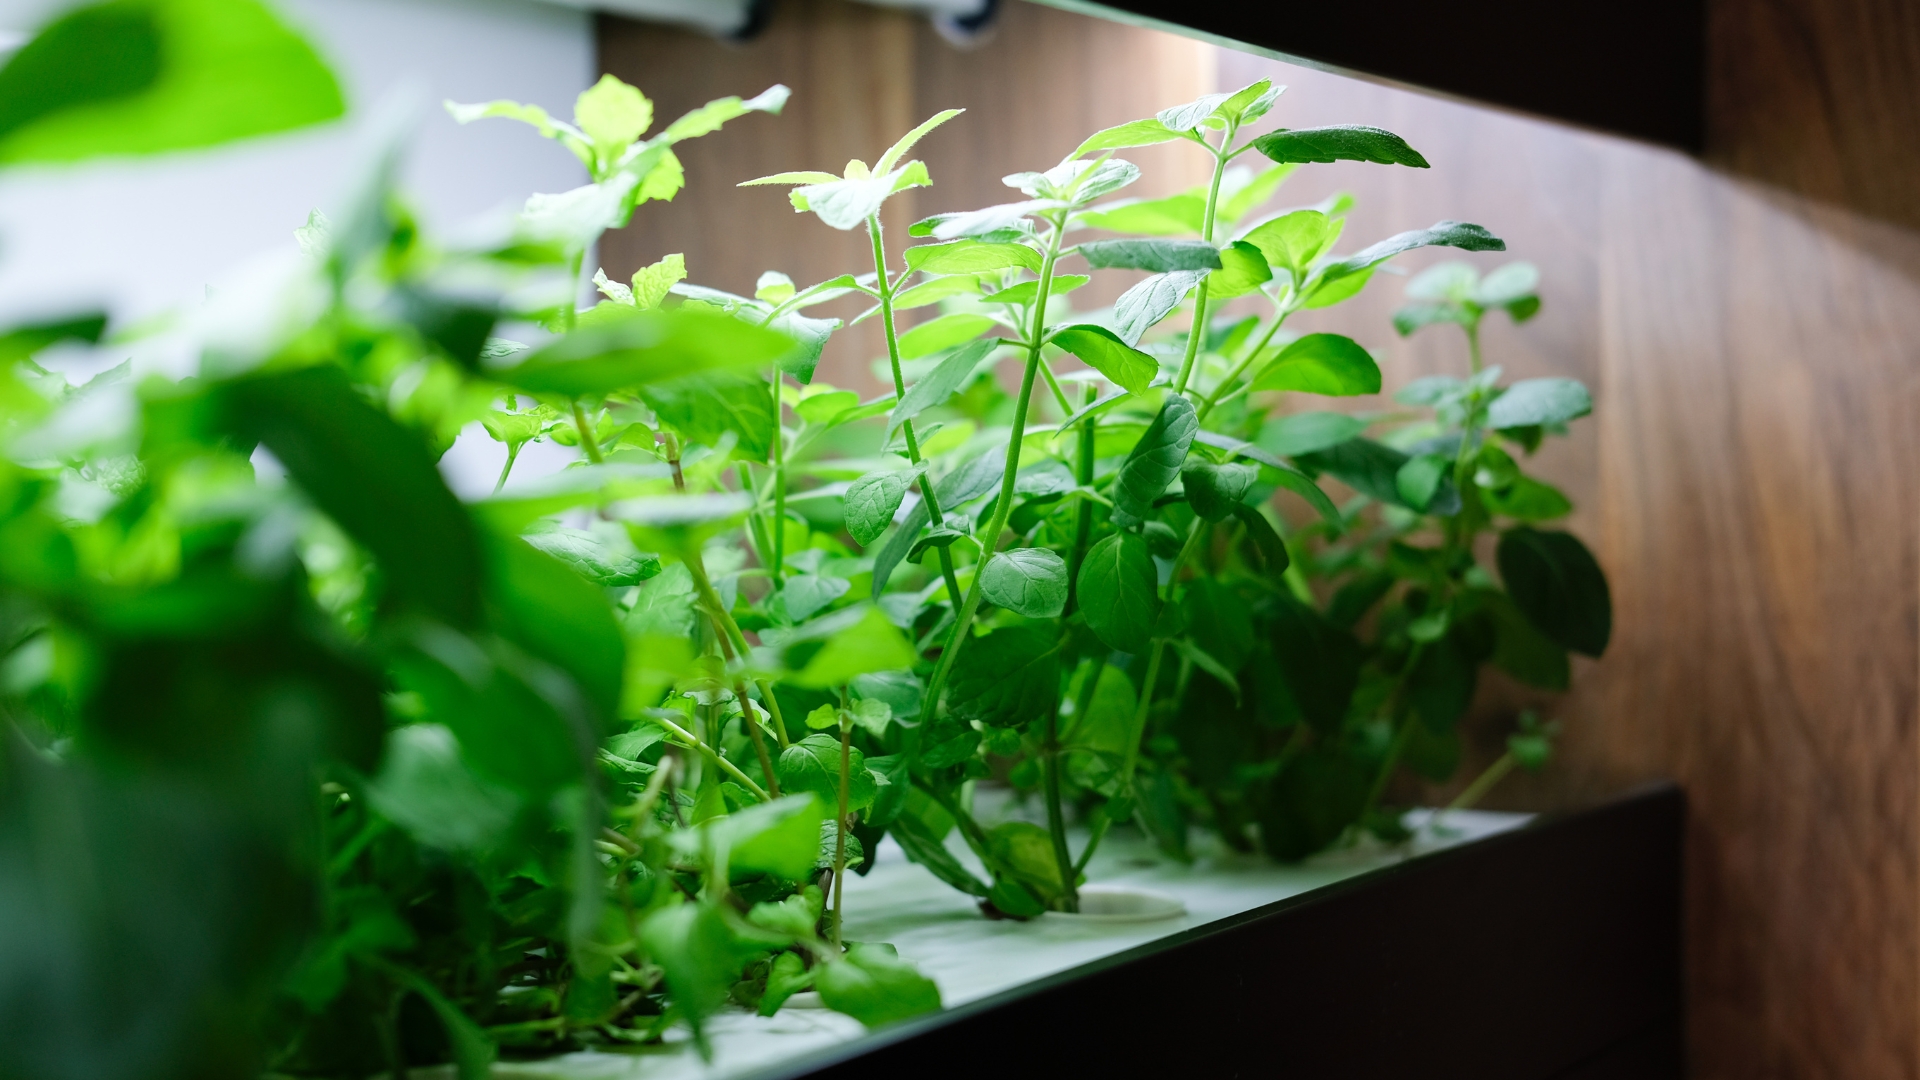
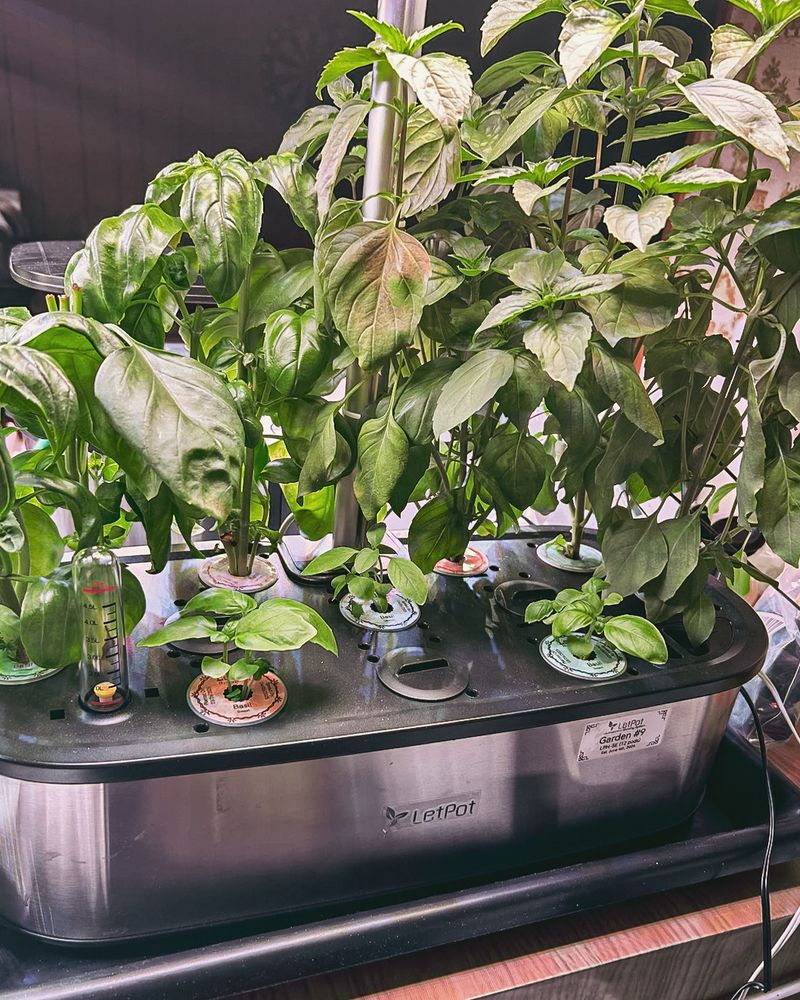
Starting seeds for hydroponics differs from traditional soil methods. Most growers use starter cubes made of rockwool, foam, or coco coir that provide support while allowing roots to access water and oxygen.
Keep germinating seeds in a warm, humid environment between 70-80°F. A simple seed tray with a humidity dome works perfectly. Some seeds need light to germinate while others prefer darkness, so research your specific varieties before starting the process.
3. pH Perfection
Maintaining proper pH levels is absolutely crucial for successful hydroponic growing. Most vegetables prefer a slightly acidic environment between 5.5-6.5 pH. Invest in a reliable digital pH meter rather than relying on color-changing test strips for accuracy.
Check your nutrient solution’s pH daily, as it can drift quickly. Make adjustments using pH up (potassium hydroxide) or pH down (phosphoric acid) solutions. Small, gradual changes are better than dramatic swings that can shock your plants and stunt growth.
4. Nutrient Balance
Plants need different nutrients during various growth stages. Seedlings require less concentrated nutrient solutions than mature plants – typically start with half-strength solutions to prevent nutrient burn.
The three primary nutrients are nitrogen (leaf growth), phosphorus (root development), and potassium (overall health). Secondary nutrients like calcium, magnesium, and sulfur are equally important. Most hydroponic nutrients come in two-part formulas to prevent certain minerals from reacting with each other before being added to water.
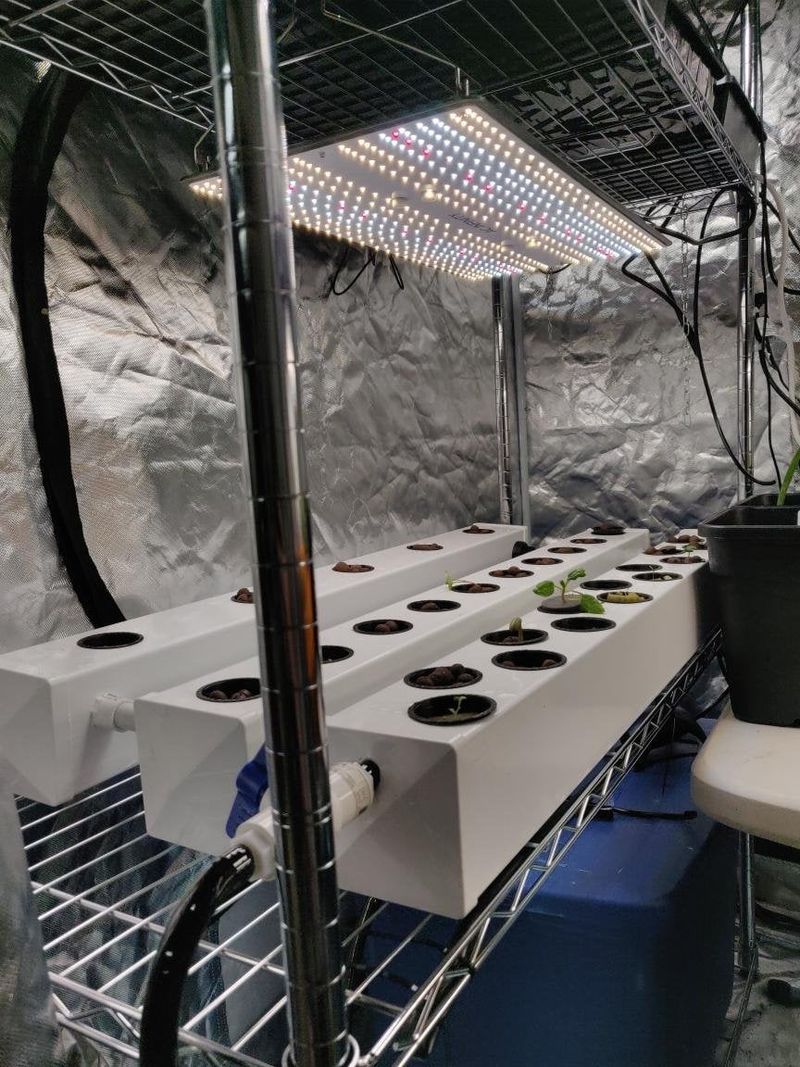
5. Light Requirements
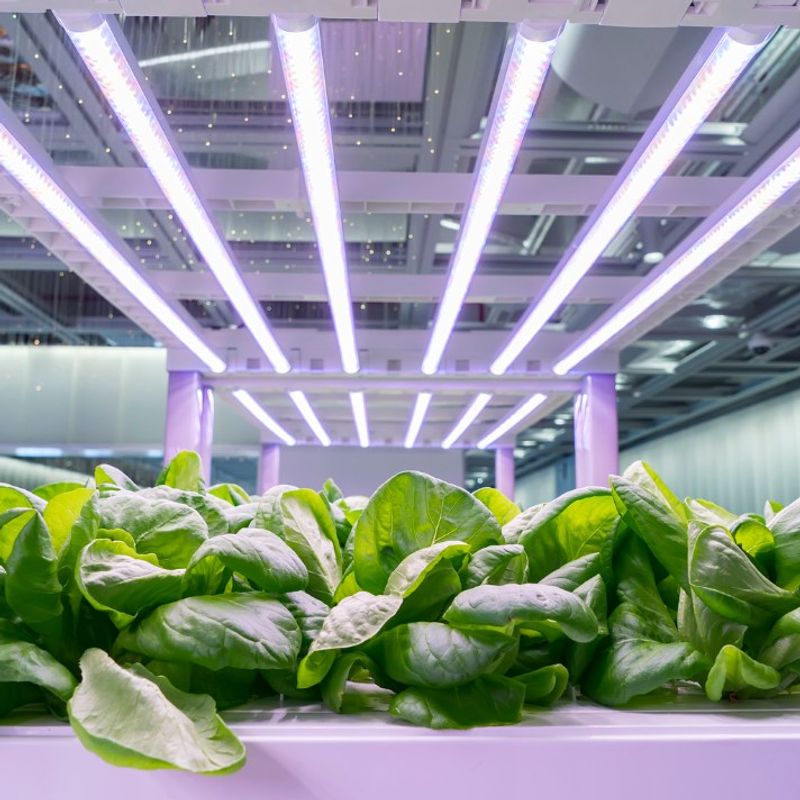
Light is the energy source for plant growth, and getting it right makes all the difference. Most vegetables need 14-16 hours of light daily. LED grow lights are energy-efficient and produce less heat than older options like fluorescent or HID lighting.
Position lights 12-18 inches above seedlings, moving them higher as plants grow. Different growth stages require different light spectrums – blue light promotes vegetative growth while red light encourages flowering and fruiting. Full-spectrum LEDs provide the complete light range plants need.
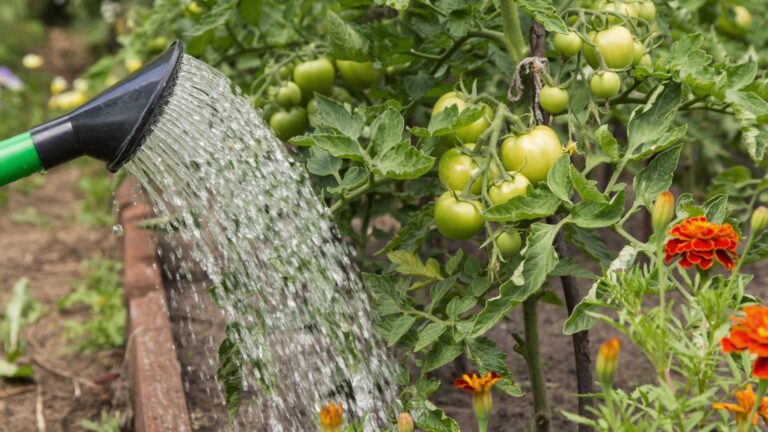
6. Water Quality
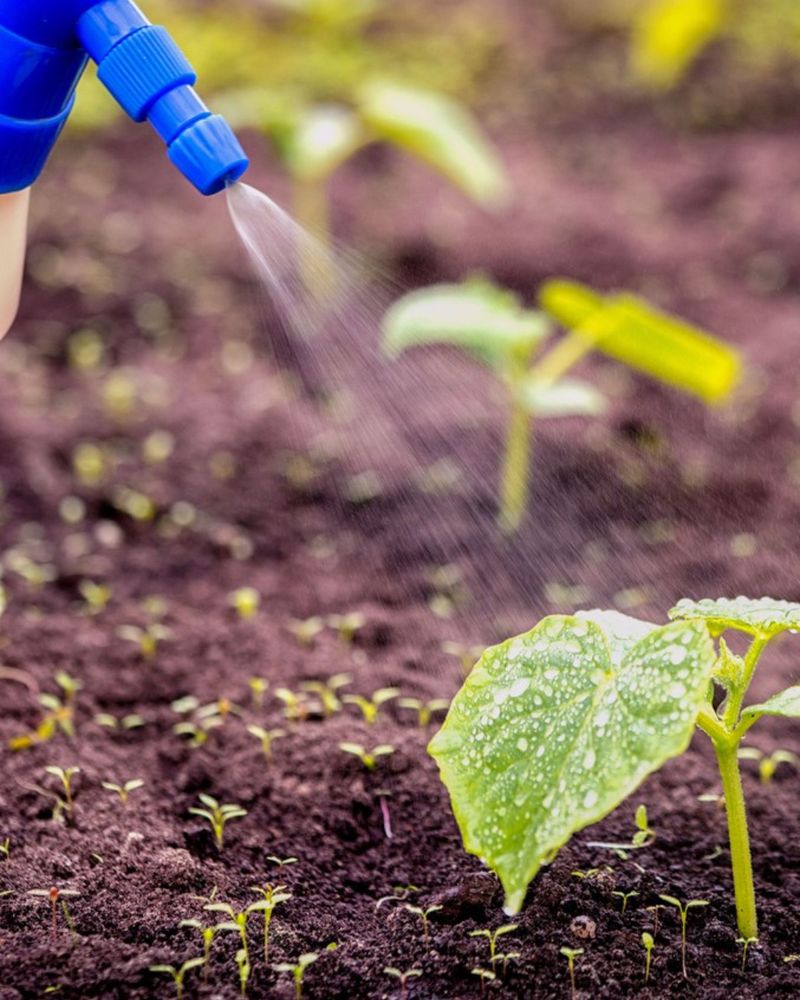
The foundation of hydroponics is water, making its quality paramount to success. Tap water often contains chlorine and other chemicals that can harm plants. Let tap water sit out for 24 hours to allow chlorine to evaporate, or use a simple carbon filter.
Hard water with high mineral content can throw off nutrient balances. Consider using filtered water, reverse osmosis water, or rainwater for best results. Always start with room temperature water when mixing nutrients to ensure proper dissolution and prevent shocking plant roots.
7. Temperature Control
Most vegetables thrive when the nutrient solution stays between 65-75°F (18-24°C). Warmer temperatures reduce oxygen levels in water and can promote algae growth, while cooler temperatures slow plant metabolism and nutrient uptake.
Air temperature around plants should be slightly warmer than water temperature. Consider adding a small fan for air circulation, which strengthens stems and reduces humidity-related issues. Some grow boxes come with built-in temperature controls, but standalone thermometers work well for monitoring.
8. Growing Medium Choices
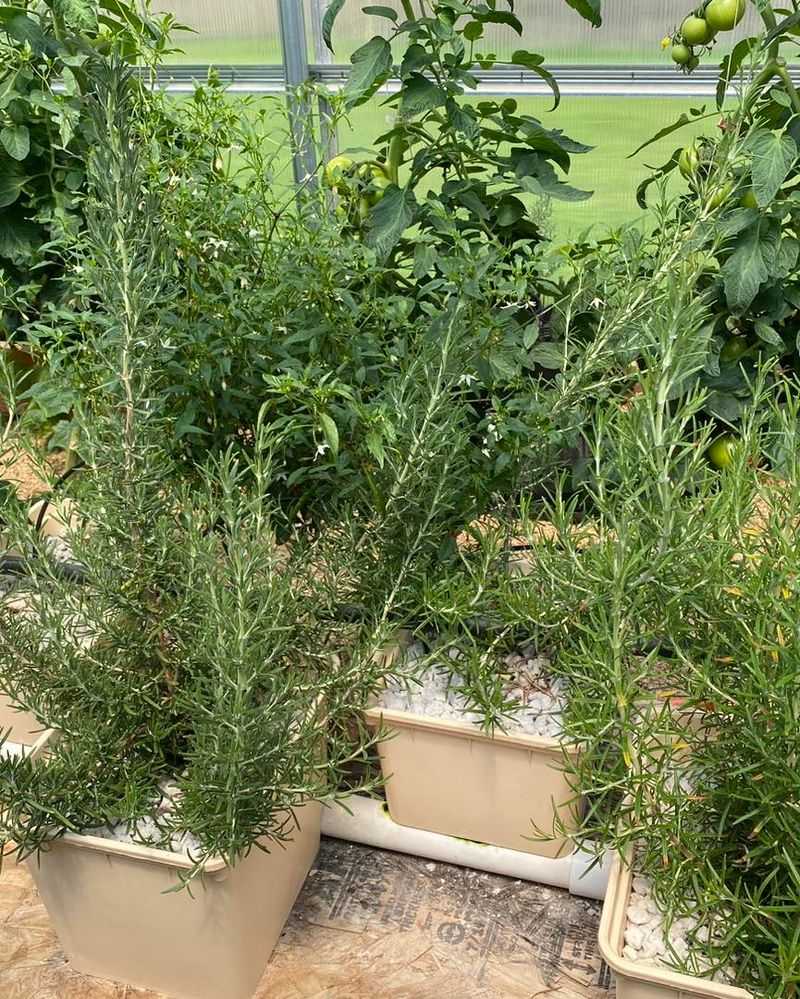
Even without soil, hydroponic plants need something to support their roots. Popular options include clay pellets (LECA), coconut coir, perlite, and vermiculite. Each medium has different properties regarding water retention, aeration, and pH neutrality.
Clay pellets are reusable and provide excellent drainage and aeration. Coconut coir retains moisture well and is environmentally friendly. Some growers use combinations like perlite mixed with vermiculite to create custom mediums with ideal characteristics for specific plants.
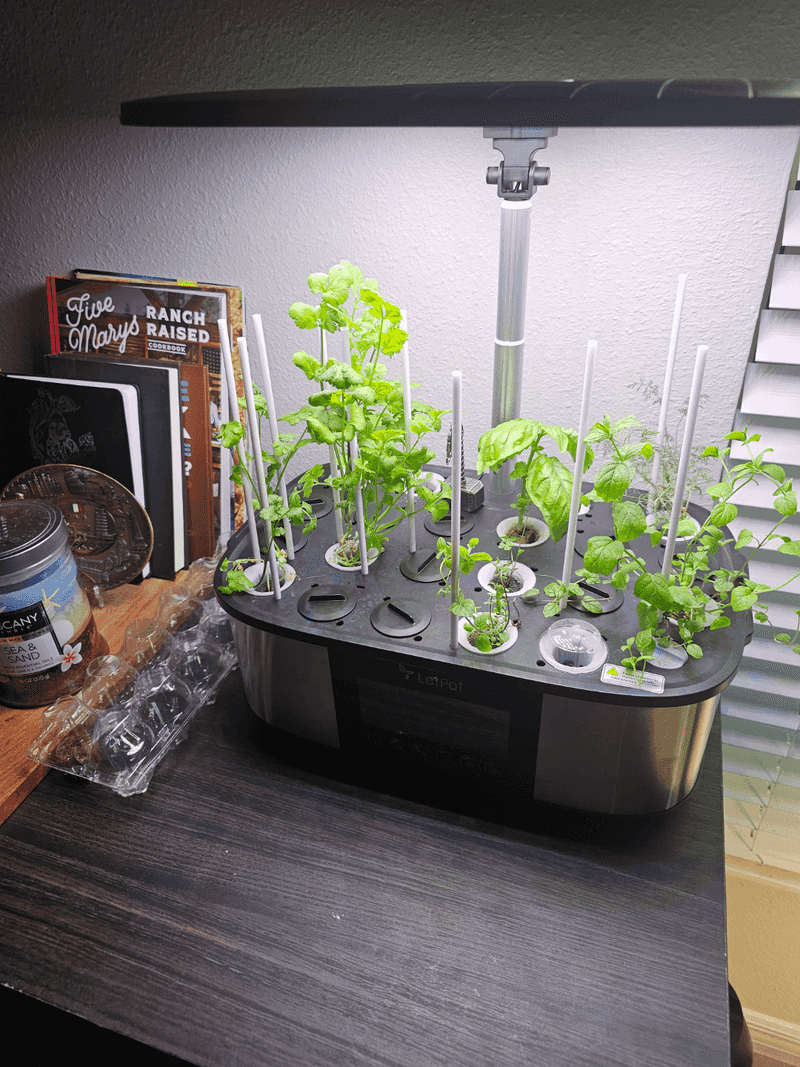
9. System Types
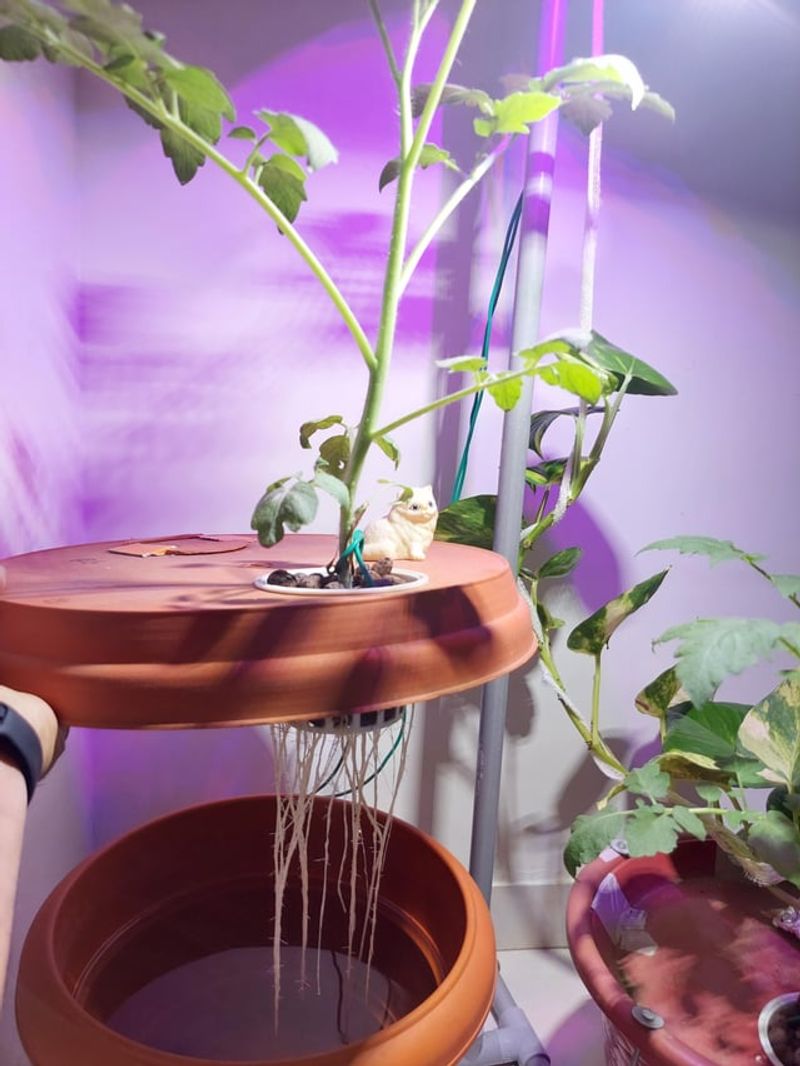
Different hydroponic systems offer varying advantages for seed starting. Deep Water Culture (DWC) suspends plants directly in nutrient solution and is simple for beginners. Nutrient Film Technique (NFT) creates a continuous flow of nutrients over roots.
Ebb and flow systems periodically flood plants with solution, then drain away. Drip systems slowly feed plants with nutrient solution. For seed starting specifically, many growers use simple static systems where seedlings sit in shallow nutrient solution until developing strong enough roots for transfer.
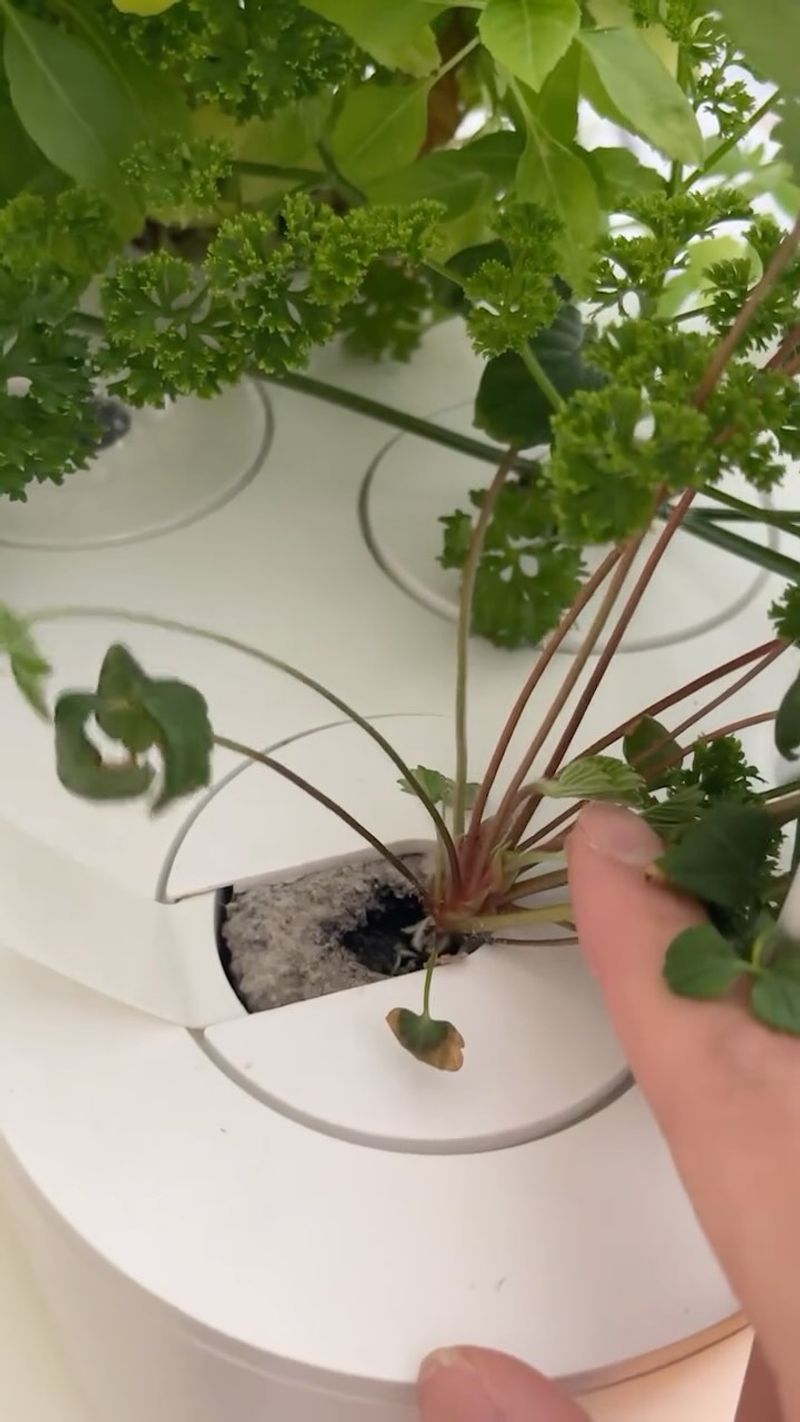
10. Transplanting Techniques
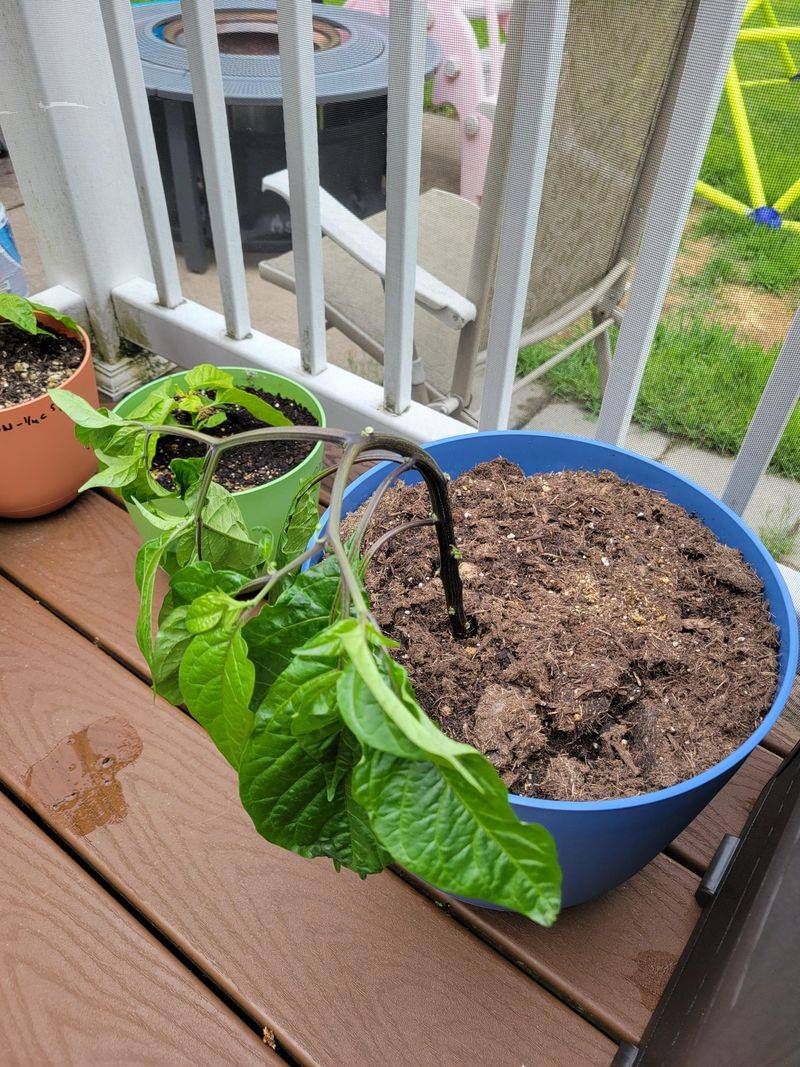
Moving seedlings from germination medium to your hydroponic system requires gentle handling. Wait until seedlings develop 2-3 true leaves and a healthy root system before transplanting. The best time to transplant is early morning or evening when plants are less stressed.
Rinse seedling roots gently if moving from a soil medium. When transferring between hydroponic mediums, keep roots moist throughout the process. Allow newly transplanted seedlings a recovery period by reducing light intensity and nutrient strength for the first few days.
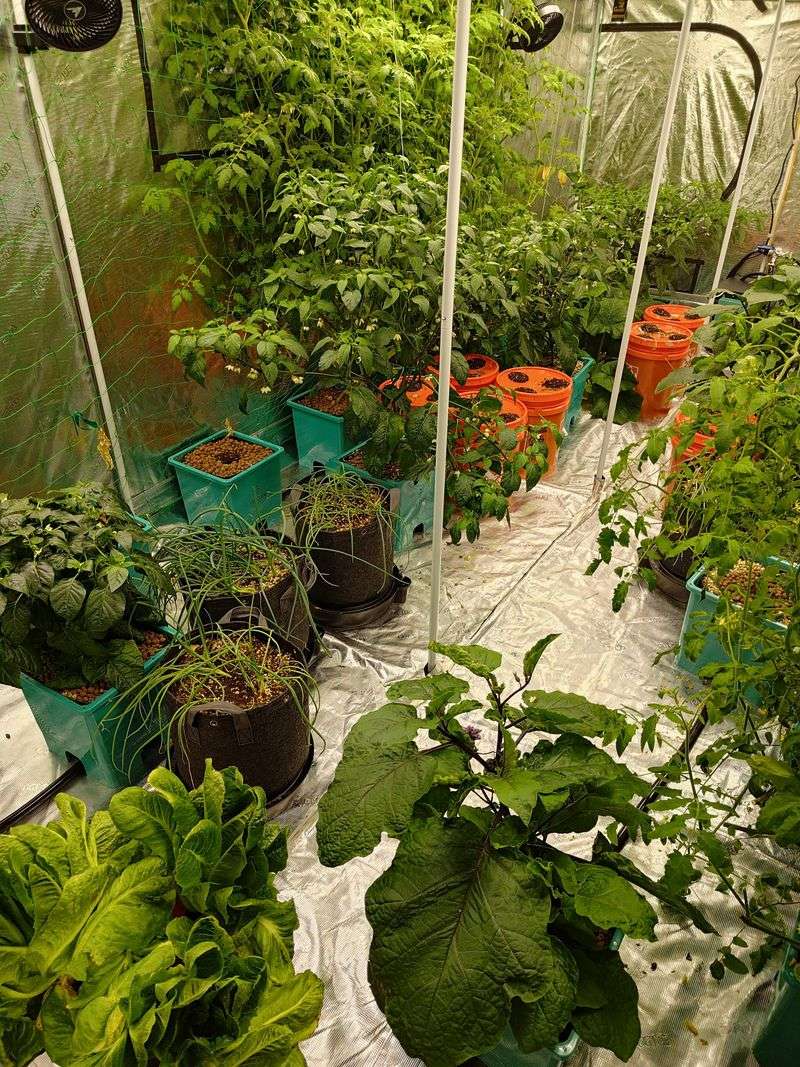
11. Spacing Requirements
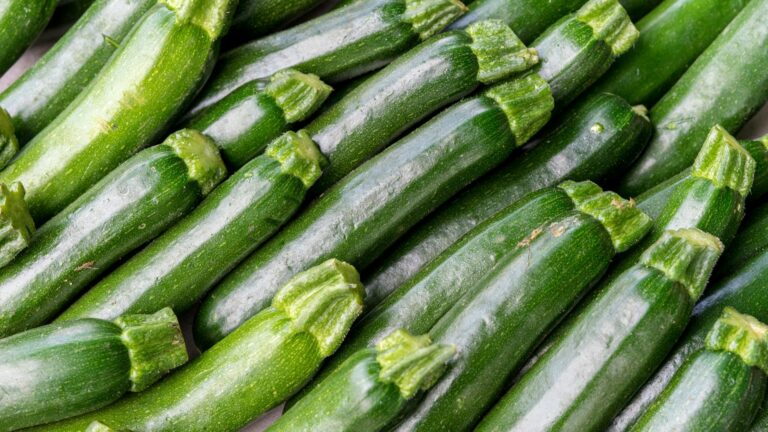
Proper spacing prevents competition for light and nutrients while maximizing your grow box capacity. Leafy greens like lettuce need about 6-8 inches between plants, while fruiting plants like tomatoes need 10-12 inches minimum.
Consider mature plant size when planning your layout. Overcrowding leads to poor air circulation and increased disease risk. Some plants, like herbs, can grow closer together than fruiting vegetables. For vertical grow systems, remember that upper plants may shade lower ones unless properly arranged.
12. Preventing Algae Growth
Algae competes with your plants for nutrients and oxygen while potentially harboring pests. Keep light away from your nutrient solution by using opaque containers or covering exposed areas with reflective material. Regular cleaning of your system prevents buildup of organic matter.
Change nutrient solution completely every 1-2 weeks. Some growers add food-grade hydrogen peroxide (3%) at very dilute levels (1ml per liter) to help prevent algae. Maintaining proper water temperature below 70°F also discourages algae growth while still keeping plants happy.
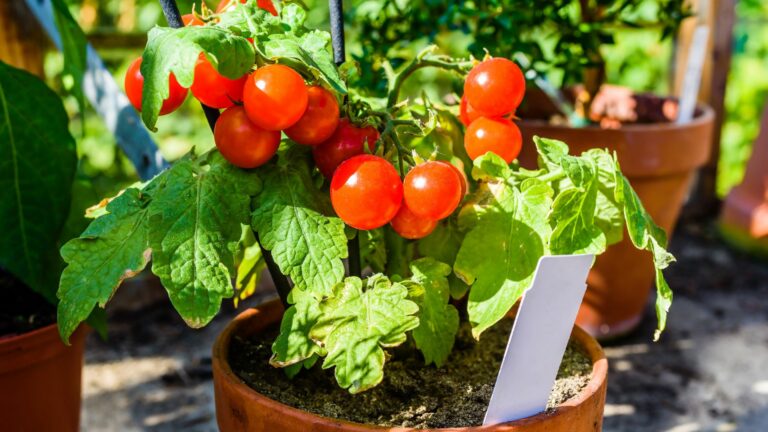
13. Pollination Methods
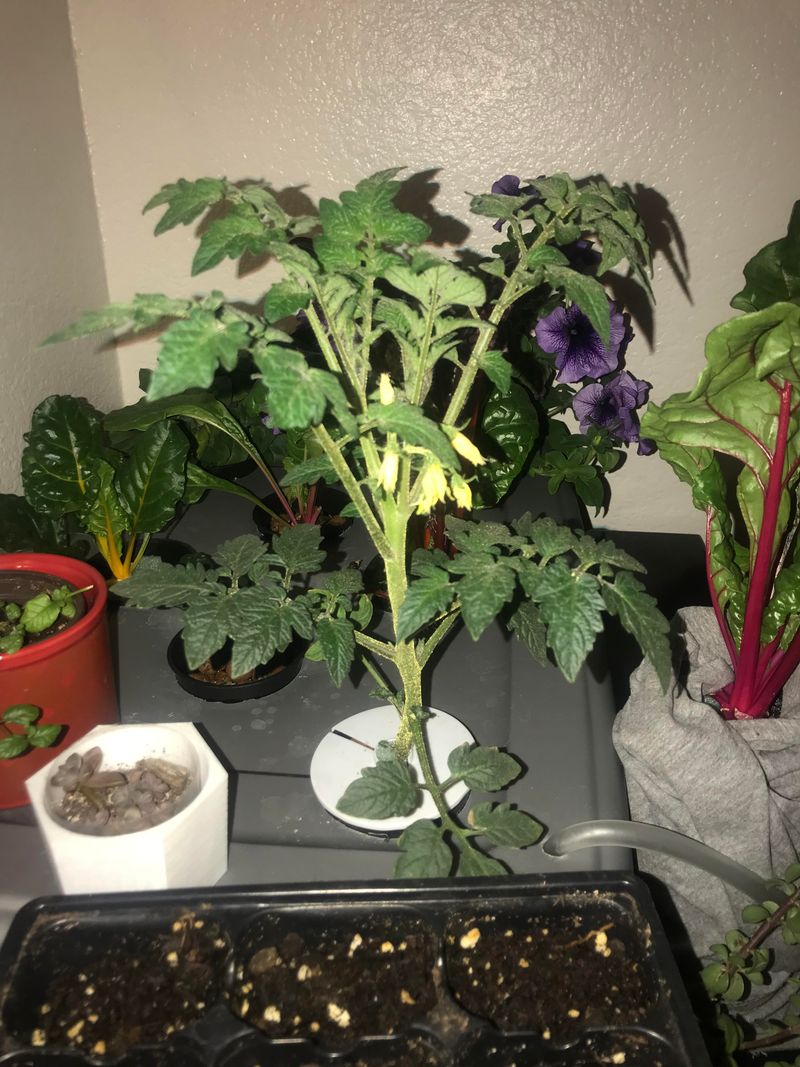
Fruiting plants like tomatoes and peppers need pollination to produce vegetables. Without outdoor breezes and insects, you’ll need to hand-pollinate. Use a small paintbrush to gently transfer pollen between flowers, or lightly shake flowering stems to distribute pollen.
Some plants are self-pollinating but still benefit from assistance. Electric toothbrushes provide gentle vibration that mimics bees’ wing movements. Timing matters too – pollen is most viable mid-morning when flowers are fully open but before high temperatures might reduce pollen viability.
14. Troubleshooting Common Issues
Yellow leaves often indicate nutrient deficiencies – nitrogen deficiency affects lower leaves first, while iron deficiency appears in new growth. Curling leaves typically signal temperature stress or improper pH levels that prevent nutrient absorption.
Leggy, stretched seedlings need more light or closer light placement. Root browning suggests oxygen deficiency or disease. Keep a journal of problems and solutions to track patterns. Taking photos regularly helps identify issues early, when they’re easier to correct.
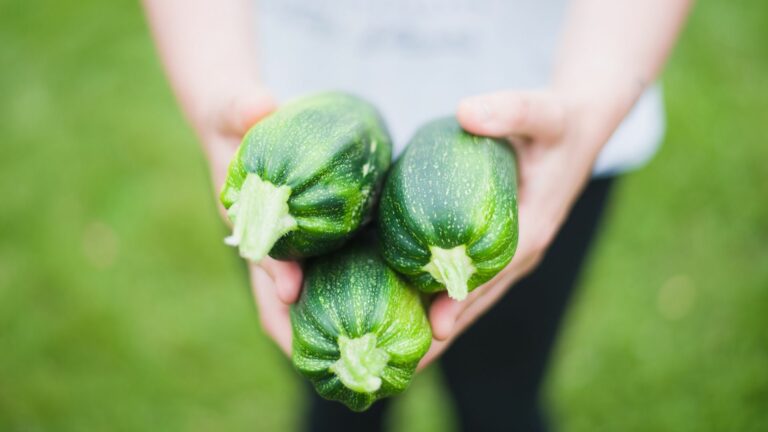
15. Harvesting Strategies
Harvest timing affects both flavor and your system’s productivity. For leafy greens, harvest outer leaves first while leaving inner growth intact for continuous production. This “cut-and-come-again” approach maximizes yield from a single planting.
Harvest herbs just before flowering for best flavor concentration. Morning harvesting provides the highest level of essential oils in herbs. For fruiting vegetables, frequent harvesting encourages plants to produce more. Clean scissors or shears prevent damage to remaining plant parts.