15 Veggies You Can Easily Grow In A Cup (Perfect For Tiny Spaces)

Dreaming of homegrown veggies but stuck without a yard? No worries—your sunny windowsill has all the magic you need. With just a cup, some soil, and a little light, you can start a mini-garden right inside your home.
From leafy greens to tiny tomatoes, plenty of veggies grow beautifully in small containers. These pint-sized patches are perfect for apartments, dorm rooms, or anyone craving fresh produce in tight spaces. It’s simple, satisfying, and surprisingly fun.
No yard? No problem—your indoor garden might just become your favorite corner of the house.
1. Radishes
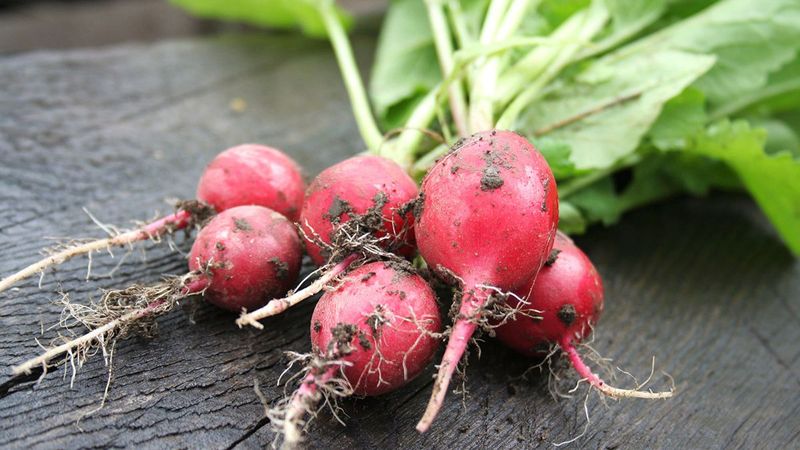
Growing these little red gems takes just 3-4 weeks from seed to harvest. I started with radishes because they’re nearly foolproof and give quick results when you’re new to container gardening.
The shallow root system makes them ideal for cups. Just fill a coffee mug with potting soil, plant 4-5 seeds about half an inch deep, and thin to the strongest two seedlings once they sprout.
Water them when the top inch of soil feels dry. My first batch grew on my kitchen counter where I wouldn’t forget about them, and they turned out perfectly crisp and peppery.
2. Green Onions
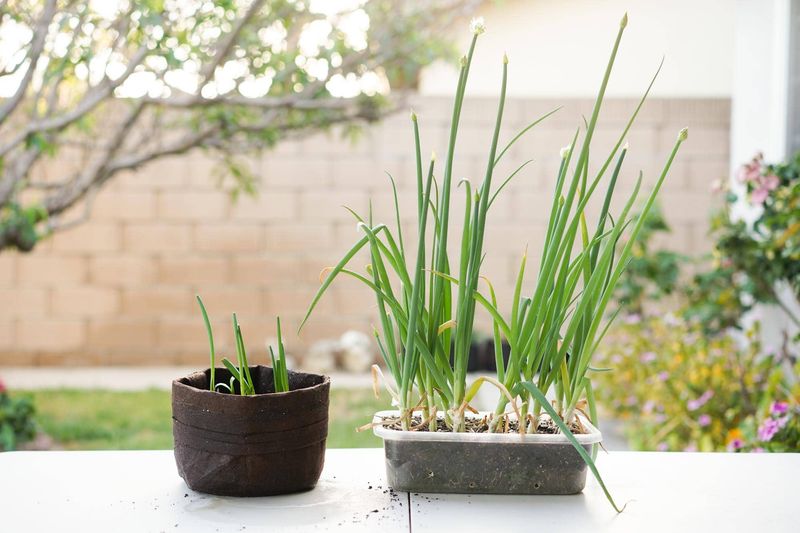
Simply place the white root ends from store-bought green onions in a glass with a bit of water. Within days, you’ll see new green shoots emerging – one of the easiest growing projects I’ve ever tried.
Change the water every few days to keep it fresh. Once roots develop further, you can transfer them to a small cup with soil for even better growth and flavor.
Harvest just what you need by snipping the green tops, leaving about an inch above the soil. They’ll regrow multiple times, making them incredibly economical for adding flavor to almost any dish.
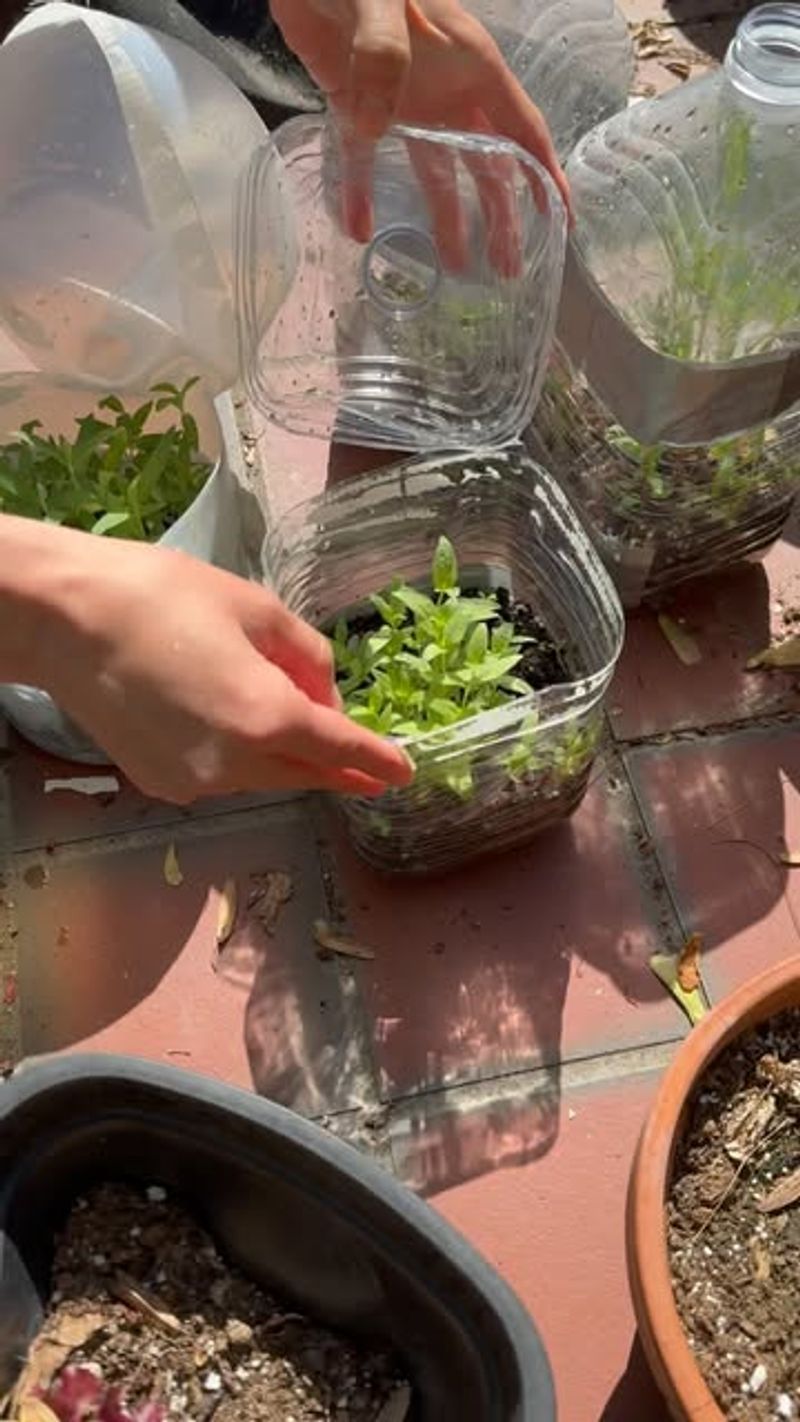
3. Microgreens
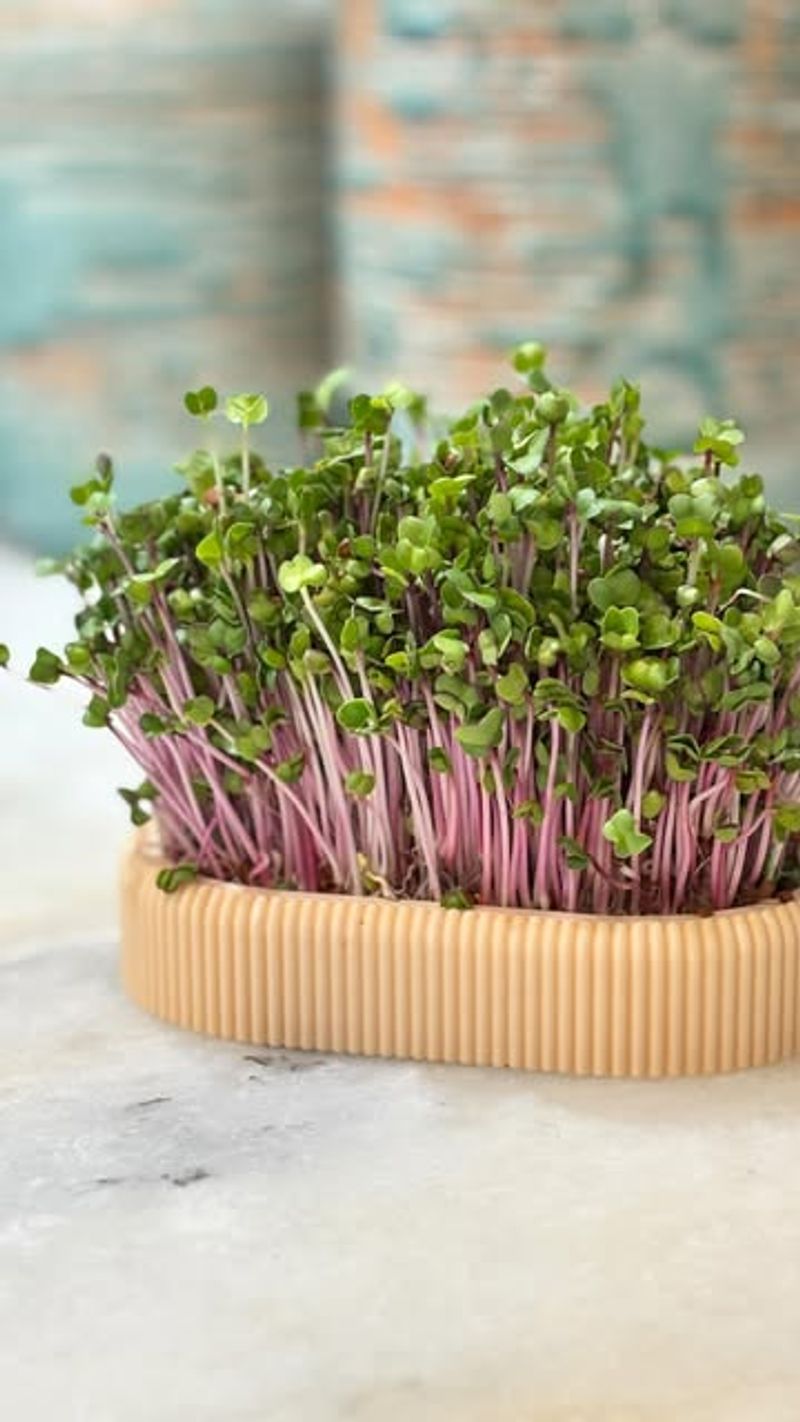
Packed with nutrients, these baby greens are ready to harvest in just 7-14 days. Sprinkle seeds densely across the surface of moist soil in a shallow cup or container.
Cover lightly with a thin layer of soil, mist with water, and place in a bright spot. My apartment faces north, so I keep mine on the kitchen counter under a small grow light I got online for about $15.
Snip them with scissors when they’re 1-2 inches tall and have their first true leaves. Try broccoli, kale, or sunflower seeds for different flavors – broccoli microgreens are my personal favorite for adding to sandwiches.
4. Lettuce
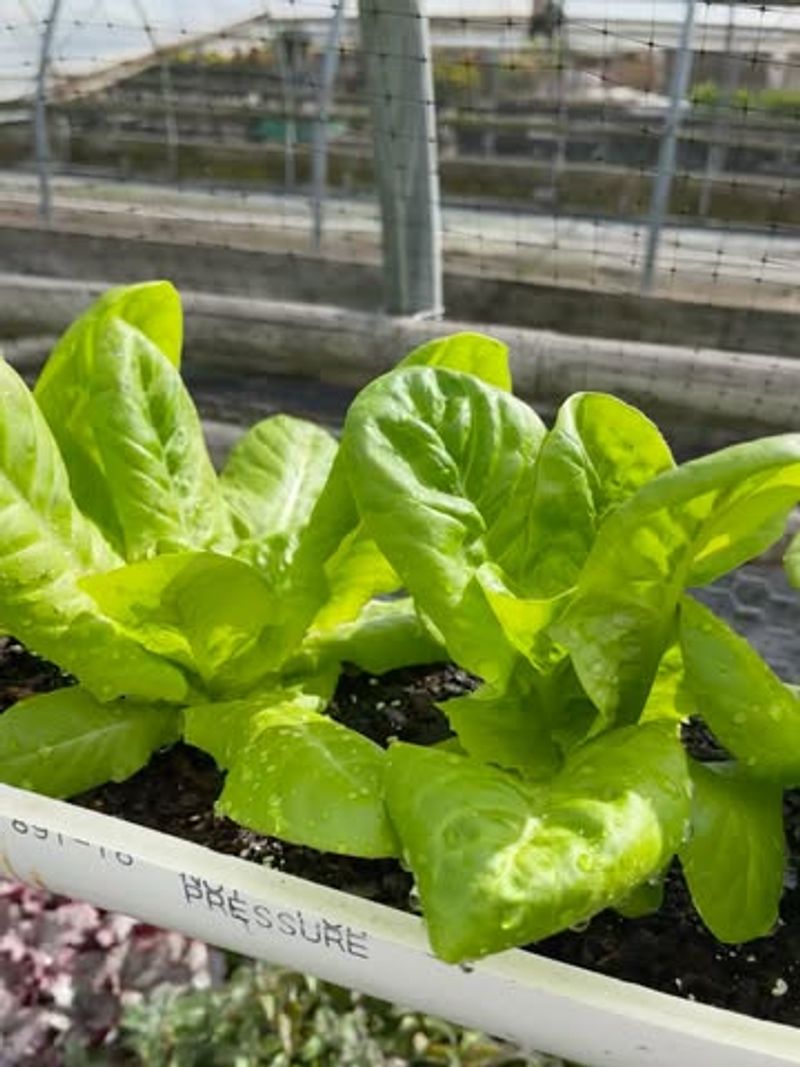
Loose-leaf varieties work wonderfully in cups since you can harvest outer leaves while the plant continues growing. Found this out by accident when I was trying to use up old lettuce seeds from a gardening gift set.
Choose a cup at least 4 inches deep with drainage holes. Plant seeds just barely covered with soil, then thin to one strong seedling per cup once they sprout.
Keep the soil consistently moist but not soggy. My lettuce grows best in bright, indirect light – direct afternoon sun caused mine to bolt (go to seed) too quickly.
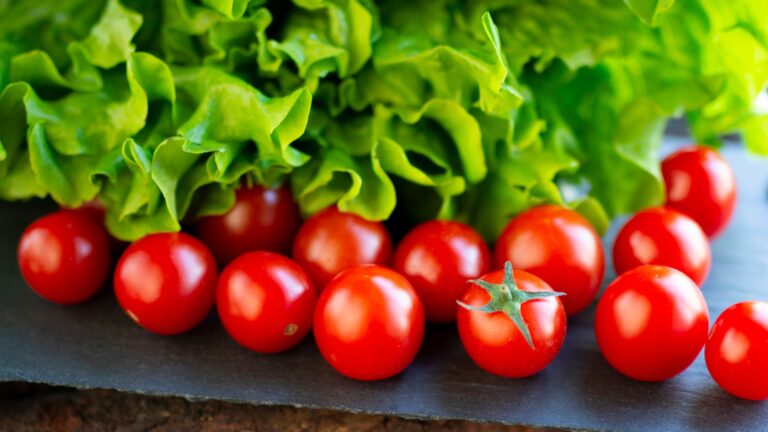
5. Cherry Tomatoes
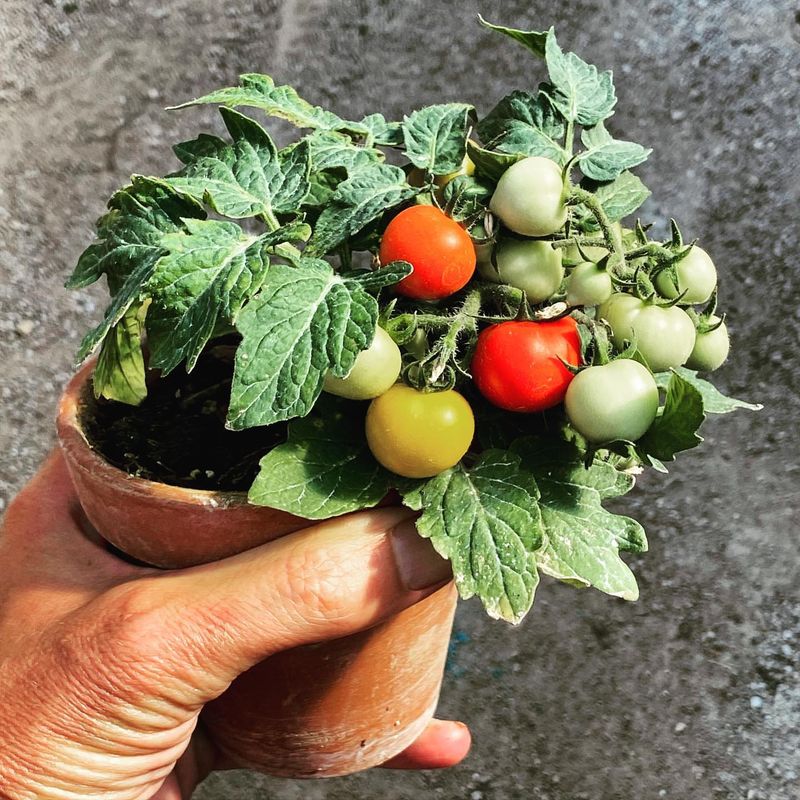
Dwarf varieties like ‘Tiny Tim’ or ‘Micro Tom’ can produce fruit in containers as small as 6-8 inches. Start with a seedling rather than seeds for faster results – I picked mine up from the farmers market last spring.
Use a deeper cup or repurpose a large yogurt container with drainage holes. These little plants need at least 6 hours of direct sunlight daily to produce fruit.
Stake them with a chopstick or small stick as they grow. Water consistently and feed with diluted tomato fertilizer every two weeks. Nothing beats the satisfaction of plucking tiny tomatoes from your windowsill plant!
6. Spinach
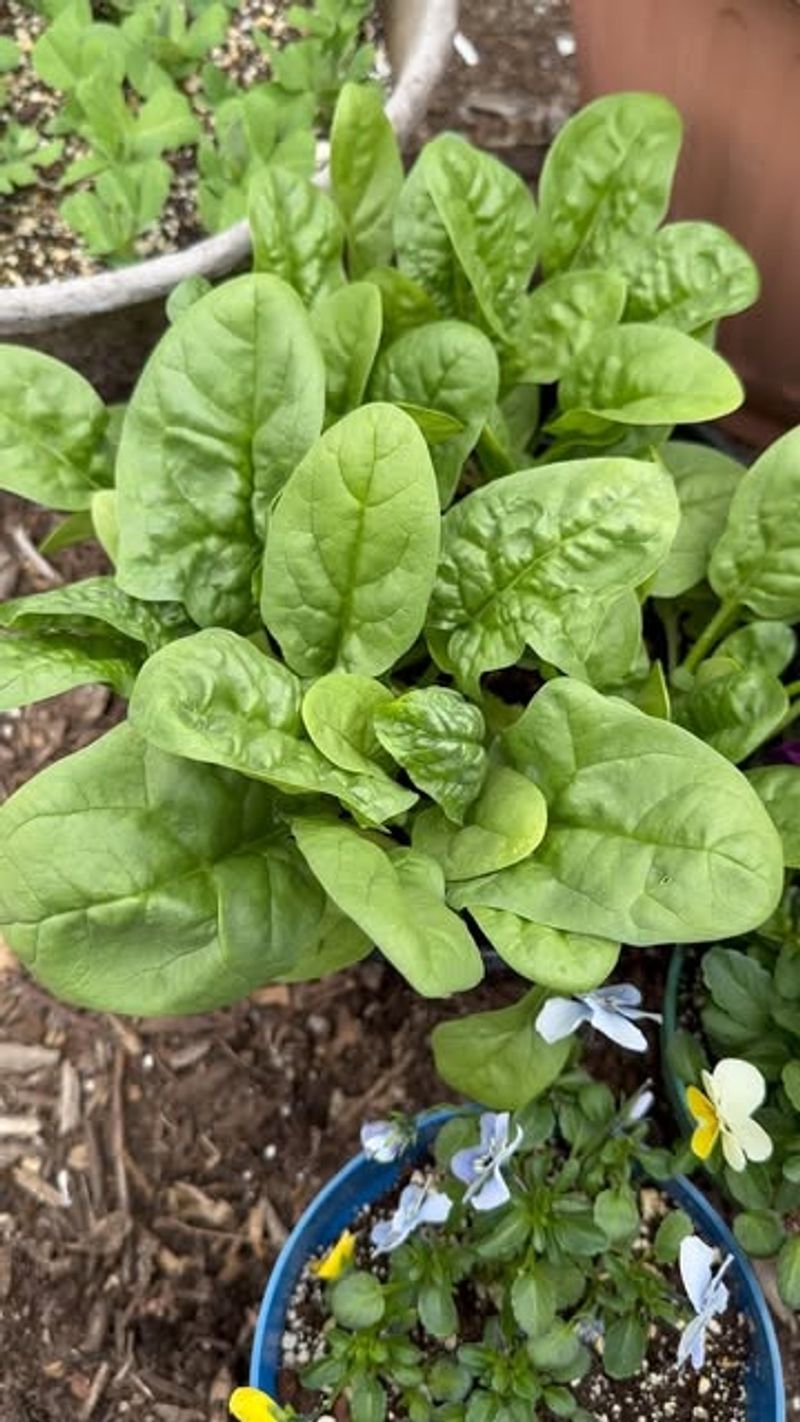
Baby spinach leaves can be harvested just 30 days after planting, making them perfect for impatient gardeners. Sow seeds about half an inch apart in a wide, shallow container.
Keep soil consistently moist and place in partial sun – too much heat will make spinach bitter and bolt quickly. During winter, my spinach thrived on my south-facing windowsill where summer plants would have fried.
Harvest outer leaves first by snipping them about an inch above the soil line. The inner leaves will continue growing for multiple harvests. Morning harvests taste sweetest – learned that tip from my grandmother.
7. Garlic Greens
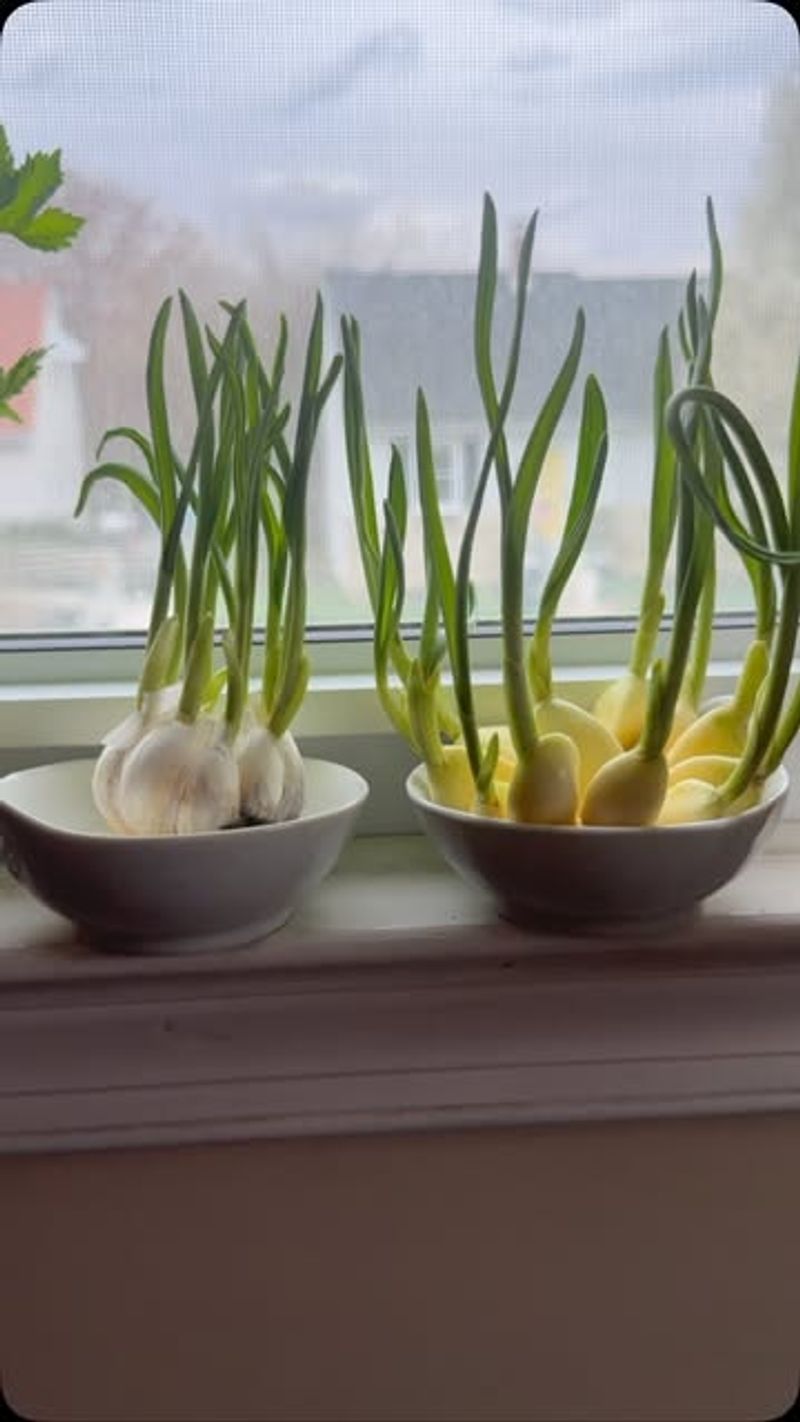
Place a few cloves from a garlic bulb (pointy end up) in a small cup with an inch of water. Within days, green shoots will appear that taste like mild garlic – perfect for garnishing dishes.
After roots develop, transfer to a cup with soil, leaving the top third of each clove exposed. The greens grow quickly in bright light, ready for snipping within a couple of weeks.
Unlike growing full garlic bulbs (which takes months), these greens give quick satisfaction. They’ve become my go-to for adding flavor to soups and salads when I don’t have time to run to the store.
8. Bok Choy
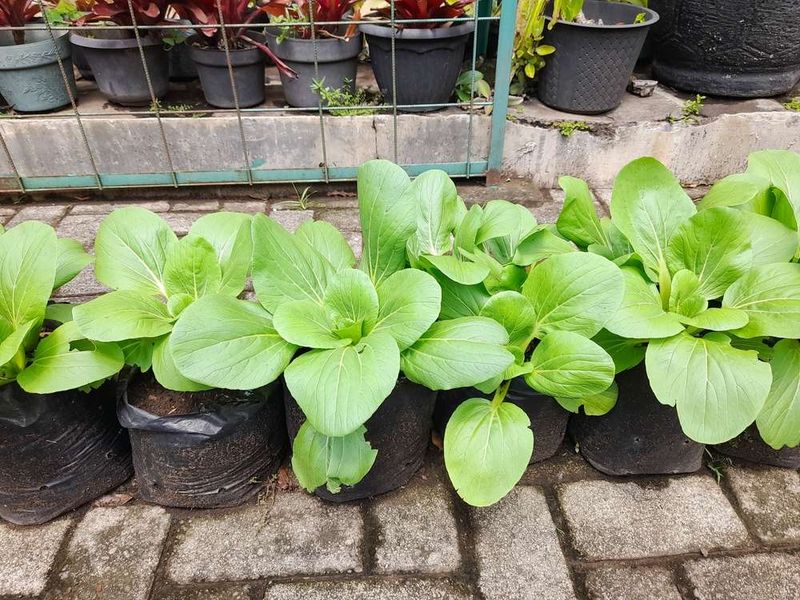
Mini varieties mature in just 30-40 days, making them ideal for small-space growing. Plant seeds in a cup at least 4 inches deep, thinning to one plant once seedlings reach about 2 inches tall.
Water from the bottom by placing the drainage cup in a shallow dish of water for 10 minutes, then removing it. This prevents the crown from rotting – a mistake I made with my first attempt.
Harvest outer leaves individually or cut the entire plant about an inch above the soil – it will often regrow for a second harvest. During winter, mine grew slowly but produced sweeter leaves than summer-grown plants.
9. Mustard Greens
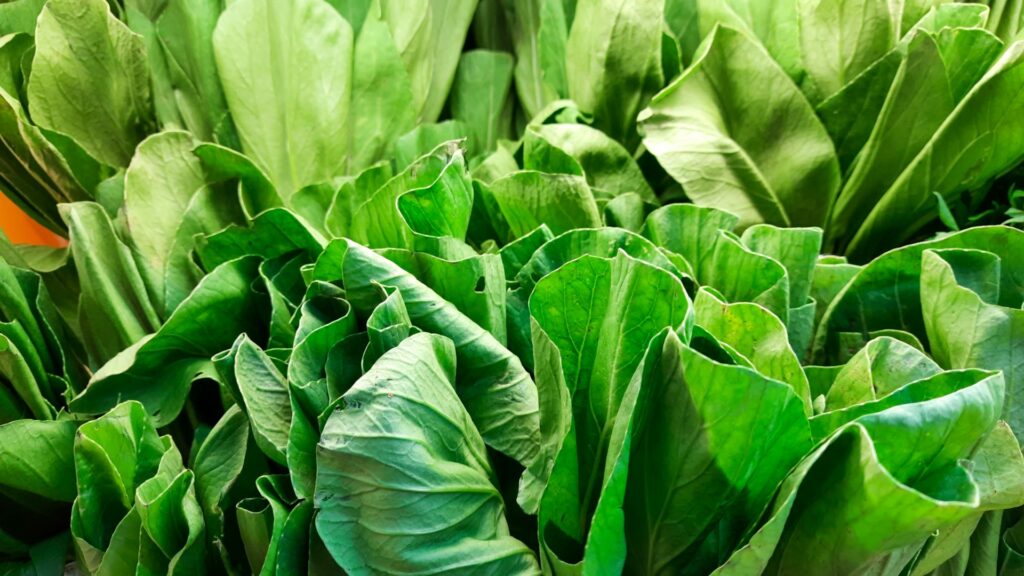
Compact varieties like ‘Spicy Globe’ or ‘Greek Dwarf’ stay naturally small and bushy. Start with seeds or take a cutting from an existing plant – I’ve had success rooting cuttings from store-bought basil.
Use well-draining soil in a cup at least 4 inches deep. Place in your sunniest spot – basil loves heat and light. Pinch off flower buds as soon as they appear to keep the plant producing leaves longer.
Harvest from the top down, cutting stems just above a set of leaves to encourage branching. Fresh basil right from your windowsill makes even the simplest pasta dish taste restaurant-quality.
10. Kale

Dwarf varieties like ‘Dwarf Blue Curled’ stay compact while providing nutrient-dense leaves. Plant seeds in a cup at least 6 inches deep, as kale develops a stronger root system than lettuce or spinach.
Thin to one plant per cup when seedlings have their first true leaves. Kale actually tastes sweeter after exposure to cold, making it perfect for winter windowsills – discovered this happy accident during a chilly apartment winter.
Harvest outer leaves first, allowing the center to continue producing new growth. Even in a cup, one plant can provide leaves for months if you don’t get greedy with harvesting.
11. Carrots
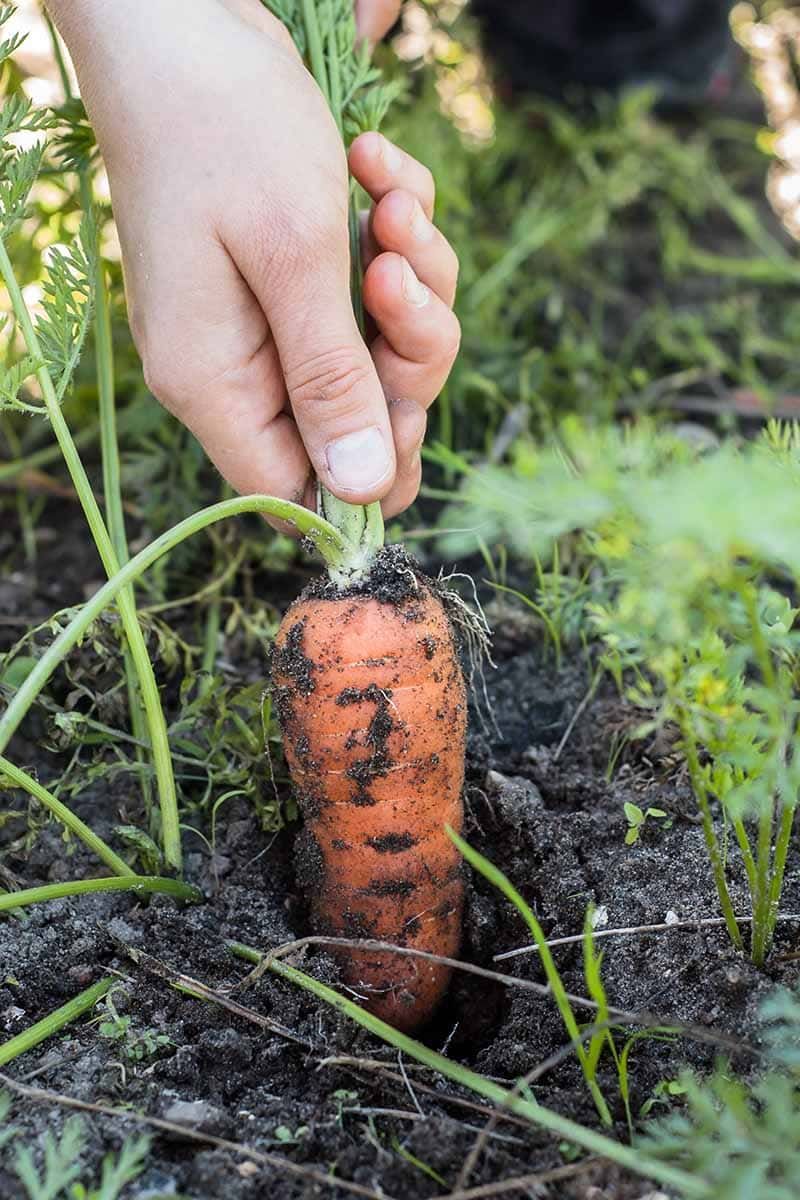
Round or stubby varieties like ‘Paris Market’ or ‘Thumbelina’ mature beautifully in cups. Choose a container at least 6 inches deep to accommodate their growth – an old coffee mug works perfectly.
Sow seeds thinly, then thin to about 2 inches apart once they sprout. Patience is key – they take 60-70 days to mature, but watching the tiny green tops grow is oddly satisfying.
Keep soil consistently moist but not waterlogged. My nephew thought it was magical when we pulled the first tiny carrot from our windowsill garden – his excitement made the wait completely worthwhile.
12. Pea Shoots
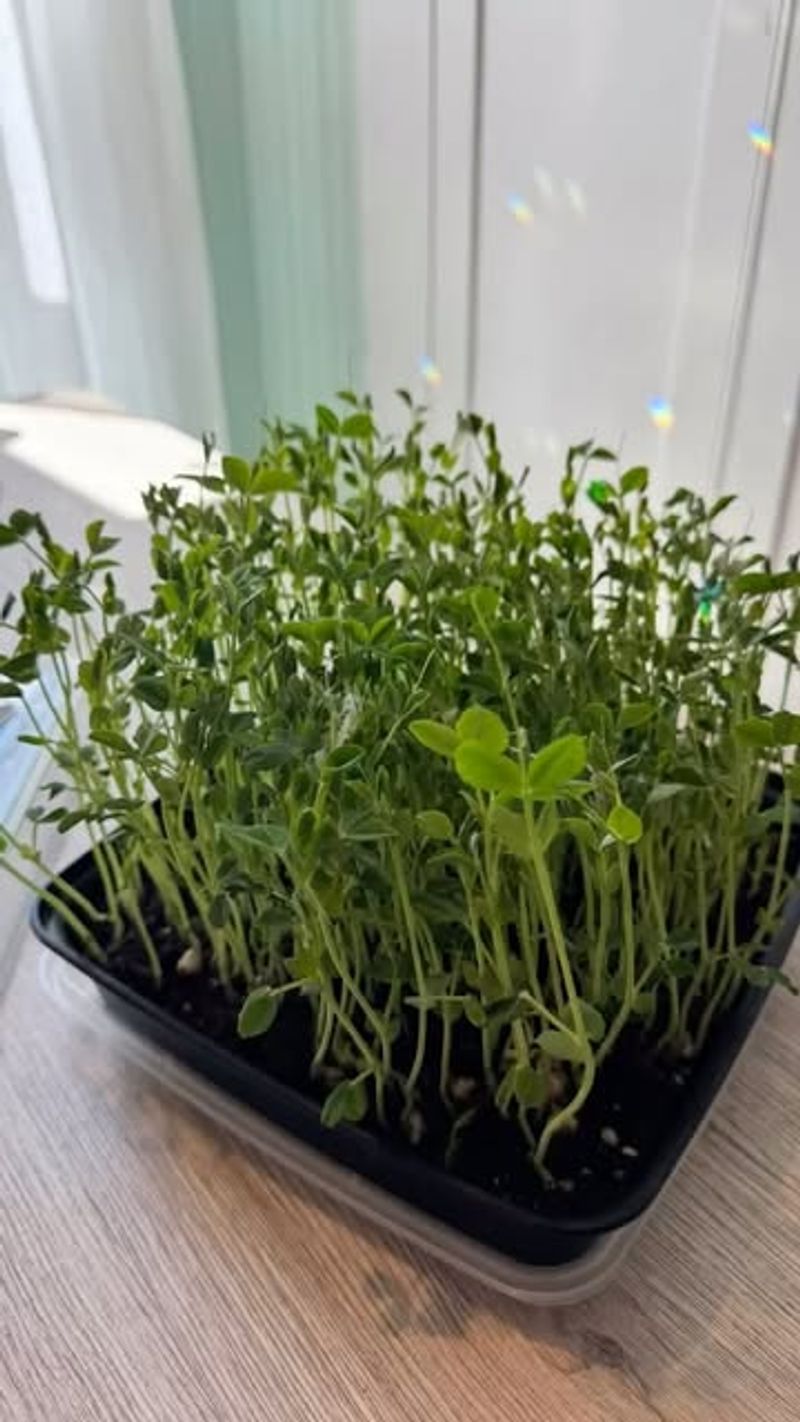
Harvest these tender greens just 2-3 weeks after planting for a sweet, crisp addition to salads. Soak dried peas overnight, then spread them across the surface of moist soil in a shallow container.
Cover with a thin layer of soil and place in bright, indirect light. Water gently to avoid disturbing the seeds. The shoots grow incredibly fast – you can almost watch them reach upward day by day.
Cut them when they’re 3-4 inches tall, just above the lowest set of leaves. They taste like sweet, fresh peas and make an impressive garnish for soups and stir-fries – my dinner guests always ask about them.
13. Arugula
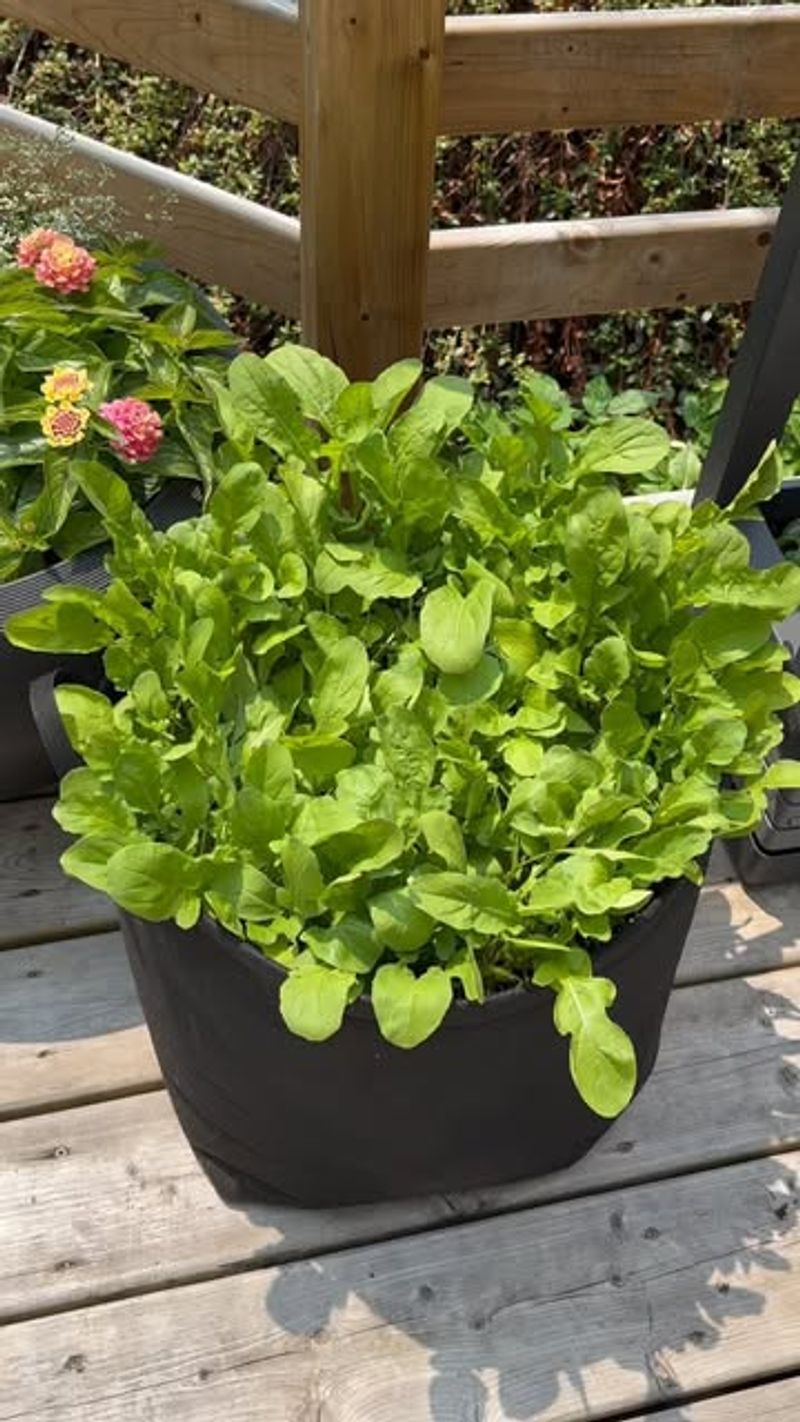
Known for its peppery flavor, arugula grows quickly and thrives in cool conditions. Scatter seeds thinly across the surface of moist soil in a cup at least 4 inches deep.
Cover with a thin layer of soil and place in a spot with morning sun and afternoon shade. Thin seedlings to about an inch apart once they develop true leaves – I use the thinnings in salads.
Begin harvesting outer leaves when plants reach about 3 inches tall. If they start flowering in hot weather, the leaves become more bitter – a lesson I learned during a summer heat wave when my plants bolted practically overnight.
14. Beet Greens
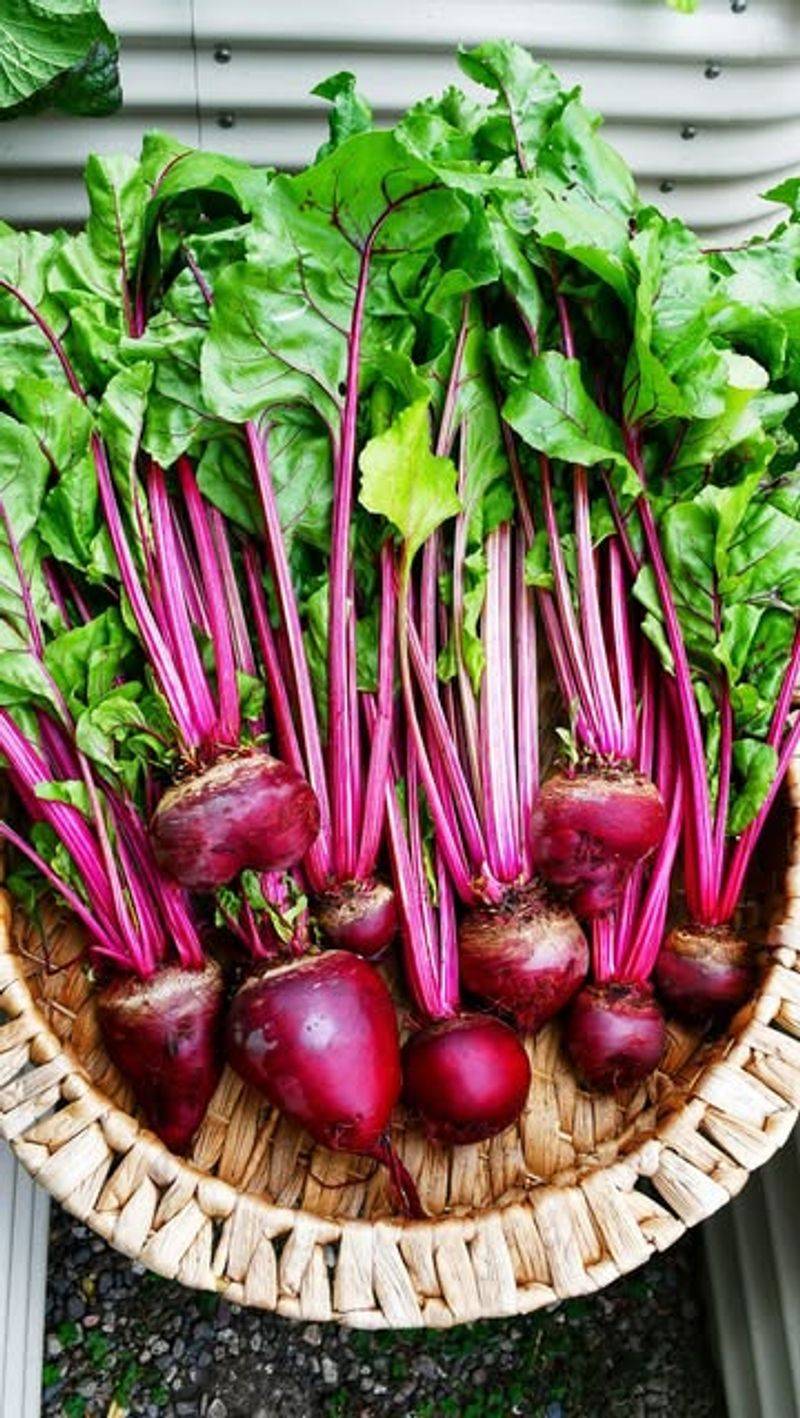
Forget waiting for the roots – the nutritious tops can be harvested in just 3-4 weeks. Plant beet seeds in a cup about 4 inches deep, spacing them about an inch apart.
Thin to allow proper growth, eating the thinnings as microgreens. The remaining plants will produce tender leaves for several weeks before the roots need more space.
Keep soil evenly moist, especially during germination. My favorite way to use them is lightly sautéed with garlic and a splash of vinegar – they’re milder than mature beet greens from the garden and have a beautiful red stem.
15. Cilantro
This herb grows quickly from seed and doesn’t mind being somewhat crowded in a small container. Sow seeds directly in a cup at least 4 inches deep with good drainage.
Keep soil consistently moist but not soggy. Cilantro prefers cooler temperatures and partial shade – my plants bolted quickly when I kept them on a hot, sunny windowsill, but thrived on my east-facing kitchen counter.
Harvest by cutting outer stems at the base, allowing the center to continue growing. For a continuous supply, plant new seeds every 2-3 weeks. The stems are just as flavorful as the leaves – chop them finely for soups or salsas.