8 Ways To Prep Garden Beds While The Ground Is Still Frozen In North Dakota
North Dakota winters are long, and when the ground is still frozen, it can feel impossible to get a jumpstart on your garden. But even in frozen soil, savvy gardeners know there are ways to prepare for spring, protect your plants, and set the stage for a thriving growing season.
Frozen ground doesn’t mean you have to wait to start gardening!
These eight strategies help North Dakota gardeners prep beds early, from planning layouts and cleaning debris to adding compost and organizing tools.
Even if you can’t dig deeply, you can improve soil structure, plan irrigation, and get your garden ready so that when the thaw comes, you’re ahead of the game. Smart prep now saves hours of work and ensures a stronger start in spring.
By taking these steps, gardeners can turn winter downtime into productive planning and preparation. With a little foresight, your garden will be ready to thrive the moment the soil softens and temperatures rise.
Early preparation = healthier plants, bigger harvests, and a smoother gardening season!
1. Map Out Your Garden Layout Using Stakes And String
Walking across frozen ground feels completely different than trudging through muddy spring soil. When the earth is locked in winter’s grip, you can move freely without worrying about compacting the soil or leaving deep footprints that will harden into uneven ruts.
This makes it the perfect time to physically mark where each garden bed will go using simple stakes and string.
Grab some wooden stakes or even sturdy sticks and hammer them into the frozen ground at the corners of your planned beds. Then run string between them to outline the exact dimensions and placement.
You’ll get a real sense of how much space each area will occupy and whether your paths are wide enough for a wheelbarrow.
This hands-on approach reveals things that drawings on paper never could. Maybe that bed you planned is too close to the shed, or perhaps you realize you have room for one more row of tomatoes.
Adjusting stakes now takes seconds, but moving an established bed later takes hours of backbreaking work.
Plus, when spring thaw turns your yard into a soggy mess, you’ll already know exactly where to start working once things dry out a bit.
2. Order Seeds And Plan Crop Rotation

North Dakota’s growing season rushes by faster than a summer thunderstorm, which means every single day counts once planting time arrives. Waiting until spring to figure out what you’ll grow is like showing up to a race without tying your shoes first.
Winter gives you the breathing room to research varieties, compare seed catalogs, and make thoughtful choices instead of panic purchases at the garden center.
Start by looking back at last year’s garden journal or memory. Which crops thrived? Which ones struggled? Then consider crop rotation to keep your soil healthy and reduce pest problems. Tomatoes shouldn’t follow peppers, and beans can actually boost nitrogen for next year’s heavy feeders.
Browse seed catalogs with a hot cup of coffee and dream big, but also be realistic about your space and time. Those heirloom melons might look gorgeous, but do you have the room and the warm days they need?
Ordering now ensures you get exactly the varieties you want before popular ones sell out.
Create a simple planting calendar that accounts for North Dakota’s last frost date and each crop’s days to maturity. This roadmap will guide you through the hectic spring weeks when everything happens at once.
3. Add Compost On Top Of Frozen Beds
Here’s a winter trick that sounds too simple to work but delivers fantastic results. Spreading finished compost directly onto frozen soil or even over snow allows natural processes to do the heavy lifting for you.
As temperatures fluctuate and snow gradually melts, that nutrient-rich compost slowly works its way into contact with the soil surface.
This method saves your back because you’re not digging or tilling anything. Just wheel out your compost and spread it in a layer about two to three inches thick across your bed areas.
The freeze-thaw cycles that happen through late winter and early spring will help break down any larger particles and begin integrating those nutrients.
By the time the ground thaws enough to work, that compost will have had weeks or even months to start mingling with your topsoil. Earthworms and beneficial microorganisms will wake up to find a breakfast buffet waiting for them, jumpstarting the biological activity that makes soil come alive.
This technique works especially well if you have a lot of beds to amend because you can work at your own pace without rushing to beat spring rains. Just make sure your compost is fully finished so you’re not spreading weed seeds around your future garden.
4. Lay Down Cardboard For Weed Suppression

Weeds are opportunists that will seize any chance to establish themselves before your precious vegetables get started. Getting ahead of them while the ground is frozen gives you a massive advantage come spring.
Plain cardboard boxes, broken down flat and layered over problem areas, create an effective barrier that smothers existing weed seeds and prevents new ones from taking root.
Remove any tape or glossy labels, then lay the cardboard pieces directly on the frozen ground or snow, overlapping the edges by several inches to prevent gaps. You can even place them right over dormant weeds.
The cardboard blocks light completely, which means those weeds have no energy source to grow when temperatures warm up.
Over the next few months, winter moisture will begin breaking down the cardboard while it does its smothering job. By planting time, it will have softened enough that you can cut holes through it to set transplants, or you can remove it entirely to reveal clean soil underneath.
This approach works beautifully for new bed areas or spots that were overrun with weeds last season. The best part is that cardboard is free if you save boxes from deliveries or ask at local stores.
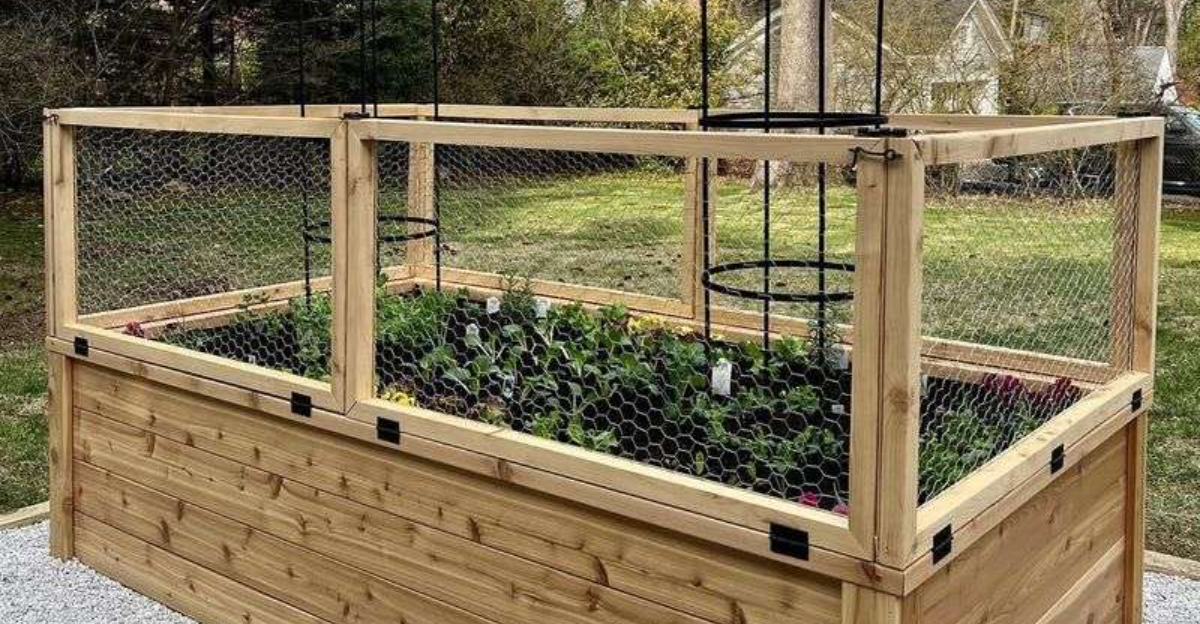
5. Build Or Repair Raised Beds Indoors Or In The Garage

Construction projects become miserable when you’re fighting mud, mosquitoes, and time pressure all at once. Winter flips that script entirely by giving you comfortable indoor workspace and zero urgency.
Your garage or basement becomes a woodshop where you can measure, cut, and assemble raised bed frames at whatever pace suits you.
Gather your materials like untreated lumber, galvanized screws, and corner brackets, then spend a few weekend afternoons building sturdy frames. You can even get creative with designs, adding features like corner seats or trellises that would feel like too much fuss during busy spring days.
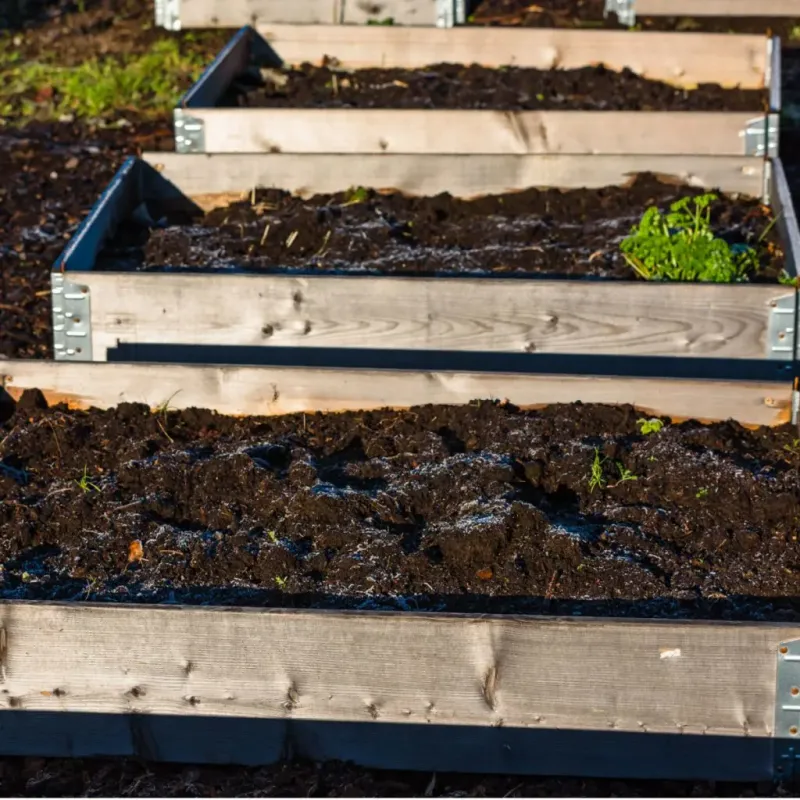
If you already have raised beds, winter is the perfect time to inspect them for rot, reinforce weak corners, or replace boards that have seen better days. Repairs done now prevent mid-season collapses when beds are full of plants and soil.
Once you’ve built or fixed your frames, you can stack them neatly in the garage or even place them in position on the frozen ground. When soil becomes workable, you’ll simply fill them and start planting rather than spending precious warm days hammering and drilling.
This preparation transforms the frantic spring rush into a smooth, organized process that feels almost relaxing.
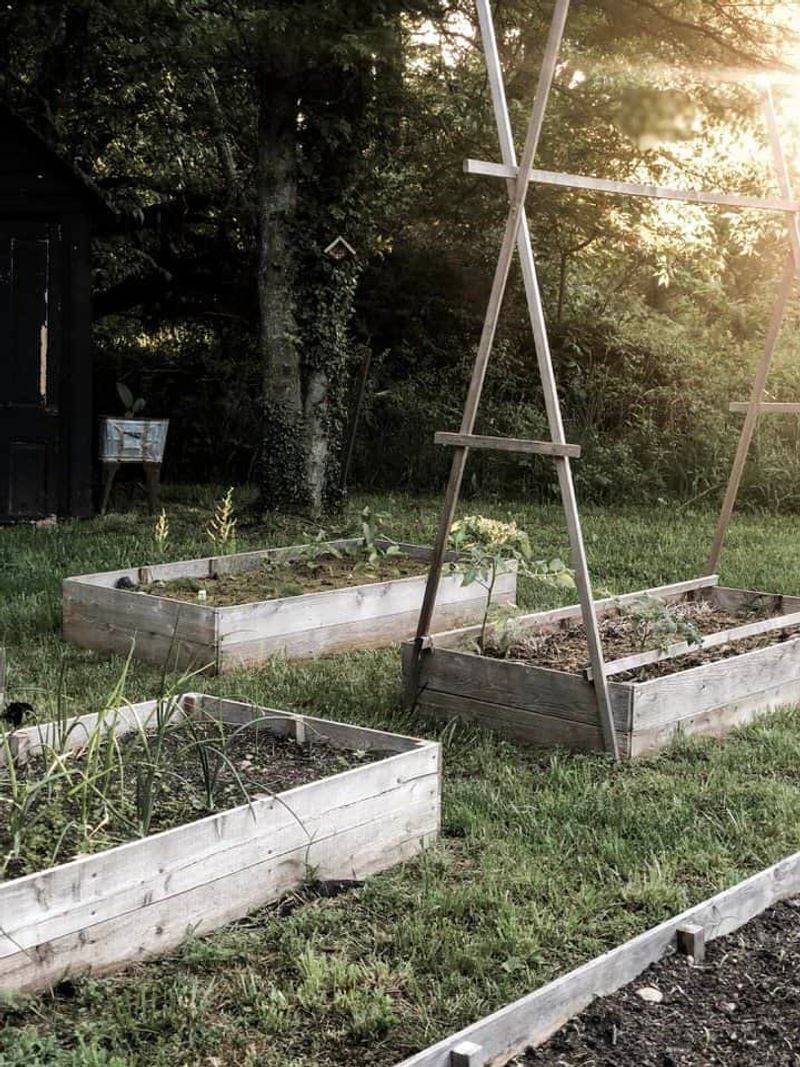
6. Set Up Windbreaks And Row Cover Supports

North Dakota winds don’t just blow, they roar across the prairie with enough force to snap young plants and shred tender leaves before your garden even gets established. Protecting your future crops from this relentless wind starts with strategic planning and setup during winter months when you have time to do it right.
Consider where prevailing winds hit your garden hardest, then install windbreak structures like fence panels, burlap screens attached to posts, or even strategically placed hay bales.
Frozen ground actually makes it easier to drive stakes and posts because the soil provides firm resistance rather than giving way like it does when wet.
You can also assemble the framework for row covers now, building hoops from PVC pipe or flexible metal that will support fabric covers later. Cut your materials to size, mark where each piece goes, and even set the supports in place if the ground allows.
When spring arrives and you need to protect seedlings from late frosts or harsh winds, you’ll just drape the fabric over ready-made frames instead of scrambling to build them.
This advance preparation means your plants get protection from day one, which translates to stronger growth and earlier harvests. Every gardener knows that time saved in spring is worth triple the effort in winter.
7. Clean And Sharpen Garden Tools

Your shovel deserves better than being shoved into a corner caked with last season’s dirt. Winter offers the gift of time to show your hardworking tools some serious appreciation, which pays back with easier work and longer tool life.
Start by gathering every garden tool from wherever they ended up last fall and giving each one a thorough inspection.
Scrub off rust and dried soil using a wire brush or steel wool, then sharpen blades with a file or sharpening stone. A sharp hoe slices through weeds with half the effort, and clean pruners make precise cuts that help plants heal faster.
Don’t forget to tighten any loose handles or bolts, and replace cracked wooden handles before they break at the worst possible moment.
Once everything is clean and sharp, apply a light coat of oil to metal parts to prevent rust during storage. Organize your tools so the ones you’ll need first in spring are most accessible.
Maybe hang them on a pegboard or store them in a clearly labeled bin.
This maintenance session turns into a satisfying ritual that connects you to your garden even when it’s buried under snow. Come spring, reaching for a clean, sharp, perfectly maintained tool makes every task feel more professional and enjoyable.
8. Prepare Soil Amendments And Mulch Piles
Spring in North Dakota arrives like a starting gun, and suddenly you’re racing to get everything planted before the short growing season slips away. Having your soil amendments and mulch ready to go eliminates one of the biggest time-wasters during those critical weeks.
Winter gives you the chance to gather, organize, and stockpile everything you’ll need.
Take inventory of what amendments your soil needs based on last year’s results or a soil test. Order or pick up bags of lime, sulfur, bone meal, or whatever your garden requires, and store them somewhere dry and accessible.
Arrange them in the order you’ll use them so you’re not digging through a pile when planting day arrives.
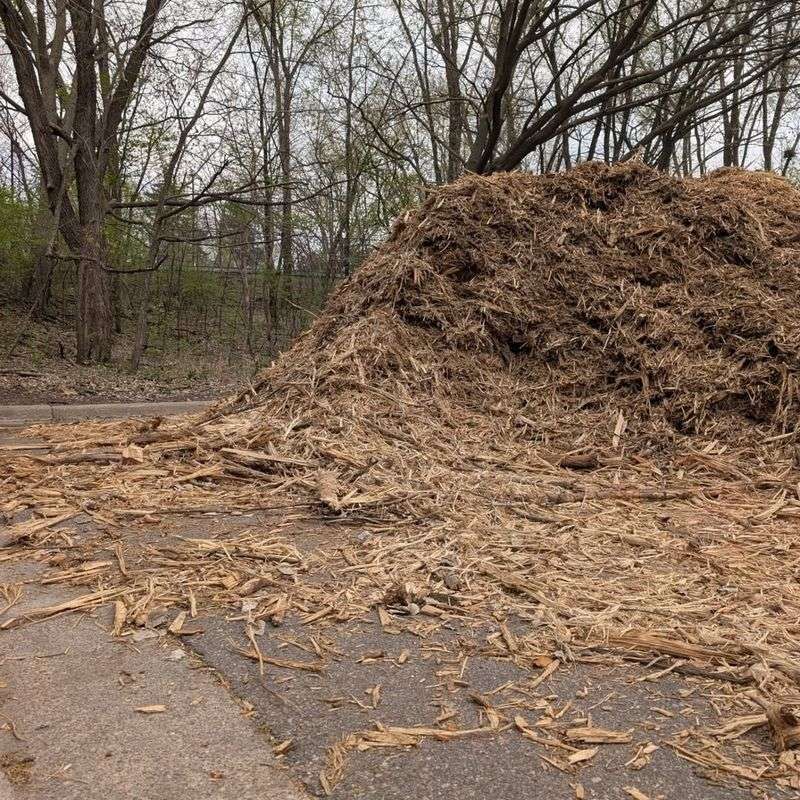
If you use mulch, now is the time to get it delivered and positioned near your garden beds. A big pile of wood chips or straw sitting ready means you can mulch immediately after planting rather than waiting weeks for delivery.
This early mulching conserves precious moisture and suppresses weeds right from the start.
You might even mix custom soil blends for container gardens or special beds, letting them mellow together through late winter. When the ground finally thaws and your carefully staked beds are ready to plant, you’ll move through tasks with the efficiency of a professional farm operation, all thanks to winter preparation.