15 Clever Ways To Give New Life To An Old Tree Stump (And How To Make It Work)
Got an old tree stump sticking out like a sore thumb? Don’t call the stump grinder just yet—you might be sitting on a goldmine of quirky garden potential.
I’ve turned a few in my own yard into things that make neighbors stop and smile. From fairy gardens to funky planters, there’s magic hiding in that chunk of wood.
Let’s get creative and turn that tired stump into something you’ll actually love seeing every day.
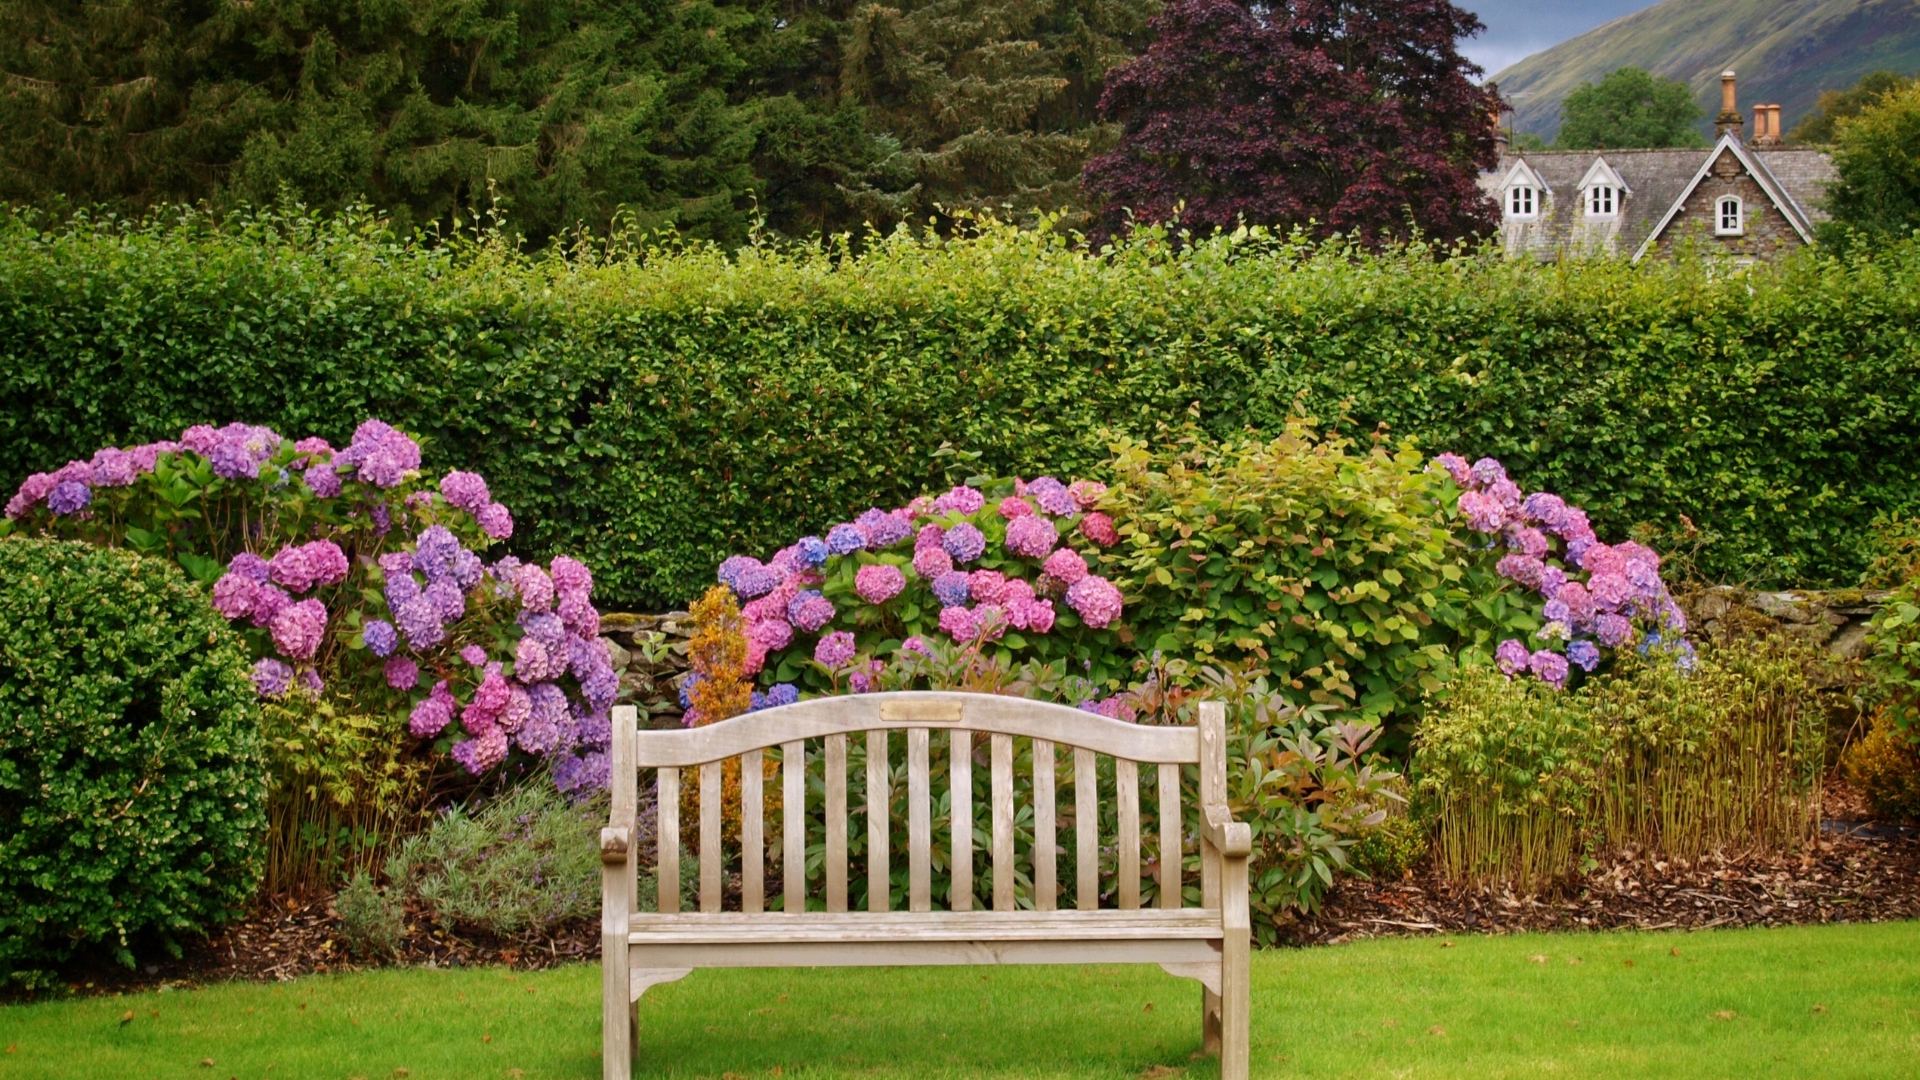
1. Natural Garden Seat
Transform that sturdy stump into a charming outdoor seat by sanding the top surface until smooth and applying several coats of weather-resistant sealant. For extra comfort, add a colorful cushion that can be removed during bad weather.
The natural wood grain creates a rustic vibe perfect for garden settings. Position it near flowering plants or under a tree for a peaceful reading nook that blends perfectly with your landscape.
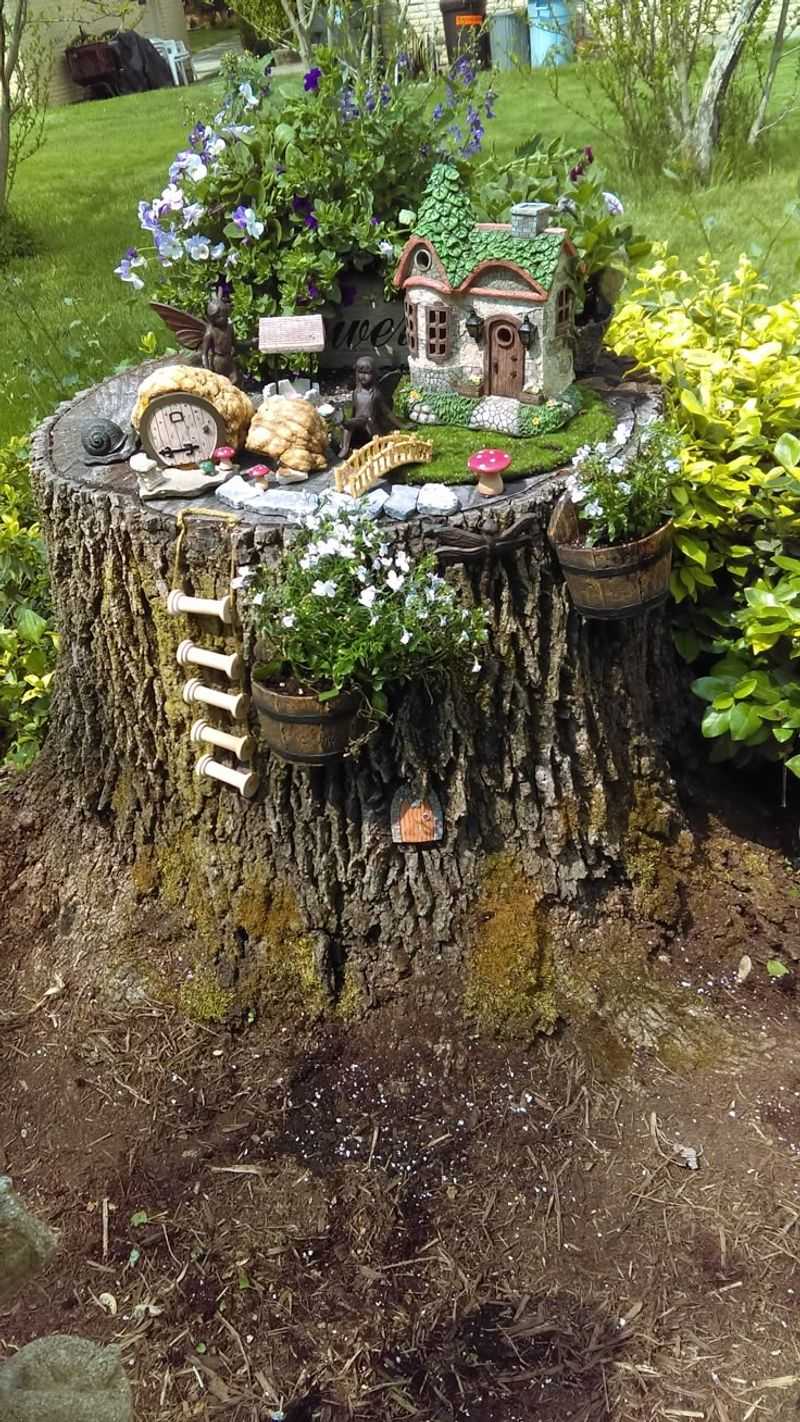
2. Fairy Garden Base
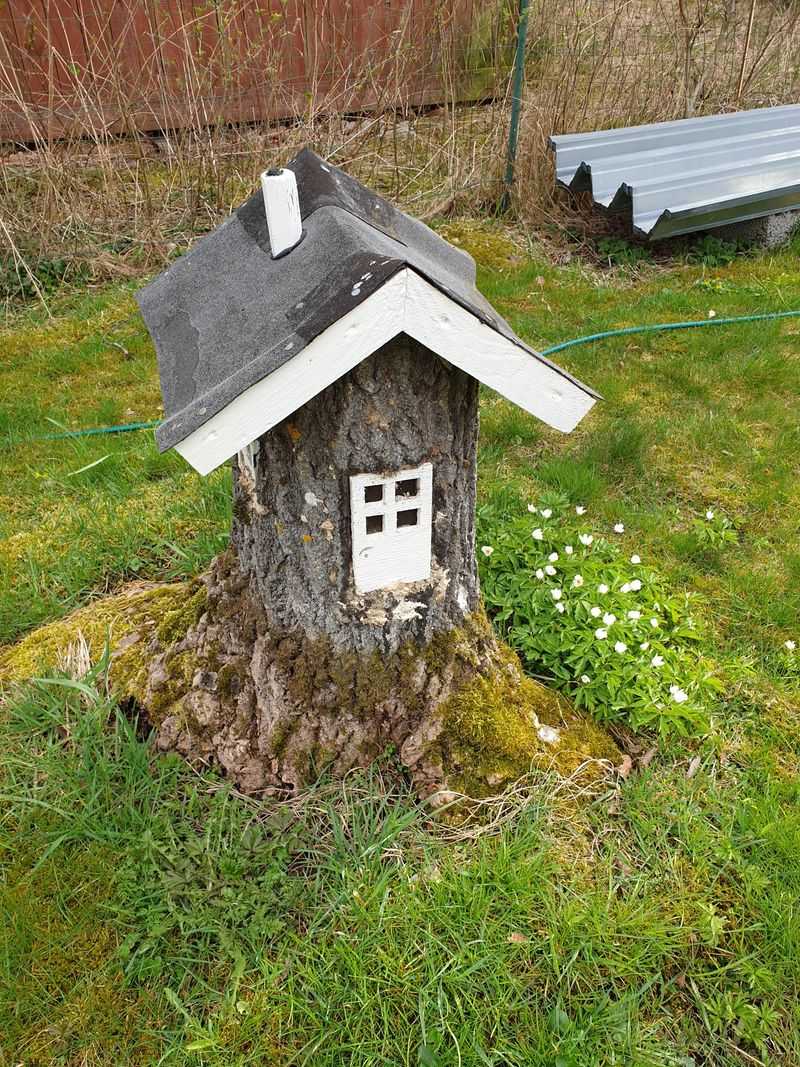
Hollow out the center of your stump to create a magical miniature world. Use a chisel to carve a cavity, leaving the outer ring intact for stability. Fill with potting soil and plant tiny succulents or moss to create the perfect fairy landscape.
Add miniature houses, pathways made from pebbles, and tiny figurines to complete the enchanted scene. Kids absolutely love helping design these whimsical gardens that bring a touch of magic to any yard.
3. Outdoor Side Table
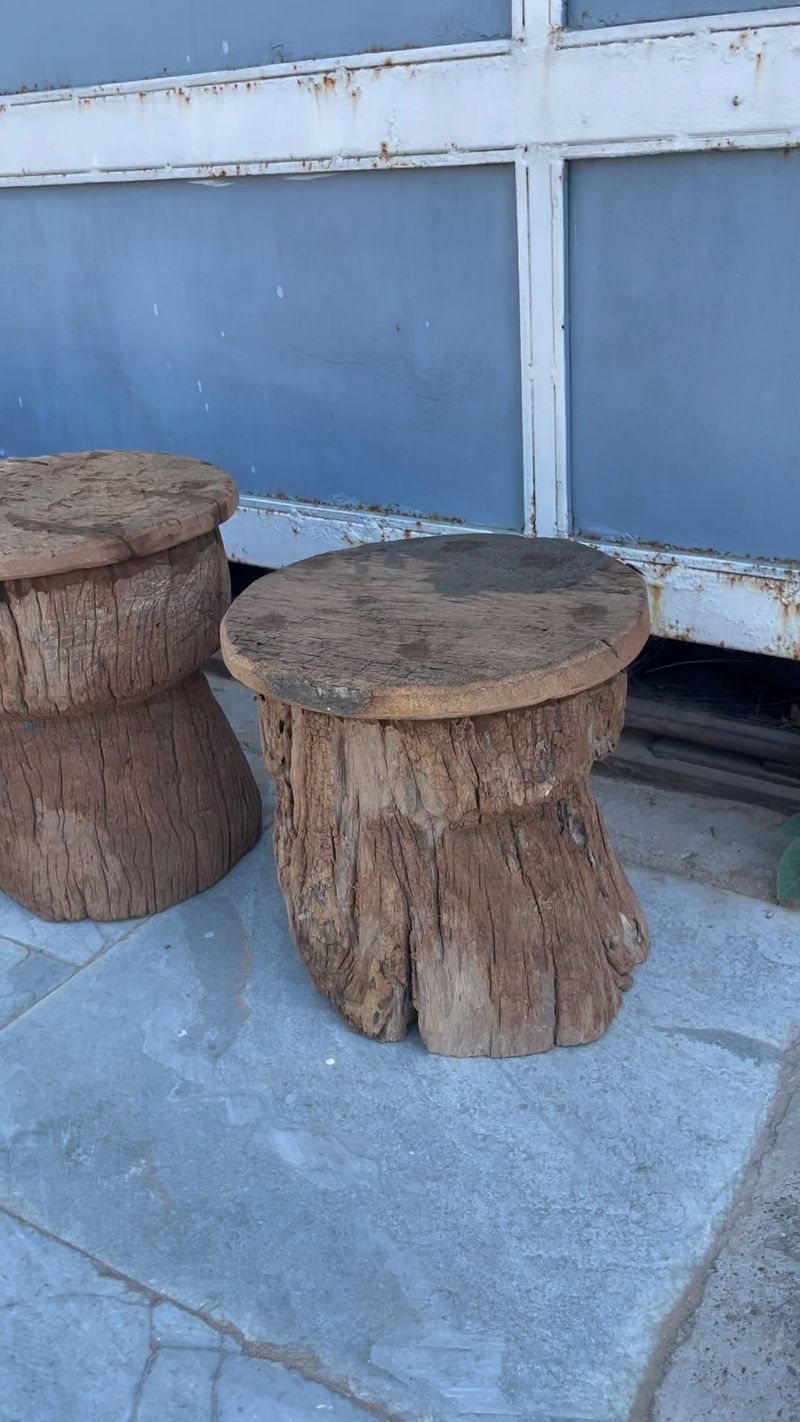
Level the top of your stump with a chainsaw, then sand until perfectly smooth. Apply multiple coats of polyurethane for weather protection, allowing proper drying time between applications. For a modern twist, add hairpin metal legs to elevate it.
Want something more dramatic? Embed glow-in-the-dark resin into natural cracks for a table that literally shines at night. Perfect for holding drinks, books, or potted plants on your patio.
4. Mushroom Growing Station

Fresh mushrooms can sprout right from your stump with the right preparation. Drill several 1-inch holes about 2 inches deep into the sides of a healthy hardwood stump. Insert store-bought mushroom spawn plugs and seal with melted beeswax.
Keep the area moist by misting regularly during dry periods. Within 6-12 months, you’ll have your own mushroom harvest station! Shiitake and oyster varieties work particularly well for beginners.
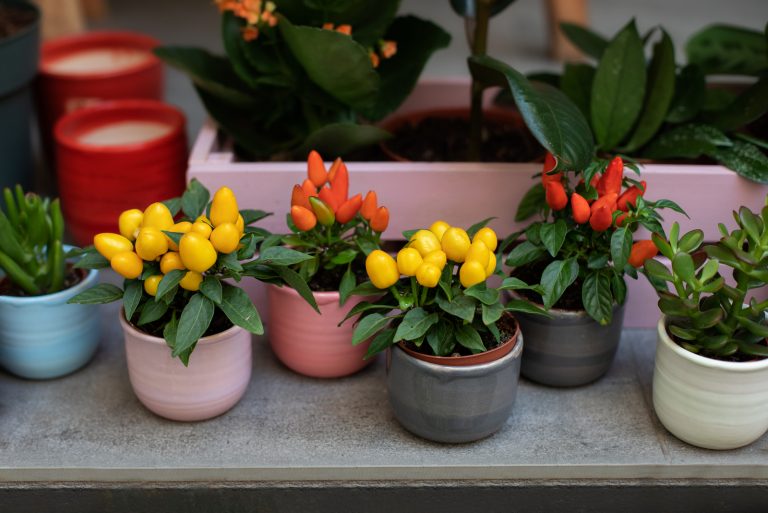
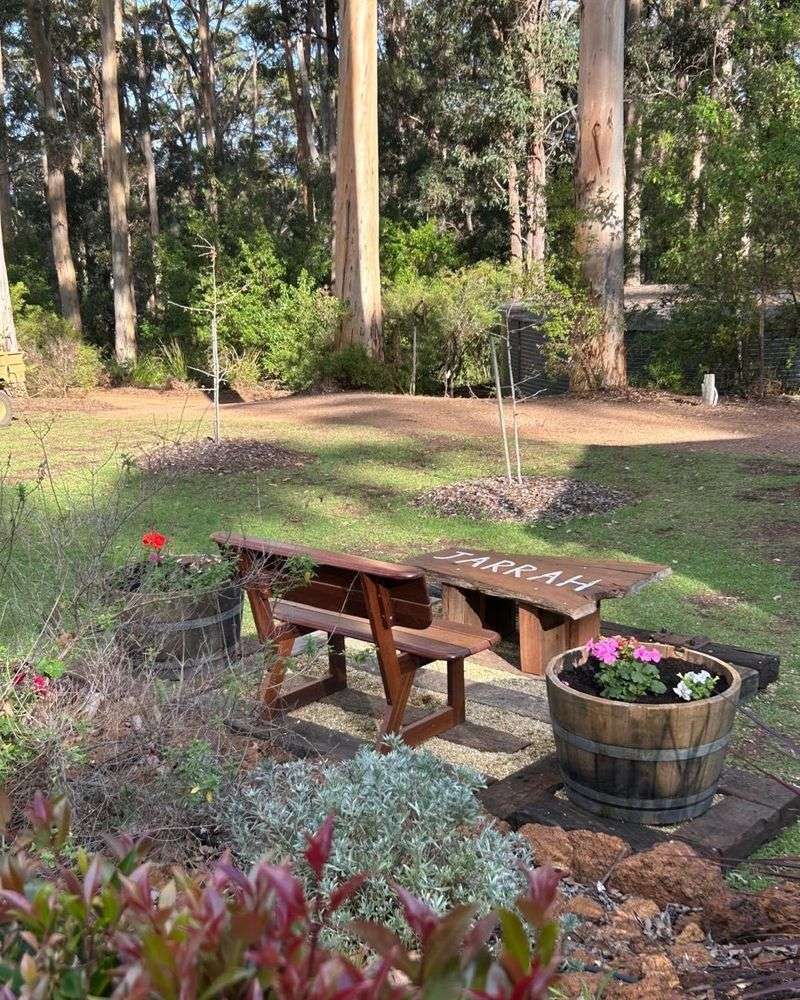
5. Planter Centerpiece
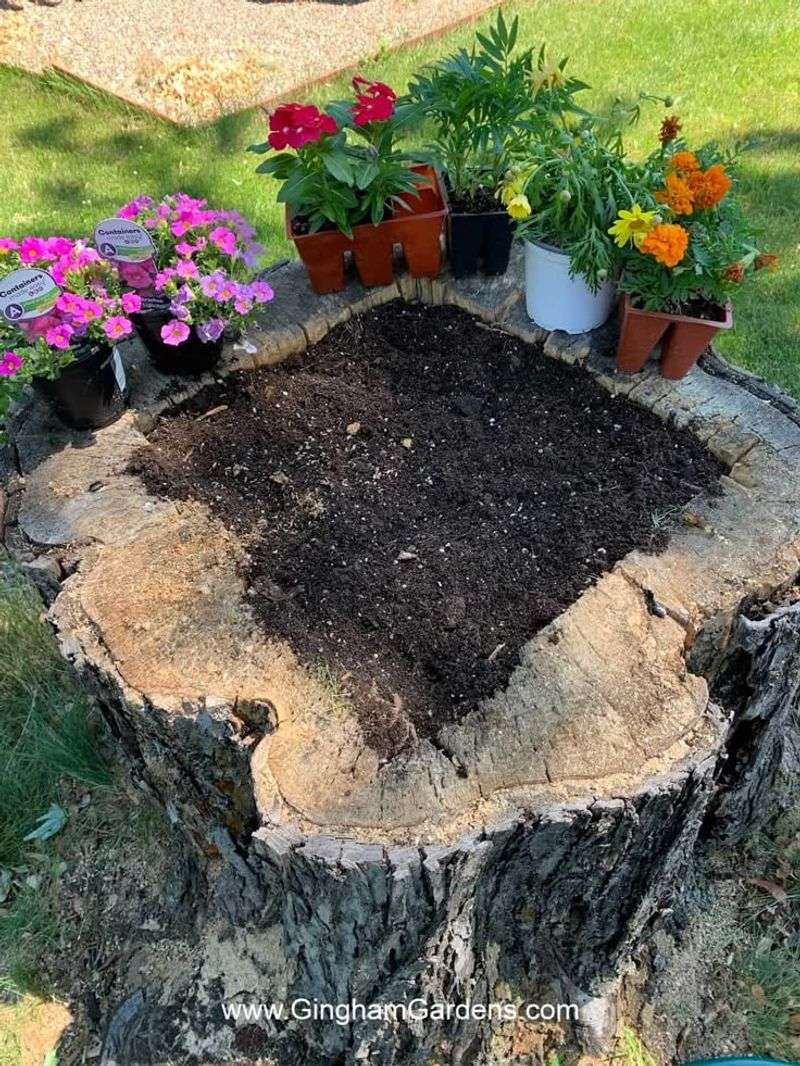
Create a stunning garden focal point by hollowing out the top of your stump with a drill and chisel. Ensure you create drainage holes at the bottom of the cavity to prevent root rot. Fill with quality potting soil mixed with compost.
Plant cascading flowers like petunias or ivy around the edges with taller plants in the center for dimension. The contrast between living plants and the weathered wood creates a beautiful, natural display that evolves with each season.
6. Wildlife Habitat
Let nature reclaim the stump by creating deliberate openings for wildlife. Drill various sized holes into the sides – smaller ones for solitary bees and larger ones for birds or small mammals. Add a small basin on top that collects rainwater for birds.
As the stump naturally decomposes, it will attract beneficial insects and fungi. Position it in a quiet corner of your yard where you can observe the increasing biodiversity. Many gardeners report seeing dramatic increases in pollinators after adding these habitats.
7. Rustic Candle Display
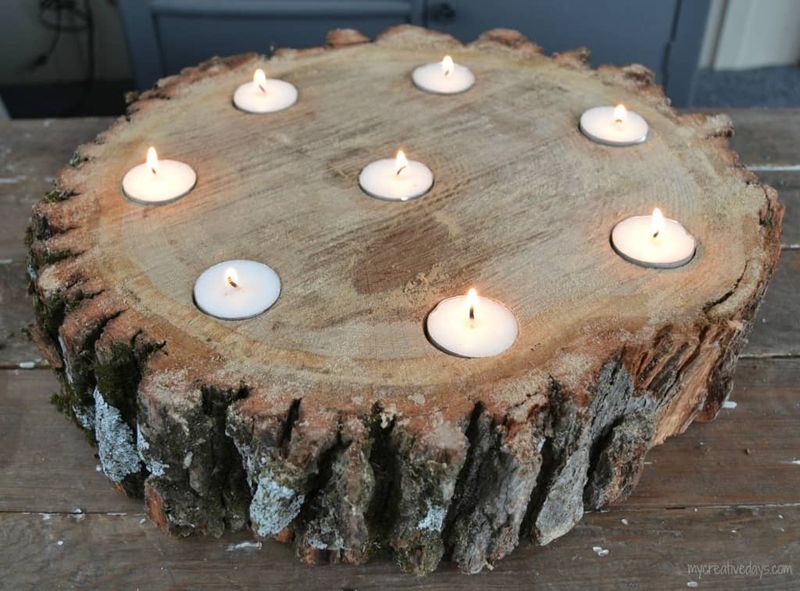
Create a gorgeous outdoor lighting feature by drilling holes of various sizes into the top of your stump. Make them just large enough to snugly hold tea lights or pillar candles. Sand the top surface smooth and apply a fire-resistant sealant for safety.
For special occasions, arrange candles in a spiral or circular pattern. The warm glow against the natural wood creates a magical atmosphere for evening gatherings. For safety, never leave burning candles unattended, especially outdoors.
8. Garden Sculpture Base
Mounting artwork on a stump creates instant visual interest in your landscape. Flatten the top surface and drill mounting holes to secure metal sculptures, glass orbs, or repurposed items like colorful bottles or ceramic pieces.
For a cohesive look, paint or stain the stump to complement your chosen art piece. The height of the stump naturally draws the eye, making even simple decorations more impactful. This approach works especially well for stumps in prominent locations.
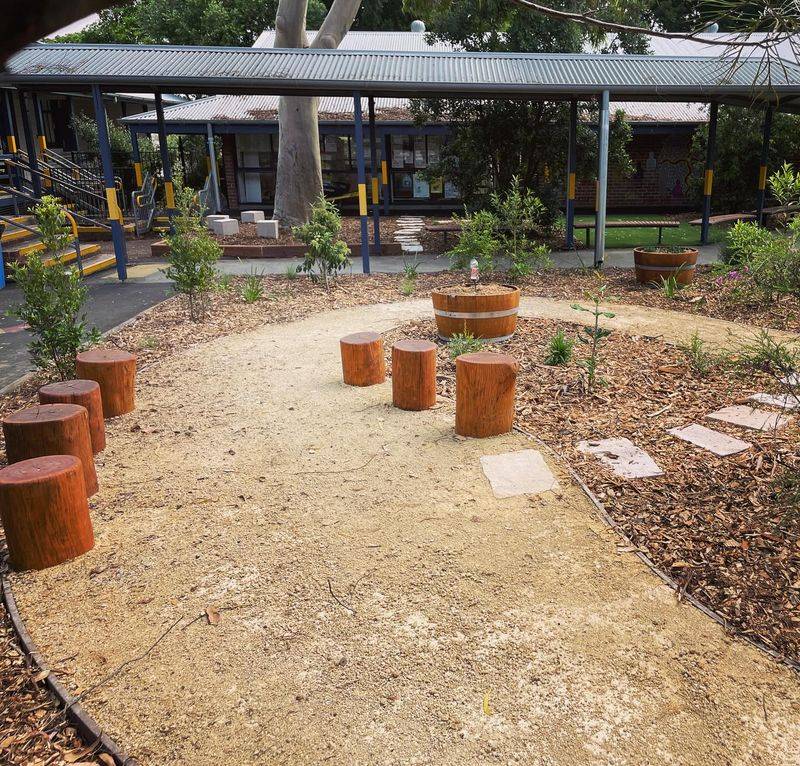
9. Children’s Play Station
Transform that stump into a magical play space kids will adore. Sand all surfaces thoroughly to prevent splinters, then paint with non-toxic, weather-resistant colors. Add fun details like a tiny door, windows, or painted mushroom spots.
For extra play value, attach simple wooden platforms at varying heights around the main stump. Children naturally incorporate these elements into imaginative play, turning them into fairy homes, pirate ships, or forest castles that spark hours of outdoor fun.
10. Clock Feature
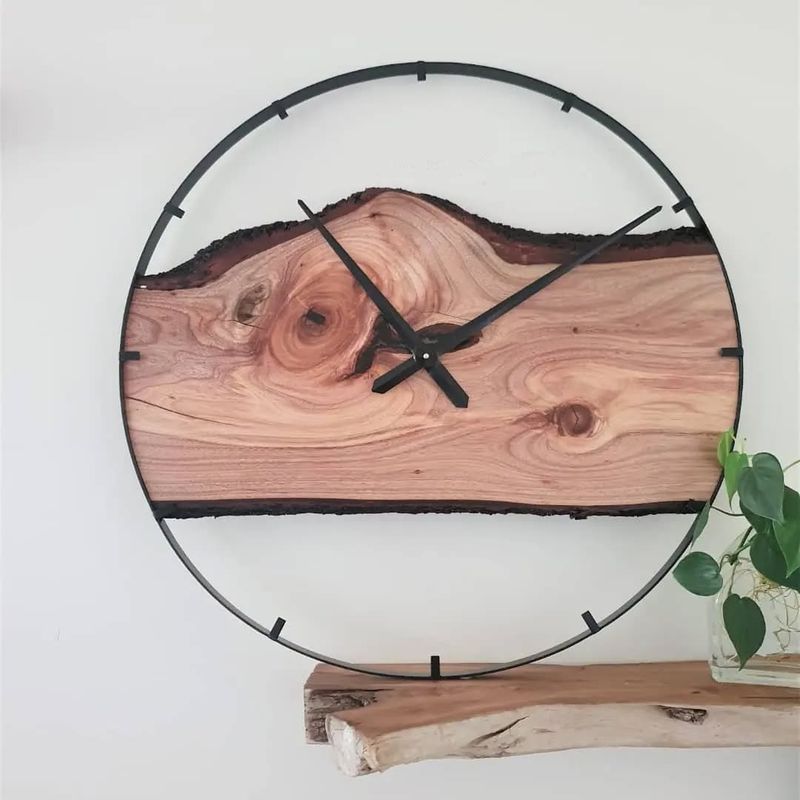
Create a conversation piece by turning your stump into a functional outdoor clock. Cut a perfectly round slice from the top if needed, then sand until smooth. Apply several coats of outdoor sealant, allowing proper drying time between applications.
Purchase a weather-resistant clock mechanism with decorative hands from a craft store. Install according to package directions, drilling through the center of the stump. The natural wood grain forms a beautiful backdrop for the clock face numbers, which can be painted or attached.
11. Fire Pit Seating
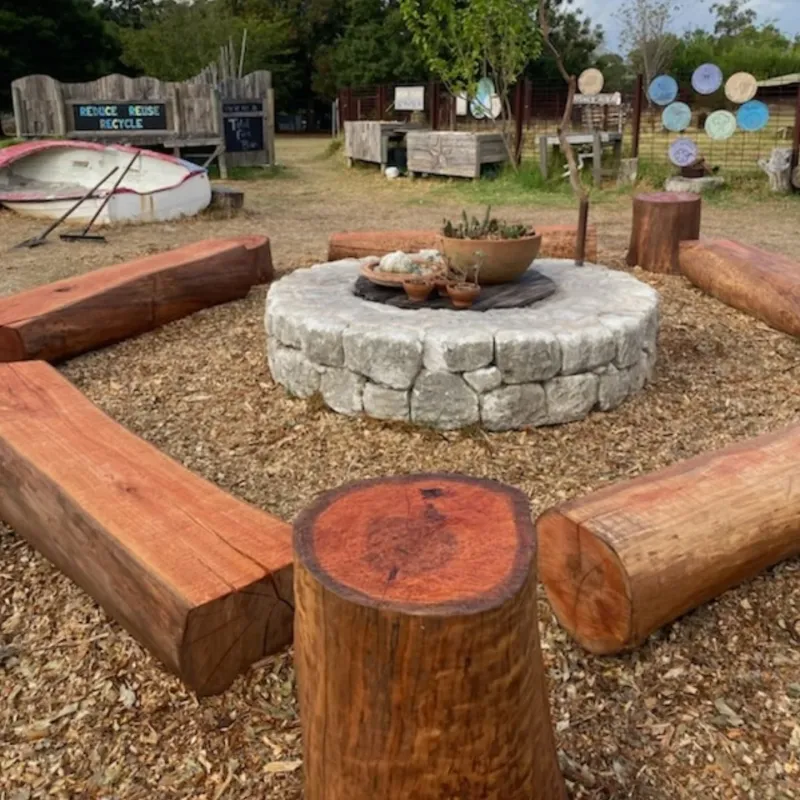
Position several stumps of similar height in a circle around your fire pit to create natural seating. Sand the tops until smooth and apply a fire-resistant sealant. Keep the stumps at a safe but comfortable distance from the flames.
For added comfort, attach cushions with weather-resistant fabric. The solid weight of the stumps makes them ideal for this purpose, as they won’t tip or blow away. Their rustic appearance perfectly complements the primal appeal of gathering around fire.
12. Bird Bath Creation
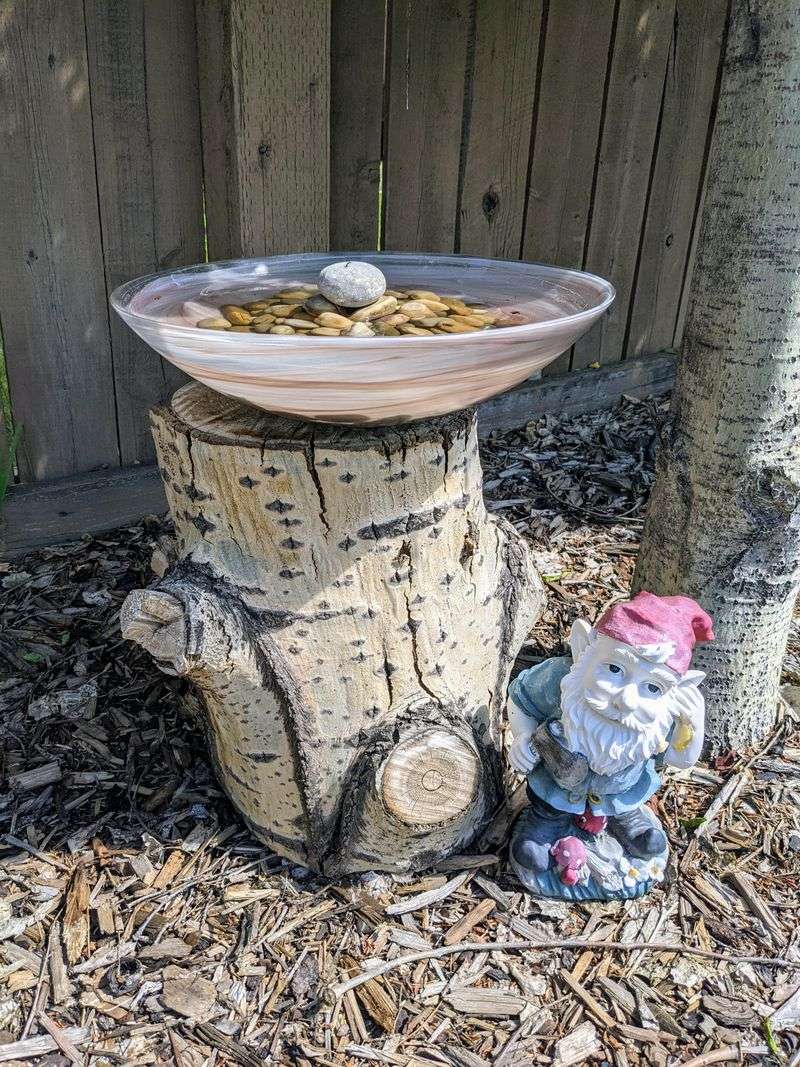
Carve a shallow basin in the top of your stump using a chisel and mallet. Sand the edges smooth, then seal the entire surface with several coats of waterproof marine varnish to prevent rotting. The basin should be 1-2 inches deep at the center.
Place decorative stones in the bottom to give birds secure footing. Position your bird bath where you can enjoy watching feathered visitors, but also where birds feel safe from predators. Remember to refresh the water regularly, especially during hot weather.
13. Stepping Stone Path
Cut your stump into multiple 2-3 inch thick discs using a chainsaw. Sand each piece smooth and apply several coats of outdoor sealant to prevent rot. Allow proper drying time between applications for maximum protection.
Arrange these wooden rounds to create a whimsical stepping stone path through your garden. Partially bury each disc for stability and to create a more natural look. The varying wood grain patterns add visual interest while the sturdy surface provides practical garden access.
14. Outdoor Chess Table
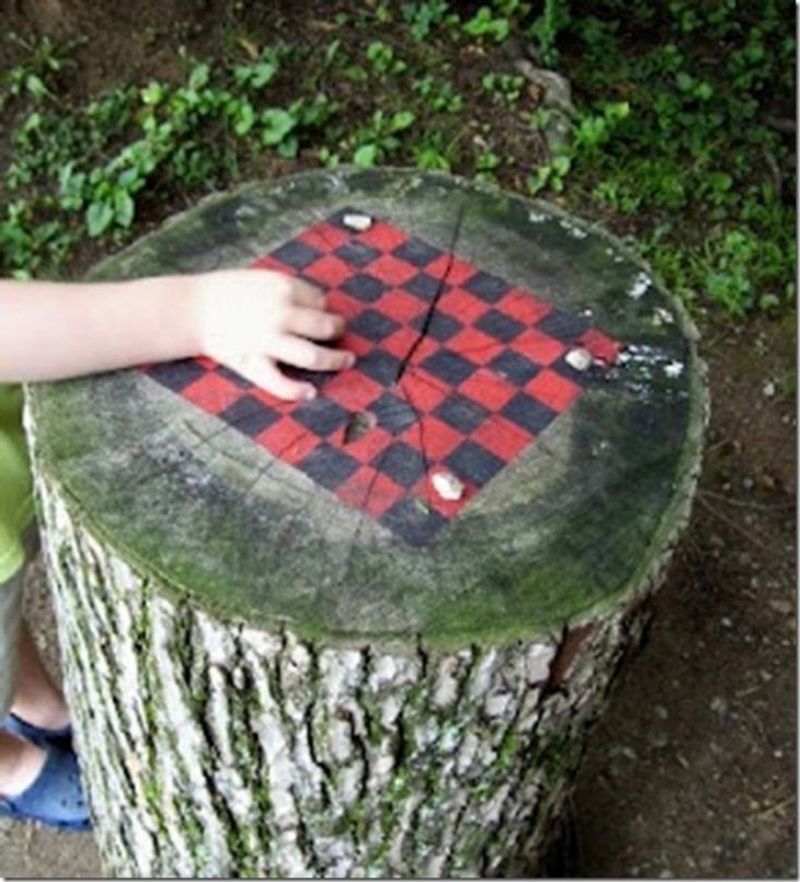
For the game enthusiast, transform a wide stump into an outdoor chess table. Sand the surface completely smooth and apply multiple coats of polyurethane. Using stencils, paint an 8×8 grid of alternating colors to create the chessboard pattern.
Seal again with several protective layers. Purchase weather-resistant chess pieces or carve your own from smaller branches. The solid base provides perfect stability for strategic gameplay, while bringing classic entertainment to your outdoor living space.
15. Mosaic Art Display
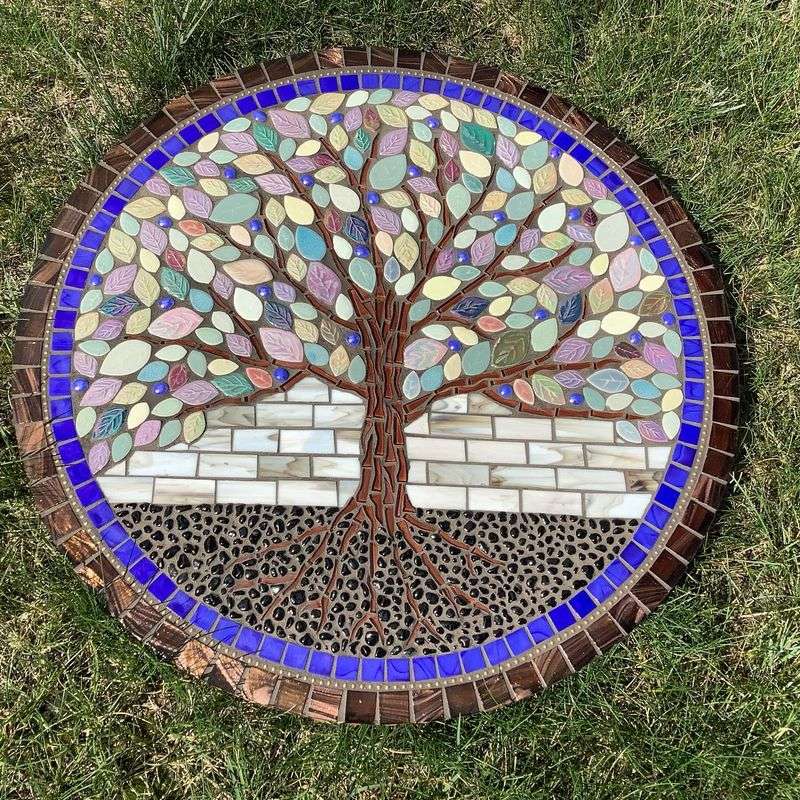
Transform your stump into a colorful garden feature using broken tiles, glass, or pottery. Start by cleaning and leveling the top surface. Apply waterproof tile adhesive, then arrange your mosaic pieces in your desired pattern, leaving small gaps between pieces.
Once dry, apply grout between the pieces using a rubber float, then wipe away excess with a damp sponge. Seal the finished mosaic with appropriate outdoor sealant. The result is a weather-resistant art piece that adds color to your garden year-round.