19 Ways To Transplant Vegetables Right – And Watch Them Thrive Like Crazy
Transplanting vegetables isn’t just about digging holes and hoping for the best. Do it right, and you’ll set your garden up for explosive growth and a harvest worth bragging about.
From timing and technique to tools and aftercare, these 19 essential tips will help your veggies not just survive the move—but thrive like crazy.
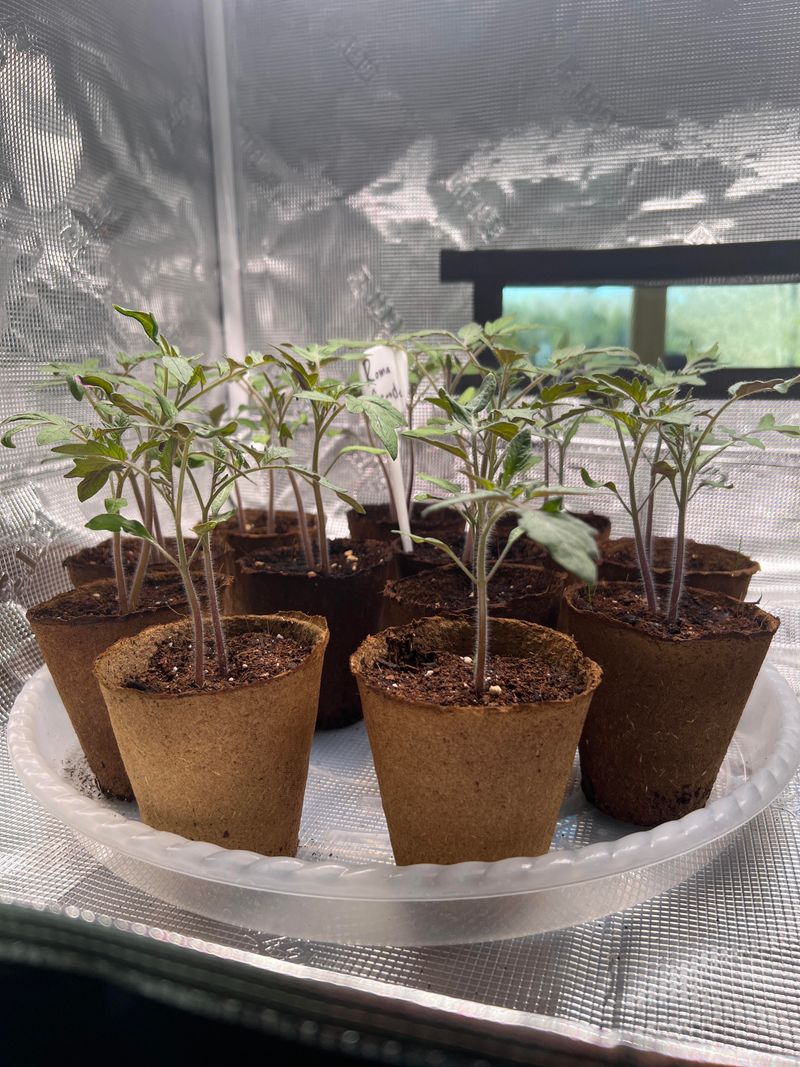
1. Harden Off Your Seedlings First
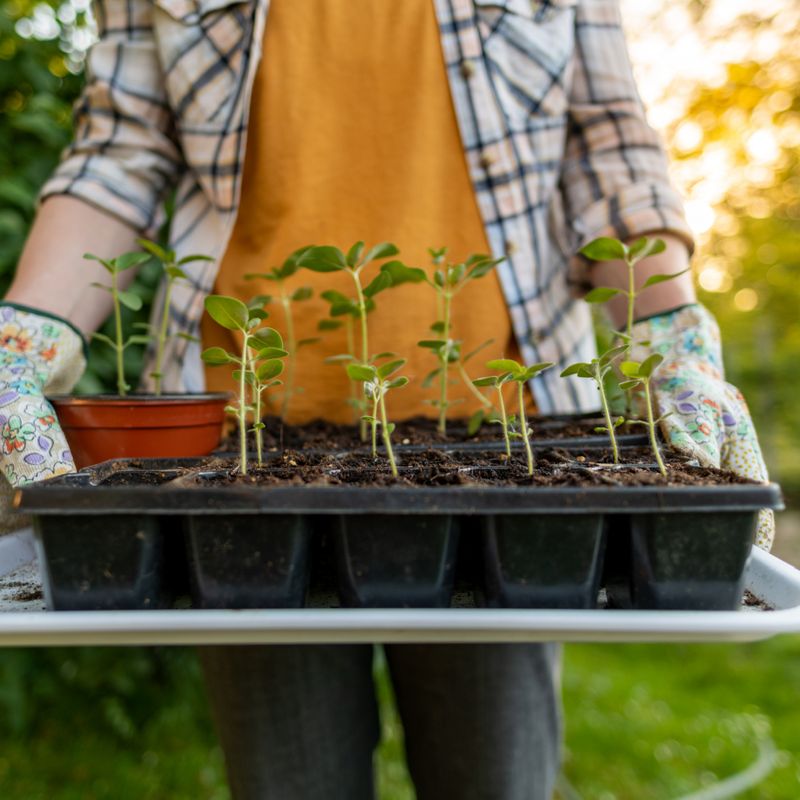
Before the big move, your indoor-grown seedlings need time to adjust to outdoor conditions. Start by placing them outside for just an hour in a sheltered spot, then gradually increase their outdoor time over 7-10 days.
This gentle transition helps toughen up their stems and leaves, preparing them for the harsh realities of wind, direct sunlight, and temperature fluctuations. Plants that skip this crucial step often wilt dramatically or even die when transplanted.
2. Choose Overcast Days For Transplanting

Timing matters tremendously when moving your precious seedlings. Transplanting on a cloudy day or during the late afternoon gives your plants a gentler transition period without harsh sunlight beating down on them.
The mild conditions allow roots to start establishing before facing the stress of direct sun. Your newly transplanted veggies will have several hours to settle in before dealing with intense light, significantly reducing transplant shock and wilting.
3. Water Plants Before Uprooting
Giving your seedlings a good drink about an hour before transplanting makes the whole process easier on them. Moist soil clings to roots better, protecting those delicate root hairs that do most of the water absorption work.
Well-hydrated plants also experience less stress during the move. The water plumps up plant cells, making stems and leaves more resilient and less likely to wilt dramatically. Just don’t soak them so much that the soil falls apart when you try to move them!
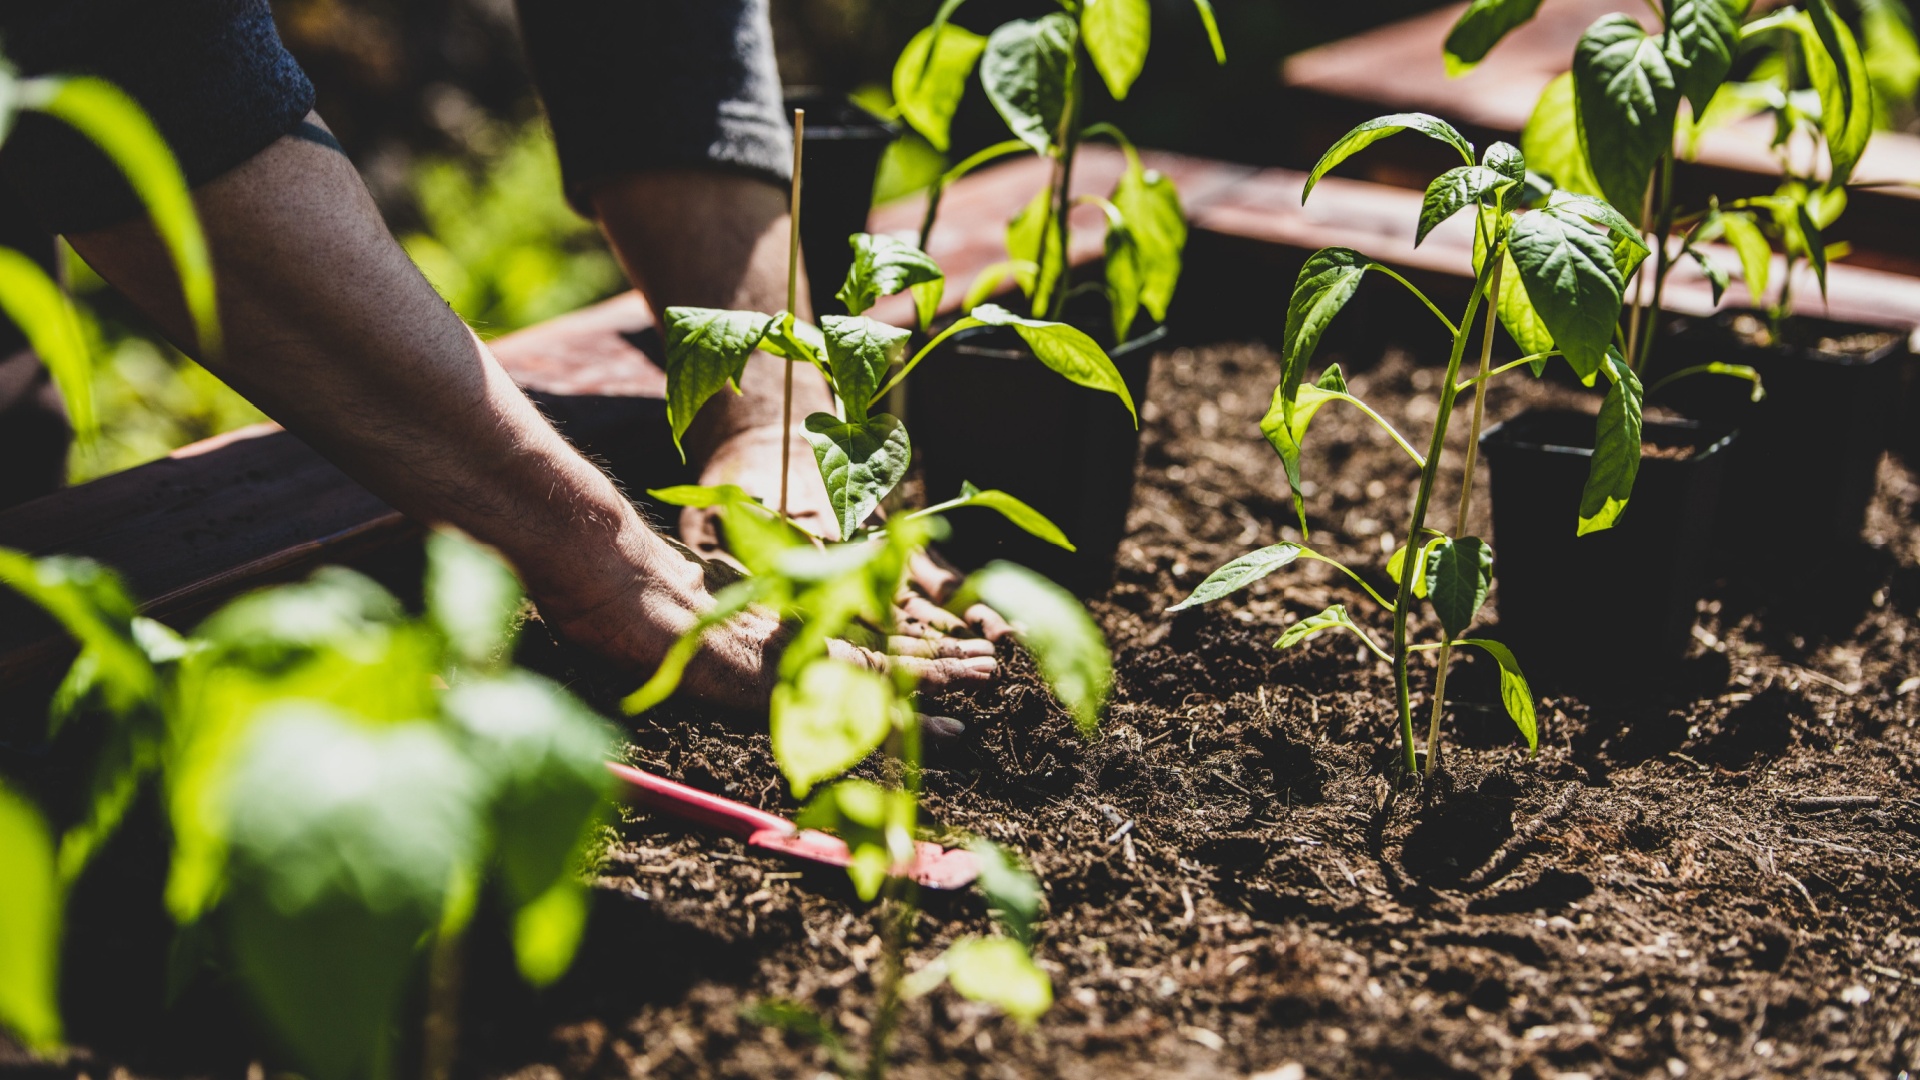
4. Dig Holes Before Removing Plants
Prepare your garden bed completely before taking any plants out of their containers. Dig holes twice as wide as the root ball and just slightly deeper than the current container depth.
Having holes ready minimizes the time roots spend exposed to air, preventing them from drying out. Working efficiently means your seedlings spend less time in transition limbo and more time establishing themselves in their new home. Plus, you’ll avoid the stress of juggling plants while trying to dig!
5. Handle Plants By Their Leaves
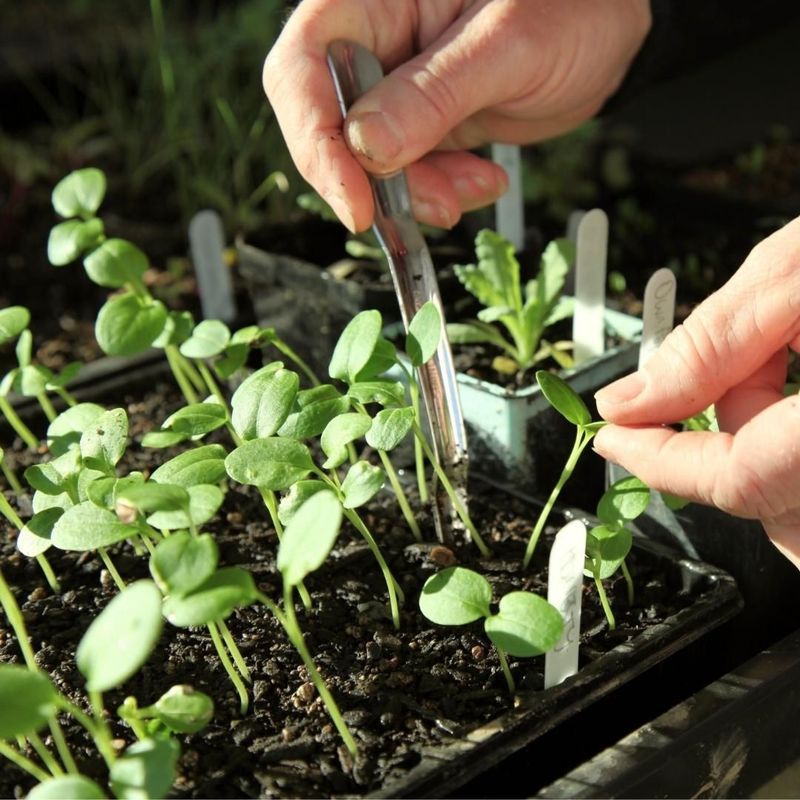
Contrary to what might seem natural, it’s better to grasp seedlings by their leaves rather than their stems when moving them. Plants can grow new leaves if damaged, but a crushed stem often means death for the entire plant.
Gently pinch a leaf between your fingers to lift the seedling. The stems contain vital pathways for water and nutrients that, once damaged, cannot be repaired. For larger transplants, support the root ball from below while guiding the plant by its leaves.
6. Loosen Bound Roots Gently
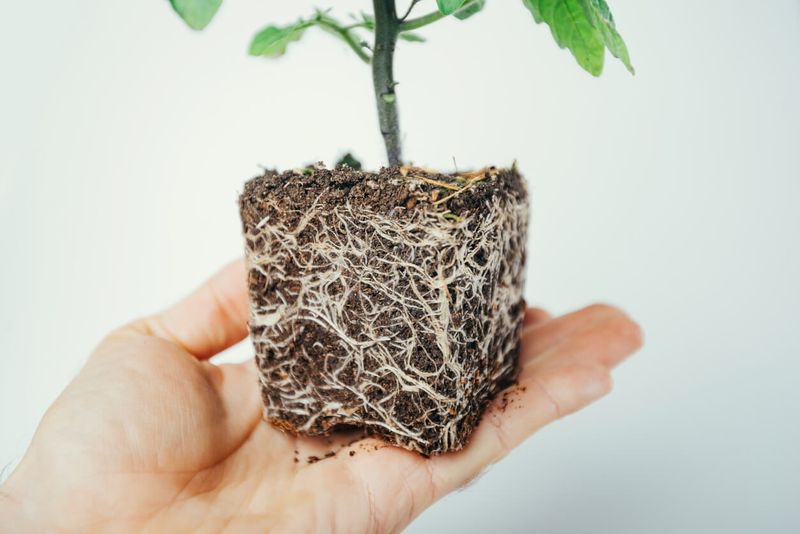
Root-bound seedlings need special attention before planting. If roots are circling around the bottom or sides of the container, carefully tease them apart with your fingers or a fork.
Breaking the circular pattern encourages roots to grow outward into the surrounding soil instead of continuing their constrained path. For severely bound roots, make a few shallow vertical cuts along the sides of the root ball. This slight root pruning stimulates new growth and prevents the plant from strangling itself.
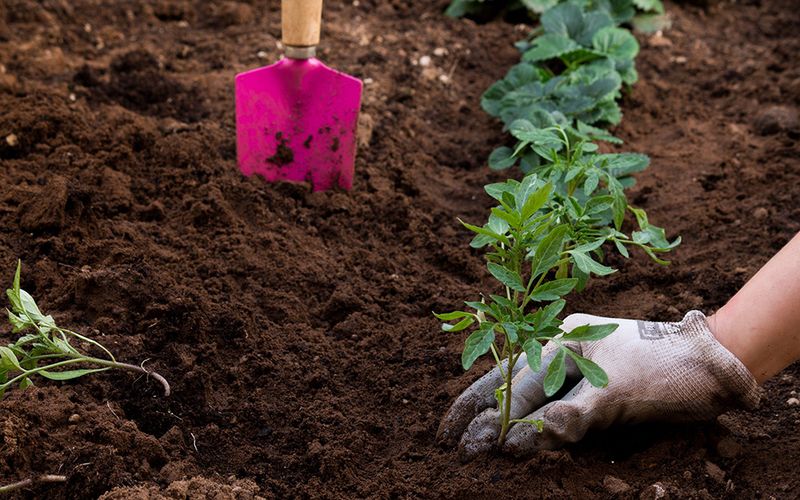
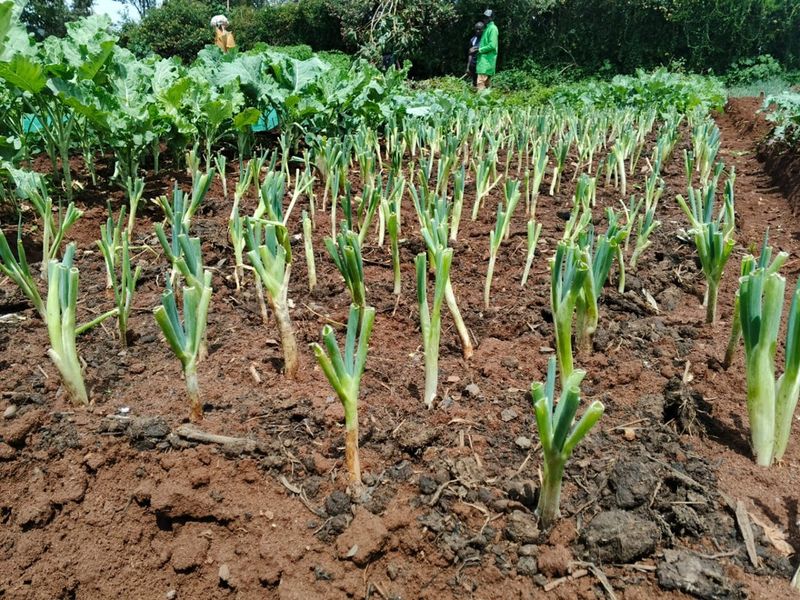
7. Plant At The Right Depth

Most vegetables should be planted at the same depth they grew in their containers, with the notable exception of tomatoes. The soil line on the stem shows you exactly where to position the plant in its new home.
Planting too deep can cause stems to rot, while setting plants too high exposes roots to air. Tomatoes are the rule-breakers here – they actually benefit from deeper planting since they form roots along buried stems, creating stronger plants with better drought resistance.
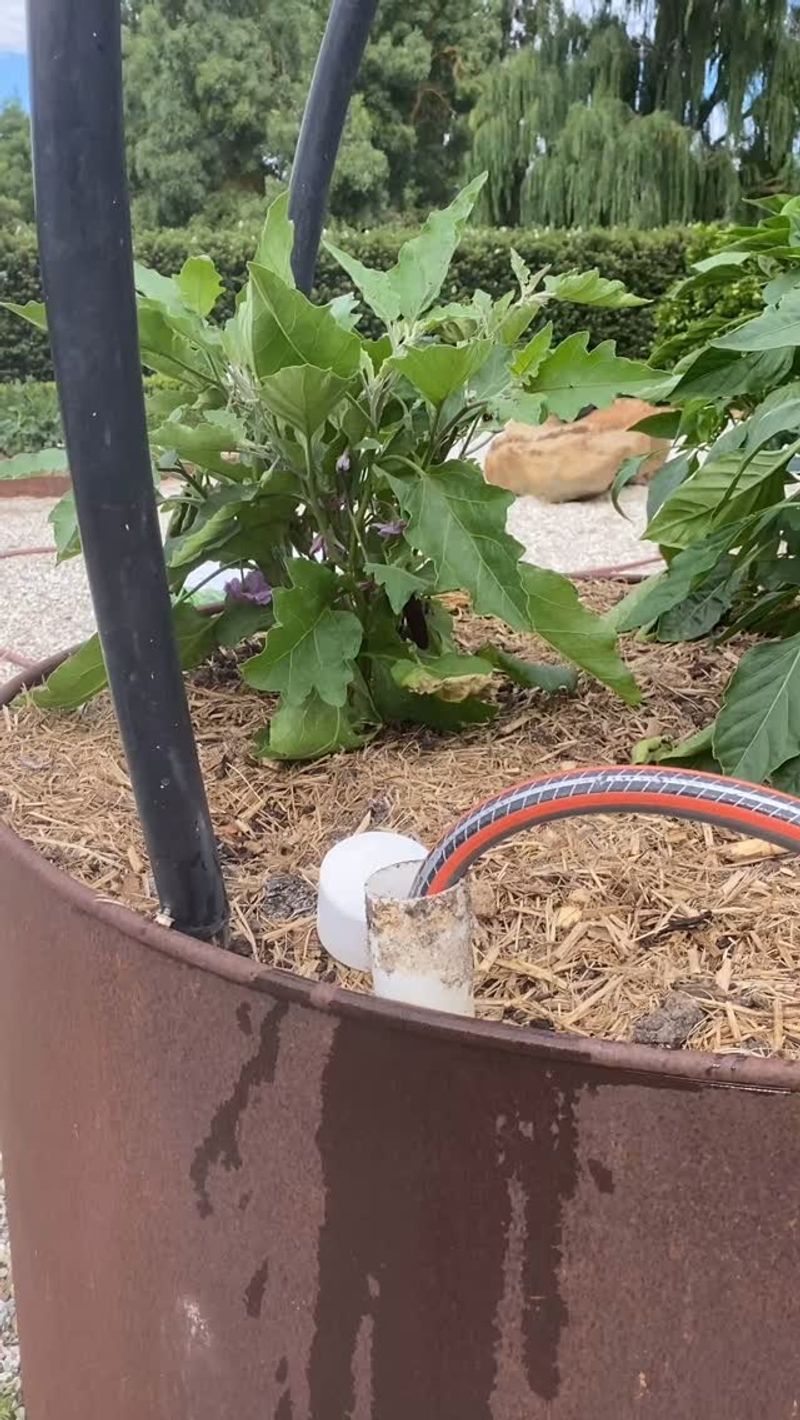
8. Create A Soil Basin Around Each Plant
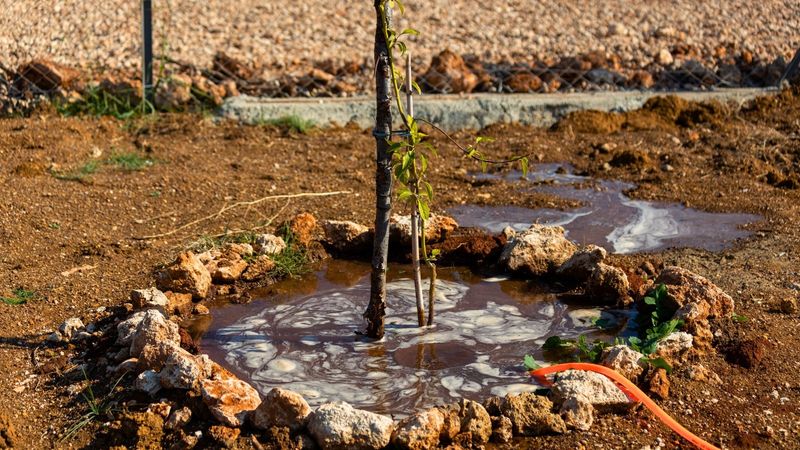
After setting your seedling in place, form a shallow circular depression around it. This simple basin captures water and directs it straight to the roots instead of letting it run off.
The soil wall, about 2-3 inches high and 6-8 inches in diameter, acts like a tiny reservoir. During the critical establishment period, this water-catching basin ensures your transplants get every drop of moisture you provide. It’s especially helpful in areas with sandy soil or on slight slopes.
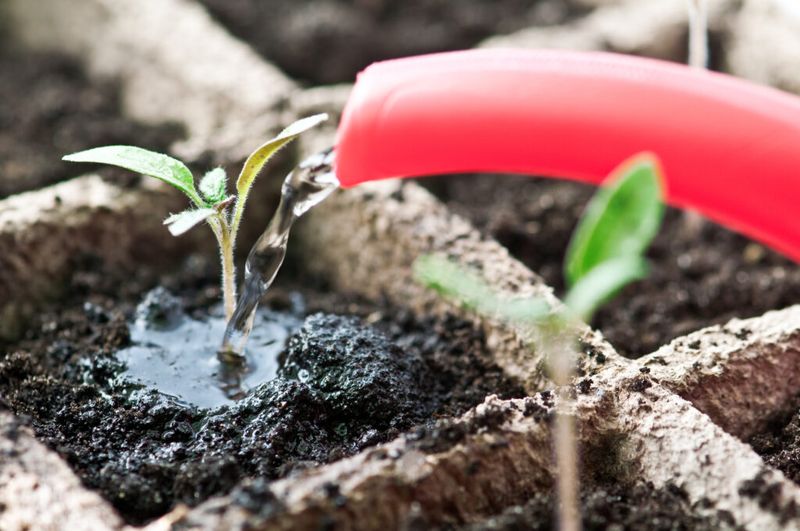
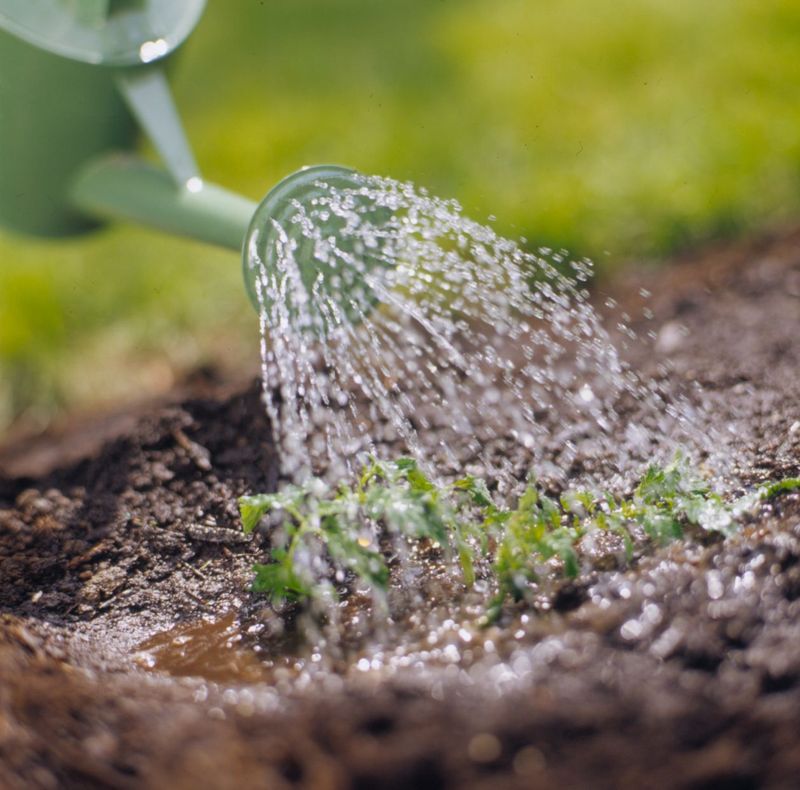
9. Water Deeply Immediately After Planting
Right after tucking your seedlings into their new garden home, give them a thorough soaking. Use a gentle stream or watering can with a rose attachment to avoid washing away soil or damaging delicate stems.
This initial deep watering serves multiple purposes – it eliminates air pockets around roots, helps soil particles make good contact with the root system, and provides needed moisture for recovery. The water should soak in completely around the root zone, not just wet the surface.
10. Apply Mulch Around New Transplants
Spreading a 2-3 inch layer of organic mulch around your newly planted vegetables creates a protective blanket. Keep the mulch an inch away from stems to prevent rot issues while covering the surrounding soil surface.
Mulch moderates soil temperature, keeping roots cooler during hot days and warmer on chilly nights. It also dramatically reduces water evaporation and suppresses weeds that would compete with your young plants. Straw, shredded leaves, or compost all make excellent mulch choices for vegetable gardens.
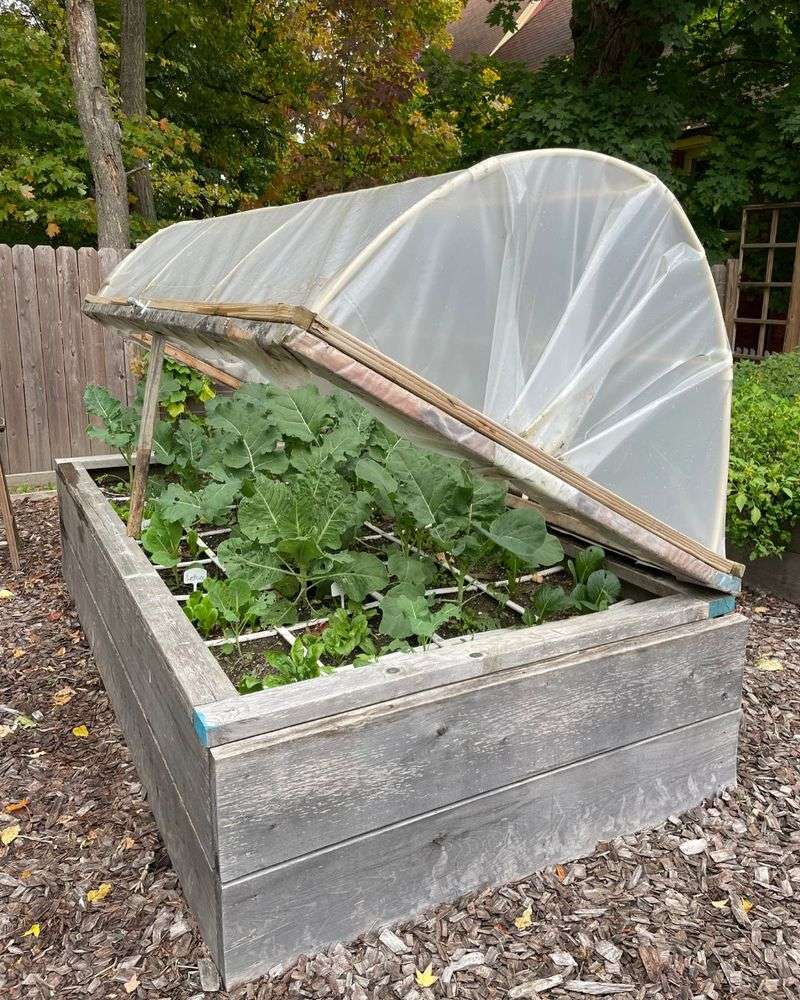
11. Provide Temporary Shade
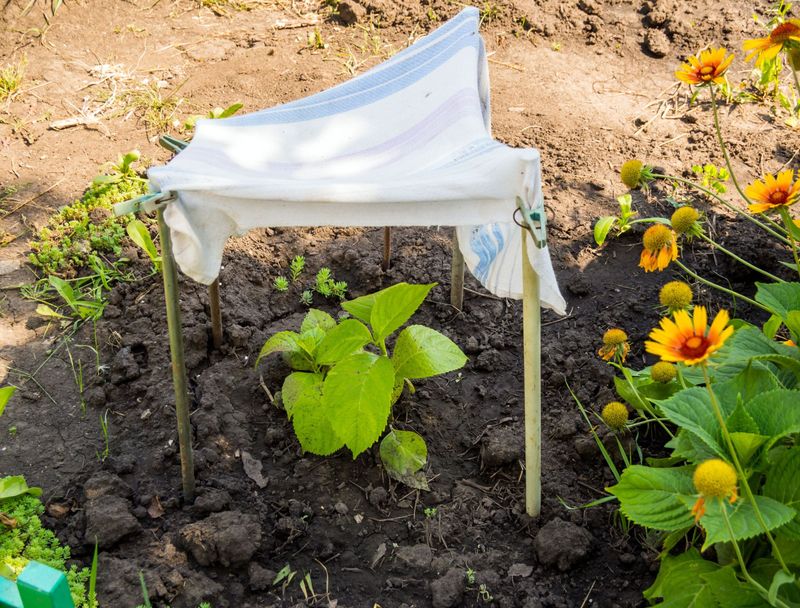
Creating makeshift shade for the first few days gives transplants time to recover from the moving stress. Simple shade cloth, propped-up cardboard, or even upside-down berry baskets can filter harsh sunlight.
These temporary sun blockers reduce water loss through leaves while roots are still getting established. Even sun-loving vegetables appreciate this brief protection period. Remove the shade gradually over 3-5 days, starting with morning exposure first, to help plants adapt to full conditions.
12. Use Starter Fertilizer Solution
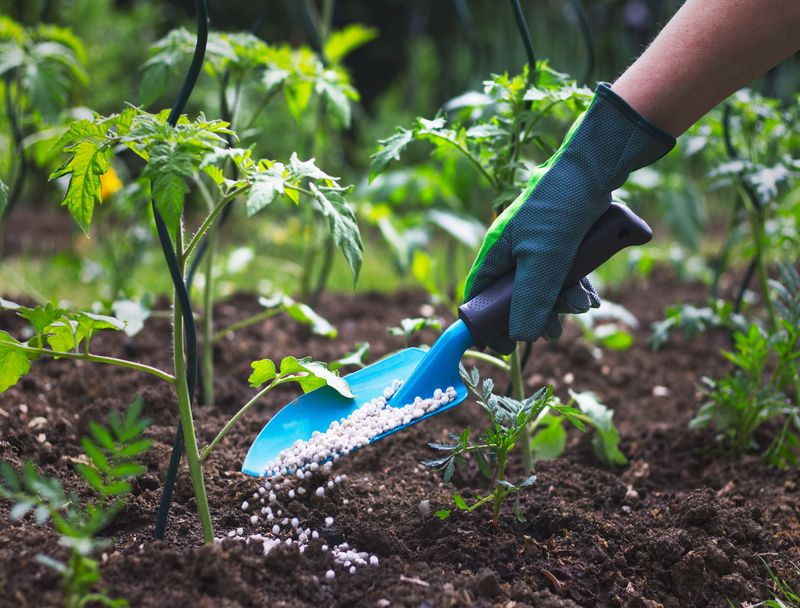
Giving transplants a gentle nutritional boost helps them overcome transplanting stress. Mix a half-strength solution of liquid fertilizer high in phosphorus (the middle number on fertilizer labels) and apply it after the initial watering.
Phosphorus specifically supports root development – exactly what your transplants need most. Commercial transplant solutions work well, or you can make your own by dissolving water-soluble fertilizer. Avoid high-nitrogen formulas that stimulate leaf growth before roots are ready to support it.
13. Space Plants Properly
Resist the temptation to crowd your vegetable transplants. Those tiny seedlings will grow much larger, and proper spacing allows for good air circulation and root development.
Check seed packets or gardening guides for specific spacing requirements for each vegetable variety. Crowded plants compete for water, nutrients, and sunlight, ultimately reducing your harvest. They’re also more susceptible to fungal diseases that thrive in damp, airless conditions created by dense foliage.
14. Group Plants With Similar Needs
Thoughtful arrangement of your vegetable transplants makes garden maintenance much easier. Place plants with similar watering, light, and fertilizer requirements together in the same garden section.
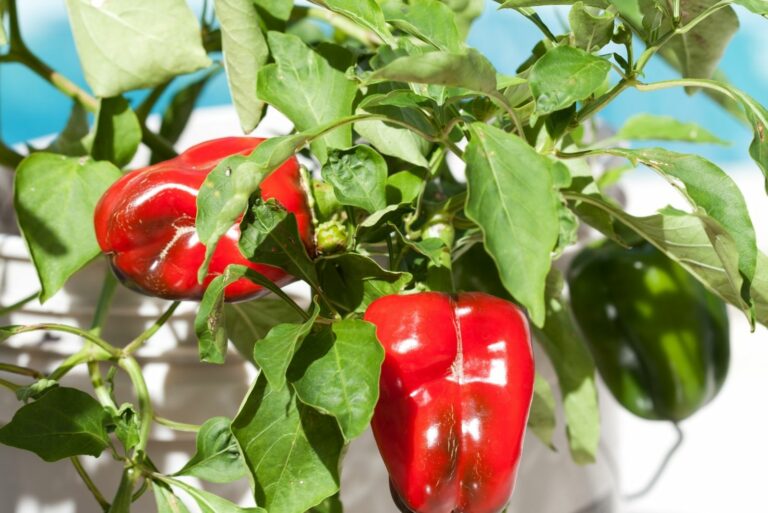
For example, group moisture-loving plants like celery and lettuce separate from drought-tolerant vegetables like eggplant and peppers. This strategic planning prevents accidentally underwatering some plants while overwatering others. It also helps you create microclimates that benefit specific plant groups, like using taller plants to shade cool-season crops.
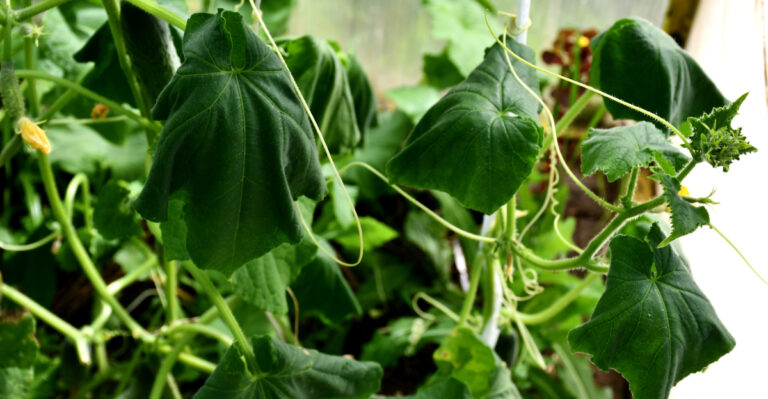
15. Install Support Structures Early
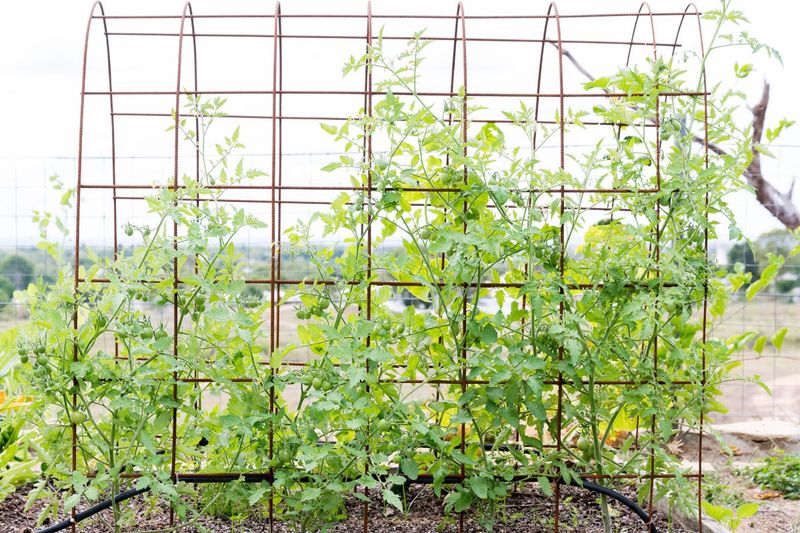
For climbing vegetables like peas, cucumbers, and tomatoes, set up trellises, cages, or stakes at transplanting time. Adding supports later risks damaging established roots and vines that have already started spreading.
Early installation also trains plants to grow upward from the beginning. Vertical growing maximizes garden space, improves air circulation, and keeps fruits clean and visible. The structures provide immediate wind protection for fragile transplants as an added bonus.
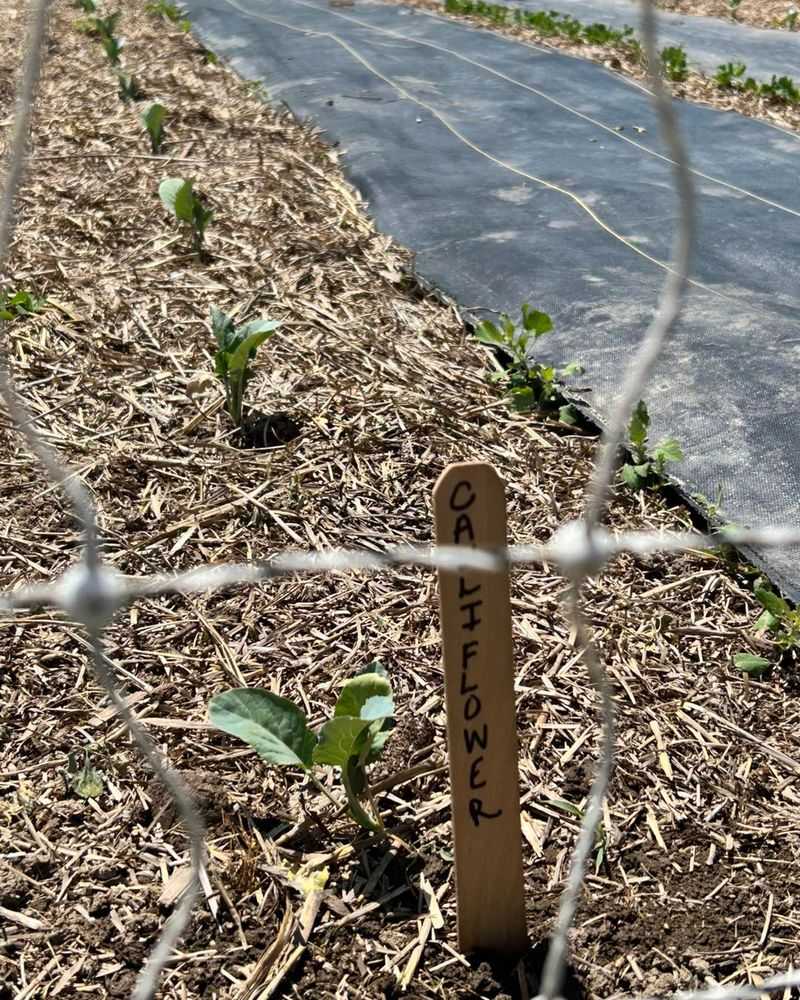
16. Label Your Transplants
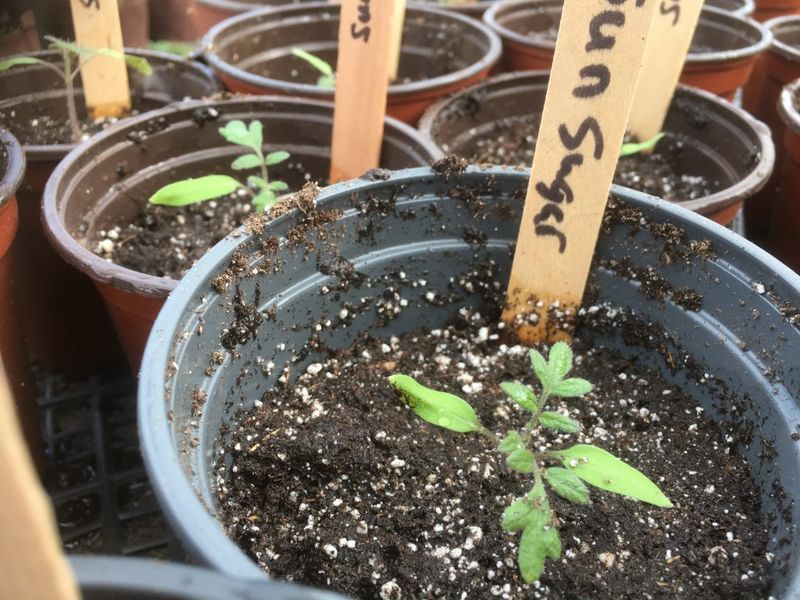
Taking a moment to label each variety after transplanting saves confusion later. Weather-resistant markers or popsicle sticks with permanent marker work well for temporary identification.
Include the vegetable name, variety, and transplant date on each label. This information becomes invaluable when tracking growth rates, harvest times, and planning future gardens. Labels also help identify which varieties performed best in your specific growing conditions, guiding next year’s plant selections.
17. Watch For Pests Immediately
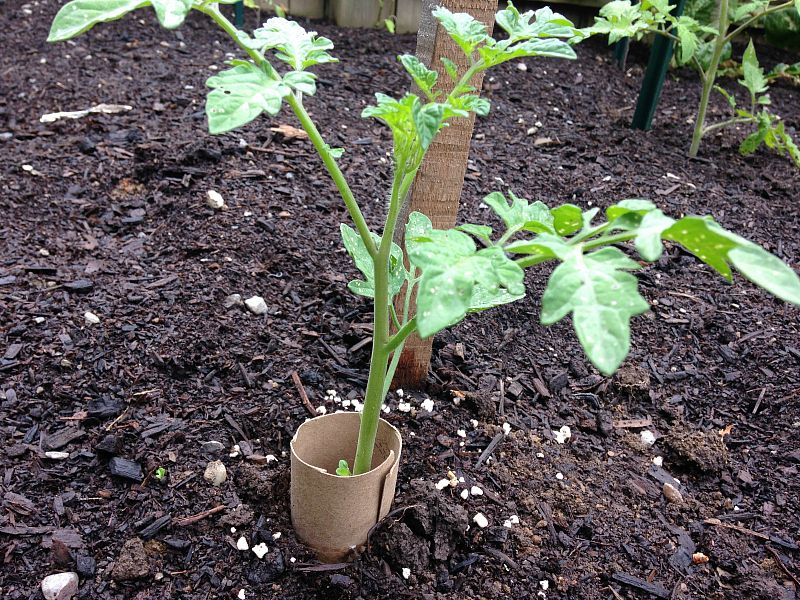
Newly transplanted vegetables emit stress signals that actually attract certain pests. Check your plants daily during the first week after transplanting, looking under leaves and around stems for unwelcome visitors.
Cutworms are particularly problematic for new transplants, often cutting stems at soil level overnight. Protective collars made from cardboard toilet paper tubes, pushed an inch into the soil around stems, prevent this common issue. Early detection and intervention stop pest problems before they devastate your vulnerable transplants.
18. Keep Soil Consistently Moist
Establishing transplants need regular, careful watering for the first two weeks. Check soil moisture by inserting your finger about an inch deep near the plant – if it feels dry, it’s time to water.
Aim for keeping soil moist but not waterlogged. Morning watering is ideal, allowing foliage to dry before evening and reducing disease risks. Gradually extend time between waterings as plants establish stronger root systems, encouraging roots to grow deeper in search of moisture.
19. Track Weather Forecasts Carefully
New transplants are especially vulnerable to weather extremes. Keep a close eye on forecasts during the establishment period and be ready to protect your plants.
For unexpected frost, cover plants with row covers, buckets, or even sheets overnight. During heatwaves, temporary shade cloth and extra watering help prevent wilting. Strong winds can damage or completely uproot new transplants, so windbreaks like garden fabric stapled to stakes provide crucial protection during blustery days.