What To Do With Fallen Leaves In Oregon Yards During The Rainy Season
Leaves are falling, the rain is falling, and suddenly your yard is a soggy, crunchy carpet. Before grabbing a rake in frustration, remember, those fallen leaves aren’t just yard waste, they’re garden gold.
With a little creativity, they can be transformed into mulch, compost, or cozy winter blankets for plants.
Shredded leaves make excellent mulch around flower beds, vegetables, and shrubs, keeping soil moist and protecting roots from frost.
Whole leaves can provide shelter for beneficial insects, worms, and even pollinators looking for a winter hideout.
Piling leaves around perennials or trees helps prevent soil erosion and adds nutrients back into the ground as they break down.
Oregon’s rainy season can make leaf cleanup feel endless, but thinking of leaves as a resource instead of a chore changes everything.
With simple strategies, those crunchy piles can improve soil, feed wildlife, and give your garden a head start for spring, plus, it’s free!
The following ideas will help you manage fallen leaves during Oregon’s wet months. Each approach offers practical benefits and fits well with the Pacific Northwest climate.
You can choose one method or combine several to suit your yard’s needs!
1. Mulch Your Garden Beds With Shredded Leaves
Garden beds need protection during Oregon’s rainy season, and shredded leaves provide an excellent natural blanket. Run your mower over dry leaves before the heavy rains start, or use a leaf shredder to break them into smaller pieces.
These fragments settle nicely around plants without forming a water-blocking mat.
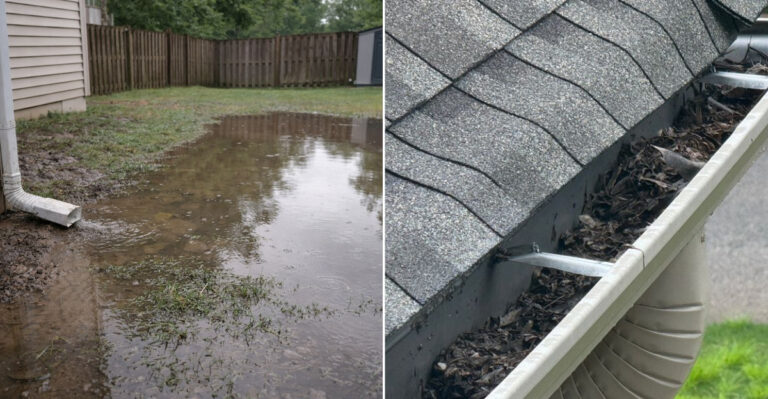
Spread a three to four inch layer of shredded leaves around perennials, shrubs, and vegetable beds. The mulch keeps soil temperatures more stable and prevents erosion when winter storms arrive.
As the leaves break down slowly over months, they add organic matter and nutrients back into the soil.
Shredded leaf mulch also reduces weed growth in spring. The layer blocks sunlight from reaching weed seeds while allowing water and air to pass through.
This method works especially well around acid-loving plants like rhododendrons and azaleas, which thrive on the slightly acidic decomposition.
Wait until spring to remove any remaining leaf mulch, or simply work it into the soil. Many gardeners find that most of the shredded leaves have decomposed by planting time.
This approach saves money on commercial mulch while recycling nutrients right where your plants need them most.
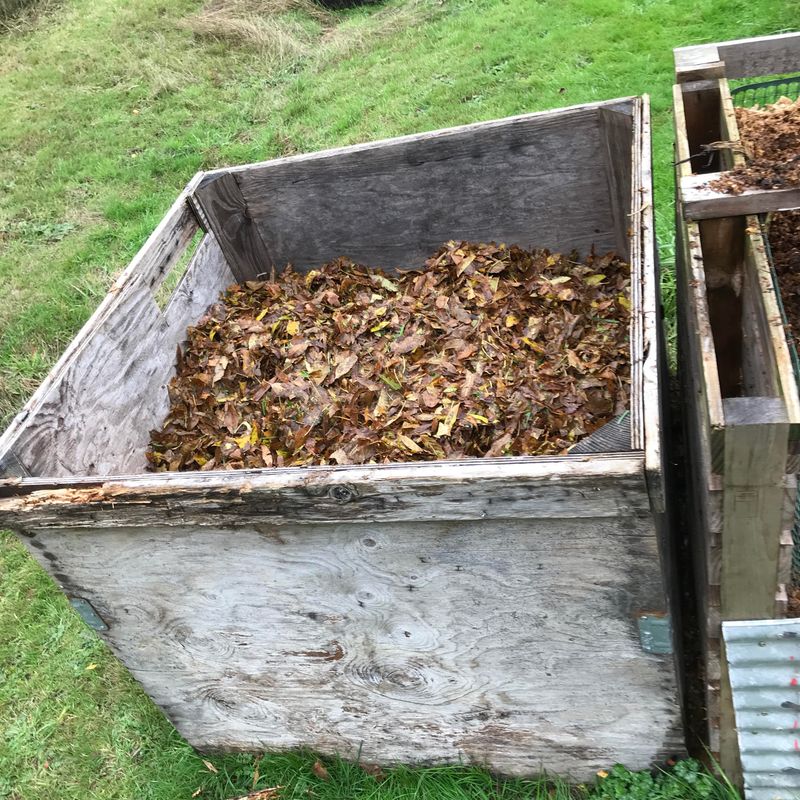
2. Create Nutrient-Rich Compost Piles
Composting transforms fallen leaves into black gold for your garden. Leaves are carbon-rich materials, often called browns in composting language.
Mix them with nitrogen-rich greens like grass clippings, vegetable scraps, or coffee grounds to create the perfect balance for decomposition.
Oregon’s rainy weather actually helps the composting process. Moisture speeds up breakdown, though you may need to cover your pile during the heaviest downpours to prevent it from becoming waterlogged.
Turn the pile every few weeks to add oxygen and speed up the transformation.
Layer leaves with other materials in alternating sections. Aim for roughly three parts brown leaves to one part green materials.
This ratio creates the ideal environment for beneficial microorganisms to work their magic. Chopping or shredding leaves before adding them to the compost pile helps them break down faster.
Within six to twelve months, your leaf pile becomes rich, crumbly compost. This finished product improves soil structure, holds moisture during dry summers, and feeds plants naturally.
Spread it on garden beds, mix it into potting soil, or use it as a top dressing around established plants throughout your yard.
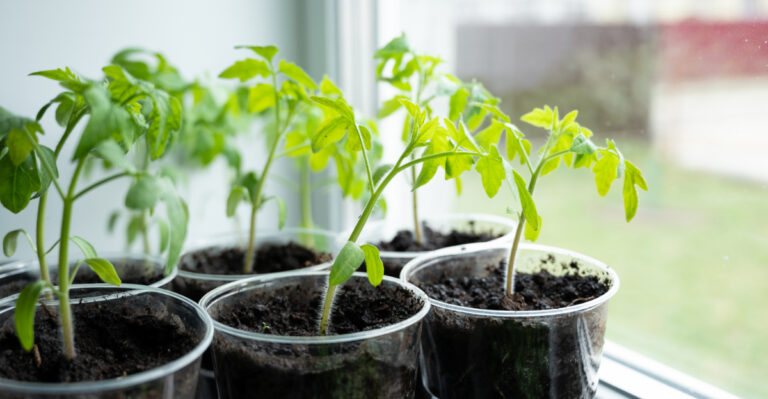
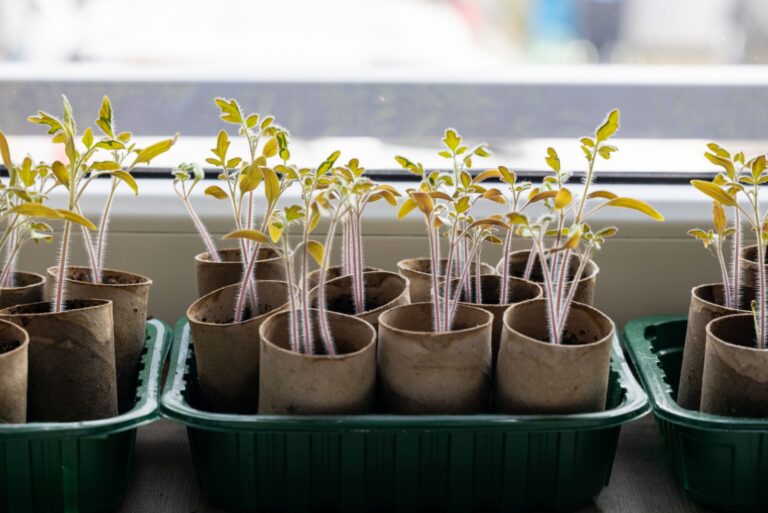
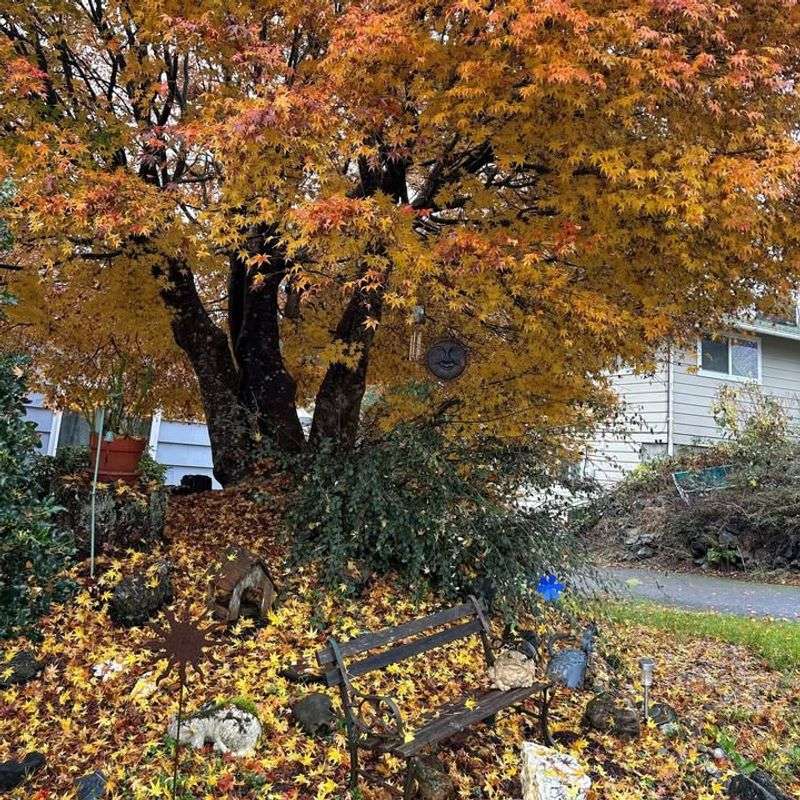
3. Protect Tender Plants With Leaf Insulation
Some plants struggle with Oregon’s cold, wet winters and need extra protection. Pile dry leaves around the base of tender perennials, young trees, and shrubs before the heaviest rains begin.
This natural insulation keeps roots warmer and buffers against temperature swings.
Create a cage from chicken wire or garden fencing around plants that need the most protection. Fill this enclosure with leaves to create an insulating barrier that stays in place during winter storms.
The structure prevents wind from scattering your leaf pile across the yard.
Roses, Japanese maples, and newly planted specimens benefit most from this treatment. The leaf layer should reach six to eight inches deep around the root zone.
Avoid piling leaves directly against tree trunks or plant stems, as this can trap moisture and encourage rot.
Remove the protective leaf layer in early spring when new growth begins. You can add these used leaves to your compost pile or work them into garden beds.
This method costs nothing and uses materials already available in your yard, making it both economical and environmentally friendly for protecting vulnerable plants.
4. Build Leaf Mold For Soil Improvement
Leaf mold is one of gardening’s best-kept secrets. Unlike compost, which requires a mix of materials, leaf mold comes from leaves alone.
Simply pile leaves in a corner of your yard, dampen them, and wait. Oregon’s rainy climate provides perfect conditions for this simple process.
Leaf mold takes longer to form than regular compost, usually one to two years. But the wait is worth it.
The finished product looks like dark, crumbly soil and smells earthy and pleasant. It improves soil structure better than almost any other amendment.
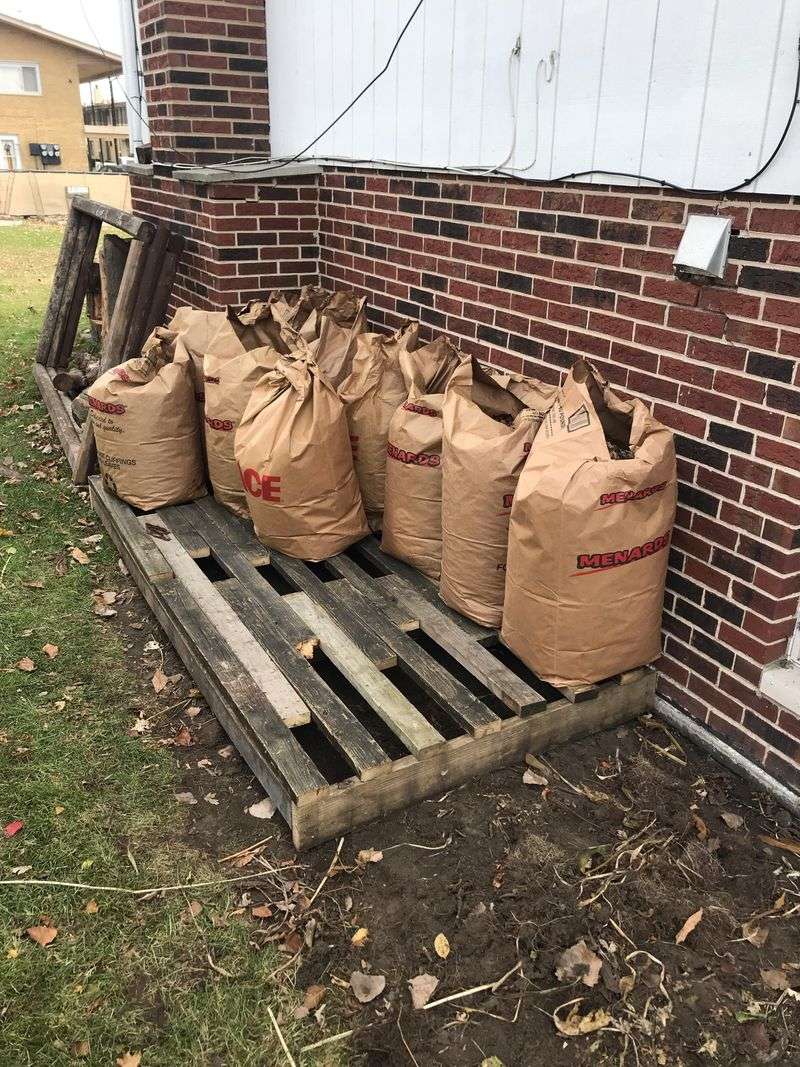
Store leaves in black plastic bags with a few holes punched for air circulation. The dark color absorbs heat and speeds decomposition.
Check the bags occasionally and add water if they seem dry, though Oregon’s rain usually provides enough moisture. You can also create an open pile and let nature take its course.
Use finished leaf mold as a soil conditioner, seed-starting mix ingredient, or mulch. It holds water remarkably well, helping sandy soils retain moisture during summer.
Clay soils become lighter and easier to work when you mix in leaf mold. This patient approach requires minimal effort and produces outstanding results.
5. Mow Leaves Into Your Lawn
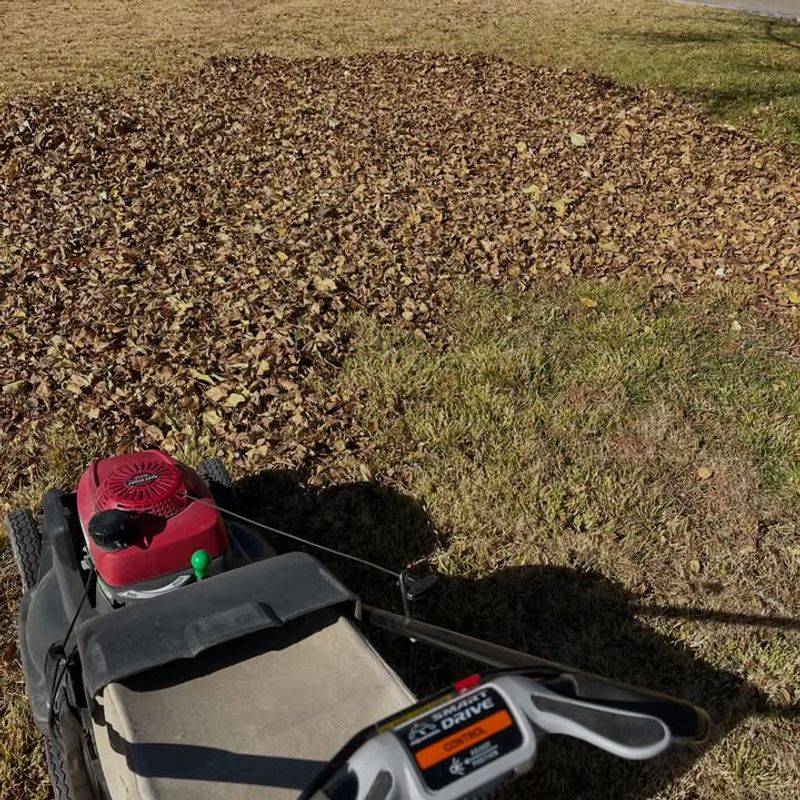
Leaving some leaves on your lawn might seem lazy, but it actually benefits the grass. Run your mower over fallen leaves to chop them into tiny pieces that filter down between grass blades.
These small fragments decompose quickly and feed the lawn naturally.
This technique works best when leaves cover less than half of the grass surface. If the layer is too thick, rake off the excess before mowing.
The remaining chopped leaves add nitrogen and other nutrients as they break down, reducing your need for synthetic fertilizers.
Mow leaves when they are relatively dry, if possible. Wet leaves clump together and can clog your mower.
In Oregon’s rainy season, you may need to wait for a break in the weather. Multiple passes with the mower create smaller pieces that decompose faster.
This method saves time and eliminates the need to bag leaves for disposal. Your grass gets a free meal, and you reduce yard waste going to the landfill.
Studies show that lawns treated this way develop thicker, healthier growth. The practice works particularly well with smaller-leaved trees like birch and ash.
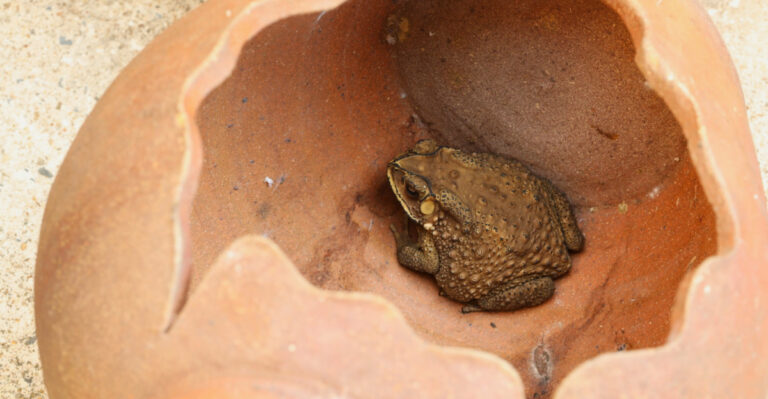
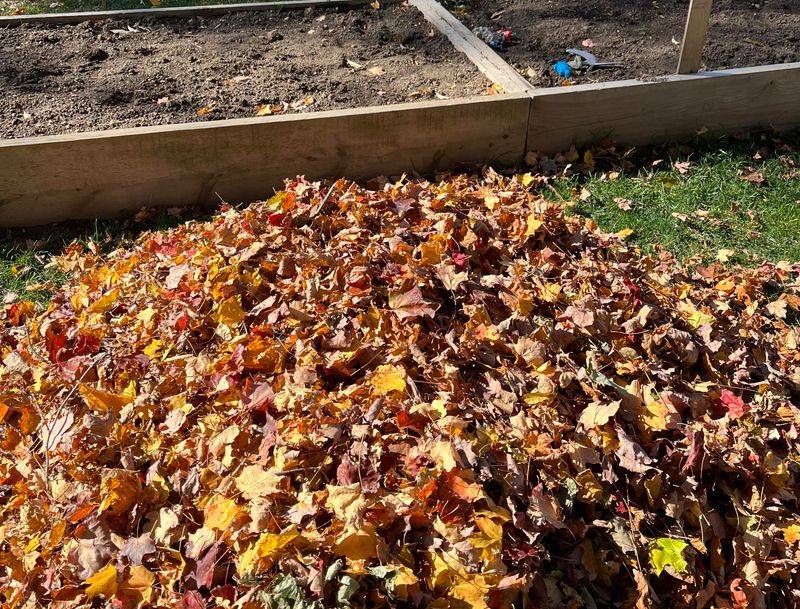
6. Create Wildlife Habitat Piles
Your fallen leaves can become a cozy home for beneficial garden creatures. Pile leaves in a quiet corner of your yard to create habitat for toads, salamanders, ground beetles, and other helpful animals.
These creatures eat slugs, snails, and insect pests that damage plants.
Choose a spot under shrubs or along a fence line where the pile will not be disturbed. Add some small branches or twigs to create air pockets within the leaf pile.
This structure provides better shelter and allows creatures to move around inside.
Oregon’s native salamanders especially appreciate leaf piles during the rainy season. These amphibians need moist environments and hunt for small invertebrates among decomposing leaves.
Beneficial insects also overwinter in leaf piles, emerging in spring to pollinate flowers and control pests.
Resist the urge to tidy up these habitat piles. The messier they look, the better they work for wildlife.
You can screen them with decorative fencing or plant low shrubs in front if appearance matters. By spring, the pile will have settled considerably as leaves decompose.
Add fresh leaves each fall to maintain this valuable wildlife resource in your yard.
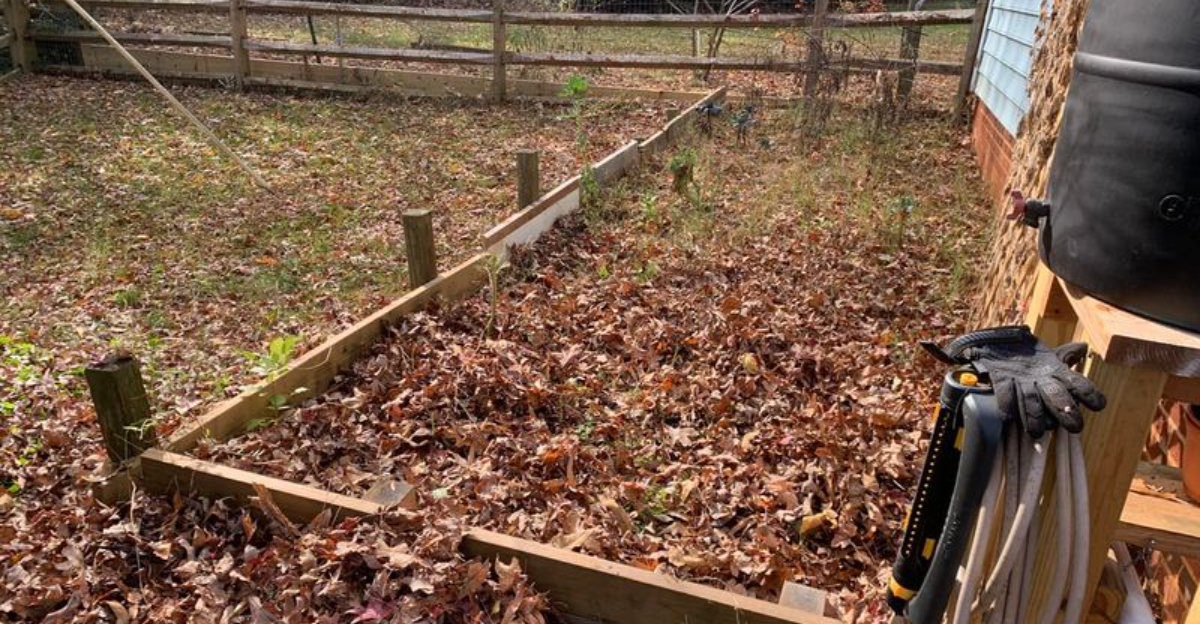
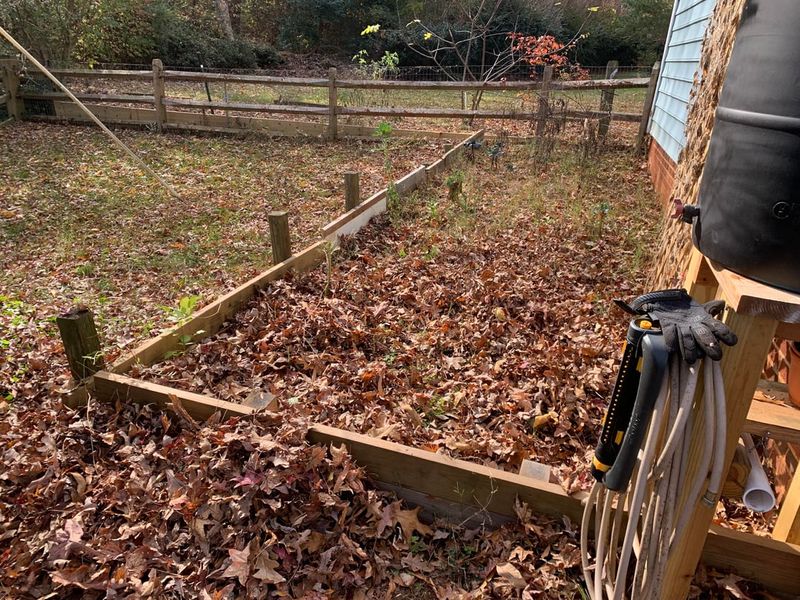
7. Fill Raised Beds with Leaves For Hugelkultur
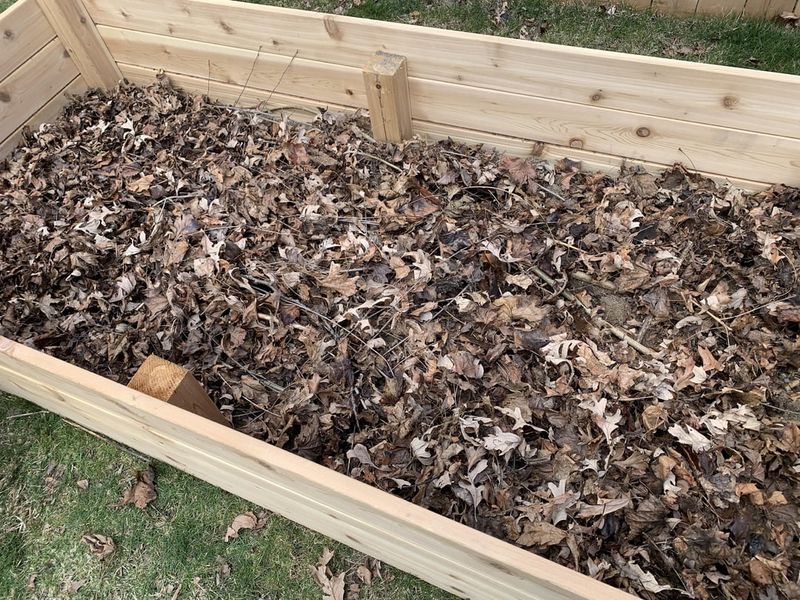
Hugelkultur is a German gardening method that buries organic materials to create fertile raised beds. Start with larger woody materials like branches at the bottom, then layer leaves on top.
Cover everything with soil, and you have a bed that feeds itself for years.
The buried leaves hold moisture like a sponge, reducing your need to water during dry months. As they decompose, they release nutrients slowly and create air pockets that improve drainage.
This method works exceptionally well in Oregon, where wet winters provide moisture for decomposition.
Build your hugelkultur bed in fall when leaves are plentiful. Pile branches, then leaves, then finished compost or soil in layers.
The mound will settle over time as materials break down. You can plant directly into the top layer right away or wait until spring.
These beds warm up faster in spring than regular garden beds. The decomposition process generates gentle heat that extends your growing season.
Vegetables, herbs, and flowers all thrive in hugelkultur beds. The initial effort of building the mound pays off with years of improved growing conditions and less need for fertilizer and irrigation.
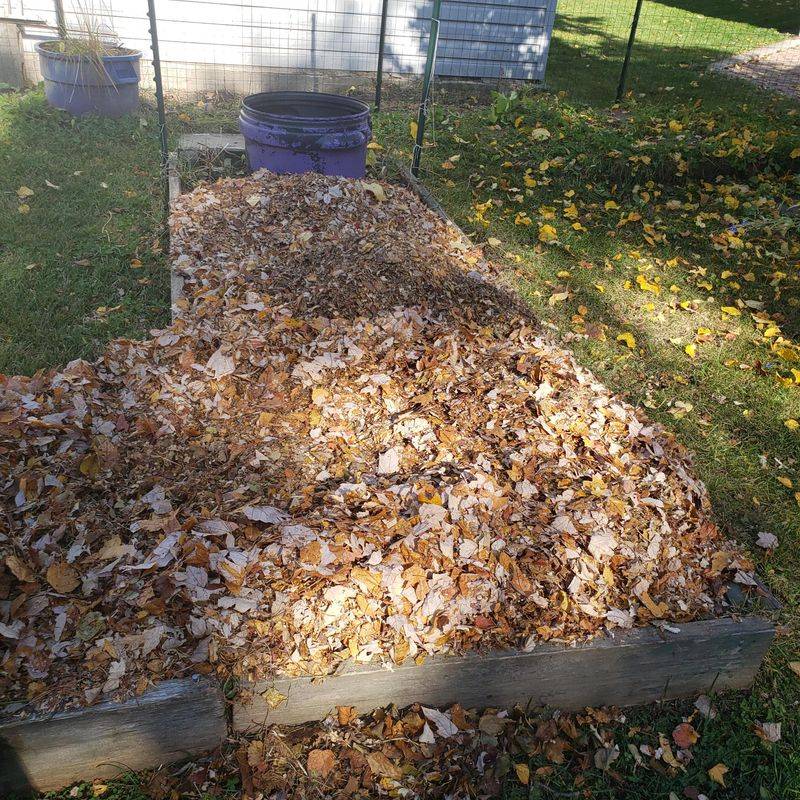
8. Store Dry Leaves For Spring Use
Smart gardeners collect and store dry leaves in fall for use throughout the year. Bag leaves before the heavy rains begin, when they are still relatively dry and easy to handle.
Store the bags in a covered area like a garage, shed, or under a tarp.
These stored leaves become valuable in spring and summer. Use them as mulch around new plantings, add them to compost piles when you have excess green materials, or spread them in pathways to suppress weeds.
Dry leaves are much easier to work with than wet, matted ones.
Fill large garbage bags or yard waste bags, but do not pack them too tightly. Leave some air space so leaves do not get moldy during storage.
Punch a few small holes in the bags if moisture becomes a problem. Check stored leaves occasionally and discard any that develop mold.
Having a supply of dry leaves on hand gives you flexibility in garden projects. You can add carbon to an overly wet compost pile, create quick mulch for a new bed, or cover bare soil to prevent erosion.
This simple storage strategy makes leaf management easier and provides free gardening materials when you need them most.