Wait For The Perfect Moment To Divide Your Shasta Daisies And Get Even More Blooms Next Spring
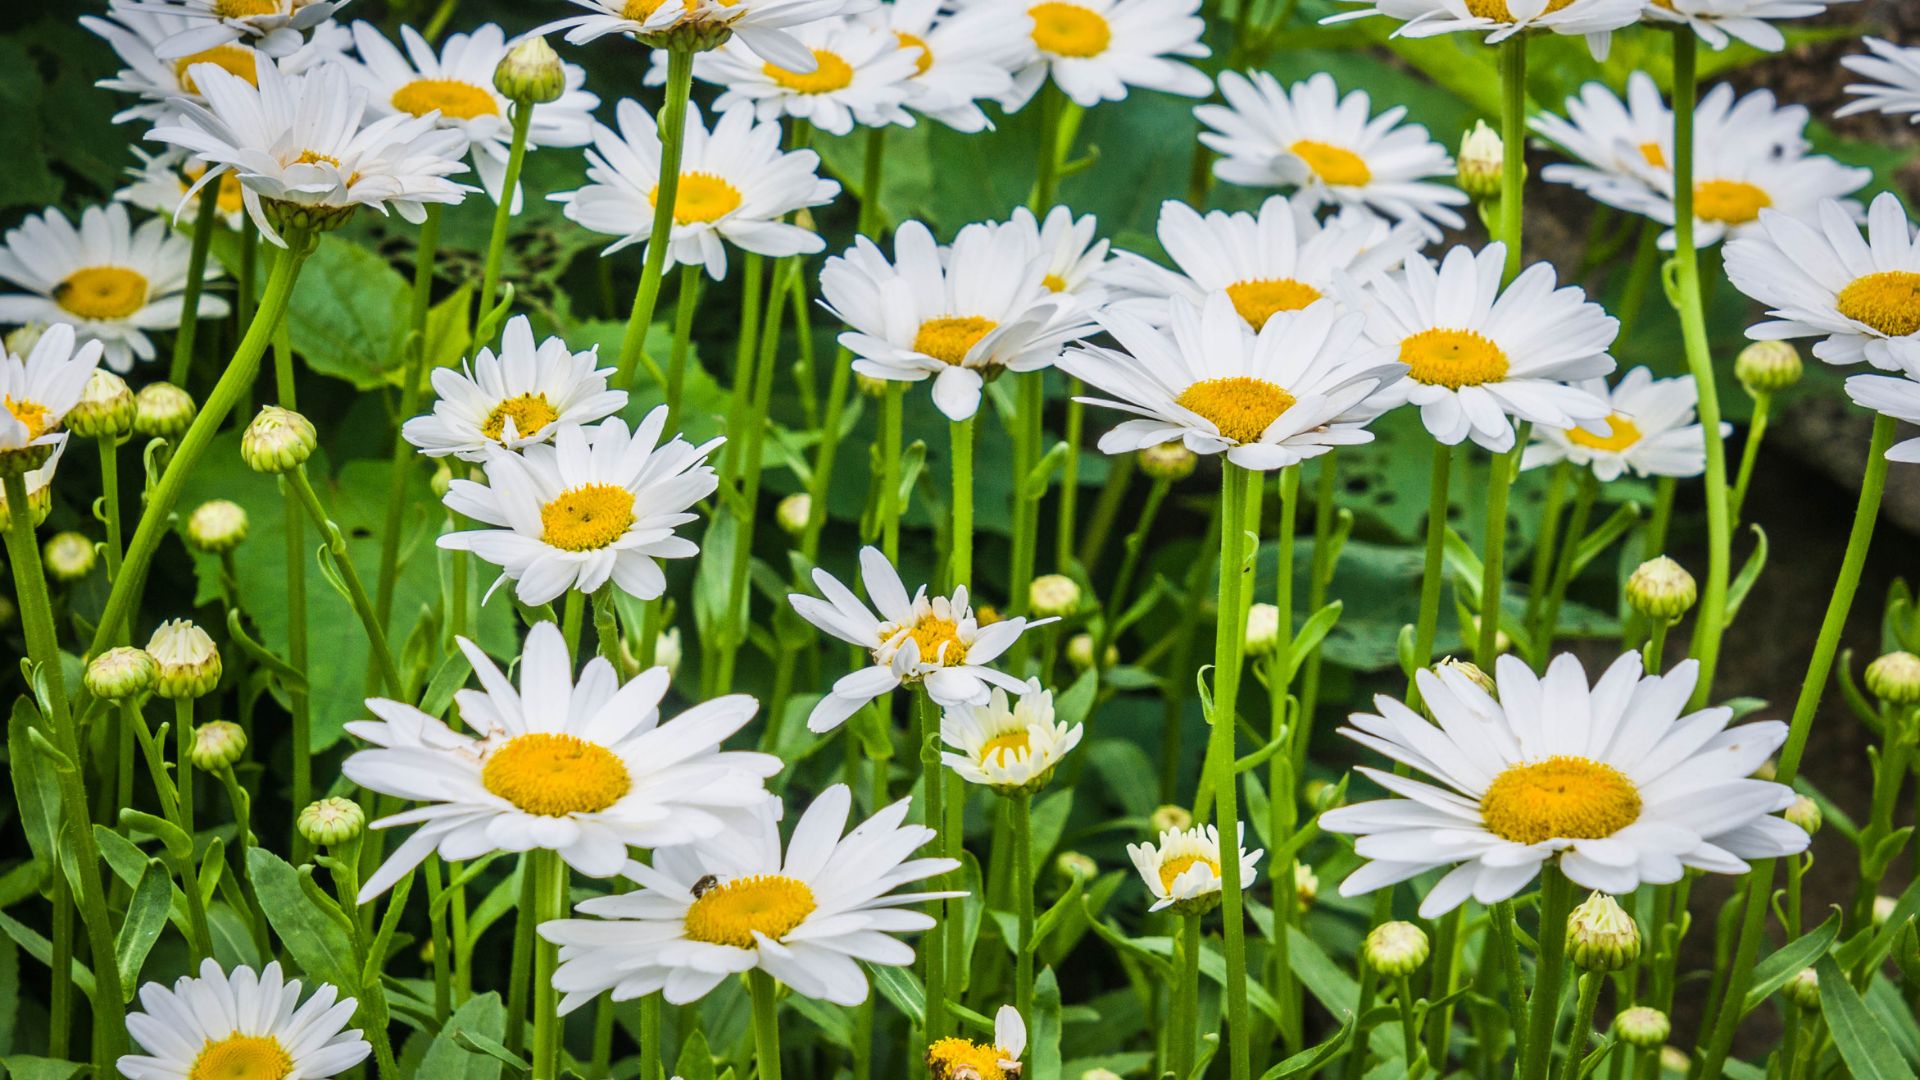
Shasta daisies are a staple in summer gardens, and even when short on space, many gardeners still choose to grow these beauties in pots.
Like any other potted plant, Shasta daisies will outgrow their current pots and need a little more room to spread their roots. And when this happens, it’s time for some division!
When it comes to dividing Shasta daisies, timing is everything! Some gardeners swear by spring, while others insist fall is the way to go. So, who’s right?
I tested both these timeframes and here’s what I found:
It’s Best To Divide Them During Fall
When it comes to dividing Shasta daisies, fall is your best friend.
Sure, you can divide them in spring, but doing it in the fall gives them plenty of time to settle in before the next growing season, leading to bigger, better blooms.
You should divide them every three to five years if you want fuller plants and to avoid those awkward bald spots in the middle.
If you are doing it in the fall, aim to divide your daisies about a month before your first frost – right after they’ve finished their blooming period and are ready to take a little winter nap.
This way, they’ll settle in nicely and reward you with loads of flowers next spring!
Also read: When To Cut Back Shasta Daisies For Abundant Flowers
Follow These Simple Steps To Effortlessly Divide Your Shasta Daisies
Here’s a quick and easy way to divide your Shasta daisies this fall:
1. Cut back the leaves – trim your daisies down to about 6 inches above the soil with pruners.
2. Dig up the roots – create a circle about 6 inches away from the crown and gently pry the plant out of the soil with your shovel.
3. Break up the root ball – tease those roots apart with your hands, or use a knife to gently separate them. You’re aiming for new transplants that are about 6 inches, but smaller sections will work as long as each piece has healthy roots and 3 to 5 stems.
4. Prep the new spot – dig a hole slightly larger than the root ball of your Shasta daisies and mix in some compost or aged manure for some extra nutrients.
5. Plant your new daisies – place them in the hole so that the crowns are even with the soil line. Firm the soil around the base and add a cozy 2-3 inch layer of mulch.
6. Water deeply – give them a good, deep watering to help them settle in for the winter.
Okay, so, key takeaways?
Wait until fall to divide your shasta daisies (this will get you an abundance of blooms!). Just read these instructions and you’ll be ready to go!
Also read: 7 Perennials You NEED To Divide This September For More Blooms Next Season