Why And How To Divide Peonies This Fall In Your California Garden
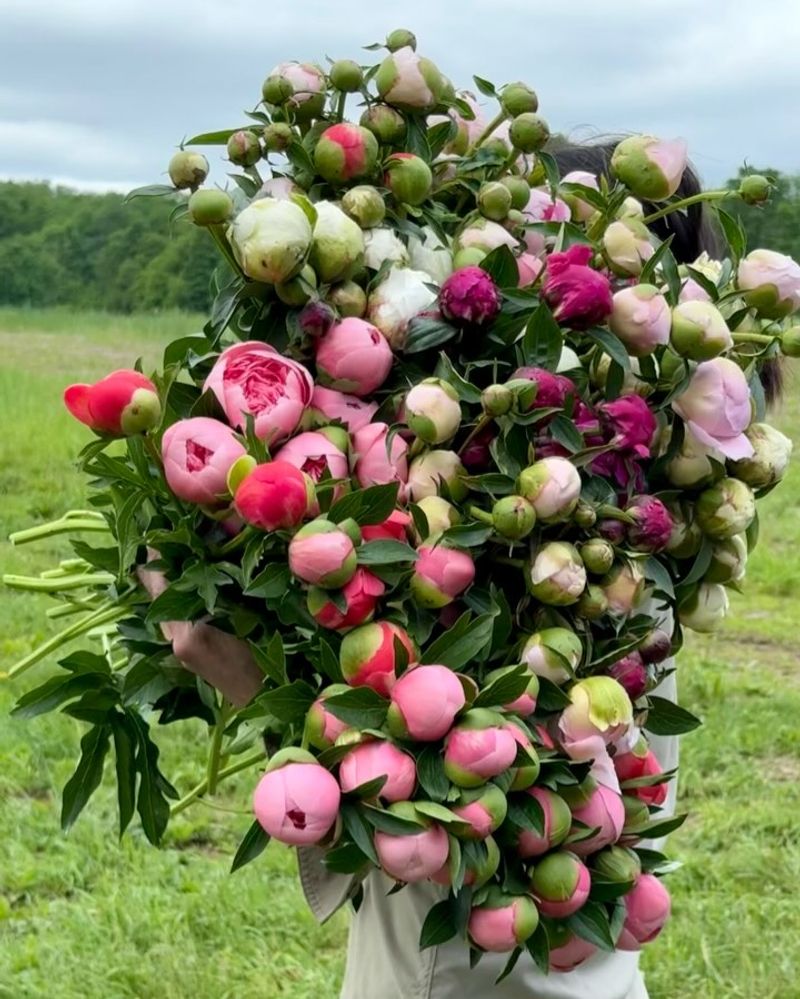
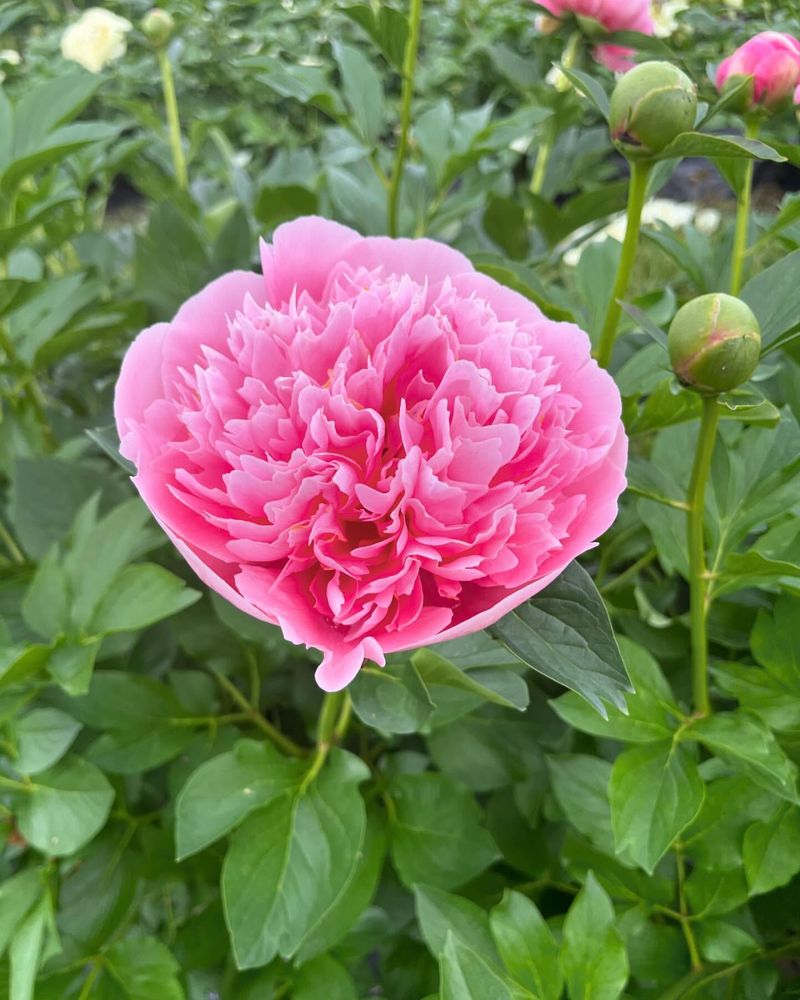
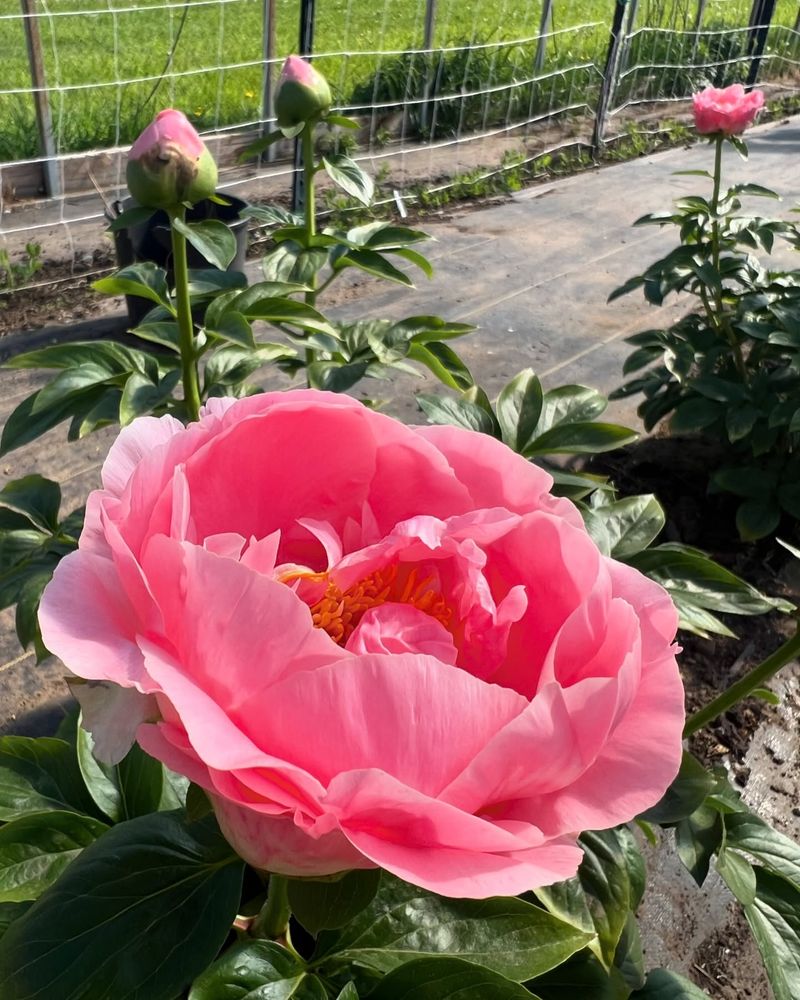
Fall is the perfect season to give your peonies some extra attention in your California garden. Dividing these gorgeous flowering plants helps them stay healthy, bloom better, and gives you more plants to enjoy or share with friends.
With just a few simple steps, you can multiply your peony collection while ensuring they thrive for years to come.
1. Perfect Timing Makes All The Difference
Mid-October to early November offers the ideal window for dividing peonies in California gardens. The summer heat has passed, but the soil remains warm enough for roots to establish before winter.
Plants need about six weeks to settle in before the first frost, giving them time to develop strong root systems. Mark your calendar and plan ahead – this timing ensures your divided peonies will reward you with beautiful blooms next spring.
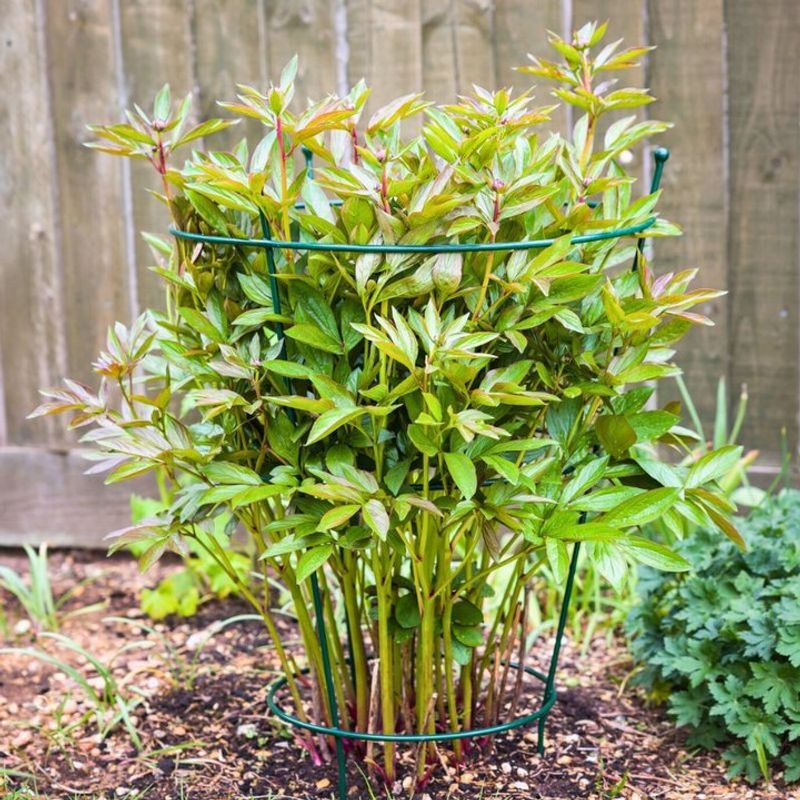
2. Signs Your Peonies Are Begging To Be Divided
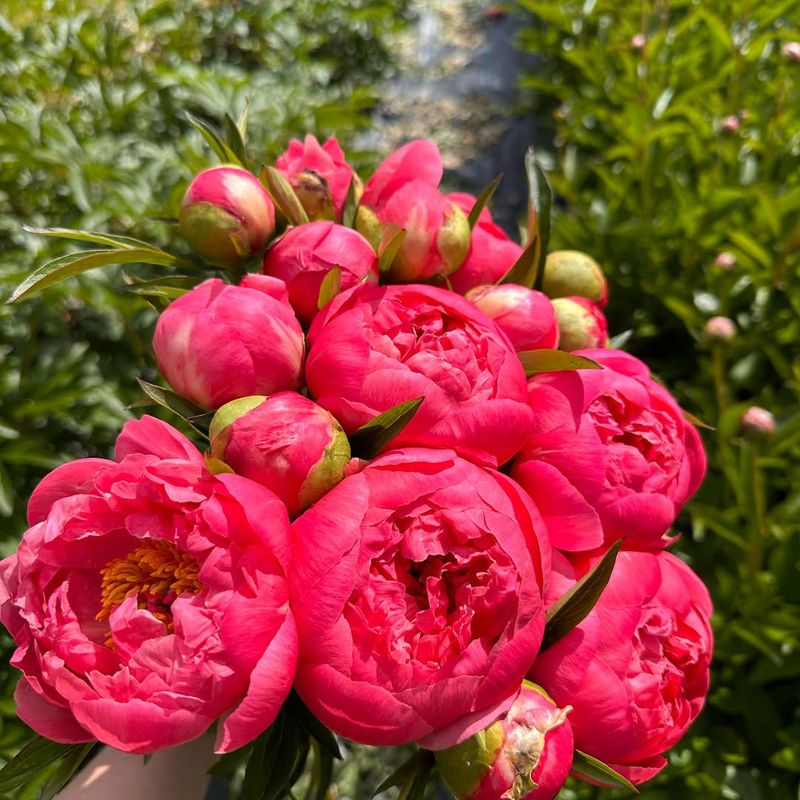
Crowded centers, declining flower production, and stems falling outward instead of standing tall are clear signals it’s division time. Healthy peonies typically need dividing every 10-15 years, unlike many perennials that require more frequent splitting.
Look for plants that have grown into large clumps with numerous stems emerging from a congested base. When blooms become smaller or fewer than previous years, your plants are practically shouting for some attention!
3. Gathering The Right Tools Before You Start
Sharp garden spades and pruning shears make clean cuts without damaging delicate roots. Have a tarp ready for placing divided sections and keeping your work area tidy. Garden gloves protect your hands while moving these substantial plants.
A garden fork helps loosen soil around deep roots, making extraction easier. Prepare a bucket with water to rinse root divisions and have plant markers handy to label your newly separated peonies – especially if you’re growing different varieties.
4. Prep Work Makes The Division Process Smoother
Start by cutting back stems to about 2-3 inches above ground level, making the plant easier to handle. Water your peonies thoroughly the day before dividing to hydrate the roots and soften the soil.
Clear away mulch and debris from the base of the plant to better see what you’re working with. Dig a trench around the plant about 8-12 inches away from the stems, creating space to work without damaging the root system.
5. Digging Up The Root Ball Without Causing Damage
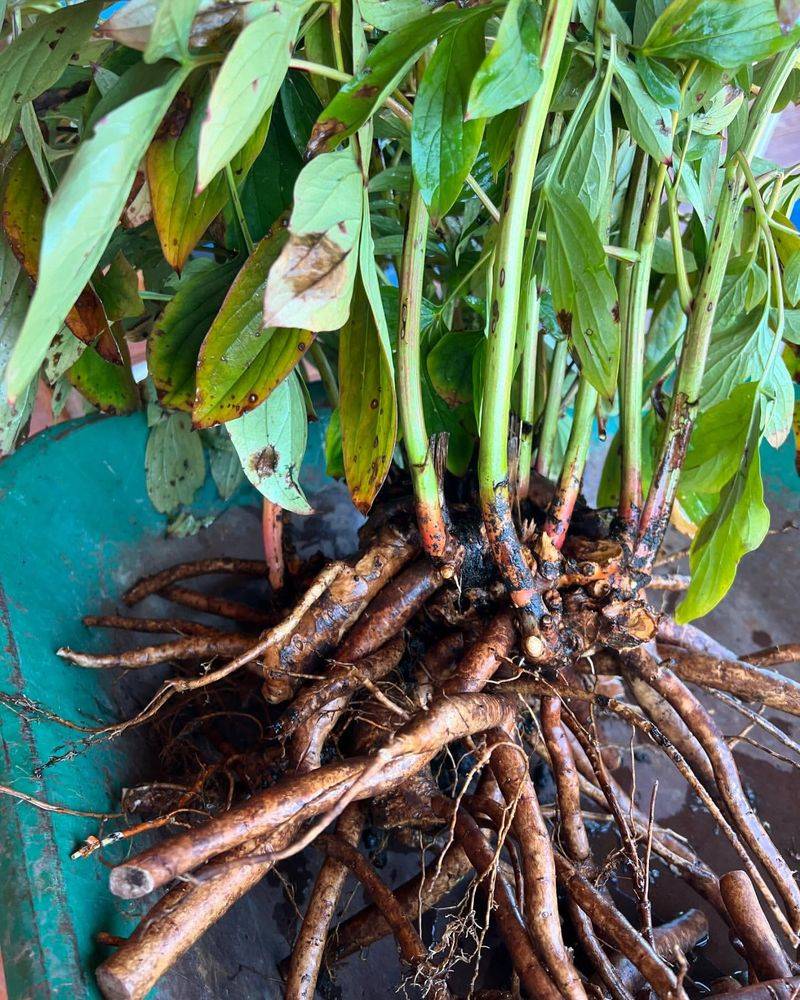
Carefully dig around your peony clump, working your spade deeper with each pass. Peonies have thick, fleshy roots that can extend 18 inches or more into the soil, so patience is key!
Once loosened, gently rock the plant back and forth to free it from the ground. Lift from multiple sides rather than pulling from the top to avoid breaking the roots. Shake off excess soil so you can clearly see the root structure and eyes (growth buds).
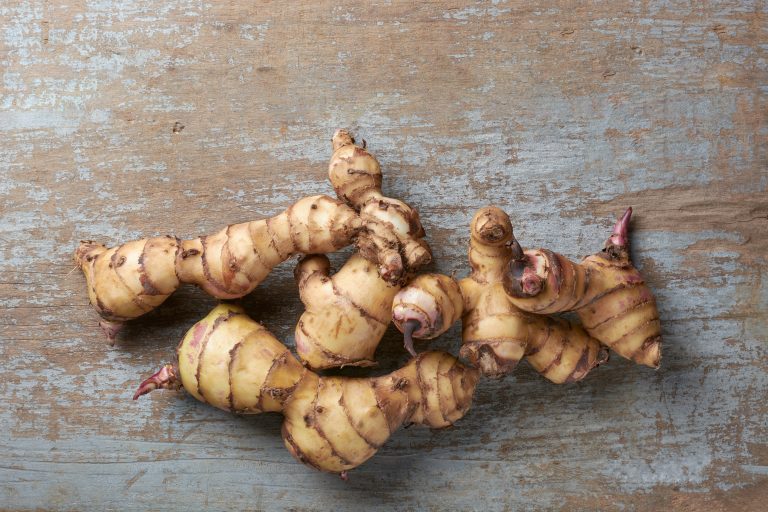
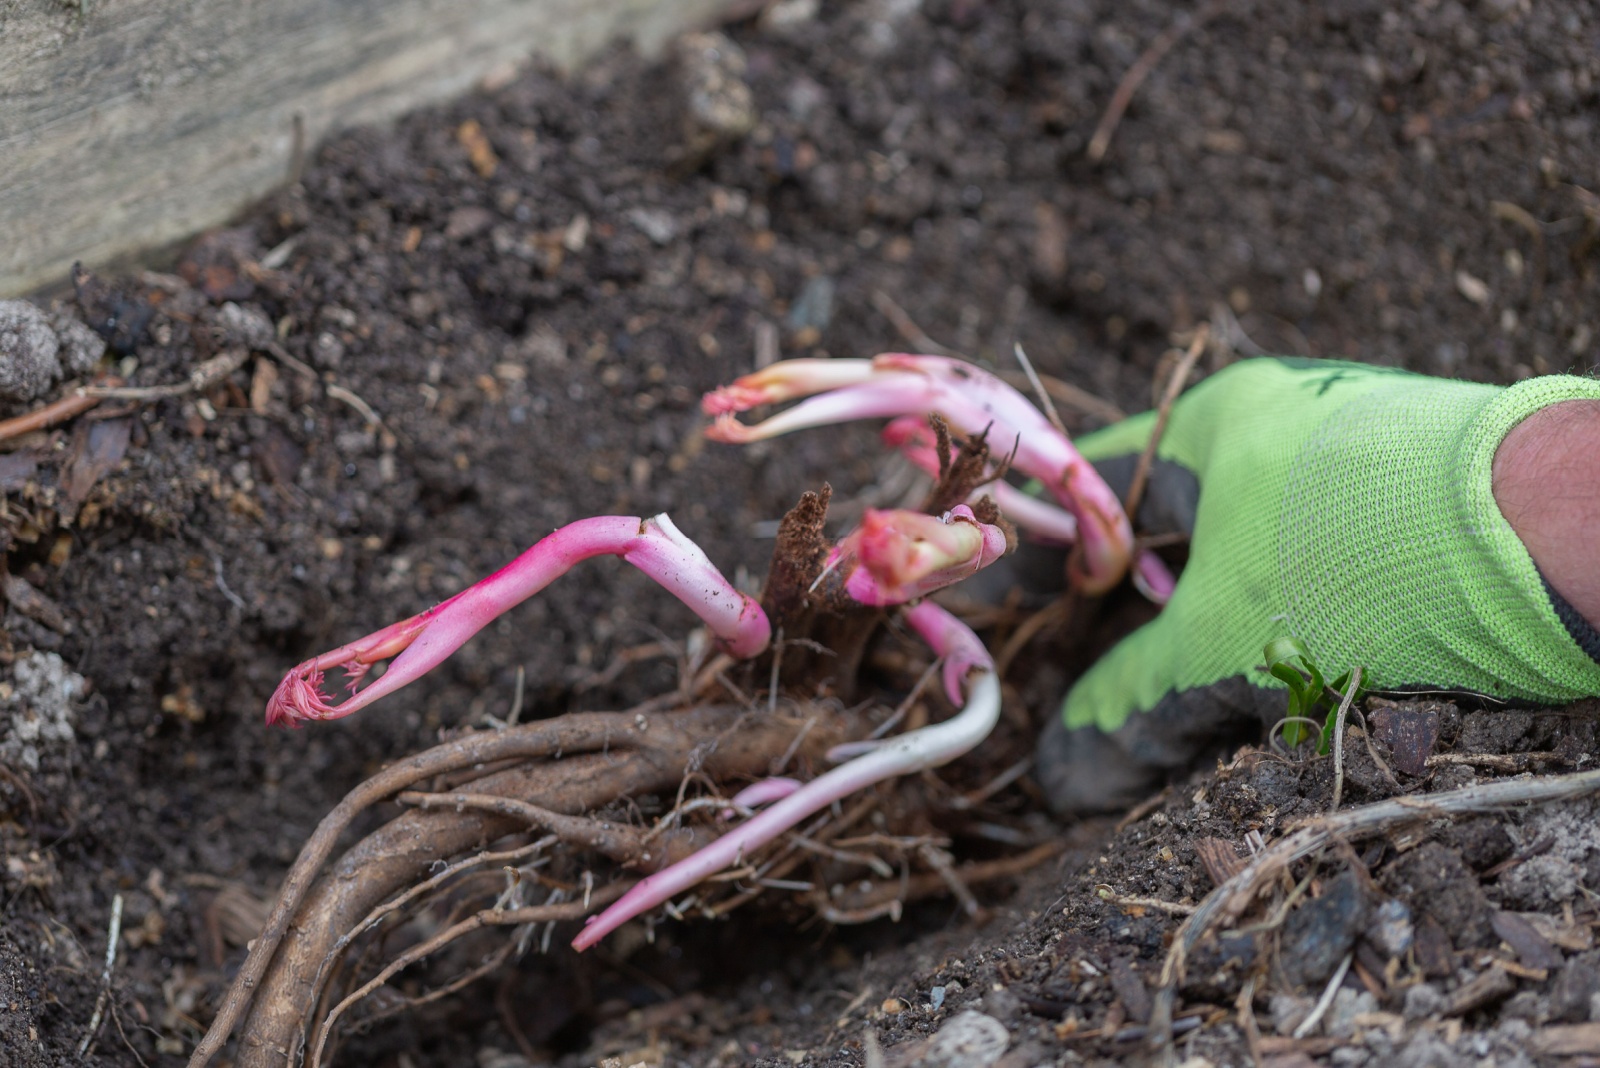
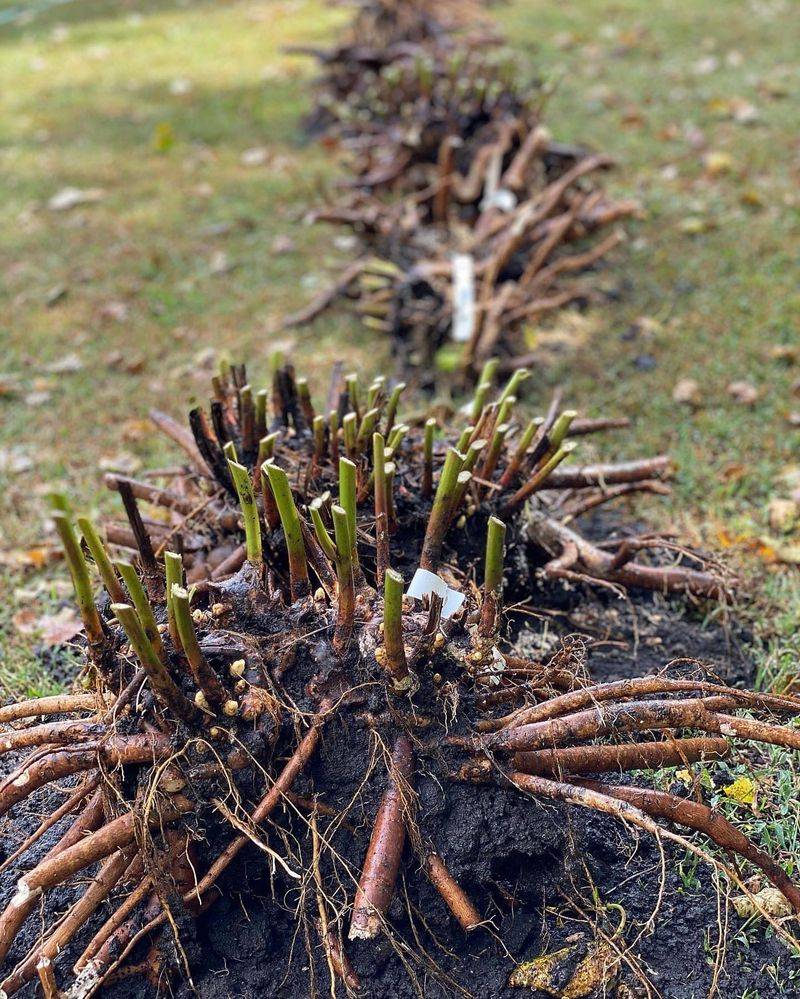
6. Dividing The Root Clump Into Healthy Sections
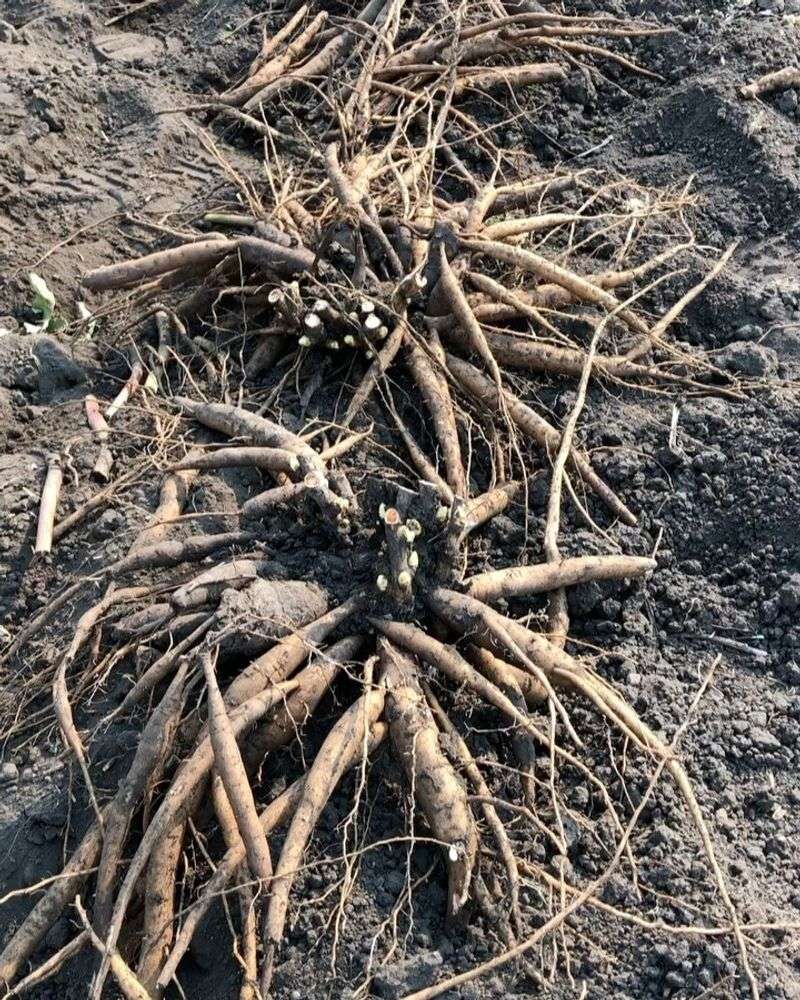
Look for natural divisions in the root mass where it can be separated. Each division should contain 3-5 eyes (small red or pink buds) and a good portion of roots to ensure successful growth.
Use a sharp, clean knife to cut through tough sections, making clean cuts to minimize damage. Smaller divisions with fewer eyes may take longer to bloom, but will eventually develop into full plants. Remove any soft or mushy roots, which indicate disease.
7. Choosing The Perfect New Planting Locations
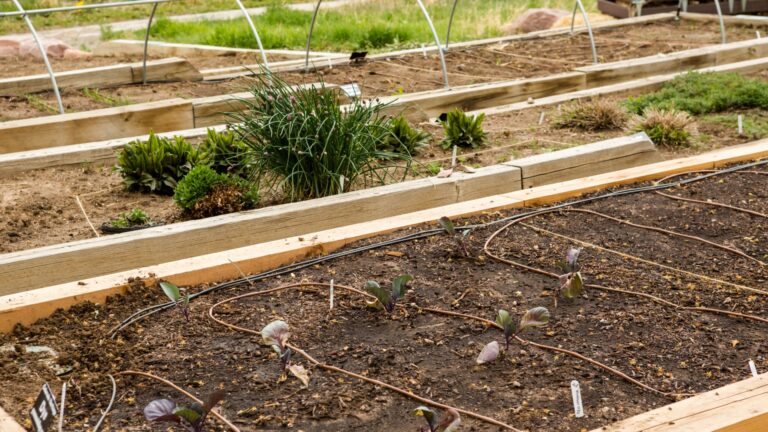
Peonies thrive in California gardens with morning sun and afternoon shade, especially in hotter inland areas. Select spots with well-draining soil to prevent root rot, a common issue in clay-heavy California soils.
Allow ample space between plants – at least 3 feet apart – as mature peonies can grow quite large. Avoid areas where peonies or related plants previously suffered from disease. Prime locations include borders, cottage gardens, or as focal points in landscape beds.
8. Planting Depth Is Critical For Future Blooming
The number one mistake when replanting peonies is setting them too deep! Position the eyes (growth buds) just 1-2 inches below the soil surface – any deeper and they might not bloom.
In California’s milder climate, this shallow planting helps prevent rot during winter rains. Dig holes twice as wide as each division to give roots room to spread. Add a handful of bone meal to each planting hole to encourage strong root development and future flowers.
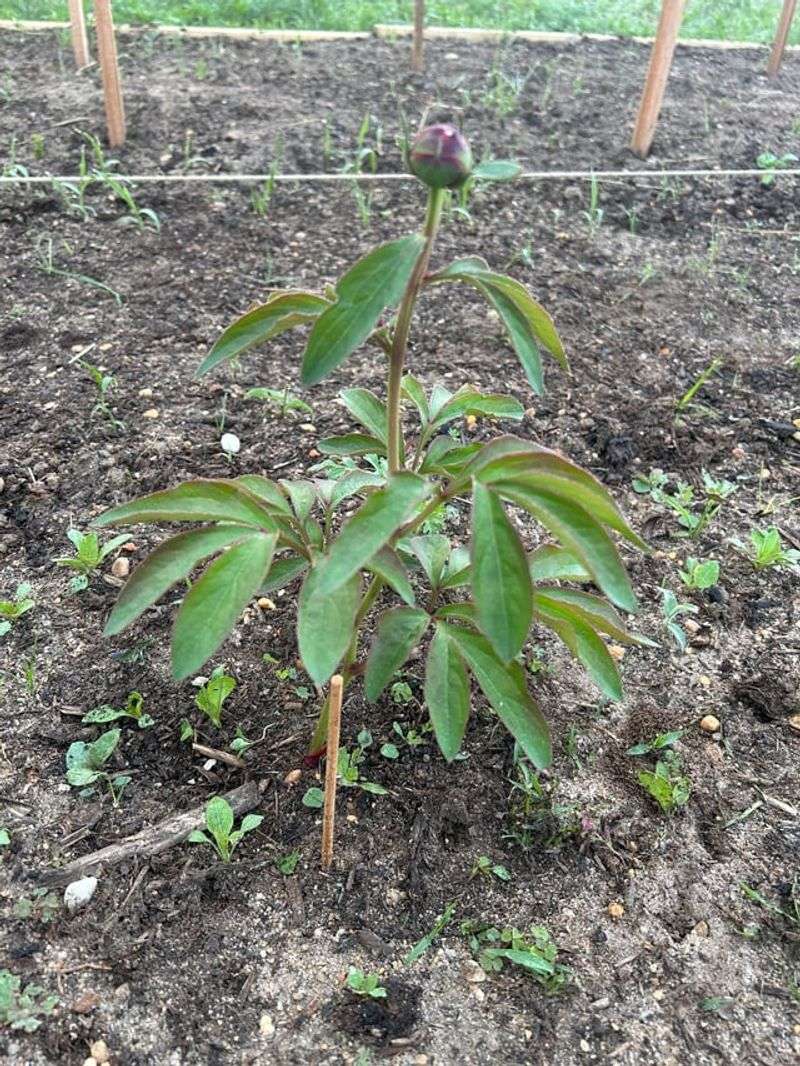
9. Post-Planting Care For Successful Establishment
Water newly planted divisions deeply but infrequently to encourage roots to grow downward. Apply a 2-inch layer of mulch around plants, keeping it away from the stems to prevent rot and fungal issues.
Don’t panic if your divided peonies don’t bloom the first spring after planting – they’re busy establishing roots! Hold off on fertilizing until spring, then apply a balanced, low-nitrogen fertilizer. Stake new plants early in their first growing season to support developing stems.
10. California-Specific Considerations For Peony Success
Most peony varieties need 400+ chill hours to bloom well, so choose low-chill varieties like ‘Festiva Maxima’ or intersectional hybrids for coastal areas. In hot inland valleys, plant where afternoon shade protects from intense summer heat.
Adjust watering based on your microclimate – coastal gardens need less frequent irrigation than hot inland areas. Add gypsum to heavy clay soils common in many California regions to improve drainage. Consider raised beds in areas with poor drainage or very heavy soils.