Grow Plumeria From Cuttings This Fall For A Gorgeous Display Next Season
Do you want to get more exotic plumeria petals? Growing these amazing flowers in the garden feels like paradise!
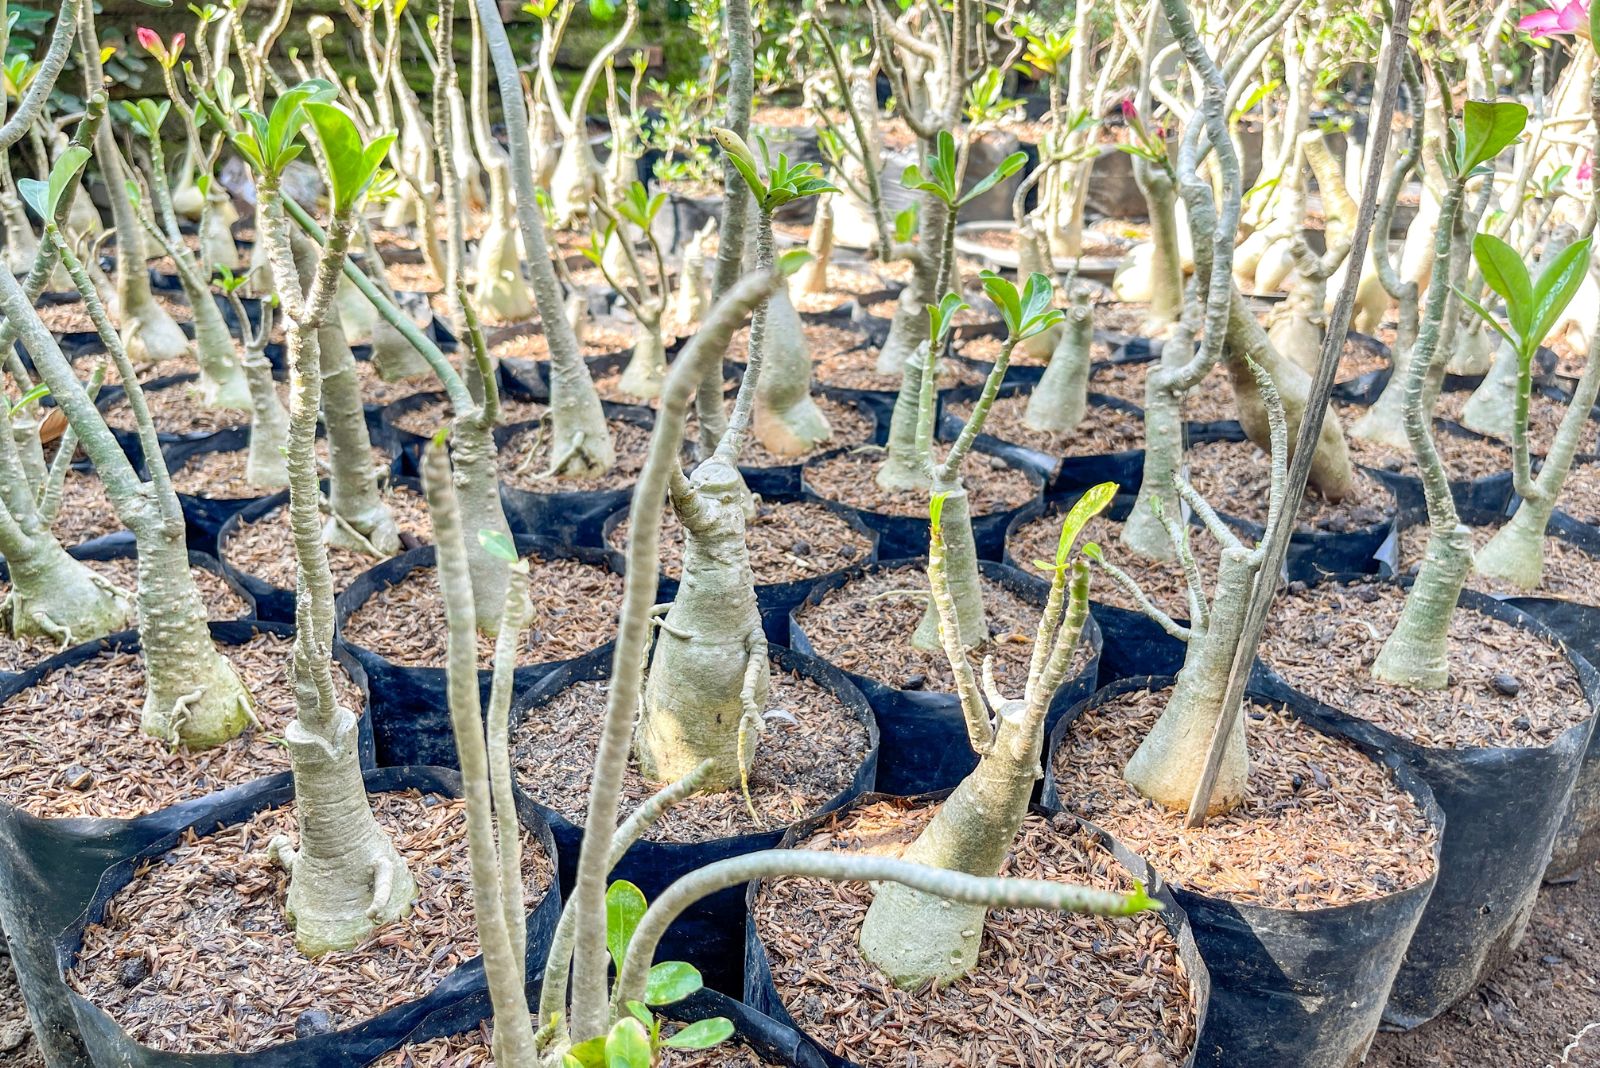
They are one of the most unique flowers I’ve ever planted. Plumeria petal color depends on the sunlight. Isn’t that amazing? You can find them in pink, red, white, or orange!
These beautiful blossoms always leave me breathless just by looking at them, so I decided I want more! The method that turned out to be the best is growing them from cuttings. This is the easiest way to propagate your plumerias!
When should you begin the growing process? Since fall will soon arrive, that’s when you can start! You’ll just need a large pot, and then we can start with the steps.
This Is The Easiest Way To Propagate Your Plumeria
Let’s get started! First, you’ll need sharp hand pruners and two or three gallon pots with good drainage. After gathering your gardening tools, here’s what you’ll need to do!
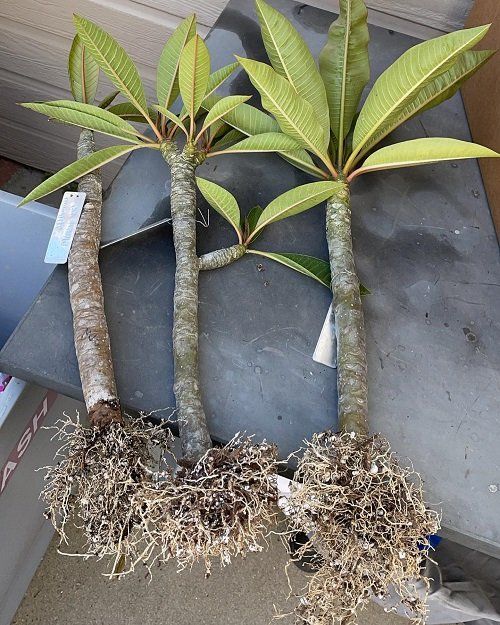
Cut eight to twelve inches in length for starting propagation cuttings. You’ll need to prune at a slight angle to avoid any water accumulation, which can cause rot.
When you cut plumeria, you’ll be able to see milky sap, which protects plants from pests but can also irritate the skin. That’s why you should be using gloves! Next, remove the foliage, leaves can be easily pulled off by hand.
Leave the cuttings in a dry and warm place for three days or up to several weeks. After that, cuttings will be dried and form calluses.The callus formed at the end of a plant cutting will protect it from infection. Now you are ready to transplant your plant into the pot!
Tricks For Transplanting Plumeria Cuttings You Need To Know
First let’s start with filling the pots by using a 50-50 mix of quality potting soil and perlite! If you happen to have cactus potting soil, it will also work well.
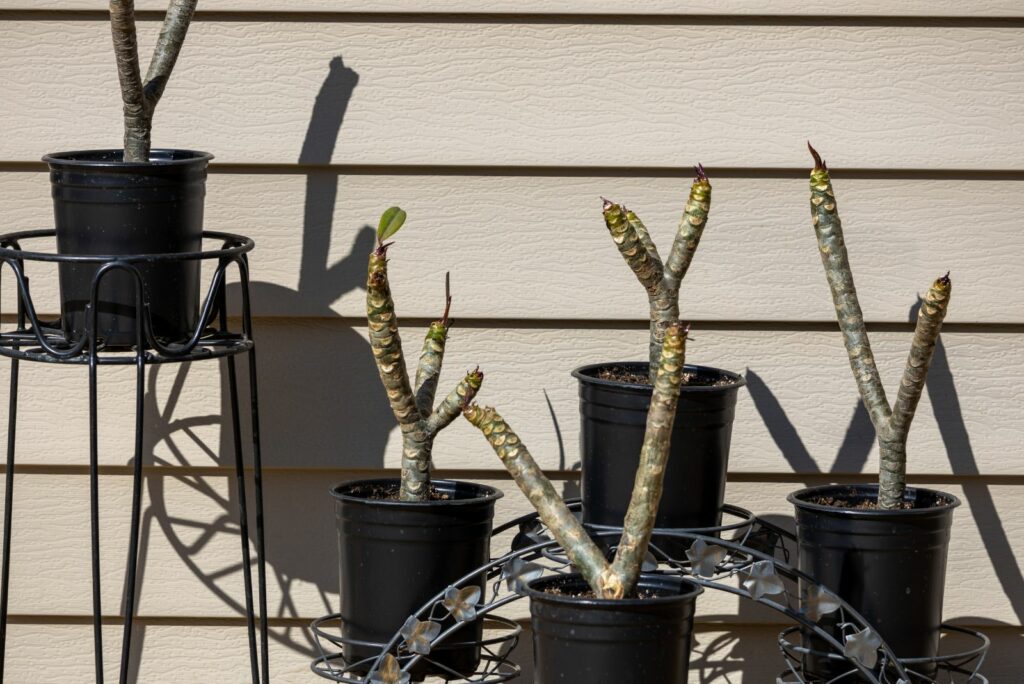
First things first, you should start off with watering the soil and mixing it up so it’s all spread evenly. Make sure you place your pot in a way where the cut end is facing down and is inserted around two inches from the bottom. All that’s left to do is water them well once more!
After one month you’ll be able to see the first leaves appear on your newly planted plumerias. Then you’ll just need to ensure that plants will get plenty of sunlight, and they will start blooming in only two to four months!
Ready to fill your garden with tropical flower vibes? Using these amazing tricks might help you get more of plumeria’s beautiful blooms!
Ever since I tried propagating them this way I started getting some really good results. In just a couple of months my plumerias started to bloom, exceeding all expectations!
If you also want to double the number of your plumerias, these steps have proven to be efficient and quite easy to do. Since fall is around the corner, you can slowly start preparing to grow plumerias from cuttings!
Fun fact, they are so beautiful that people make Hawaiian lei from them. Perhaps you could also try to make some of your own?