Follow These 6 Steps To Propagate Geraniums NOW For More Stunning Blossoms The Next Season
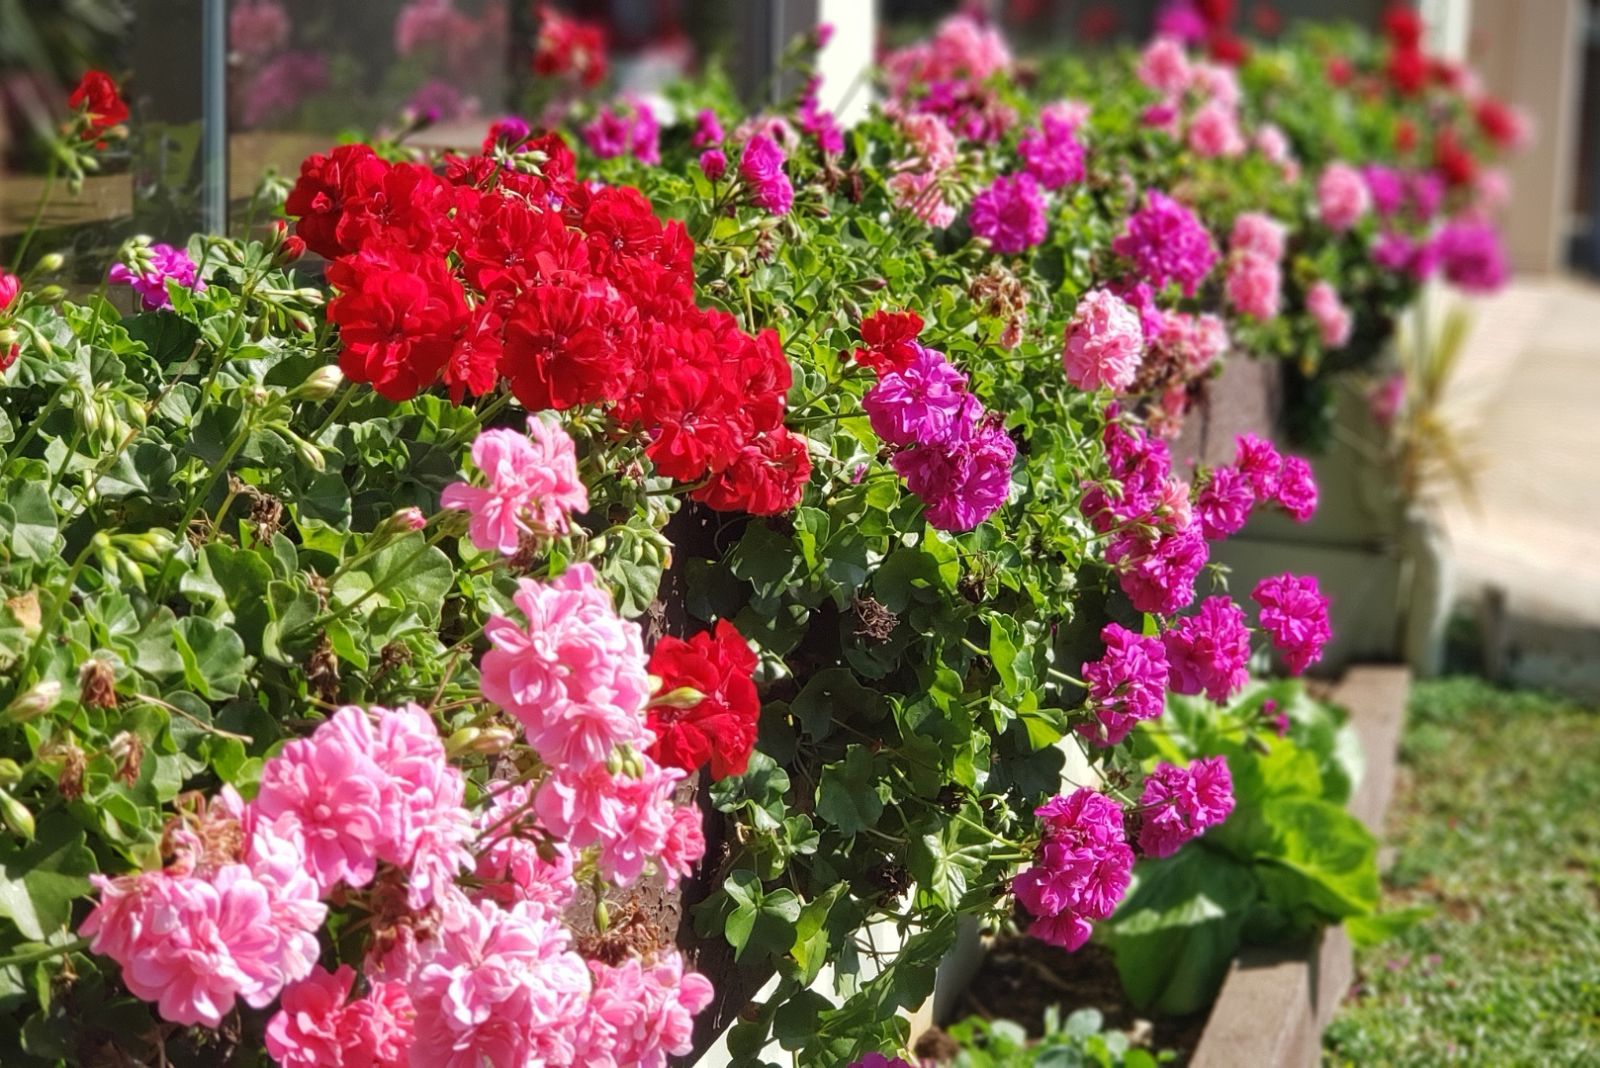
Are your flower beds still filled with lovely geranium blossoms? Well, things are soon coming to an end, and when the first frost hits, these annual plants will simply wither.
Yes, it’s kinda disheartening but what can you do? Oh wait, there’s one thing you can actually do and it will give you a gorgeous geranium bloom display the next season.
By propagating your geraniums, you get new plants that’ll flower abundantly. Not many people know that this method gives amazing results if everything is done correctly.
Perfect timing and technique are your main allies! So, Let’s dive into the first must-know tip:
Why Propagate Geraniums In Early Fall?

Late summer and early fall are the ideal time to start multiplying your beloved geraniums. These are annuals but, interestingly, they don’t actually go fully dormant.
The only exception are geraniums exposed to freezing temperatures; they simply can’t survive such conditions.
So, you can overwinter your geraniums, but honestly, I don’t prefer this method. The stems become too woody and there are fewer blossoms the next season as a result.
This is why experienced gardeners, including myself, propagate their geraniums instead of overwintering them.
The cuttings have a big chance to root successfully at this point, so it would be a shame not to use this opportunity.
Not every cutting will take root, so hedge your bets by taking extras to play it safe.
If you’ve already propagated plants through cuttings, the method is basically the same for all species. It also applies to in-ground and pot-grown geranium plants.
But, DO NOT use rooting hormone when propagating your geraniums because it can affect the cuttings and increase their susceptibility to notorious root rot.
Now, let’s start propagating!
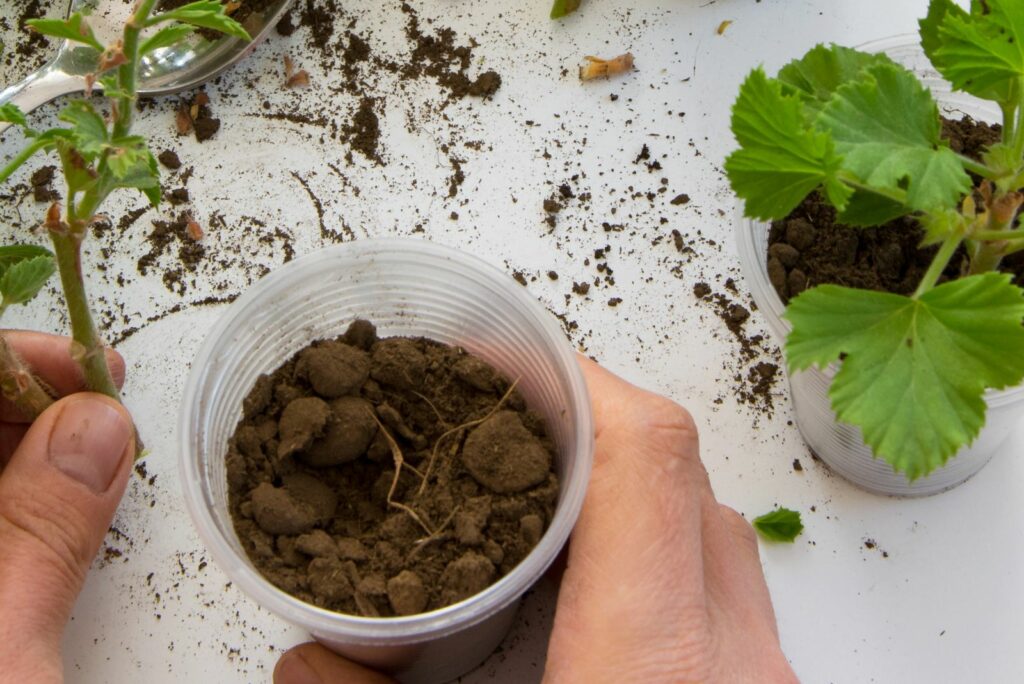
#1 Everything Starts With A Pot And Soil
Your propagation journey starts with choosing the right container and growing substrate that meets all the geranium requirements.
Luckily, cuttings won’t need large containers.
Stick to about 6-inch peat pots or smaller terracotta pots but make sure they have excellent drainage (as many holes in the bottom as possible).
Fill the container with fresh, quick-draining growing substrate and wet it lightly using a mist sprayer.
#2 It’s Time To Take Some Cuttings
Here comes the fun part, at least for me! You’ll need a clean and sharp pair of snips or pruning shears to avoid contaminating or breaking your geraniums.
Now, inspect your geraniums closely and look for the cuttings that have at least two leaf nodes attached.
Also, make sure the stems on your cuttings are at least an inch long because you need to plant them in the soil.
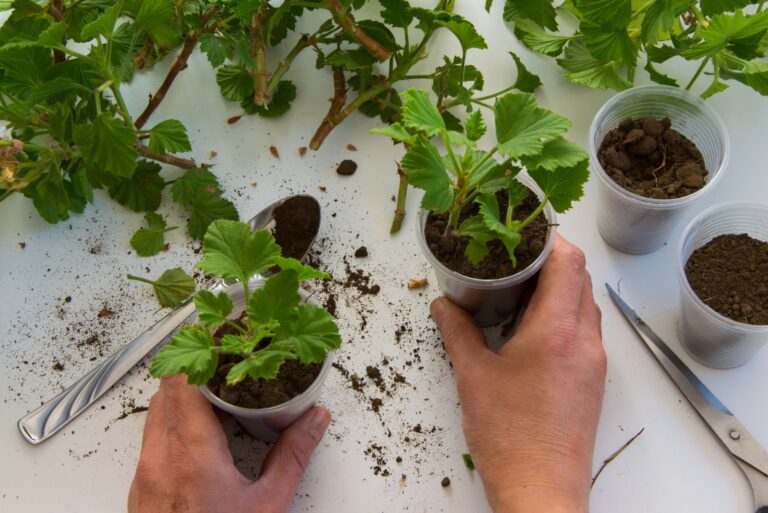
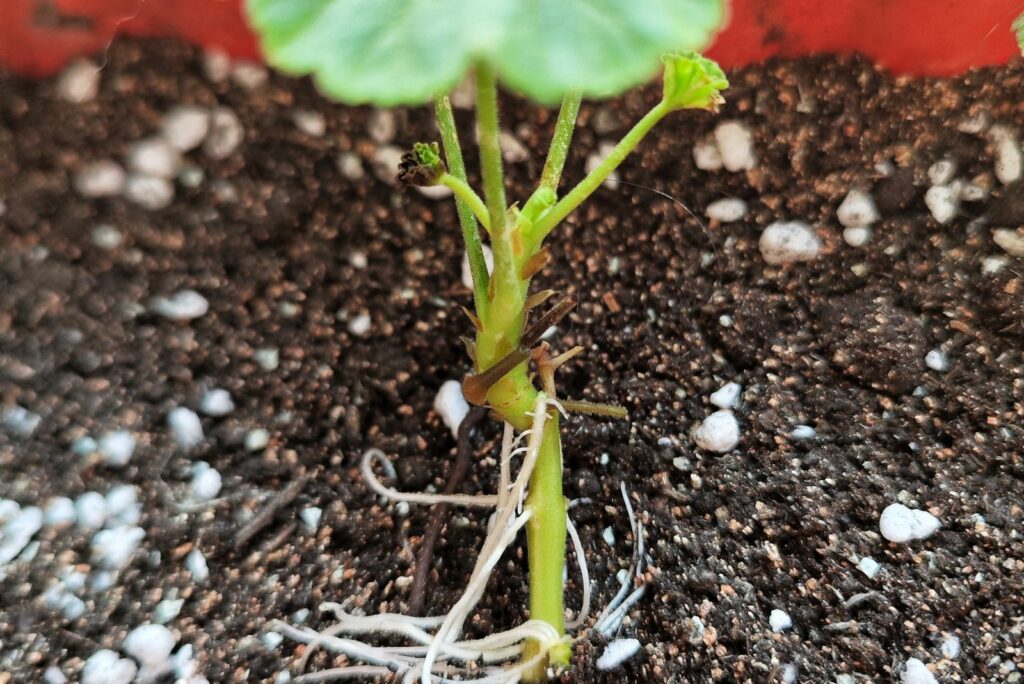
#3 Root Your Geranium Cuttings
Carefully put the cutting in the soil and press the soil around the base gently. If you have only large containers at hand, you can add more cuttings to a single container.
Each geranium cutting should have enough space for rooting. My preferred distance is approximately 6 inches, and it works perfectly!
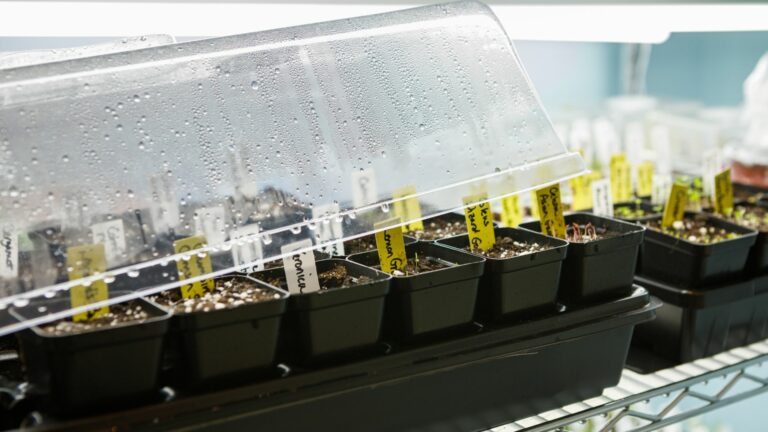
#4 A Sunny And Warm Window Is A Must
I’m sure you already know that you need to ensure a lot of light to keep your geraniums blooming during the season.
Well, you’ll need to do the same for the cuttings. Plus, you’ll need to ensure that the room where you keep the cutting is warm enough.
I always put my geranium cuttings on a sunny windowsill.
Remember that these plants can’t withstand high humidity levels or sudden temperature changes. Avoid spots near drafty windows or doors.
If you don’t have a sunny window, consider investing in high-quality grow lights.
#5 Don’t Water Too Much
Apart from warmth and light, geranium cuttings need water to root successfully. You’ll need to be extra careful here, because overly wet soil leads to root rot.
To avoid this scenario, mist the growing substrate lightly whenever it feels dry to touch. Once the cuttings root, you can increase the amount of water but never leave the soil soggy.
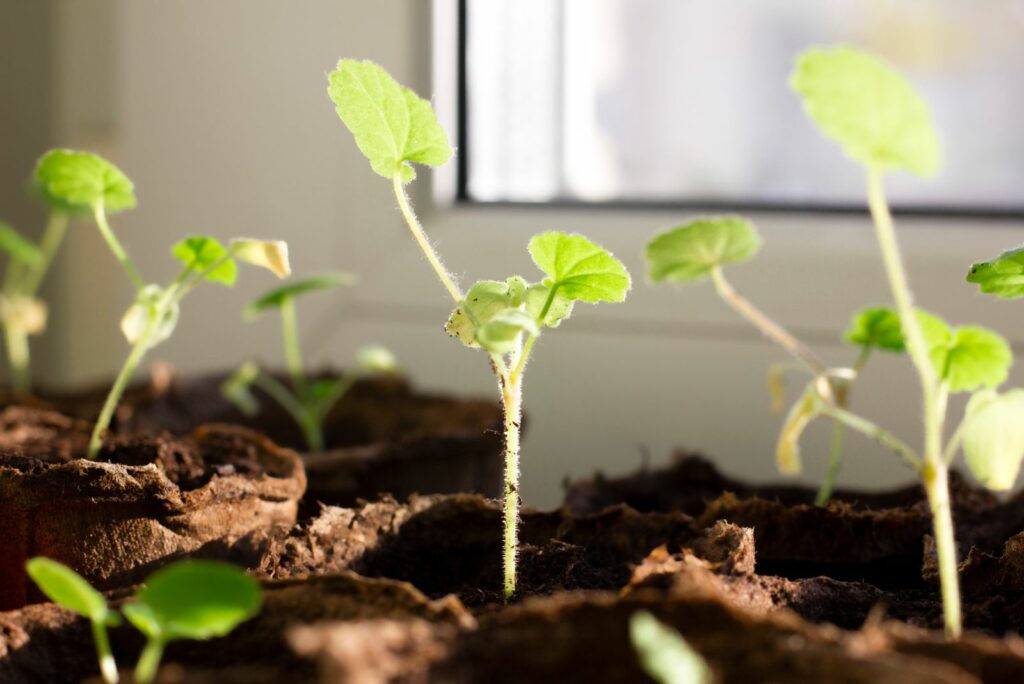
#6 Pinch Back New Shoots For The Best Results
It typically takes a couple of weeks for the geranium cuttings to root and generate a few leaves.
This is a perfect opportunity to pinch them back. The purpose of this method is to encourage branching and new leaf growth.
Additionally, more buds will form as the cuttings develop, and more geranium blooms is exactly what we want!
And that’s a wrap on our exciting propagation journey! You’re in for a treat next season when your efforts bloom into a garden full of lovely geranium flowers!