7 Signs Your California Compost Is Ready To Use In The Garden
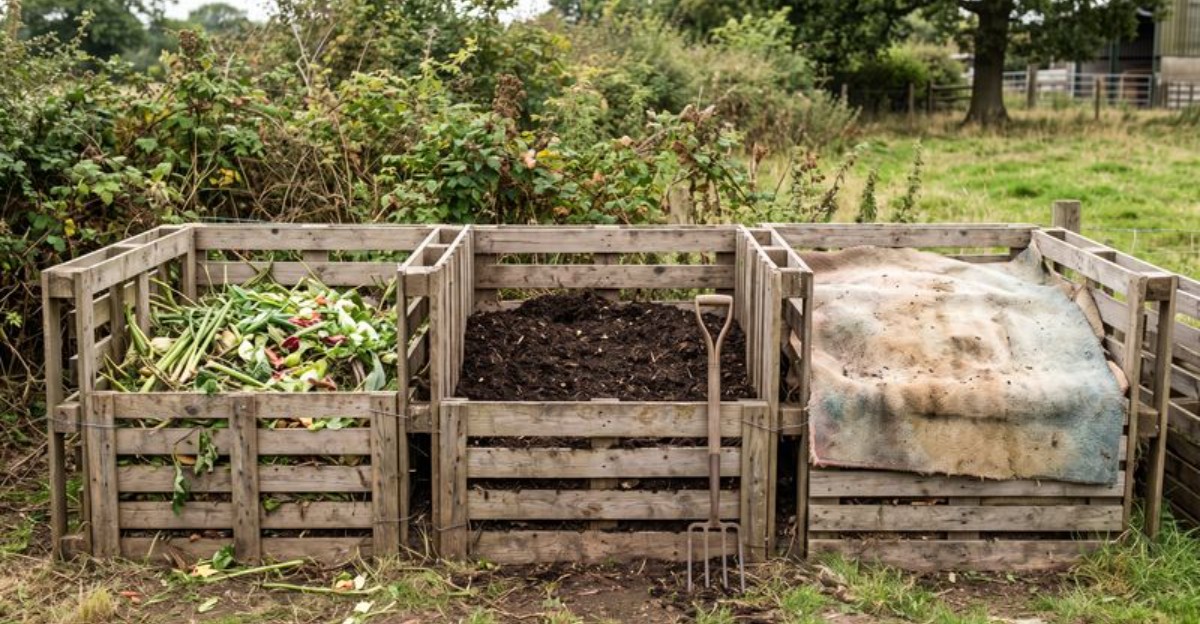
Your nose can detect one earthy chemical, called geosmin, at levels as tiny as a few parts per trillion. That same smell drifting from a backyard bin in California can reveal a surprising amount about your soil.
Soil microbes called actinomycetes release geosmin while they break down old leaves and kitchen scraps over many weeks. Those tiny workers leave behind plenty of clues, and most of them are easy to spot with bare hands.
I have to admit my first homemade batch went into the vegetable bed weeks too early, and my seedlings sulked. You might notice the same grumpy leaves if your pile still has some unfinished business going on inside.
Gardeners across California get plenty of warm days that speed things along, yet speed alone tells you very little. So how do you know the dark stuff in your bin is finally ready for the garden beds?
1. Dark Crumbly Compost That Looks Like Rich Forest Soil
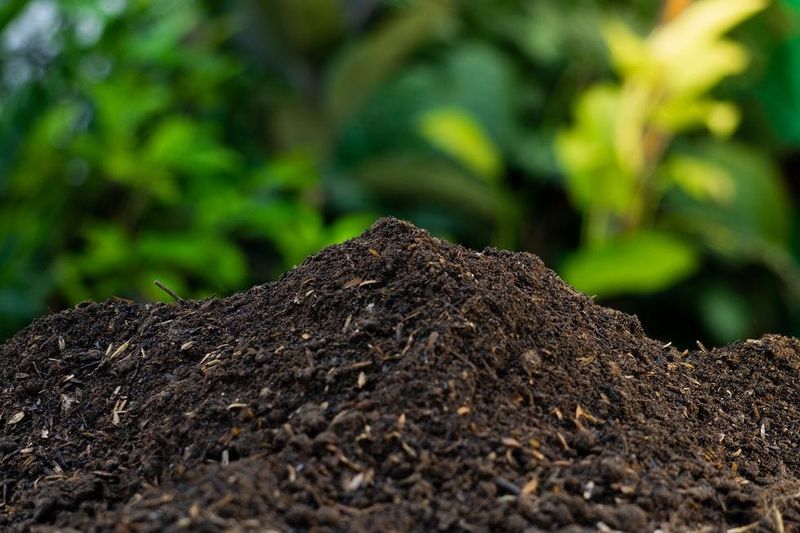
Grab a handful from the middle of your pile and look closely, because finished compost resembles chocolate cake crumbs. I love how that deep brown shade makes even tired garden soil look instantly more welcoming.
Color tells you a lot about what the microbes have been doing during all those quiet weeks in the bin. Fresh scraps start out green, yellow, and orange, but they slowly darken as they turn into stable humus.
Texture matters just as much as color when you are judging a batch for your vegetable beds. Ripe material should break apart easily between your fingers instead of clumping into slimy lumps or stringy mats.
Squeeze a moist handful and notice how it behaves once you open your hand again. Good compost holds together loosely, then crumbles apart with a gentle poke, a lot like healthy garden loam.
Personally, I check samples from several spots, since the outer edges of a pile often finish later than the center. Those drier edges in a sunny yard can stay pale and coarse long after the middle looks ready.
You can toss any lighter, chunkier bits back into a new pile to keep working on them. Nothing goes to waste in this process, and those leftovers actually help jump start the next batch.
A dark color alone is not proof of readiness, so pair this sign with a few others below. Still, that rich crumbly look is usually the first hint that your patience is starting to pay off.
2. Finished Compost Smells Like Rain On Fresh Earth
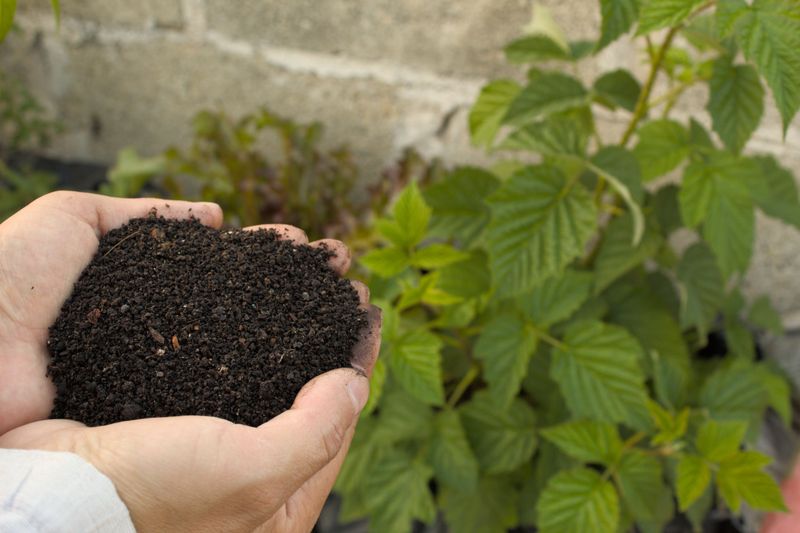
Lean in and take a slow sniff, because your nose is one of the best tools you own here. Mature compost smells sweet and earthy, much like a shady forest floor after a soft spring rain.
That pleasant aroma comes mostly from geosmin, a compound released by soil bacteria called actinomycetes. These helpful microbes grow well in later stages of composting, so their scent is a strong clue.
Bad smells tell a very different story about what is happening deep inside your pile. A sour odor or a sharp whiff of ammonia usually means the materials are still breaking down.
A rotten egg smell often points to a soggy pile without enough air moving through it. Turning the heap and mixing in dry leaves or shredded cardboard can help fix that problem fairly quickly.
I believe the sniff test is the most fun part of checking compost, even if neighbors give you funny looks. My kids now race me to the bin, each trying to be the first one to call it ready.
Spread compost with off odors too early and your plants may react poorly to the unfinished material. Young roots can struggle near compounds like ammonia, which are common in batches that need more time.
Give a smelly pile a few more weeks, turn it once or twice, then sniff again. Once you catch that clean earthy scent, you know the microbes have done their best work for your garden.
3. Banana Peels And Leaves Disappear From The Pile
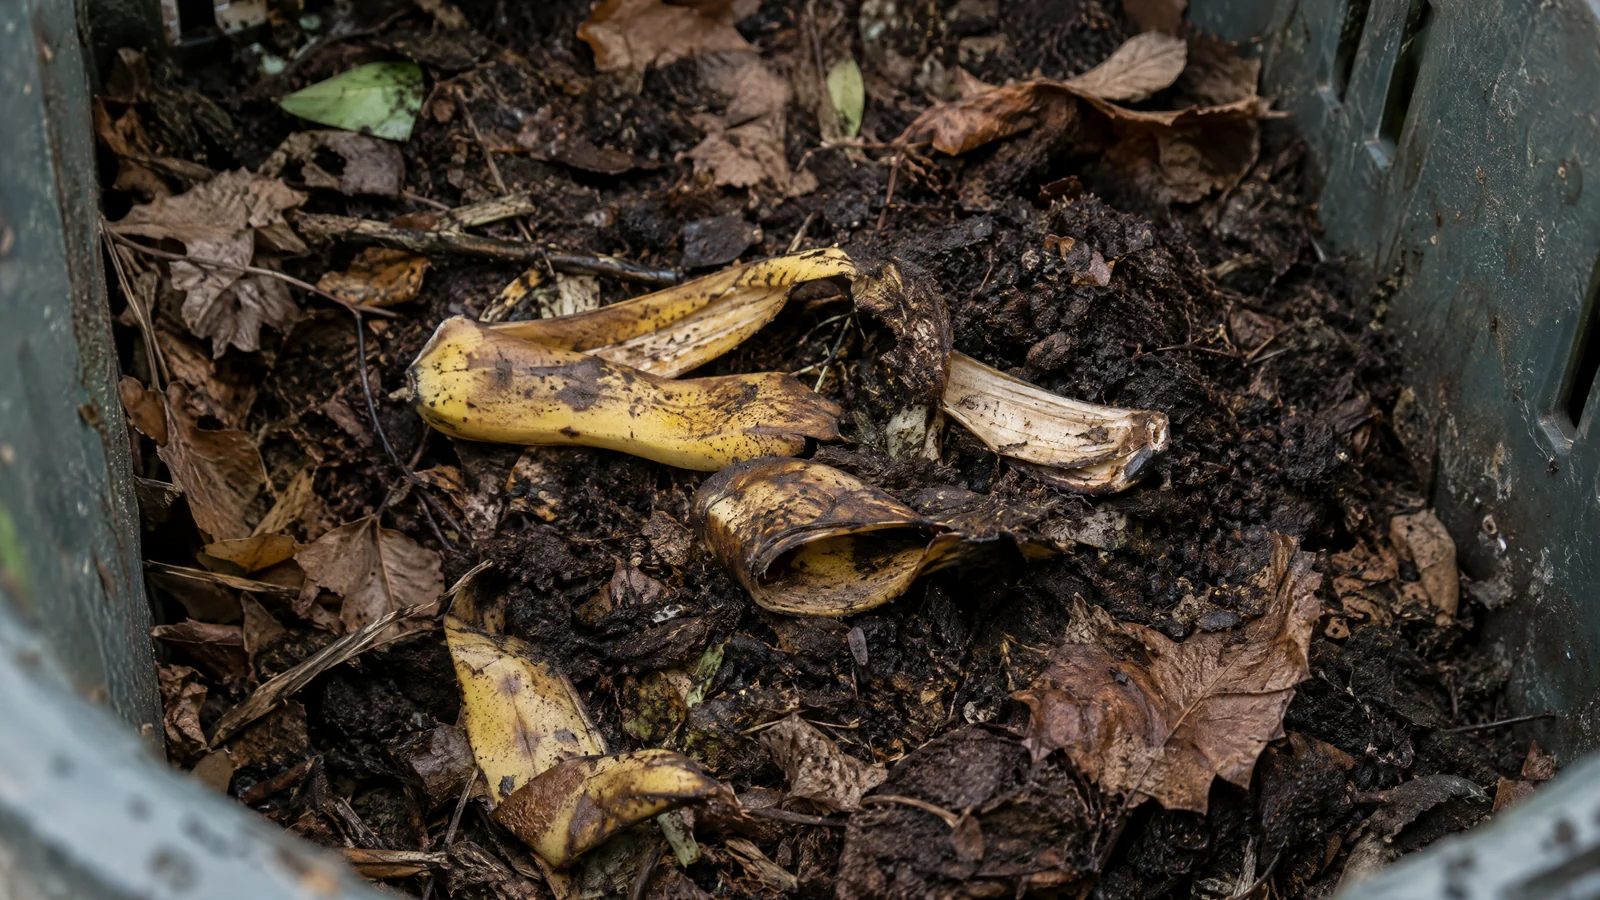
Remember that avocado pit and those banana peels you tossed in last season? When your compost is ready, most of those familiar scraps should have vanished into an even, soil-like mix.
Microbes, fungi, and worms slowly chew through soft materials first, so kitchen scraps usually disappear before woodier bits. Grass clippings and coffee grounds break down quickly, while thick stems take noticeably longer.
You might still spot a few stubborn items, and that is perfectly normal for a home pile. Avocado pits, corn cobs, small twigs, and eggshell pieces can hang around long after everything else finishes.
I like to sift my compost through a simple wire screen with half inch openings before using it. The fine material goes straight into my beds, while the chunky leftovers head back into the bin.
Those leftover pieces actually carry helpful microbes, so they work like a starter for your next batch. Mixing them into fresh scraps can help the new pile get going a little faster than before.
A quick look at your sifted pile tells you whether to wait a bit longer or start spreading. If you can still recognize lots of lettuce leaves or orange rinds, the process clearly needs more time.
Chopping scraps into smaller pieces before adding them can speed things up for future batches. Smaller bits give microbes more surface area to work on, so they disappear faster and more evenly.
4. A Compost Thermometer Shows The Pile Has Cooled Down
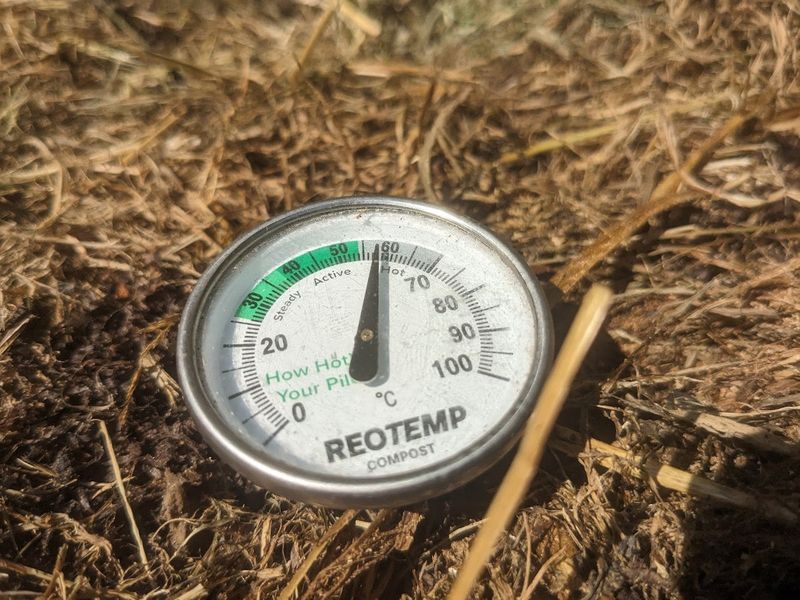
A busy compost pile can steam on a chilly morning, almost like a giant cup of cocoa. That heat comes from millions of microbes working hard, and it is a sure sign the job is unfinished.
During the active phase, a well-built hot pile often reaches somewhere between 130 and 160 degrees Fahrenheit. Those high temperatures help break down materials quickly and can reduce many weed seeds along the way.
As the food supply for microbes runs low, their activity slows and the pile gradually cools. Mature compost usually sits close to the temperature of the surrounding air, even after you turn it.
Turning matters here, because a cool pile sometimes heats up again once fresh air reaches the center. If yours warms back up after mixing, the microbes still have work to do inside.
I picked up a long compost thermometer years ago, and it has been one of my favorite cheap tools. Pushing it into the middle of the heap gives a clear reading in about a minute.
No thermometer handy? Slide your hand deep into the pile and feel for any warmth compared to the outside air.
Hot summer days in inland valleys can warm the surface, so always check deeper inside instead. A pile that stays near air temperature for a week or two after turning is usually ready for the curing stage.
5. The Compost Bin Shrinks To About Half Its Size
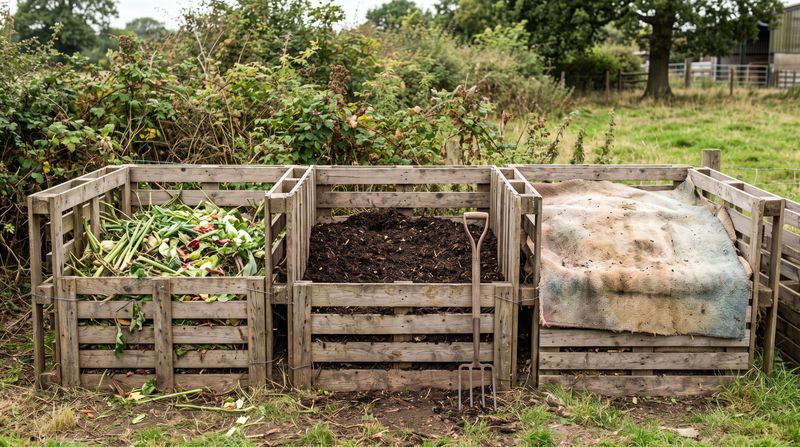
Fill a bin to the brim in spring, and by late summer you might wonder where everything went. That shrinking act is one of the easiest signs to notice, even from across the yard.
Microbes break organic matter into water, carbon dioxide, and stable humus as they feed. Much of the original bulk literally floats away as gas, so the pile settles lower over time.
Many home gardeners see their piles shrink by roughly half, though the exact amount varies with ingredients. Fluffy leaves and straw shrink dramatically, while dense materials like wood chips settle much less.
I have to admit the first time I saw my bin sink so low, I thought someone had borrowed my compost. A quick dig proved otherwise, revealing a dark layer that felt heavier and richer than before.
Shrinking alone does not mean the batch is finished, since plenty of settling happens early in the process. Treat it as a helpful clue, then confirm readiness with the smell and temperature checks.
Once the pile stops shrinking for several weeks, the main decomposition phase has likely wrapped up. At that point, many experts suggest letting it cure for a few more weeks before heavy use.
Keep a simple mark on the inside of your bin to track how far the pile has settled. Watching that line drop gives you a fun way to follow along with the hidden work underground.
6. A Sealed Plastic Bag Of Compost Passes The Sniff Test
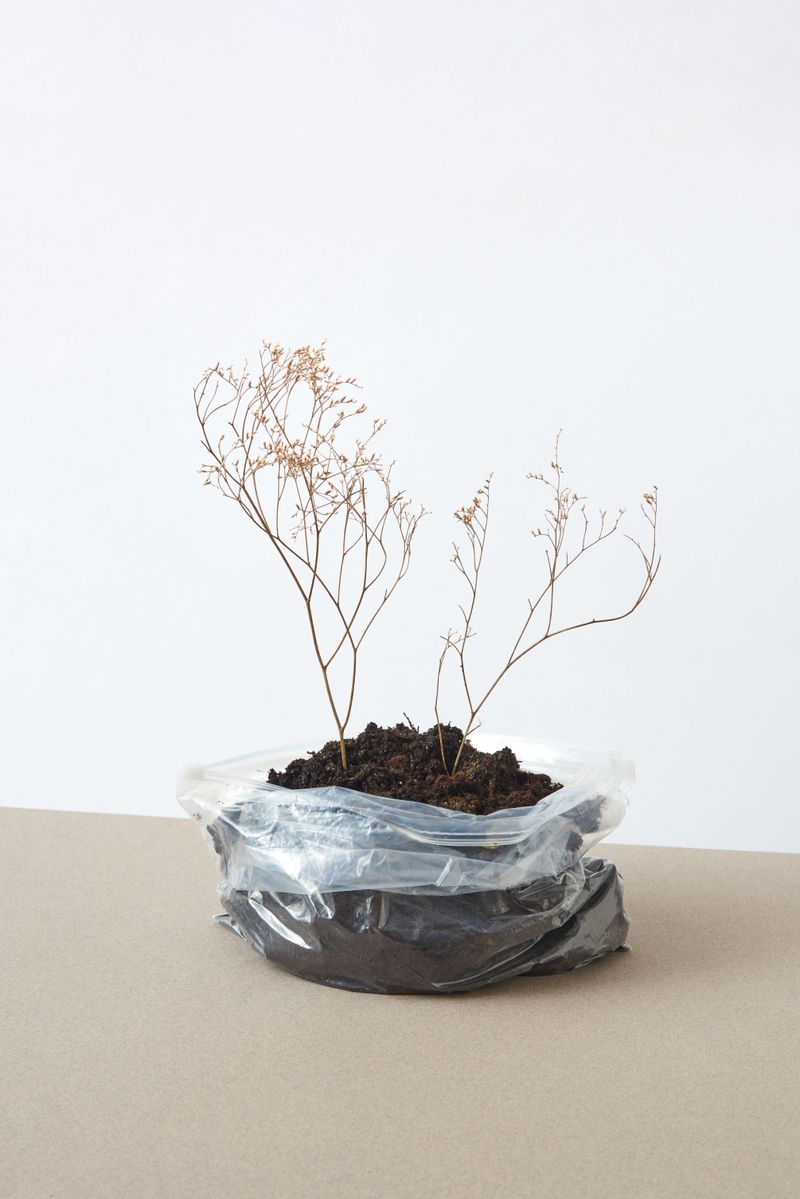
Sometimes your compost smells fine in the open air but hides a little secret inside. A simple bag test can reveal that secret, and it only takes a few days of patience.
Scoop a handful of slightly moist compost into a zip-top plastic bag and seal it tightly. Leave the bag somewhere out of direct sun at room temperature for about three days.
When you open the bag, take a careful sniff and pay close attention to the first scent. Finished compost should still smell sweet and earthy, much like it did when you scooped it up.
A sour or ammonia smell means the microbes are still breaking things down and need more time. Sealing the bag traps gases that unfinished compost releases, so even small problems become easy to detect.
Personally, I think this trick feels a bit like a science fair project for grown-up gardeners. It costs almost nothing, and it gives me extra confidence before spreading compost around delicate seedlings.
If your sample fails, simply turn the pile, add some dry brown materials if it feels soggy, and wait. Try the bag test again in two or three weeks to see whether the smell has improved.
Run this test before fall planting, when many gardeners in mild coastal areas sow cool season crops. Passing it means your batch is mellow enough to work gently into beds around young plants.
7. Radish Seeds Sprout Green In A Pot Of Compost
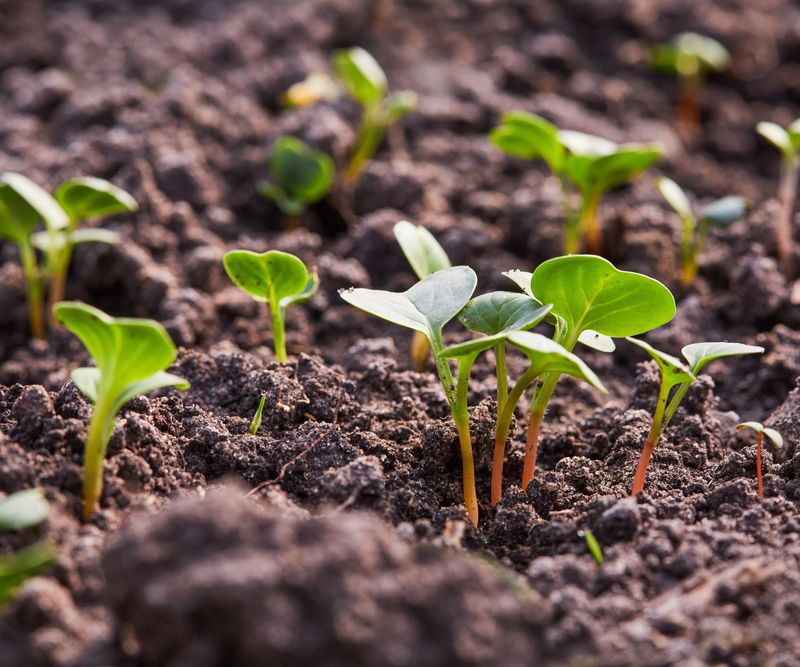
Want proof straight from the plants themselves? A quick seed test lets young radish sprouts give their honest opinion about your homemade compost.
Fill a small pot with your compost and plant about ten radish or cress seeds just below the surface. Fill a second pot with store-bought potting mix and plant the same seeds for comparison.
Keep both pots moist and set them in a bright spot, then watch closely for about a week. Radish seeds often sprout within three to five days, so you will not wait long for results.
Healthy green seedlings in the compost pot mean the batch is stable and friendly to young roots. If most seeds sprout as well as the potting mix pot, you can use your compost with confidence.
Poor sprouting or yellow, stunted seedlings suggest the compost is still immature or a bit too strong. Unfinished batches can hold compounds that slow seed growth, so give the pile more curing time.
I love how this little experiment turns a guessing game into something you can see with your own eyes. Kids enjoy it too, and the tiny radish sprouts make a tasty snack for curious helpers.
Gardeners in California can run this test almost year round thanks to the mild weather in many regions. Once your seedlings look strong and green, your compost is ready to feed the whole garden.