8 Spent Plants New York Homeowners Should Rip Out Before Mid-October
The air smells like woodsmoke and crunchy leaves, which is basically autumn’s way of announcing itself across New York. Your garden, on the other hand, is giving off some serious tired and droopy vibes right about now.
Some plants have officially clocked out for the season. Let them keep hanging around, and you are basically rolling out a welcome mat for trouble you will not notice until spring smacks you in the face.
Here is the good news. A handful of quick pulls today can save you hours of cleanup later, plus it keeps hungry critters and sneaky fungus from throwing a surprise party in your beds.
Your plants will thank you, even if they cannot technically say so.
Grab your gloves, grab a sturdy bag, and get ready. Your yard is about to get a fresh, tidy glow up before that first hard frost rolls in.
1. Pull Those Tired Tomato Vines
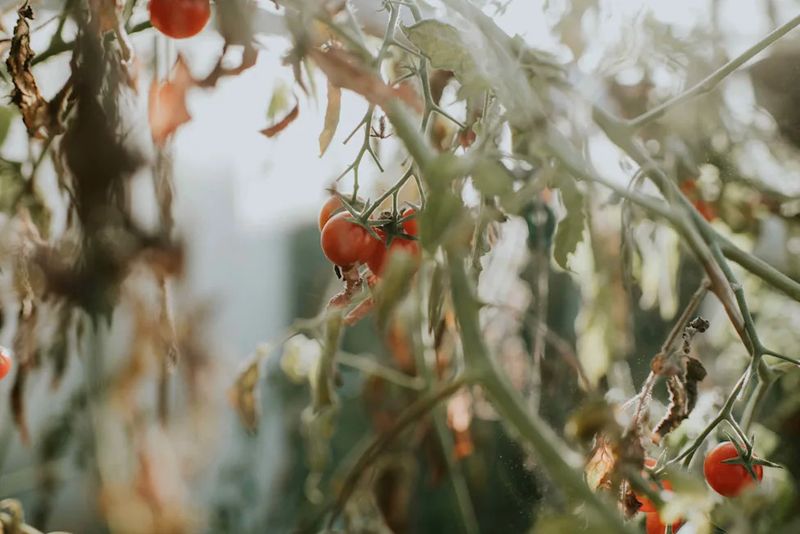
Remember those juicy summer tomatoes? By October, the vines that grew them often look brown, spotted, and floppy in New York gardens.
Tomato plants are a favorite hiding spot for blight spores. If you leave the old vines in place, those spores can rest in the soil all winter.
Then they wake up in spring, ready to attack your new plants.
Start by picking any green tomatoes left on the vine. You can ripen them on a sunny windowsill or fry them up for a tasty treat.
After that, snip the vines at the base and pull the roots.
Do not toss spotted leaves into your compost pile. Most home piles do not get hot enough to wipe out disease.
Bag them up and put them out with yard waste instead.
Take down the cages and stakes too. Rinse them with a mix of water and a little bleach, then let them dry.
Storing them clean helps stop problems from coming back next year.
Here is a fun fact for you. Tomatoes were once thought to be poisonous in early America, so people grew them only as pretty decorations.
Now they are the star of most home gardens.
Finish by raking the bed smooth. A thin layer of shredded leaves on top will protect your soil until planting time returns.
2. Clear Out Faded Zucchini And Squash In New York Yards
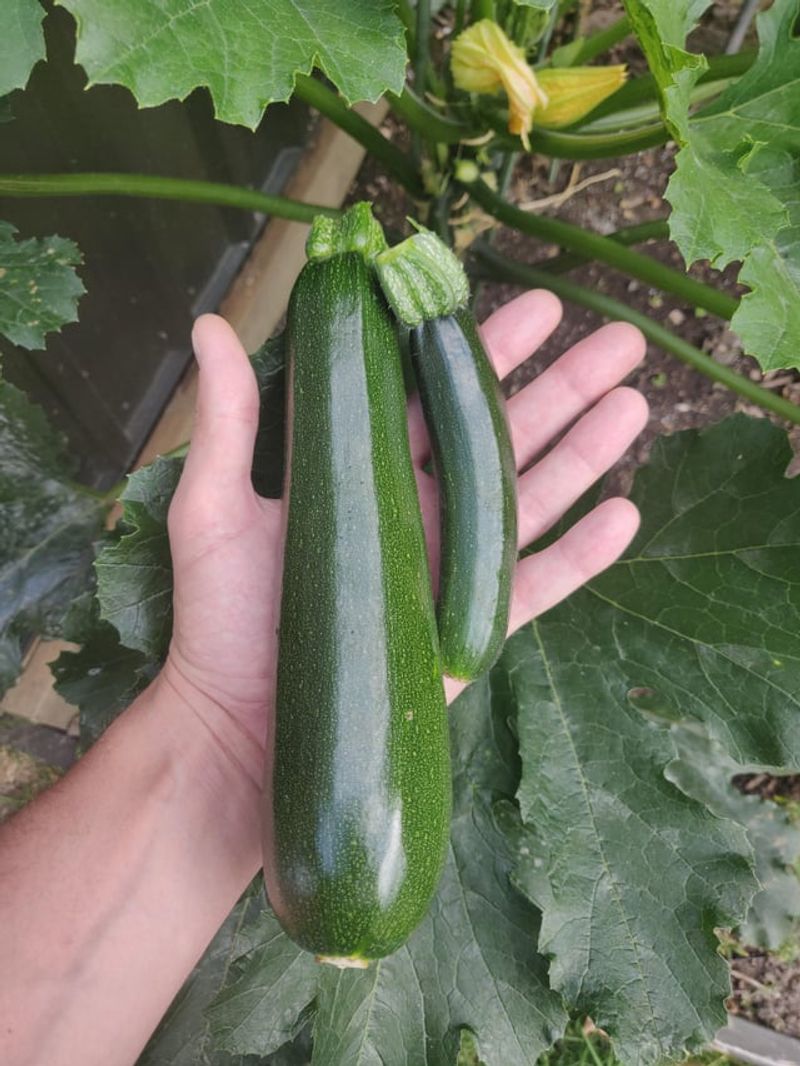
Squash plants are like that party guest who stays way too long. They gave you a mountain of zucchini, and now they are covered in a white, dusty coating.
That coating is powdery mildew. It spreads quickly in the cool, damp nights we get in fall.
The big leaves also make cozy homes for squash bugs, which love to spend winter tucked under old plant parts.
Pulling squash is pretty easy. Grab the main stem near the ground and give it a firm tug.
The shallow roots usually pop right out.
Check the soil and the underside of leaves for small, gray bugs or clusters of tiny bronze eggs. If you spot them, squish them or drop them into soapy water.
Your New York Garden Changes Every Week. Your Plan Should Too.
Gardening in New York changes quickly throughout the season. Every Friday you’ll receive a simple weekly plan showing exactly what to plant, prune, fertilize, harvest, and protect so you never miss the right timing.
Every bug you remove now means fewer in July.
Bag the leaves rather than composting them. Mildew and bug eggs can survive in a cool pile.
Clean stems with no spots can go to compost if you chop them into small pieces first.
One handy tip is to keep a quick garden journal. Write down where your squash grew this year.
Next spring, plant them in a different spot to confuse pests and keep the soil healthy.
Your future self will thank you when the next batch of zucchini grows strong and clean.
3. Say Goodbye To Frosted Annuals Before Winter
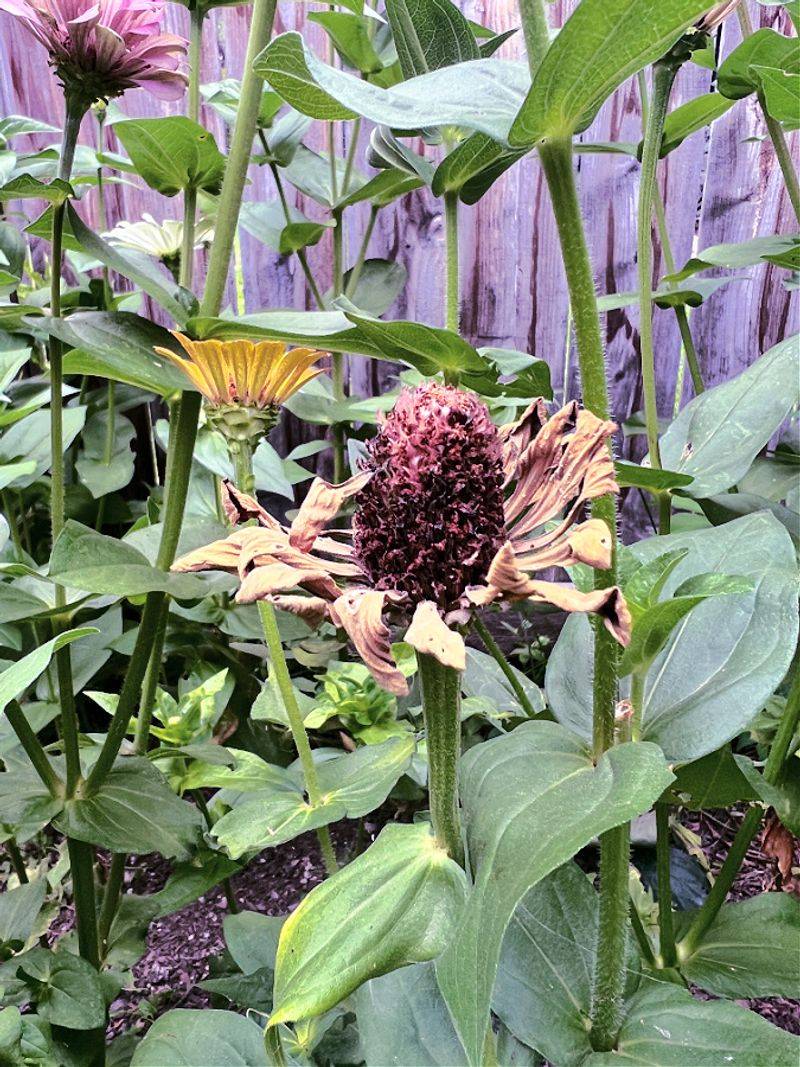
One chilly New York morning, you step outside and your bright marigolds look like soggy lettuce. Annuals are built to give one big season of color, and frost ends the show fast.
Once they turn limp and brown, they stop being pretty and start being messy. Wet, mushy stems can grow mold.
They can also give slugs and snails a safe winter shelter.
Petunias, impatiens, begonias, and zinnias all fall into this group. Most of them come out with a gentle pull.
If the soil is hard, loosen it with a hand trowel first.
Shake the extra dirt off the roots back into the bed. That soil is full of good stuff you want to keep.
Then toss the healthy plant bits into your compost.
Want a bonus project? Zinnias and marigolds often leave behind dried seed heads.
Pop a few into a paper envelope, label it, and store it somewhere cool and dry. You can plant those seeds next spring for free flowers.
It is a small step that turns this year’s garden into next year’s head start.
After clearing, your beds might look a bit bare. That is a great time to tuck in tulip or daffodil bulbs.
They will sleep under the soil and surprise you with color when the snow melts.
Empty beds today mean easy planting tomorrow.
4. Yank Spent Cucumber Vines From New York Gardens
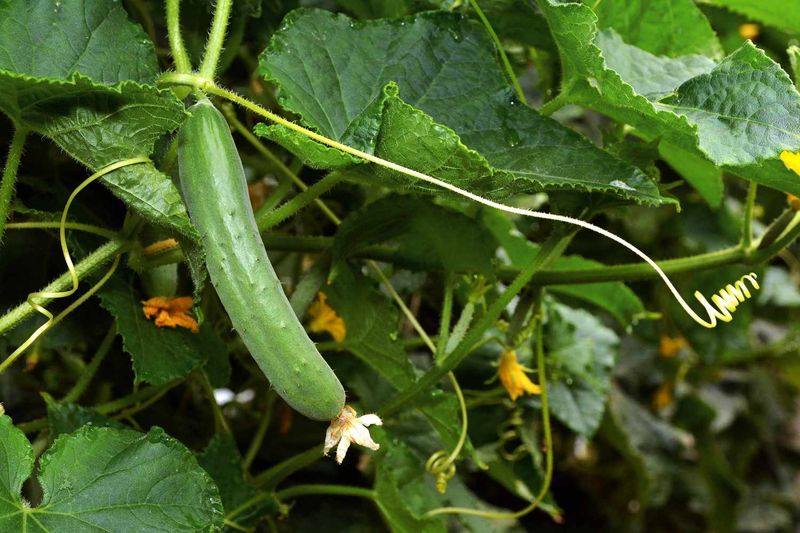
Cucumber vines climb with so much energy in July. By October, they often look like tangled yellow string draped over a fence.
Here is the problem. Cucumber beetles, those small striped yellow bugs, love to hide in old vines and leaf piles during winter.
They can also carry a disease called bacterial wilt that makes young plants flop over.
Begin at the top of your trellis. Gently unwind the vines and pull off the curly tendrils.
Snipping with garden scissors can make this go much faster than tugging.
Pick off any big, yellow cucumbers left behind. They are too seedy to eat, but you can toss them into the compost if they show no spots or rot.
Leaving them on the vine only gives beetles more cover to hide under.
Once the vines are down, check your trellis for damage. Fall is the perfect time to fix wobbly posts or loose netting.
Doing it now means you will not be rushing around in May.
Here is a quirky fact. Cucumbers are about 95 percent water, which is why they feel so cool and crisp.
That is also why their vines turn mushy so quickly in cold weather.
Spread some compost over the cleared spot. Worms will pull it down into the soil all winter, making your bed richer for spring planting.
5. Remove Mildew-Covered Bee Balm Stems
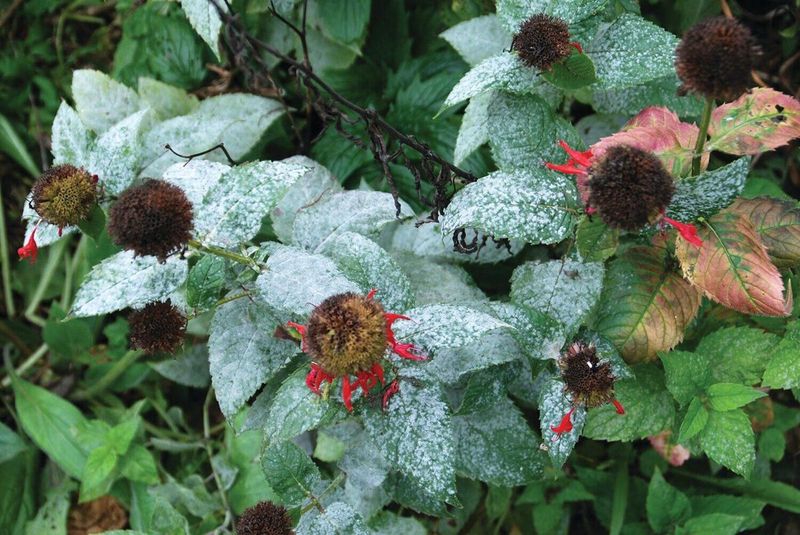
Bee balm is a summer superstar. Hummingbirds and bees adore its shaggy red and purple blooms, and the leaves smell a bit like mint and oregano.
By fall, though, many bee balm patches look gray and dusty. That is powdery mildew again, and bee balm is one of its favorite targets.
Leaving the stems standing gives the fungus a free winter home.
Unlike annuals, bee balm comes back every year in New York. You do not want to pull out the roots.
Instead, cut the stems down to about two inches above the soil with clean pruners.
Wipe your pruner blades with rubbing alcohol between cuts. It sounds fussy, but it helps stop the fungus from hopping to other plants.
A quick wipe between each plant is a small habit that saves you a bigger mildew problem later.
Bag the cut stems and leaves. Keep them out of your compost so the spores do not spread around the yard.
A fun history bit here. Bee balm is sometimes called Oswego tea.
Early settlers learned from the Oswego people that the leaves made a soothing drink.
To help your patch next year, thin out a few crowded clumps in spring. Better air flow keeps leaves drier, and dry leaves are much less likely to get that dusty coating.
A little space goes a long way.
6. Tug Out Finished Bean Plants
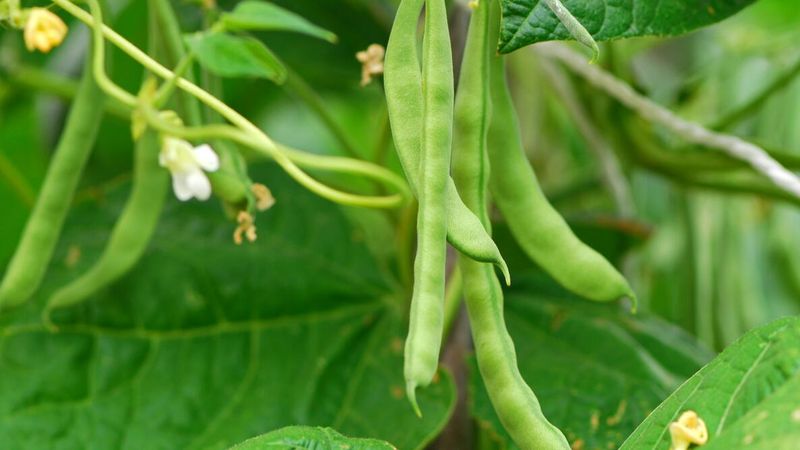
A row of crispy bean plants rattles in the New York wind, looking about as done as a garden can look. Their pods are dry, the leaves are curled, and the harvest is long gone.
Bean plants can carry rust and mosaic virus. They also attract Mexican bean beetles, which look a bit like orange ladybugs.
Clearing them out now stops these troublemakers from settling in for winter.
Here is a neat trick. Instead of pulling the whole plant, cut the stems at soil level and leave the roots in the ground.
Beans team up with tiny soil helpers that store nitrogen in little bumps on the roots.
When those roots break down over winter, they feed your soil for free. Plants like lettuce and corn will love growing in that spot next year.
It is a nice little reminder that even a finished bean patch is still doing you a favor.
If you grew pole beans, unwind the vines from the poles carefully. Store the poles in a dry shed or garage so they last longer.
Have some dry pods still hanging? Crack them open and save the beans inside.
Let them dry on a tray for a week, then store them in a jar. They can become next year’s crop or a tasty winter soup.
Healthy stems with no spots can go straight into the compost. Spotted or yellow-streaked ones belong in the trash bag.
7. Ditch Old Peony Foliage In New York Flower Beds
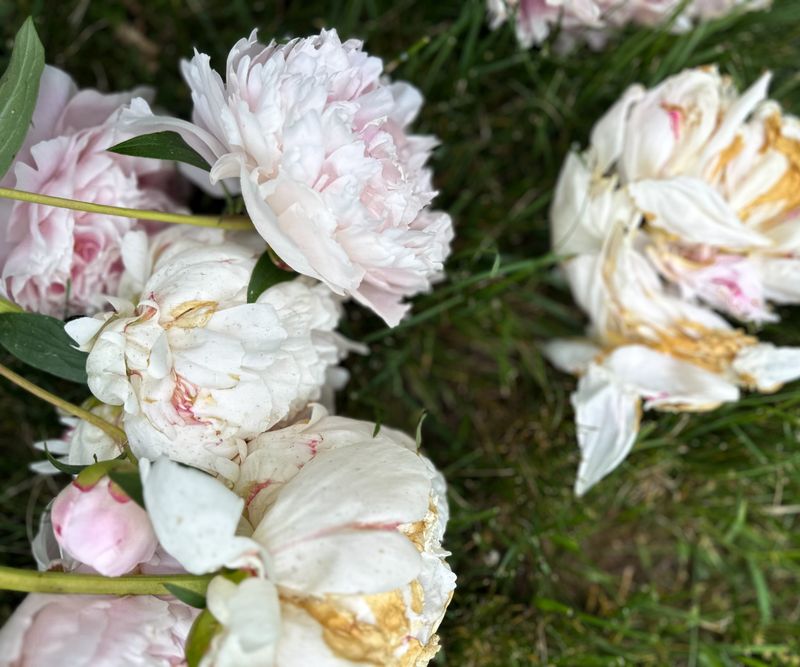
Peonies can live for over 100 years. Some gardens have plants that were tucked in by great-grandparents, still blooming every June.
To keep them going strong, their leafy tops need a fall haircut. Peony leaves often get brown spots and gray fuzz from a fungus called botrytis.
If the leaves stay on the ground, that fungus can attack new shoots in spring.
Wait until the leaves start to turn yellow or brown. Then cut every stem down to about an inch above the soil.
Be careful not to dig around the crown, since the pink buds for next year sit just below the surface.
Rake up every fallen leaf around the base. This step matters just as much as the cutting.
A clean bed now means far less fungus for next year’s shoots to deal with.
Toss the cuttings in the trash, not the compost. Botrytis is stubborn and can hang around in cool piles.
Skip heavy mulch right on top of the crown. Peonies like a chilly winter nap, and too much mulch can keep them from blooming.
A light layer of shredded leaves nearby is fine.
Got ants on your peonies in spring? No worries.
They are just after the sweet nectar on the buds and do not harm the plant at all. Your peonies will be ready to shine again.
8. Clear Spent Hosta Leaves From Shade Gardens
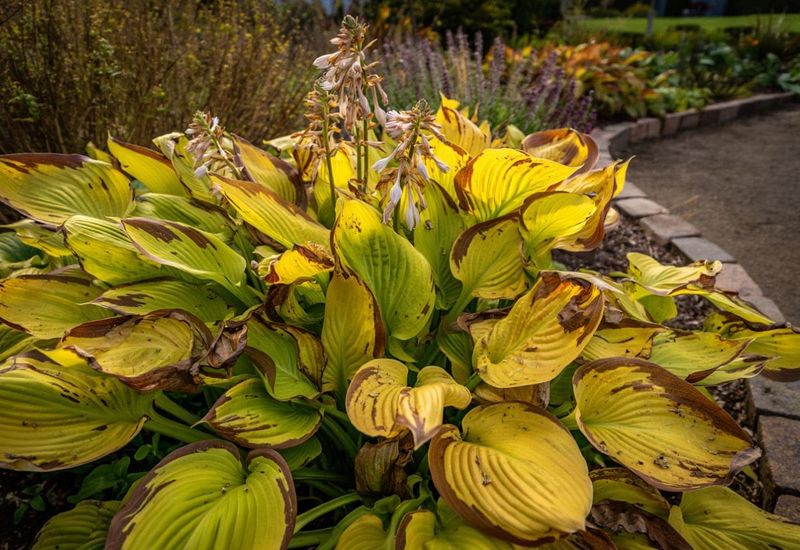
Hostas are the easygoing pals of shady yards. They grow big, leafy mounds with almost no effort and come back every single spring.
After the first New York frost, though, those lovely leaves turn yellow and then slump into a slimy pile. Slugs think that pile is a five-star hotel.
They lay eggs under the wet leaves, and come spring, hungry babies chew holes in your fresh shoots.
Wait until the leaves are mostly yellow or have flopped over. Then cut them off near the ground, or just pull them gently once they are soft.
They usually come free with little effort.
Gather up all the leaf mush and take a peek at the soil. Tiny clear or white balls are slug eggs.
Scoop them up and toss them out.
Healthy hosta leaves can go into compost. If you saw lots of slug damage this year, bagging them is a smarter choice.
Here is a cool fact. Hostas first came from Japan, Korea, and China, where they grew wild on shady hillsides.
Today, thousands of varieties exist, from tiny mouse-ear types to giants wider than a car tire.
Once the bed is clean, sprinkle a thin layer of compost around the plants. Your shade garden will wake up fresh and slug-free next spring.