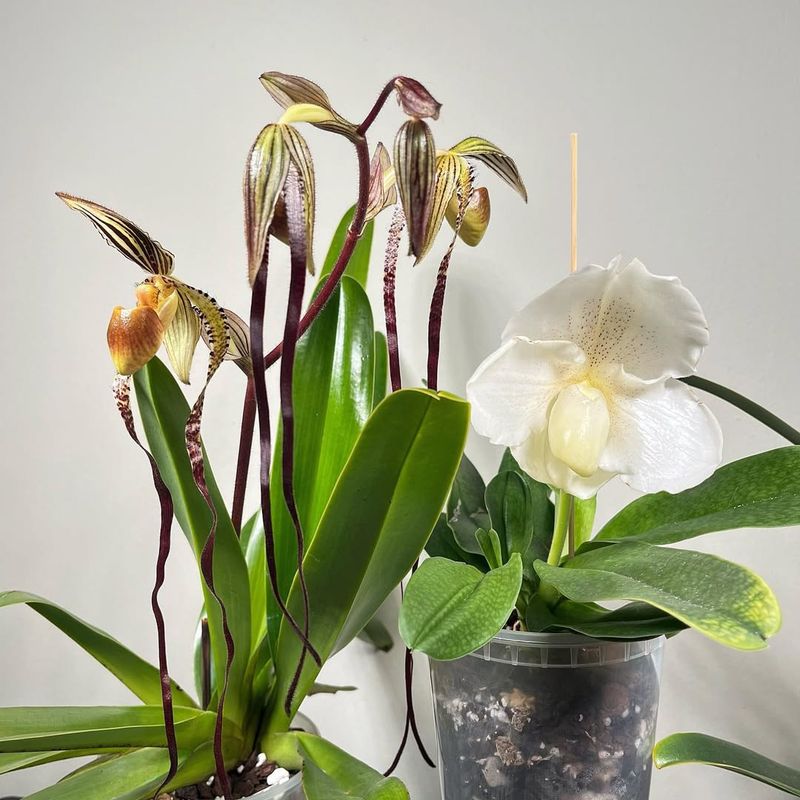
Growing Paphiopedilum Orchid At Home Is Easier Than You Think With These 14 Tips
Step into the captivating world of Paphiopedilum orchids, where growing these remarkable plants at home is easier than you might think. With their elegant blooms and fascinating characteristics, these orchids offer a rewarding journey for both beginners and seasoned growers.
This guide reveals fourteen essential insights, packed with practical tips to help you nurture these exquisite orchids with confidence. From finding the perfect variety to unlocking the secrets of successful propagation, each section is designed to inspire and support your orchid-growing adventure.
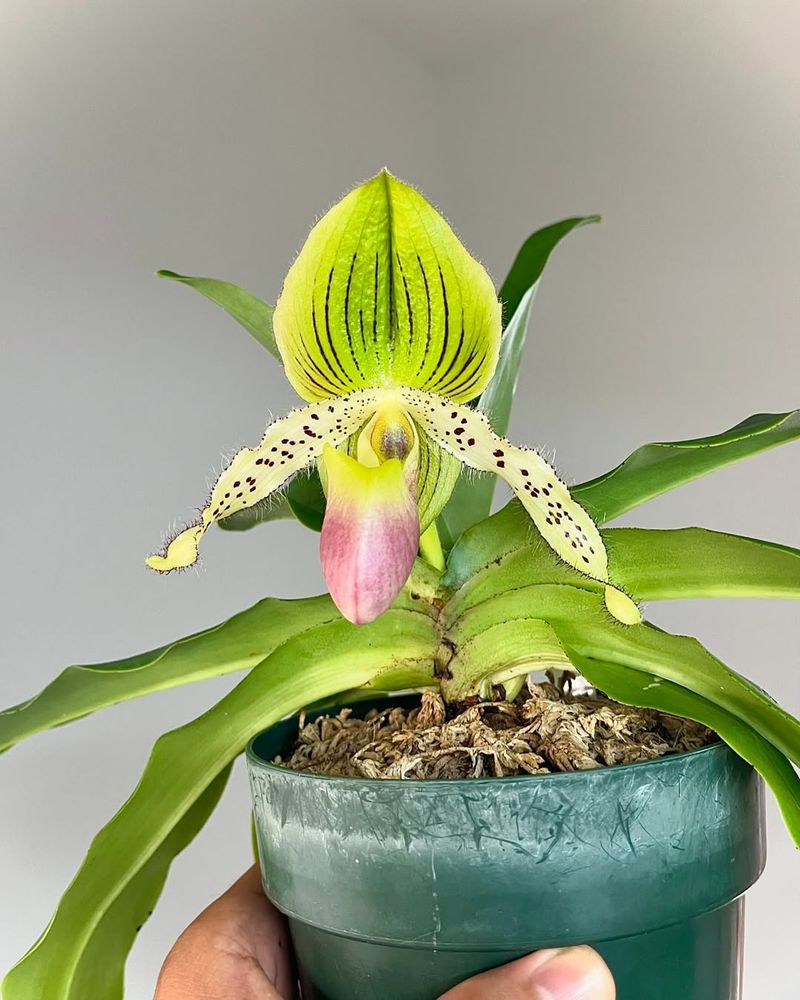
1. Understanding Paphiopedilum Orchids
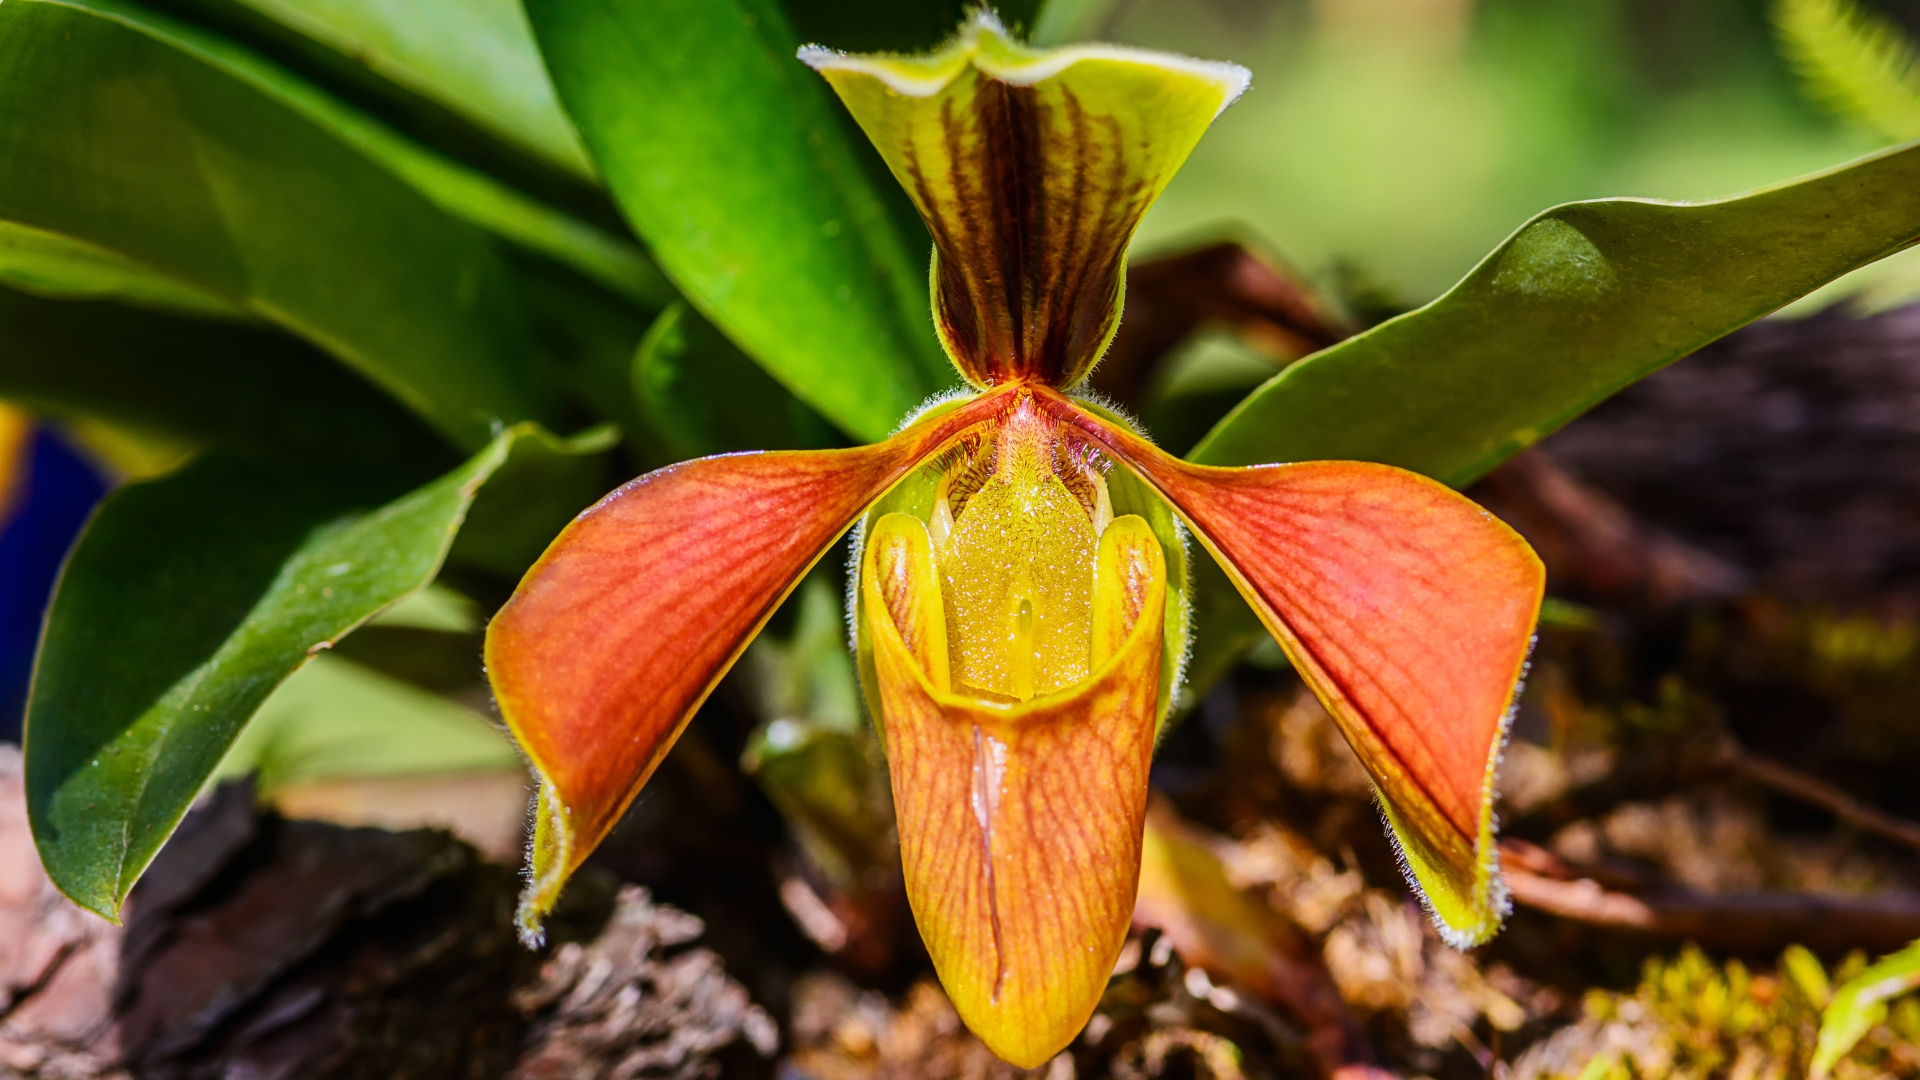
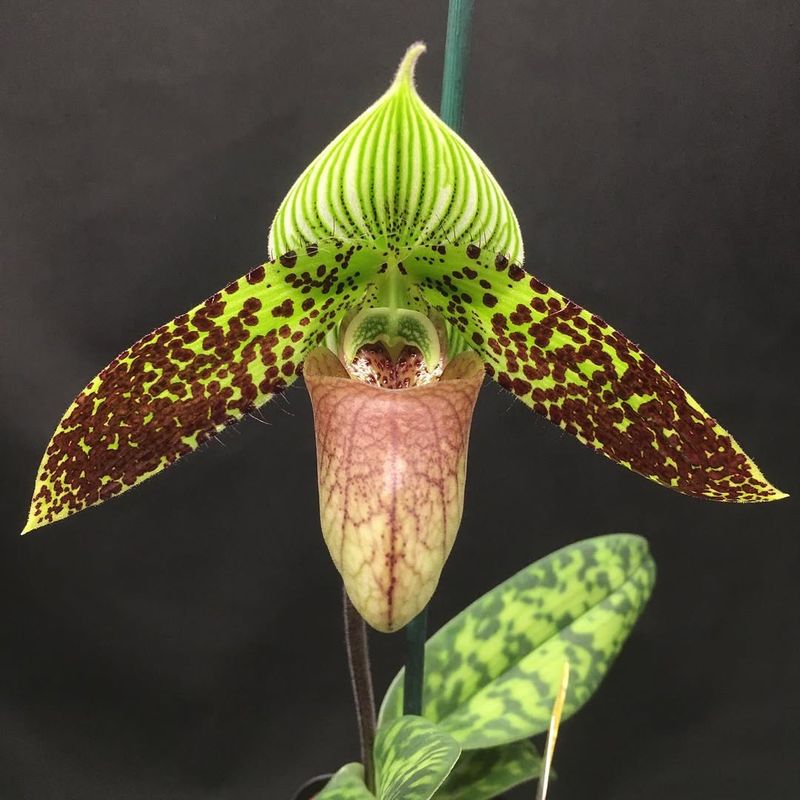
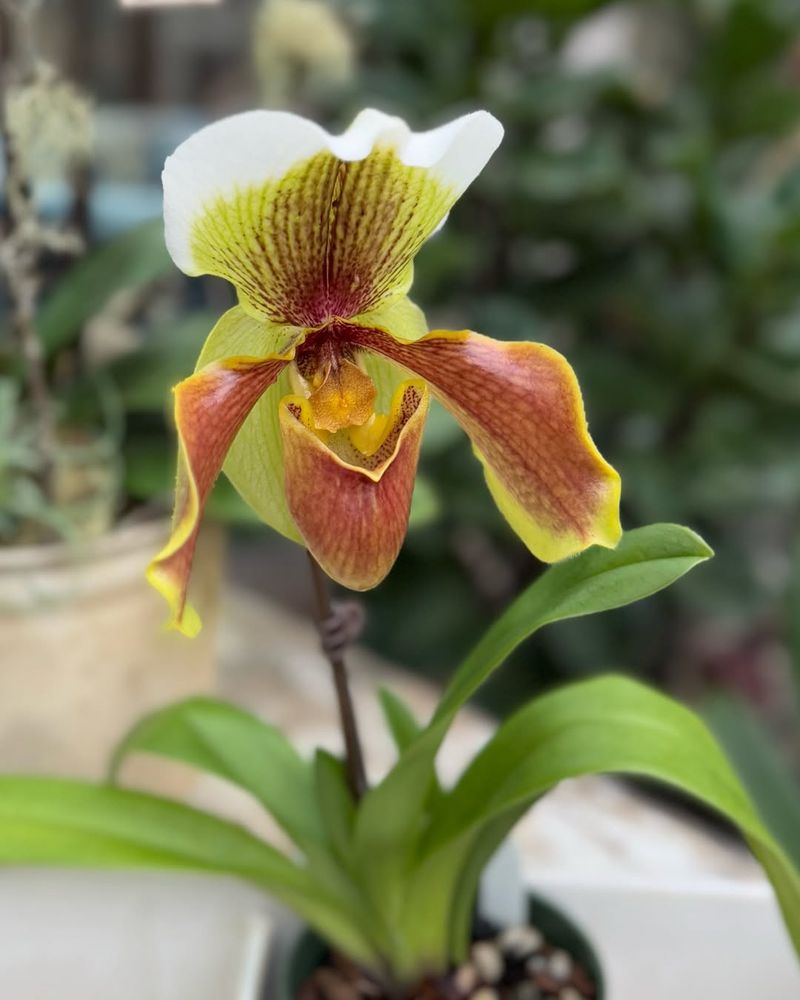
With a nickname like ‘slipper orchids,’ these plants are bound to intrigue. They hail from the forest floors of Southeast Asia, thriving in the filtered light beneath the canopy. Unlike other orchids, Paphiopedilum sports a charming pouch-like petal, designed to trap insects for pollination.
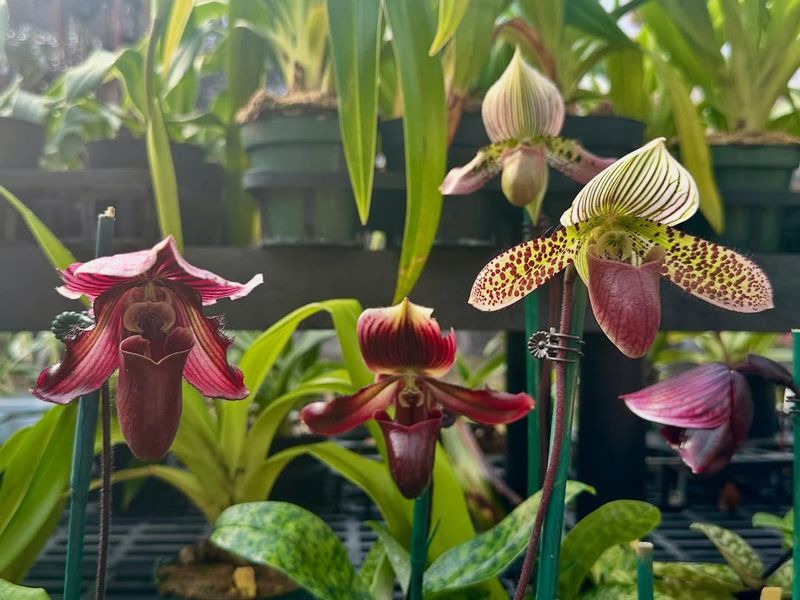
These orchids prefer a more terrestrial habitat, setting them apart from their epiphytic cousins. Their unique, mottled leaves add to their allure and they grow in a clump rather than a single stem.
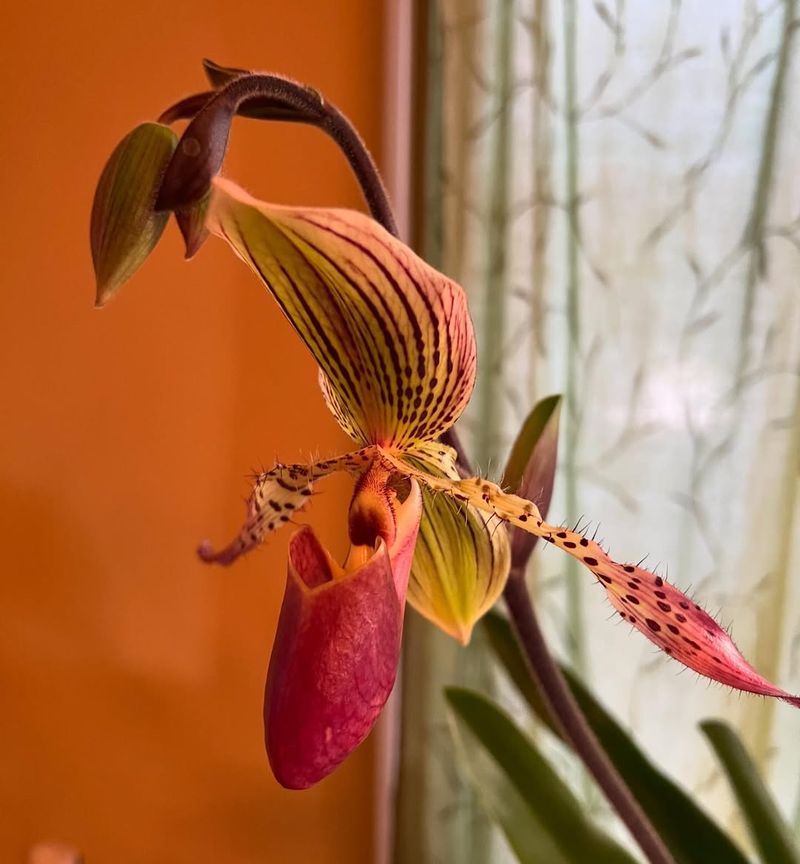
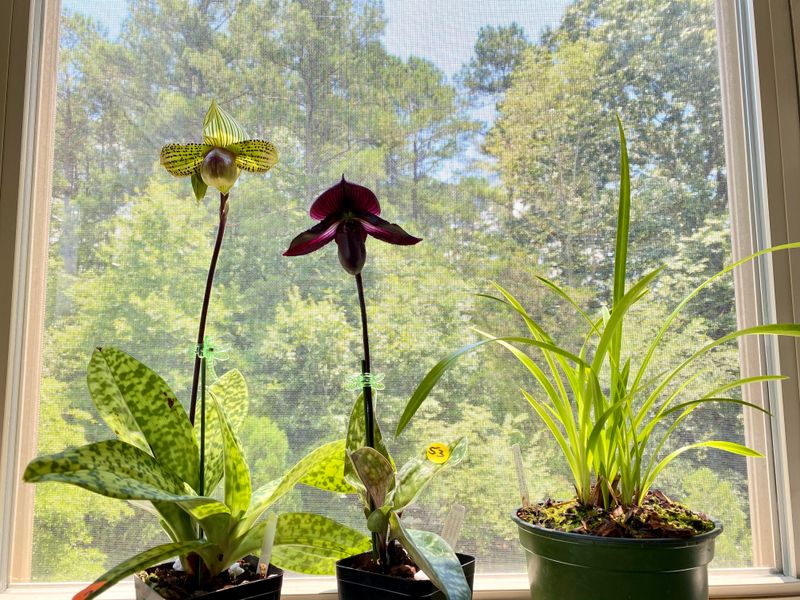
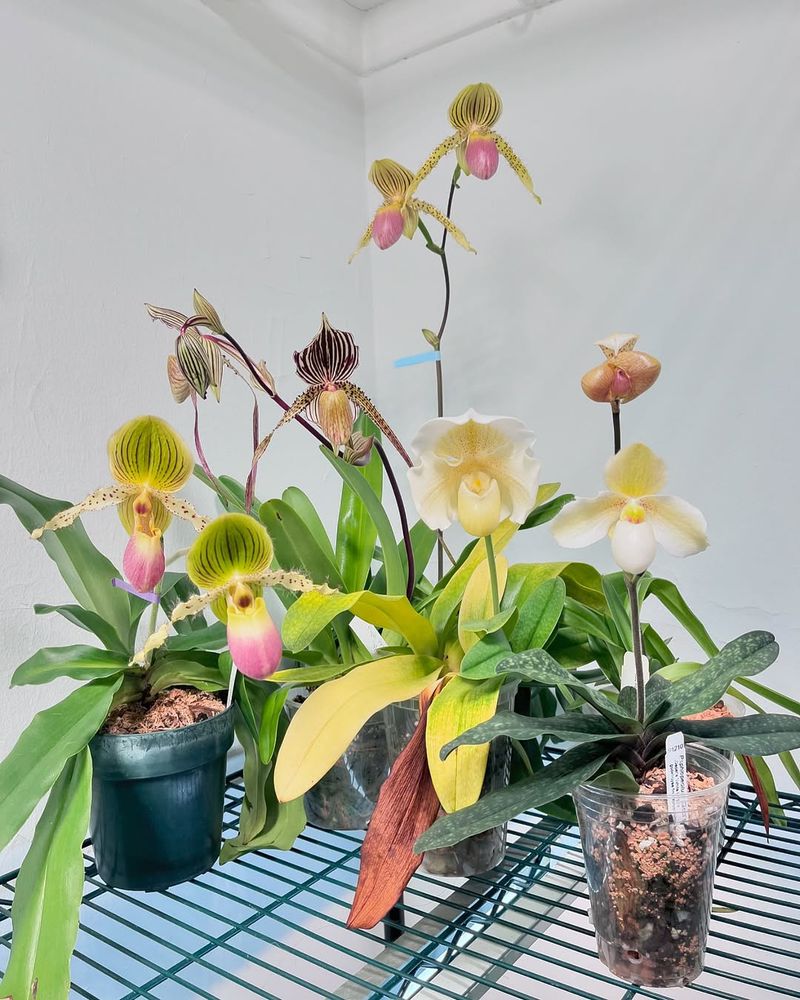
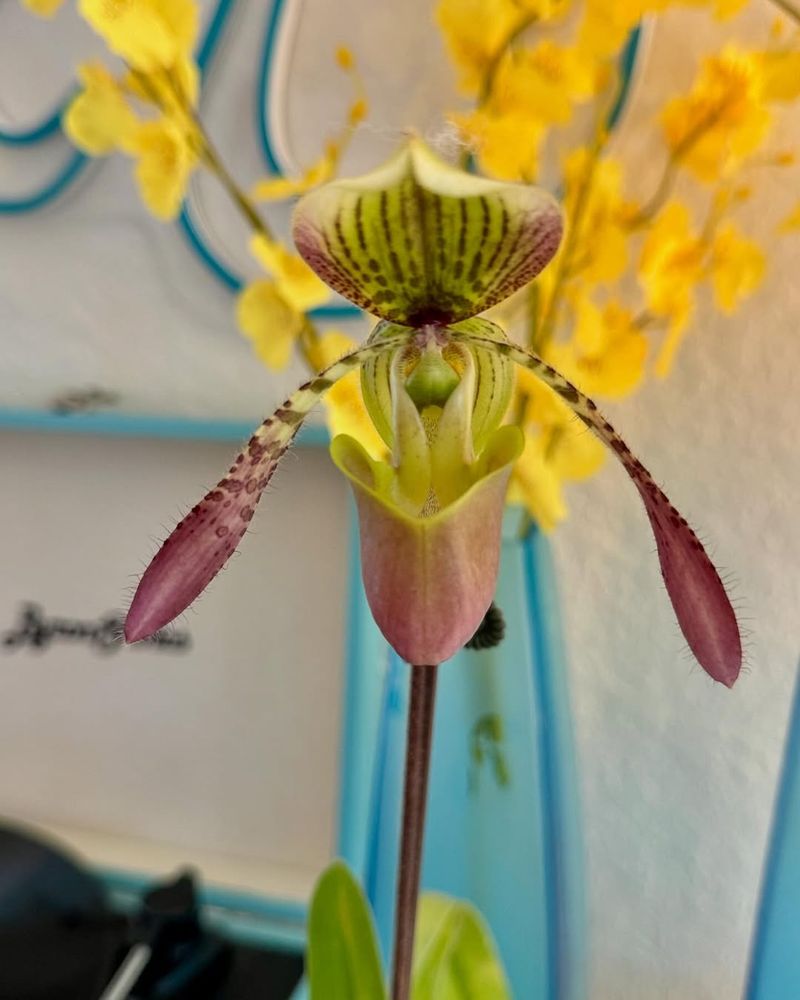
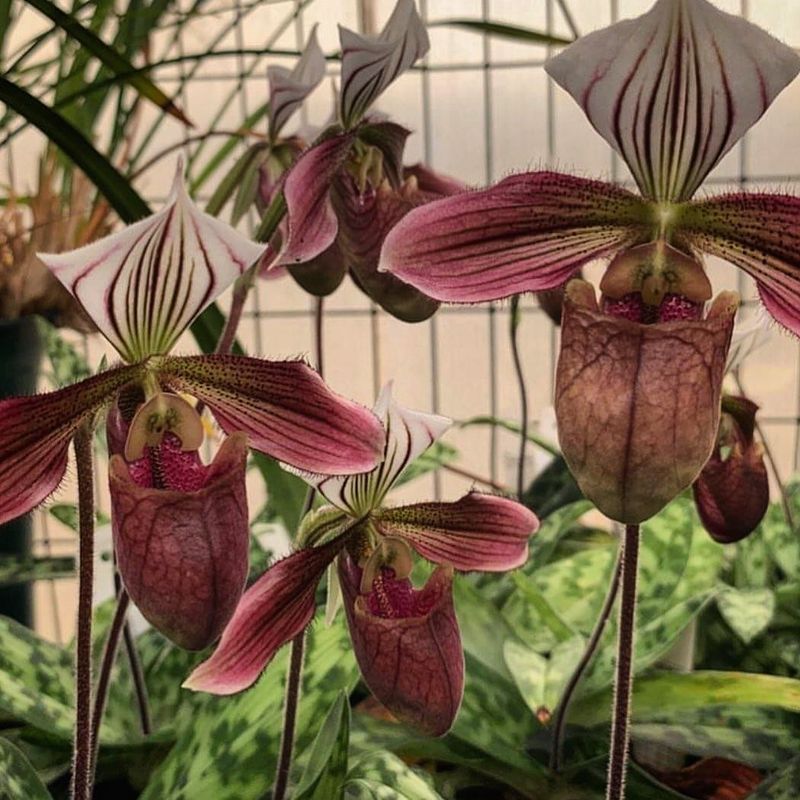
2. Selecting The Right Variety
Choosing the perfect Paphiopedilum is akin to selecting a pet – each has its quirks! Mottled-leaf types favor warm temperatures, while their green-leaf counterparts prefer cooler climes.
Their blooming patterns are another point of interest, with some varieties showcasing flowers that last for months. Indoor growers should consider their home environment to pick a variety that will thrive.
3. Providing The Ideal Light Conditions
Lighting can make or break your relationship with these orchids. Position them near east or west-facing windows for optimal growth. Signs of too much light include yellowing leaves, while too little results in leggy growth.
Adjusting their position or using sheer curtains can help maintain balance. A light meter can be a handy tool to measure the intensity accurately.
4. Choosing The Best Potting Mix

A well-draining mix is essential for these orchids, and not just any soil will do. Ingredients like bark, perlite, and sphagnum moss create the perfect blend. Refresh the mix annually, as it breaks down over time, impacting drainage and aeration.
This promotes healthy root growth and prevents rot. The right mix ensures your plants get the air they need while retaining enough moisture.
5. Watering Correctly To Prevent Rot
Hydration is a fine art with these orchids, and getting it right is key. Keep roots evenly moist but avoid waterlogging, which can lead to rot. Quality matters; use rainwater or distilled water to prevent mineral buildup.
Watering frequency varies with climate and season, so adjust accordingly. Overwatering is the most common mistake, so let the moisture evaporate before the next session.
6. Maintaining Proper Humidity Levels
Humidity is the secret sauce for these orchids. Aim for a range of 50-70% to replicate their natural environment. In drier climates, a humidifier might become your best friend.
Lack of humidity leads to wilting and poor growth, so it’s crucial to monitor levels. A hygrometer can be an invaluable tool for this task. It’s about creating a mini-ecosystem that mimics their native habitat.
7. Fertilizing For Healthy Growth
Feeding these orchids is like offering them a gourmet meal. Use a balanced orchid fertilizer, diluted to half strength, every two weeks during active growth. Watch out for over-fertilization, which can cause salt buildup and harm your plants.
Leach the potting mix occasionally to prevent this issue. Adjust feeding during the dormant phase to avoid stressing the plant. The right nutrients support robust growth and abundant blooms.
8. Encouraging Flowering
Getting these orchids to bloom is like convincing a cat to take a bath—it requires patience and strategy. Temperature changes, feeding, and consistent care are vital. Cooler nights and warm days mimic natural conditions, encouraging blooms.
If they refuse to flower, check light and nutrition levels. Regular feeding and correct light exposure can work wonders.
9. Preventing And Treating Common Pests

Orchids can be tempting targets for pests like mealybugs and spider mites. Regular inspection is your first line of defense. Organic treatments such as neem oil can be effective against these nuisances. For severe infestations, chemical options are available, but use them cautiously.
Keeping plants clean and stress-free minimizes pest problems. Ensure good airflow around your orchids to discourage pests. Prevention is better than cure, so maintaining a healthy environment is crucial.
10. Repotting Without Damaging Roots
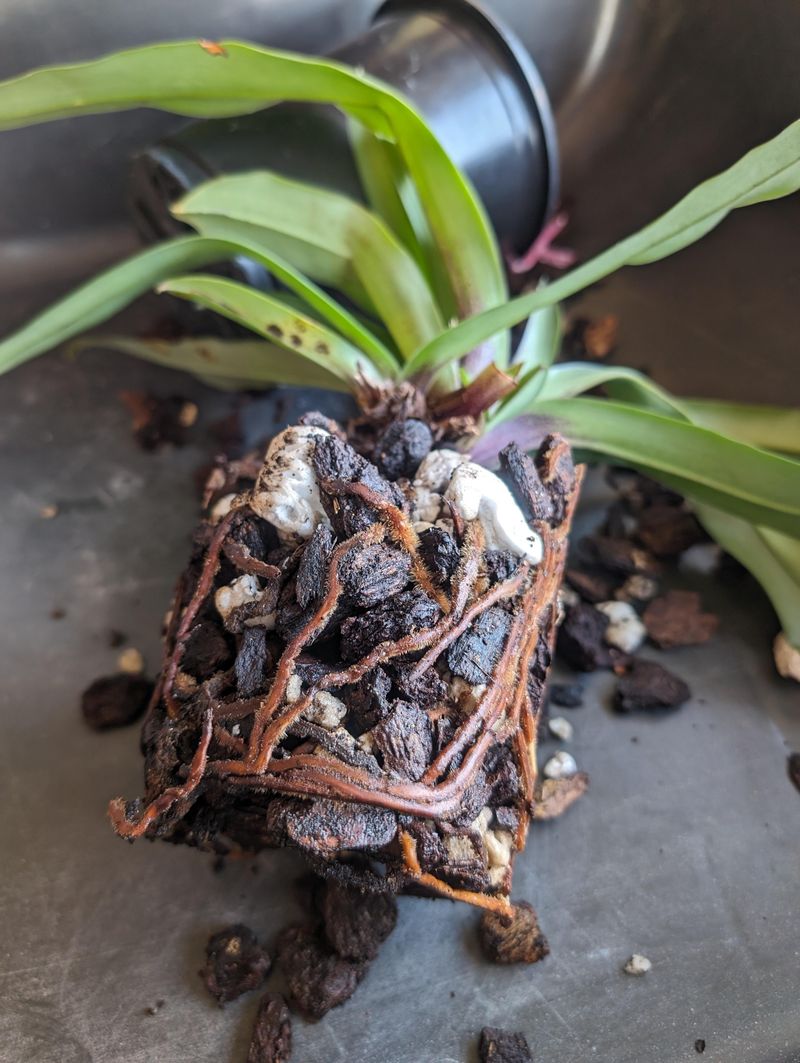
Repotting is a necessary task but can be daunting if you’re worried about damaging delicate roots. Signs that it’s time to repot include crowded roots and broken down potting mix.
Choose a pot that gives roots room to grow without excess space. Carefully remove the orchid, trim dead roots, and refresh the potting mix. Handle roots gently to avoid injury.
11. Recognizing And Fixing Leaf Issues
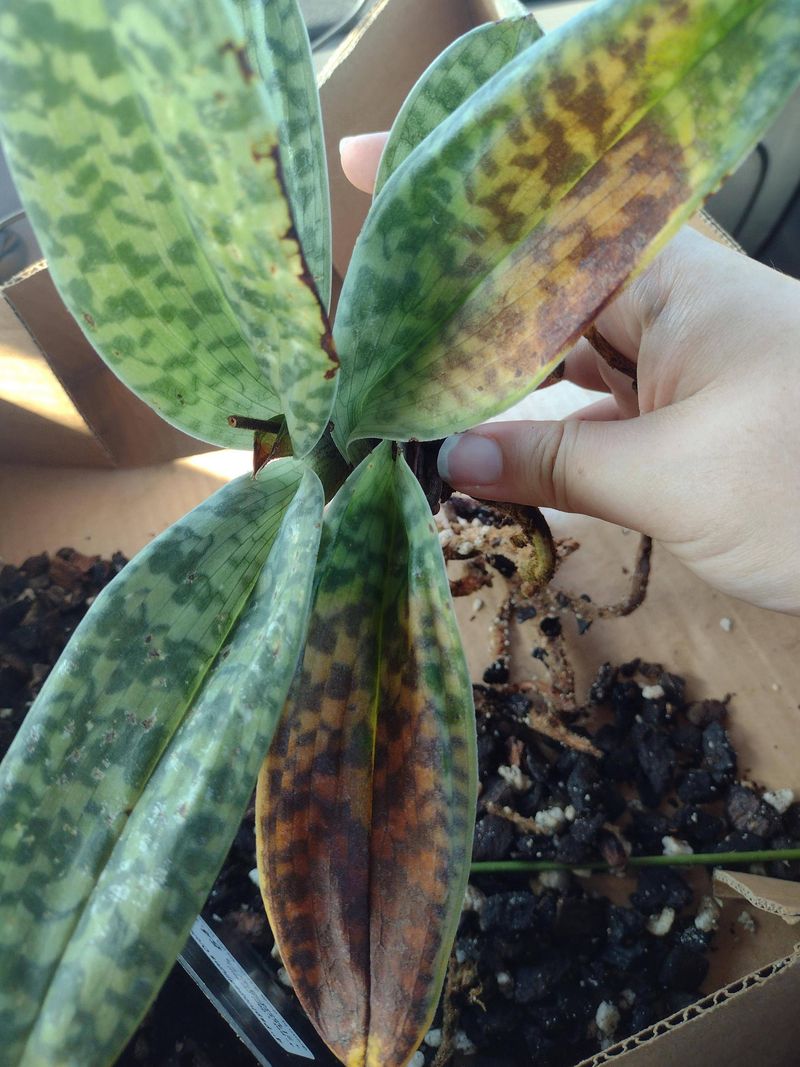
Leaf issues can be a puzzling aspect of orchid care. Yellowing can indicate nutrient deficiencies, while browning may suggest too much sun. Wrinkled leaves often point to watering problems.
Diagnose these issues by examining environmental and care factors. Adjusting water, light, or feeding can often resolve the problem. Each symptom tells a story about what your plant needs.
12. Understanding Seasonal Growth Cycles
These orchids follow a seasonal rhythm that dictates their care. During active growth, they need more water and nutrients. Blooming phases require stable conditions to maintain flower longevity.
Post-bloom, a rest period allows the plant to recuperate. Adjust care routines according to these cycles for optimal health.
13. Protecting Against Temperature Stress
Temperature can be a rollercoaster ride for orchids if not managed properly. Extreme fluctuations cause stress, leading to poor growth or failure to bloom. Keeping them in a stable environment is key to success.
Use fans, heaters, or air conditioners to maintain consistent conditions. Orchids prefer cooler nights and warmer days, mimicking their native habitat. Monitoring temperatures helps prevent stress and encourages healthy development.
14. Propagating Through Division
Propagating these orchids is a rewarding venture if done correctly. The best time to divide is after blooming when the plant is resting. Carefully separate growths, ensuring each has roots and leaves. Plant them in fresh mix and provide a gentle watering.
It’s like giving birth to new plants, each with the potential to thrive. Proper aftercare ensures healthy establishments. With patience, you’ll have a collection that multiplies over time. It’s an exciting way to expand your orchid family.