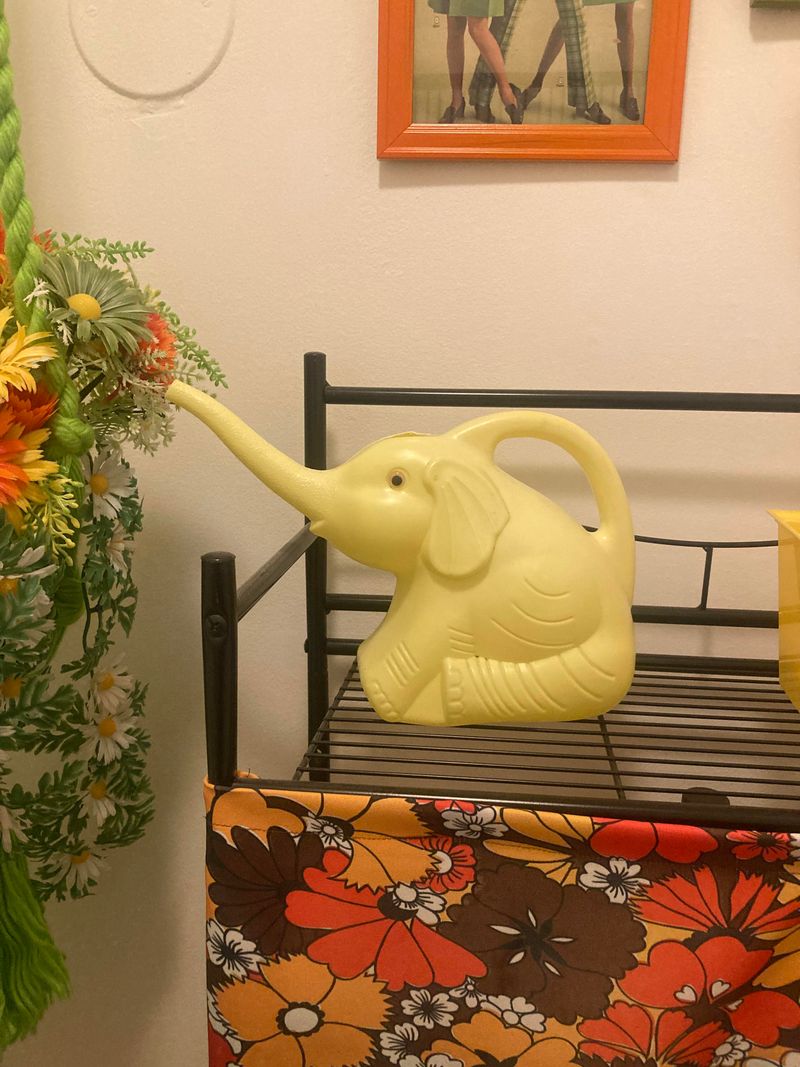
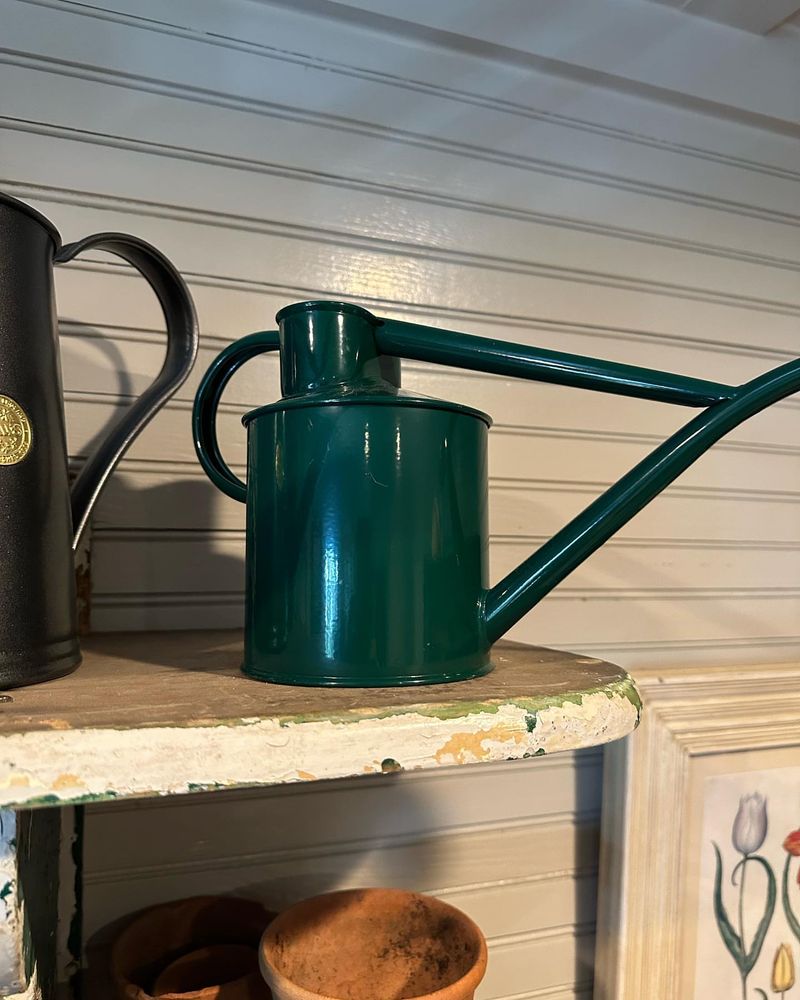
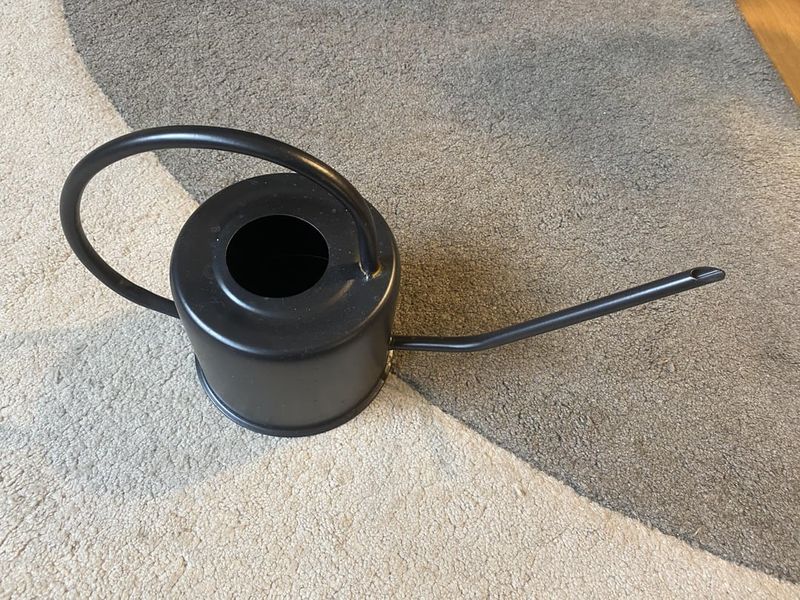
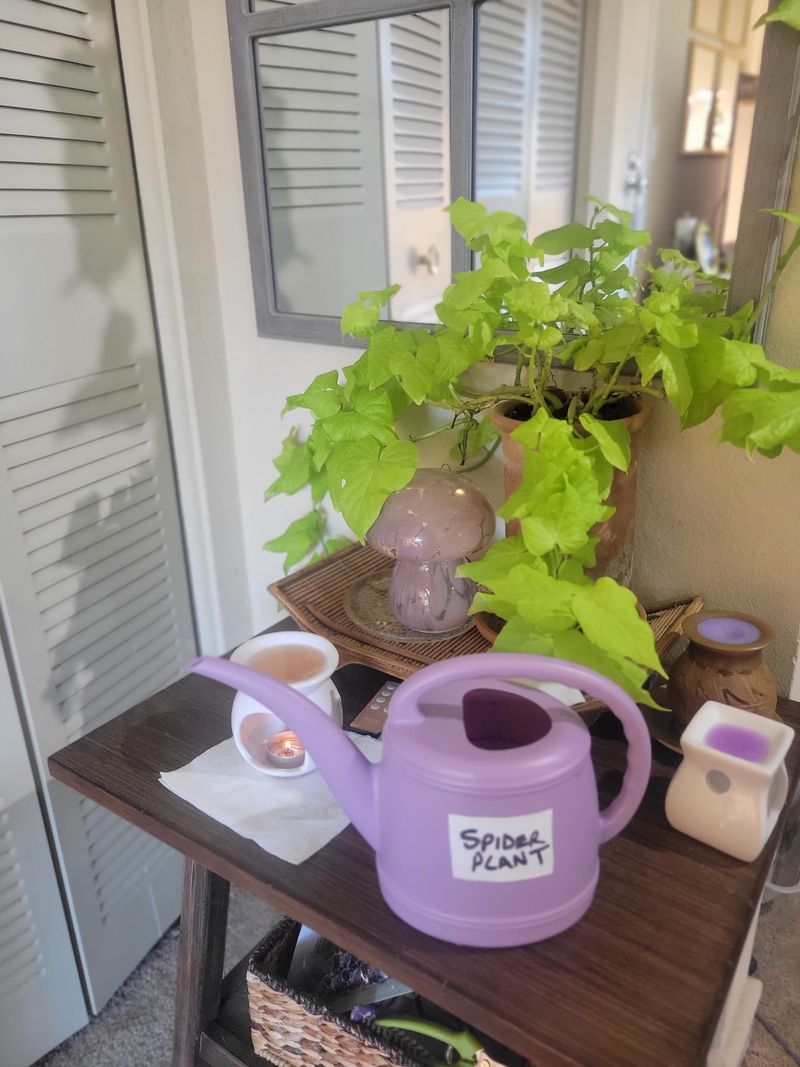
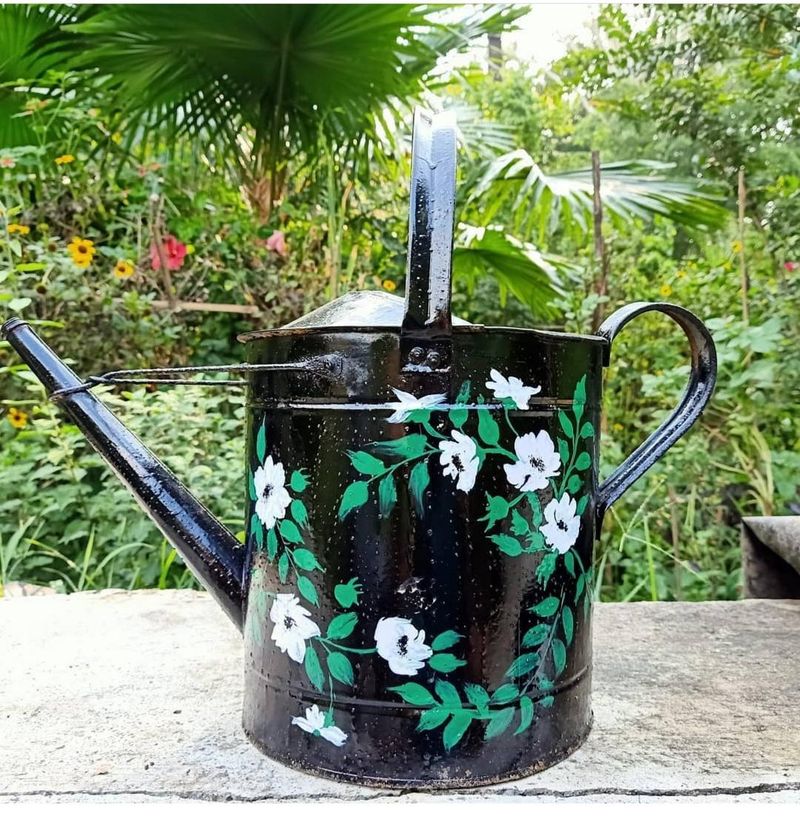
We all know watering cans are essential for keeping plants happy, but did you know how you store them can actually affect your plants? I’ve made a few mistakes myself when it comes to storing watering cans, and the results weren’t pretty.
Turns out, the way you store your watering cans plays a huge role in making sure your plants get the care they need. From rust to improper placement, there’s more to consider than you might think.
Let’s go over some common storage mistakes and how to get it right for the health of your plants!
1. Storing Watering Cans Without Draining Them
Ever left your watering can full of water only to discover it’s now a breeding ground for bacteria or algae? It’s easy to forget, but it can mess with the quality of your plants’ hydration.
Standing water is a perfect environment for unwanted growth. To fix this, simply make sure to empty out your watering cans after every use, giving them a quick rinse.
2. Leaving Watering Cans in Direct Sunlight
Placing your watering can in direct sunlight might seem like a convenient spot, but it’s actually a big no-no! Over time, the sun can cause the material to deteriorate, especially if it’s plastic.
This can lead to cracks, leaks, or faded colors. Store your watering cans in a shaded or sheltered spot to protect them from UV damage, keeping them in top condition for when you need them most.
3. Storing Watering Cans With the Lid On
You may think closing your watering can with the lid on tight is the best way to keep it safe and clean, but it’s actually a mistake.
Without airflow, your watering can might trap moisture inside, causing mold or mildew to grow. Instead, leave the lid off or slightly ajar to let your can dry out completely and avoid those funky smells and growths that could harm your plants.
4. Not Cleaning Watering Cans Regularly
If you think your watering can doesn’t need a regular scrub-down, think again! Over time, residue from water, soil, and minerals can build up, making your can a haven for harmful bacteria.
This build-up can also clog the spout, making it harder to get a good, even pour. To keep your watering can in prime condition, give it a good rinse and scrub every few weeks to ensure it’s clean and ready for action.
5. Storing Watering Cans on the Ground
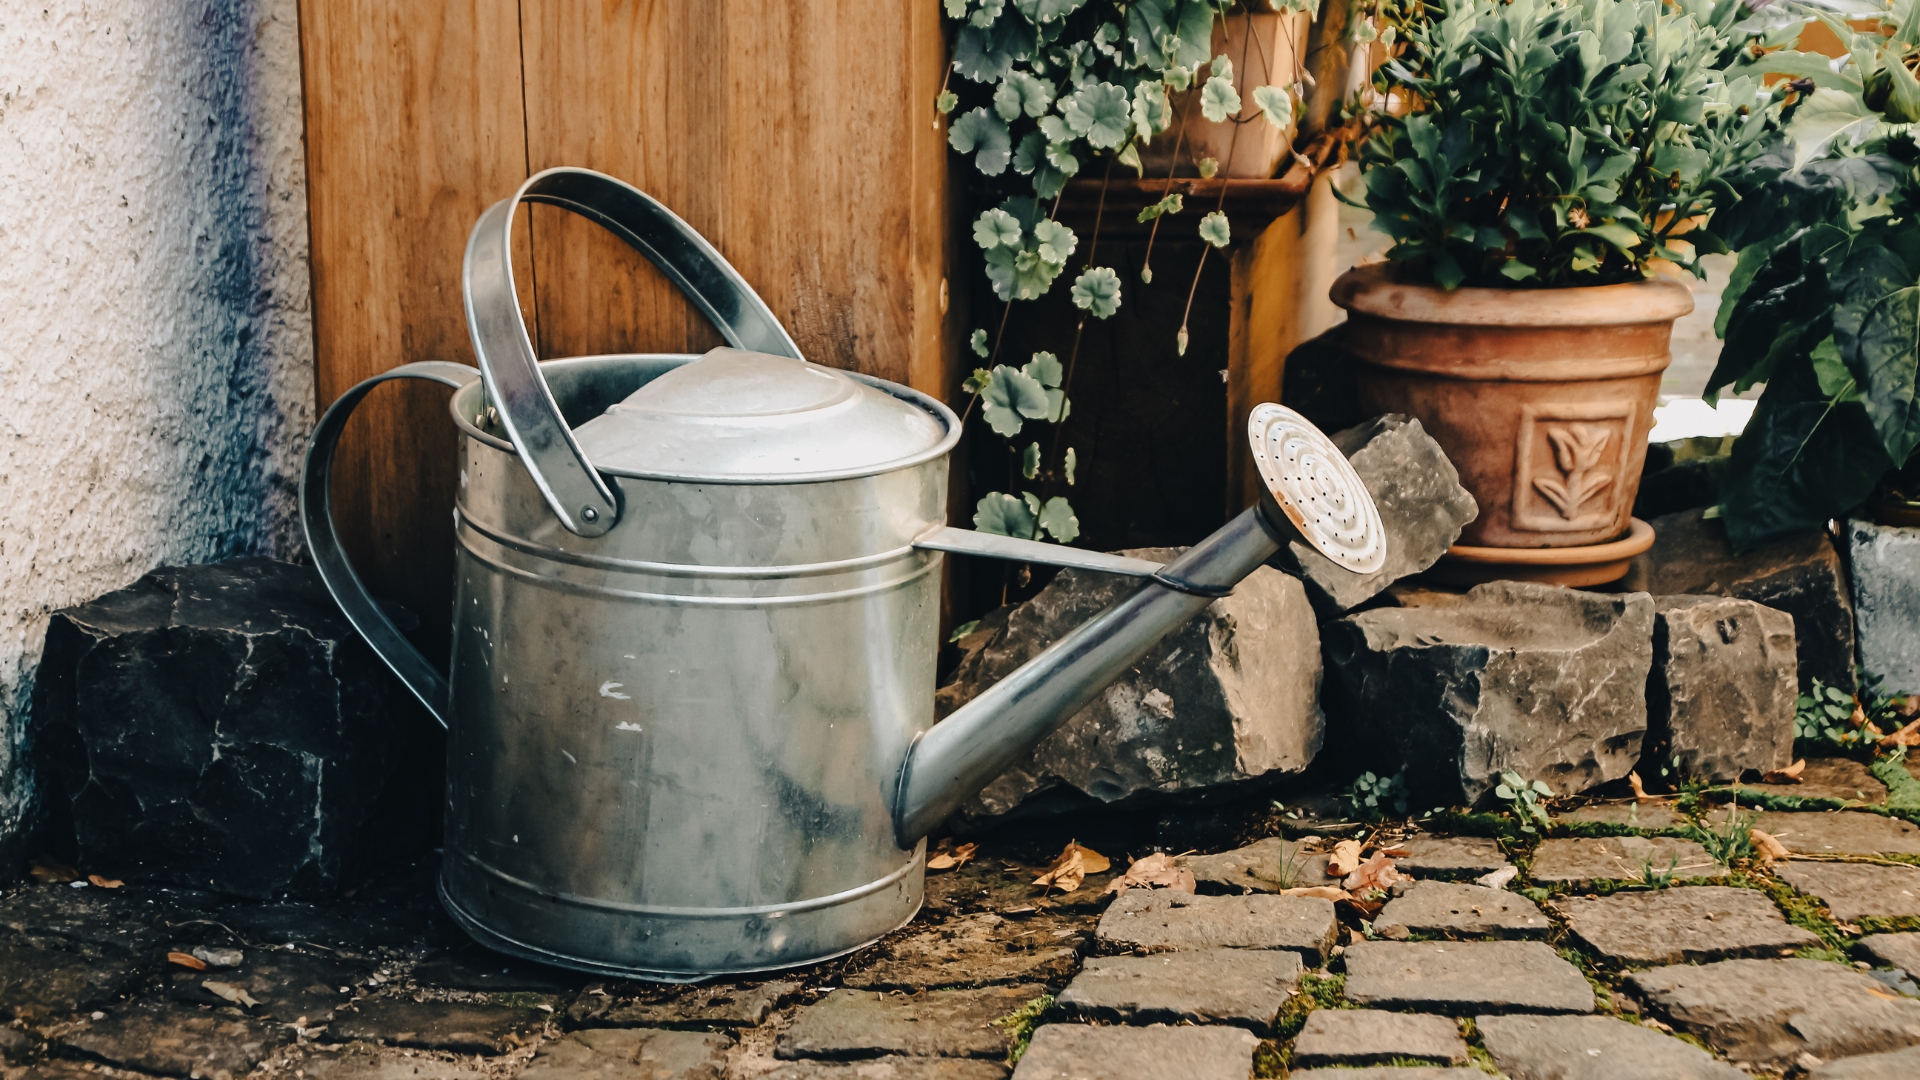
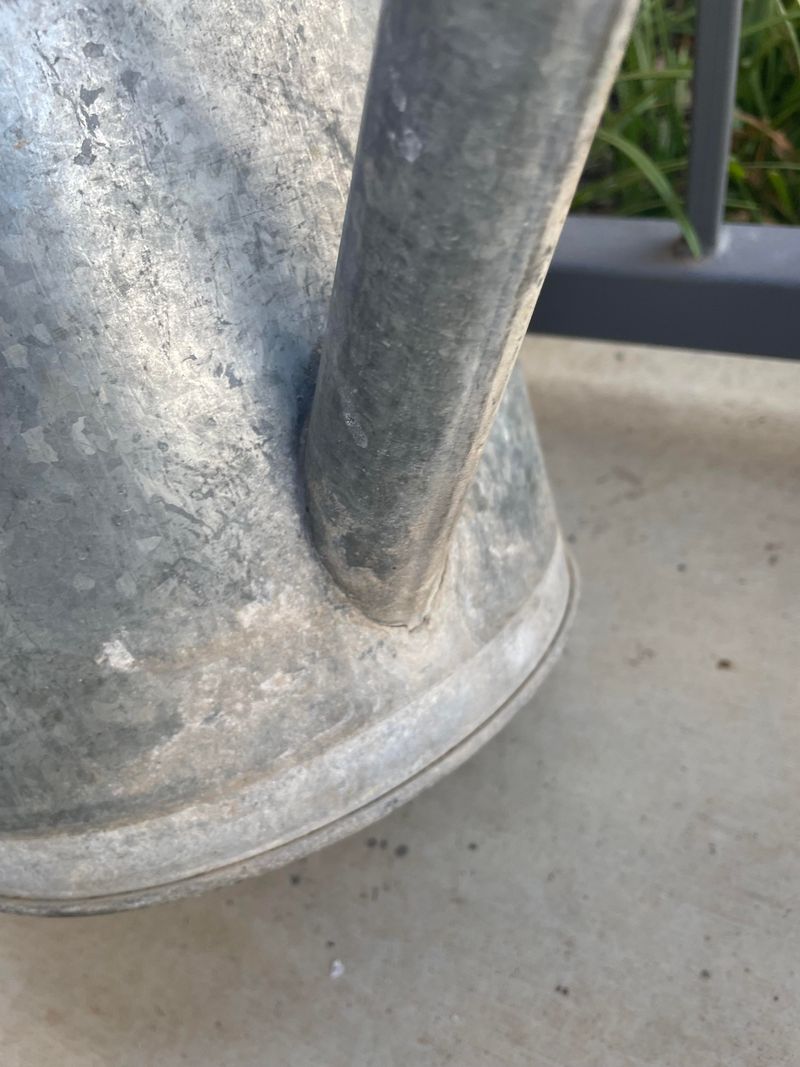
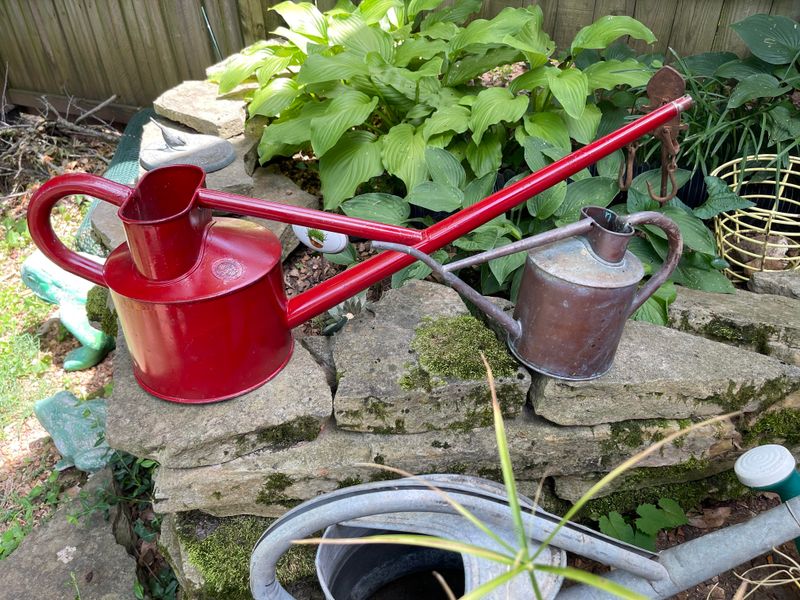
Storing your watering can directly on the ground can cause a whole host of issues. Not only can dirt and debris get inside, but if the ground is damp, it could cause rust on metal watering cans.
Hang or elevate your watering can to keep it off the ground, ensuring it’s cleaner and protected from unwanted rust or dirt buildup.
6. Forgetting to Empty the Spout After Use
If you’re in a rush, it’s easy to forget to empty the spout after watering your plants. However, leaving water in the spout can lead to clogs or mold growth, especially in warmer weather.
After each use, tilt the can upside down and let the water drip out completely. This simple step helps keep your watering can functional and clean.
7. Storing Watering Cans With the Spout Facing Down
It might seem like a good idea to store your watering can with the spout facing down, but this can trap water in the spout, leading to rust or mold growth.
Instead, store the can with the spout facing upward to allow any leftover water to drain out. Keeping the spout dry is key to maintaining your watering can in the best shape for your plants.
8. Using a Rusty or Corroded Watering Can
A rusty watering can is not only unsightly, but it can also negatively affect your plants. Rust can damage the metal, and if it gets into the water, it can harm your plants.
If you notice rust on your can, it’s time to either clean it or invest in a new one. Regularly check for any signs of corrosion, and if it’s too far gone, replace it to avoid any issues with plant health.
9. Storing Watering Cans in Wet Areas
Storing your watering can in a damp, wet area might feel like an easy option, but it’s a recipe for disaster. The moisture can cause mold and mildew to form, damaging both your watering can and potentially affecting your plants’ health.
Find a dry, well-ventilated spot for storage to keep your watering can and your plants happy and healthy.
10. Storing Watering Cans Without Proper Ventilation
A lack of ventilation can quickly turn your watering can into a breeding ground for bacteria and fungi.
When you store it in an area without airflow, moisture builds up inside, leading to unpleasant odors and growth. Make sure the area you store your watering can is well-ventilated to keep it dry and ready for use.
11. Storing Watering Cans in Cold, Freezing Conditions
During the winter months, storing your watering can in freezing conditions can cause the water inside to freeze and crack the container.
To avoid this, always store your watering can in a warmer, frost-free area. This will prevent the plastic from becoming brittle or the metal from cracking, helping your can last much longer.
12. Forgetting to Check for Leaks
A slow leak in your watering can might not seem like a big deal, but over time, it can cause a lot of frustration when you go to use it. Leaks can make watering a hassle and waste your precious water.
Check for leaks regularly, especially after each use, and patch them up to keep your watering can in working order.
13. Overloading the Watering Can
When you’re in a rush, it’s tempting to overfill your watering can, thinking it’ll save time later. However, this often leads to spills and a less efficient watering experience.
Make sure you’re filling the can to an appropriate level, not only to avoid spills but to ensure you have the right amount of water for your plants without overloading your can.
14. Not Considering the Material of the Watering Can
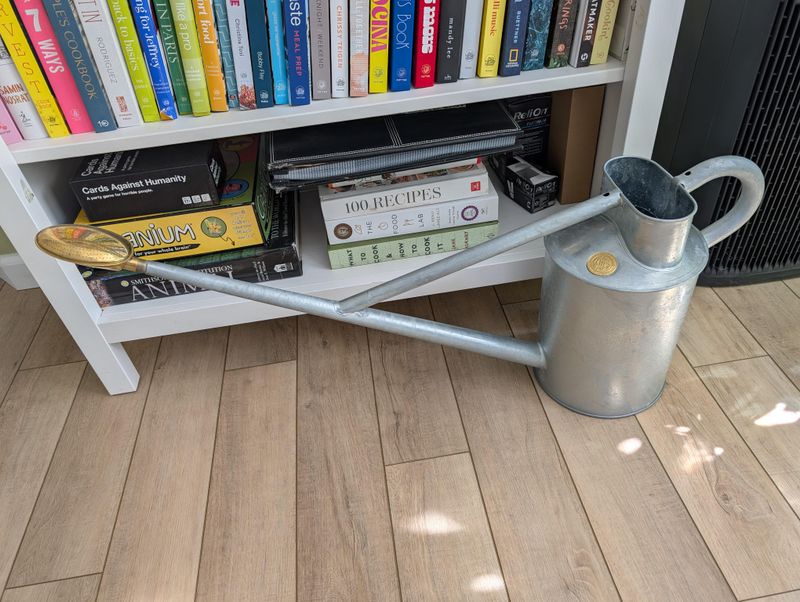
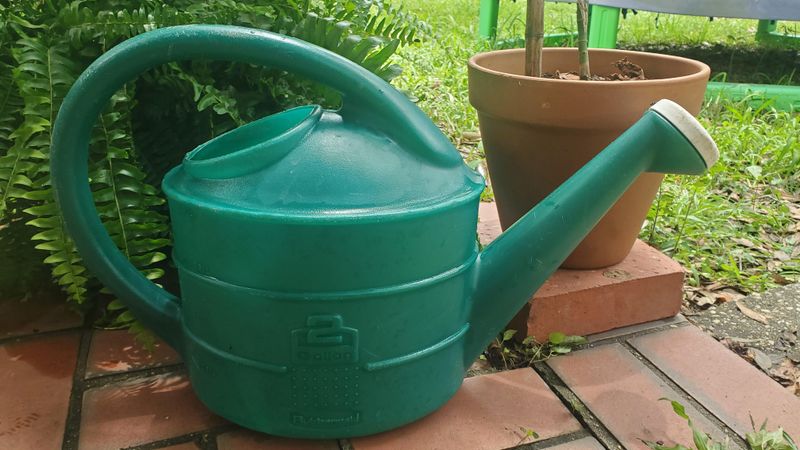
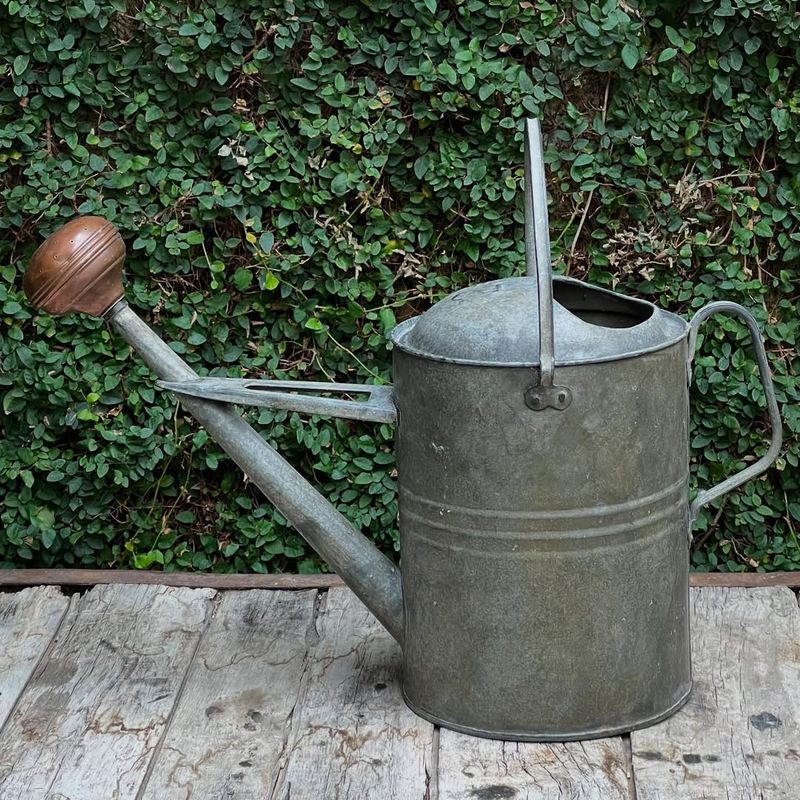
Not all watering cans are created equal, and the material they’re made from plays a huge role in how they should be stored. Plastic watering cans can degrade in sunlight, while metal cans can rust in humid conditions.
Choose the right storage based on the material of your can—metal cans should be stored in dry, cool places, while plastic ones should avoid direct sunlight.
15. Not Using a Watering Can With a Filter
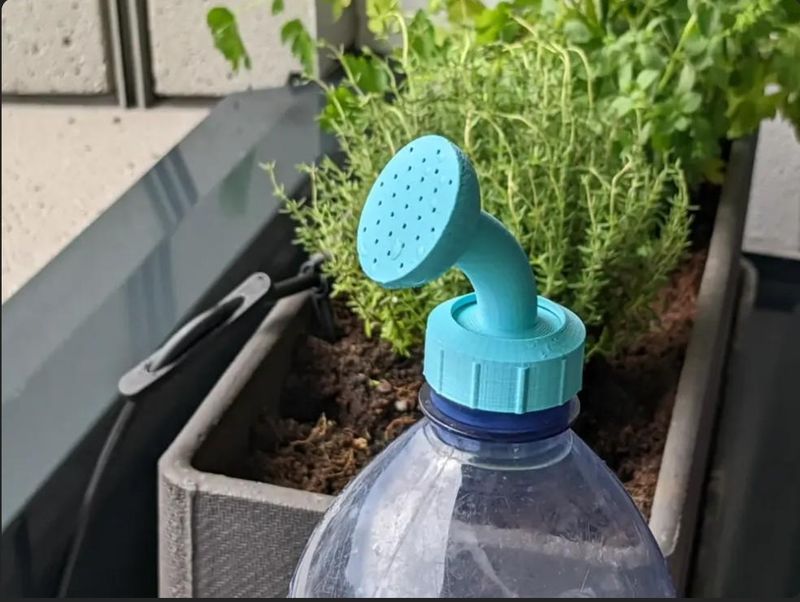
If you have hard water or if you notice sediment buildup in your can, you might want to consider using a watering can with a built-in filter.
Storing your watering can without a filter means those particles can clog your spout or affect your plants. A simple solution is to use a filtering watering can to keep everything running smoothly and your plants happy.
16. Storing Watering Cans Without Proper Cleaning Tools
It’s easy to forget about the cleaning tools that come with your watering can, but they’re an essential part of maintenance. Not having a brush or cleaner on hand means you’re less likely to clean it regularly.
Keep a small brush or rag next to your watering can for easy access, so you can clean it after each use and avoid build-up that could cause problems later on.
17. Not Storing Watering Cans With the Handle Facing Up
A lot of people store their watering cans with the handle facing down, which can create an awkward position and lead to unwanted wear and tear.
Store the handle facing up, as it not only protects the structure of the can but also makes it easier to grab and use when you need it. This simple change keeps things organized and prevents unnecessary damage.
18. Storing Watering Cans in a Messy Shed
A cluttered shed might seem like the perfect hiding spot for your watering can, but it’s not ideal for keeping it in good shape.
When surrounded by gardening tools and debris, your can might get scratched, dented, or even lost. Organize your shed or storage space to keep your watering can in a safe, designated spot that won’t cause any damage.
19. Ignoring Small Cracks and Dents
Small cracks or dents in your watering can might not seem like a big deal, but they can actually get worse over time.
A tiny crack can turn into a much larger problem, leading to leaks or breaks. Keep an eye out for any damage, and if you find any, fix it or replace the can to avoid frustrating leaks and spills when you least expect it.
20. Storing Watering Cans Without Cleaning the Spout
The spout of your watering can is just as important as the rest of the body, and it can easily get clogged with dirt or debris if you’re not careful. Make sure to clean the spout regularly, as a clogged spout can mess with the evenness of your watering.
A quick rinse and check will keep your watering can in top shape and ensure that your plants are getting just the right amount of water every time.
21. Storing Watering Cans in High-Traffic Areas
It’s tempting to leave your watering can where it’s easy to grab, but storing it in a high-traffic area can lead to accidents.
Bumping into it, dropping it, or knocking it over can cause cracks, leaks, or breaks. Store your watering can in a safe, out-of-the-way spot to prevent any unfortunate mishaps.
22. Storing Watering Cans Without Proper Drying
Leaving your watering can wet is a quick way to cause rust or mold build-up. After using it, make sure you dry your can thoroughly before storing it.
It doesn’t take much time to give it a quick wipe-down, but it makes all the difference in extending the life of your watering can and keeping your plants healthy.
23. Not Using the Right Size Watering Can
Sometimes, using the wrong size watering can for your garden can cause issues, especially when it comes to storage.
A too-large can is cumbersome and hard to store, while a too-small one might not hold enough water. Choose the right size for your garden needs, and make sure to store it in a way that doesn’t cause damage or inconvenience.
24. Storing Watering Cans With the Nozzle Facing Down
When you store your watering can, keep the nozzle facing up or to the side to avoid the buildup of water in the nozzle.
Storing it with the nozzle down can cause water to collect, leading to mold or clogs. Store it in a way that prevents water from accumulating where it shouldn’t.
25. Storing Watering Cans in an Unstable Location
The last thing you want is for your watering can to tip over and spill, especially if you’ve stored it in an unstable location.
Make sure to place your watering can in a stable spot, so it’s less likely to fall and cause damage. A flat, sturdy shelf or hook is perfect for keeping things secure.
26. Storing Watering Cans With Dirt Still in Them
After using your watering can, it’s easy to forget about any dirt or soil that might have gotten inside. If left to sit, this dirt can turn into mud or sludge, causing buildup.
Give your watering can a quick rinse and make sure it’s free of any soil before storing it away.
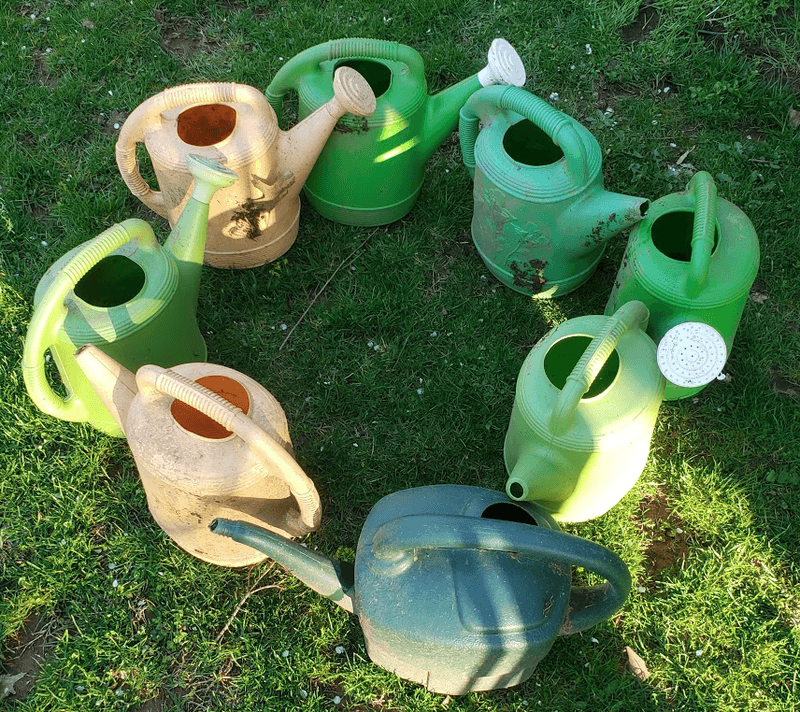
27. Using Too Many Different Watering Cans
If you’re using several watering cans at once, it can be tough to keep track of where each one goes, leading to unnecessary clutter.
Stick to a couple of well-maintained watering cans, and keep them stored in a convenient yet organized space. This way, you’ll always have one ready to go when you need it.
28. Forgetting to Replace Old Watering Cans
Old watering cans can become less effective over time. Whether it’s a rusted spout or a cracked body, these issues can make watering a hassle.
Don’t be afraid to replace a worn-out can when it’s no longer doing the job. A fresh, functional watering can makes your gardening tasks easier and more efficient.

