24 Simple Tips To Remove A Palm Tree Stump Like A Pro
Taking out a palm tree stump might feel like battling a stubborn houseguest who just won’t leave—but don’t worry, you’ve got this! Whether you’re looking for a fast, no-nonsense approach or prefer to let nature do the heavy lifting, I’ve got some tips to make the process easier.
From wielding a chainsaw like a pro (safely, of course!) to using natural methods that require a little patience, we’ll cover all the best ways to bid farewell to that pesky stump.
So, roll up your sleeves, grab your tools (or a comfy chair if you’re going the slow route), and let’s handle this together!
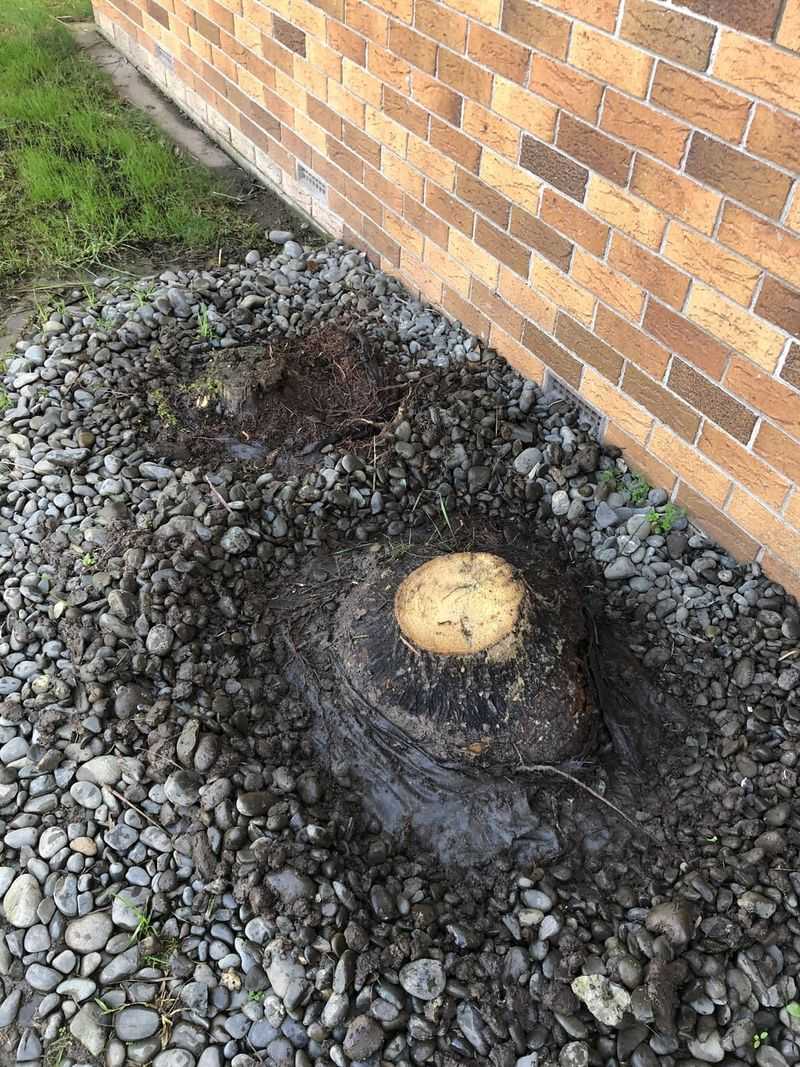
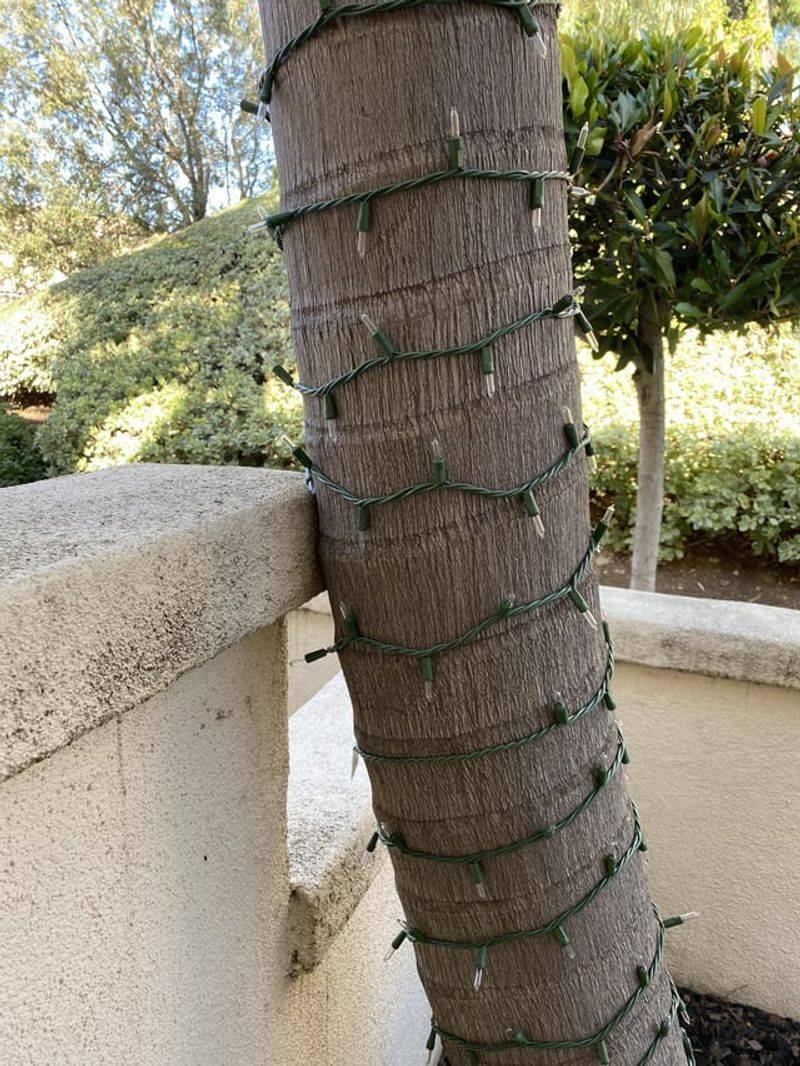
1. Assess The Stump Size And Root Depth
When it comes to removing a palm tree stump, the first step is to understand what you’re dealing with. Have you ever looked at a stump and wondered, “How deep do those roots go?”
I have, and trust me, it’s crucial to assess the size and root depth before diving in. By doing this, you can gauge the effort and tools required.
With a measuring tape in hand, get down to business and inspect the stump. Knowing the dimensions helps you plan your attack, ensuring that you’re not biting off more than you can chew. It’s like prepping for a battle!
2. Gather The Right Tools For The Job
Before you roll up your sleeves, it’s essential to gather the right tools. Ever tried tackling a project and realized midway you forgot something crucial? Been there! Having the right equipment makes all the difference, trust me.
Ensure you have a sturdy shovel, a reliable axe, and possibly a chainsaw for those tougher stumps. A pair of durable gloves is also a must. Think of this as assembling your toolkit for a smooth operation.
With these in hand, you’re all set to tackle the stump with confidence and ease. No more mid-task surprises!
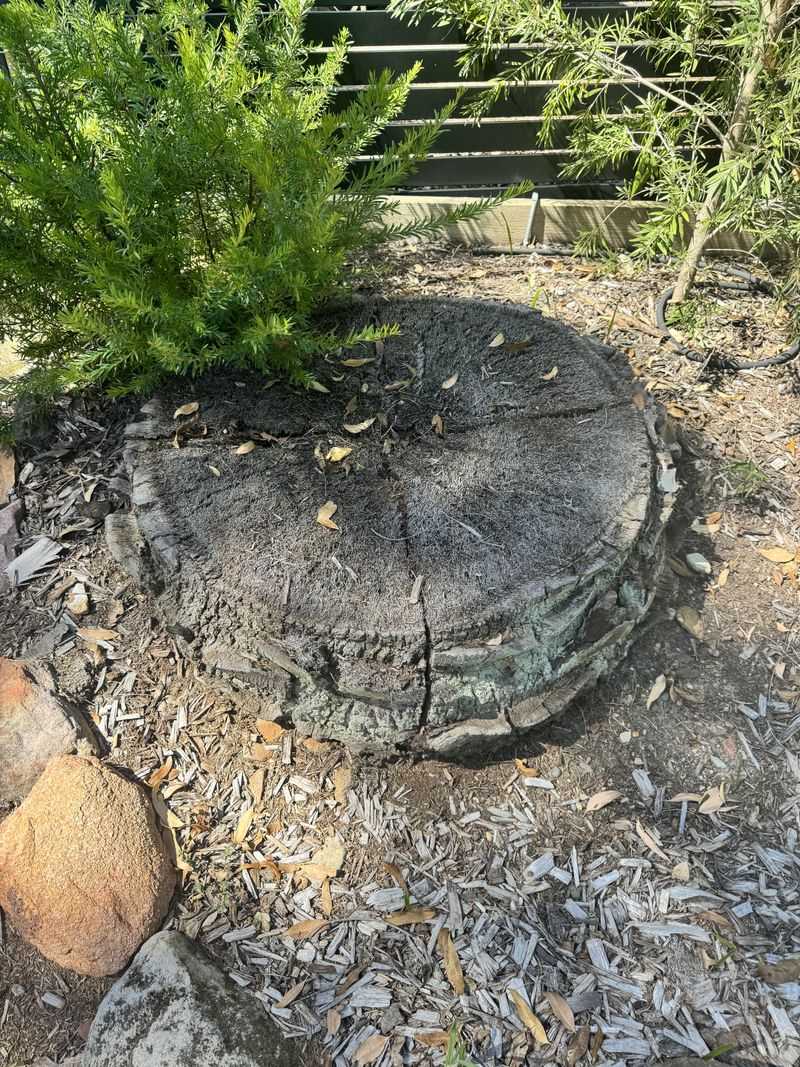
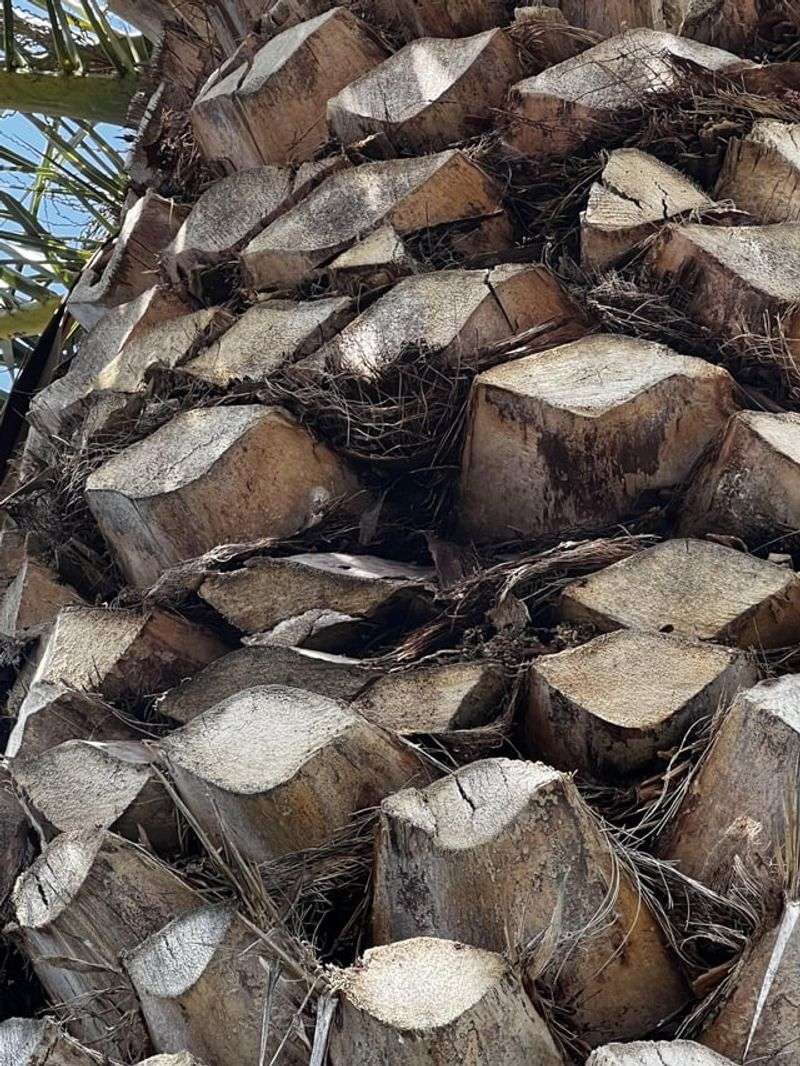
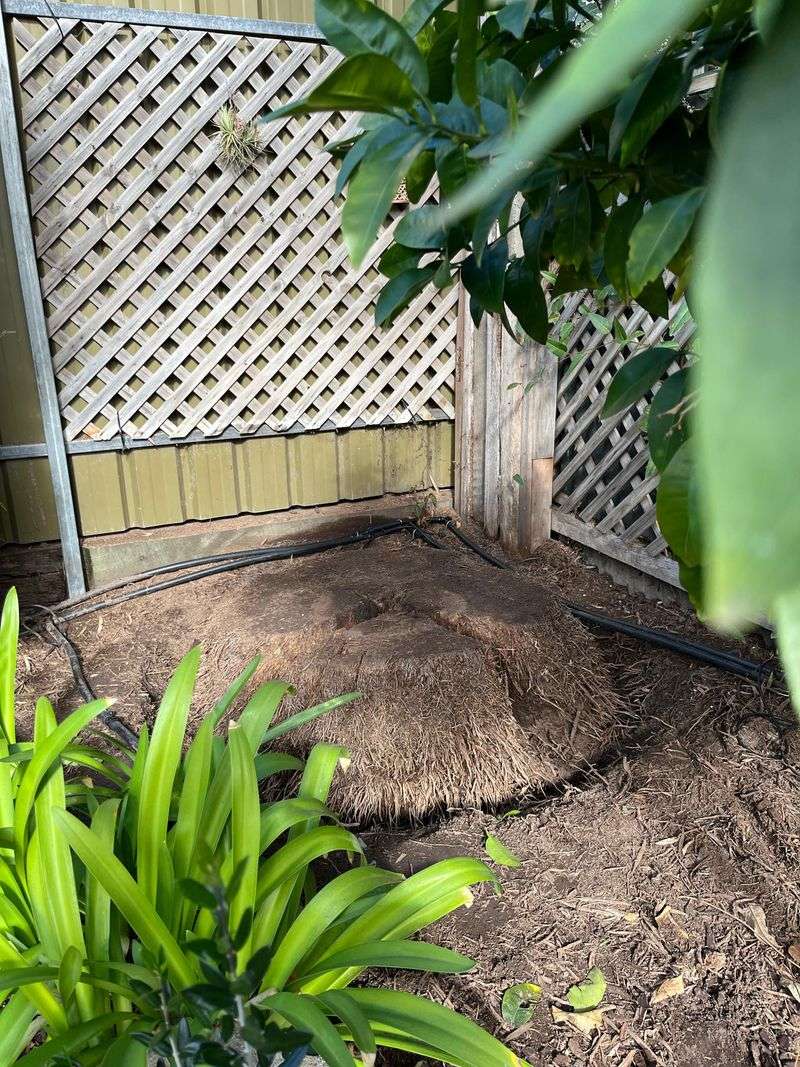
3. Cut The Stump As Low To The Ground As Possible
After gearing up, the next step involves cutting the stump as low as you can. It might seem obvious, but getting close to the ground is key. The lower the stump, the less work you’ll have ahead.
Use a sturdy saw or chainsaw to make precise cuts. Safety first, so don those goggles and gloves! It’s a bit of a workout but think of it as a way to channel your inner lumberjack.
Once you’re done, you’ll have set the stage for the next steps of stump removal. It’s all about laying a solid foundation!
4. Use A Chainsaw For Large Stumps
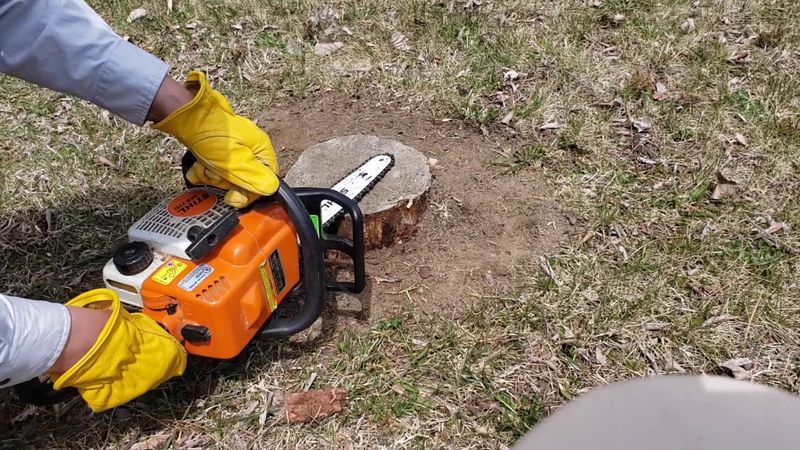
When faced with a particularly large stump, you might wonder if a chainsaw is your best ally. Short answer: yes! This powerful tool is perfect for cutting through thick wood without breaking a sweat.
The roar of the chainsaw can be intimidating, but it’s incredibly efficient. Have you ever marveled at how quickly it slices through wood? Watching it in action is almost mesmerizing.
Just ensure you’re using it safely and with proper protection. With a chainsaw, those large stumps won’t stand a chance. Who knew stump removal could feel so empowering?
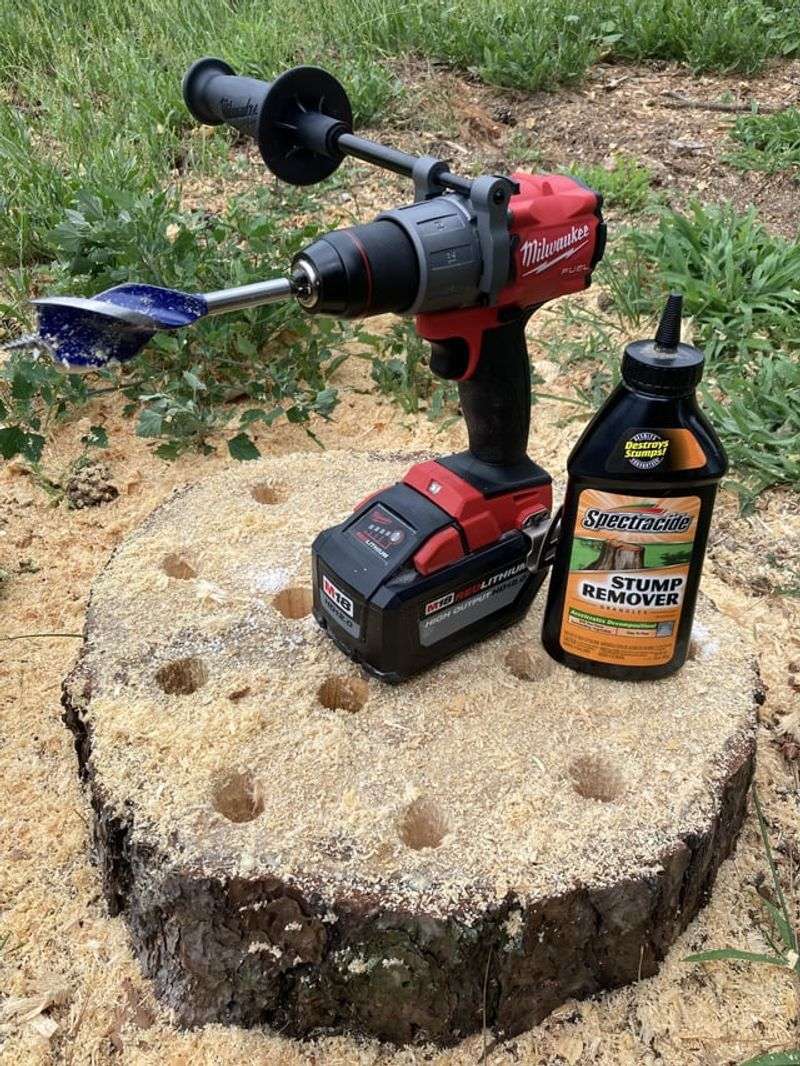
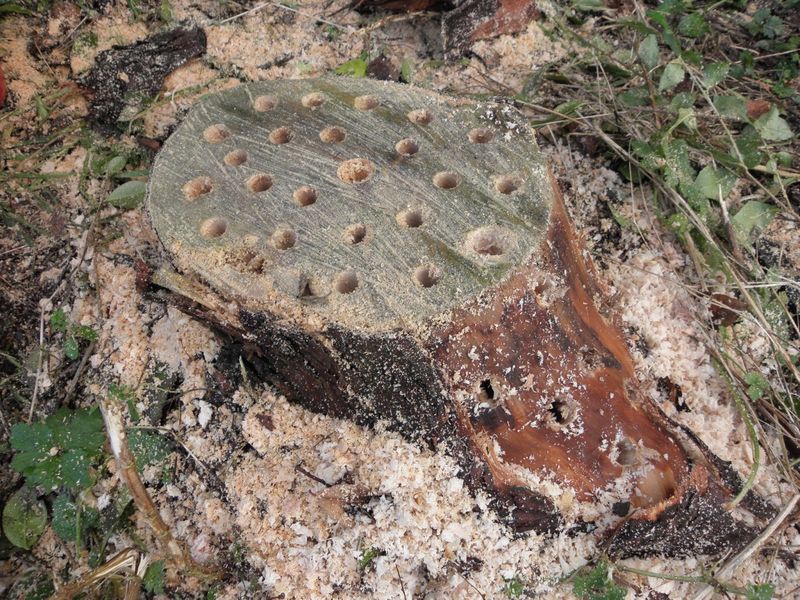
5. Drill Holes Into The Stump To Speed Up Decomposition
An effective way to hasten decomposition is by drilling holes into the stump. It might sound tedious, but it’s worth the effort. Grab your trusty drill and bore several holes deep into the wood.
These holes allow moisture and organisms to break down the stump more quickly. It’s like giving Mother Nature a helping hand! Be sure to space them evenly for maximum effect.
This method is particularly useful if you’re not in a rush and prefer a natural breakdown. Patience is a virtue, and this approach takes advantage of it.
6. Apply A Stump Removal Chemical For Faster Breakdown
For those who prefer a quicker solution, applying a stump removal chemical can do wonders. Remember to wear gloves as you carefully follow the instructions on the label.
These chemicals accelerate the decomposition process, making it easier to remove the stump later on. It’s like a science experiment in your backyard! Just be mindful of the environment and choose a product that’s eco-friendly.
This method is perfect if you’re keen on speeding things up without the heavy lifting. Who doesn’t love a little shortcut now and then?
7. Cover The Stump With A Tarp To Retain Moisture
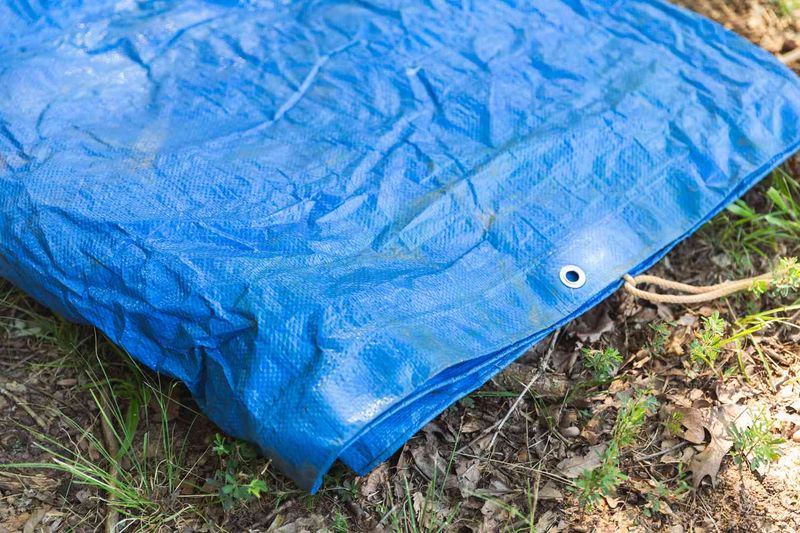
Covering the stump with a tarp might seem simple, but it’s a game-changer. I once left a stump exposed for months, and it took forever to break down. Lesson learned!
By covering it with a tarp, you trap moisture, which aids in decomposition. Secure it in place with some heavy stones or bricks. It’s like creating a mini greenhouse for your stump.
The added humidity helps soften the wood over time. Trust me, once you try this method, you’ll wonder why you didn’t do it sooner. Nature needs a little nudge sometimes!
8. Keep The Area Moist To Encourage Rotting

Keeping the area moist is a subtle yet effective trick. Watering the stump and surrounding soil regularly encourages rot. It’s almost like you’re nurturing the earth back to life!
A garden hose or watering can will do the job. Picture it as giving the stump a refreshing drink. Consistent moisture speeds up the natural decay process, making your life easier in the long run.
This method is great for those who prefer a hands-off approach. Just a little water here and there can make all the difference.
9. Use Epsom Salt To Soften The Wood Over Time
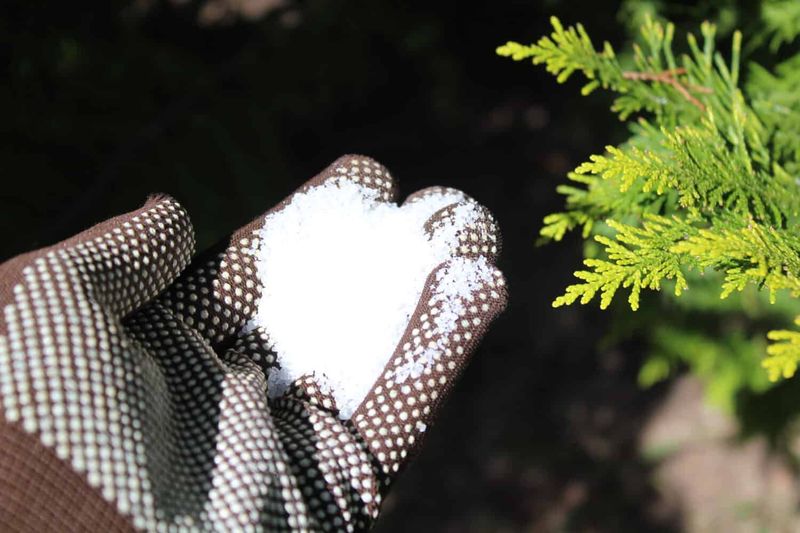
Epsom salt is not just for relaxing baths! When it comes to stump removal, it’s surprisingly effective. Sprinkle a generous amount into the holes you’ve drilled.
Over time, the salt helps to break down the wood fibers, making the stump softer and easier to remove. It’s a bit of a waiting game, but patience pays off.
Who knew a common household item could be so handy in the garden? It’s a natural and non-toxic method that fits perfectly into a DIY enthusiast’s toolkit. Give it a try!
10. Try A Natural Vinegar Solution To Weaken The Stump
Have you ever considered using vinegar beyond the kitchen? A natural vinegar solution can help weaken a stump over time. Mix vinegar with water and spray it generously over the stump.
This concoction slowly breaks down the wood, making it more manageable. It’s like watching chemistry in action, but right in your backyard! Just remember to apply it regularly for the best results.
This method is ideal for those who prefer eco-friendly solutions. Who knew your pantry held the secret to stump removal?
11. Burn The Stump If Permitted In Your Area
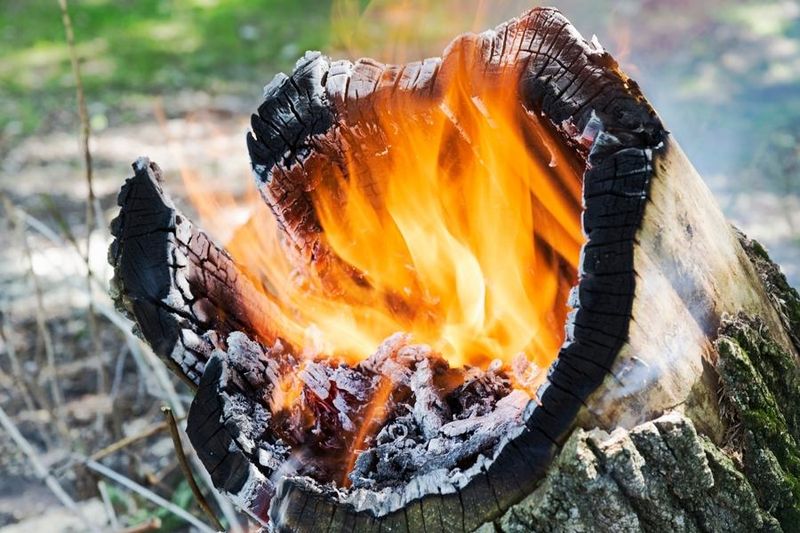
If local regulations permit, burning the stump is a dramatic yet effective method. It’s like turning the stump into a bonfire—minus the marshmallows!
Ensure you have proper safety measures in place, including fire barriers and an extinguisher on hand. It’s a quick way to reduce the stump to ashes but always prioritize safety.
This technique is not for everyone, but it’s a thrilling way to say goodbye to that stubborn stump. Check local laws before proceeding, as not all areas allow this method.
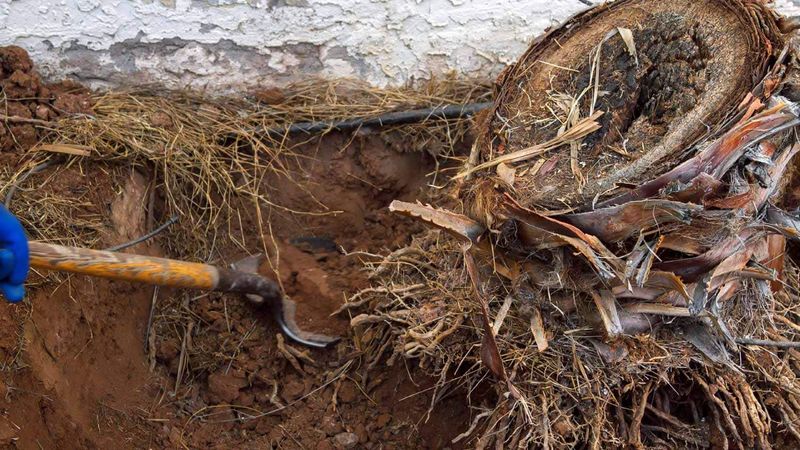
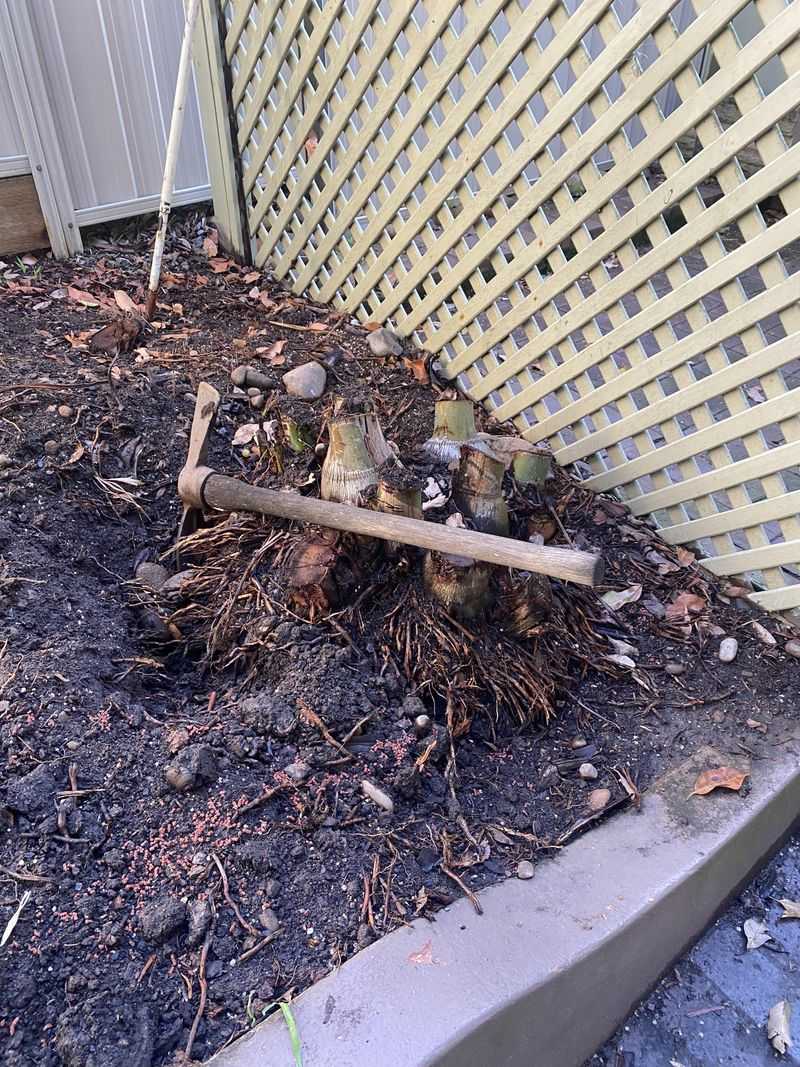
12. Dig Around The Stump To Expose The Main Roots
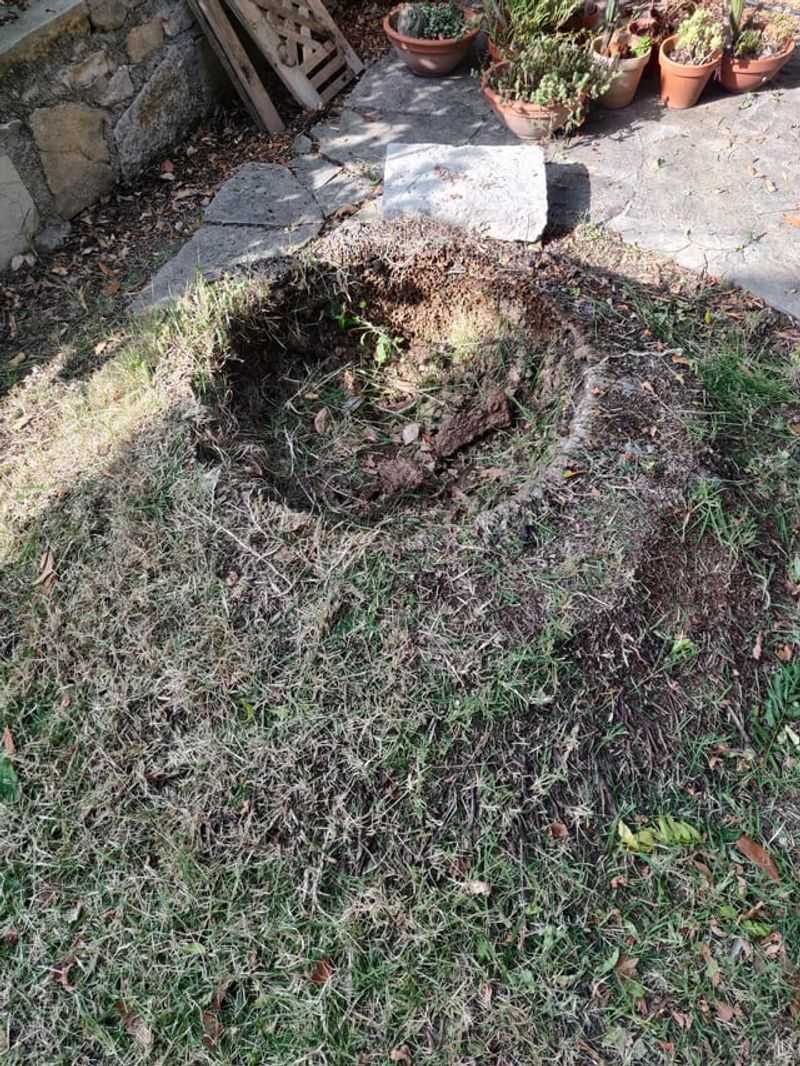
Digging might seem old-fashioned, but it’s incredibly effective. By exposing the main roots, you prepare for the next step in removal. It’s a bit like archaeology, uncovering the secrets beneath the soil.
Grab a sturdy shovel and start digging around the stump. The more roots you expose, the easier the process becomes. It’s a workout for sure, but there’s something satisfying about seeing the roots laid bare.
Once exposed, cutting through them becomes a breeze. Who knew digging could be so rewarding?
13. Cut Through Thick Roots With A Saw Or Axe
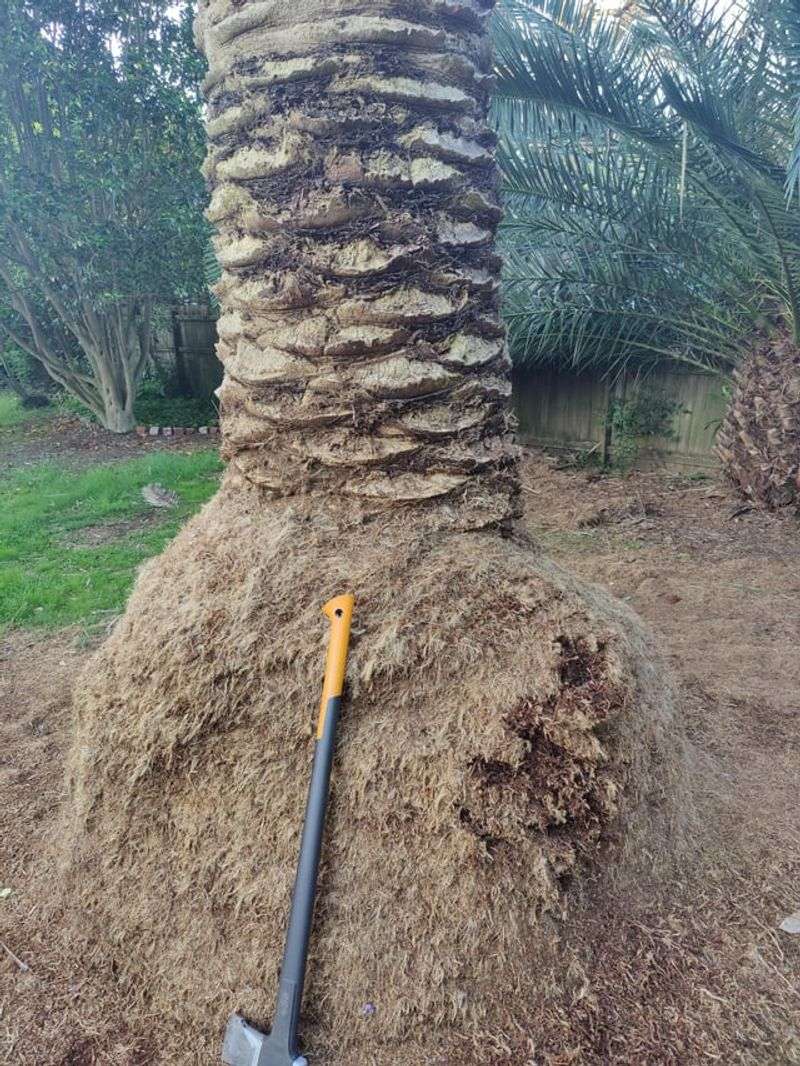
Once the roots are exposed, it’s time to bring out the saw or axe. I once underestimated this step, thinking a small saw would suffice. Big mistake!
A sturdy axe or saw is essential for cutting through those robust roots. It’s a bit of a workout, but it’s also a satisfying challenge. You’ll feel like a real back-to-basics gardener as you chop through the wood.
Just remember to wear protective gear and take your time. With each cut, you’ll be one step closer to stump freedom!
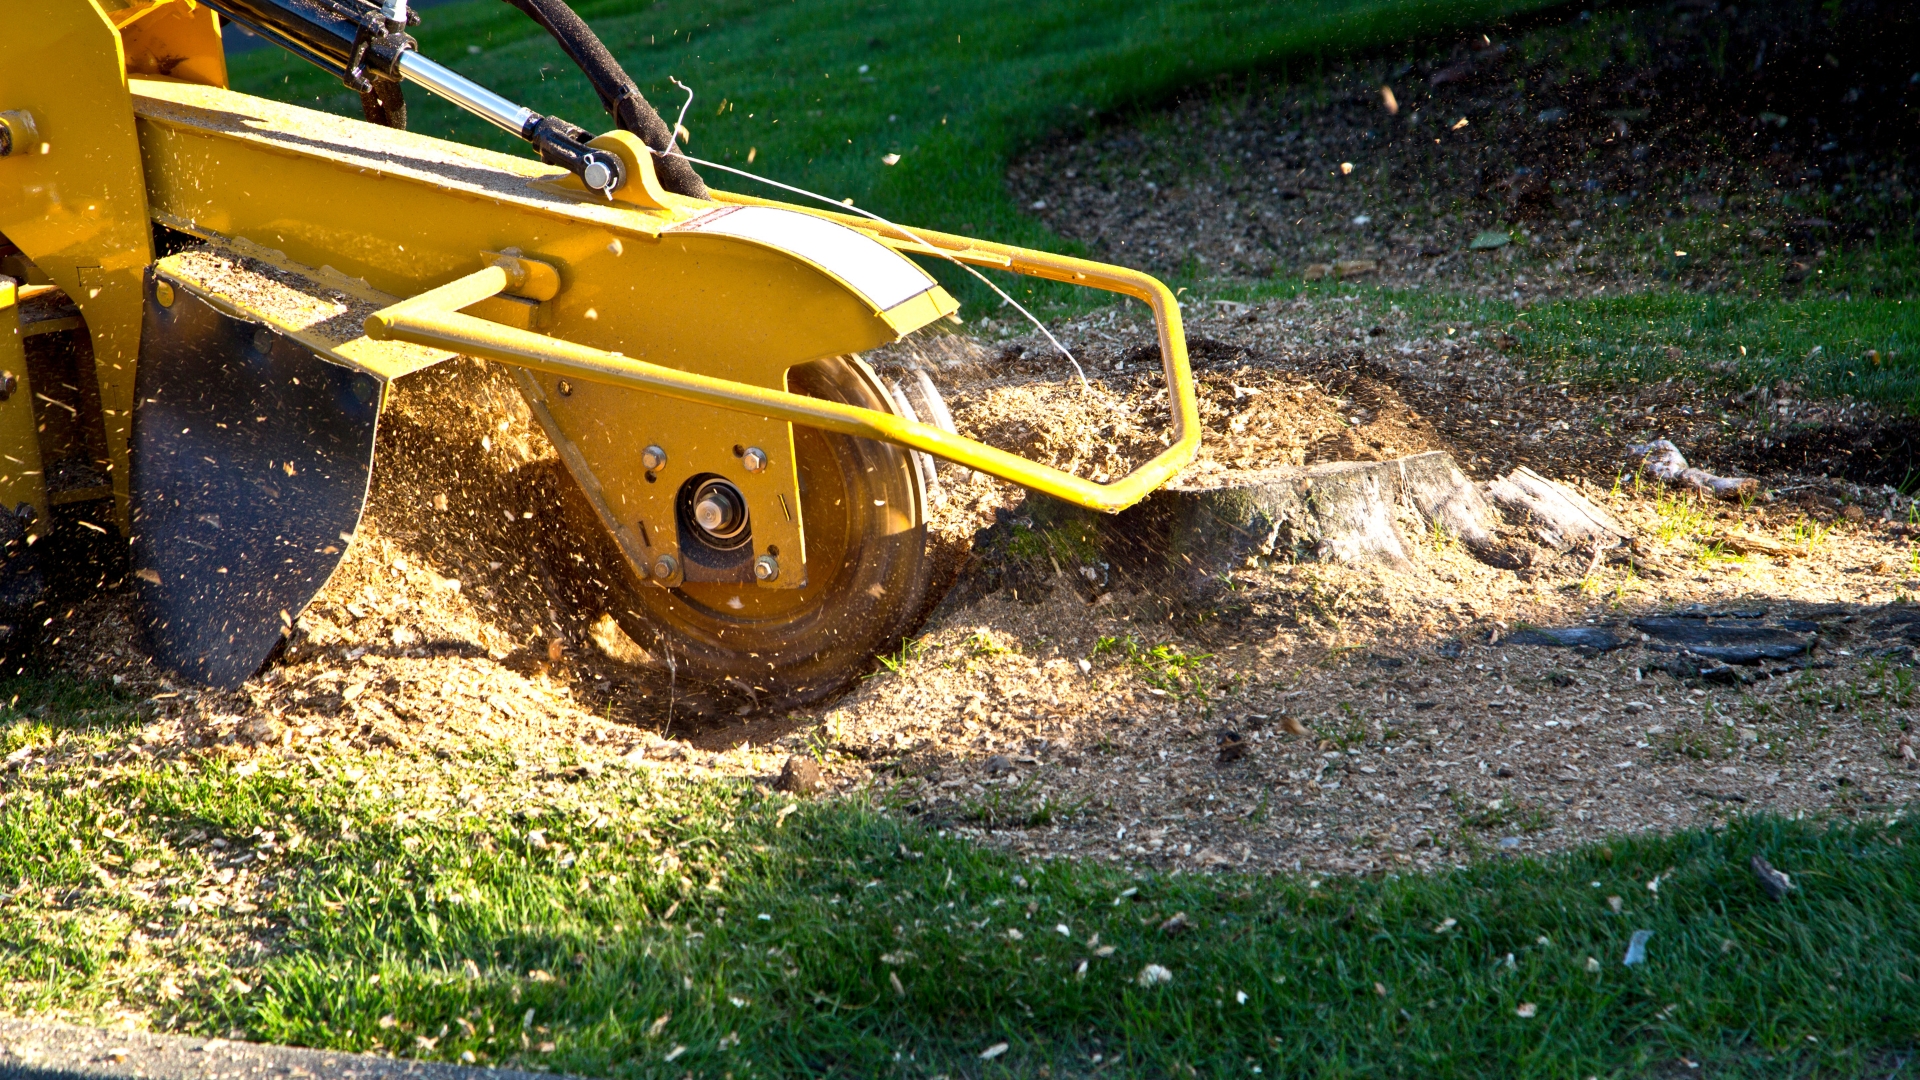
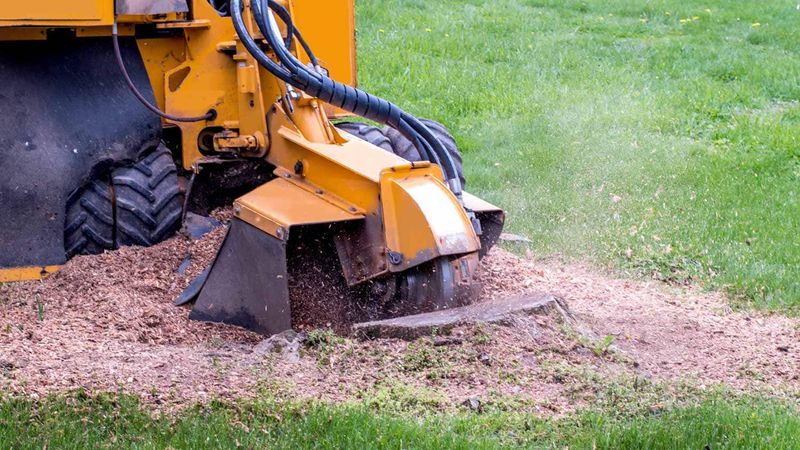
14. Use A Stump Grinder For Quick Removal
For those seeking a fast solution, a stump grinder is your best bet. This powerful machine makes quick work of any stump, chewing through wood with ease.
Operating a stump grinder is like wielding a mighty tool. Safety is paramount, so gear up with goggles and ear protection. It’s a bit loud but watching it in action is impressive.
The grinder reduces the stump to wood chips in no time. It’s the go-to method for those who want results without the wait.
15. Leverage A Pry Bar To Loosen The Stump
After cutting the roots, a pry bar becomes your best friend. It’s like a lever, giving you the upper hand in the battle against the stump.
Position the bar under the stump and apply steady pressure. You’ll feel the stump start to give way, a sure sign of progress. It’s a satisfying feeling, knowing you’re outsmarting nature with simple physics.
A little elbow grease goes a long way, and soon the stump will be ready for the final removal. Persistence pays off!
16. Pull Out The Stump With A Winch Or Vehicle
Ever thought about using a winch or vehicle to pull out a stump? It’s a bit unconventional but highly effective. Picture this: a chain, a vehicle, and a stubborn stump.
Attach the chain securely around the stump, then let the vehicle do the heavy lifting. It’s like playing tug-of-war, but with machinery! Ensure everything is properly secured and proceed with caution.
This method is perfect for those larger stumps that refuse to budge. Who knew stump removal could be this much fun?
17. Rent Heavy Equipment For Large Stumps
For really large stumps, heavy machinery might be the answer. Renting an excavator or bulldozer can make the process much easier. It’s like calling in the big guns!
Operating such equipment requires caution and precision. Always follow safety guidelines and consider hiring a professional if needed. Watching the machine at work is a sight to behold, effortlessly lifting what seemed immovable.
This method is for those who want to tackle the largest stumps with confidence. Sometimes, size does matter!
18. Chop The Stump Into Smaller Sections For Easier Removal
When in doubt, break it down! Chopping a stump into smaller sections can make it more manageable. It’s like solving a puzzle, one piece at a time.
Use a saw to divide the stump, making each section easier to handle. It’s a methodical approach that requires patience and a steady hand. Each cut brings you closer to a stump-free yard.
This technique is perfect for those who prefer hands-on work and want to take their time. Piece by piece, victory is yours!
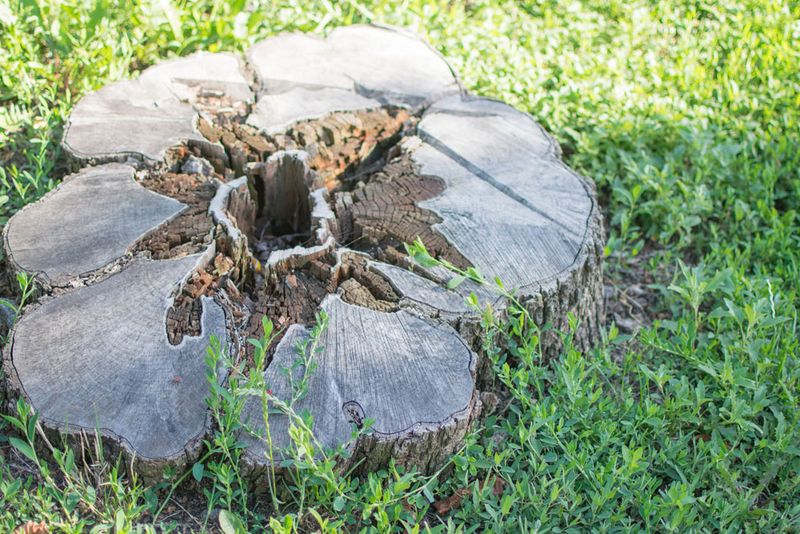
19. Let Nature Take Its Course For Slow Decomposition
Sometimes, patience is the best tool. Letting nature take its course allows the stump to decompose slowly over time. I once left a stump untouched, and over the years, it transformed into a part of the landscape.
This method requires no effort, just time. The elements break down the wood, turning it into rich soil eventually. It’s a lesson in patience and letting go, allowing nature to reclaim what’s hers.
Ideal for those who aren’t in a rush and enjoy watching the gradual changes. Nature knows best!
20. Plant Mushrooms To Help Break Down The Stump Naturally
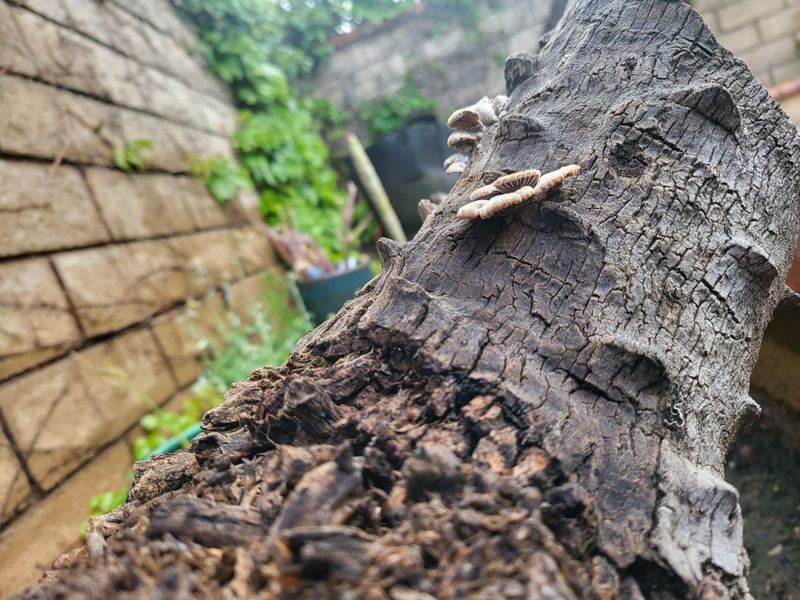
Did you know mushrooms can help decompose a stump? These fungi are nature’s decomposers, working quietly behind the scenes.
Plant mushroom spores around the stump and watch them work their magic. Over time, they break down the wood, aiding in natural decomposition. It’s a fascinating process to observe, bringing a bit of woodland wonder to your garden.
This method is perfect for those who love natural solutions and don’t mind a bit of whimsy. Embrace the fungi and let them do the hard work!
21. Fill The Hole With Soil And Organic Matter Once Removed

Once the stump is gone, it’s time to fill the void. Grab some soil and organic matter to replenish the area. Think of it as giving back to the earth.
Filling the hole not only restores the landscape but also enriches the soil with nutrients. It’s a rewarding step, knowing you’re nourishing the ground.
This process prepares the area for new growth, turning a once problematic spot into a fertile patch. It’s the perfect way to close the chapter on stump removal.
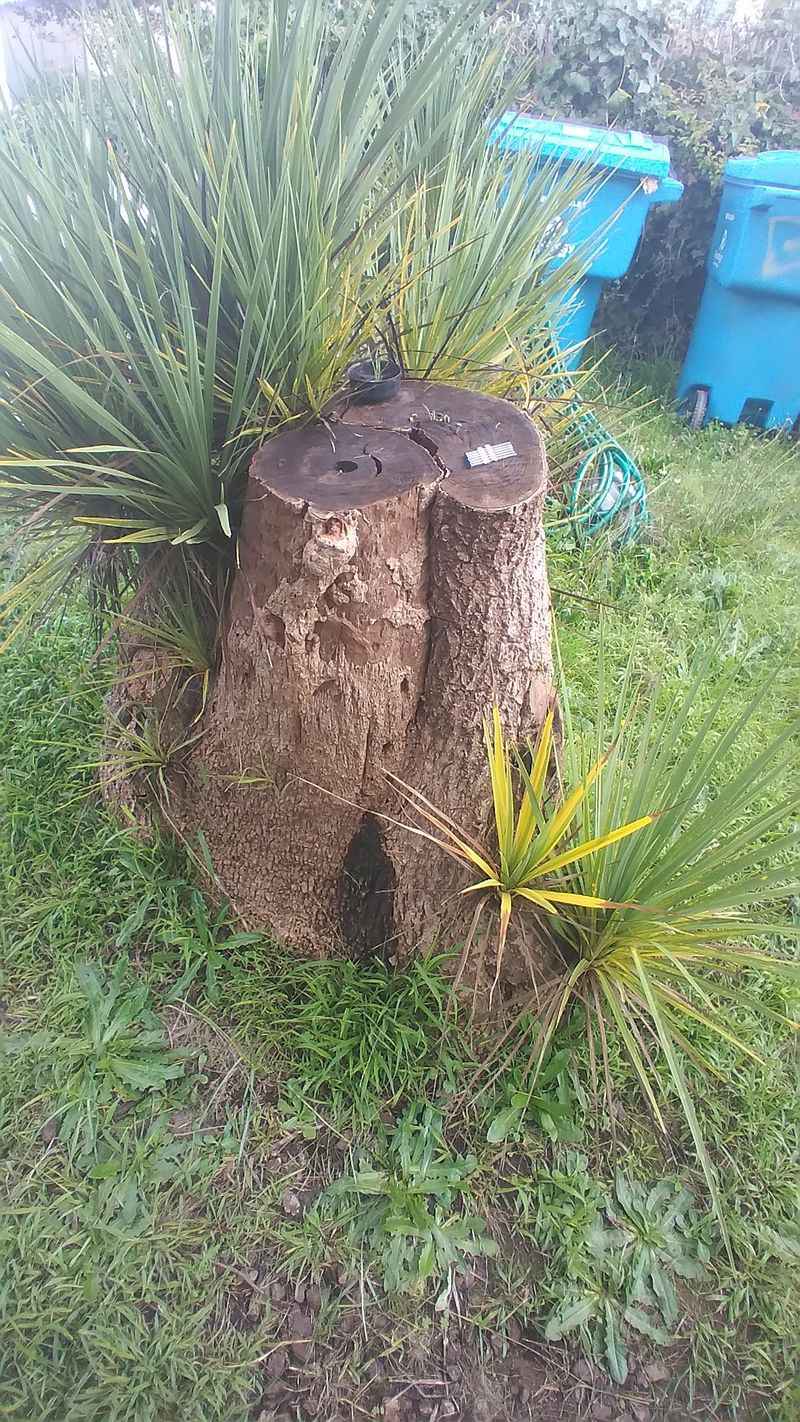
22. Use The Stump As A Garden Feature If Removal Isn’t Necessary
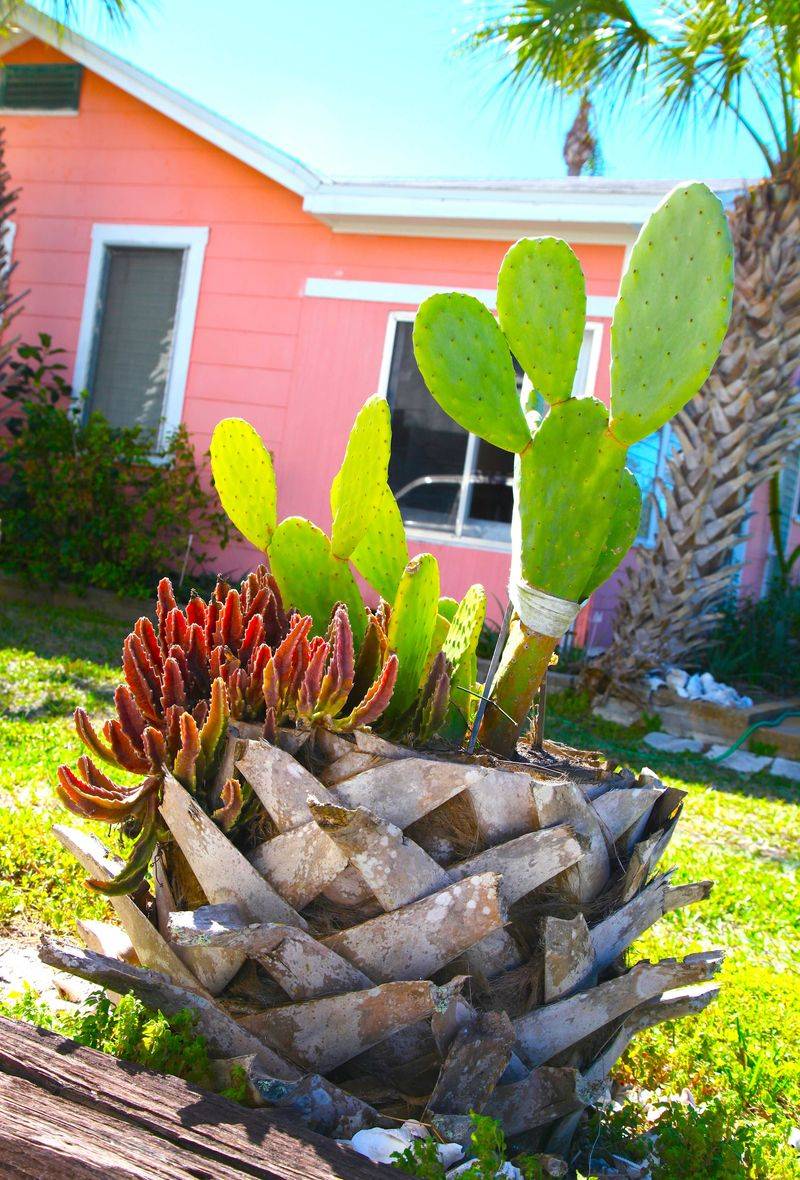
Who says a stump has to go? If removal isn’t necessary, why not turn it into a garden feature? Have you ever thought a stump could double as art?
Place potted plants or sculptural elements on it, transforming it into an eye-catching display. It’s an eco-friendly option that repurposes the stump creatively. This approach is for those who love to think outside the box and appreciate a touch of nature’s charm.
Let your imagination run wild with this unique garden addition!
23. Replant The Area With Grass Or New Landscaping
After the stump is removed and the hole filled, it’s time to replant. Choose grass, flowers, or shrubs to breathe life back into the area.
Planting new landscaping revitalizes the space, turning it into a great part of your garden. It’s a fresh start, transforming an empty patch into a beautiful oasis.
This step is all about renewal and growth, reflecting the cycle of nature. Whether you prefer a neat lawn or a wildflower garden, the possibilities are endless.
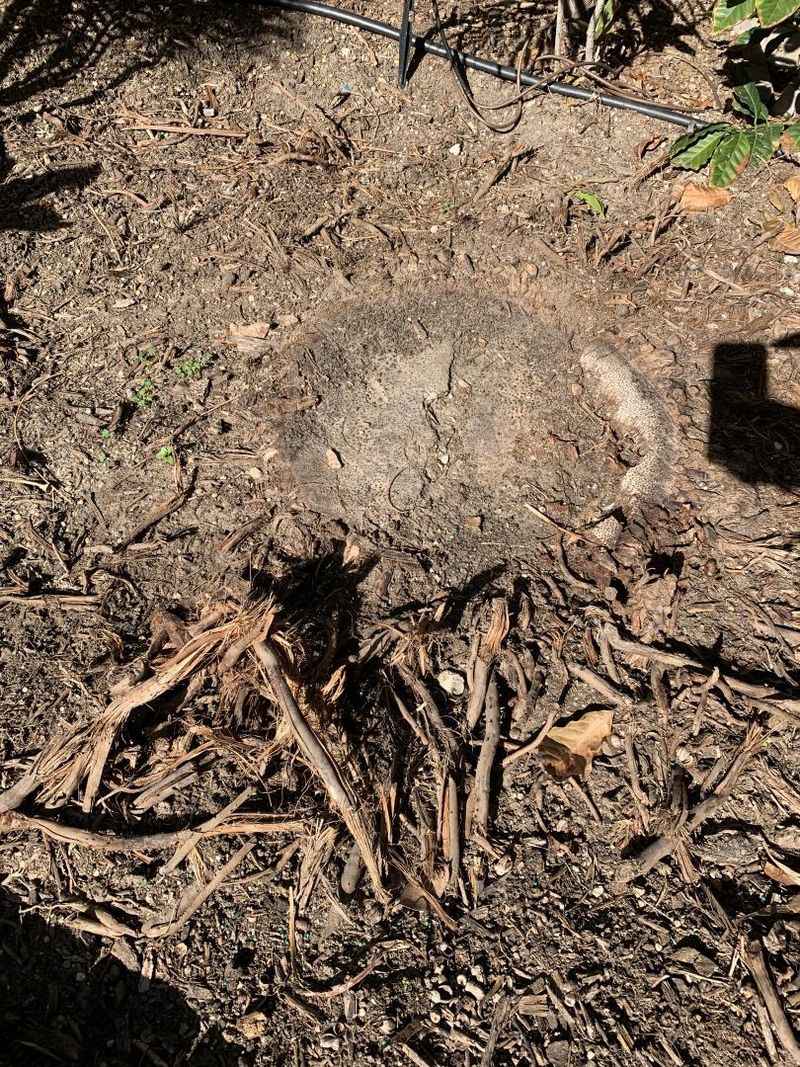
24. Dispose Of The Stump Properly Or Use It As Mulch
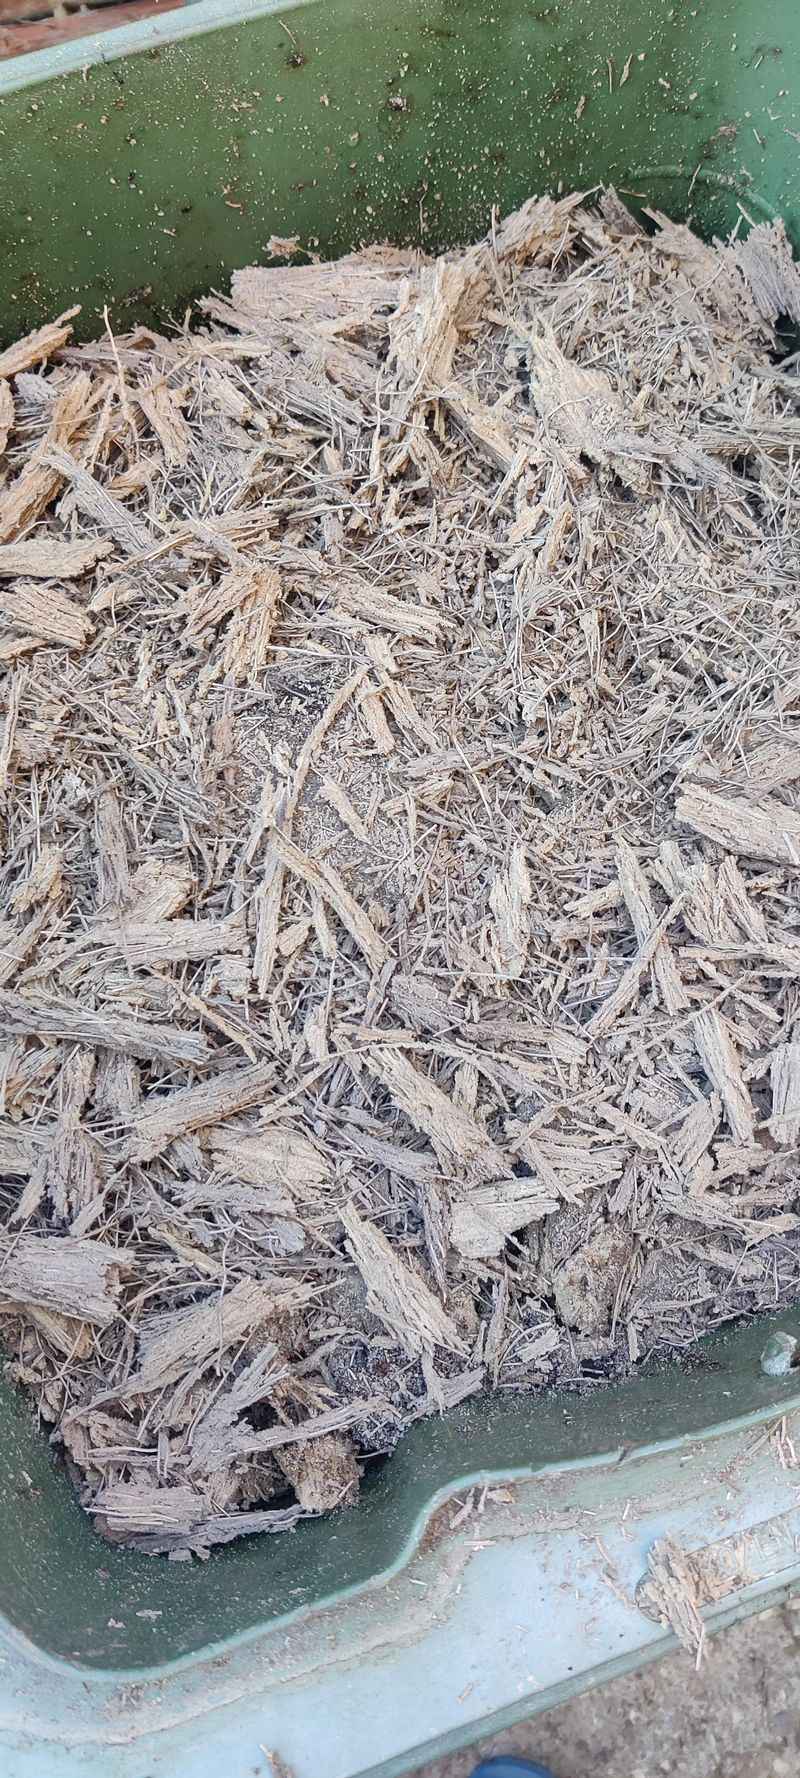
Once the stump is out, proper disposal is key. Consider turning it into mulch for an eco-friendly solution.
Using a wood chipper, break the stump into pieces that can nourish your garden. It’s a great way to recycle and enhance the soil with organic matter. This method gives a new purpose to the once troublesome stump, closing the loop on garden waste.
It’s a practical and sustainable choice for those who care about the environment. Why not give it a second life in your garden?