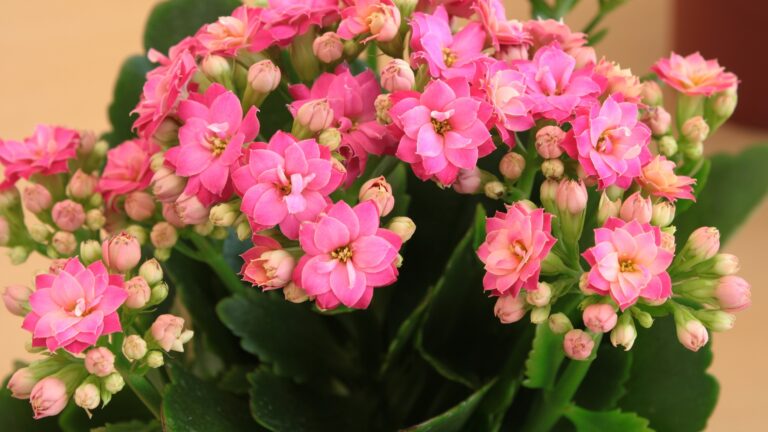
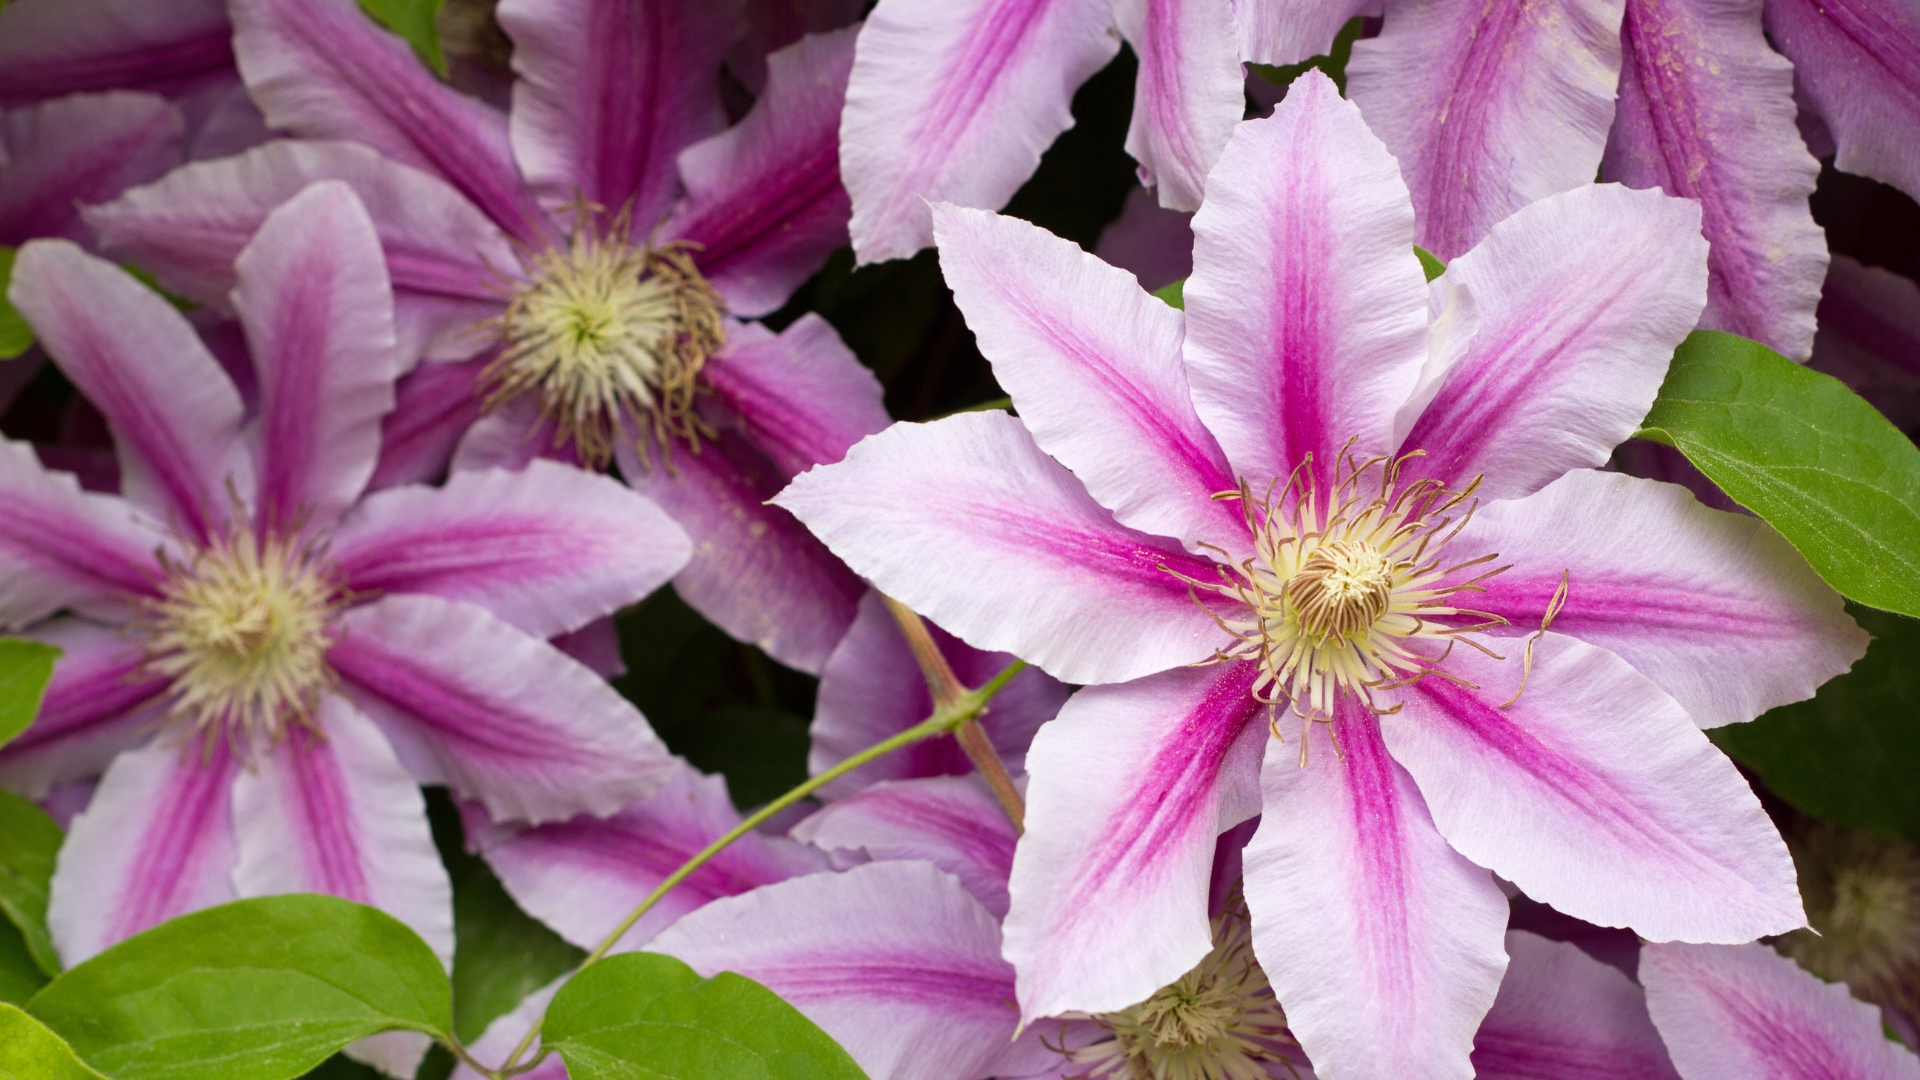
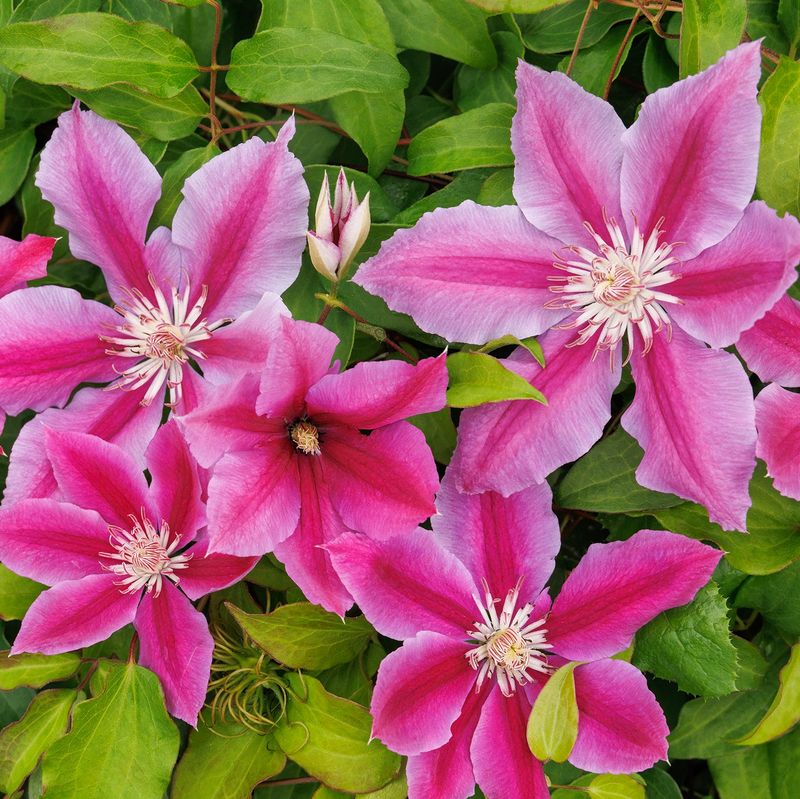
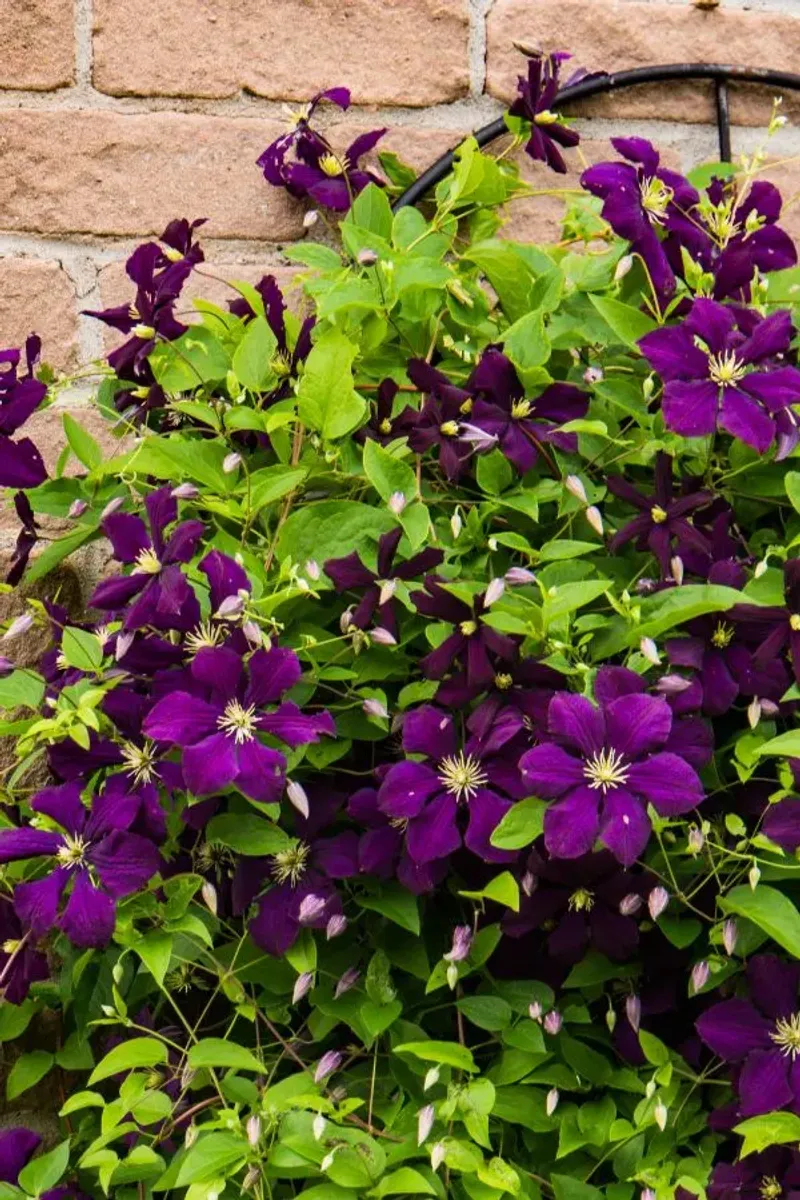
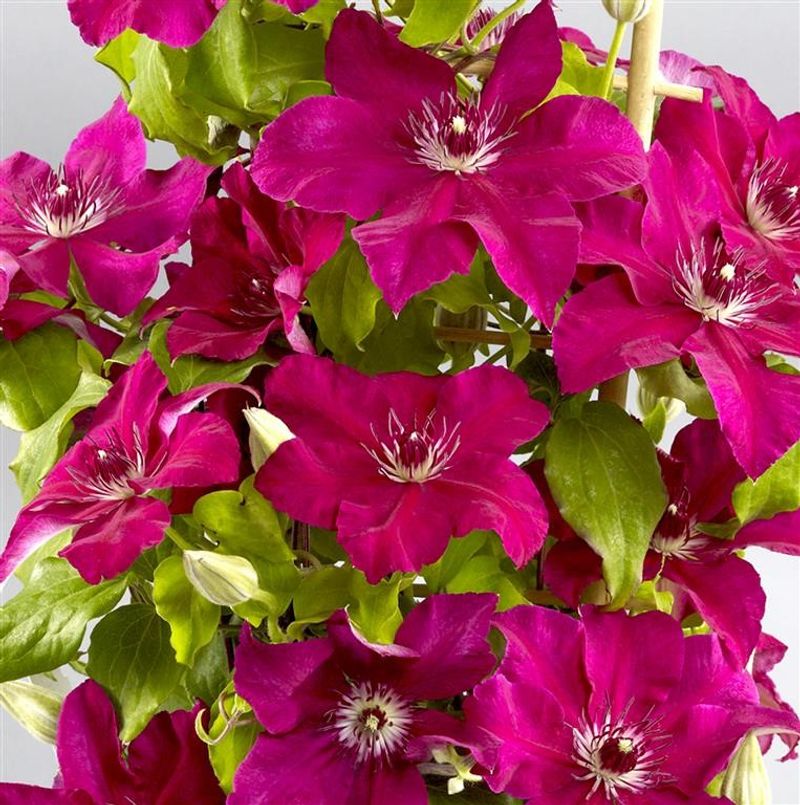
23 Simple Steps To Propagate Clematis Plants (Softwood Cuttings Included)
Propagating clematis might sound a little intimidating at first—I totally get it. I used to think it was something only super-experienced gardeners could pull off.
But the truth is, with a bit of patience (and maybe a few laughs along the way), it’s totally doable. In fact, I’ve broken it down into simple steps that’ll walk you through the whole process without the overwhelm.
Whether you’re just getting into gardening, or you’ve already got dirt under your nails, these tips will help you grow strong, healthy clematis cuttings in no time. So, grab your clippers, and let’s get growing!
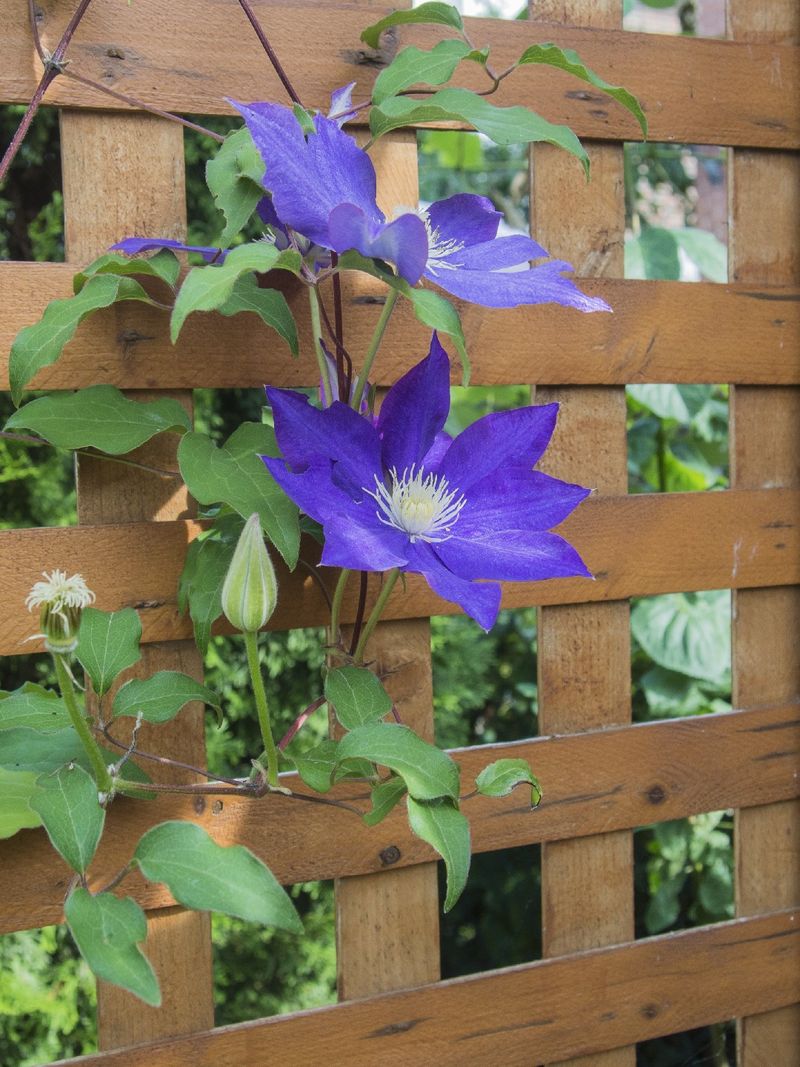
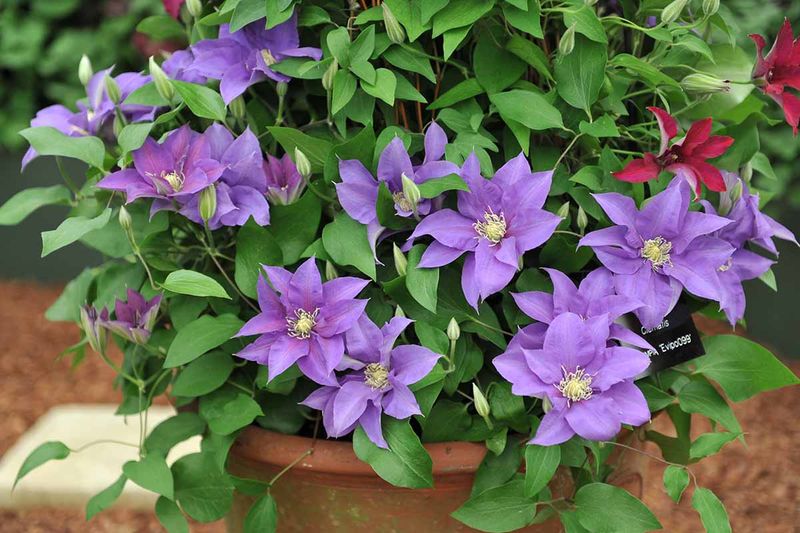
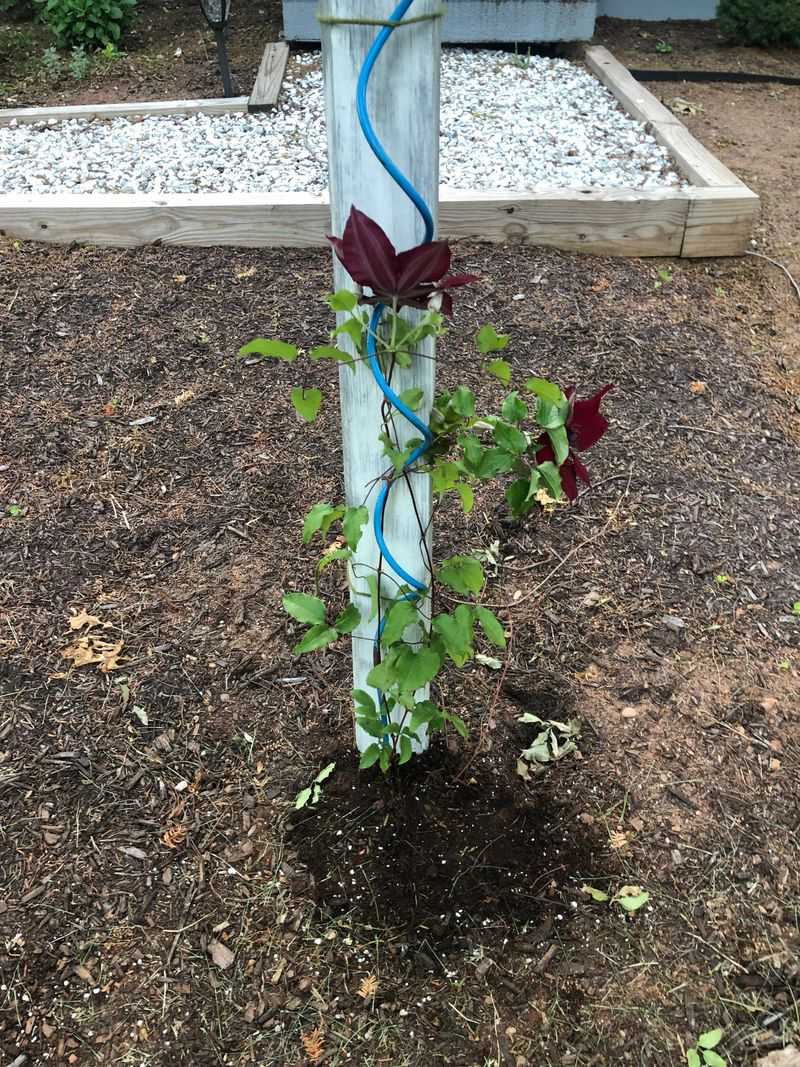
1. Choose A Healthy Parent Plant
The first time I chose a parent plant, I felt like a proud matchmaker. Look for a clematis with robust growth – think strong stems and plenty of leaves. Avoid any plants that look like they had a rough night out.
Picking a healthy parent plant is like choosing the right partner; it sets the foundation for success. I remember my first clematis, her vibrant leaves promising a future full of blooms.
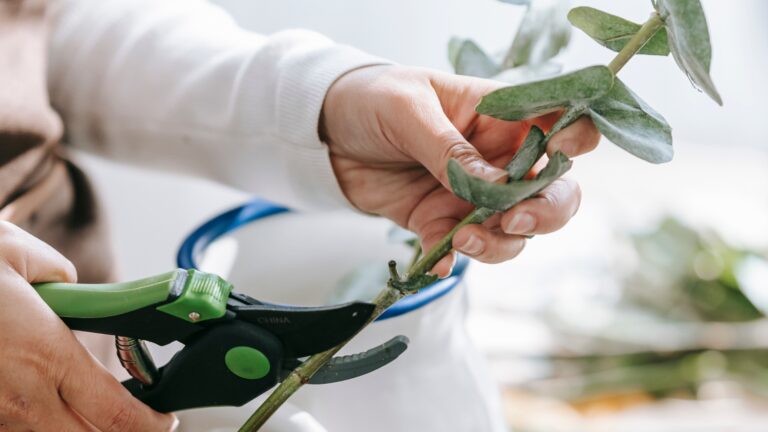
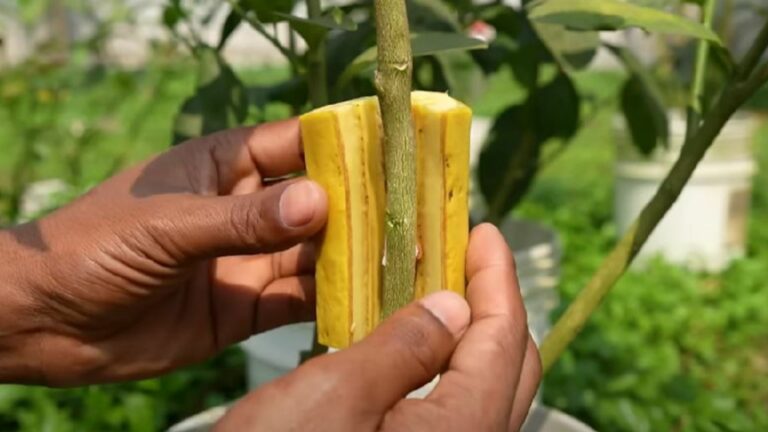
2. Use Clean, Sharp Pruners For Cutting
Ah, the satisfaction of a clean cut! Sharp pruners are non-negotiable here. Dull tools can crush the stem, leaving it vulnerable to disease. Cleanliness ensures your cuttings remain infection-free.
So, grab those pruners and give them a good once-over. There’s something therapeutic about the snip-snip sound of cleanly cutting through a stem, isn’t there?
3. Select A Non-Flowering Stem
Why go non-flowering, you ask? Focus on growth, not blooms. Flowering stems are like those friends who always want attention; they won’t focus on root development.
Choose a stem focused on setting roots instead of showing off. Trust me, you’ll thank yourself when those roots start to grow!
4. Take Cuttings In Late Spring Or Early Summer
Timing is everything, my friend! Late spring to early summer is the perfect window for cuttings. The plant is full of energy, eager to grow.
Imagine your clematis like a teenager who just discovered coffee – full of life and ready to take on the world. It’s the prime time for propagation.
5. Look For Green, Flexible Softwood Stems
Flexibility is key, both in life and in gardening. Softwood stems are the goldilocks of cuttings – not too hard, not too soft. They should bend without snapping, a sign they’re ready to root.
I always think of them as little green gymnasts, bending gracefully but ready to stand strong with roots.
6. Cut Just Below A Leaf Node
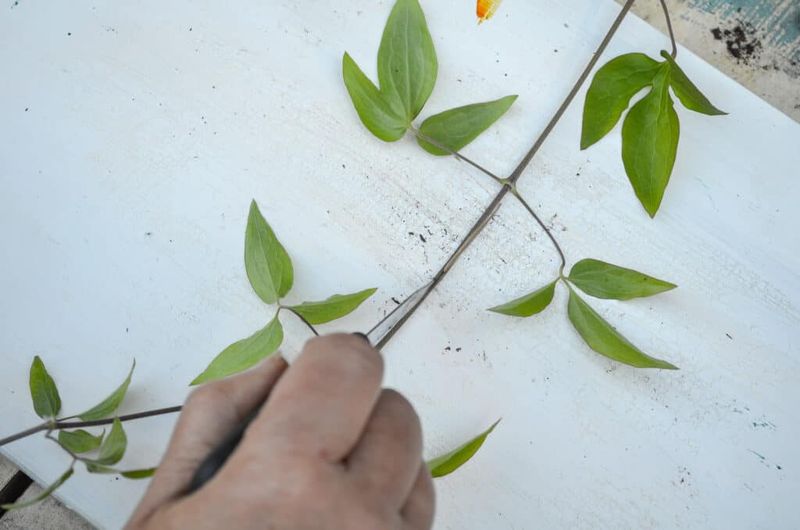
My first attempt was a tad nerve-wracking. Cut just below a leaf node to maximize your chances. Leaf nodes are like the launch pads for root rockets.
I remember the thrill of getting it right – like hitting the bullseye on a dartboard. Precision here pays off big time.
7. Remove Lower Leaves From The Cutting
Removing lower leaves is crucial to prevent rot and focus energy on root growth. Think of it as decluttering your workspace; fewer distractions mean better productivity.
Stripping away leaves always feels like preparing a clean slate. It’s like giving your cutting a fresh start, ready to grow new roots.
8. Dip The End In Rooting Hormone
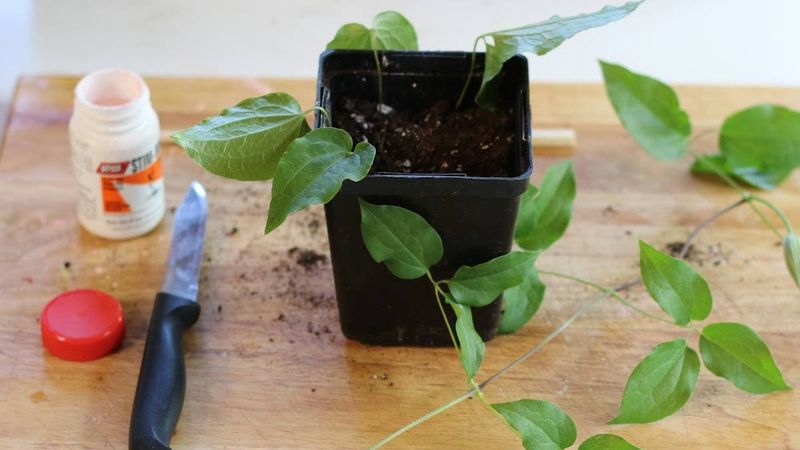
Ever wonder if rooting hormone is the magic potion of gardening? Give those cuttings a boost by dipping them in it. It’s like giving your plants a pep talk right before the big game.
Encouraging root development is essential, so treat your cuttings to this little luxury and watch them flourish.
9. Prepare A Pot With Moist Potting Mix
A pot with moist potting mix is like a soft bed for your cuttings. Ensure it’s well-draining yet holds moisture. This mix is their home for the coming weeks, so think of it as setting up a cozy nursery.
It’s all about creating a nurturing environment where roots can explore and establish themselves.
10. Insert Cuttings Into The Soil Gently
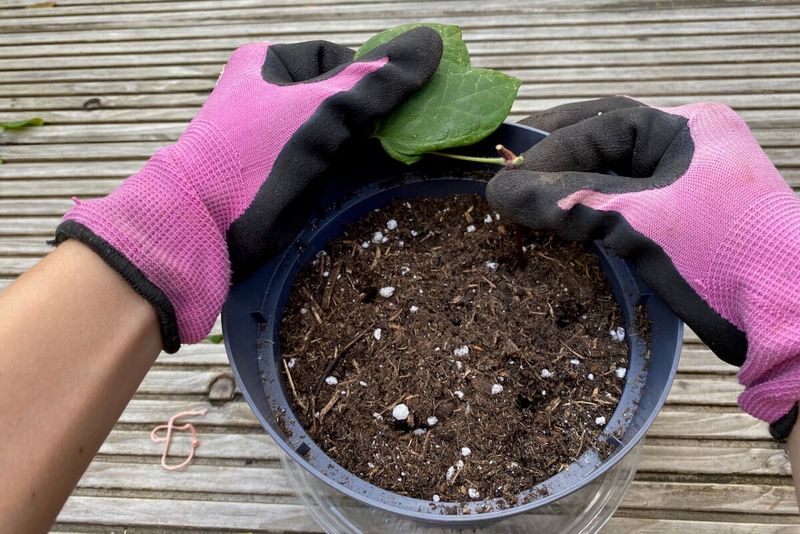
Inserting cuttings feels like tucking a child into bed. Be gentle; these little ones need all the love they can get. Firm enough to hold them upright, but gentle enough not to damage.
Handling them with care ensures they settle in nicely, ready to grow. It’s a delicate balance of support and freedom.
11. Space Cuttings To Allow Airflow
I learned the hard way that crowding cuttings is a no-go. Space them out, like placing cookies on a baking sheet. Airflow prevents mold, and who wants mold?
The satisfaction of seeing them breathe freely is immense. My first batch was a lesson in giving each one the room it needed to thrive.
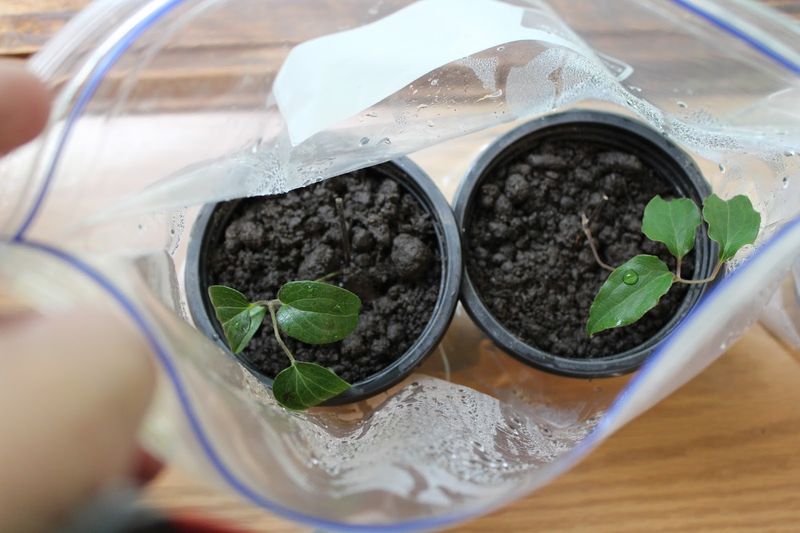
12. Cover The Pot With A Plastic Bag Or Dome
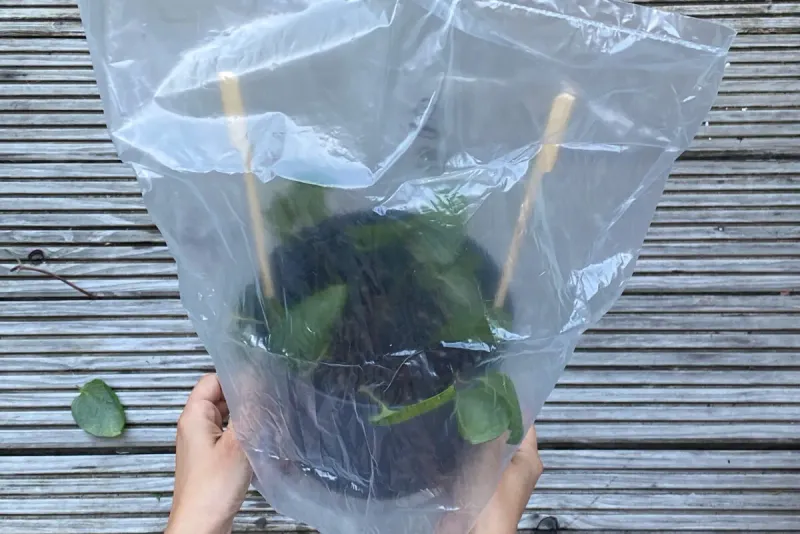
Covering the pot mimics a warm, humid environment, like a spa day for your plants. This small greenhouse effect encourages root growth.
It’s like giving them a little protective bubble, ensuring they stay hydrated and cozy. Watching condensation form inside tells me my cuttings are loving their mini-sauna.
13. Place In Bright, Indirect Light
Why indirect light, you ask? Direct sunlight can be harsh, like skipping sunscreen on a beach day. Your cuttings prefer a gentle glow, not a sunburn.
Bright, indirect light is like a warm hug, encouraging growth without stress. It’s all about finding that sweet spot of light – bright yet gentle.
14. Keep Soil Consistently Moist But Not Wet
Consistency is crucial in watering, much like maintaining a good friendship. Too dry or too wet can be disastrous. Aim for just right – moist soil that feels like a well-wrung sponge.
It’s about providing the perfect balance, ensuring those tender roots can thrive without drowning or drying out.
15. Ventilate Occasionally To Prevent Mold
Ventilation is like airing out your room after a hot day. Occasional fresh air prevents mold, ensuring healthy cuttings. It’s a simple yet vital step, keeping the environment fresh and inviting.
I often think of it as letting my cuttings breathe, ensuring they’re in the best shape to flourish.
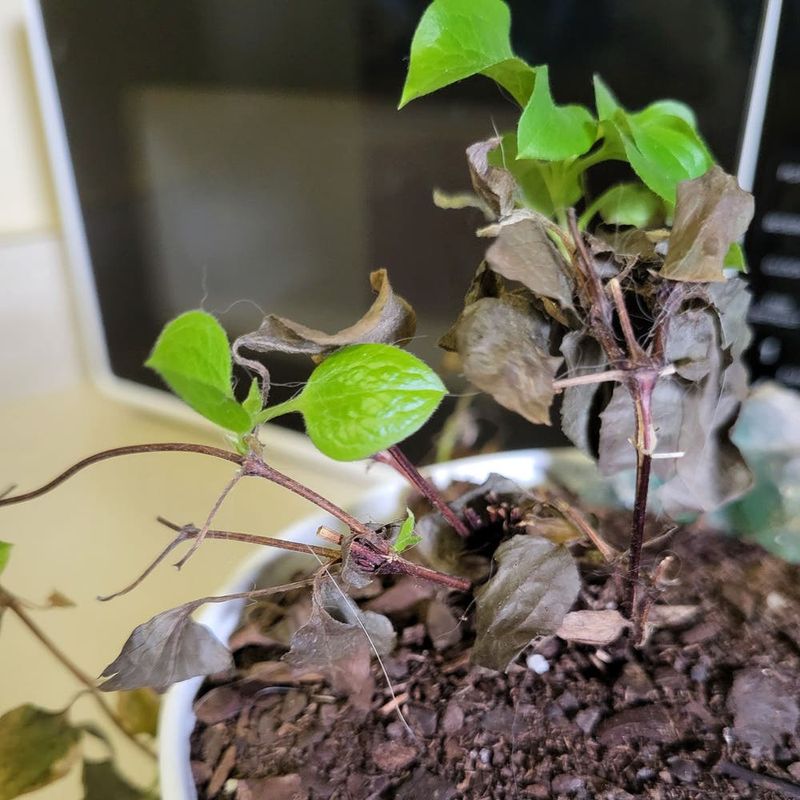
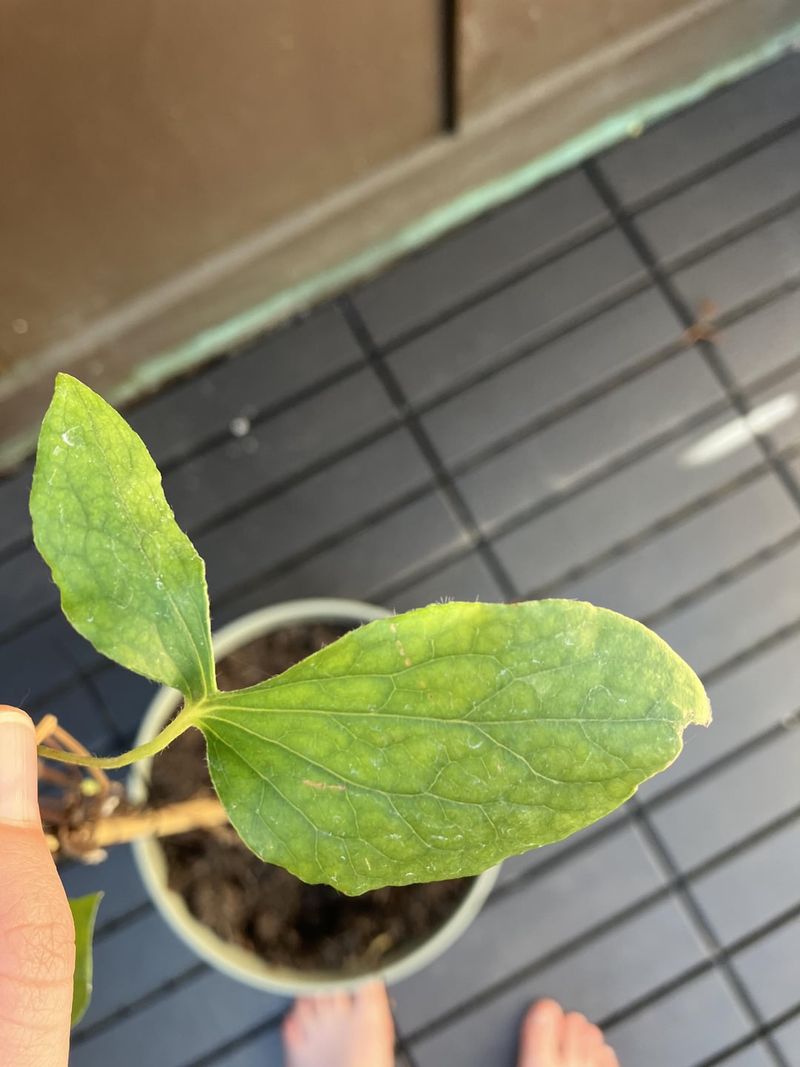
16. Watch For New Leaf Growth As A Sign Of Roots
The excitement of spotting new leaves is unmatched! They’re the first signs your cuttings are rooting. It’s like watching a child take their first steps, a moment of pride and joy.
Seeing those new leaves pop out means your efforts are paying off, and healthy roots are forming below.
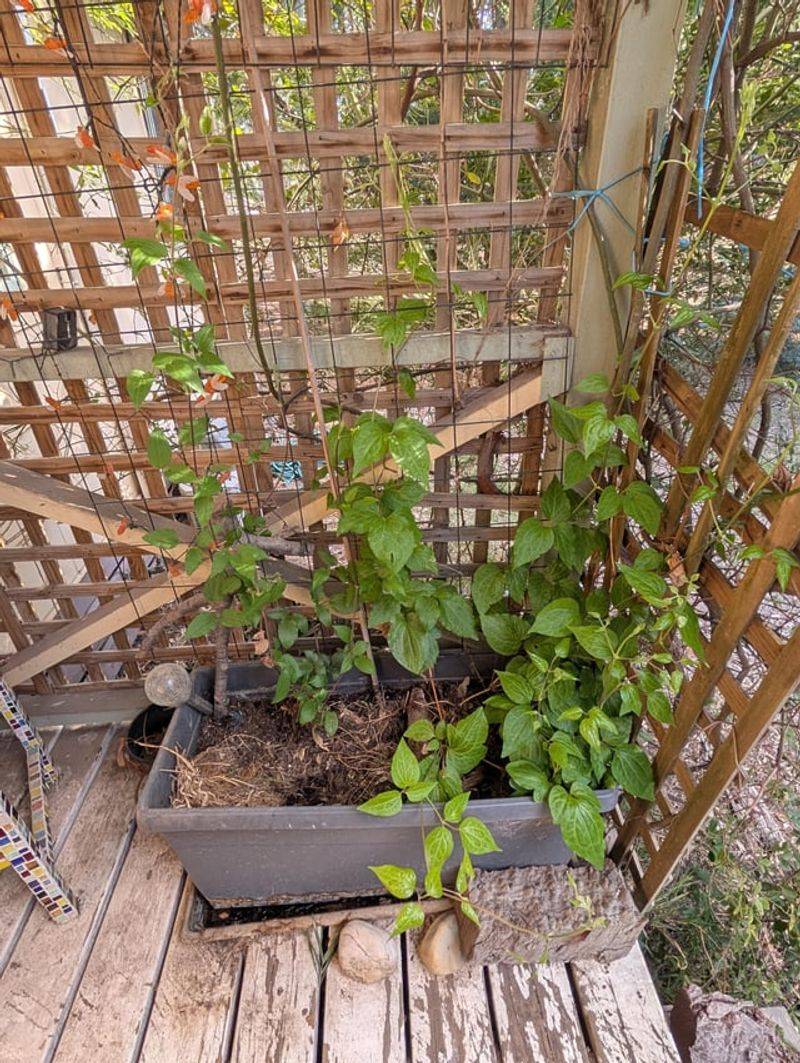
17. Transplant To Individual Pots Once Rooted
Transplanting is like giving your cuttings their first apartment. Ensure they’ve rooted well before moving them to individual pots. It’s a milestone in their journey, allowing for further growth.
Each cutting gets its own space to spread roots and flourish. It’s a rewarding step, seeing them thrive independently.
18. Harden Off Plants Before Moving Outdoors
Hardening off is crucial, like preparing for a big move. Gradually expose your plants to outdoor conditions, letting them acclimate to sunlight and wind.
It’s all about easing them into their new environment, ensuring they’re ready to face the elements. Think of it as training before the big marathon.
19. Choose A Sunny Spot With Well-Draining Soil
When planting outdoors, location is key. A sunny spot with well-draining soil sets the stage for success. It’s like choosing the best seat in the house.
This ensures your clematis receives ample sunlight and avoids waterlogging. Finding the perfect spot is a triumph, knowing your plant will thrive.
20. Plant With The Crown Just Below Soil Level
Planting depth matters, like seasoning a dish just right. The crown should be just below soil level, not too deep, nor too shallow. It’s a balance that encourages healthy growth.
Ensuring the crown is correctly positioned is like setting the stage for a successful performance – crucial for thriving plants.
21. Water Regularly Until Established
Regular watering is vital until your clematis establishes itself. Think of it as nurturing a friendship; consistent care ensures a strong connection. New plants need this attention to settle in and thrive.
Watching them respond to regular watering is fulfilling, knowing you’re fostering their growth.
22. Mulch To Retain Moisture And Suppress Weeds
Mulching is the unsung hero of gardening. It retains moisture and keeps weeds at bay, providing a neat, tidy appearance. It’s like dressing your garden in a cozy blanket, offering protection and care.
Seeing the benefits of mulching reinforces its importance in maintaining healthy, happy plants.
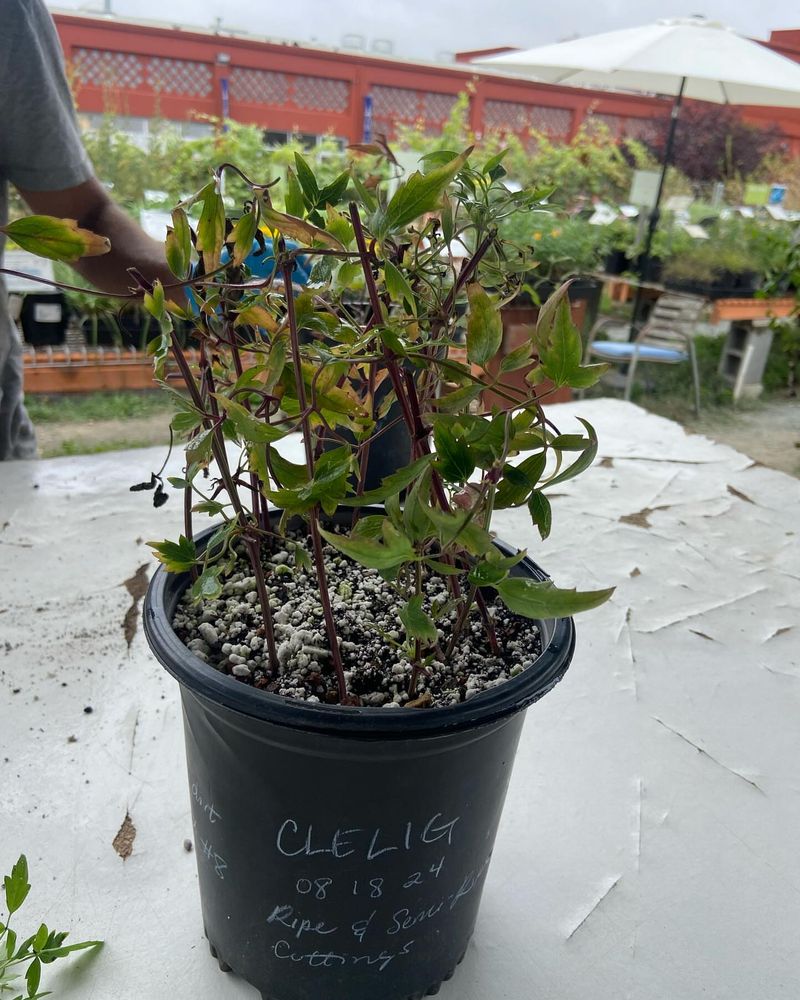
23. Label Your Cuttings To Track Success
Labeling cuttings is a step often overlooked but essential. It helps track progress and success, offering valuable insights into what works.
It’s like keeping a diary for your plants, logging their journey from cutting to plant. This organization provides clarity and satisfaction in your gardening achievements.