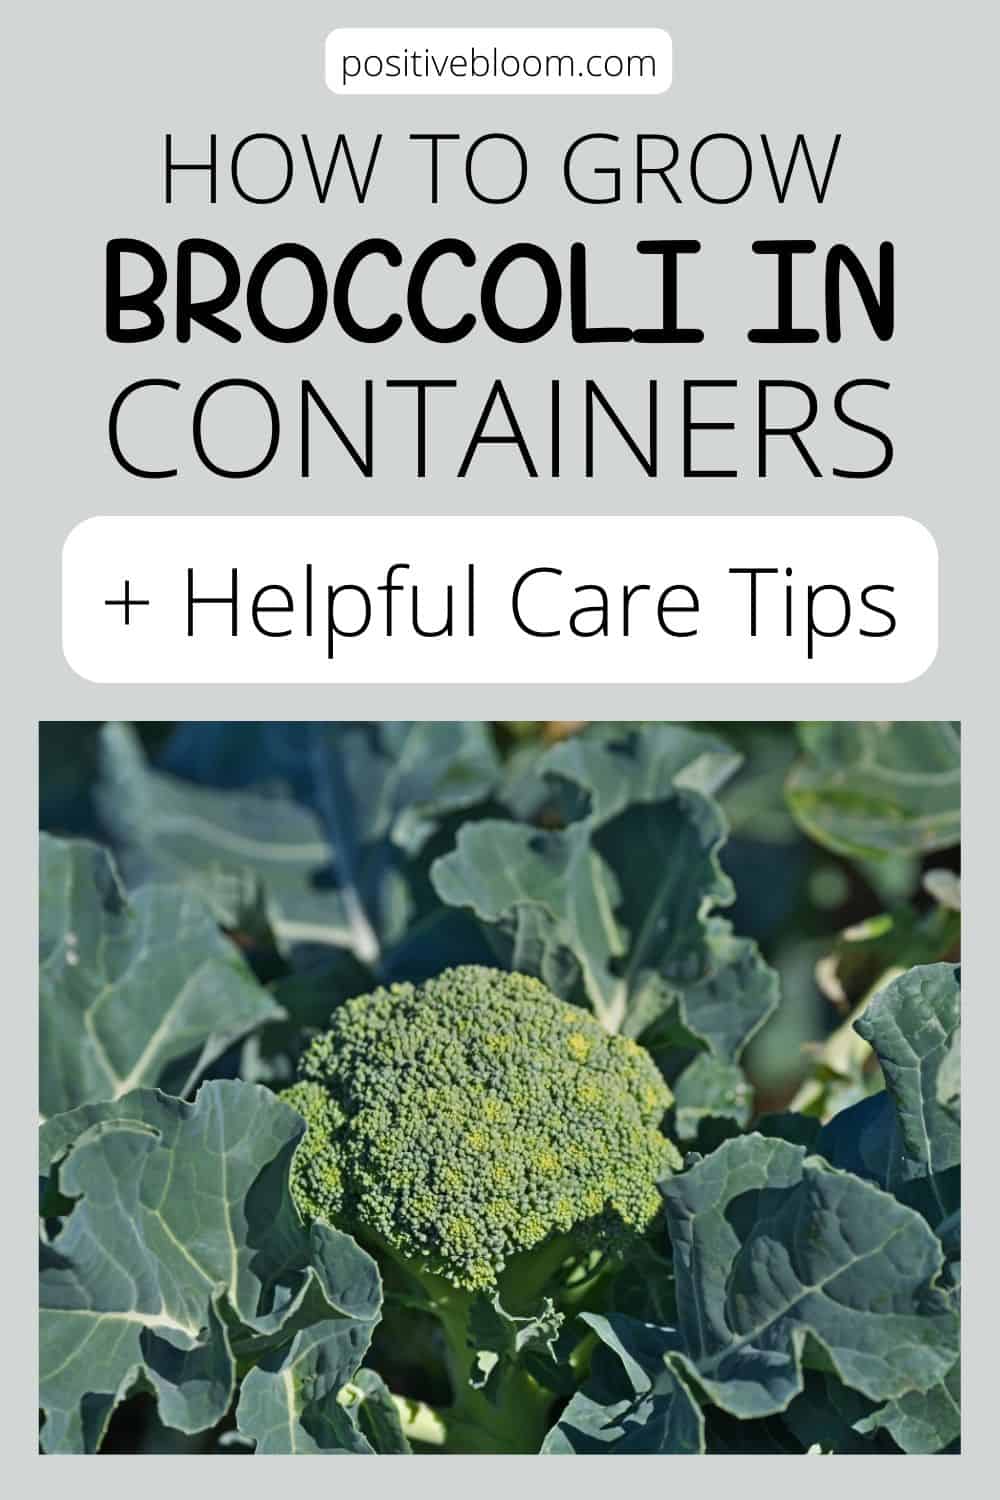
How To Grow Broccoli In Containers + Helpful Care Tips
There aren’t many children who love broccoli, but as we grow up, all that changes, and this veg becomes almost everyone’s favorite! We add it to soups, use it as a side dish, and incorporate it in pasta recipes.
You don’t always have to go to the grocery store to get yourself a couple of broccoli heads; you can grow them at home (even if you don’t have a lot of space).
You can easily grow broccoli in containers indoors or outdoors, and in this article, we’ll bring you some amazing tips that can get you started on your new container garden.
Let’s first look at the main info about broccoli:
[table id=492 /]
How To Grow Broccoli In Containers
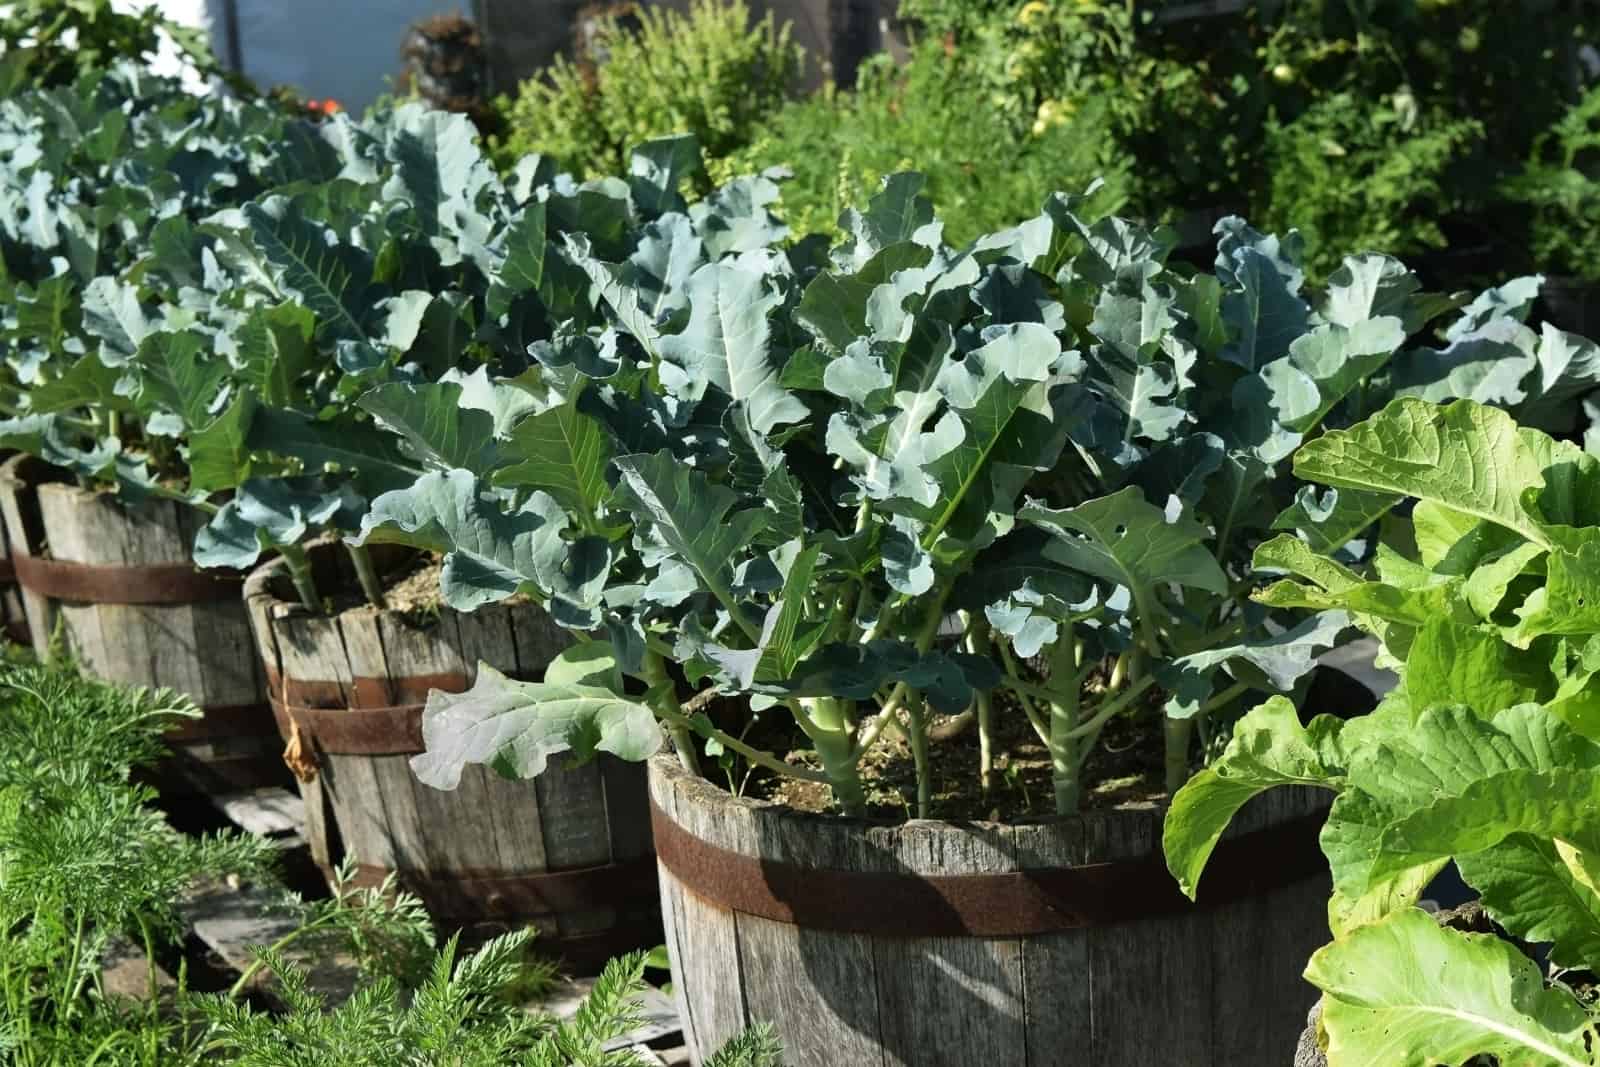
When growing broccoli in planters, you first need to choose a suitable variety and a pot, prepare the mix, and harden the seedlings before transplanting them into a larger container where they can continue their development.
These steps coincide with the broccoli growing stages, and we’ll discuss them in more detail in the following sections so that you can care for these vegetables properly.
Choose Suitable Broccoli Varieties
Selecting a suitable variety is always the first step when growing broccoli in containers or soil.
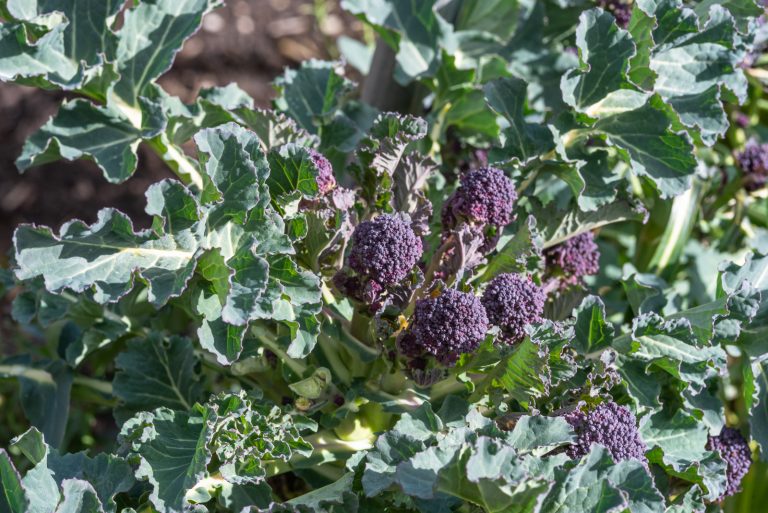
Cultivars such as Waltham 29, Di Cicco, or Royal Tenderette hybrid are perfect for containers as they are fast-maturing varieties ready for harvest in less than 70 days.
Di Cicco broccoli provides many side shoots, so you can enjoy a plentiful yield. This is also an excellent broccoli plant for hydroponic cultivation.
Pick A Suitable Broccoli Container
Once you choose the type of broccoli you want to plant, it is time to get a proper container. You can start your broccoli in nursery trays or large containers.
The best container size for vegetables and whether they should have drainage holes, etc., truly depends on the veggie you’re growing.
For broccoli, in particular, choose a five-gallon pot (12×12 inches) and plant just one plant in it.
If you want to fit in more, choose a larger pot. You should know that crowded broccoli plants produce smaller main heads, but they’re still delicious!
You should grow this plant in plastic or terracotta pots, but know that the latter is more porous, so you’ll need to irrigate your broccoli plants grown in them more frequently.
Always opt for a planter with drainage holes, as they can help you combat overwatering and root rot more effectively.
Prepare The Potting Mix
When planting broccoli seeds, any seed starting mix will ensure they germinate. But if you want to make your own, you can mix equal parts compost with your native soil.
You can grow this member of the Brassica genus in the same mix for the entire growing season (of course, you’d use fresh soil when transplanting, but the ingredients and the ratio can be the same).
Plant The Broccoli Seeds
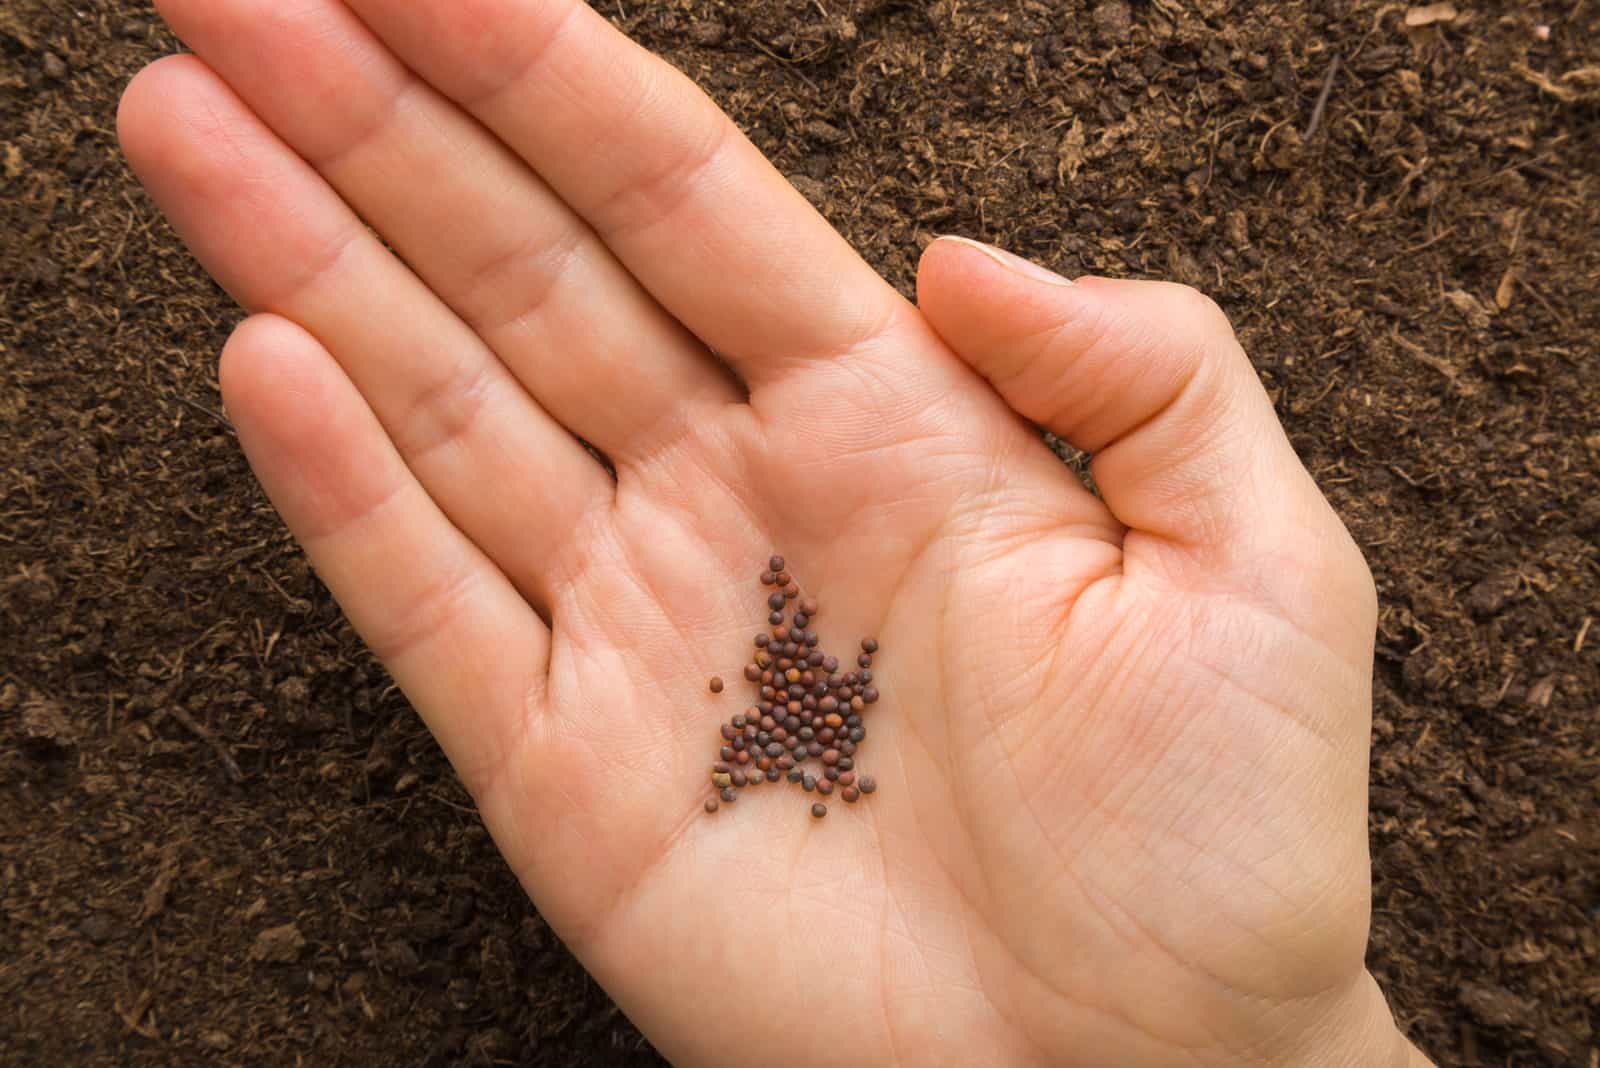
The best time of year to plant seeds indoors is around two months before the last frost date, especially if you plan to move them outside. Or you can plant them directly outside 14 days before the last frost.
When growing this veggie, it is crucial to consider the perfect broccoli plant spacing. You can plant the seeds about 1.5 feet apart to a depth of half an inch.
(You won’t have to worry about spacing if you start the seeds in nursery trays).
Sprinkle the seeds with the potting soil, water them, and place them in a warm spot. Keep the soil moist and cover the nursery tray with a humidity dome or a plastic bag to maintain proper humidity levels.
The seeds should germinate in about 5-14 days, and once you notice sprouts protruding from the soil, you can move them to an east-facing windowsill or place them under grow lights.
Choose A Suitable Location For Your Type Of Broccoli
As your broccoli begins to grow, it’ll need more and more light, which is why you should start thinking about its permanent location.
This is a cool-weather crop, and it requires full sun to grow the most prominent and delicious heads. However, hot temperatures can result in a broccoli plant blooming, which isn’t something you’d want as it affects the taste.
Therefore, choose a location that provides this plant with plenty of morning and late afternoon sun, but is protected and shaded during the hottest parts of the day.
Harden Off The Broccoli Seedlings
Once your seedlings have grown enough to be transplanted to either a larger container or even a raised bed, it is time to harden them.
Take them outside in the morning or late afternoon, leave them in a sunny location for a couple of hours, and then take them indoors again.
Repeat this every day for the next 7-14 days until the plants can last an entire day outside in the location you chose for them.
Mulch The Plants
After transplanting the seedlings into a large container, you should consider mulching them. Add a layer of straw to prevent weed growth and keep the roots safe from temperature fluctuations.
Mulching also slows down water evaporation, which will reduce your irrigation chores.
Harvest The Heads Of Broccoli
A question often asked by beginner gardeners (us included) is: “when should I harvest plants from my vegetable garden?”.
How can you tell that broccoli is ready to be picked?
You can harvest broccoli heads once the florets fully open and obtain that signature deep green color. This usually happens a week after you notice florets for the first time.
Take sharp scissors or a knife, and snip the head at an angle together with 4-6 inches of the stem (you can use the stem to grow broccoli anew).
But the story doesn’t end here. After the harvest, the broccoli plant will begin to form side shoots with more heads that can be gathered.
If you wait too long and the florets turn yellow, open, and produce flowers, the broccoli will have a bitter taste.
Here are some more tips for maximizing broccoli production and harvest:
Care Tips For Broccoli Container Gardening
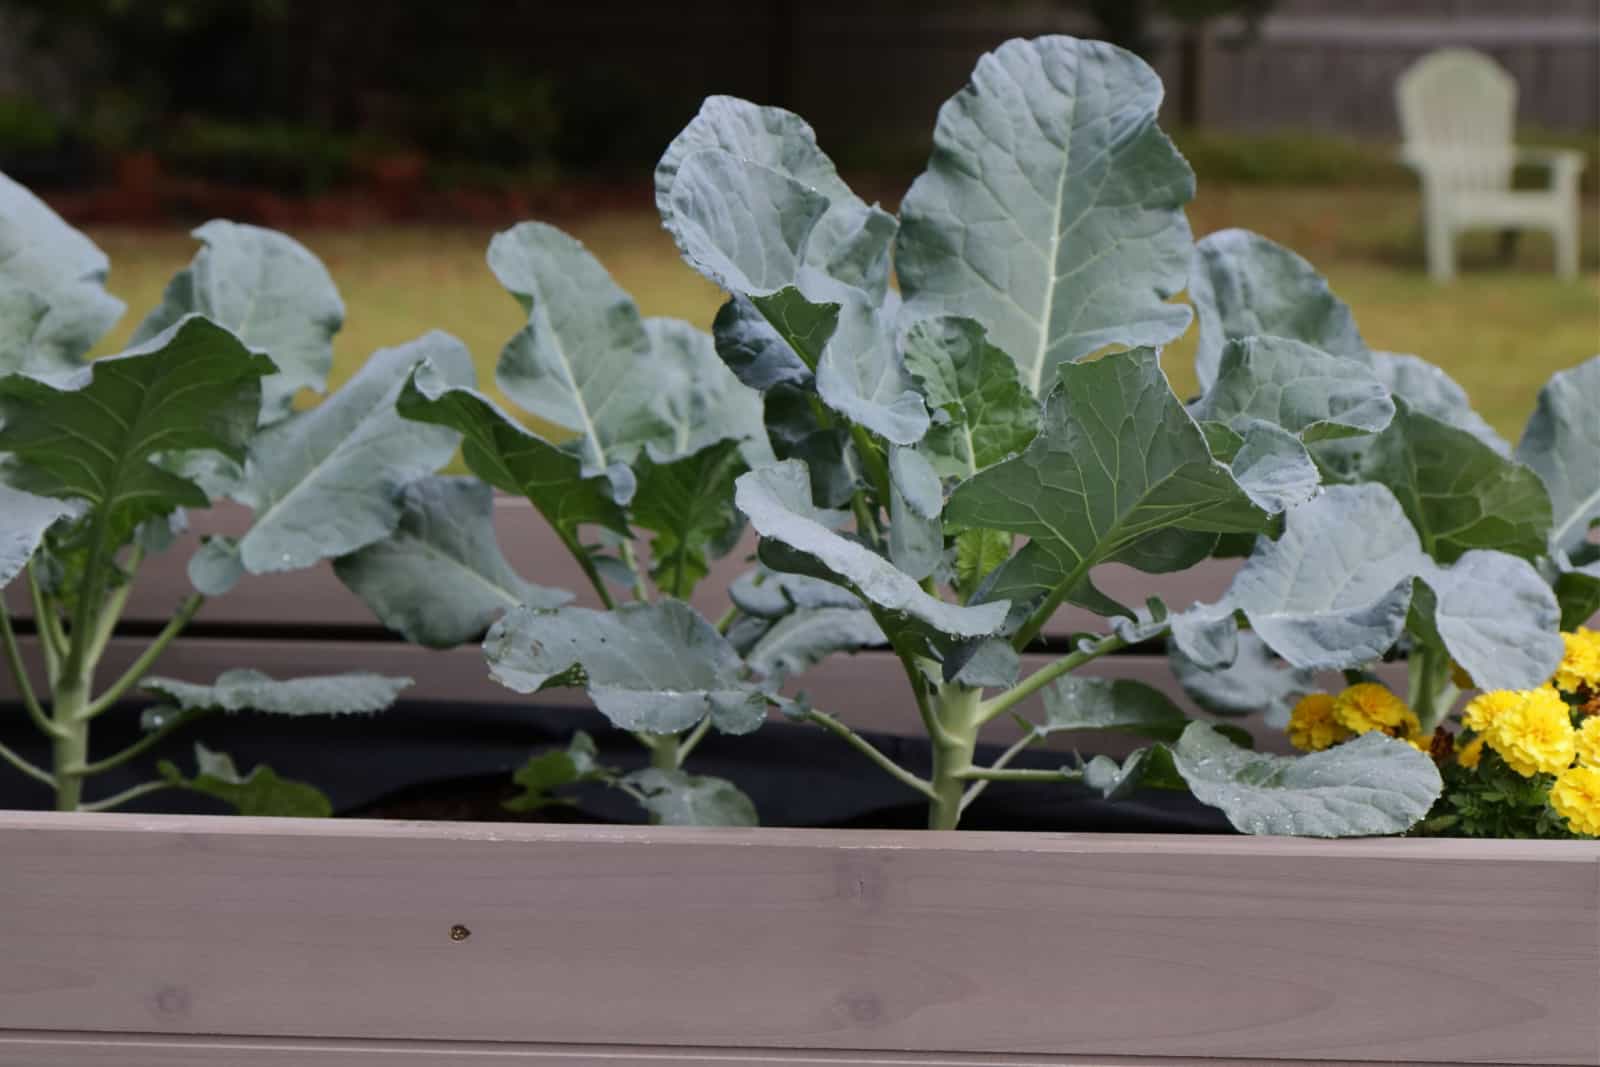
Did you know that broccoli is a man-made vegetable? It is packed with vitamins C and K, potassium, iron, protein, fiber, etc., so it provides many nutrients we require to lead a healthy life.
Home-grown varieties always taste sweeter, and we can be sure of what’s actually in them and whether there are pesticides or if it’s completely organic.
Nurturing your own broccoli requires some knowledge about its light, water, temperature, and soil preferences, so we’ll discuss all these things in the following sections.
We also included some gardening tips that can help you fight common pests and diseases that may afflict your plants so that you can save your crop.
Adjusting Light Exposure
Broccoli is a cool-weather crop that requires full-sun conditions for optimal growth and development. But it cannot thrive in every climate!
If you live in a hotter region, you should grow it in slightly shaded locations where the sun won’t burn it or cause premature bolting, which affects the taste.
Or you can just leave the container indoors near an east-facing window where it can bask in the morning sunlight without burning or blooming before its due time.
(Artificial lights are always an option!)
Proper Water And Humidity Levels
Container plants need more water than ones grown in the ground because the soil dries out more quickly, especially if you grow them in more porous terracotta pots.
Therefore, you must constantly monitor your broccoli in containers and check the substrate every day. If it’s dry, you can water the plant, but if it’s not, give it a day or two and then check again.
If the soil is still moist and you water it again, you risk overwatering and root rot.
Furthermore, when irrigating your potted broccoli, make sure to keep pouring water until it starts to drain through the potholes.
You should also use rainwater for these plants because it doesn’t contain too much chlorine, which can cause chemical build-up and disrupt the normal absorption of water and nutrients.
(You can use tap water, but let it sit in the air for a day so that the chlorine can evaporate.)
Humidity
Broccoli flourishes in regular humidity, so you won’t have to do anything to increase or lower it. However, if you grow multiple plants in a single container, ensure the air circulation is good because high humidity levels can lead to powdery mildew.
If you live in a region with high air moisture levels, you should only plant one broccoli per container.
Adjusting Temperature
Broccoli is very sensitive to temperature, and if it’s too hot, the plant will flower prematurely, making the florets bitter.
It does best in temperatures between 60-70°F, but it can handle colder or hotter conditions. Certain varieties can tolerate temperatures down to 26°F, whereas there are types of broccoli that survive at 90 °F.
Generally speaking, broccoli bolts once the temperature reaches 80°F, which is why you should grow it either in spring or fall when these temperatures aren’t that common.
Using Suitable Soil And Fertilizer
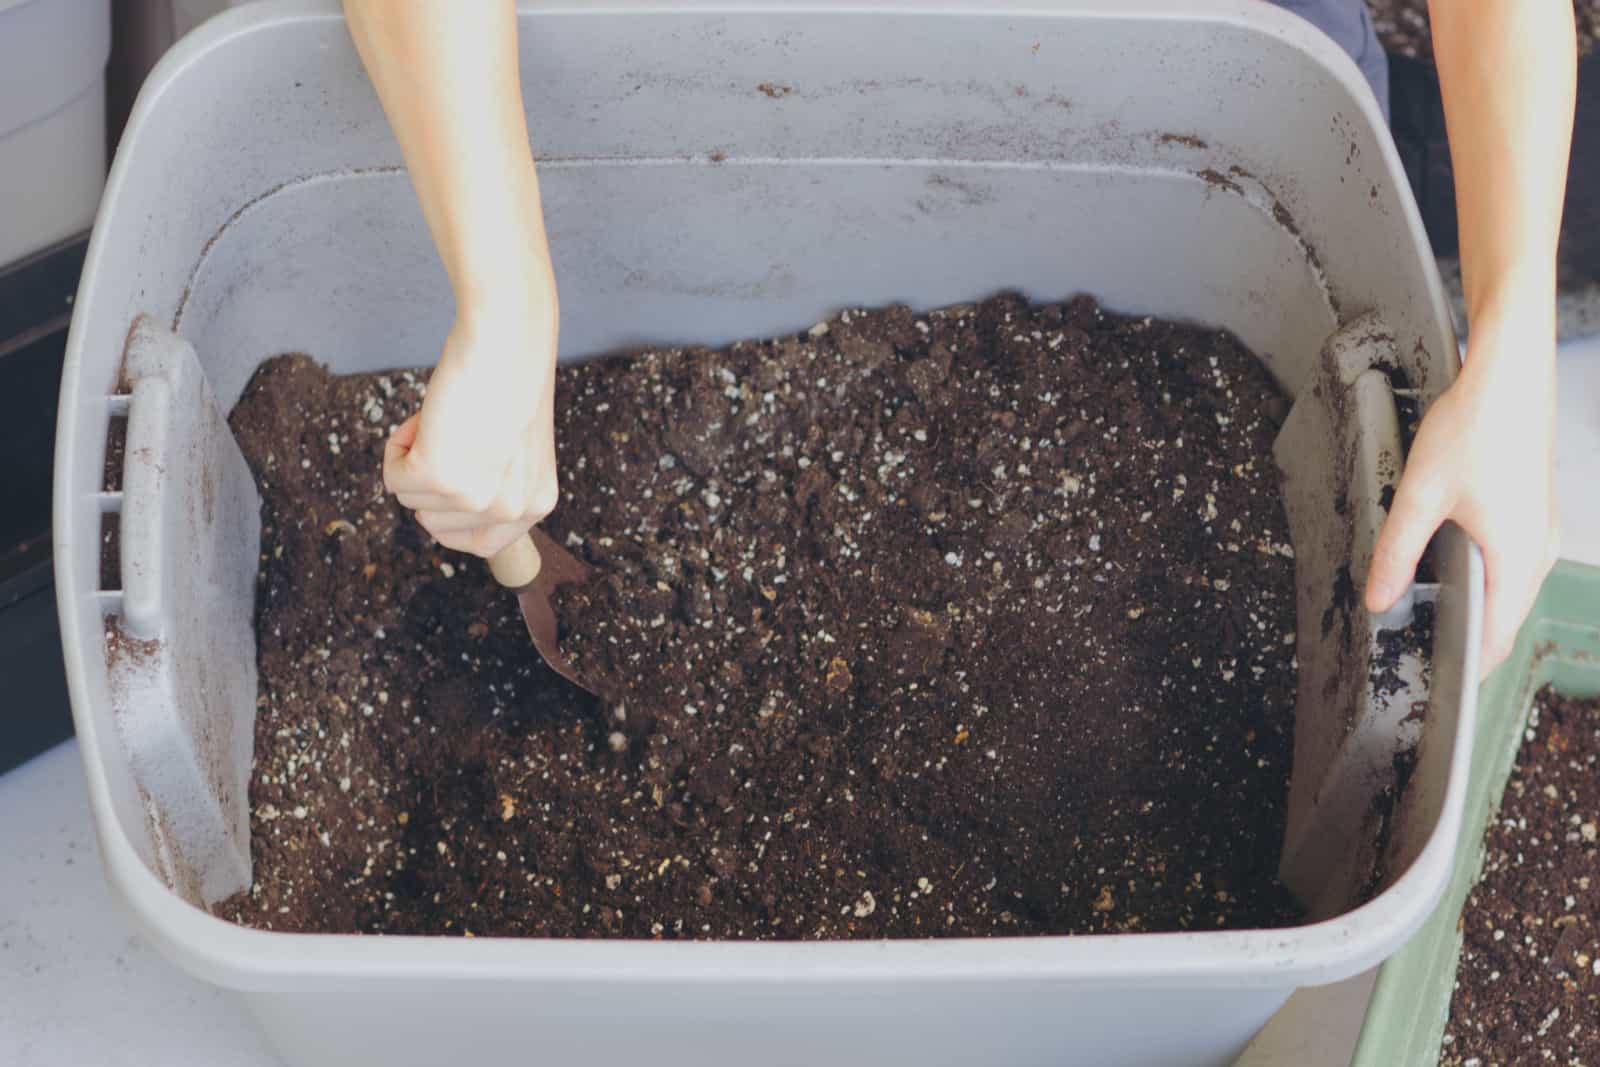
Broccoli thrives in fertile and well-draining soil with a pH between 6.0-7.0.
You can get a ready-made substrate to plant your broccoli, or you can mix equal parts compost and garden soil (just like you did for seed starting).
The vital thing is to create a medium that isn’t compact, so you can add perlite or sand if your garden soil is too heavy.
Fertilizer
Broccoli plants are heavy feeders, so you should fertilize them at least twice during their growing season. You can use a balanced fertilizer or one with less nitrogen, such as 5-10-10.
At the beginning of the season, apply a well-balanced, slow-release fertilizer to boost their growth.
Then, as the mid-season approaches, take a liquid fertilizer, dilute it to half-strength, and feed your broccoli.
Fighting Infestations
Unfortunately, cabbage worms, cabbage loopers, aphids, cutworms, etc., are all pests that attack brassicas (broccoli, cauliflower, brussels sprouts, etc.).
Cabbage worms and loopers look like caterpillars, and they eat the leaves of your plants, bore holes in their heads, etc., but don’t cause any irreversible damage.
They won’t kill your plants, but they kill the satisfaction of eating a head of broccoli, especially if you find them crawling there. Fortunately, there are a couple of ways you can deter them.
One is planting companion plants that deter them, such as borage, caraway, catnip, etc. Certain plants attract beneficial insects, such as ladybugs which feed on aphids, so growing chamomile and thyme close to your broccoli can save it from this.
Or you can get there the old-fashioned way by spraying them with Bt. Some even advise using rye flour to dehydrate the caterpillars, so why not give it a go?
Dealing With Diseases
Broccoli plants can get infected with root rot and powdery mildews, and the underlying causes are connected with inadequate moisture levels.
The good news is that you can prevent both diseases from infecting your plants. If you want to avoid root rot, water your plants only when the topsoil dries out. To prevent powdery mildew, ensure proper airflow and a low-to-medium-humidity environment.
Root Rot
Constant irrigation causes root rot. If you water your plant all the time, its roots will deteriorate and be unable to perform their function.
At first, nothing seems out of the ordinary, but then the broccoli heads start developing brown spots and lesions. If you suspect this disease, take the plant out of its container and look at its roots. If they’re soft and brownish, you should remove them.
You can save your plant from root rot by trimming the diseased parts and spraying it with fungicide (but only if the infection is not too advanced).
Repot your broccoli into a new container and fresh soil, and irrigate it only when a couple of inches of the topsoil have dried out.
Powdery Mildew
Powdery mildew develops in moist and warm conditions. It can afflict your broccoli if you grow many plants in just one container or if the air circulation is poor.
The good news is that powdery mildew isn’t usually deadly to broccoli, but the foliage of this plant can turn yellow and even fall off if you don’t treat the disease.
This fungal disease first manifests as a powdery residue on your plant’s leaves, which turn yellow only in advanced stages.
As soon as you notice this white dust, you can treat your plants with insecticidal soap or neem oil, and if the infection persists, try copper fungicide.
And if nothing helps for some reason, you can clip off the infected leaves.
FAQ
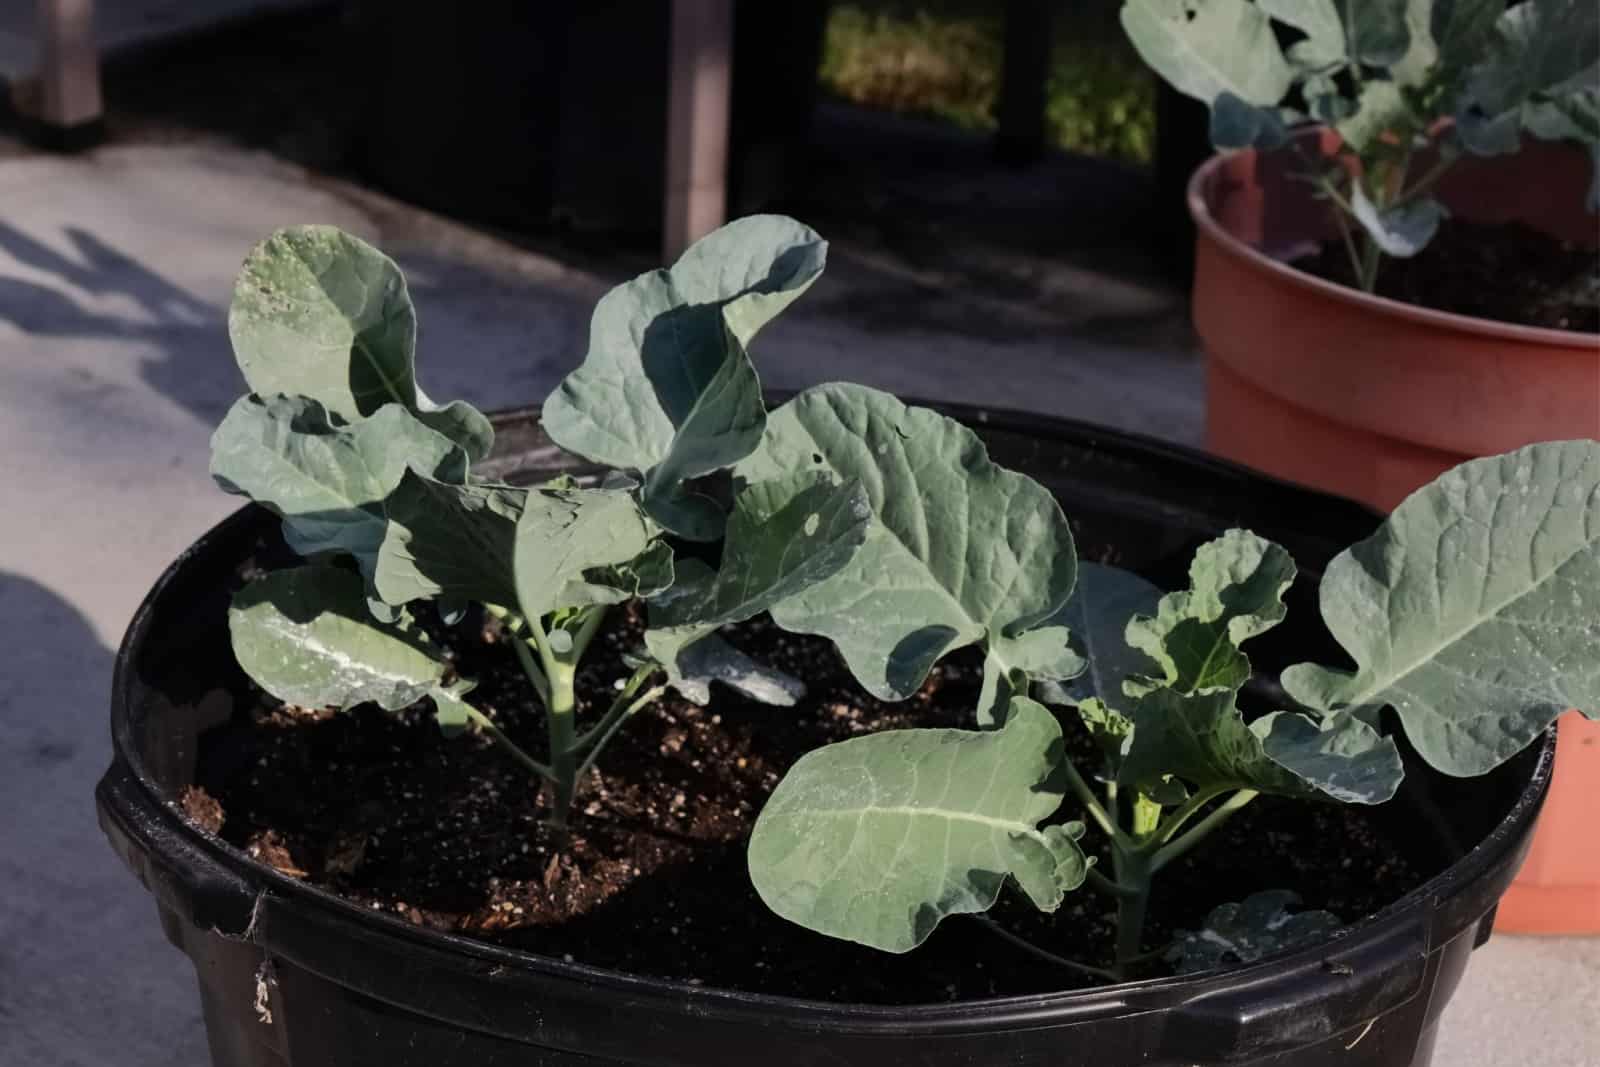
We included the most important tips and tricks for growing broccoli in containers, but there are some other things that require our attention.
The answers to the following questions can solve certain dilemmas and improve your gardening skills.
How much broccoli do you get from one plant?
Broccoli produces one main head, but after you harvest it, it will grow a lot of side shoots that also bear edible parts.
About three weeks after you harvest the main head, you can start picking smaller heads that side shoots have produced. There isn’t an exact number of how many heads side shoots can grow, but we usually get 10-20 small heads (or more, depending on the size of the plant).
How deep are broccoli roots?
Broccoli roots are considered shallow and can reach 2-3 feet into the soil. This makes it ideal for containers as it can fit properly and won’t have to compete with other plants for nutrients.
The roots can extend about a foot or a foot and a half, so bear this in mind when choosing a suitable planter for this vegetable.
The spread of the roots is also why we usually plant broccoli about 18 inches apart – so that plants don’t have to fight each other for necessary minerals.
Final Thoughts
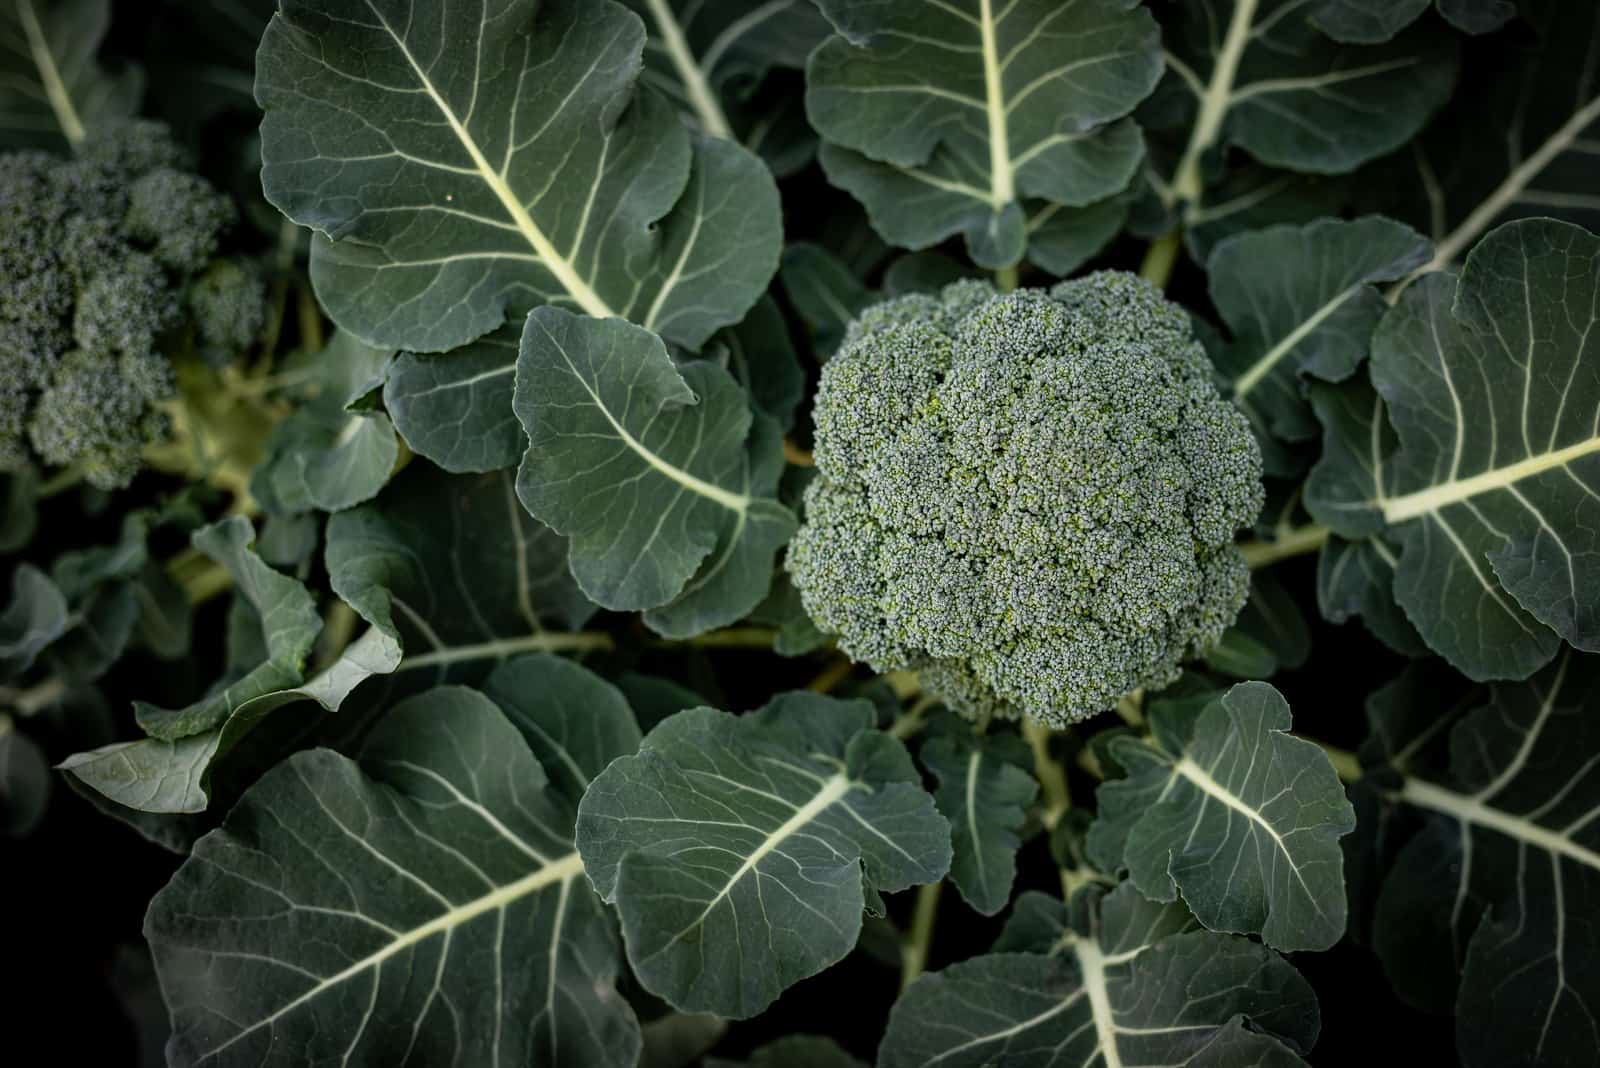
This article included a couple of tips and tricks that can help you grow broccoli in containers. This plant is perfect for individual planters as it has shallow roots and can fit perfectly.
You can also grow multiple broccoli plants in one container; just make sure that air circulation is optimal because they can get infected with powdery mildew.
We brought everything you need to know about planting, hardening, and harvesting broccoli plants in order to increase your yield.
Finally, we presented the main requirements of broccoli plants and ways to combat pest infestations and diseases so that you can grow strong and healthy plants.
Good luck, and until next time!
Like this post? Share or pin it for later!
