The Stages Of Broccoli Growth: All You Need To Know
Broccoli is definitely one of the most famous vegetables in the world today!
Broccoli is a cool-season vegetable which consists of a large central head that looks like it’s made out of numerous small trees. It also contains stalks and leaves that are edible and packed with vitamins and nutrients!
It’s an extremely healthy vegetable that should be incorporated into our daily diets.
Broccoli, like kale, cabbage, cauliflower, kohlrabi, and Brussels sprouts, belongs to the Brassicaceae family. They are all related, and together they comprise a nutritious and fiber-rich vegetable family.
Growing broccoli plant in your own vegetable garden is truly satisfying, and it won’t take you a lot of time and energy either!
Read on to learn about the stages of broccoli growth and some issues that you might run across.
Let’s dive right in!
What Are The Stages Of Broccoli Growth?
Brassica Oleracea (Italica Group), commonly known as the broccoli plant, is a cool-weather vegetable that requires low air and soil temperatures in order to properly grow and develop.
It’s usually grown as an annual plant, meaning that it completes its life cycle during one growing season and is planted again in the next one. We will go through each stage of broccoli’s life cycle: planting, germination, seedlings, vegetative growth, and flowering.
Now, let’s get started!
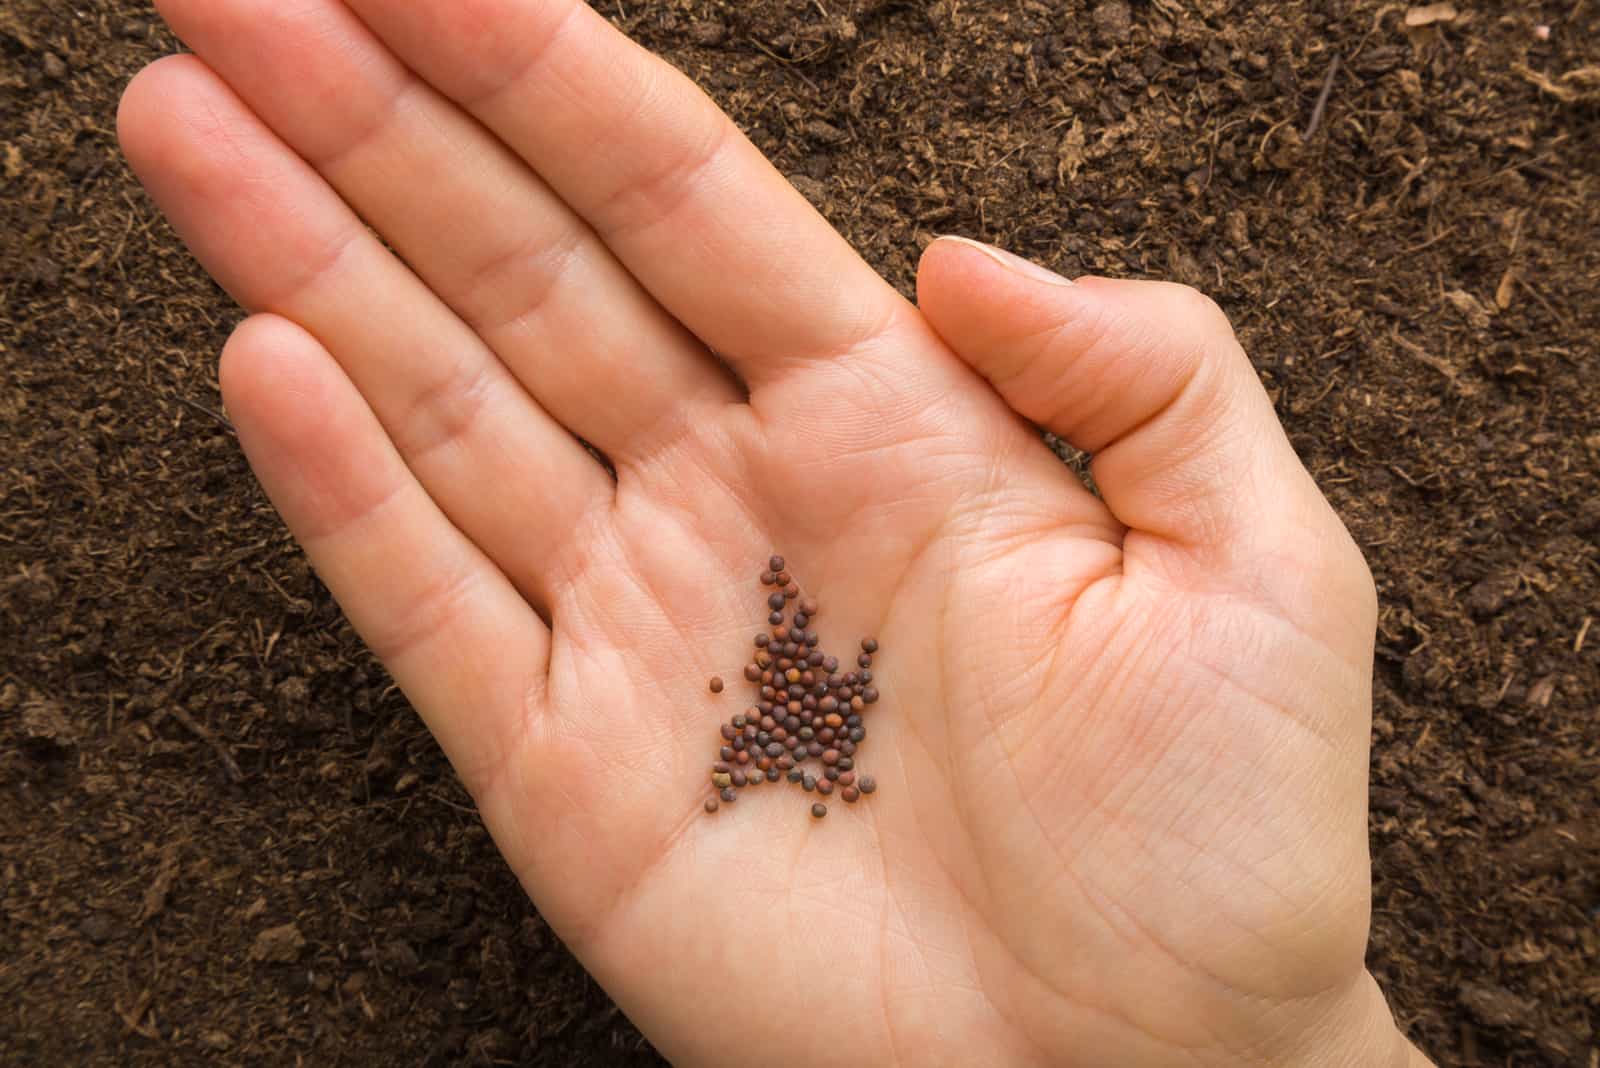
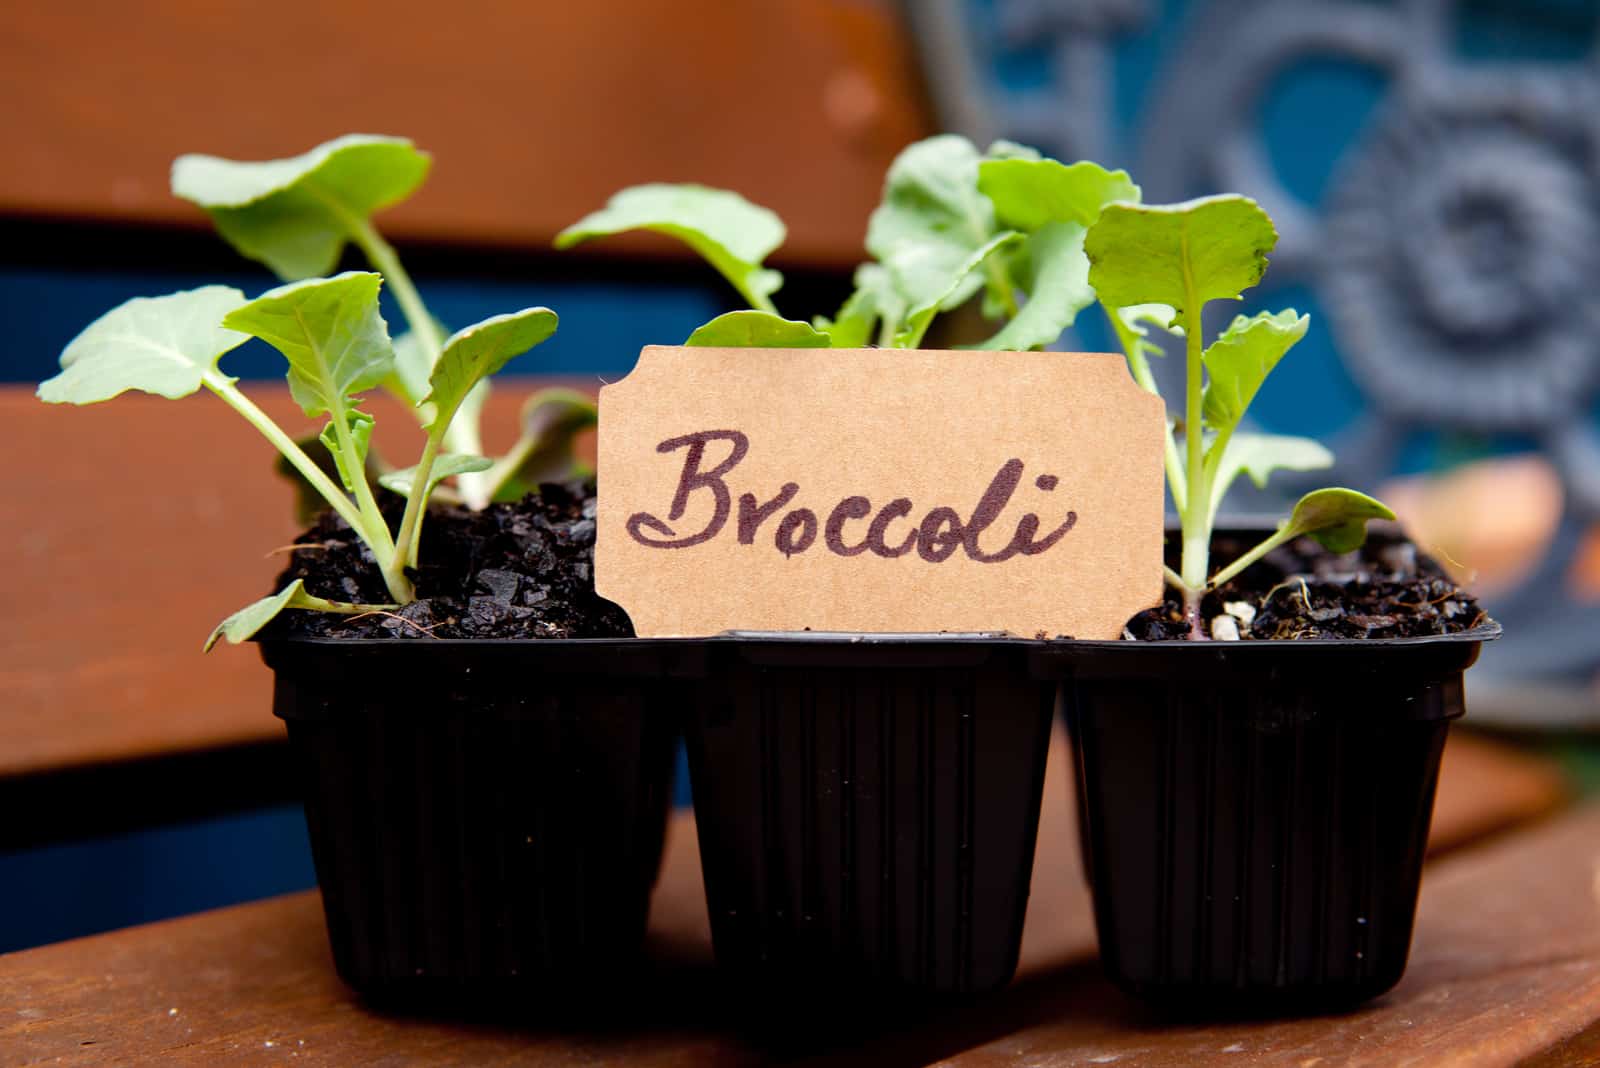
1. Planting
A great thing about planting broccoli is that you can do it either in the early spring or during the late summer and fall, it simply depends on what type of broccoli you want to grow.
If you want to grow spring broccoli, then you should start seeds indoors at least 6 weeks before the last frost date (a process known as seed starting). This way, you will extend the growing season and the plant will have more time to develop and produce those delicious mini trees!
Here is how you plant spring broccoli:
1. Make a soilless seedling mix and sow your broccoli seeds approximately half an inch deep in it.
2. Within the first two weeks, the seeds should germinate. When you notice broccoli seedlings, provide them with grow lights to help them grow.
3. Apply a half-strength fertilizer once a week when you see the new true leaf, or twice a week when more true leaves appear.
4. If your plant has produced at least five true leaves, it’s time to start hardening it by limiting the amount of water it receives.
5. Now it’s time for transplanting broccoli: pick a spot in your garden that gets full sun exposure during the day.
6. Plant your broccoli seedlings in holes that are at least 18 inches apart and in rows about 25 inches apart.
7. Use a liquid starter solution with high phosphorus and low nitrogen content to encourage growth.
8. Keep the soil moist all the time, you can even add mulch to retain soil moisture. The soil pH should be between 6.0 to 6.8.
9. Put on row covers to protect the broccoli from pest infestations.
Once the soil temperature is above 40 degrees Fahrenheit, you can sow seeds directly in the soil. This is referred to as fall planting, and it should be done in mid or late summer when there is no risk of a spring frost ruining the seedlings.
Here is how you plant a fall crop:
1. You will plant your broccoli seeds directly in the ground in this case. Mid or late-summer is the optimal time to grow fall crops.
2. Sow the seeds about a half-inch deep and 18 inches apart.
3. Water the seedlings frequently to provide constant soil moisture, and thin them out.
4. Make use of row covers.
2. Germination Time
After successfully planting your broccoli seeds – whether in your garden or indoors – you must keep the soil moist enough for germination to occur.
During the germination stage, the primary roots (also known as the radicle) will emerge from the seed and attach the seedling to the soil, which will then continue to absorb nutrients and water.
It will take about 5 to 10 days for your seed to germinate, and you will soon notice new seedling leaves (also known as cotyledon) that will develop into true leaves on your new plant.
If you don’t see any development after two weeks, something is wrong and you should try sowing the seeds again.
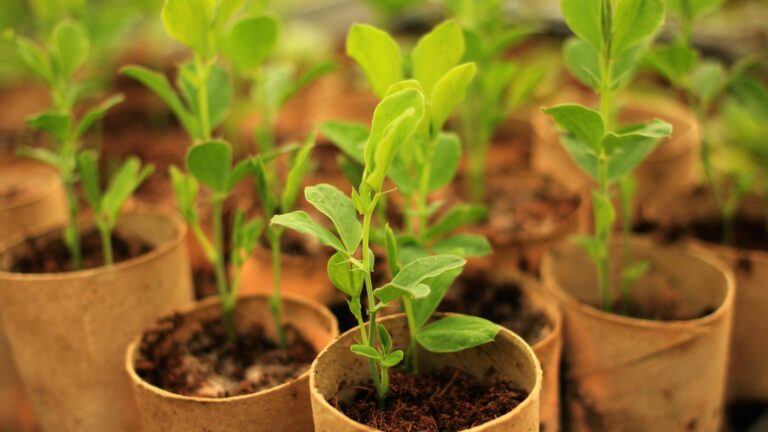
3. Broccoli Seedlings
Once you see the tiny leaves appear above the surface of the soil, you’ll know the germination was successful.
At this point, your little broccoli plant will try and get as much energy from the sun via photosynthesis as possible in order to continue its growth and development.
First, only two leaves will appear. Then the little sprout will form another set of leaf pairs. When the seedling has about 5 or 6 leaves, it’s time for it to be transplanted outside.
You will notice that your beloved plant will grow at a much faster pace once it has more leaves — this is because it gets much more energy with each new leaf formation and isn’t relying on just the roots.
As we previously mentioned, broccoli seedlings should be hardened before transplanting so they can easily adapt to the outside environment. Add a slow-release nitrogen rich fertilizer to encourage leaf production.
4. Vegetative Growth
With the roots established and enough leaves to produce energy via photosynthesis, your broccoli plant will now grow taller and wider!
You’ll notice that the plant takes up a lot more space than it did before, which means that you are doing a great job taking care of it! It will continue with leaf formations, but you will have to start adding fertilizer to provide your plant with enough nutrients for broccoli head formation.
You should only apply low-nitrogen fertilizer because nitrogen can shift the plant’s focus and prevent a head of broccoli from growing.
5. Formation Of The Broccoli Head
You can expect to see the small head emerging in the center of the leaves shortly after the broccoli leaves expand.
This small broccoli head is still quite sensitive, so keep it out of direct sunlight and strong winds.
Blanching is the best method for doing this. It involves gathering the outer leaves and tying them with rubber bands or twine to protect the developing head.
Some broccoli cultivars have the ability to self-blanch, while others need help to protect their smaller heads.
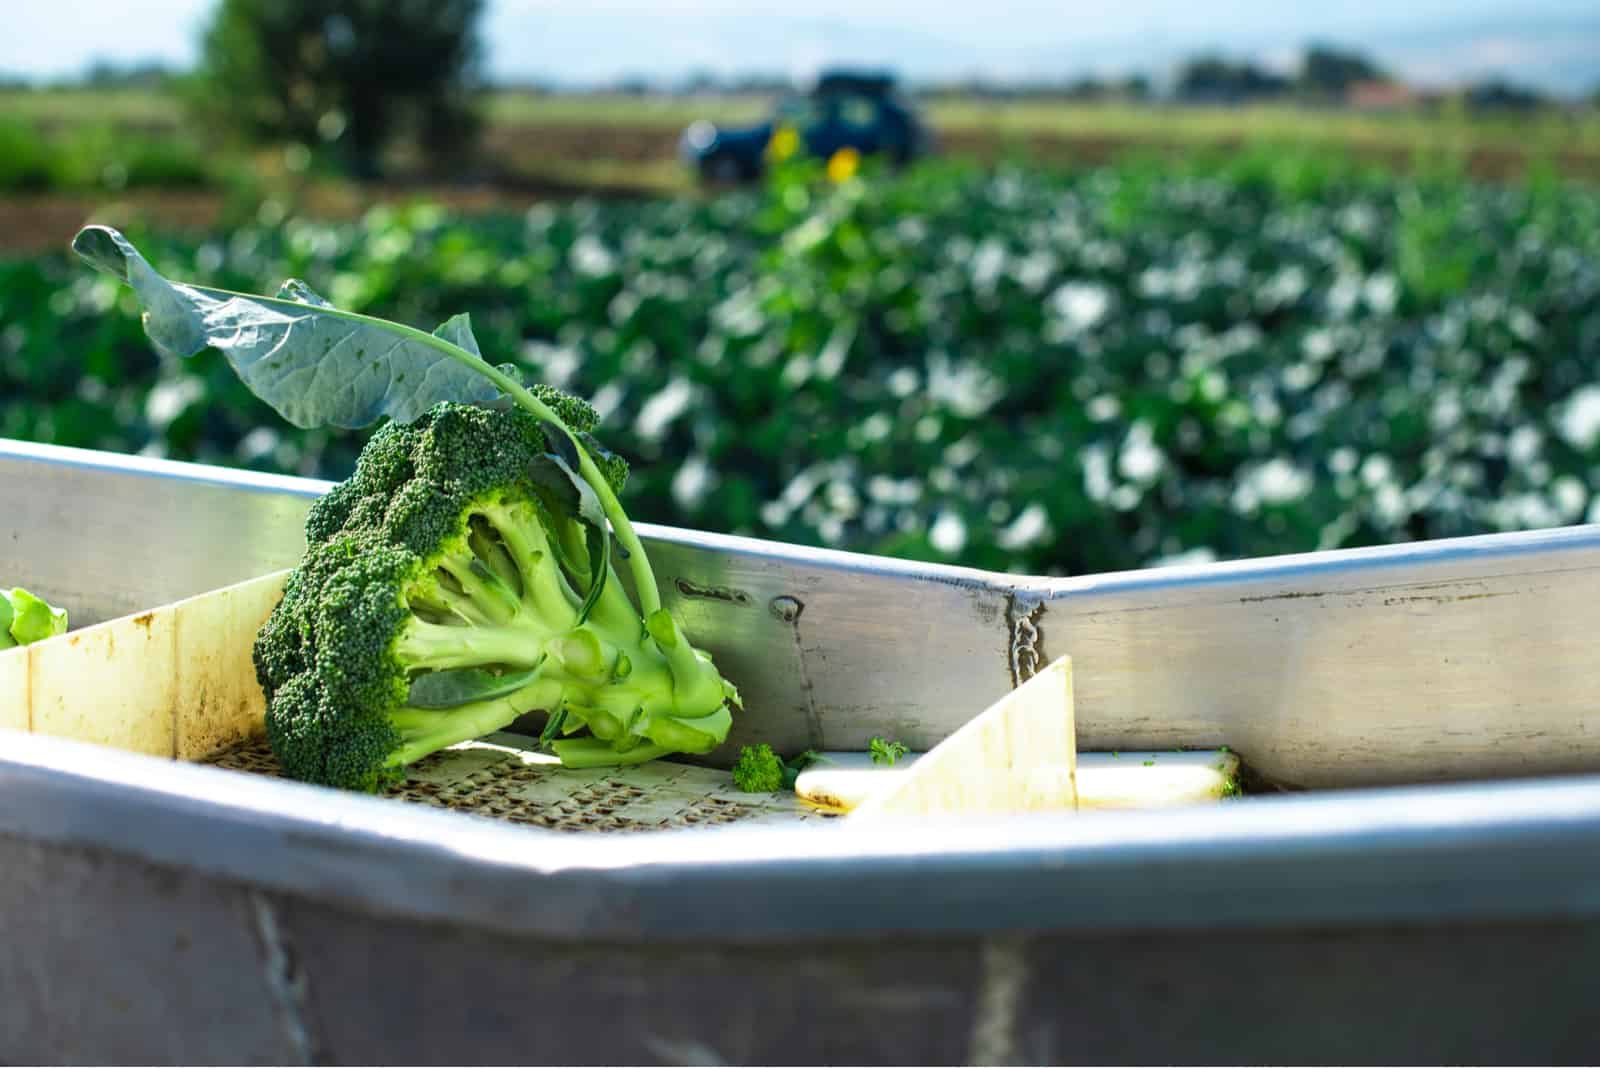
6. Harvesting
Harvesting is the sixth stage of the broccoli growth cycle, but it isn’t the final growing stage. Broccoli can be harvested several times during the growing season before blossoms and seeds appear.
Once fully grown, or when the floret is a strikingly deep green but before the flower buds open and exhibit yellow flowers, the main head is ready for harvest.
Here is a video about harvesting broccoli, you should check it out to see what the plant looks like and what the best harvesting methods are:
7. Side Shoots Formation
Once you have harvested your broccoli, the plant will start developing side shoots from the main stalk. Each of these side shoots will develop into small flower heads that can be harvested.
Plant hormones stimulate the growth of side shoots, which eventually mature into smaller heads that can be picked, increasing the plant’s production.
Again, you should wait until these heads are fully ripe before harvesting them, but don’t wait too long or your broccoli will have a bitter taste.
8. The Flowering Stage
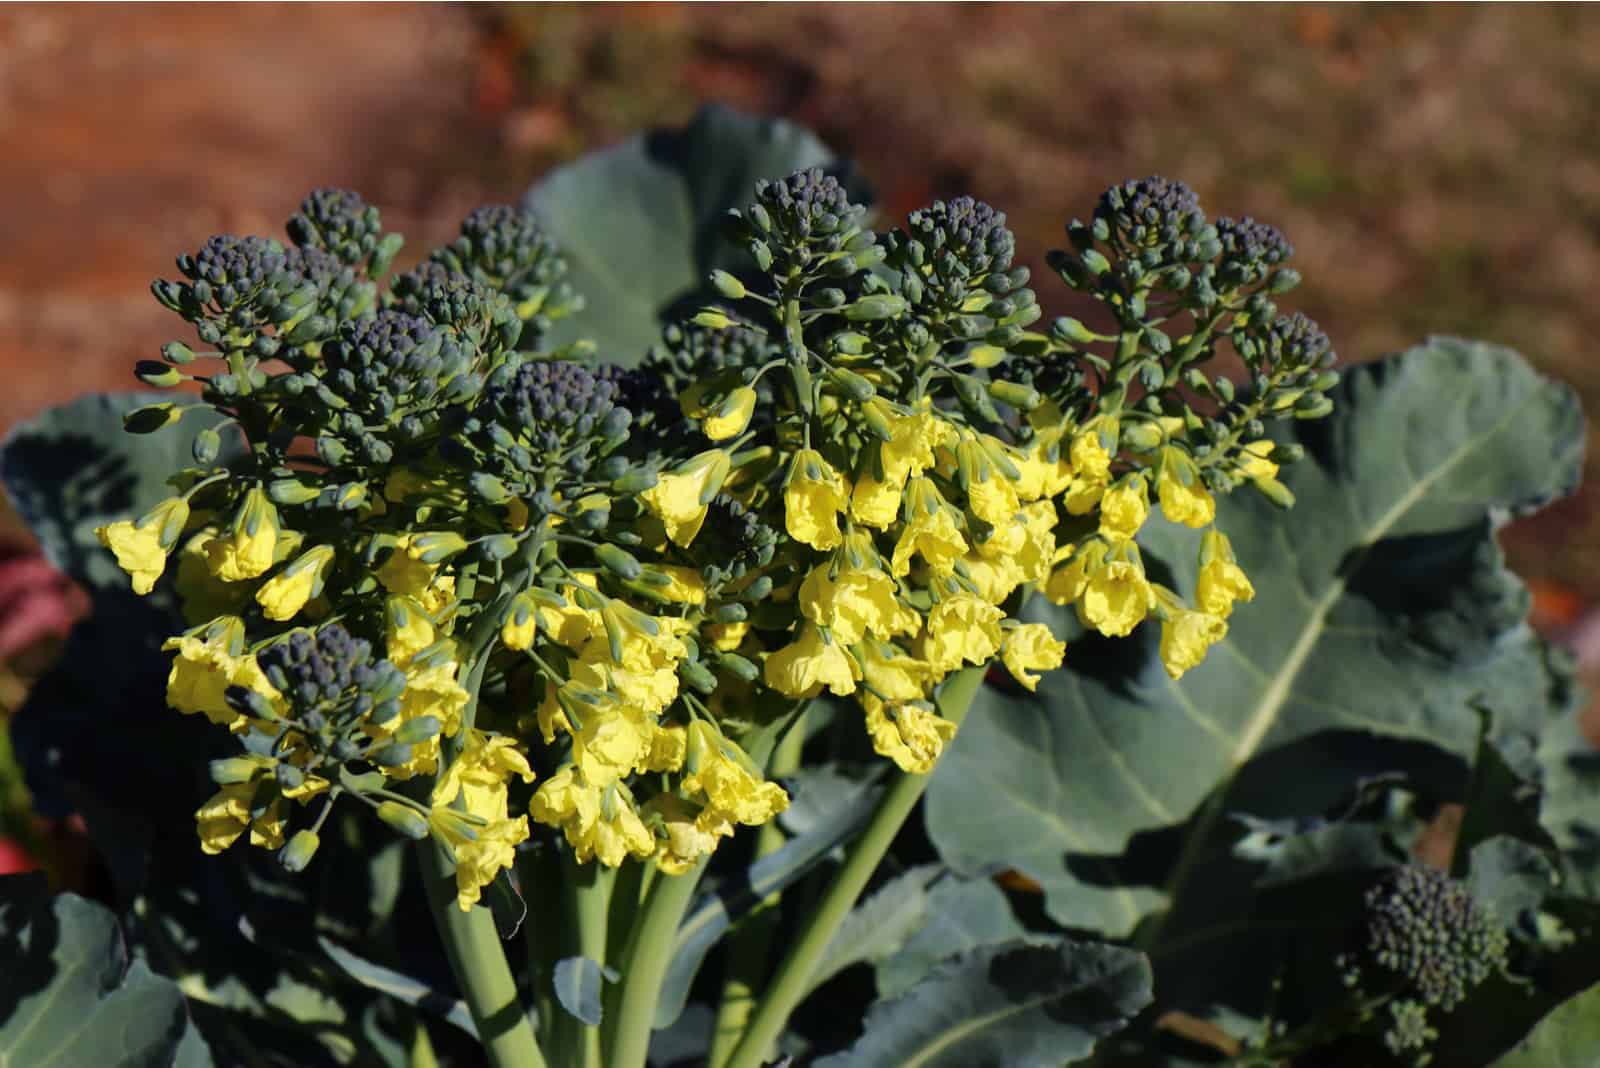
Once the main head stops growing, it’s time for the flowering stage. Flower buds will appear on the flower heads and produce small yellow flowers when they open.
Bear in mind that you should harvest broccoli before it starts blooming because it is much tastier, though broccoli flowers are not toxic and can be eaten if you don’t harvest broccoli on time.
Your broccoli plant reaches full maturity once the flowers are produced, which is when the broccoli starts to bolt. Flowers will attract bees and insects, which will pollinate your plant and begin the seed production process.
Once the blossoms have turned brown, you can cut them, dry them, harvest the seeds, and store them for the following growing season.
9. Seed Production
The yellow flowers will generate seeds that you can harvest if they have been pollinated.
However, there can be no seeds without pollination, so make sure you have a few broccoli plants close to bees or other pollinators.
10. Senescence
The growth cycle of broccoli is complete once the seeds are developed, and the plant can no longer grow after this point.
It has spent nearly all of its energy and other resources on seed development, leaving no food or energy for further growth.
The plant gradually withers away as growth hormones are replaced by those that promote senescence.
Stages Of Broccoli Growth: Common Problems
Unfortunately, broccoli is susceptible to a variety of pests and diseases, making it difficult to maintain, but it’s definitely worth the effort!
Just keep in mind the health benefits of consuming it to keep yourself motivated when fighting against cabbage worms and cabbage loopers.
Broccoli Diseases
Certain bacteria and fungi can infect your broccoli plant, spreading infection and affecting the plant’s overall health.
Some of the diseases include:
• Downy Mildew
• Clubroot
• Powdery Mildew
• Sclerotinia Stem Rot
• Black Rot
• Alternaria Leaf Spot
• Damping Off
• Ring Spot
• Blackleg
Though these diseases can be treated with chemicals, I recommend simply saying goodbye to your plant and removing it as this will prevent diseases from spreading to the other plants in your home garden.
You can also consider planting some disease-resistant varieties of broccoli such as Belstar, which is a hybrid variety resistant to various diseases, although there are many varieties that are both heat-tolerant and disease-resistant.
Broccoli Pests
These irritating little creatures adore chomping on broccoli leaves and leaving big holes in them, and you’ll end up with a skeleton of a plant if this happens!
I had no idea what bugs my plant was vulnerable to, so I had no idea how to treat the problem!
Pests that may infest your broccoli plant include:
• Slugs and Snails
• Flea Beetles
• Cabbage Whiteflies
• Aphids
• Cabbage Moths
• Cabbage Loopers
• Cross-Striped Cabbage worms
First and foremost, make sure that your plant always receives adequate water because it’s extremely water-sensitive. Weeds attract pests, so you should keep the area weed-free by either weeding or mulching.
Plant a yarrow companion plant near your broccoli to attract parasitoid wasps and keep pests away from your plant. Pesticides and other biological treatments can be used as a last option to eliminate pests and parasites.
How To Grow Broccoli: A Quick Care Guide
Following a proper plant care guide will help your plant to both avoid the common pests and diseases, but also produce the tastiest broccoli ever!
Here are some tips and tricks on how to grow broccoli:
Soil Requirements
Broccoli grows best in loose, well-draining soil with plenty of nutrients. You should measure the pH of the soil before planting, and it should be between 6.0 and 6.8. It also prefers moist soil, so remember to water it! Mulching may also assist in moisture retention.
Water Requirements
Broccoli needs to grow in constantly moist soil, so you will have to provide it with an inch or two of water each week. Just make sure that you don’t get the head wet as it can attract pests and diseases.
Temperature Requirements
Broccoli plants thrive in temperatures between 65 to 75 degrees Fahrenheit. They are cold-weather cole crops, so they can tolerate temperatures as low as 20 degrees Fahrenheit. However, any temperature higher than 75 would make your plant bolt.
Light Requirements
This sort of vegetable should be grown in a sunny area of the garden because it requires around 6 hours of full sun per day. Make sure the plant always gets enough light when starting it indoors, grow lights can help with this.
Fertilizer Requirements
You should apply fertilizer that contains a high amount of phosphorus and a low amount of nitrogen. Bear in mind that broccoli plants are heavy feeders so you should use fertilizers throughout the growing season.
Growing Broccoli: Health Benefits
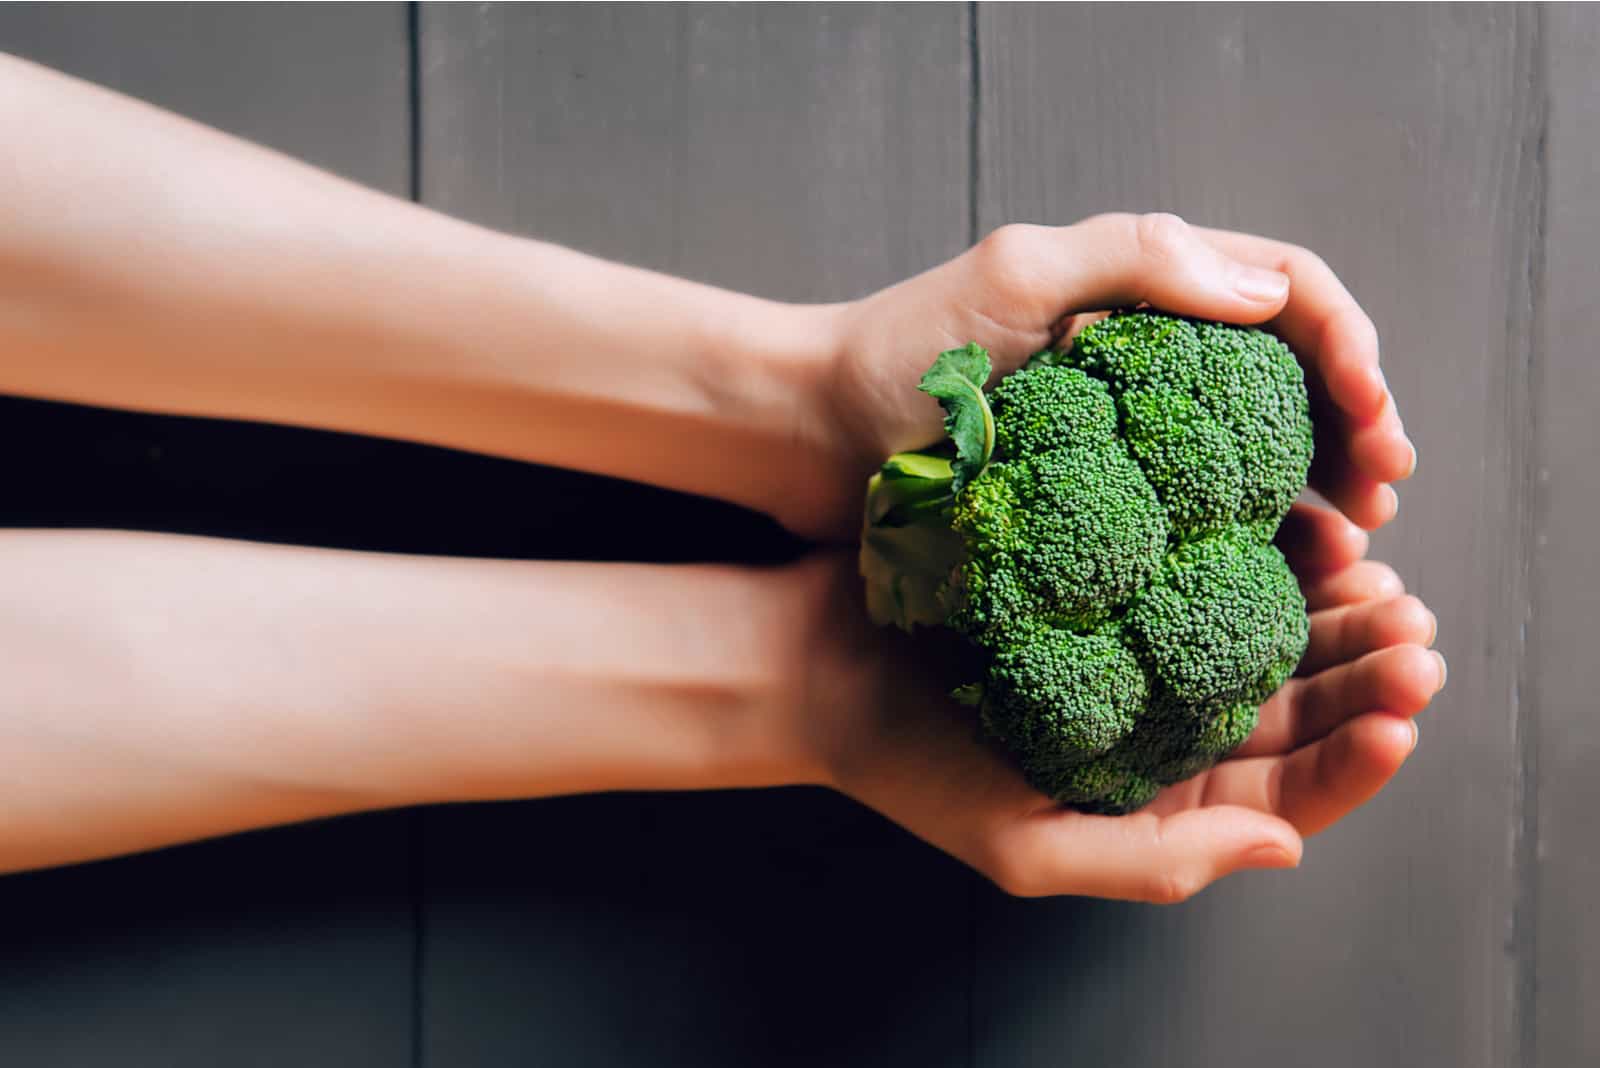
One of the most important reasons you should grow broccoli in your own vegetable garden are its numerous health benefits!
Some of the essential components of broccoli are vitamins A, C, K, B9, potassium, phosphorus selenium, fibers, and proteins. You can either eat broccoli raw or cooked to get all of these essential minerals and vitamins in your tummy!
The antioxidants found in broccoli can reduce bad cholesterol levels, chronic disease development, and blood sugar levels. These antioxidants – together with the fiber – can improve your gut health and digestion.
It also has cancer-preventative effects, and many studies have shown that it helps with breast, prostate, kidney, and bladder cancer. In addition to this, it can promote healthy brain function and slow down mental decline.
It contains bioactive compounds which can also slow down the aging process, and a high concentration of vitamin C to improve the immune system. It’s also good for your skin, bones, and teeth!
Frequently Asked Questions

1. How long does it take to grow a broccoli plant?
It usually takes about 80 to 100 days for a plant to fully develop from seeds, though this depends on the variety of broccoli in question and also the climate in your area. If you started the plant indoors, the transplanted seedling will require from 55 to 85 days to mature.
For instance, the “Pinnacle Premium Crop” variety takes only 58 days to grow, while the “Eureka” variety takes about 87 days.
2. How do I know when my broccoli is ready to harvest?
Once the broccoli head starts to form, you should prepare for harvesting. When you see that the head is compact and the floret has a deep green color, it means that your broccoli is ready to be harvested.
Bear in mind that you should not wait for the broccoli to start blooming. Even though the yellow flowers are edible, they have a bitter taste and less nutritional value.
3. What is the best way to store broccoli?
The best way to store broccoli is in a place with high humidity and low temperatures. The refrigerator seems like the best option, though the humidity is low because of the dry air.
Putting it in a plastic wrapper and storing it in the fridge works, and unwashed broccoli can be stored longer than washed broccoli because it lowers the likelihood of bacterial head rot.
If you want to store broccoli for a longer period of time, I would recommend you put it in a freezer so you can have broccoli anytime you want it with the same taste and nutritional value!
Final Thoughts
Broccoli is definitely a must-have vegetable for every garden!
Not only are the stages of broccoli growth easy to follow, but there are also certain disease-resistant variants that make the growing process a whole lot easier!
In just a few months, you will be able to harvest one of the healthiest vegetables in your very own garden! Seriously, even if you don’t have a garden, I would recommend you either grow broccoli in a container or buy it in store because it has so many health benefits.
You can also leave broccoli to produce seeds and use them for the next growing season.
Good luck on your gardening journey, and I hope you have the largest harvest ever!
Like this post? Share or pin it for later!