15 Steps To Use A Humidity Dome Seed Propagator The Right Way
Using a humidity dome seed propagator might sound fancy, but it’s honestly one of the easiest ways to give your seeds a strong, healthy start. If you’ve ever struggled with slow germination or leggy seedlings, this little setup could change the game for you.
It creates that warm, moist environment seeds love—kind of like a mini greenhouse right on your windowsill. Whether you’re totally new to starting seeds or you’ve had a few flops in the past, there’s no shame in wanting a little extra guidance.
Trust me, once you get the hang of using a dome, you’ll wonder how you ever managed without it. I’ll walk you through 15 simple tips to make the most of your humidity dome. Everything here is meant to help you grow with confidence.
1. Choose The Right Seeds
Selecting seeds is where your journey begins. Consider what plants thrive in your climate and align with your gardening goals. A good seed choice sets the stage for a successful propagation process.
Think about your local conditions and your garden’s needs. It’s not just about picking favorites; it’s about picking wisely. Take into account the plant’s light requirements and growth habits.
If you’re a beginner, easy-to-grow seeds like tomatoes or lettuce are excellent choices. Remember, your choice affects everything from watering schedules to the eventual harvest.
2. Prepare The Growing Medium

Before planting, ensuring the right growing medium is crucial. Opt for a sterile, well-draining mix to prevent disease and promote healthy root development.
This step lays the groundwork for robust growth. Avoid garden soil, as it might compact and hold too much moisture. Consider a mix of peat, vermiculite, or perlite for optimal results.
The medium should be moist but not soggy – think of a damp sponge. This balance helps seeds germinate effectively. Preparing your medium with care can significantly influence your seedlings’ success.
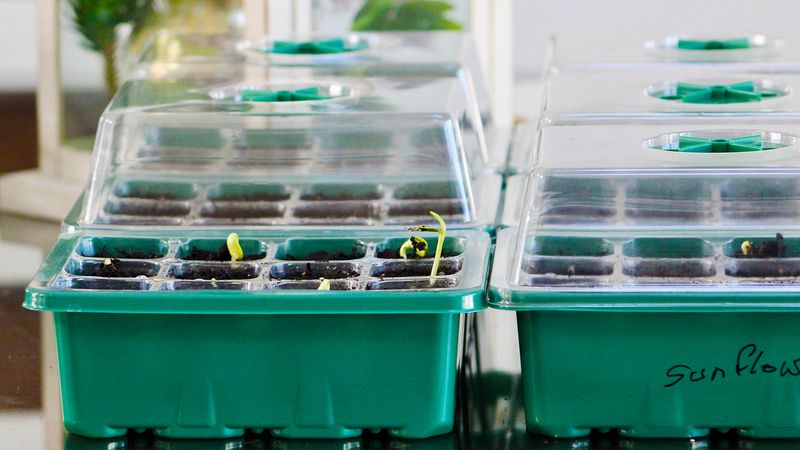
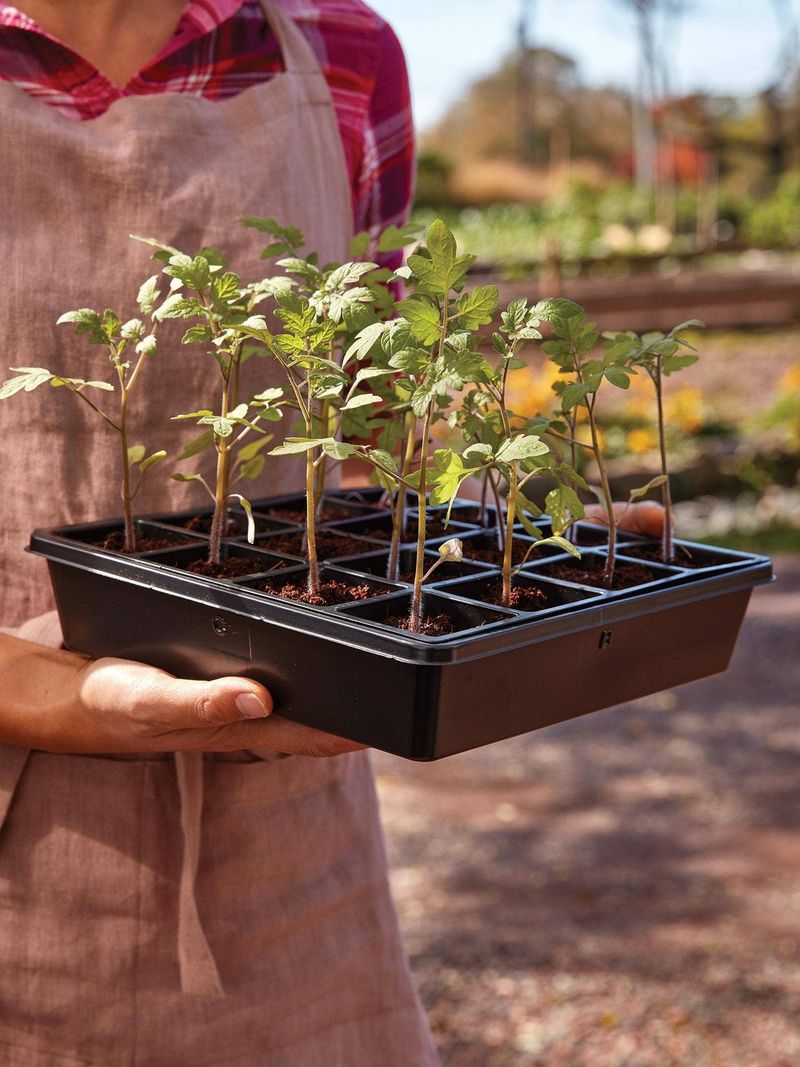
3. Set Up The Seed Tray
Arranging your seed tray correctly is key to supporting seedling growth. Use trays with compartments to separate seeds and allow easy access to each.
This organization enhances your ability to care for different types of seeds efficiently. Ensure each compartment has drainage holes to avoid waterlogging. Place the tray on a stable surface where it won’t be disturbed.
Providing a stable environment from the start ensures your seedlings have the best conditions for germination and growth. A little planning goes a long way in keeping things structured and manageable.
4. Moisten The Soil
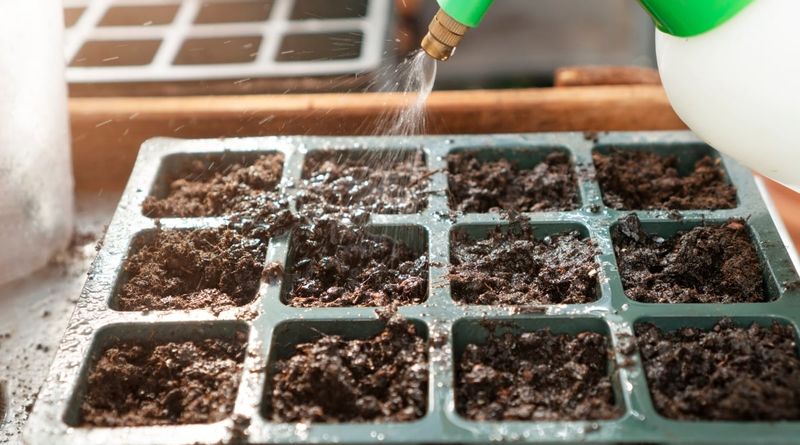
Properly moistening the soil is an art. Use a spray bottle to avoid over-saturating; the goal is damp, not drenched. This helps seeds absorb necessary moisture without risking rot.
Maintaining even moisture levels is crucial for seed germination. Regularly check the soil’s surface, adjusting as needed to prevent drying out.
Overwatering can lead to fungal growth, so it’s better to err on the side of caution. The soil should be like a wrung-out sponge, ensuring seeds have the ideal environment to sprout. Gentle care here pays dividends later.
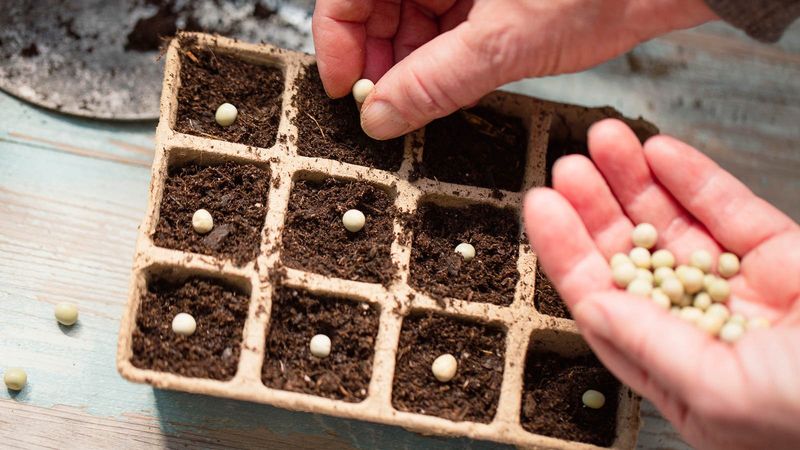
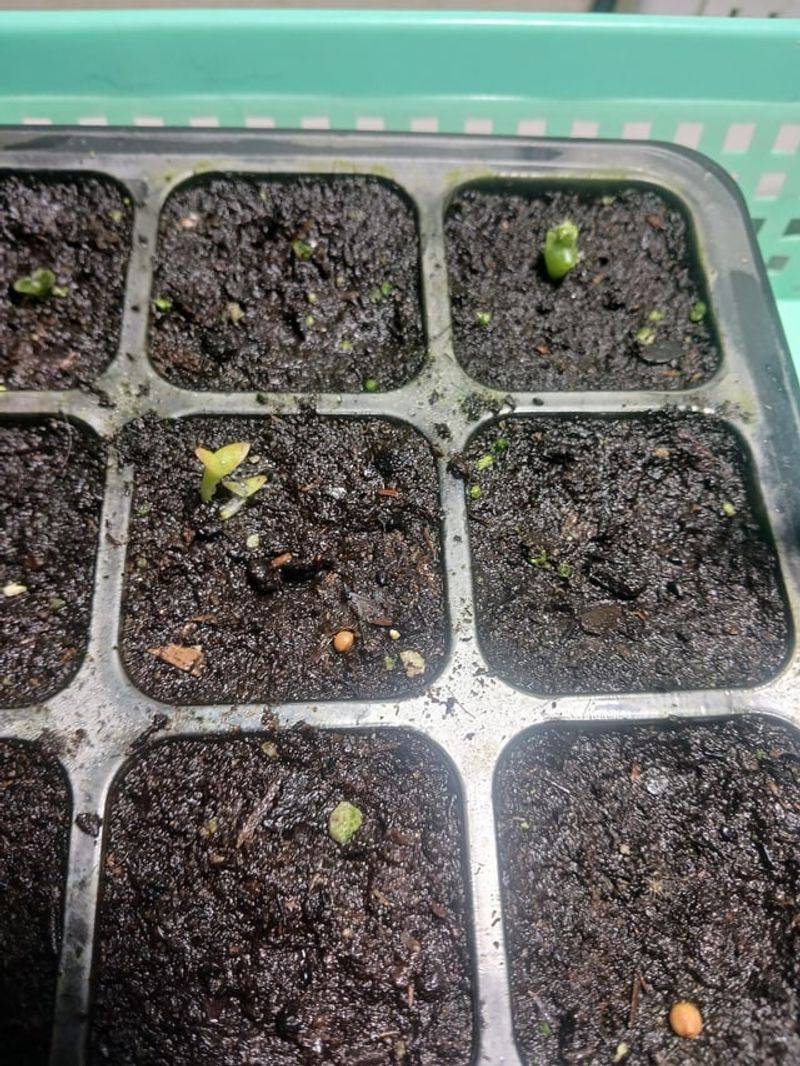
5. Plant The Seeds
With the soil ready, it’s time to plant. Follow the seed packet instructions for depth, usually a few millimeters under the soil surface. This step directly influences germination success.
Use a pencil or small stick to create indentations, then cover the seeds lightly. Be gentle to avoid disturbing the soil too much. Overburying can hinder growth, so precision is key.
After planting, gently press the soil to ensure good seed-to-soil contact. This connection is vital for germination, making it a step where careful attention truly matters.
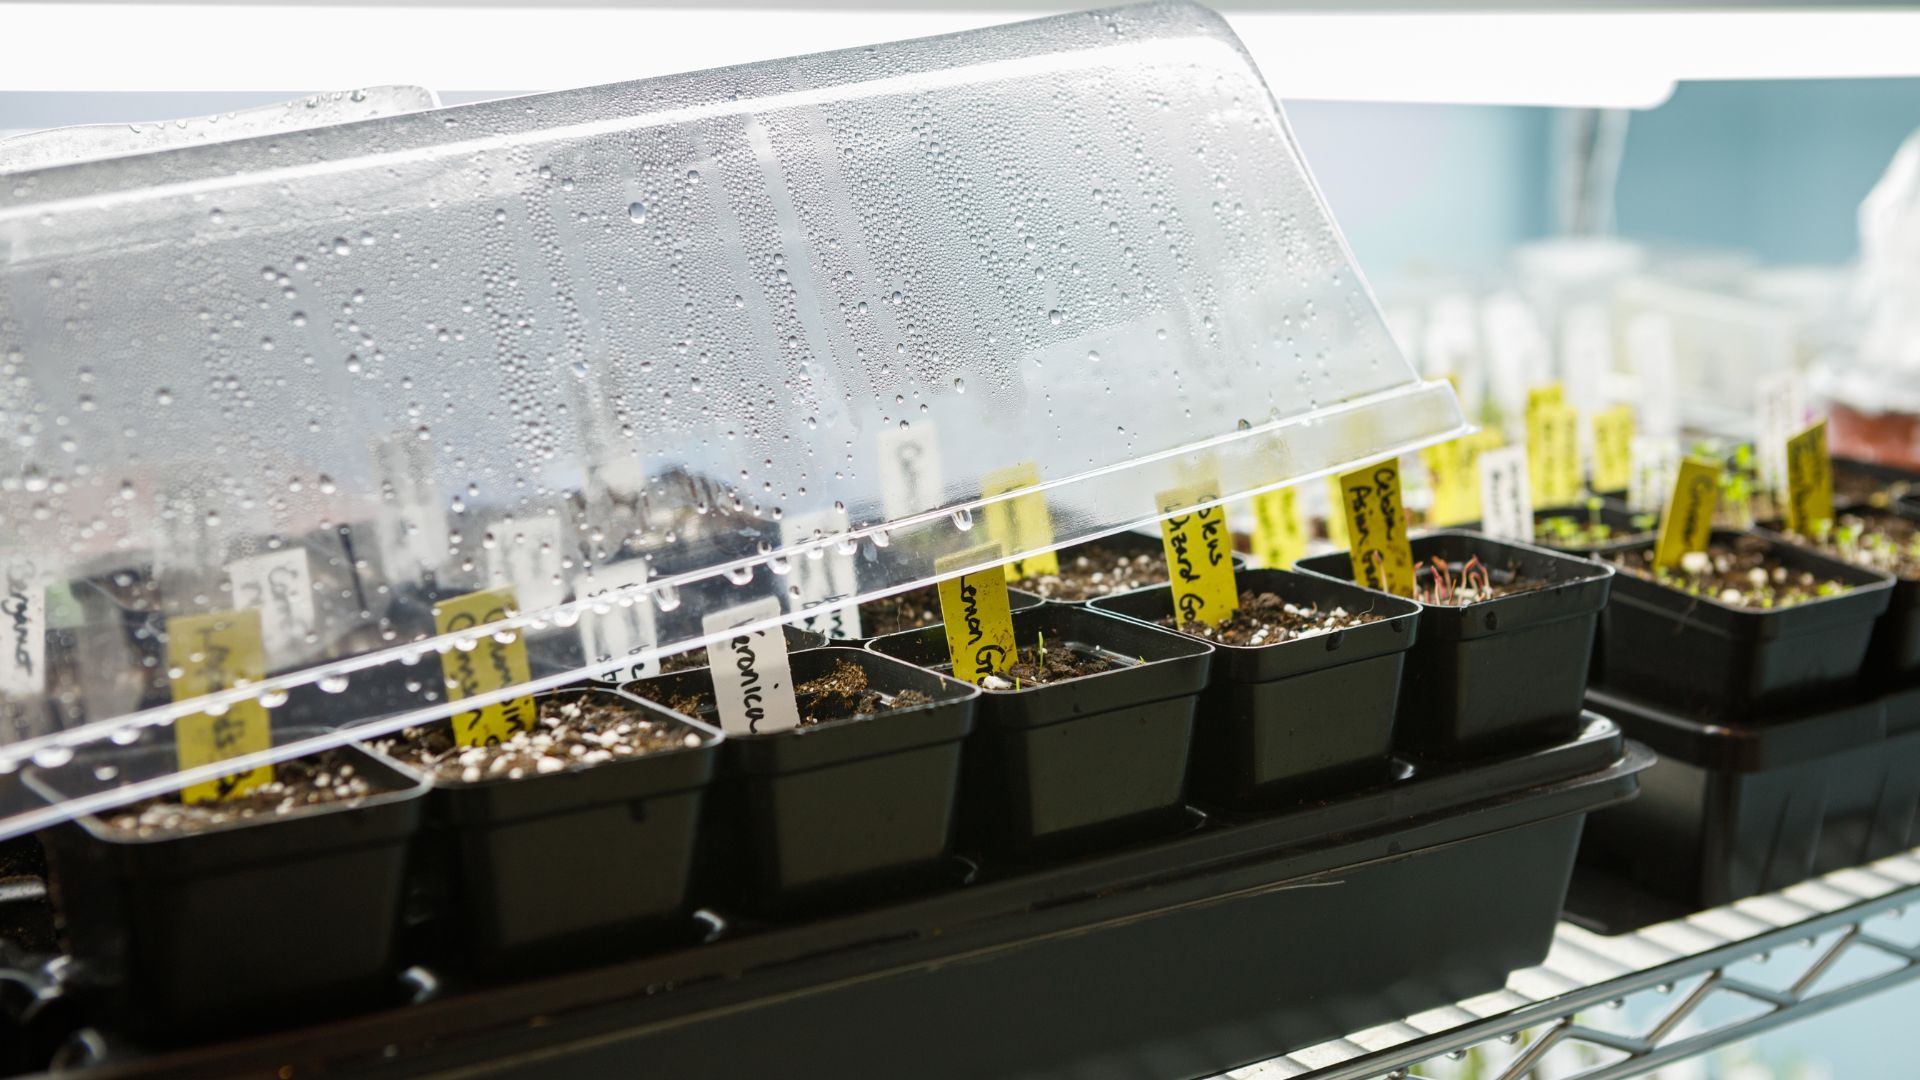
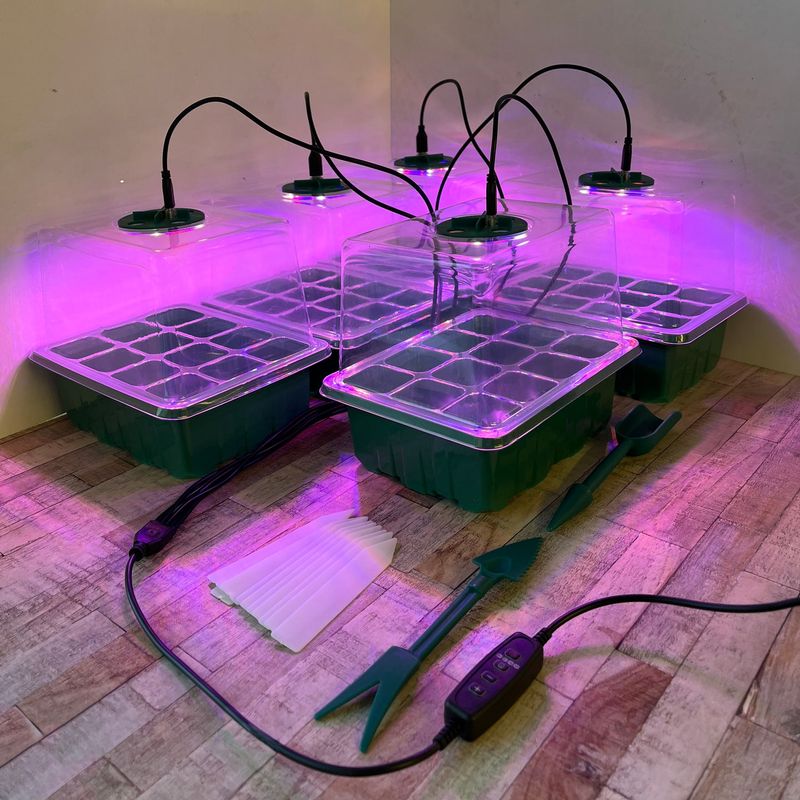
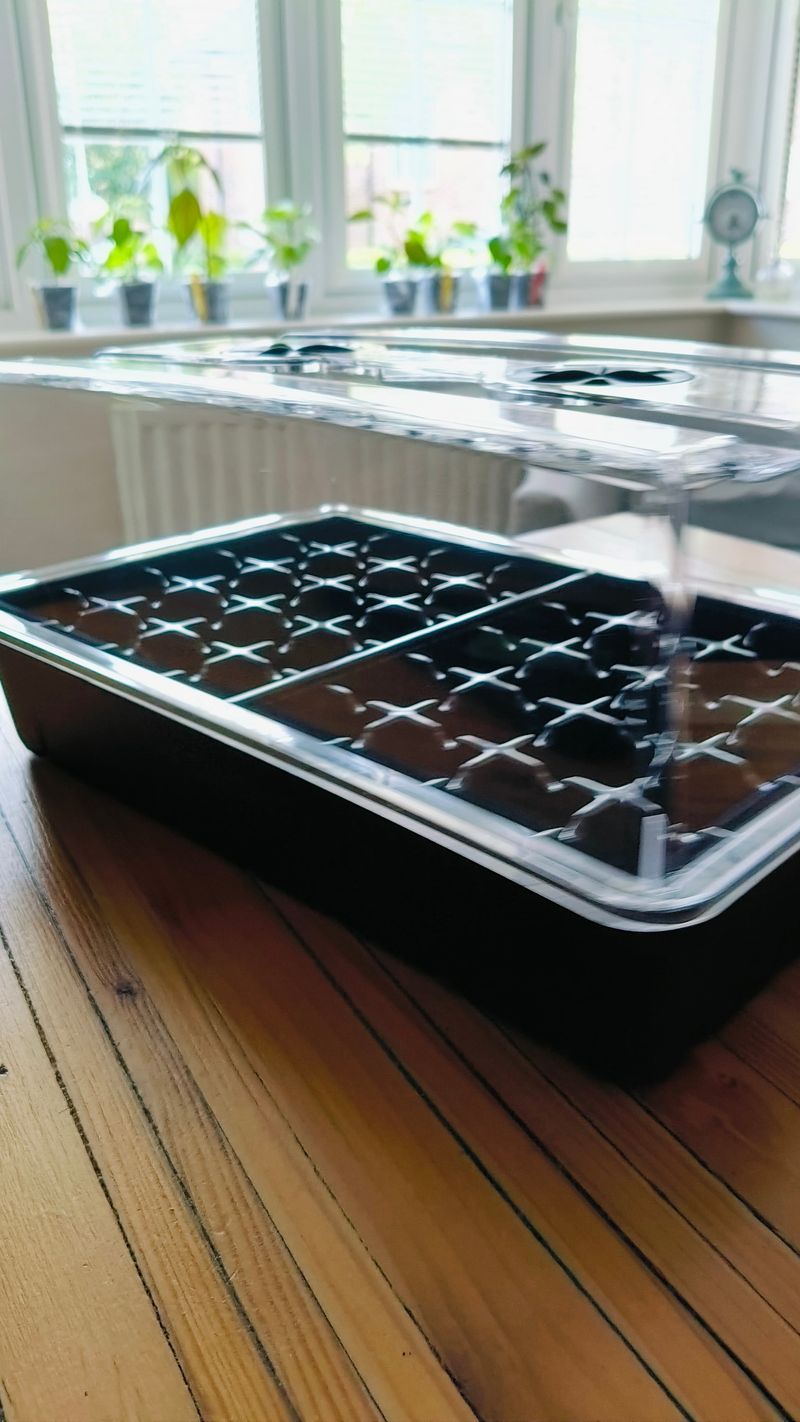
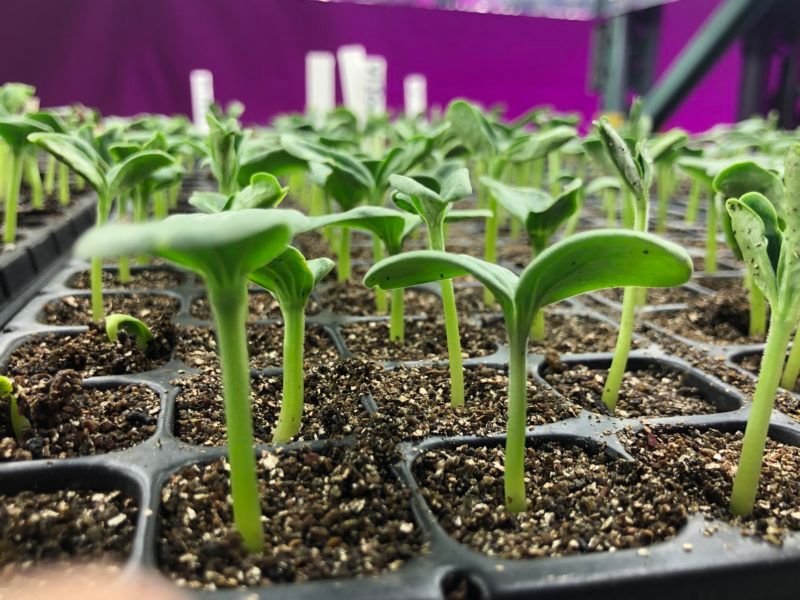
6. Cover With The Humidity Dome
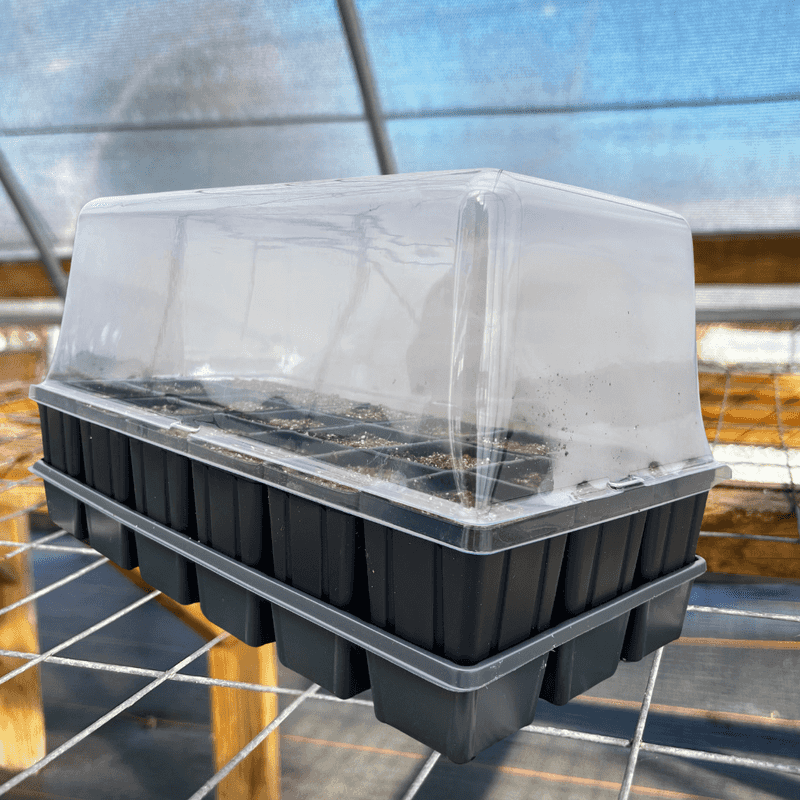
The humidity dome creates a mini-greenhouse effect, crucial for maintaining moisture and warmth. Place it snugly over the seed tray, ensuring it fits well.
This step helps control the microclimate, essential for germination. The dome traps humidity, reducing the need for frequent watering. However, check daily for excessive condensation, which can lead to mold. Adjust ventilation as necessary to balance moisture and airflow.
The dome’s role is critical in creating a stable environment, helping seeds sprout strong and healthy. It’s a simple but effective tool in your propagation kit.
7. Monitor Temperature And Light
Temperature and light are pivotal for seedling success. Most seeds need warmth to germinate, so maintain a consistent temperature, often between 65-75°F.
Place the setup in a bright location, but avoid direct sunlight, which can overheat. A small grow light can supplement natural light, especially in dim areas. Monitor conditions to make adjustments as needed.
Too much shade or cool temperatures can hinder growth, while excess heat can dry out the soil. Keeping these elements in balance will foster strong, healthy seedlings.
8. Ventilate The Dome
Proper ventilation prevents mold and promotes healthy growth. Lift the dome periodically to allow fresh air in, starting with a few minutes each day.
This practice helps acclimate seedlings to outside conditions gradually. As seedlings grow, increase ventilation time to strengthen their resilience. Be mindful of the environment; too much humidity can lead to fungal issues. Gradual exposure to outside air promotes robust development.
Adjust based on your plants’ needs, ensuring they aren’t shocked by sudden changes. A well-ventilated environment is key to strong seedlings.
9. Water With Care
Watering requires a gentle touch. Use a watering can with a fine spout to avoid disturbing the soil. The goal is to maintain consistent moisture without waterlogging.
Check the soil’s top daily for moisture levels. If it feels dry, lightly water around the seedlings’ base. Avoid pouring directly onto the plants to prevent damage.
Consistent, careful watering supports steady growth and reduces transplant shock later. Overwatering is a risk, so always err on the cautious side. Balance is key to nurturing healthy, resilient seedlings.
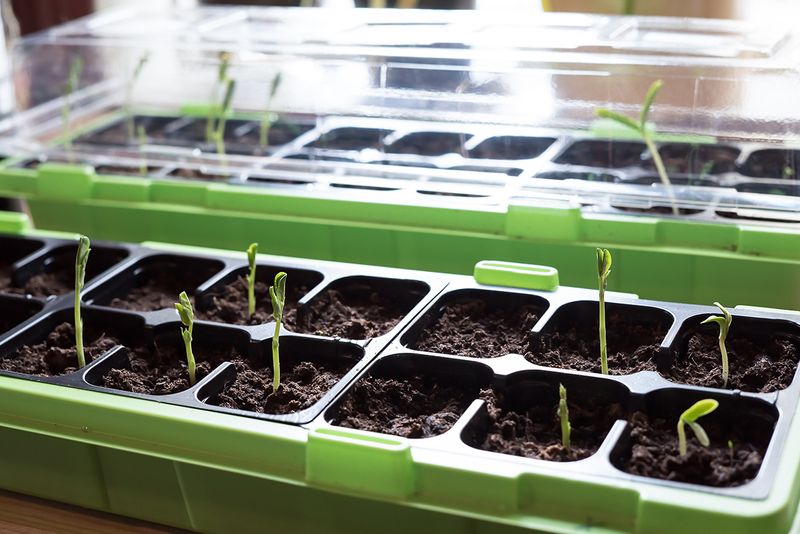
10. Thin Out Seedlings
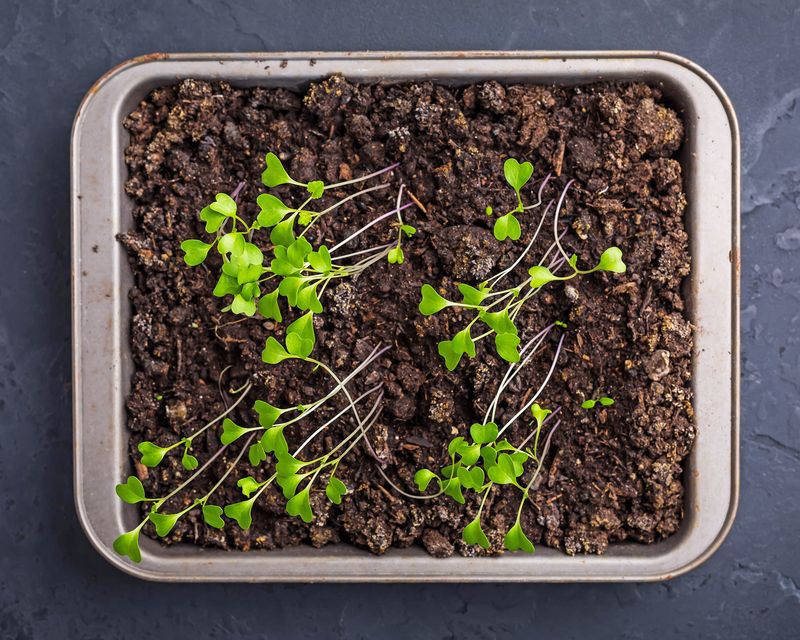
Thinning seedlings prevents overcrowding, which can lead to weak growth. Once seedlings develop a few true leaves, it’s time to trim.
Use small scissors to cut weaker ones at the soil line, leaving the strongest. This allows remaining seedlings to get the nutrients they need. Crowded plants compete for resources, stunting growth. Removing the extras encourages robust development.
Handle the process gently to avoid disturbing the roots of those left behind. Thinning is a crucial step in ensuring each plant has space and nutrients to thrive.
11. Adjust For Growth
As plants grow, adjustments may be necessary to accommodate their needs. Raise grow lights to prevent scorching and ensure even light distribution.
Keep an eye on space and airflow, adapting the setup to prevent crowding. Your setup should evolve with the plants, ensuring they have room to expand. This proactive approach helps prevent issues like legginess or stunted growth.
Regular checks and tweaks ensure optimal conditions, fostering healthy, strong seedlings ready for transplanting. Being adaptable is key to successful propagation.
12. Transplant Gently
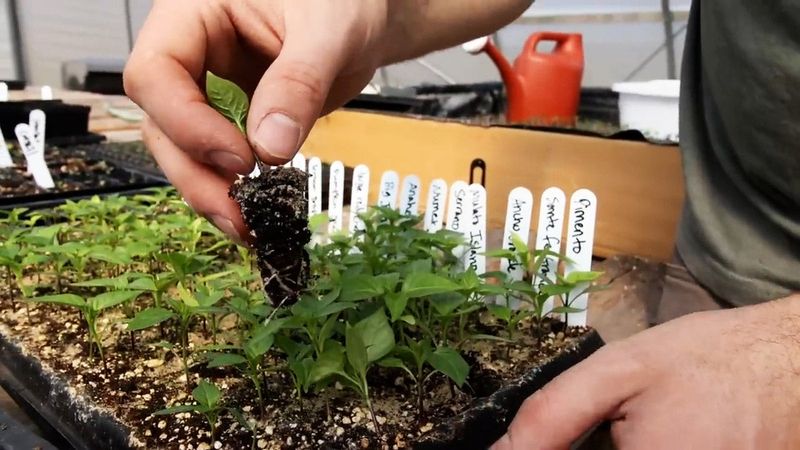
Transplanting is a delicate phase. When seedlings have several true leaves, it’s time to move them. Use a small trowel to gently lift them, preserving as much root as possible.
This careful handling minimizes shock. Prepare larger containers with the same growing medium to ease the transition. Ensure they’re well-watered before moving.
Handle each seedling with care, planting at the same soil depth as before. This steady, patient process helps seedlings adapt to their new environment smoothly. Proper technique here sets the stage for further growth.
13. Harden Off Seedlings
Hardening off is crucial before fully planting outside. Gradually expose seedlings to outdoor conditions over 7-10 days, starting with a few hours in shade. Increase sun and wind exposure incrementally.
This gradual process strengthens and acclimates them, reducing transplant shock. Pay attention to weather forecasts; avoid extreme conditions during this period.
The goal is to make seedlings resilient and ready for the garden. This step transitions them from controlled environments to the variability of outdoor life. Success here means robust plants ready to thrive outside.
14. Maintain Hygiene
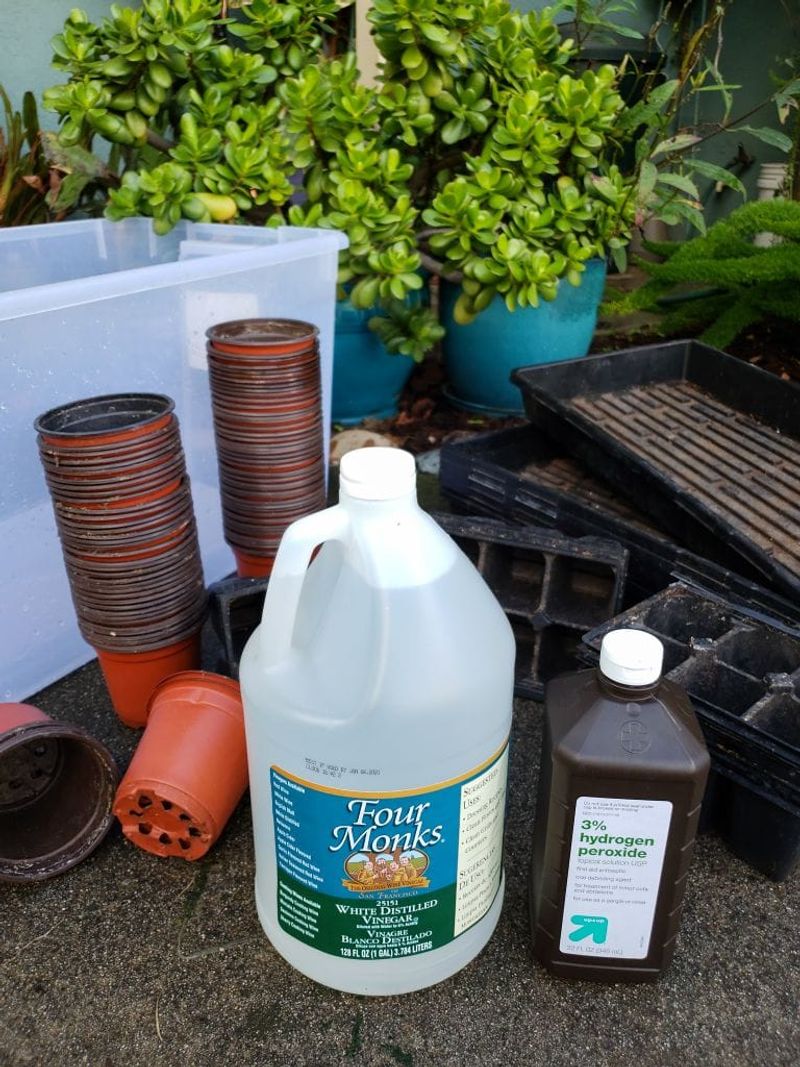
Keeping tools and trays clean prevents disease. After transplanting, disinfect seed trays and tools with a mild bleach solution. This practice stops pathogens from spreading.
Regular cleaning is a proactive measure for healthy seedlings. It also prolongs the life of your gardening equipment. Dry all items thoroughly before storing to avoid rust or mold.
Consistently maintaining cleanliness safeguards your next batch of seedlings. It’s a simple yet effective way to support your gardening success. Hygiene is just as important as watering and light in seed propagation.
15. Keep A Grow Log
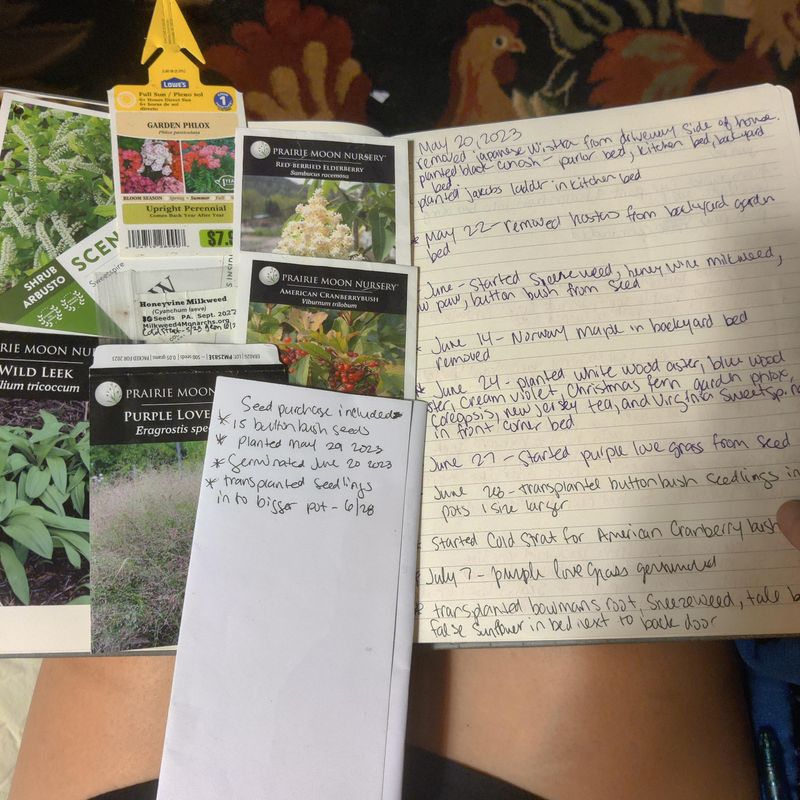
Documenting your gardening journey can be enlightening. Keep track of planting dates, germination times, and any issues encountered. This information is invaluable for future planning and learning.
Note environmental conditions like temperature and humidity and observe how changes affect growth. Reflecting on your observations helps refine your technique. A grow log becomes a personalized guide for improving each season.
It’s not just about records; it’s about understanding and evolving as a gardener. Over time, your log becomes an indispensable tool for fine-tuning your approach.