20 Pro Tips For When And How To Plant Winter-Sown Seedlings
Winter-sown seedlings are like little garden warriors — tough, resilient, and ready to take on the season ahead. Starting with winter sowing gives your plants a natural edge, helping them adjust to the elements right from the beginning.
And when it’s finally time to plant them out, it’s such a rewarding moment! If you’re itching to get your hands back in the dirt (and honestly, who isn’t?), knowing the right timing, how to prep your soil, and the best way to move those hardy seedlings will make all the difference.
Here are 20 practical tips to guide you through planting your winter-sown seedlings, so they can settle in, stretch their roots, and really thrive in your garden.
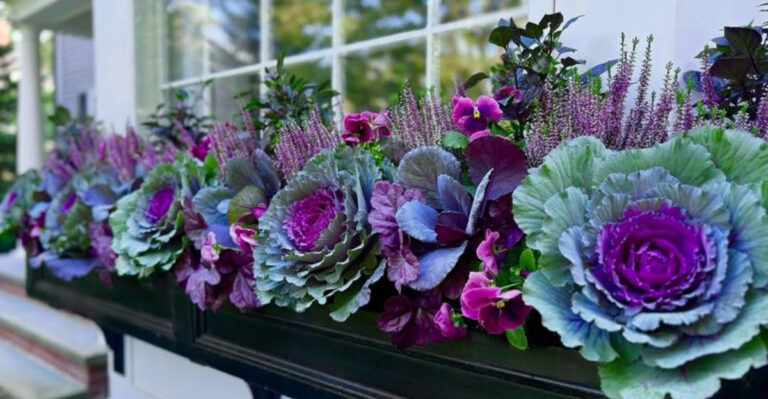
1. Choose The Right Seeds
Selecting the right seeds is crucial for winter sowing. Opt for cold-tolerant varieties such as kale, lettuce, and pansies. These plants can handle chilly temperatures and will germinate as the weather begins warming.
Each seed packet usually contains useful planting information, so pay attention to the instructions given there. Additionally, choosing seeds that match your local climate will increase the chances of successful germination and plant vigor.
By starting with the right seeds, you’re setting a solid foundation for your winter garden. Take your time to research and choose wisely.
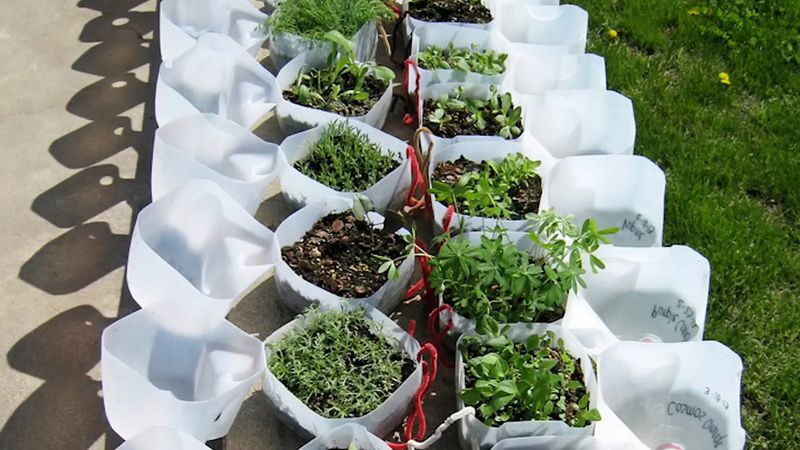
2. Prepare Your Containers

Recycling containers for winter sowing not only helps the environment but also serves a practical purpose. Use milk jugs, yogurt cups, or other plastic containers, ensuring they have drainage holes.
Fill them with potting soil and plant your seeds according to the packet instructions. This setup mimics a mini-greenhouse, protecting seeds from harsh winter conditions while allowing for natural stratification.
Proper drainage prevents waterlogging, essential for healthy root development. With well-prepared containers, your seeds will have the ideal environment to start their journey.
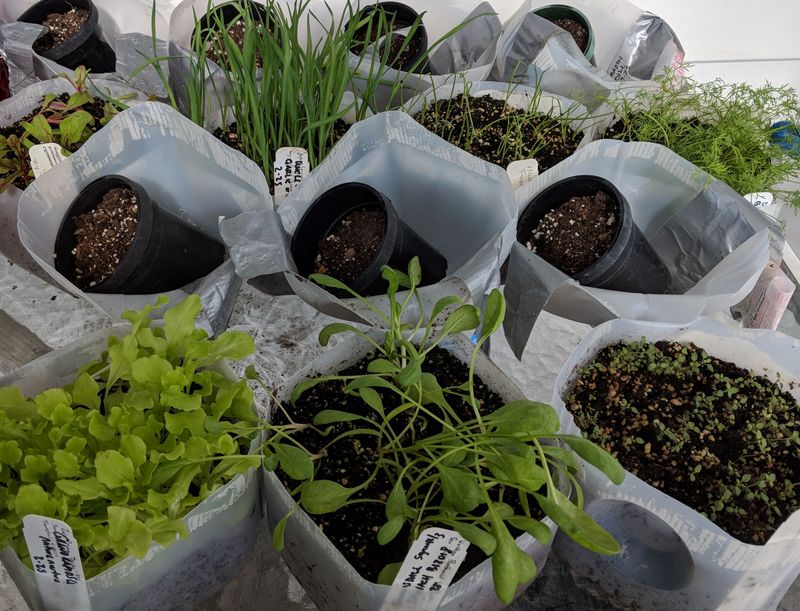
3. Label Everything Clearly
Keeping track of your plantings can be crucial, especially when sowing multiple seed types. Use durable labels to mark each container with the plant’s name and sowing date.
Consider using waterproof markers or labels to withstand winter weather. This simple step prevents confusion later on, ensuring you can easily identify seedlings and cater to their specific needs.
Clear labeling also assists in tracking growth and adjusting care as needed. By labeling clearly, you maintain an organized and efficient gardening process.
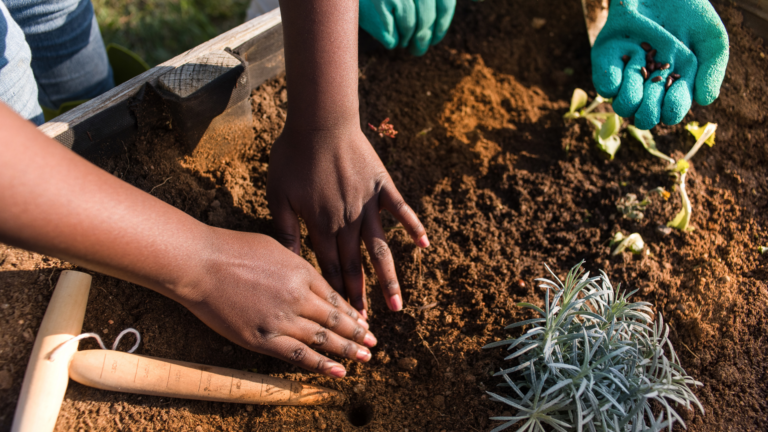
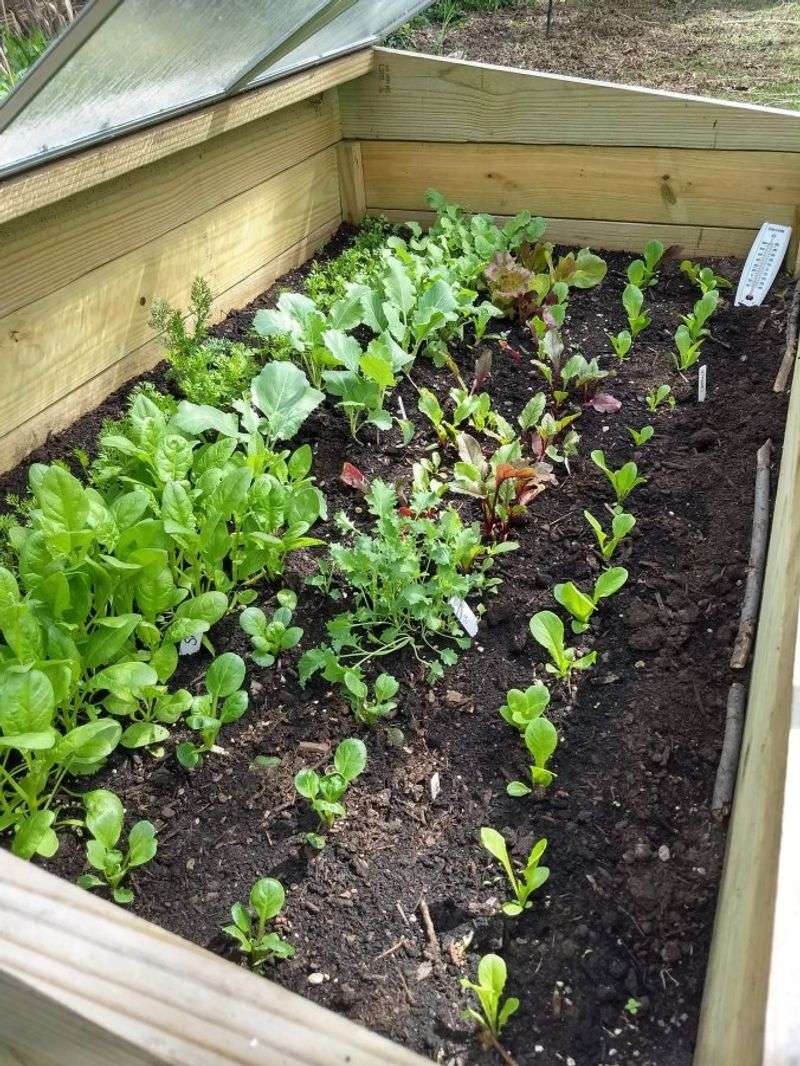
4. Create Ideal Soil Conditions

The foundation of successful plant growth lies in the soil. Amend your garden soil with compost to improve its texture and nutrient content. This preparation ensures seedlings have access to essential nutrients as they grow.
A well-draining, nutrient-rich soil supports robust root development. Additionally, testing your soil’s pH and adjusting it accordingly can benefit specific plants.
Providing ideal soil conditions helps seedlings transition smoothly from containers to garden beds, promoting healthy growth and flourishing plants.
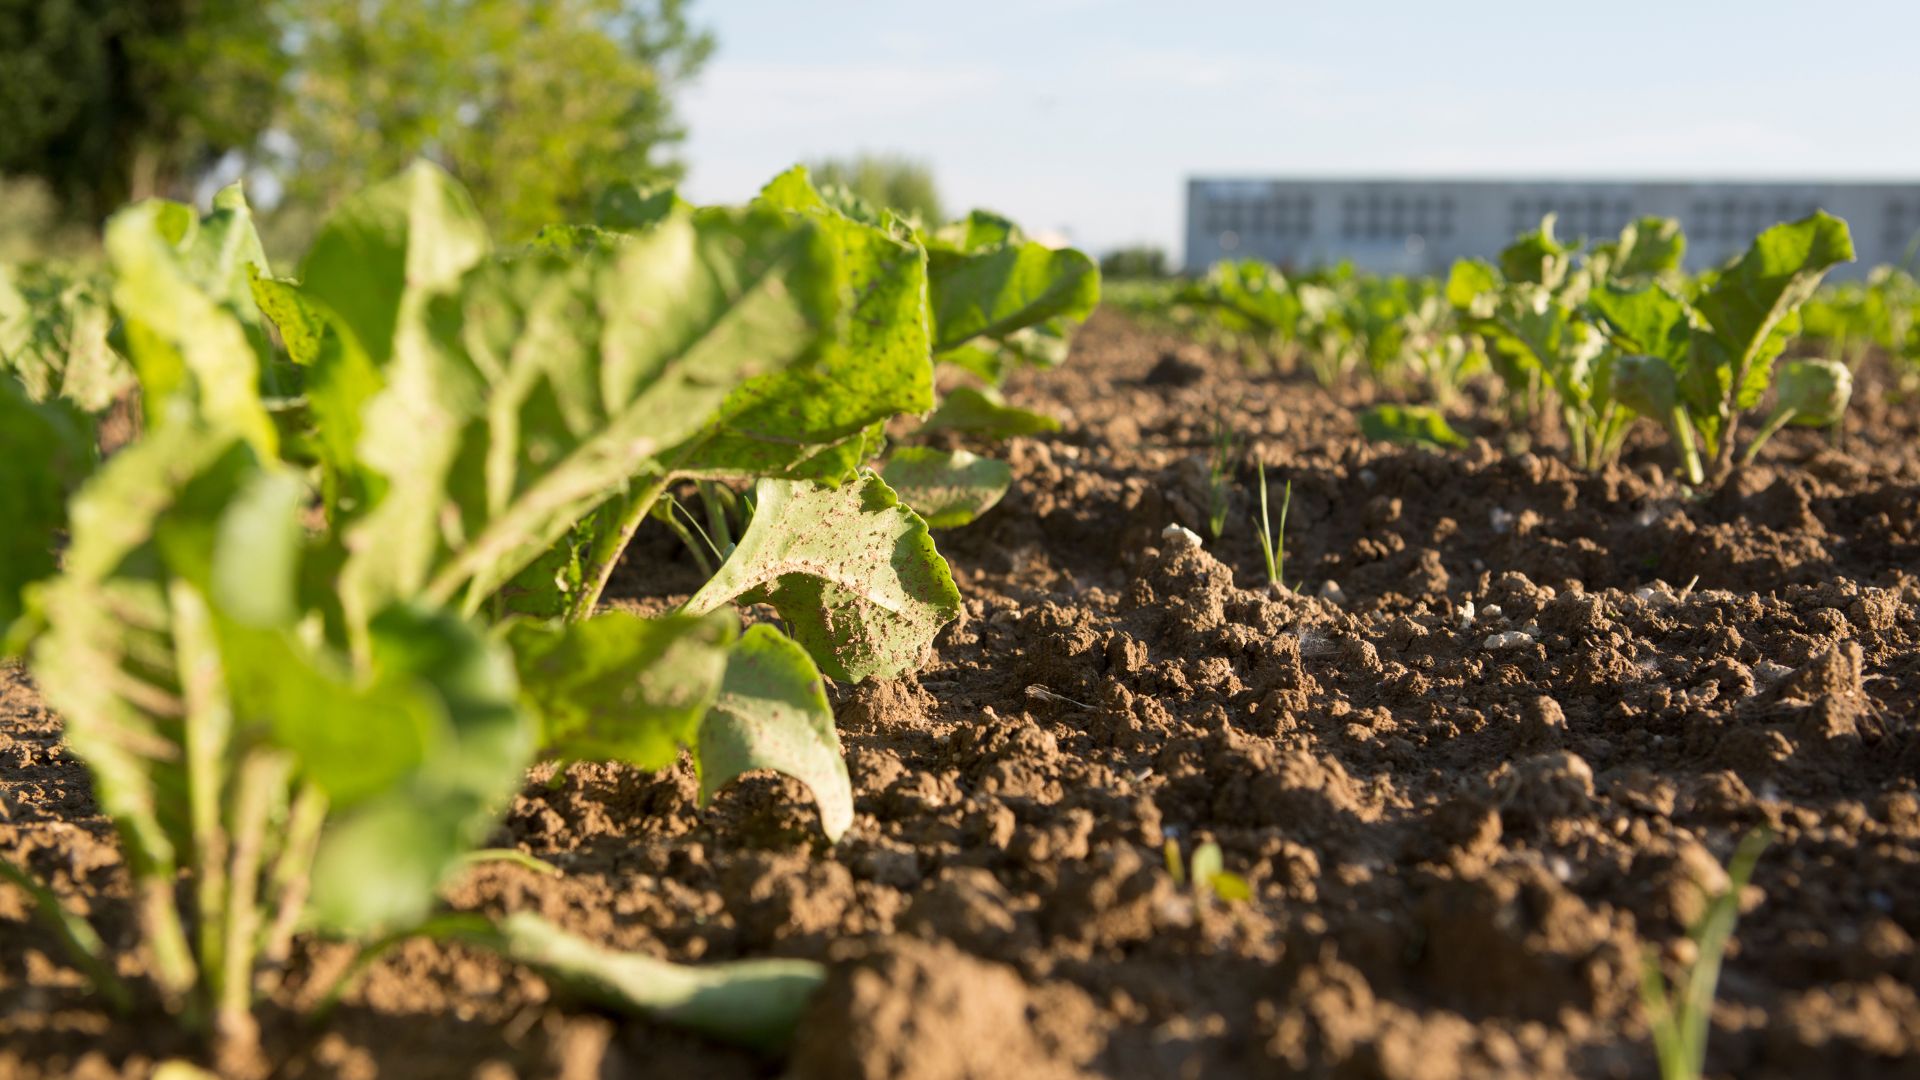
5. Timing Is Everything

Knowing when to plant is essential for winter sowing success. Start sowing in late winter to early spring, when temperatures begin to rise slightly. This timing allows seeds to undergo necessary cold stratification while avoiding late frosts.
Pay attention to your local climate and weather patterns to pick the best sowing dates. A well-timed planting ensures seedlings emerge at an optimal time, reducing risks from severe weather.
Taking time to plan your planting schedule can lead to more successful germination and growth.
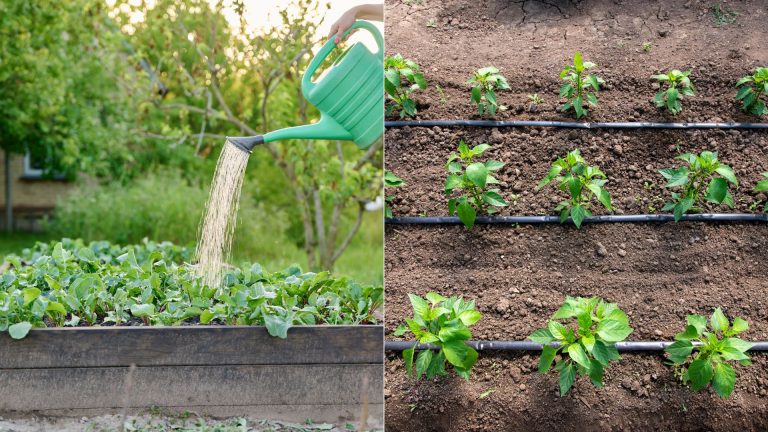
6. Monitor Moisture Levels
Maintaining proper moisture levels is vital for seed germination and seedling health. Check containers regularly, ensuring the soil remains moist but not waterlogged.
The enclosed environment of a mini-greenhouse aids in moisture retention, but it’s important not to let the soil dry out completely. A simple misting can provide enough moisture without disturbing seeds.
Adjust watering frequency based on weather conditions, keeping an eye on both the soil and containers. Proper moisture management supports healthy, thriving seedlings.
7. Gradual Sun Exposure
As seedlings emerge, gradually introduce them to sunlight to prevent shock. Start by placing them in a shaded area, slowly increasing sun exposure over a week.
This acclimatization helps seedlings develop resilience to direct sunlight when transplanted. Sudden intense light can cause stress and hinder growth, while a gradual increase fosters healthy adaptation.
By carefully managing sunlight exposure, seedlings become more robust and ready for their final garden spot. This process, known as hardening off, is key to successful transplantation.
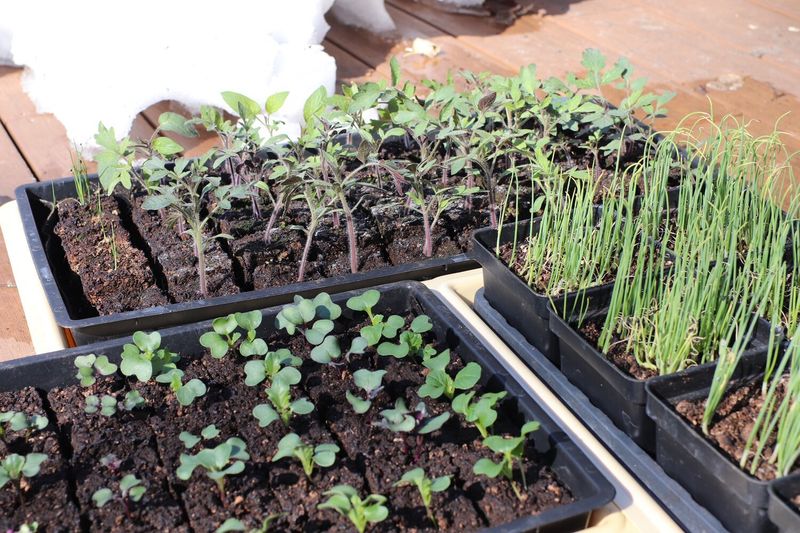
8. Spacing And Thinning
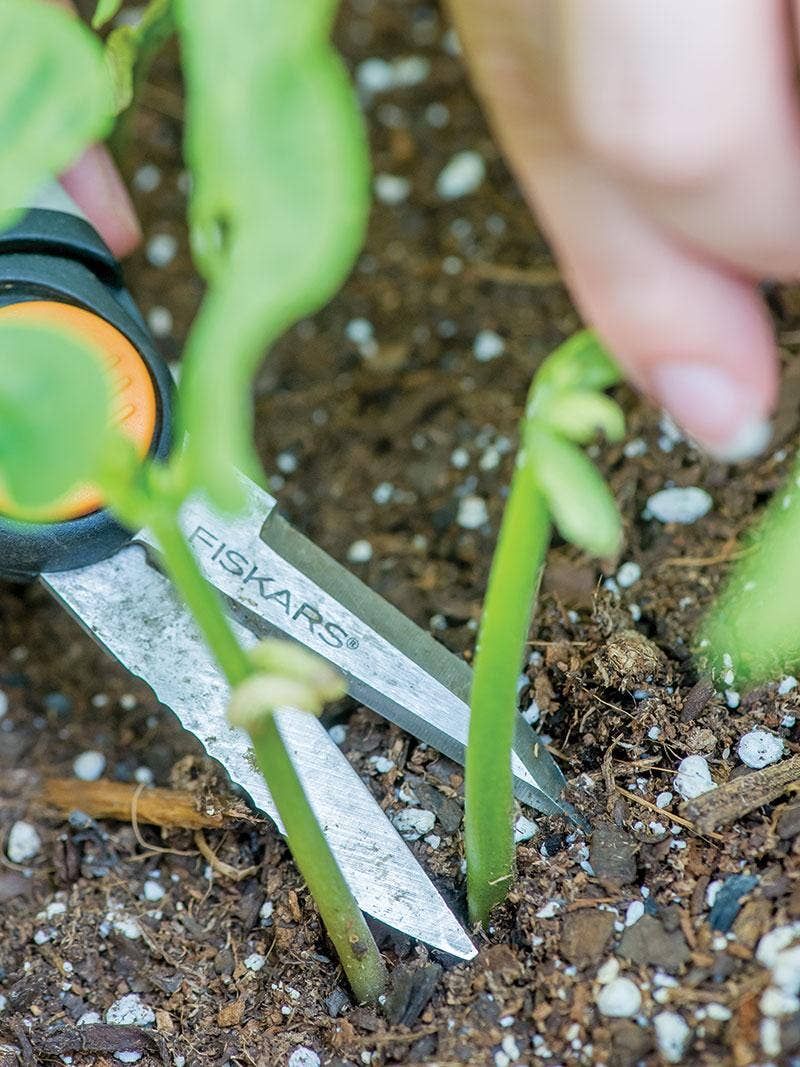
Crowded seedlings compete for resources, affecting growth. Thin seedlings in containers to ensure adequate spacing, allowing each plant room to develop.
This process prevents competition for light, nutrients, and water, fostering stronger plants. Use small scissors to snip excess seedlings rather than pulling them out to avoid disturbing roots.
Proper spacing encourages vigorous growth and reduces disease risk. Giving your seedlings the space they need sets the stage for a healthy garden. Remember, quality over quantity leads to a more successful outcome.
9. Transplant On A Cloudy Day
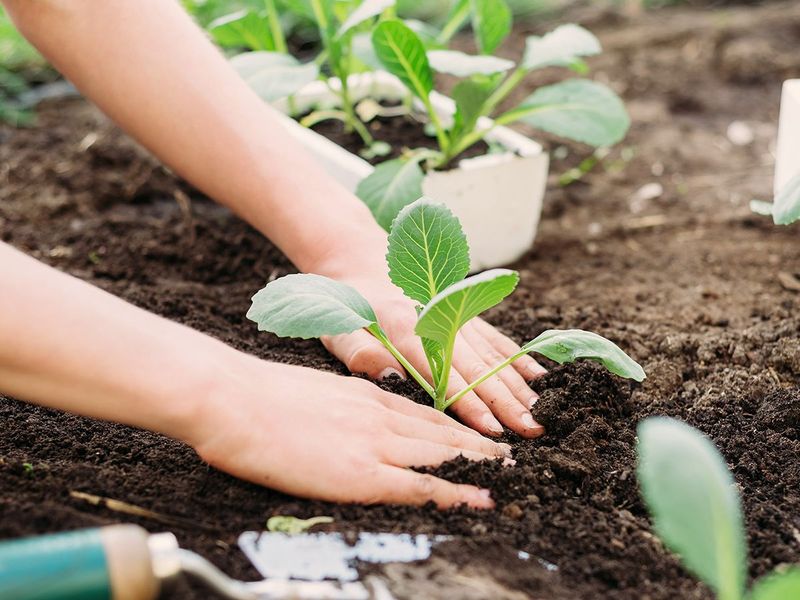
Transplanting seedlings on a cloudy day minimizes stress by preventing direct sun exposure. Overcast conditions allow plants to adjust to their new environment without the added pressure of intense sunlight.
This gentle transition fosters better root establishment and reduces transplant shock. If cloudy days aren’t possible, choose early morning or late afternoon for reduced light.
By considering weather conditions during transplantation, you support healthy adaptation and growth. This thoughtful approach ensures seedlings thrive in their new garden home.
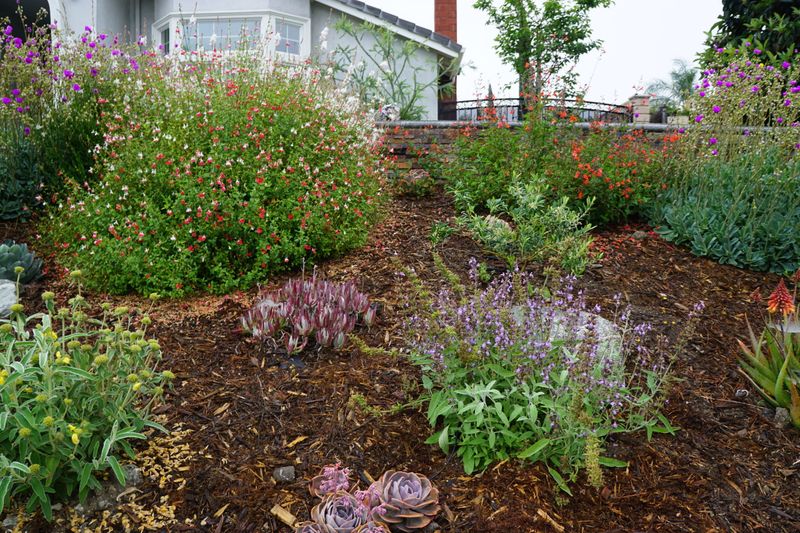
10. Use Mulch For Protection
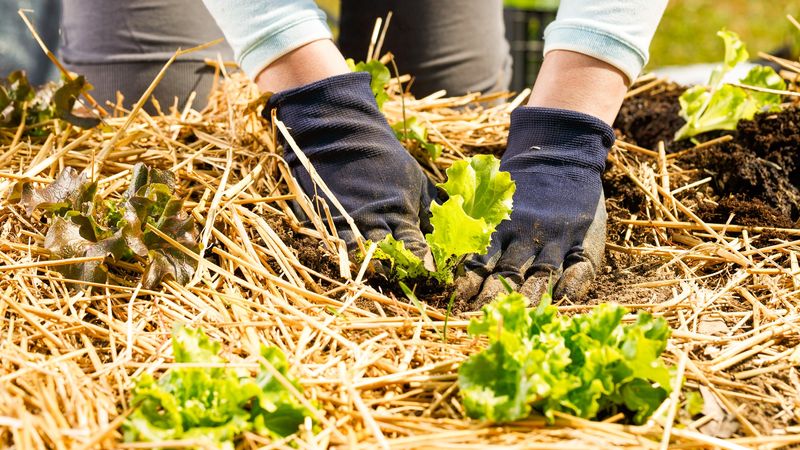
Applying mulch around transplanted seedlings offers protection and conserves moisture. Mulch acts as an insulating layer, regulating soil temperature and reducing evaporation.
This protection is especially beneficial for young seedlings as they establish themselves. Organic mulches, such as straw or wood chips, also add nutrients as they decompose.
Ensure mulch doesn’t directly touch stems to prevent rot. By using mulch, you create a supportive environment for growth while minimizing stress from temperature fluctuations and moisture loss.
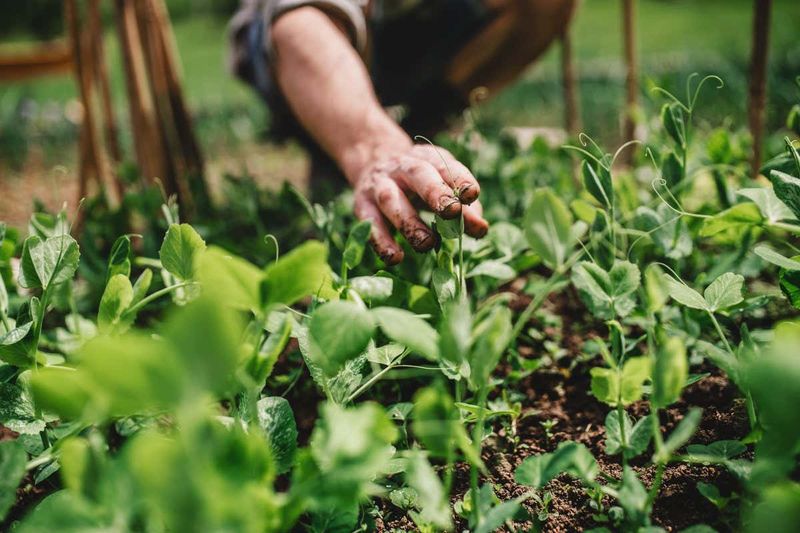
11. Watch For Pests
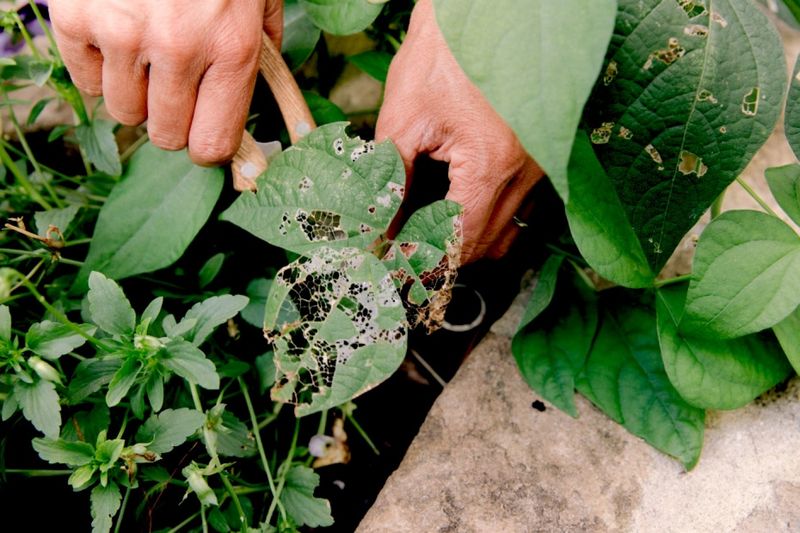
Young seedlings are vulnerable to pests, so regular inspection is vital. Check leaves and stems for signs of pests like aphids or slugs, using natural remedies if needed.
Companion planting with pest-repelling herbs can offer additional protection. Early detection and intervention prevent infestations and protect plant health.
Maintaining a pest-free environment allows seedlings to grow strong and healthy. By being vigilant, you can minimize damage and encourage a thriving garden. Nurturing seedlings with care ensures a bountiful harvest.
12. Feed Your Seedlings
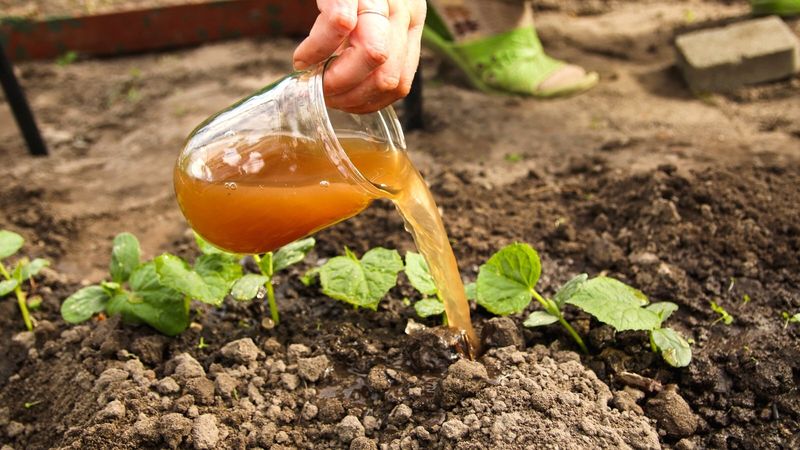
Providing nutrients supports robust growth and development. Use a diluted liquid fertilizer to feed seedlings, following package instructions for best results.
A balanced nutrient supply aids in building strong roots and foliage. Start feeding once seedlings have developed a few true leaves. Over-fertilization can harm tender plants, so always err on the side of caution.
A diligent feeding routine promotes healthy, flourishing seedlings. By nurturing them with the necessary nutrients, you’re investing in a successful growing season and abundant harvest.
13. Avoid Overcrowding
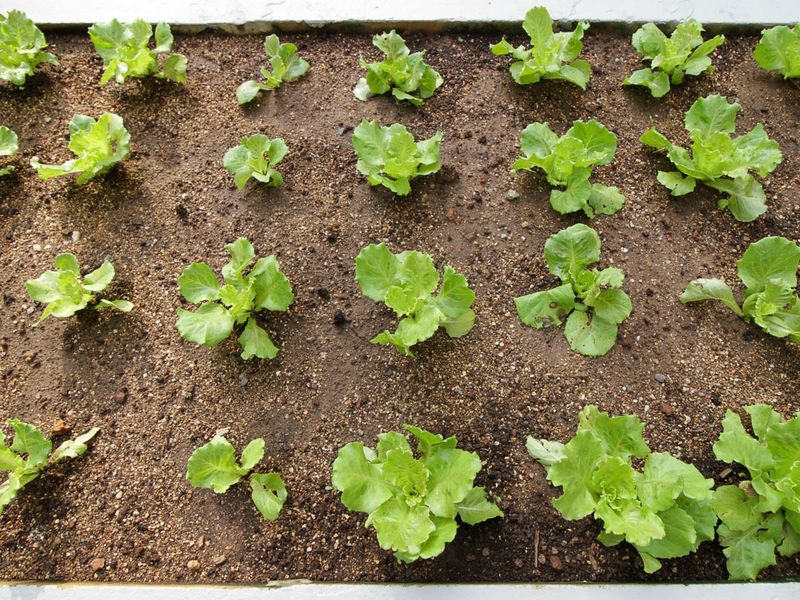
Overcrowded plants struggle for resources, leading to stunted growth. Plan your garden layout to ensure adequate spacing between seedlings. This organization fosters better air circulation and light penetration, promoting healthy development.
Regularly assess plant spacing as they grow, making adjustments if necessary. Adequate room is crucial for root expansion and nutrient uptake, supporting overall plant vigor.
By avoiding overcrowding, you create an environment where each seedling can thrive. A well-spaced garden bed is key to a productive and flourishing garden.
14. Use Windbreaks
Protect seedlings from wind by using natural or artificial windbreaks. Shrubs, fences, or temporary barriers can reduce wind impact, preventing damage to tender plants.
Windbreaks also help maintain stable soil moisture levels by reducing evaporation rates. Position these barriers strategically, considering wind direction and garden layout.
Protecting seedlings from wind stress encourages healthy growth and development. By creating a sheltered environment, you support seedlings as they adapt to outdoor conditions. Thoughtful planning ensures a robust garden yield.
15. Rotate Crops Annually
Annual crop rotation prevents soil depletion and reduces pest buildup. Change planting locations each year, allowing soil to recover nutrients and breaking pest cycles.
This practice also helps manage soil-borne diseases, promoting plant health. Planning rotations involves grouping crops by family and rotating them to new areas annually.
By diversifying planting locations, you create a resilient garden ecosystem. Crop rotation is a foundational practice for sustainable gardening. Embrace this strategy to ensure long-term garden health and productivity.
16. Adapt To Local Climate
Every garden is unique, shaped by its climate. Observe local weather patterns and adapt your gardening practices accordingly. Choose plants that thrive in your region, aligning sowing and transplanting schedules with seasonal changes.
Adjust watering, feeding, and protection strategies based on local conditions. This tailored approach maximizes plant health and productivity by working with nature.
By understanding and respecting your climate, you cultivate a thriving garden environment. Adaptability is key to successful gardening, fostering resilience and success.
17. Incorporate Companion Planting
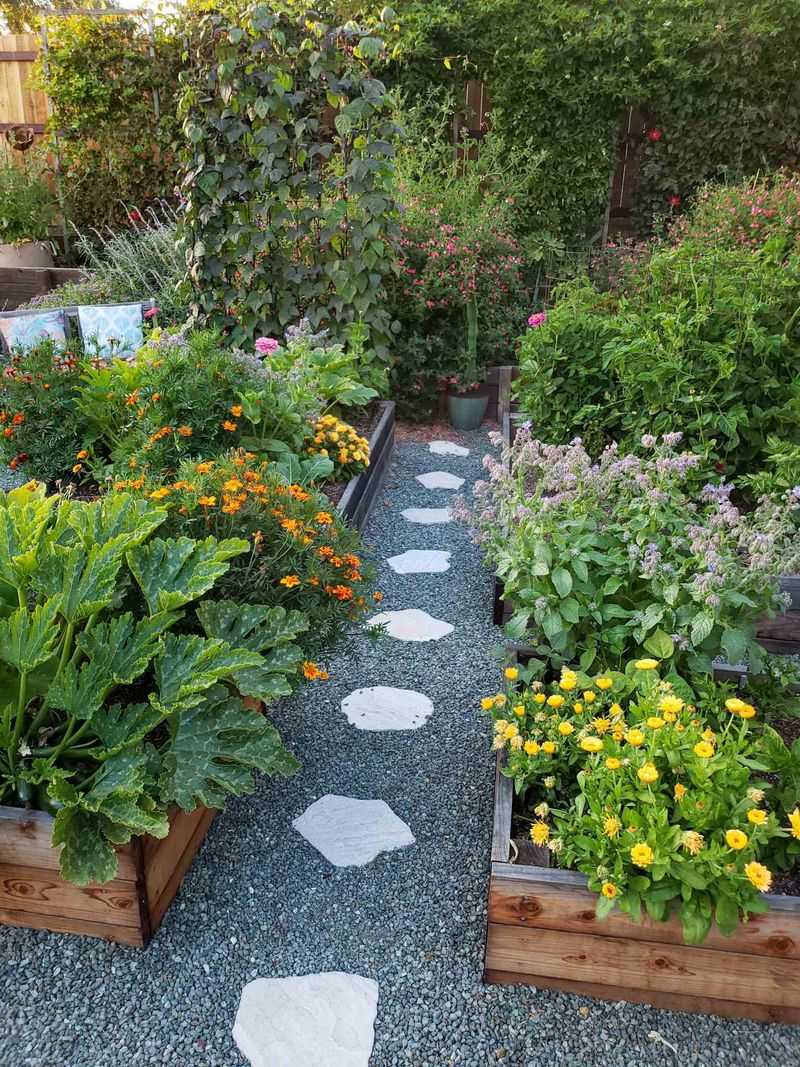
Companion planting enhances growth and deters pests naturally. Pair plants with complementary traits, like marigolds with tomatoes, to boost productivity and health.
This strategy improves pollination, pest control, and nutrient exchange. Companion plants form a symbiotic relationship, benefiting each other and the garden ecosystem.
Research pairings to find the best combinations for your garden layout. Incorporating companion planting creates a dynamic, balanced environment. By fostering cooperation among plants, you encourage a thriving, sustainable garden.
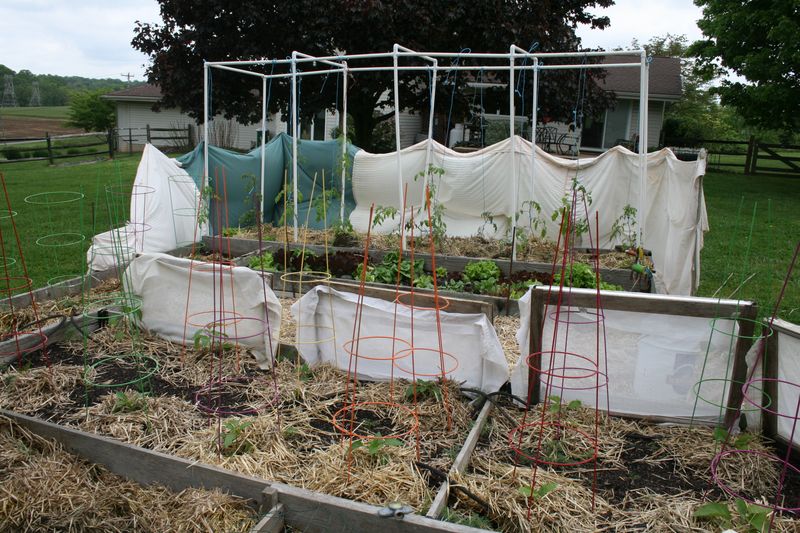
18. Use Season Extenders
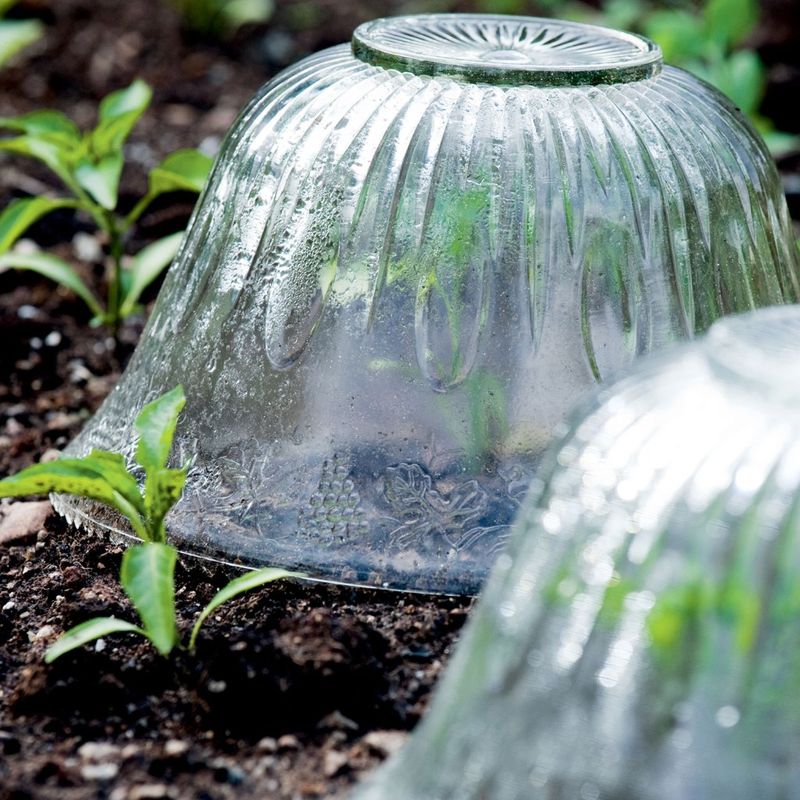
Season extenders like row covers and cloches shield seedlings from late frosts and cool temperatures. These tools provide a warm microclimate, promoting growth when outdoor conditions are challenging.
By extending the growing season, you gain a head start and increase yields. Choose materials that offer protection while allowing air and light to penetrate.
Season extenders are an investment in productive gardening, ensuring plants can flourish in changing conditions. Utilize season extenders to safeguard your garden’s success and longevity.
19. Track Your Progress

Documenting your gardening journey offers insights for future planning. Keep a journal detailing sowing dates, weather conditions, and plant growth. Regularly update it with observations and challenges encountered.
This record helps refine techniques and improve success in ensuing seasons. Over time, patterns emerge, aiding in decision-making and fostering growth.
By tracking progress, you become a more skilled and informed gardener. Embrace this practice to enhance your gardening knowledge and experience. Your journal becomes a valuable resource for continued success.
20. Celebrate Your Success

Celebrate the fruits of your labor with pride. Enjoy the harvest and share it with family and friends. Reflect on the journey and the satisfaction of nurturing plants to maturity.
This celebration acknowledges the hard work and dedication poured into your garden. Sharing your bounty fosters community and inspires others to pursue gardening.
By recognizing your achievements, you fuel motivation for future gardening endeavors. Embrace the joy of gardening and let it enrich your life. Success is sweeter when shared with others.