13 Easy Steps To Grow Chamomile In Your Garden (And 2 Mistakes To Avoid)
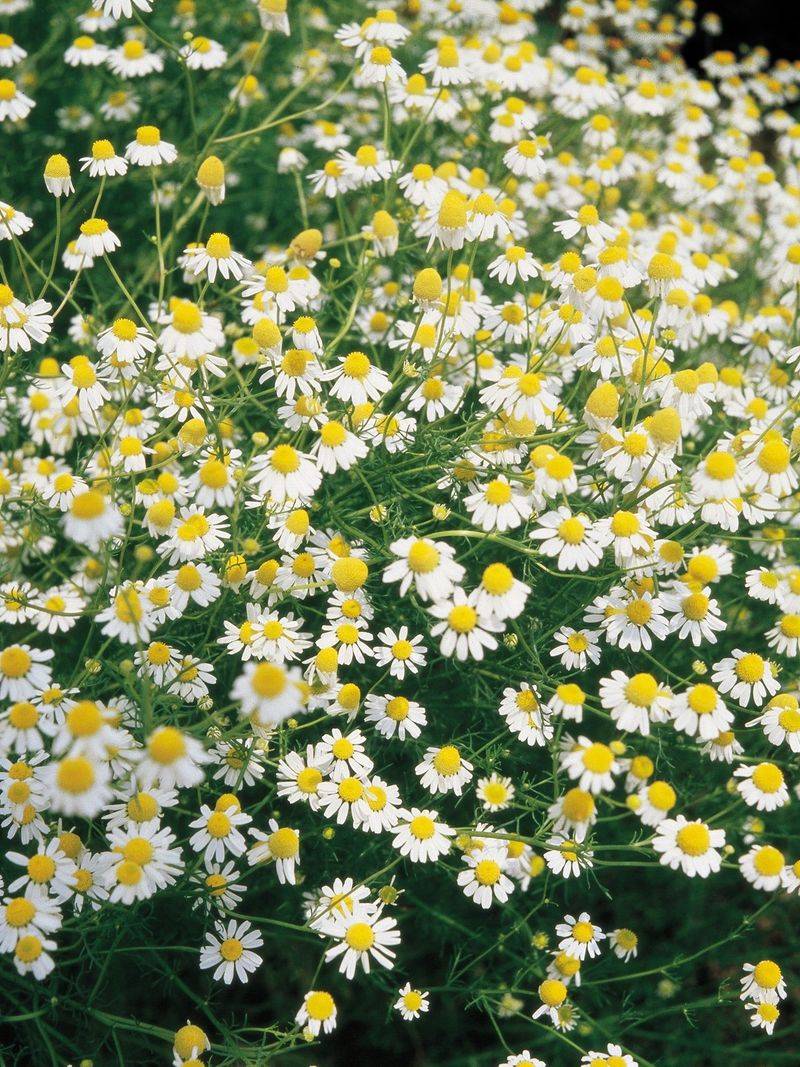
Growing chamomile in your garden offers a delightful herbal experience, both rewarding and soothing. With the right approach, it becomes a peaceful addition to any garden space, offering its calming aroma and gentle beauty.
Here we’ll talk about some steps to cultivate chamomile successfully, along with common mistakes you should sidestep. Each step is designed to simplify the process, making it accessible to both beginners and seasoned gardeners.
With these tips, you’ll be well on your way to a flourishing chamomile patch, ready for your next cup of homemade chamomile tea.
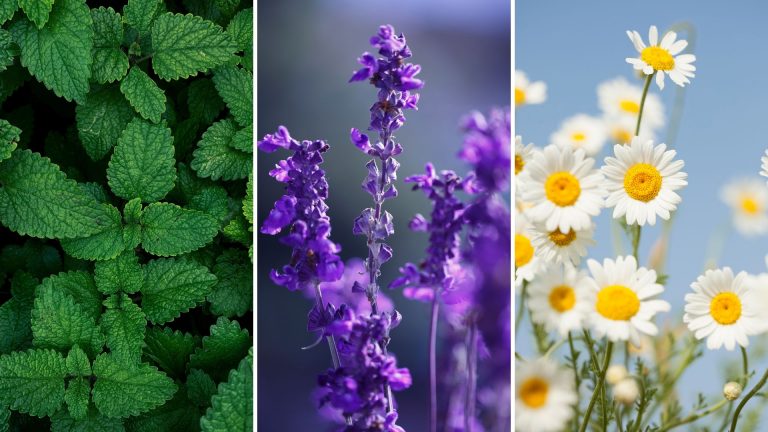
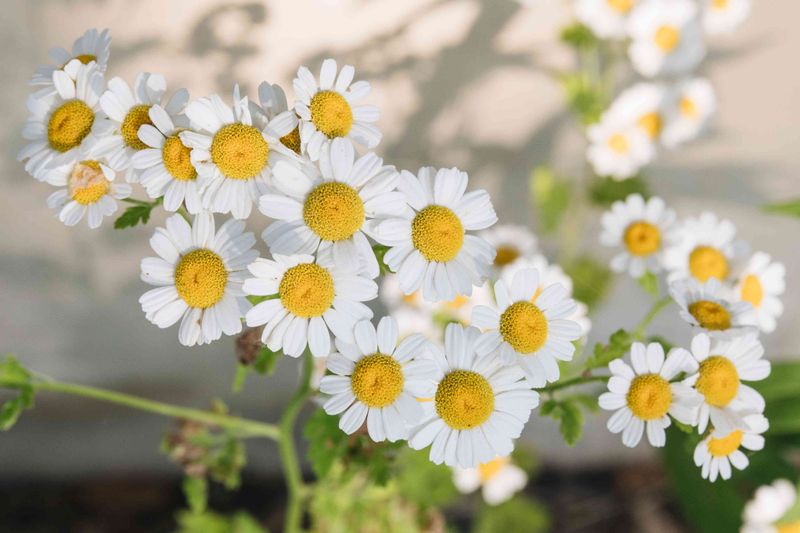
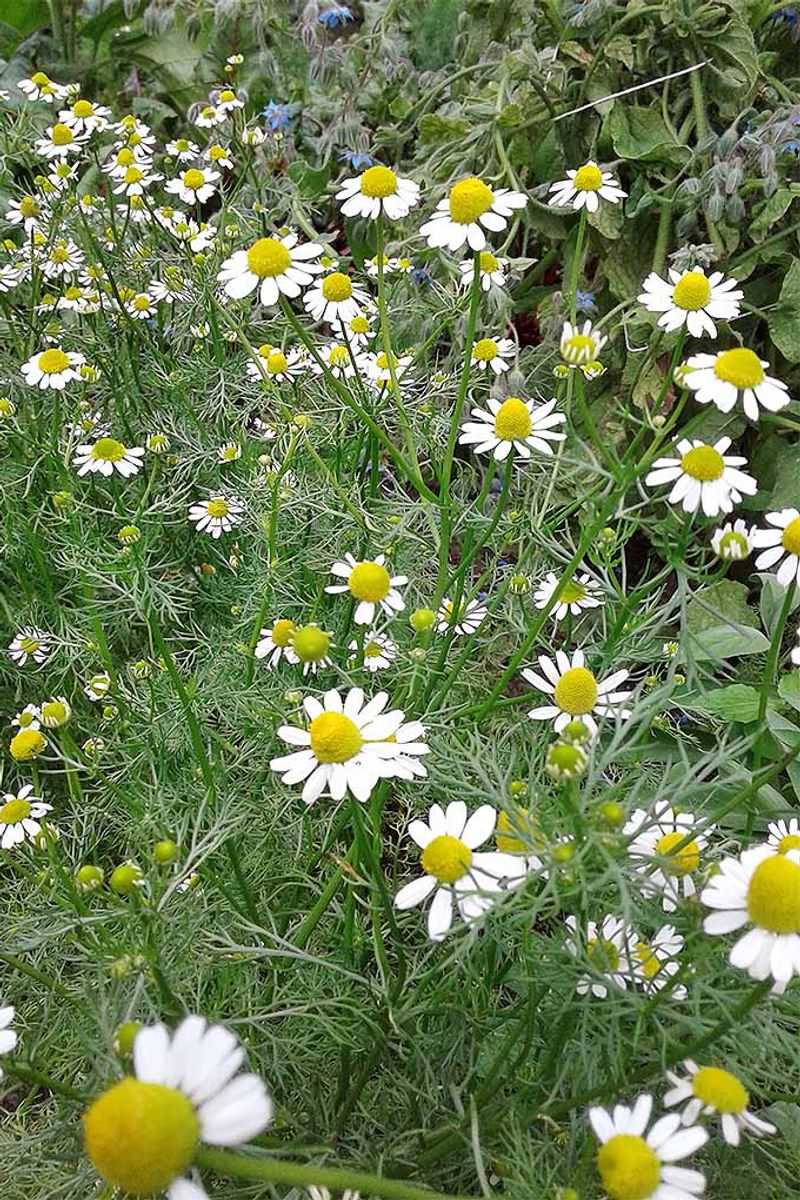
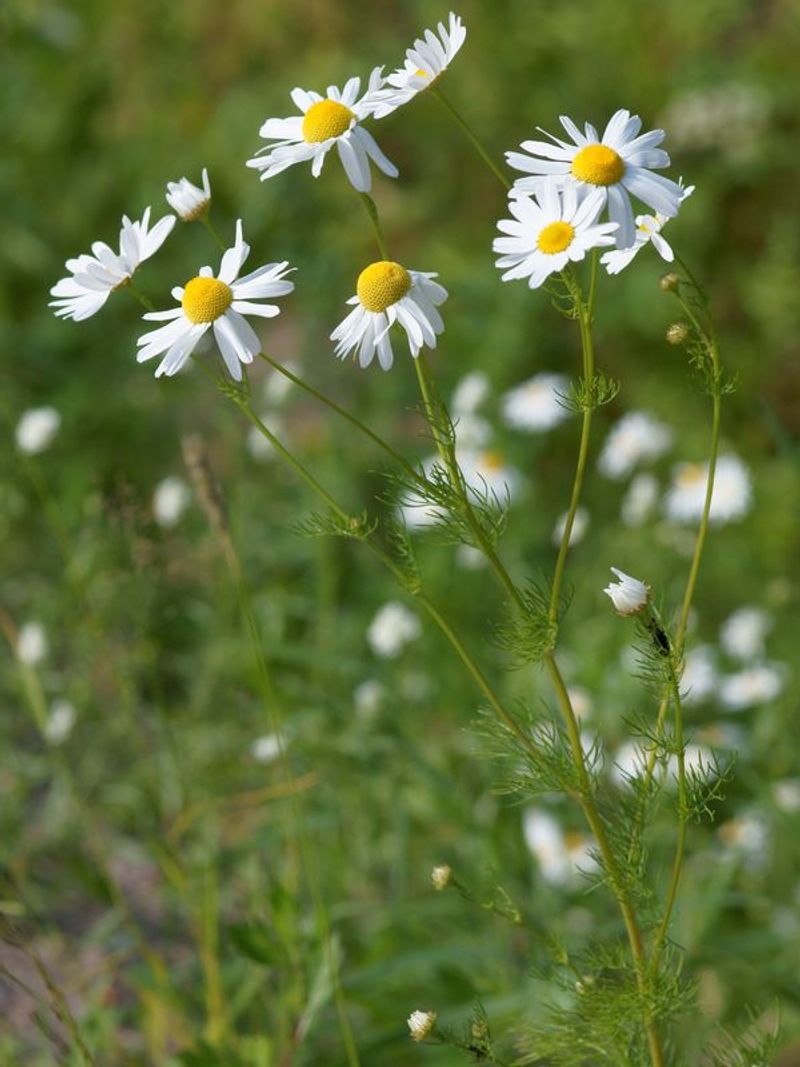
1. Choose The Right Variety
The first step in growing chamomile is selecting the right variety. German chamomile is an annual that grows taller, while Roman chamomile is a perennial that stays low to the ground. Depending on your garden’s needs, you might prefer one over the other.
Consider the climate and space available in your garden. German chamomile suits larger spaces and colder climates, while Roman chamomile thrives in milder conditions.
Understanding these distinctions helps in choosing a variety that will flourish in your garden, providing a bountiful harvest of soothing chamomile flowers.
2. Prepare The Soil
Chamomile grows best in well-drained, sandy soil, rich with organic matter. Start by selecting a sunny spot in your garden, ensuring at least 6 hours of sunlight daily.
Work compost or well-rotted manure into the soil to enhance fertility. This preparation encourages robust growth and beautiful blooms, essential for a healthy chamomile patch.
Avoid heavy clay soils, as they retain too much moisture, leading to root rot. Proper soil preparation sets the foundation for a thriving chamomile garden.
3. Plant Seeds In Spring
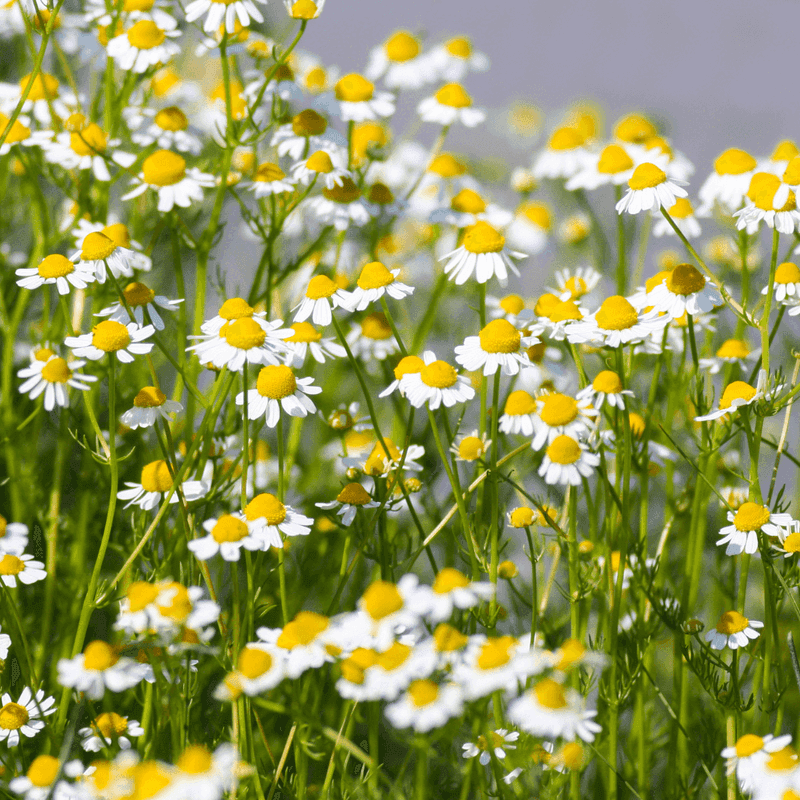
Timing is crucial when planting chamomile seeds. Spring is the ideal season, as the soil begins to warm. Once the last frost has passed, sprinkle the seeds over the prepared soil.
Chamomile seeds require light to germinate, so avoid covering them with soil. Instead, lightly press them into the surface. This method encourages successful sprouting and early growth.
Water gently but consistently, keeping the soil moist until seedlings emerge. Your patience will soon be rewarded with delicate green sprouts, heralding the start of your chamomile garden.
4. Thin The Seedlings
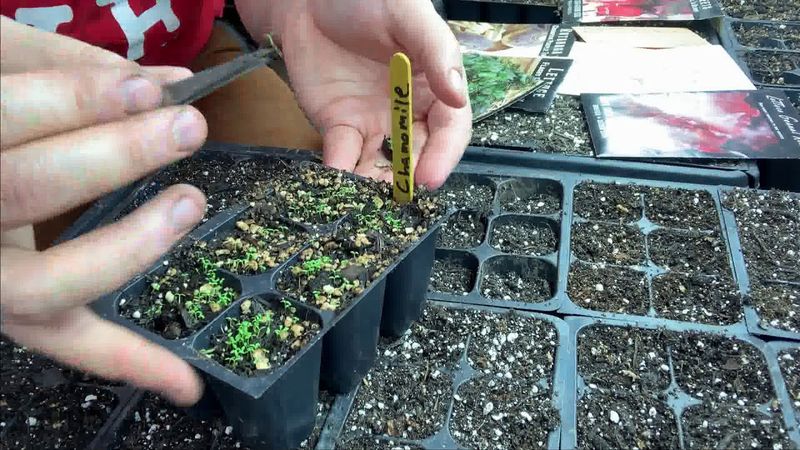
As chamomile seedlings begin to grow, thinning becomes necessary to ensure healthy development. Once seedlings reach a few inches tall, space them about 4 to 6 inches apart.
This spacing allows for adequate airflow and prevents overcrowding, reducing the risk of disease. The process may seem tedious, but it promotes stronger plants and more abundant blooms.
Handle seedlings with care, removing only the weakest. This careful attention ensures your chamomile plants have the best conditions to thrive and produce their fragrant flowers.
5. Water Wisely
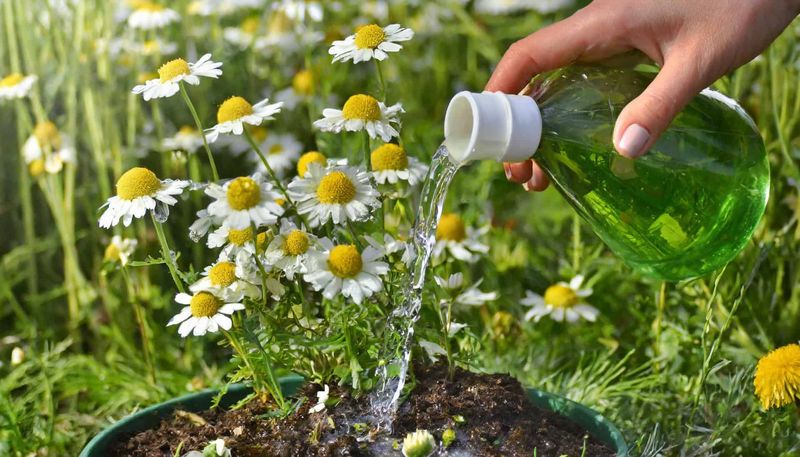
Chamomile plants prefer a balanced watering routine. Overwatering can lead to root rot, while underwatering stresses the plants. Aim to keep the soil consistently moist but not soggy.
Water early in the morning to reduce evaporation and allow plants to absorb moisture before the heat of the day. This practice helps maintain a healthy, thriving chamomile patch.
Monitoring soil moisture and adjusting watering habits according to weather conditions ensures your chamomile plants remain vibrant and productive throughout the growing season.
6. Fertilize Sparingly
Chamomile is a light feeder and doesn’t require heavy fertilization. Over-fertilizing can lead to an abundance of foliage with fewer flowers. Use a balanced, organic fertilizer sparingly to support growth.
Applying fertilizer once at the start of the growing season is often sufficient. This minimal approach ensures that your chamomile plants develop their characteristic blossoms.
By focusing on light feeding, you encourage a natural balance, allowing the chamomile to thrive with minimal intervention. This results in healthier plants and a more bountiful flower harvest.
7. Control Weeds Naturally

Weeds can compete with chamomile for nutrients and space, so controlling them is vital. Use manual methods like hand-pulling or hoeing to keep weeds in check without chemicals.
Mulching around chamomile plants helps suppress weed growth while retaining soil moisture. This natural approach promotes a healthier garden environment, free from harsh chemicals.
Regularly monitoring and managing weed growth ensures your chamomile has the best chance to flourish, rewarding you with its soothing blossoms and delightful aroma.
8. Prune For Better Growth
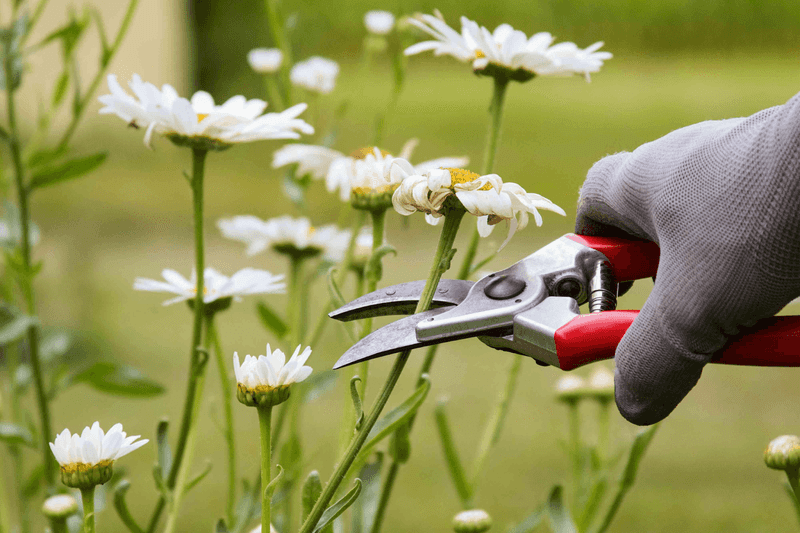
Pruning chamomile encourages bushier growth and more abundant blooms. Regularly deadhead spent flowers to prevent seed formation and prolong flowering.
Trim back any straggly or overgrown stems to maintain a neat appearance. This not only enhances the visual appeal but also stimulates new, healthy growth.
Consistent pruning ensures that your chamomile plants remain productive and aesthetically pleasing, offering a continuous supply of fresh flowers for your herbal needs.
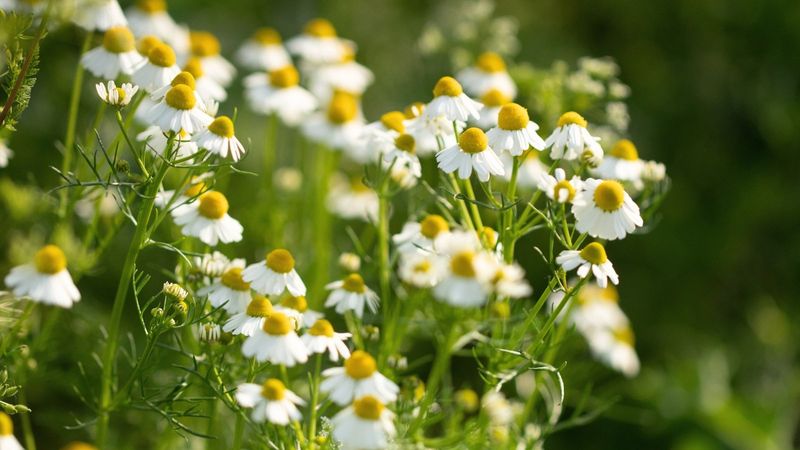
9. Harvest At The Right Time
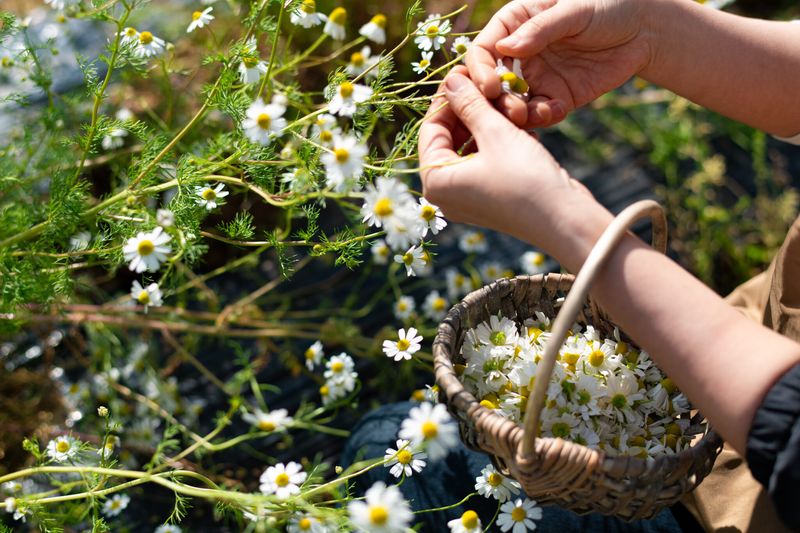
Timing your chamomile harvest ensures the best flavor and aroma. Pick flowers in the morning, just after the dew has dried but before the sun is too strong.
Focus on fully open flowers, as they hold the most essential oils. Handle them gently to preserve their delicate structure and maximize their herbal qualities.
Regular harvesting encourages continuous blooming, keeping your chamomile garden productive and filled with fragrant flowers ready for drying or fresh use.
10. Dry Chamomile Properly
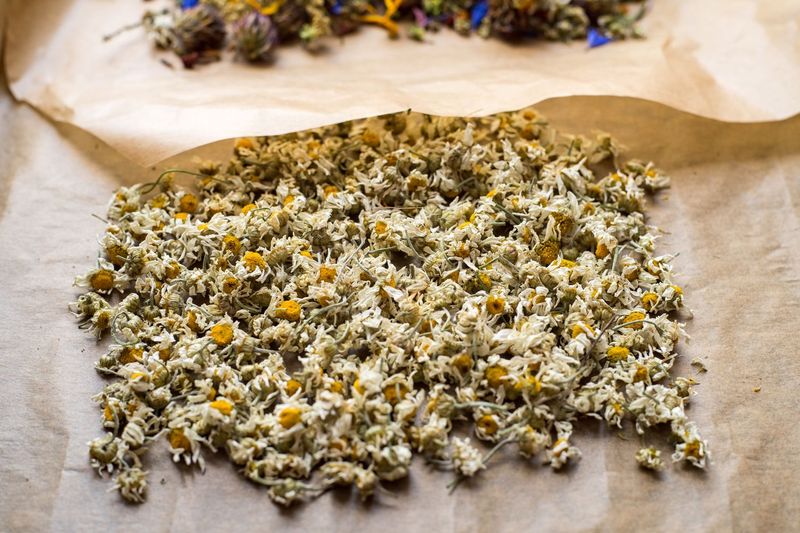
Drying chamomile flowers preserves their flavor and aroma for later use. Spread the flowers in a single layer on a drying rack in a well-ventilated area.
Avoid direct sunlight, as it can fade the flowers and diminish their potency. Instead, choose a cool, dark place where air can circulate freely.
Once completely dry, store the flowers in an airtight container. Proper drying and storage ensure your chamomile retains its herbal quality, ready for teas and remedies.
11. Store Dried Flowers
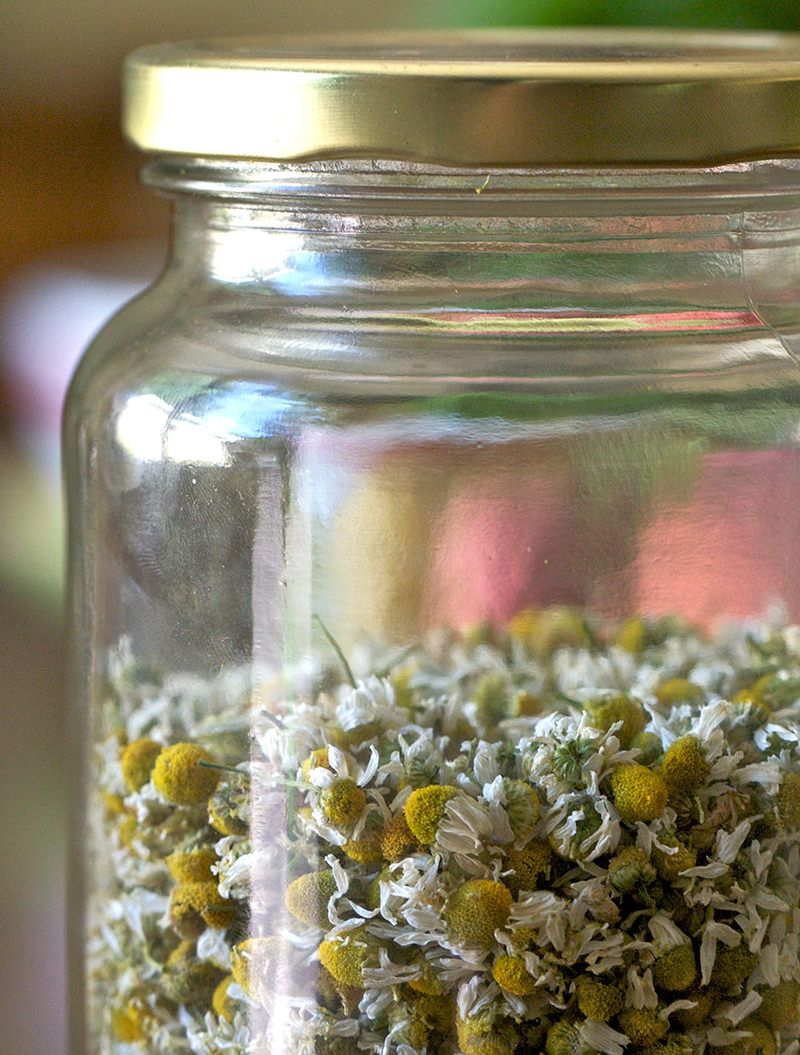
Preserving the quality of dried chamomile flowers requires proper storage. Use airtight containers, such as glass jars, to keep moisture out and flavors intact.
Label each container with the harvest date to track freshness. Store them in a cool, dark place, away from direct sunlight and humidity.
This careful attention to storage prolongs the shelf life of your chamomile, ensuring you have fragrant, flavorful flowers for months to come, perfect for herbal teas and potpourris.
12. Use Companion Planting

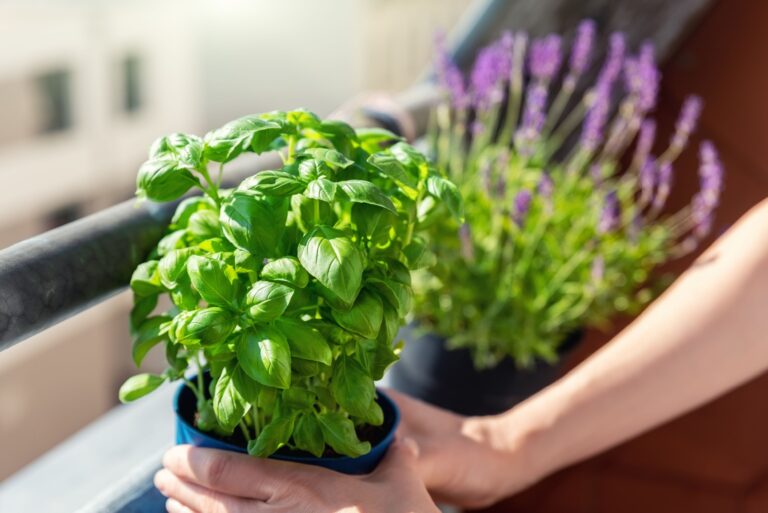
Chamomile pairs well with other plants, enhancing garden vitality. Companion planting with vegetables like tomatoes and basil can improve growth and deter pests.
Chamomile acts as a natural pest repellent and attracts beneficial insects. This synergy creates a more balanced garden ecosystem, promoting healthy growth.
By strategically placing chamomile with other plants, you boost overall garden health, taking full advantage of its beneficial properties.
13. Rotate Crops Annually
Crop rotation is essential for preventing soil depletion and disease. Avoid planting chamomile in the same spot year after year to maintain soil health.
Rotate with different plant families to reduce the build-up of pests and pathogens. This practice encourages a diverse and thriving garden environment.
Regular crop rotation keeps your soil fertile and supports the continued success of your chamomile garden.
14. Overcrowding
Overcrowding chamomile plants restricts airflow and light, leading to disease and poor growth. Space plants adequately when planting and thinning seedlings is crucial.
Ensure each plant has enough room to spread, promoting healthy development and a generous bloom. Overcrowding often results in a weaker harvest and increased susceptibility to pests.
Avoid this mistake by planning your garden layout carefully, considering mature plant size, and providing optimal conditions for each chamomile plant to thrive.
15. Ignoring Soil Quality

Chamomile requires well-drained, nutrient-rich soil to flourish. Ignoring soil quality can lead to stunted growth and poor flower production. Regularly amend the soil with organic matter.
Test soil pH to ensure it falls between 5.6 and 7.5 for best results. Avoid compacted soils, which inhibit root growth and water absorption.
By paying attention to soil conditions and making necessary improvements, you enhance your chamomile’s potential, yielding a healthy and productive garden.