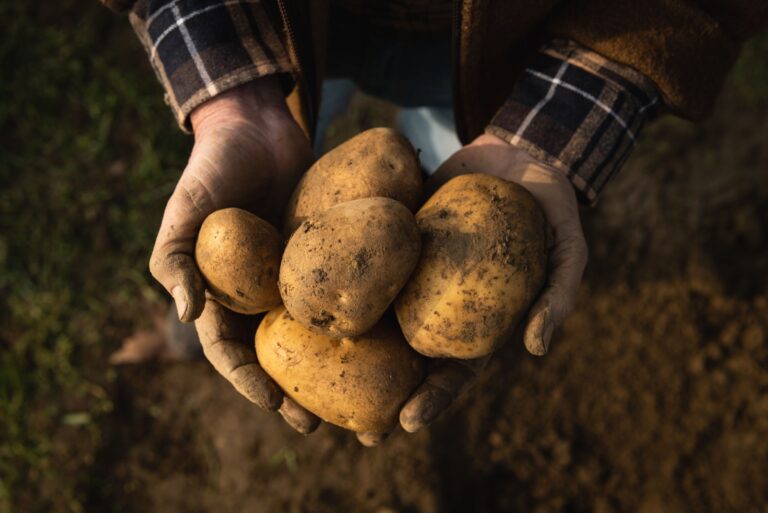
17 Ways Not To Plant Seed Potatoes If You Want A Big Harvest
Growing potatoes can be so satisfying—there’s nothing like digging up a basket of fresh spuds from your own garden. But I’ve learned the hard way that a few simple mistakes can really mess with your harvest. Even seasoned gardeners aren’t immune to these common slip-ups.
Whether it’s planting too early, using the wrong soil, or forgetting to hill them up, these little things can make a big difference. I’ve definitely had seasons where I ended up with more leaves than potatoes. It’s frustrating when all that effort doesn’t pay off. The good news?
Most of these mistakes are easy to avoid once you know what to look for. A few smart tweaks can mean a much bigger, healthier harvest. Let’s go over the most common potato planting pitfalls so you can set yourself up for success this season.
1. Planting In Waterlogged Soil
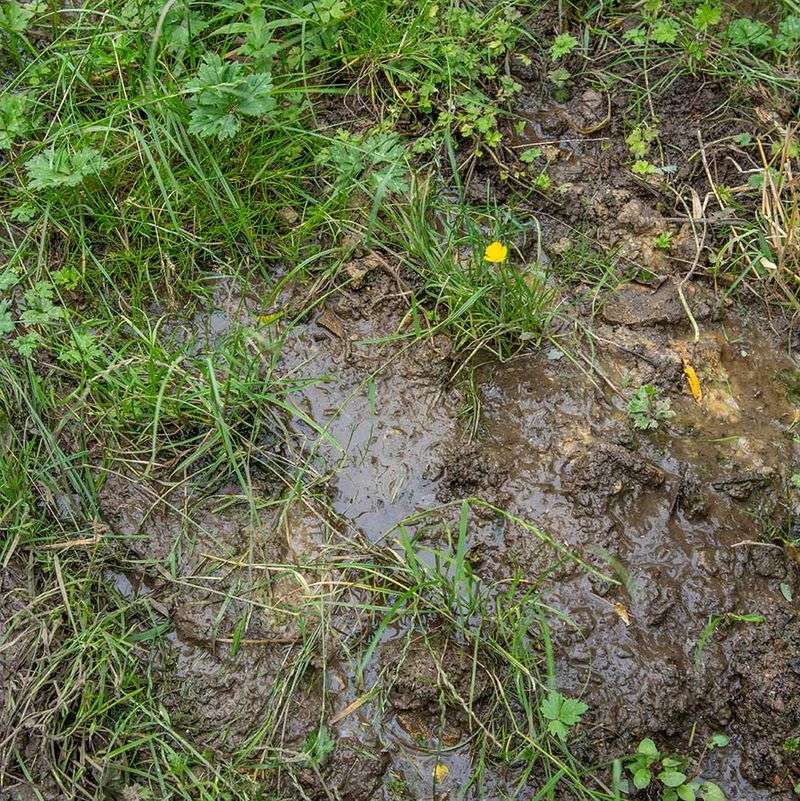
Soggy, waterlogged ground is a disaster for seed potatoes. The excess moisture causes them to rot before they even have a chance to sprout, turning your future potato patch into a smelly mess of decomposing tubers.
Poor drainage leads to root diseases like blackleg and soft rot that can wipe out your entire crop. The potatoes that do manage to grow will likely be small, deformed, and susceptible to various storage problems.
Always choose well-drained soil for your potato patch. If your garden tends to hold water, consider creating raised beds or mounding the soil to improve drainage. Your potatoes need moisture, but they definitely don’t want to swim in it.
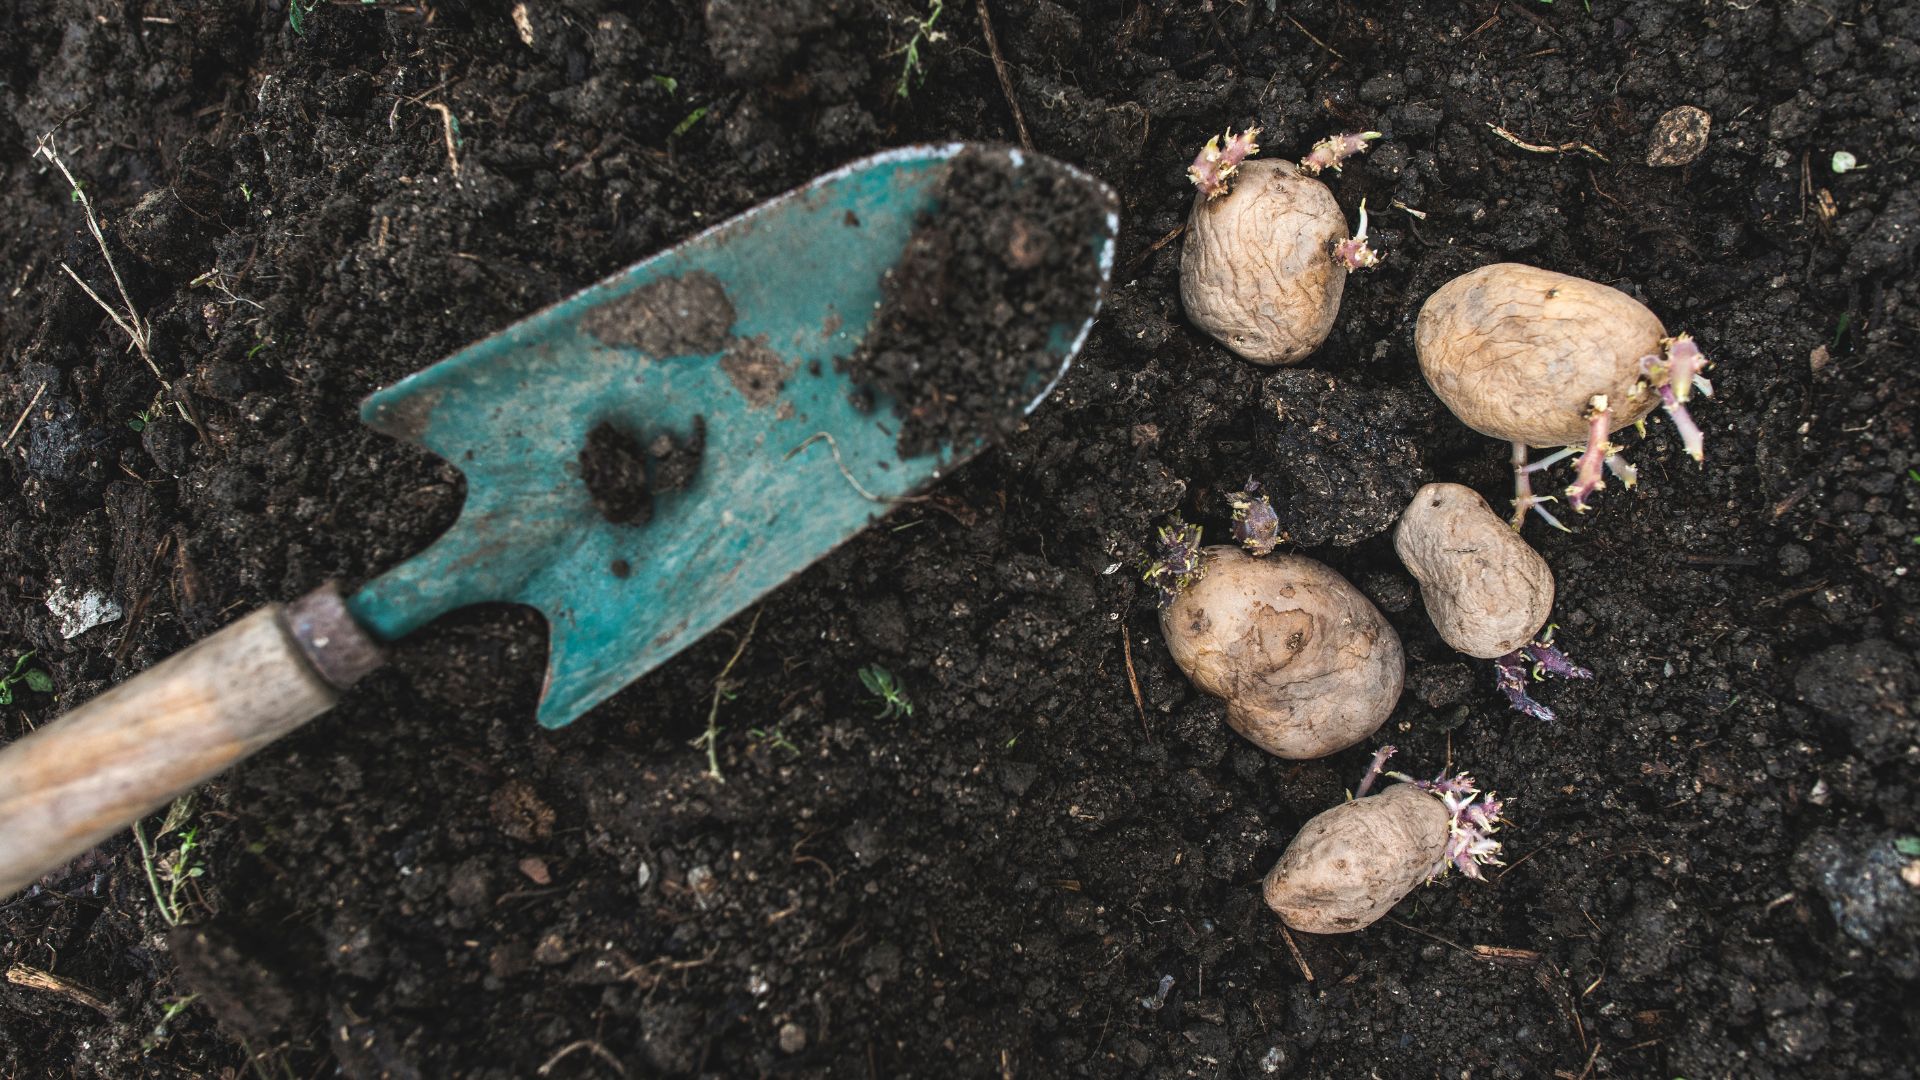
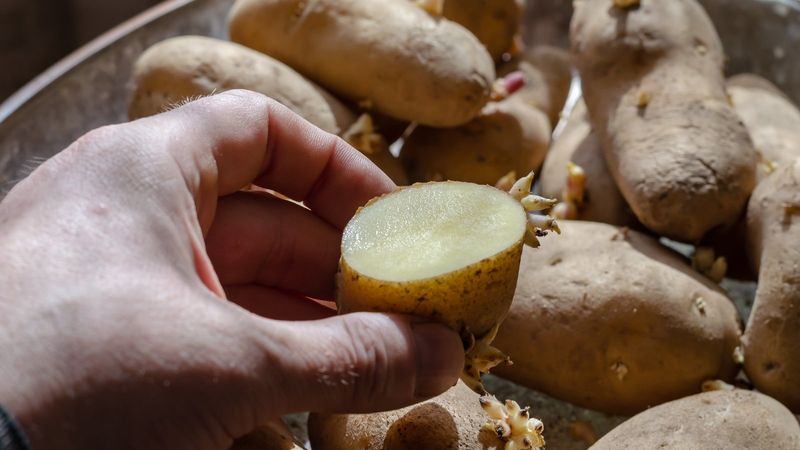
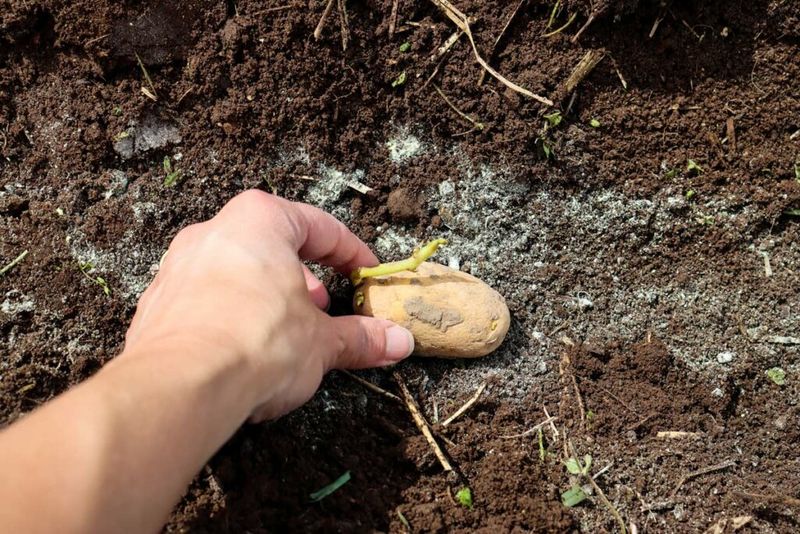
2. Skipping The Chitting Process
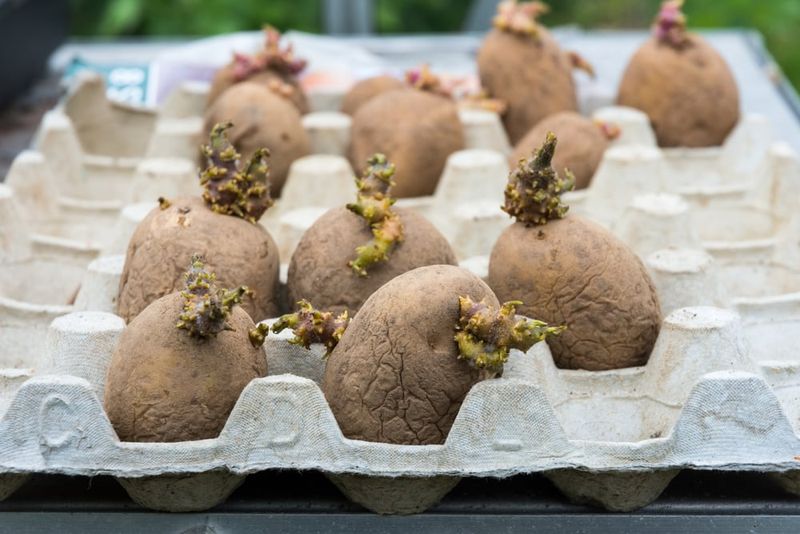
Many gardeners rush to plant their seed potatoes without allowing them to sprout first. This impatience costs valuable growing time and often results in uneven germination across your potato patch.
Unchitted potatoes take longer to emerge from the soil, which shortens your growing season and gives weeds a head start. They also develop fewer stems per plant, directly reducing the number of potatoes each plant can produce.
Set your seed potatoes in egg cartons with the ‘eye’ end up in a cool, bright place for 2-3 weeks before planting. Those little green sprouts (about 1/2 inch long) give your plants a running start and significantly increase your final harvest.
3. Using Store-Bought Potatoes As Seed
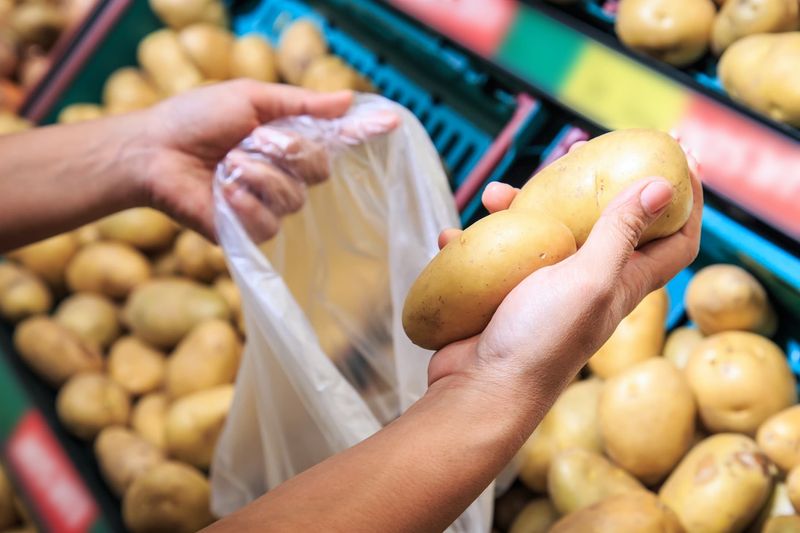
That bag of sprouting spuds from your pantry might seem like free seed potatoes, but they’re actually harvest saboteurs. Grocery store potatoes are often treated with sprout inhibitors that affect their ability to grow properly.
Even worse, they haven’t been certified disease-free like proper seed potatoes. One infected store-bought potato can introduce devastating problems like late blight or scab into your garden soil that persists for years.
The few dollars saved by using grocery potatoes instead of certified seed potatoes can cost you hundreds in lost harvests. Always purchase certified disease-free seed potatoes from reputable garden centers or seed catalogs for consistently healthy crops.
4. Planting Immediately After Cutting
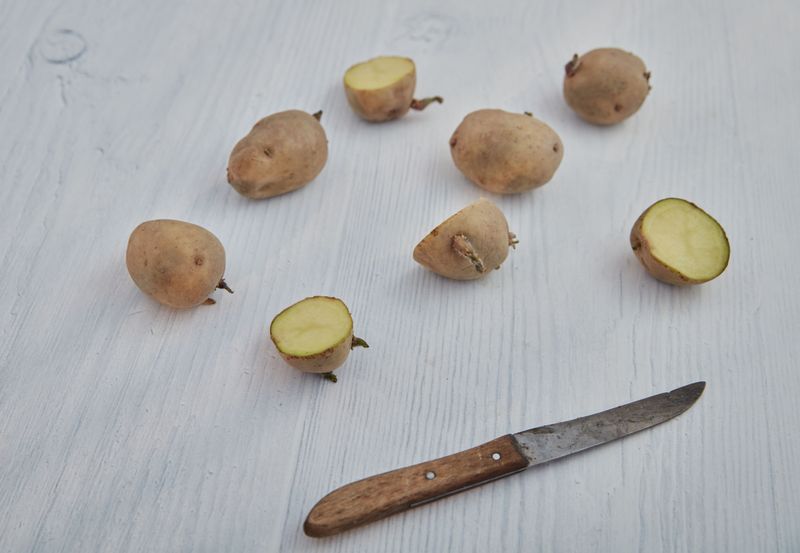
Slicing your seed potatoes and immediately pushing them into the soil is asking for trouble. Fresh cuts create open wounds that are highly vulnerable to soil pathogens and rot-causing organisms.
The potato needs time to form a protective callus over these cut surfaces. Without this natural barrier, soil bacteria can easily invade the seed piece, causing it to rot before it establishes roots and shoots.
After cutting your seed potatoes, let them sit at room temperature for 24-48 hours. You’ll notice the cut surfaces dry out and form a corky layer. This simple waiting period significantly increases survival rates and gives your potato plants the strong start they need.
5. Planting In Cold, Wet Spring Soil
Eager gardeners often rush potatoes into the ground during the first warm day of spring. The soil beneath that sunny surface remains cold and damp, creating perfect conditions for seed rot rather than growth.
Cold soil temperatures below 50°F slow potato development to a crawl. The seeds sit dormant, susceptible to fungal and bacterial problems while you wait weeks for any signs of growth.
Test soil temperature at planting depth (about 4-6 inches) before planting. Wait until it consistently reaches 50-55°F. If you’re impatient, warm the soil first with black plastic for a week or two. Your potatoes will emerge faster, grow stronger, and produce significantly more tubers.
6. Forgetting To Remove All Greening Potatoes
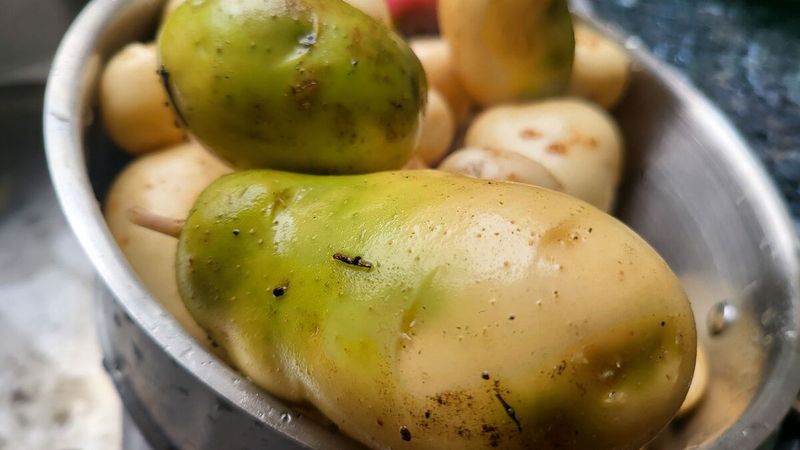
Those green patches on potatoes aren’t just unappealing—they’re nature’s warning sign. Greening indicates the presence of solanine, a natural toxin potatoes produce when exposed to light, making them bitter and potentially harmful.
Using green-tinged seed potatoes passes these undesirable characteristics to your new crop. The resulting plants often produce more green potatoes, especially if planted too shallowly, creating a cycle of poor-quality harvests.
Examine your seed potatoes carefully and discard any showing significant greening. If you must use one with minor green spots, cut them away completely before planting. This attention to quality at planting time pays off with better-tasting, safer potatoes at harvest.
7. Planting Whole Large Potatoes
Dropping whole large seed potatoes into your garden wastes both money and growing space. A single large potato has many eyes, but when planted whole, most remain dormant while just a few dominant sprouts develop.
This limited sprout development means fewer stems and therefore fewer potatoes per piece. You’re essentially paying for potential growth that never materializes, while taking up valuable garden space inefficiently.
Cut large seed potatoes into pieces about 2 ounces each (roughly egg-sized), ensuring each piece has at least 2-3 eyes. One pound of seed potatoes can become 8-10 planted pieces rather than just 3-4, dramatically increasing your harvest from the same initial investment.
8. Ignoring Proper Spacing Requirements
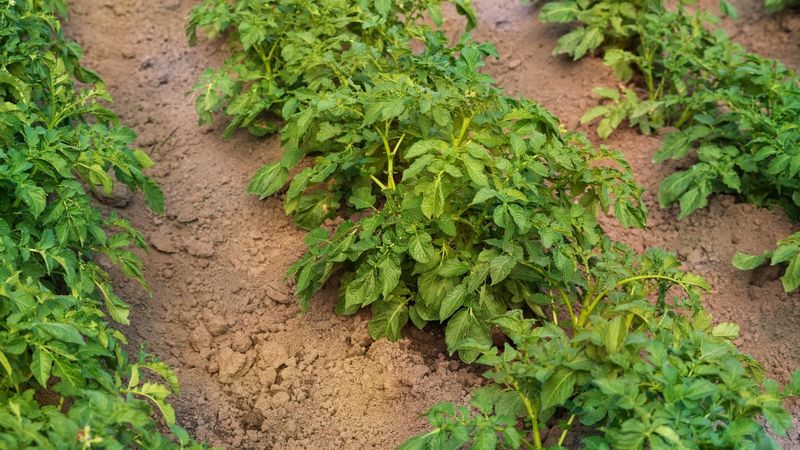
Cramming seed potatoes too close together creates an underground battle for resources. The competing root systems can’t access enough nutrients or water, resulting in smaller tubers and reduced overall yield.
Overcrowded plants also create the perfect environment for disease spread. Poor air circulation between tightly packed foliage keeps leaves wet longer after rain or morning dew, promoting fungal problems like late blight that can devastate your crop.
Space seed potatoes 12-15 inches apart in rows that are 2-3 feet apart. This might seem wasteful when planting, but the plants will quickly fill the space as they grow. The proper spacing allows each plant to develop a robust root system and maximizes your harvest potential.
9. Planting At Inconsistent Depths
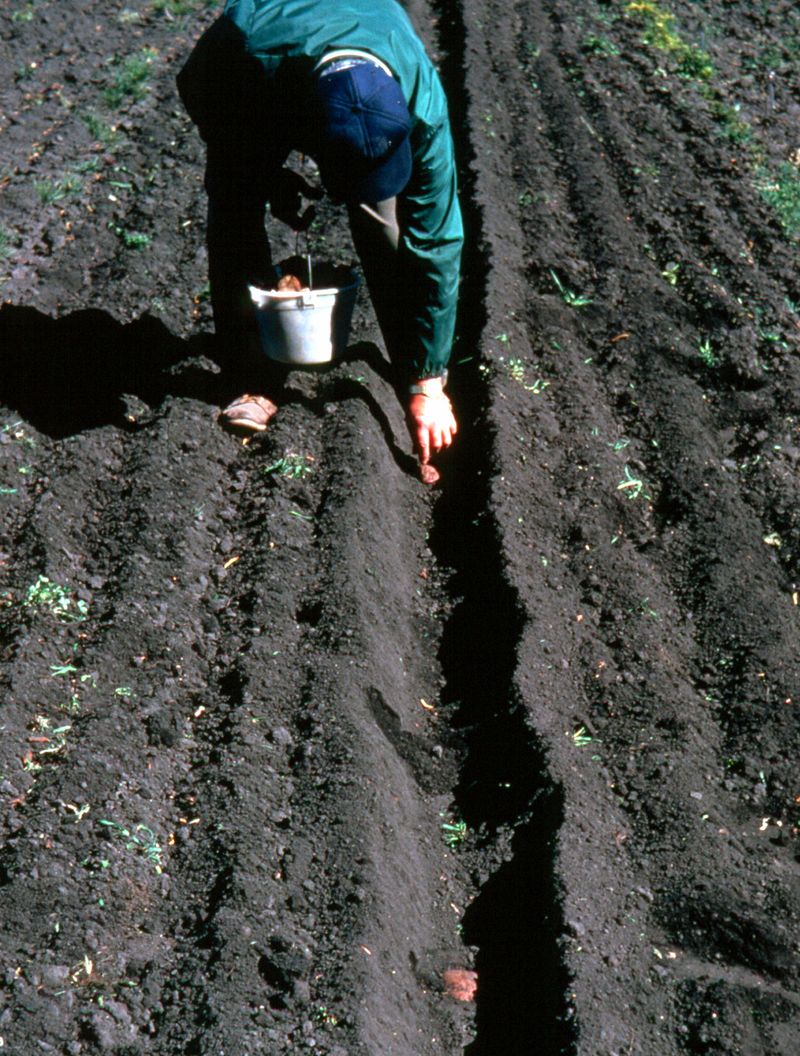
Random planting depths create a potato patch that grows and matures unevenly. Some plants emerge quickly while others struggle underground, making proper care and harvest timing extremely difficult.
Shallow plantings leave tubers exposed to sunlight, causing greening and potentially toxic potatoes. Too-deep plantings waste the plant’s energy as it struggles to reach the surface, often resulting in weaker plants with reduced yields.
Use a ruler or marked planting tool to ensure all seed potatoes go into the ground at a consistent 4-6 inch depth. This uniformity helps plants emerge together, develop at the same rate, and produce tubers at predictable levels in the soil – making both growing and harvesting much more successful.
10. Neglecting Soil PH Levels
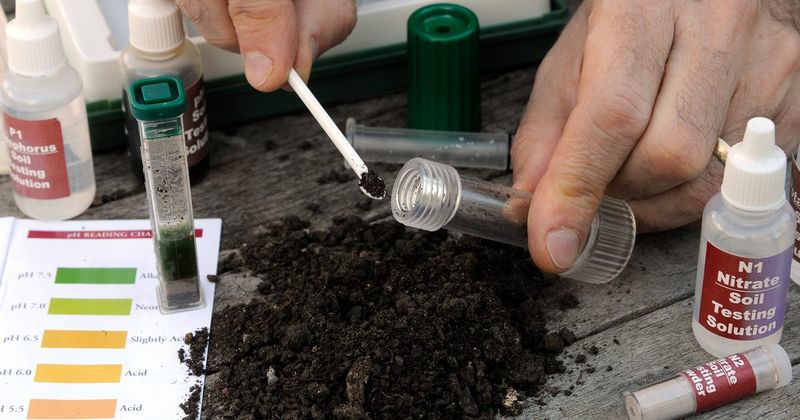
Many gardeners toss seed potatoes into the ground without ever checking their soil’s pH level. Potatoes strongly prefer acidic soil with a pH between 5.0 and 6.0, and struggle when planted in alkaline conditions.
In high-pH soil, potatoes become more susceptible to scab disease, which creates corky, rough patches on the tubers. The plants also have difficulty accessing essential nutrients like phosphorus and iron, leading to stunted growth and poor yields.
Test your soil before planting and amend accordingly. For overly alkaline soil, work in elemental sulfur or acid-forming organic matter like pine needles or coffee grounds several weeks before planting. This small soil preparation step can double your harvest size.
11. Planting In Unimproved, Compacted Soil
Hard, compacted soil forces potato plants to waste energy trying to push through dense ground instead of producing tubers. The developing potatoes become stunted and deformed as they struggle to expand against the unyielding soil.
Root growth is severely restricted in compacted ground, limiting the plant’s ability to access water and nutrients. This stress makes plants more vulnerable to drought and reduces their overall productive capacity.
Loosen your planting area to at least 12 inches deep before planting, incorporating plenty of organic matter like compost. The fluffier, more friable soil allows potatoes to develop freely and grow to their full size potential, often increasing yields by 30% or more compared to unimproved ground.
12. Skipping Soil Amendment And Fertilization
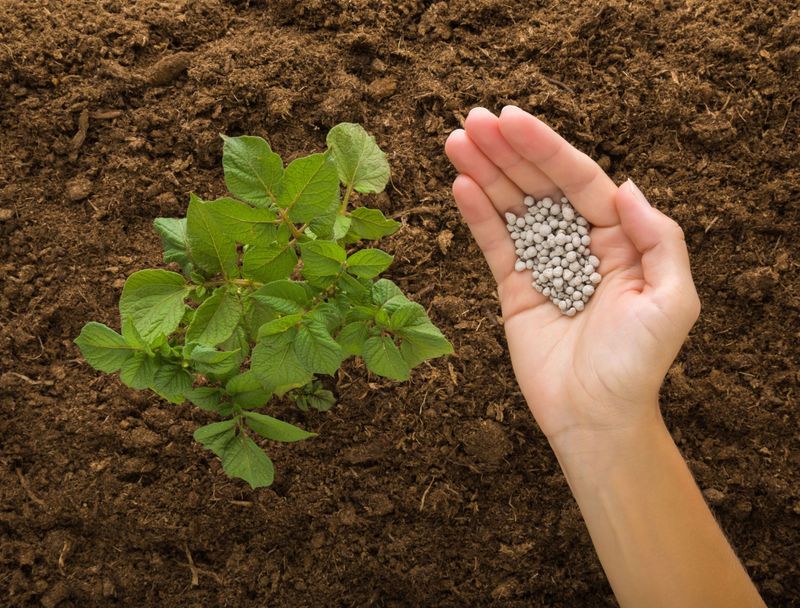
Potatoes are heavy feeders that quickly deplete soil nutrients. Planting them in unamended soil year after year leads to progressively smaller harvests as essential elements become scarce.
Nutrient deficiencies show up as yellowing leaves, weak stems, and of course, fewer and smaller potatoes. Without proper nutrition, plants become more susceptible to pests and diseases, further reducing your harvest.
Mix a balanced organic fertilizer into your soil before planting, focusing on phosphorus and potassium which support tuber development. Adding well-rotted compost or aged manure improves both nutrition and soil structure. This foundation of fertility ensures your plants have the resources to produce abundantly.
13. Using Fresh Manure As Fertilizer
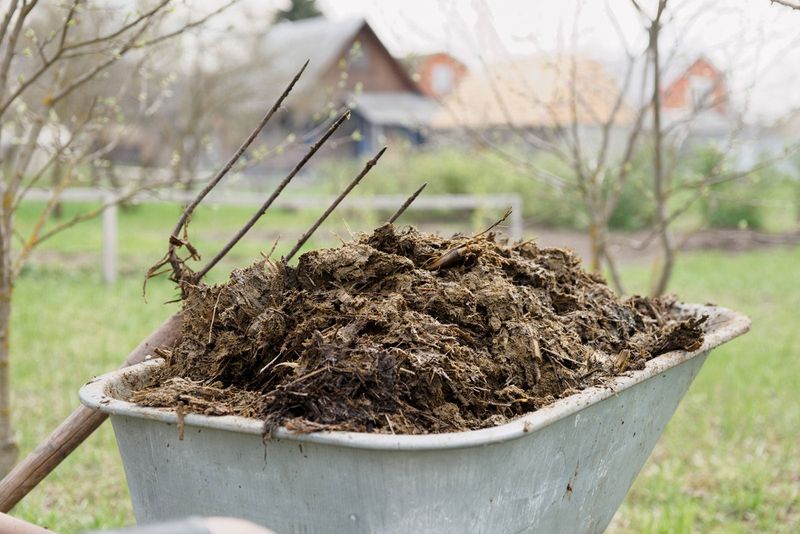
Fresh animal manure seems like a free, natural fertilizer, but it’s actually harmful for potatoes. The high nitrogen content stimulates lush leaf growth at the expense of tuber production, giving you beautiful plants but disappointing harvests.
Raw manure often contains pathogens that can contaminate your potatoes and cause human illness. It may also introduce weed seeds that compete with your potato plants for nutrients and water.
If you use manure, make sure it’s well-composted for at least six months before application. Better yet, apply it to your potato bed in fall for spring planting. Properly aged manure provides balanced nutrition without the risks, supporting healthy plants and abundant, safe harvests.
14. Failing To Hill Your Potato Plants
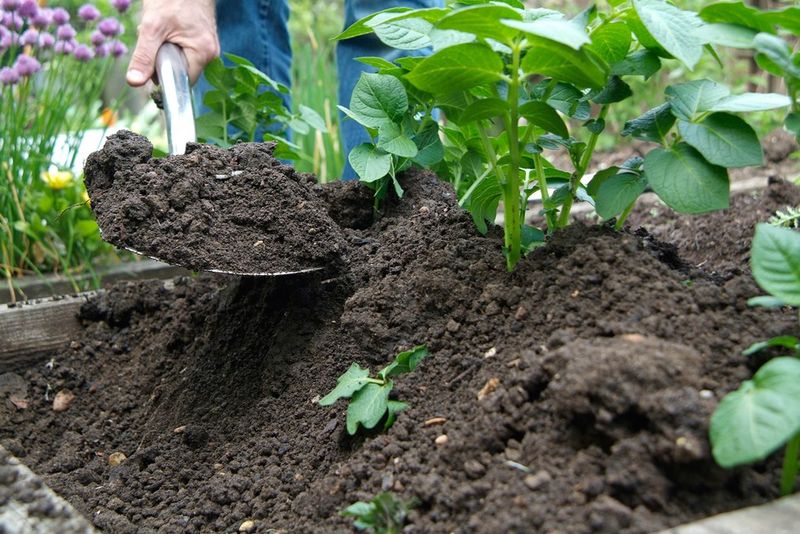
Leaving potato plants unhilled is like leaving money in the ground. Potatoes form along the buried portion of the stem, so without hilling, you’re limiting production to just the area around the original seed piece.
Unhilled potatoes often push up through the soil surface as they grow, exposing them to sunlight. This causes greening and the development of solanine, making portions of your harvest bitter and potentially toxic.
Start hilling when plants reach 6-8 inches tall by gently mounding soil or mulch around the stems, leaving just the top few inches exposed. Repeat every couple of weeks. This simple practice can double or triple your yield while protecting tubers from sun exposure and reducing pest problems.
15. Ignoring Crop Rotation Principles

Planting potatoes in the same spot year after year is a recipe for diminishing returns. Soil-borne diseases like scab and verticillium wilt build up in the soil, lying in wait to infect your new crop.
Specific potato pests, particularly nematodes and wireworms, establish larger populations each season when their food source returns to the same location. These specialized pests can reduce yields by up to 50% while making the harvested tubers less attractive and marketable.
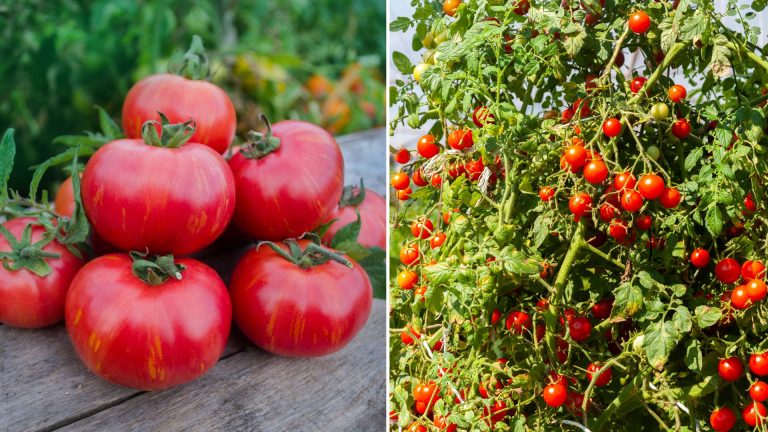
Rotate potatoes to a new garden location every 3-4 years. Avoid planting after other nightshade family members like tomatoes or eggplants, which share many diseases. This simple planning step breaks pest cycles and allows soil to recover, maintaining healthy production year after year.
16. Forgetting To Remove Volunteer Potato Plants
Those surprise potato plants that pop up from missed tubers seem like free food, but they’re actually trouble. Volunteer potatoes interrupt your careful crop rotation plan, allowing diseases and pests to persist in the soil.
These unplanned plants often emerge from small, overlooked potatoes that may carry diseases from the previous season. They serve as bridges that help potato diseases survive from one year to the next, threatening your intentionally planted crop.
Pull volunteer potato plants as soon as you spot them, removing any tubers you find in the process. This vigilance helps maintain the effectiveness of your crop rotation and reduces disease pressure on your main potato crop, leading to healthier plants and better harvests.