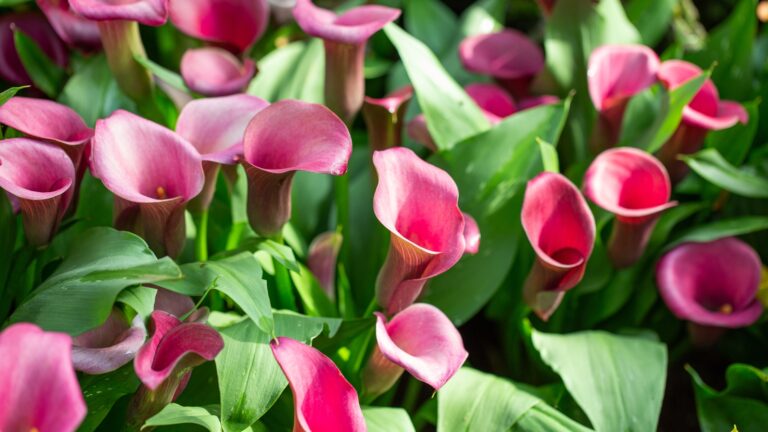
17 Tips To Keep Tulips Blooming For Longer (And Things You Should Never Do)
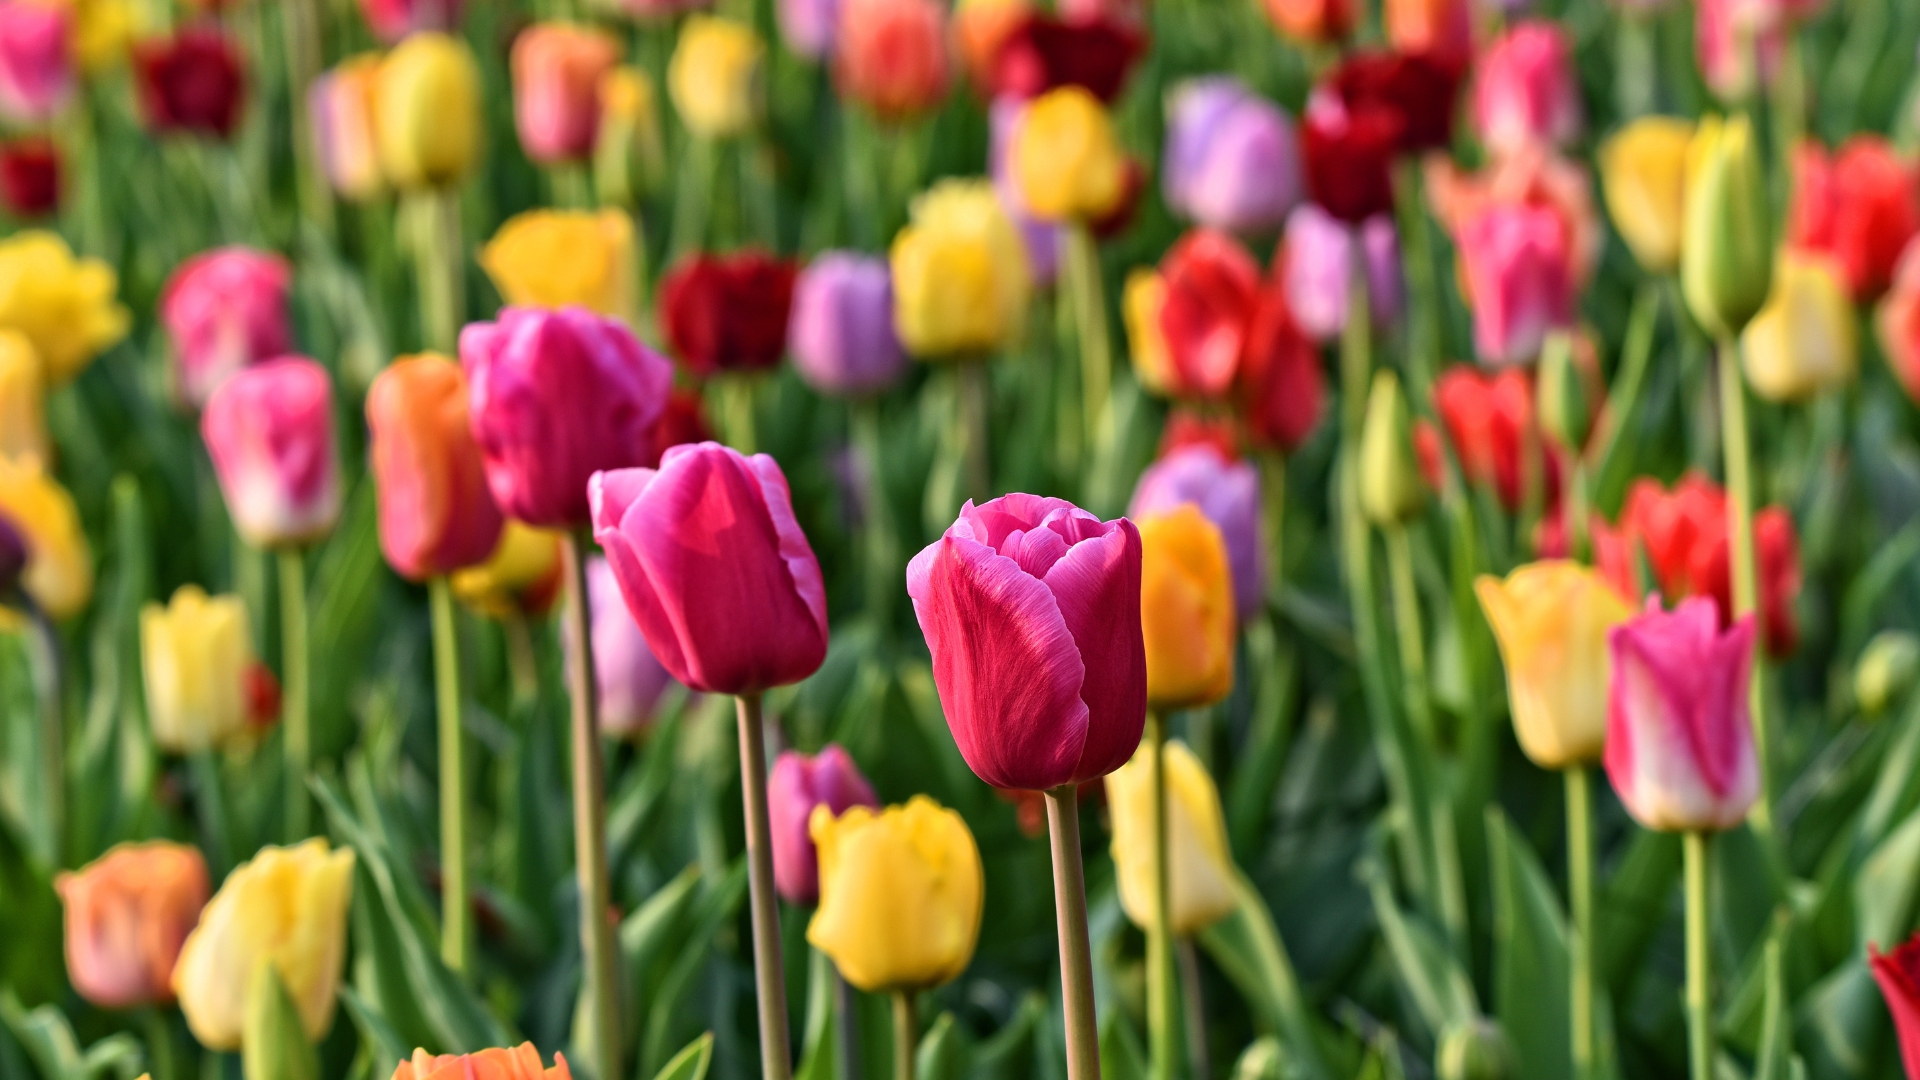
Tulips might be short-lived stars, but with the right care, you can help them stick around a little longer. These 17 tips will show you how to keep those cheerful blooms going strong.
From proper planting depth to knowing when not to cut the leaves, a few simple steps go a long way. Some common habits can actually shorten their bloom time without you realizing it.
Let’s go over what helps tulips thrive—and what to skip if you want a lasting spring show.
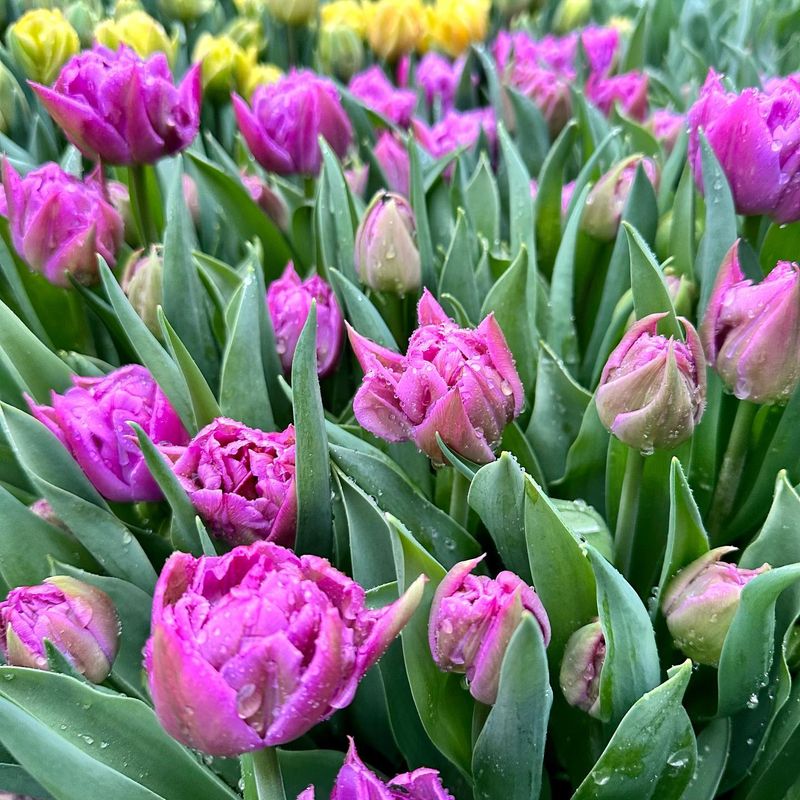
1. Choose Fresh Bulbs
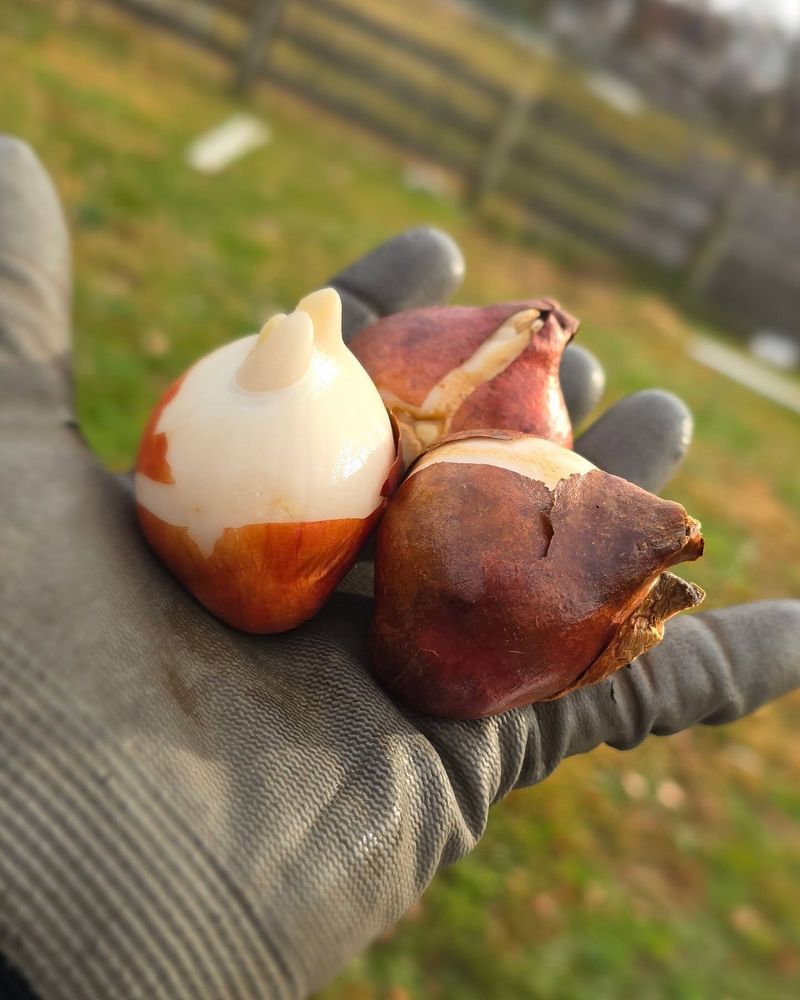
Starting with quality matters more than any care technique. Tulip bulbs should feel firm and heavy for their size, never soft or mushy. Avoid any with visible mold, damage, or that seem unusually light.
The healthier your initial bulbs, the stronger your flowers will be. Premium bulbs might cost a bit more upfront, but they’ll reward you with longer-lasting blooms and more vibrant colors. Consider it an investment in your future garden display.
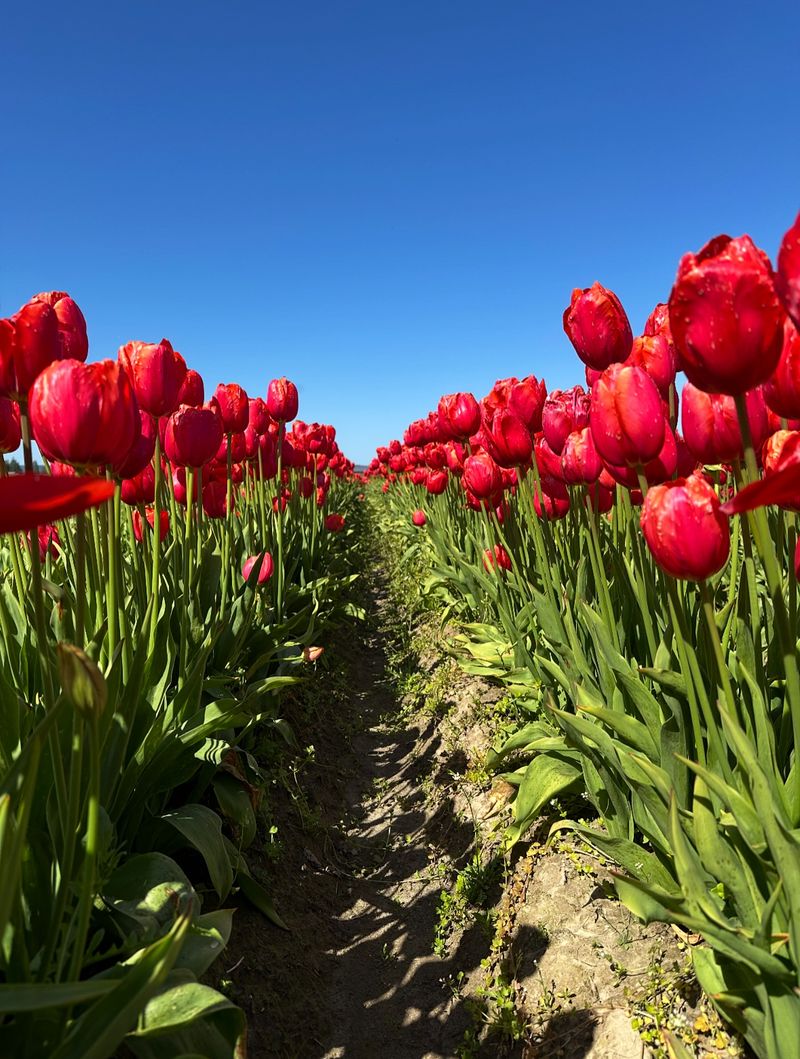
2. Plant at the Right Depth
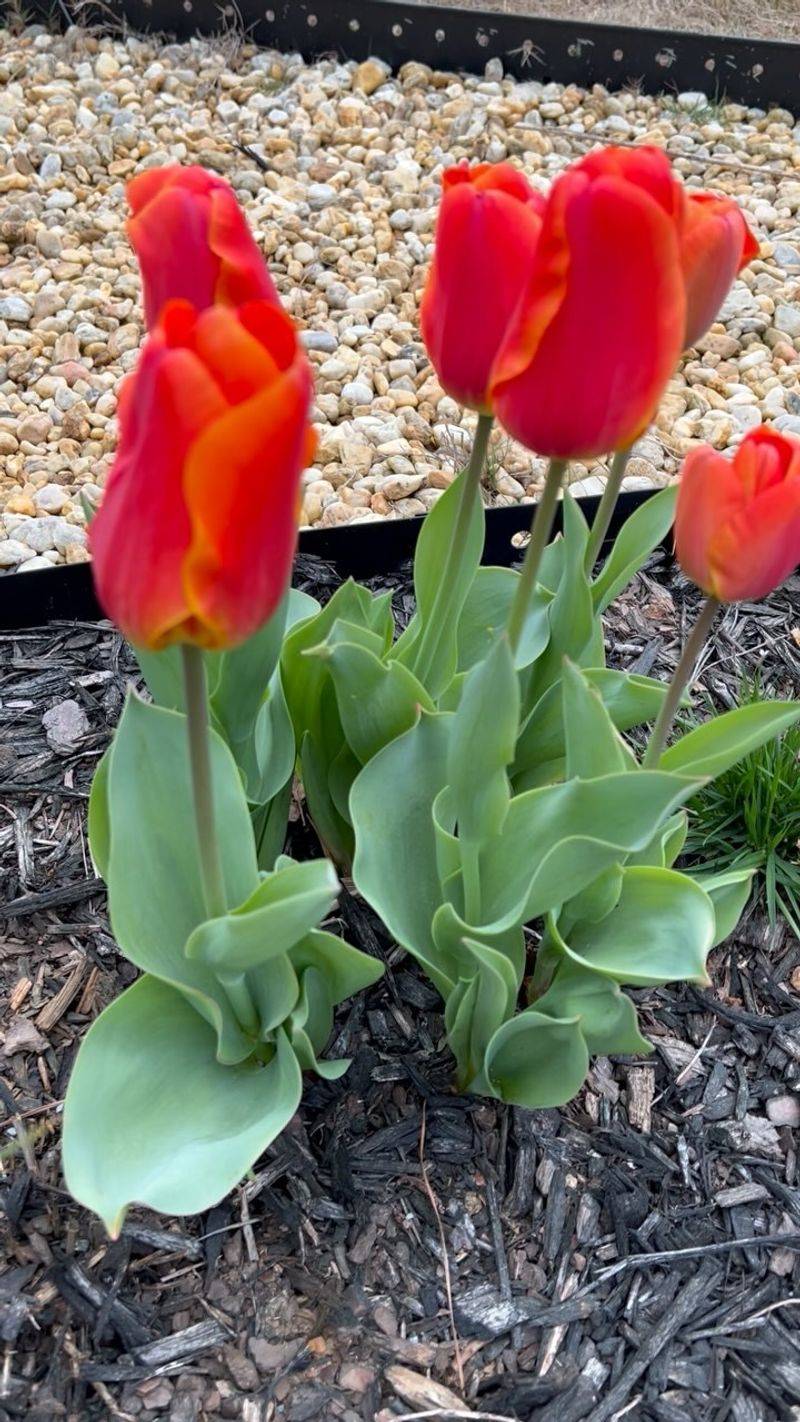
Gardening success often depends on those invisible foundations beneath the soil. Tulip bulbs need to be planted at least 6-8 inches deep, which is deeper than many novice gardeners realize. This depth protects them from temperature fluctuations.
The perfect planting depth creates stable growing conditions. When tulips are planted too shallowly, they’re more vulnerable to weather changes and may bloom prematurely, cutting their display time significantly shorter. Consider using a bulb planter tool for consistent results.
3. Water Appropriately
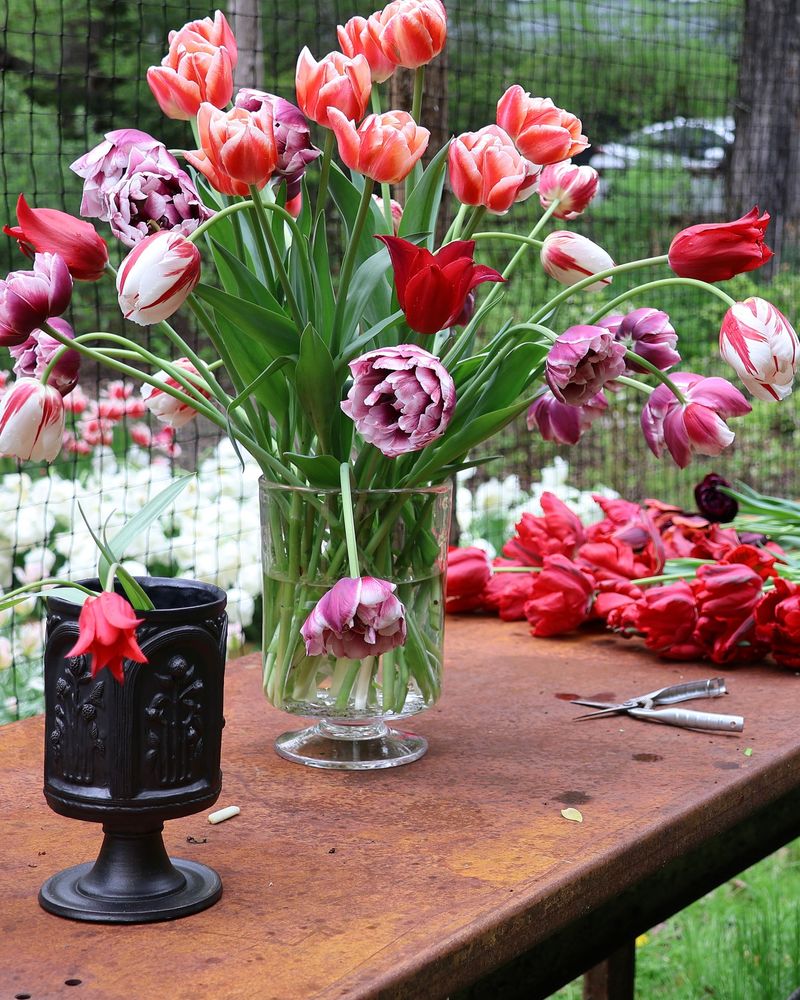
Finding the sweet spot with moisture makes all the difference for longevity. Tulips need consistent moisture but absolutely hate sitting in waterlogged soil which can cause bulb rot and premature wilting. A good rule is to water deeply but infrequently.
For cut tulips in vases, changing the water every two days works wonders. Fresh, room-temperature water prevents bacterial growth that blocks stems and shortens vase life. Adding a tiny drop of bleach to vase water can also help inhibit bacteria without harming your beautiful blooms.
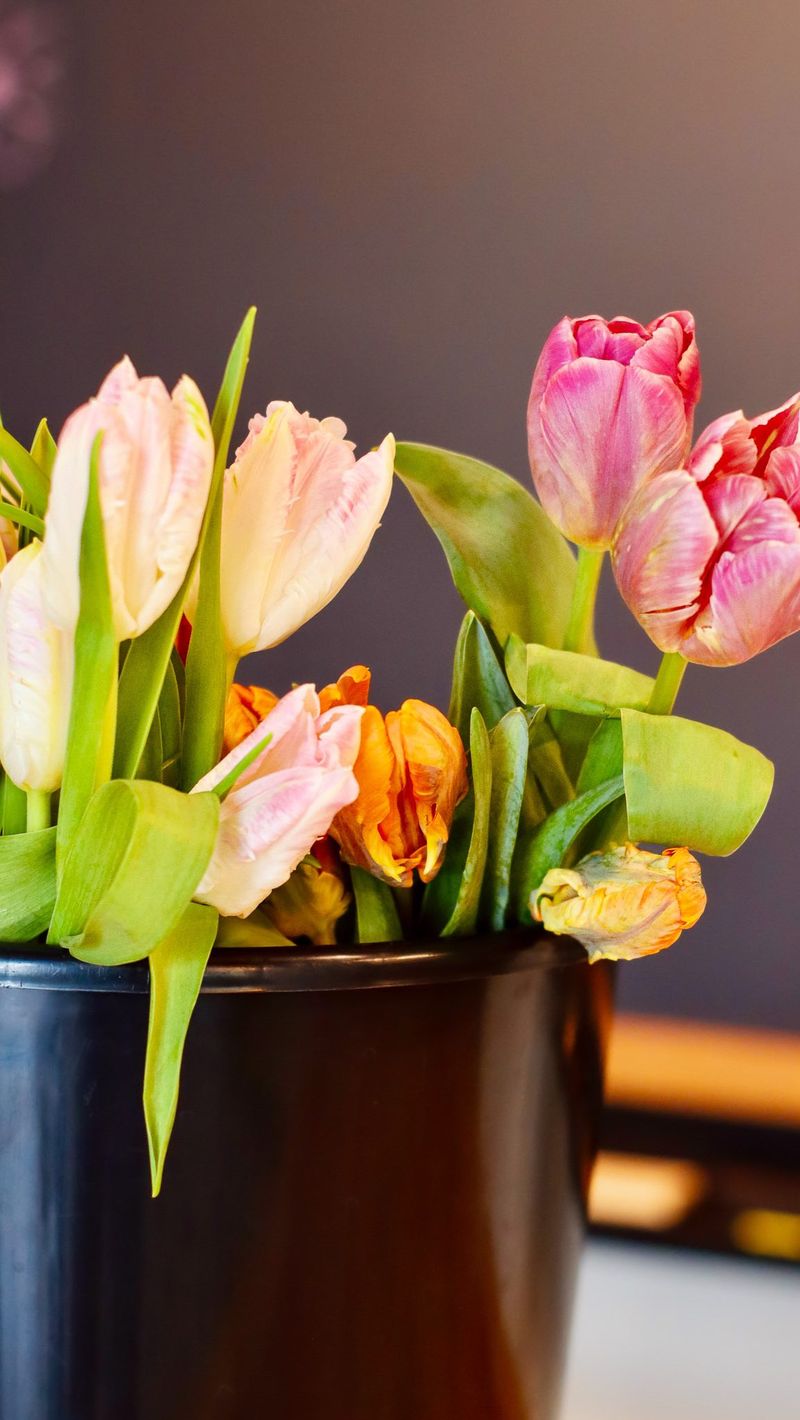
4. Keep Them Cool
Heat is the silent enemy of these springtime favorites. Tulips naturally prefer cooler temperatures and will last significantly longer when kept away from heat sources like radiators, sunny windows, or appliances that generate warmth. The cooler their environment, the slower they open.
Consider displaying your vased tulips in the coolest part of your home. Some flower enthusiasts even place their arrangement in the refrigerator overnight to extend bloom time. Just be sure to keep tulips away from ripening fruits, which release ethylene gas that speeds up flower aging.
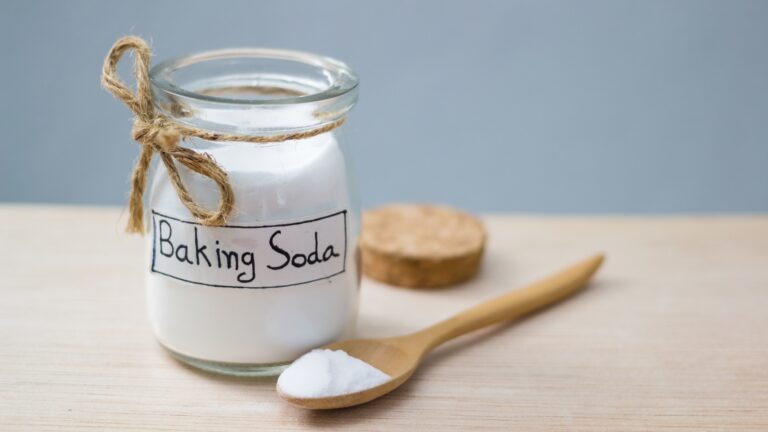
5. Add Cut Flower Food
Those little packets that come with flower bouquets aren’t just fancy extras. Flower food provides essential nutrients that tulips need to maintain their vigor, plus it contains bacteria inhibitors that keep the water cleaner. Commercial flower food is specifically formulated to extend bloom life.
No flower food on hand? Make your own by mixing 1 teaspoon sugar, 1 teaspoon bleach, and 2 teaspoons lemon juice in a quart of water. The sugar provides energy, while the bleach and lemon juice help control bacteria and maintain the proper pH level for maximum nutrient uptake.
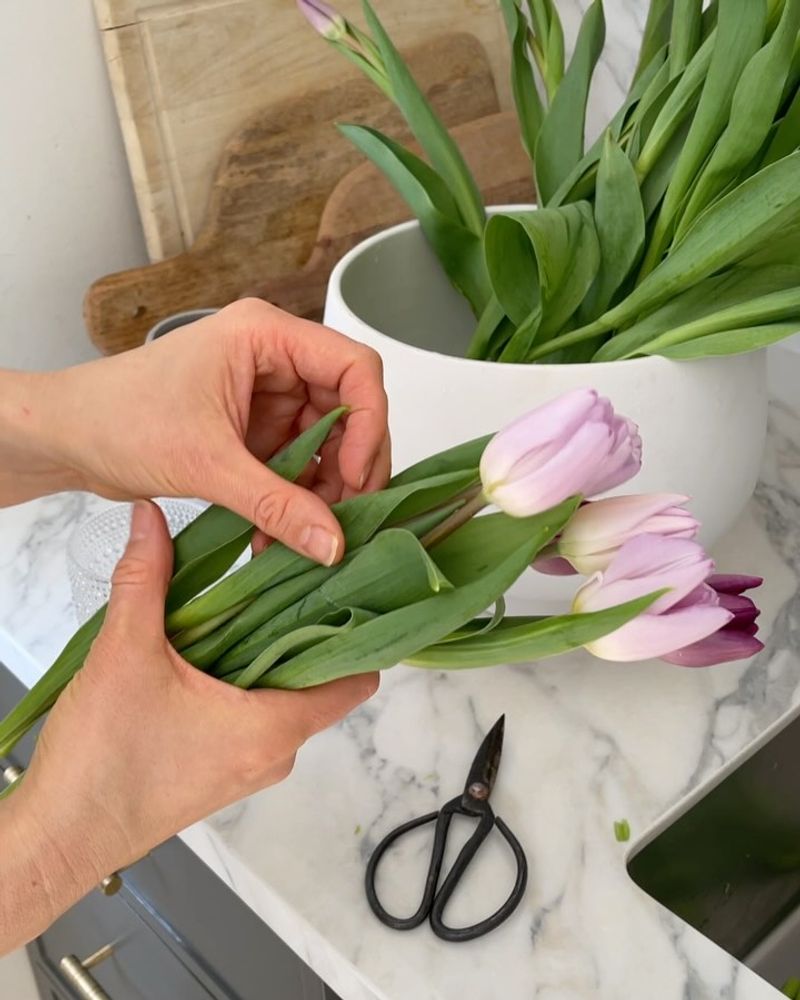
6. Trim Stems Correctly
Cutting technique makes a surprising difference in how long your flowers will last. Always use sharp, clean scissors and cut tulip stems at a 45-degree angle while holding them underwater. This prevents air bubbles from forming in the stems that can block water uptake.
Refreshing the cut every few days keeps water channels open. Tulips continue growing in the vase (sometimes up to an inch!), which can cause them to droop as stems elongate and curve. Regular trimming helps maintain their upright posture and extends their vase life considerably.
7. Avoid Mixing With Daffodils
Beautiful as they are together in the garden, these spring favorites should never share vase water. Daffodils release a slimy substance into water that’s toxic to other flowers, especially tulips. This secretion can dramatically shorten your tulips’ lifespan, sometimes killing them within hours.
If you absolutely must display these flowers together, keep daffodils in separate water for at least 6 hours first. After their initial soak, you can rinse the stems thoroughly and arrange them with tulips. Better yet, use a floral insert or separate smaller vases within a larger arrangement to keep their water supplies separated.
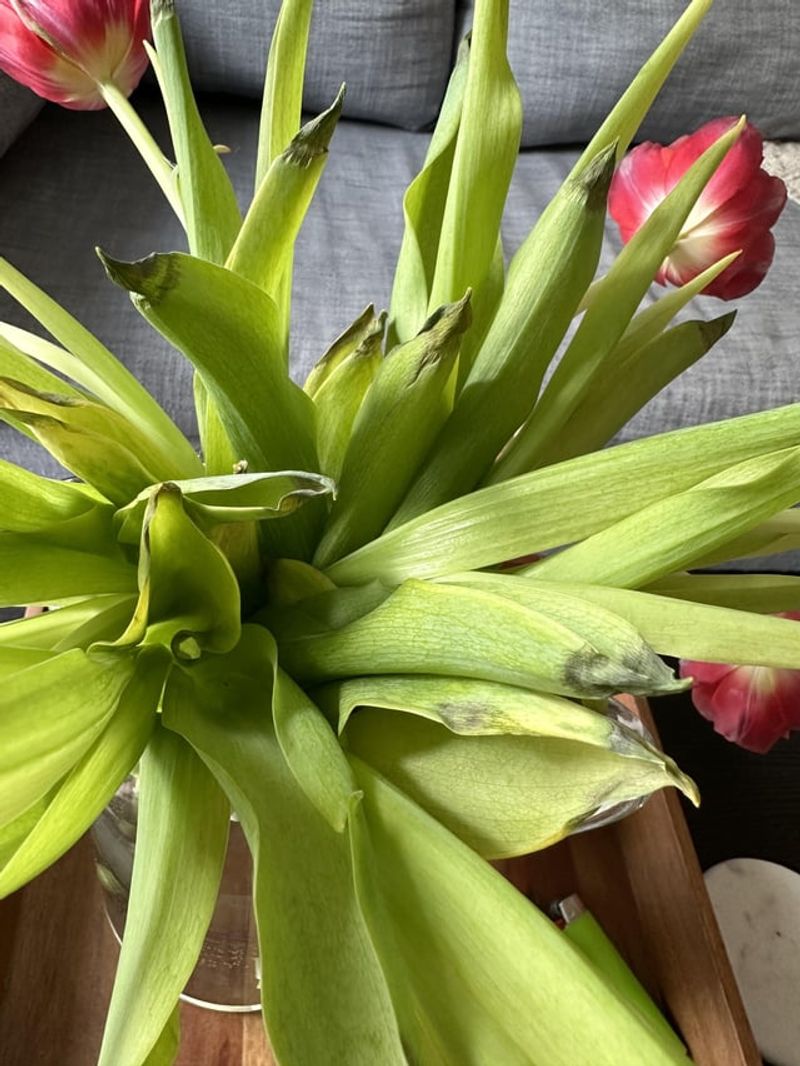
8. Remove Foliage Below Water
Those green leaves might look pretty, but they’re trouble when submerged. Any foliage sitting below the waterline will quickly decompose, creating a breeding ground for bacteria that shortens bloom life. Always strip away lower leaves before placing stems in water.
Clean stems lead to cleaner water. When leaves decompose, they not only cloud the water but release substances that can clog the stems’ vascular system. This prevents proper hydration, causing your tulips to droop and die much sooner than they should. A quick strip of lower foliage takes seconds but adds days to your display.
9. Support Droopy Stems
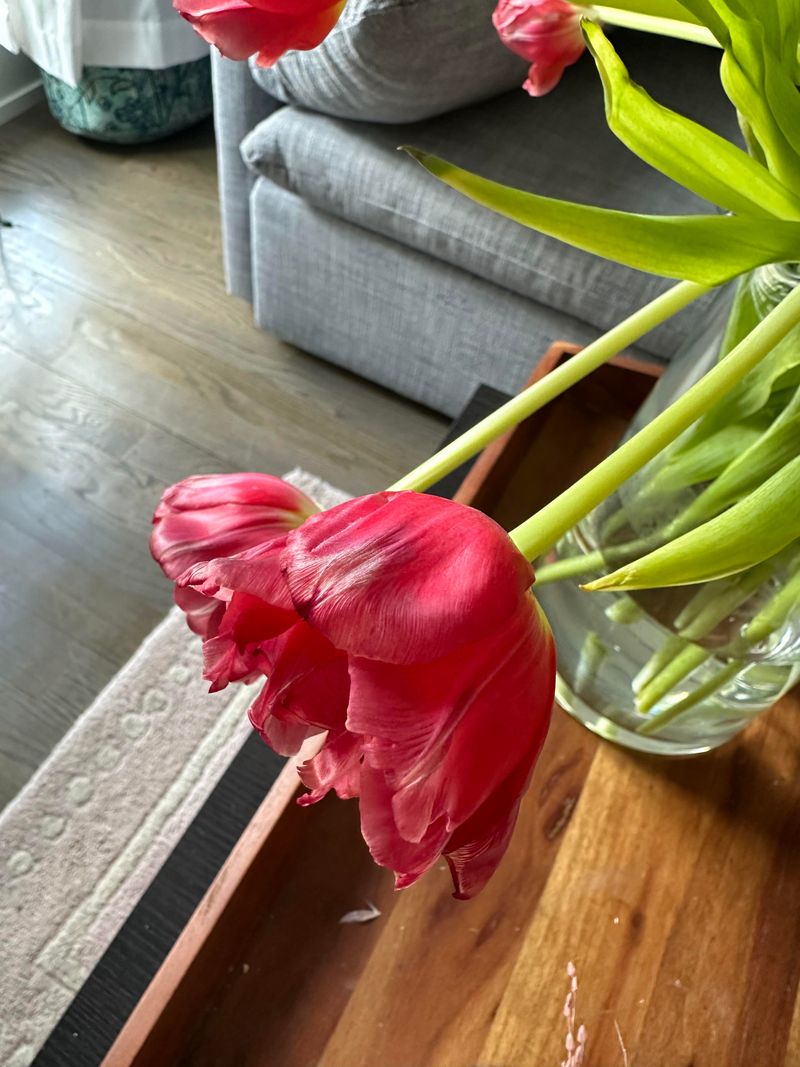
Sometimes even the freshest flowers need a little structural help. Tulips have a natural tendency to bend toward light sources, which can create a droopy, messy look in arrangements. A simple paper wrap around the arrangement while in water can train stems to stand straighter.
For garden tulips, proactive staking prevents wind damage. Heavy blooms, especially on taller varieties, may need gentle support to stay upright during spring storms. Consider using decorative plant supports or even discrete twigs placed early in the growing season so stems grow supported naturally.
10. Fertilize Appropriately
Garden tulips benefit tremendously from the right nutrients at the right time. A low-nitrogen, high-phosphorus fertilizer (like bulb food or bone meal) applied in fall during planting helps develop strong root systems without promoting excessive leaf growth.
Avoid high-nitrogen fertilizers when blooms appear. While nitrogen creates lush green growth, too much can actually reduce flowering time by forcing the plant to focus energy on leaves rather than maintaining blooms. After flowering, a light application of balanced fertilizer helps bulbs store energy for next year.
11. Deadhead Spent Blooms
Removing faded flowers prevents your plants from wasting energy on seed production. When tulips finish blooming, their natural instinct is to form seed pods, which diverts energy away from the bulb. Snipping off the spent flower heads redirects that energy back to the bulb.
Use sharp, clean scissors for a clean cut just below the flower head. Important distinction: while you should remove the flower, leave the green stem and leaves intact until they yellow naturally. These continue photosynthesizing and storing energy in the bulb for next year’s display.
12. Provide Adequate Sunlight
Finding the perfect light balance helps maximize bloom duration. Garden tulips need at least 6 hours of sunlight daily to build energy reserves, but benefit from afternoon shade in warmer climates. This balance prevents premature wilting while ensuring sufficient photosynthesis.
For cut tulips, indirect light works best. Direct sunlight through windows can heat vase water and accelerate aging, while too little light prevents the flowers from opening properly. A bright room without direct sun creates the ideal environment for longest-lasting cut tulip displays.
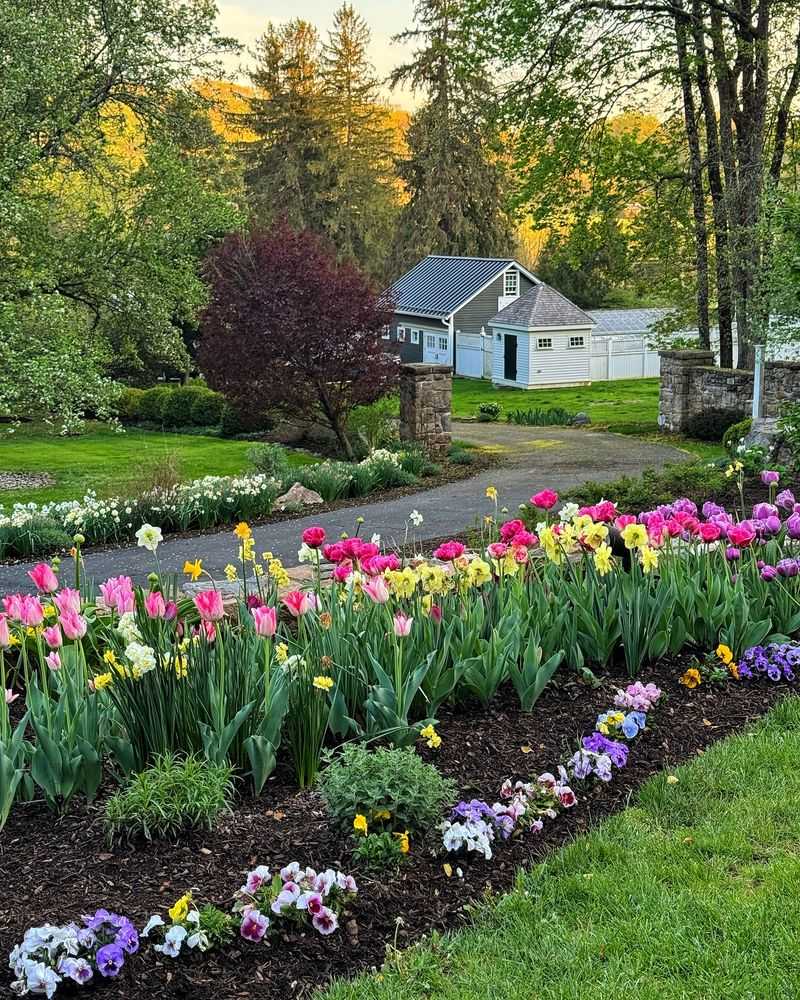
13. Protect From Strong Winds
Weather protection makes a dramatic difference in display longevity. Strong winds can damage delicate petals and cause stems to snap, especially on taller varieties. Planting tulips near windbreaks like fences, shrubs, or in protected garden corners helps them stay pristine longer.
Consider temporary protective measures during stormy spring weather. Garden cloches, overturned tomato cages wrapped with clear plastic, or even milk jugs with bottoms removed can serve as emergency wind shields. Just remember to remove these covers when the weather improves to prevent overheating.
14. Avoid Overcrowding
Giving each bulb enough space prevents numerous problems that shorten bloom time. Overcrowded tulips compete for nutrients and moisture, resulting in smaller, shorter-lived flowers. They also create humid microclimates that encourage fungal diseases, which can devastate your display.
Plant bulbs approximately 4-6 inches apart, depending on variety. This spacing allows proper air circulation while creating a visually pleasing, full display. When arranging cut tulips, avoid cramming too many stems into one vase – they need room for proper water uptake and air circulation around blooms.
15. Maintain Proper Soil pH
Soil chemistry plays a surprisingly important role in bloom longevity. Tulips prefer slightly acidic to neutral soil with a pH between 6.0 and 7.0. When soil is too alkaline or too acidic, nutrients become less available to plants, resulting in weaker growth and shorter blooming periods.
Testing your soil before planting allows for targeted amendments. Add sulfur to lower pH or lime to raise it as needed. Well-balanced soil creates the foundation for stronger plants that produce longer-lasting blooms year after year. Consider retesting every few years as soil pH can change over time.
16. Practice Crop Rotation
Moving your tulip planting location every few years prevents disease buildup in soil. When tulips are planted in the same spot year after year, pathogen populations specific to these flowers increase, leading to disease problems that shorten bloom time and reduce vigor.
Maintain a simple garden map to track rotation. Ideally, wait 3-4 years before replanting tulips in the same location, using the space for non-bulb plants in between. This practice breaks disease cycles naturally without requiring chemical treatments and results in consistently healthier, longer-blooming displays.
17. Never Cut All Foliage After Blooming

Resisting the urge to tidy up immediately after flowering is crucial for future displays. Those yellowing leaves might look unsightly, but they’re performing vital photosynthesis that recharges bulbs for next year. Cutting foliage too early essentially starves your bulbs, resulting in weaker plants with shorter blooming periods.
Allow all foliage to yellow completely before removing, typically 6-8 weeks after flowering. During this waiting period, continue watering regularly but reduce frequency as leaves yellow. Consider planting tulips among later-emerging perennials that will naturally hide the aging foliage while it completes its essential energy-storing work.