19 Tips For Growing The Best Carrots In Your Garden (Even If You’re New To It)
Growing carrots can transform your garden into a vibrant patch of orange goodness that’s both nutritious and rewarding. These root vegetables might seem tricky at first, but with the right approach, even beginners can harvest crisp, sweet carrots that taste better than anything from the store. Whether you have a spacious backyard or just a few containers, these tips will help you grow carrots that would make Bugs Bunny jealous!
1. Choose the Right Soil Type

Sandy loam soil creates the perfect home for developing carrot roots. Unlike clay soil which causes misshapen or stunted carrots, loose soil allows roots to grow straight and strong without obstacles.
Before planting, remove rocks and break up clumps that might force your carrots to fork or twist. Adding compost improves soil structure, but avoid fresh manure as it can cause hairy, split roots.
For container growing, mix potting soil with sand at a 3:1 ratio to create ideal growing conditions without the heavy feeling of garden soil.
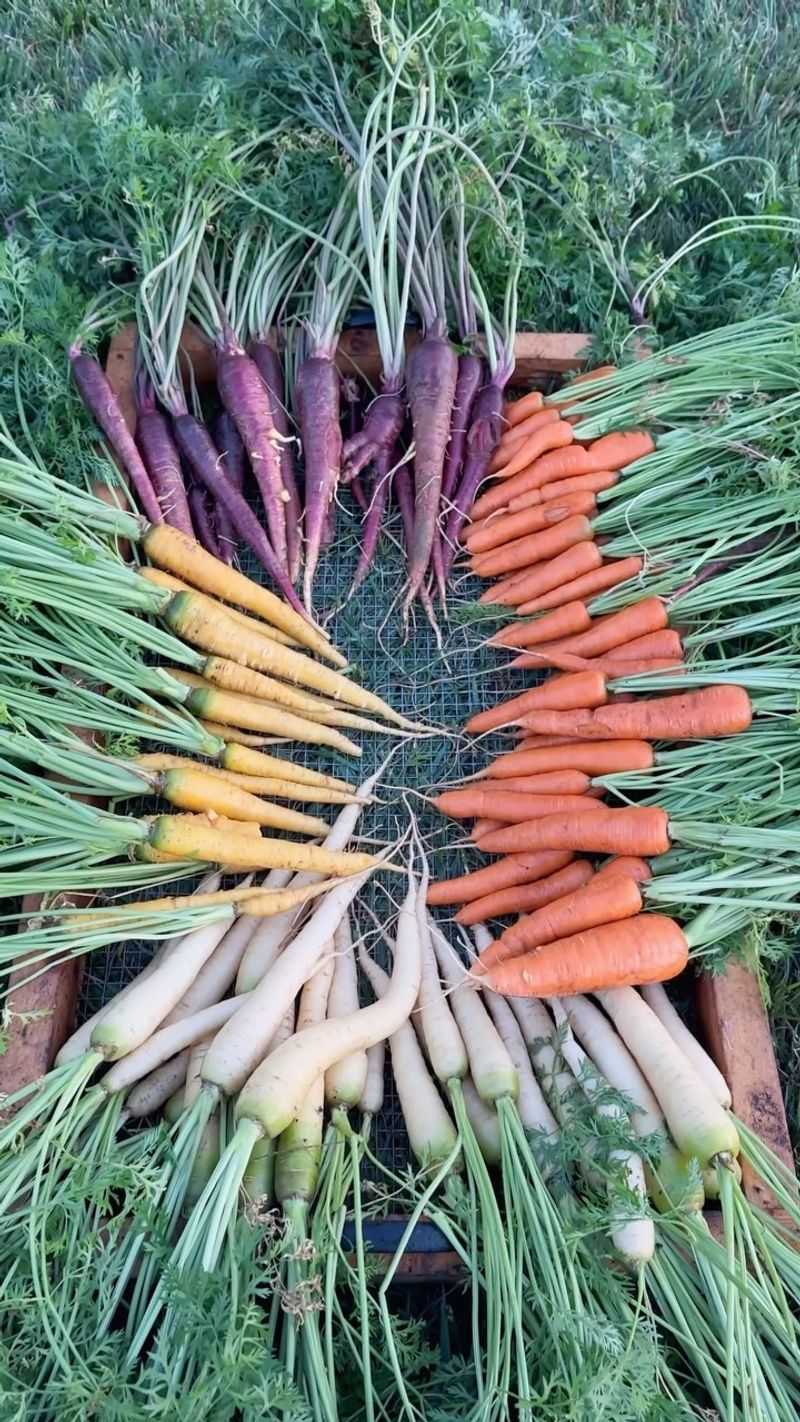
2. Select Varieties for Your Climate

Not all carrot varieties perform equally in different weather conditions. Short, round varieties like ‘Paris Market’ or ‘Thumbelina’ excel in heavy or shallow soils where longer carrots struggle.
‘Napoli’ and ‘Mokum’ varieties thrive in cool spring conditions, while ‘Yaya’ and ‘Bolero’ handle summer heat better. For gardeners in northern climates, try ‘Napoli’ or ‘Belgrade’ which mature quickly before frost arrives.
New gardeners might enjoy ‘Danvers Half Long’ – they’re forgiving of less-than-perfect soil conditions and still produce sweet results.
3. Master the Art of Seed Spacing
Carrot seeds are tiny troublemakers that challenge even experienced gardeners! Mix them with fine sand before sowing to distribute them more evenly along your row. This simple trick prevents the frustrating clumping that leads to overcrowded seedlings.
Aim for spacing seeds about 1/2 inch apart in rows that are 12-18 inches from each other. Some gardeners use seed tapes which have perfectly spaced seeds embedded in dissolving paper – perfect for beginners!
Proper spacing isn’t just about appearance – it gives each carrot room to develop without competing for nutrients or becoming twisted around neighbors.
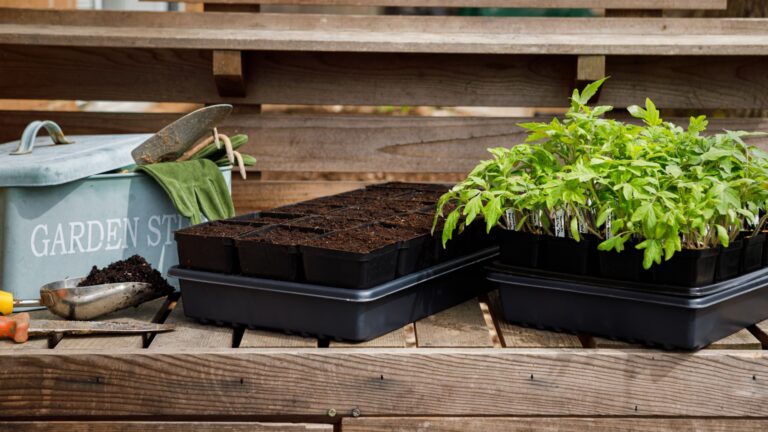
4. Plant at the Right Depth
Carrot seeds need a delicate touch when planting – just 1/4 inch deep is perfect. Any deeper and those tiny seeds might not have enough energy to push through to sunlight; too shallow and they’ll dry out before sprouting.
After placing seeds, cover them with a thin layer of soil or vermiculite, which holds moisture while staying light enough for seedlings to push through. Gently tamp down the covering material to ensure good seed-to-soil contact.
Many gardening failures happen right at this stage! Remember that carrot seeds can take up to three weeks to germinate, so patience and consistent moisture are your allies.
5. Keep Soil Consistently Moist

Carrot seeds require a moisture balancing act during germination. The top layer of soil must stay damp but not waterlogged for the entire 1-3 week sprouting period. Many gardeners cover newly planted areas with burlap or lightweight boards to maintain humidity.
Once sprouts appear, switch to deep, less frequent watering to encourage roots to grow downward seeking moisture. Aim for about an inch of water weekly, adjusting for rainfall and temperature.
A layer of fine mulch around established seedlings helps maintain consistent moisture while suppressing weeds. Just keep the mulch from touching the carrot tops to prevent rot issues.
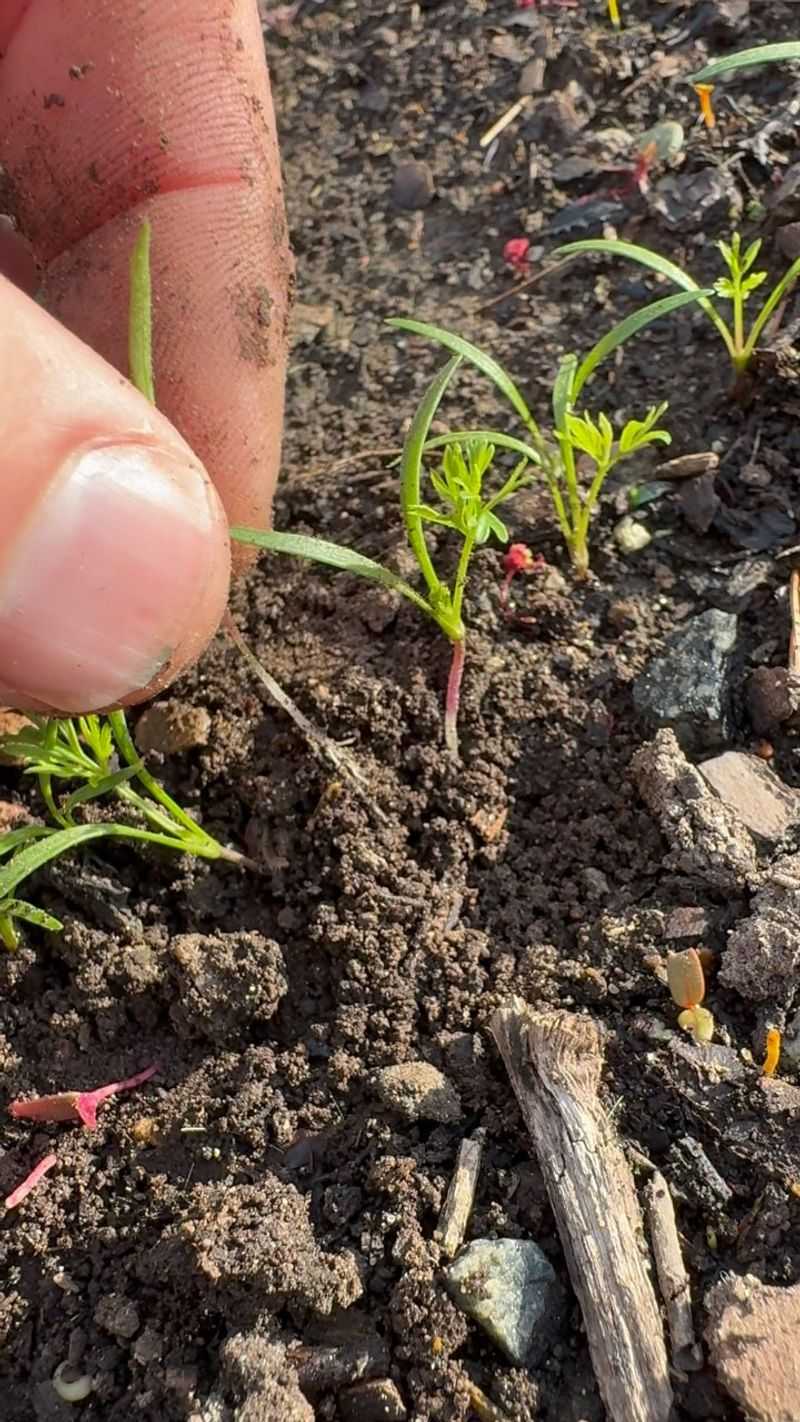
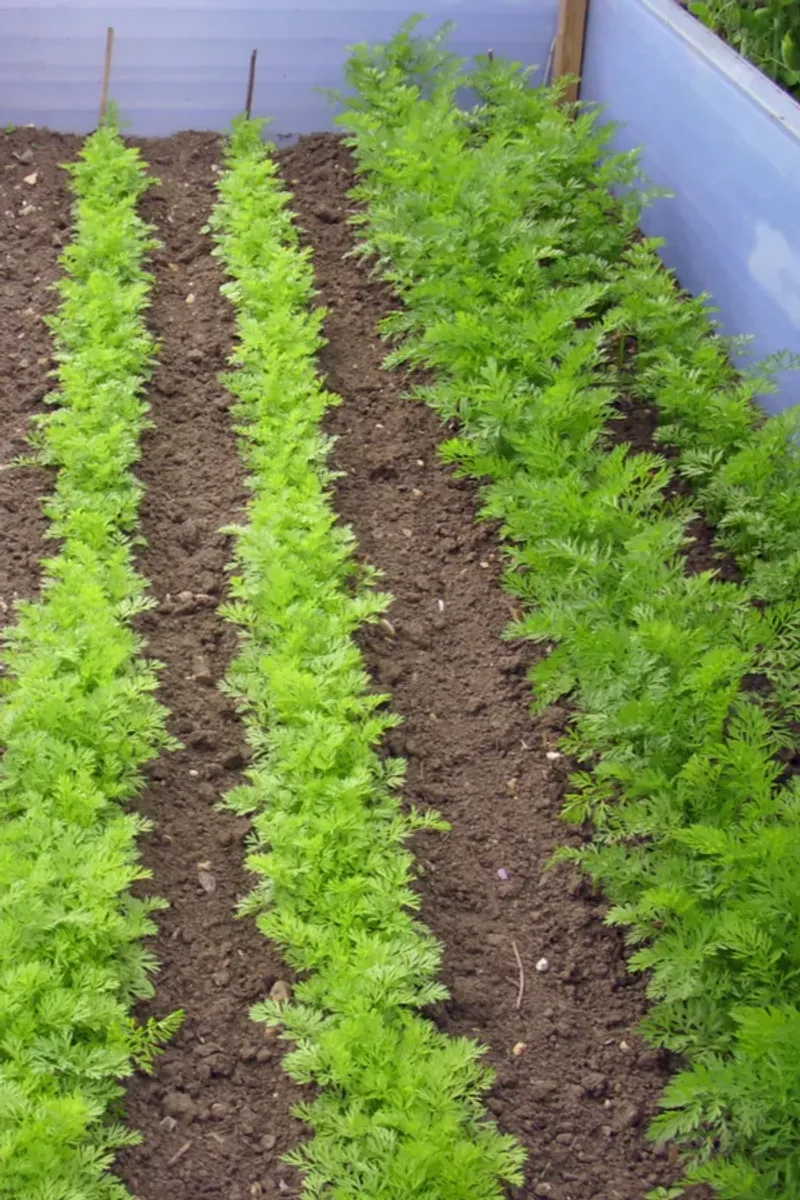
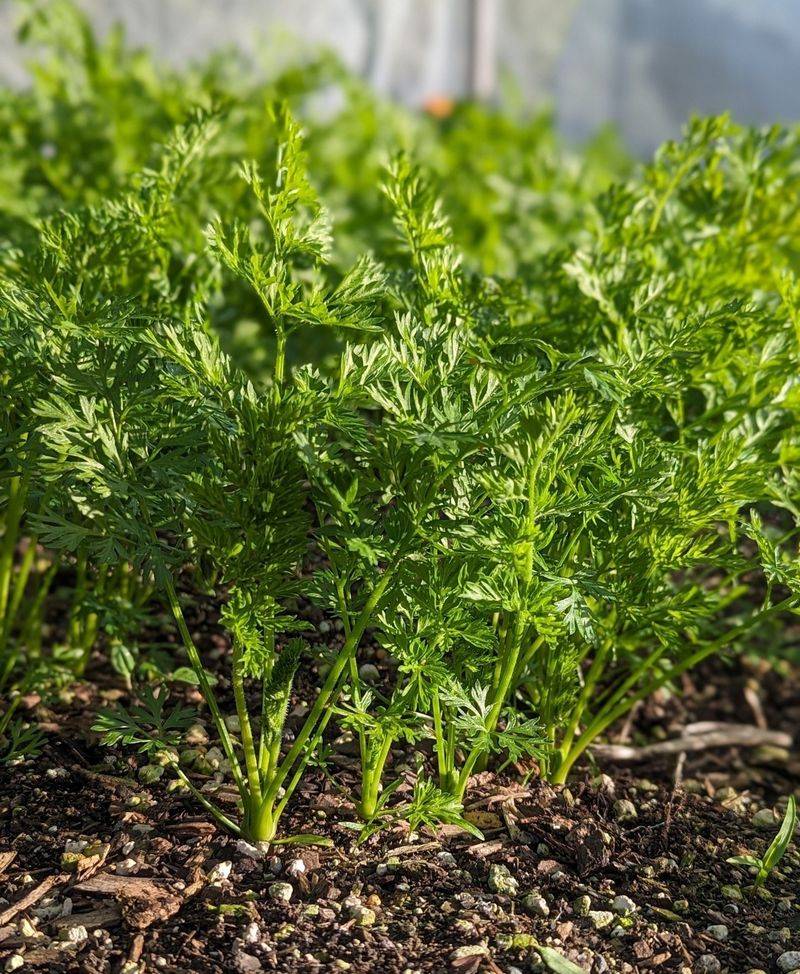
6. Thin Seedlings for Proper Growth
Thinning feels heartbreaking but skipping this step guarantees disappointment! When seedlings reach about 2 inches tall, carefully remove extras until plants stand 2-3 inches apart. Snip unwanted seedlings with scissors rather than pulling, which might disturb remaining roots.
Those tender thinnings aren’t waste – they’re delicious microgreens for salads or garnishes! The carrot flavor is already present in these tiny greens, offering a preview of the harvest to come.
Schedule thinning for evening or on cloudy days when remaining seedlings will experience less transplant shock and have overnight recovery time before facing the sun.
7. Feed with the Right Fertilizer

Carrots don’t need rich soil like tomatoes or squash – too much nitrogen creates bushy tops but disappointing roots! Instead, they thrive with balanced nutrition that emphasizes phosphorus and potassium for root development.
Before planting, work a light application of balanced organic fertilizer into your soil. Something like 5-10-10 works well, with numbers indicating the nitrogen-phosphorus-potassium ratio. Avoid fresh manure which can cause roots to fork and develop ‘hairy’ growths.
Once growing, carrots rarely need additional feeding if planted in reasonably fertile soil. Overfertilizing is a common mistake that leads to bitter, misshapen carrots.
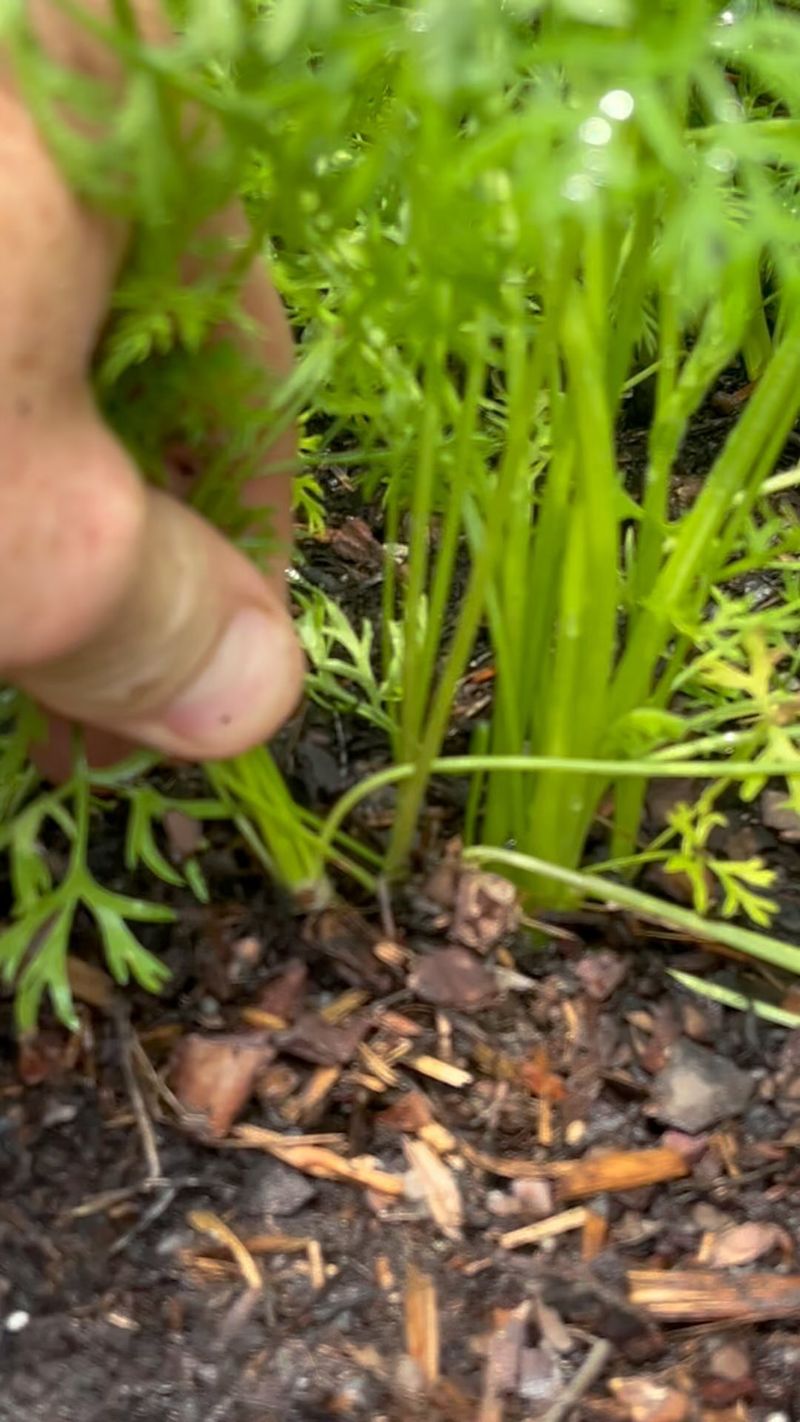
8. Control Weeds Without Disturbing Roots
Carrots grow slowly at first, making them terrible competitors against aggressive weeds. Creating a weed-free bed before planting gives your carrots a fighting chance during those vulnerable early weeks.
Once carrots are growing, use careful hand-weeding techniques rather than hoes or cultivators that might damage shallow roots. Pull weeds when soil is moist to minimize root disturbance, and consider flame-weeding very young weed seedlings before they establish.
A light layer of fine-textured mulch like compost, coco coir, or grass clippings helps suppress weeds while allowing carrot tops to push through easily. Just don’t apply until seedlings are established.
9. Prevent Green Shoulders with Proper Coverage
Those green tops on otherwise perfect carrots aren’t just unsightly – they taste bitter too! This greening happens when shoulders peek above soil level and receive sunlight, triggering chlorophyll production just like in leaves.
As carrots grow, gently mound soil or mulch around the exposed tops, leaving only the leafy greens visible. This simple step ensures the entire root develops that signature sweet flavor and bright orange color carrot-lovers crave.
For raised beds or containers where adding soil might be difficult, try lightweight mulch materials like straw or leaf mold instead. They block light just as effectively while being easier to apply in tight spaces.
10. Time Your Planting for Success
Carrots thrive in cool weather but require soil temperatures between 50-85°F for proper germination. Early spring plantings often succeed, but summer-sown carrots struggle with germination in hot soil. Get a jump start by sowing 2-3 weeks before the last frost date.
Fall harvests often produce the sweetest carrots! Count backward from your first fall frost date and plant 10-12 weeks earlier, allowing carrots to mature as temperatures cool. Many varieties actually improve with light frost exposure, which triggers sugar production.
For year-round harvests, plant small batches every 2-3 weeks during appropriate seasons rather than one large planting that matures all at once.
11. Use Row Covers for Pest Protection

Floating row covers create a physical barrier against carrot rust flies and other pests while still allowing sunlight, air, and water to reach plants. These lightweight fabric shields can increase success rates dramatically, especially for organic gardeners.
Secure covers immediately after planting, ensuring edges are tucked into soil or weighted down to prevent insects from crawling underneath. The protection is especially crucial during the first few weeks when seedlings are most vulnerable.
As an added bonus, row covers create slightly warmer, more humid conditions that improve germination rates. Just remember to remove covers during flowering if you’re growing carrots for seed production.
12. Companion Plant for Natural Protection

Surround your carrots with aromatic allies that confuse and repel common carrot pests! Onions, leeks, and chives release compounds that mask the scent of carrots, making them harder for carrot rust flies to locate.
Rosemary and sage make excellent carrot neighbors too, contributing pest-deterring aromas while attracting beneficial insects. For maximum space efficiency, try quick-growing radishes between carrot rows – they’ll be harvested before carrots need the extra room.
Avoid planting dill, fennel, or Queen Anne’s lace nearby, as these relatives can cross-pollinate with carrots left for seed saving and increase pest problems due to their similar scent profiles.
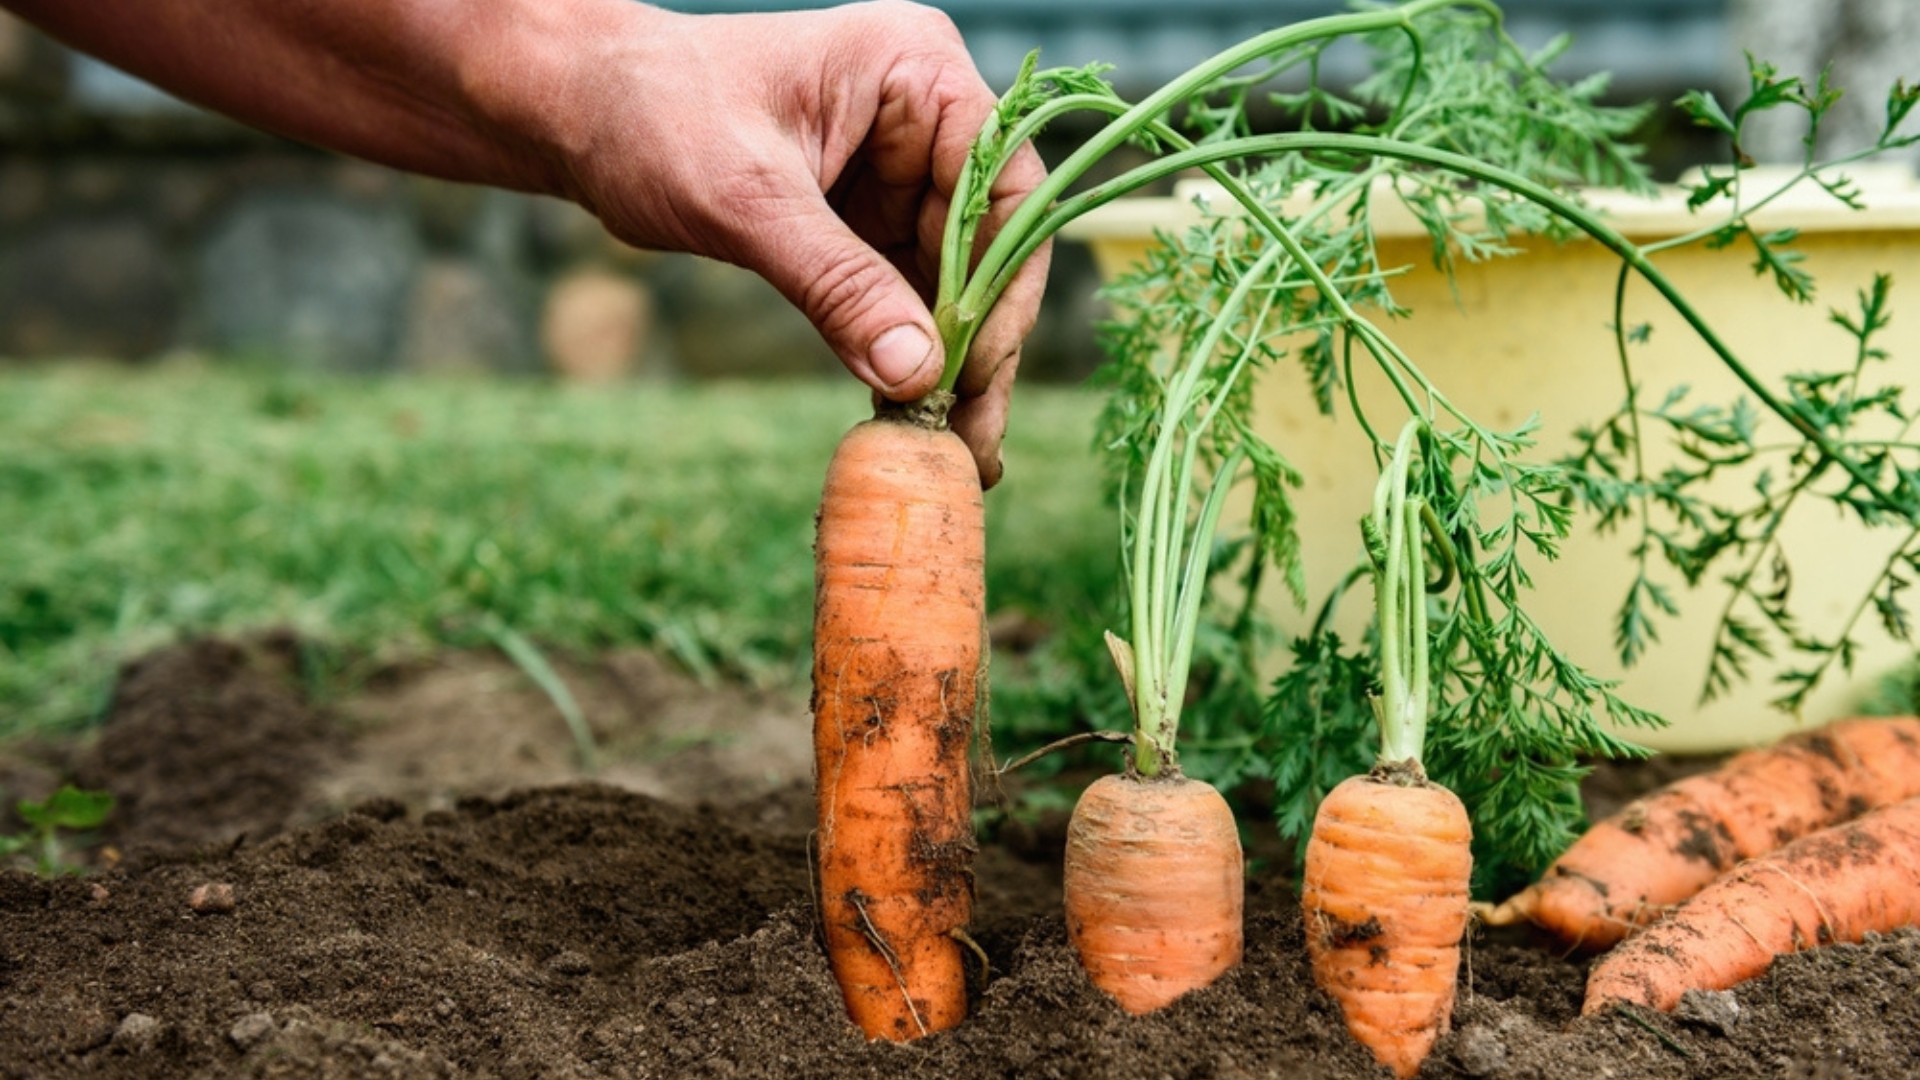
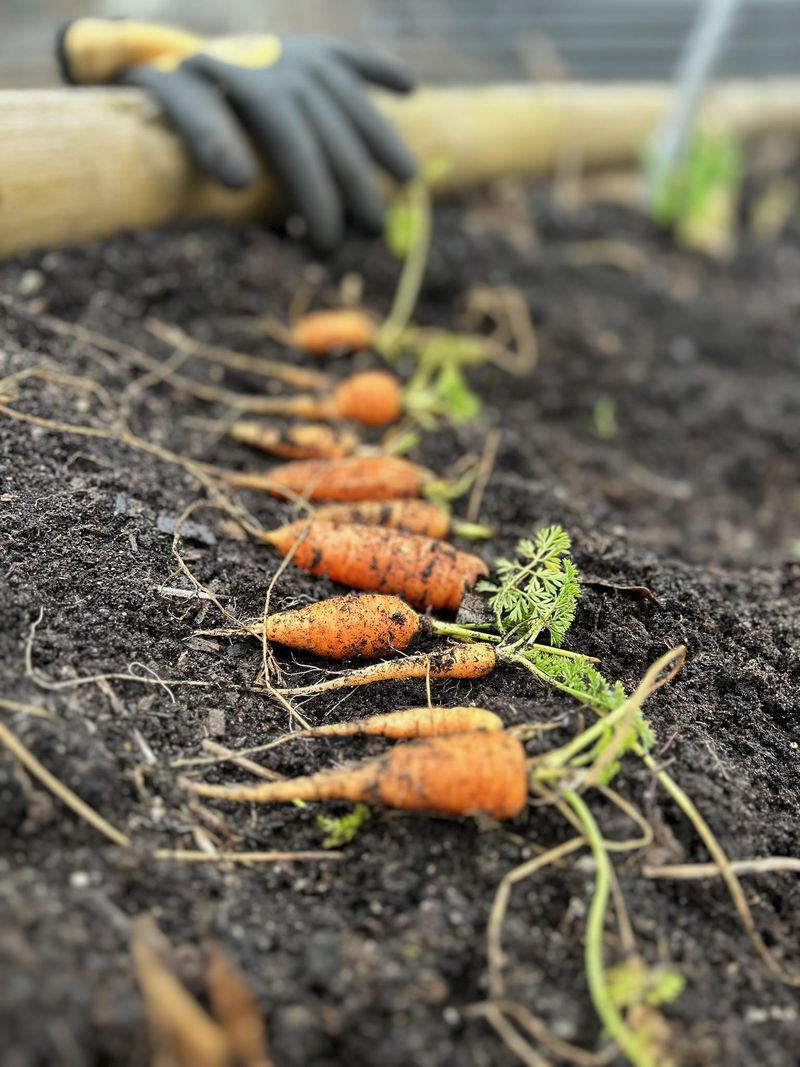
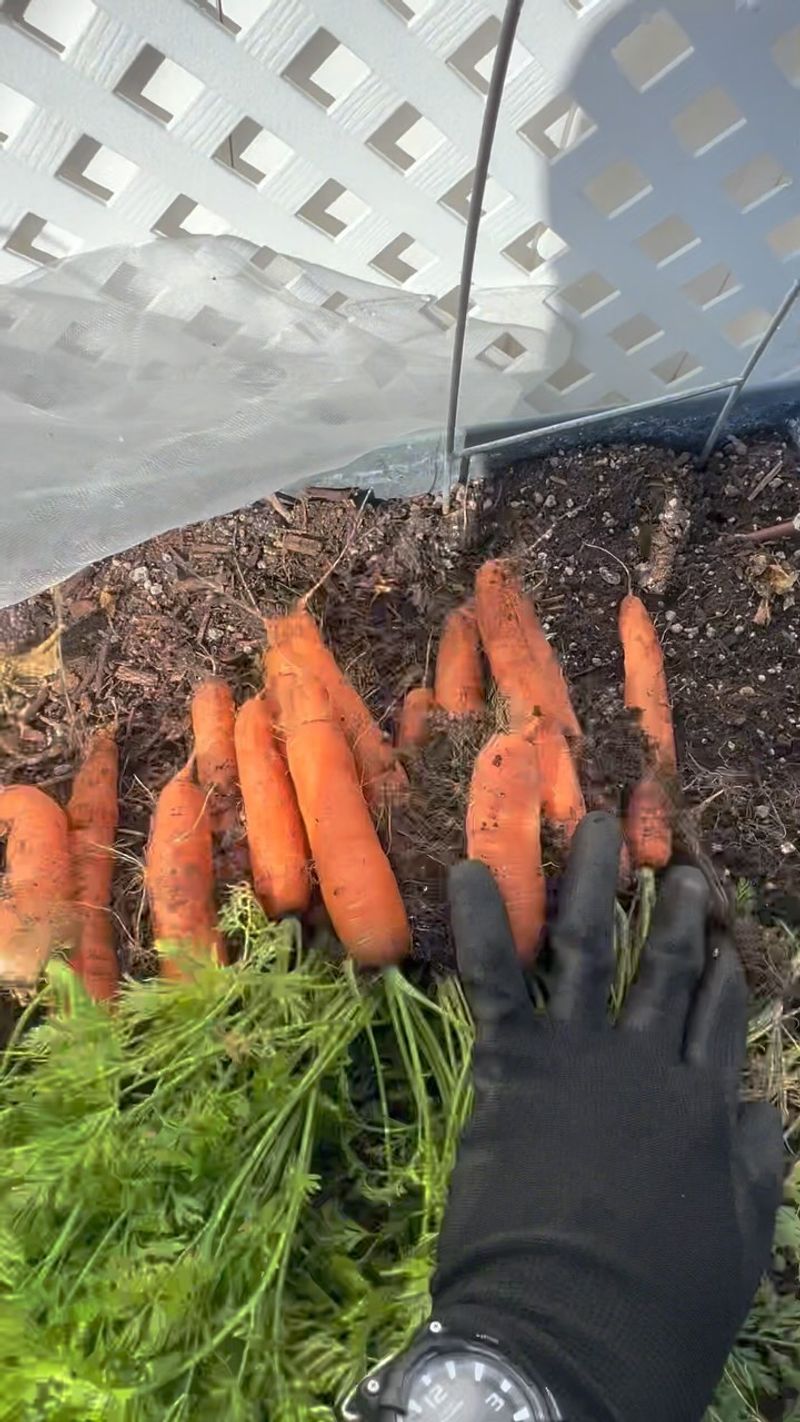
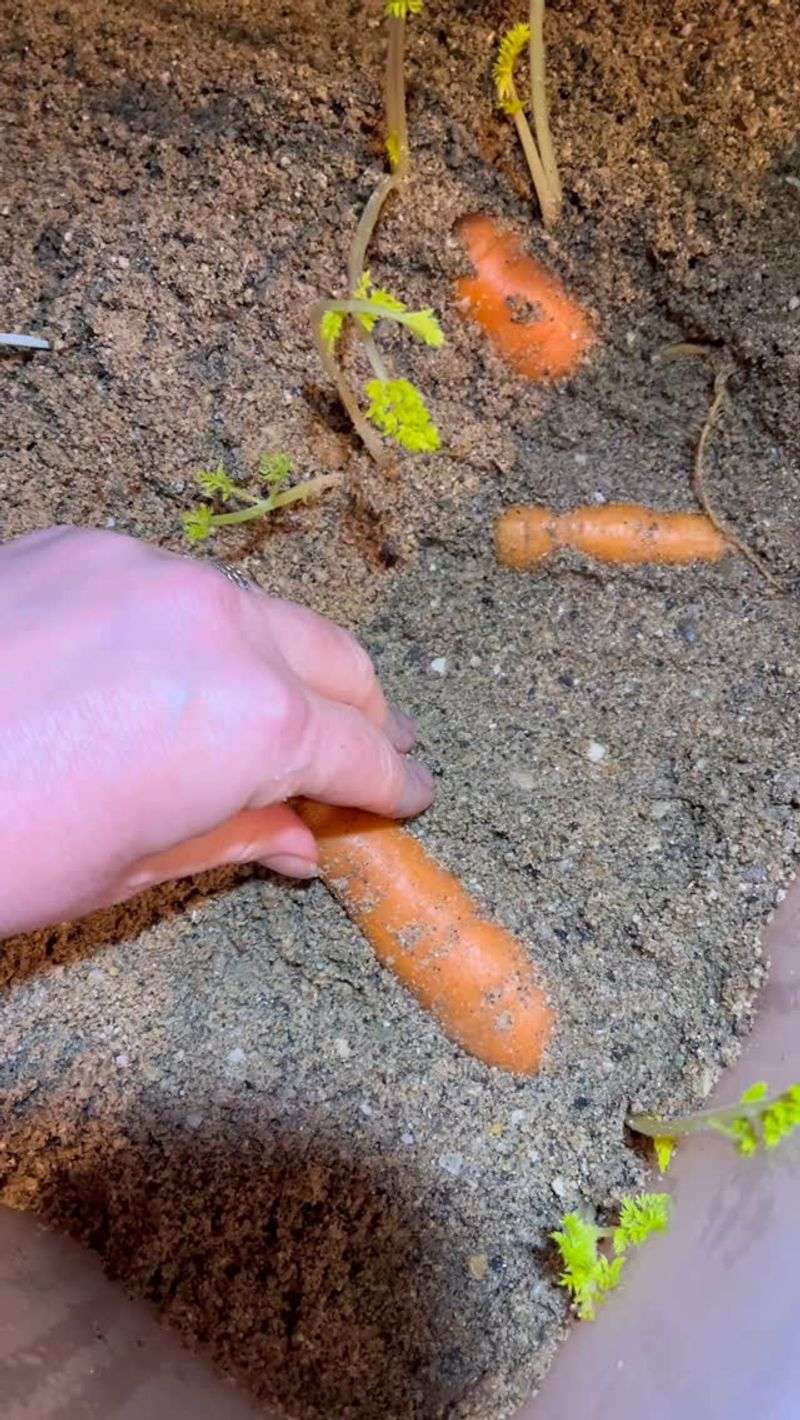
13. Harvest at Peak Sweetness

Baby carrots aren’t just cute – they’re incredibly sweet and tender! You can begin harvesting when roots reach finger-size, though patience rewards you with larger yields. Most varieties reach full maturity in 60-80 days, but flavor often peaks before maximum size.
Test-harvest a few carrots when tops reach expected diameter. If they taste good but seem small, wait another week and sample again. The perfect moment comes when sweetness and size balance – usually when shoulders reach about 3/4-inch diameter.
Fall-planted carrots left in the ground after light frosts develop significantly more sugars, sometimes increasing sweetness by 30%. Just harvest before the ground freezes solid!
14. Grow in Containers for Perfect Control
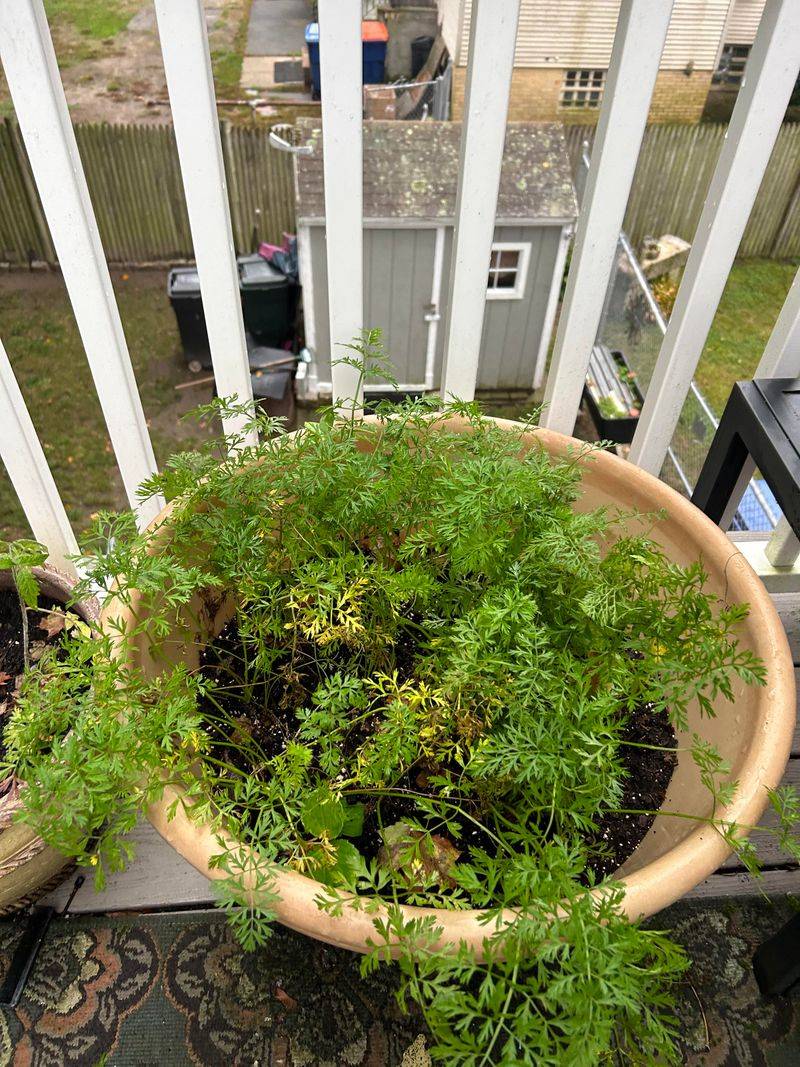
Limited space or poor garden soil? Containers offer perfect growing conditions for carrots! Choose pots at least 12 inches deep for full-size varieties or 8 inches for shorter types like ‘Paris Market’ or ‘Romeo.’ Deeper is always better for root vegetables.
Fill containers with high-quality potting mix blended with extra sand for superior drainage. Container-grown carrots need more frequent watering than garden-planted ones, sometimes requiring daily attention during hot weather.
The controlled environment minimizes pest issues while eliminating rocks and soil obstacles that cause forking. Plus, harvesting becomes a simple matter of dumping the container rather than digging!
15. Make Smart Watering Decisions

Carrots develop their best flavor and texture with consistent moisture – dramatic wet/dry cycles cause splitting and bitterness. Aim for about 1 inch of water weekly, delivered deeply rather than in frequent shallow sprinklings.
Reduce watering slightly as harvest approaches. This mild stress encourages roots to concentrate sugars, resulting in sweeter carrots. Just don’t let soil completely dry out, which causes woody texture.
Soaker hoses or drip irrigation work wonderfully for carrots, delivering water directly to the soil without wetting foliage. This reduces disease risk while ensuring moisture reaches the root zone where it’s needed most.
16. Try Succession Planting for Continuous Harvest
Instead of one massive carrot planting, stagger small batches every 2-3 weeks throughout the growing season. This clever approach ensures fresh carrots for months rather than a single overwhelming harvest that might go to waste.
Early spring plantings can be followed by summer-tolerant varieties, then fall crops for winter storage. Mark each planting with dated labels to track expected harvest times and varieties.
For winter harvests in mild climates, plant late-season varieties in late summer, then protect with a thick mulch layer. You’ll enjoy garden-fresh carrots long after neighbors have emptied their vegetable beds!
17. Store Your Harvest Properly
Maximize your carrot enjoyment long after harvest with proper storage techniques! Cut off leafy tops, leaving about 1/2 inch of stem to prevent moisture loss through the crown. Don’t wash carrots until ready to use – that protective soil layer actually extends storage life.
For refrigerator storage, place carrots in perforated plastic bags that allow some airflow while maintaining humidity. They’ll keep 4-5 weeks this way without losing significant flavor or texture.
For long-term storage, pack unwashed carrots in layers of damp sand or sawdust in a cool root cellar or basement. When properly stored at 32-40°F with high humidity, they remain crisp and sweet for 4-6 months!
18. Save Seeds from Open-Pollinated Varieties
Carrots are biennial plants that flower and produce seeds in their second year. Select several perfect specimens from your harvest, replant them in early spring, and watch their magnificent umbrella-shaped flower clusters attract beneficial insects to your garden.
Protect flowering carrots from cross-pollination with Queen Anne’s lace or other carrot relatives within 1/2 mile by covering with lightweight row cover or isolation cages when flowers appear. Allow seed heads to dry on the plant until they turn brown.
Collect seeds on a dry day by cutting entire seed heads into paper bags. After further drying, gently crush heads to release seeds, then store in cool, dry conditions for up to three years.
19. Understand Common Growing Problems

Forked or misshapen carrots usually indicate rocky soil or recent fertilizing with fresh manure. For future plantings, sift soil thoroughly and use only well-composted organic matter. Sometimes, nematodes cause similar deformities – rotating crops and adding marigolds to your garden can help manage these microscopic pests.
Cracked carrots result from inconsistent watering. When dry soil suddenly gets wet, carrots absorb water rapidly and split. Maintain even moisture through mulching and regular watering schedules.
Stunted growth often signals compacted soil or overcrowding. Loosen soil deeply before planting and don’t skip the critical thinning step!