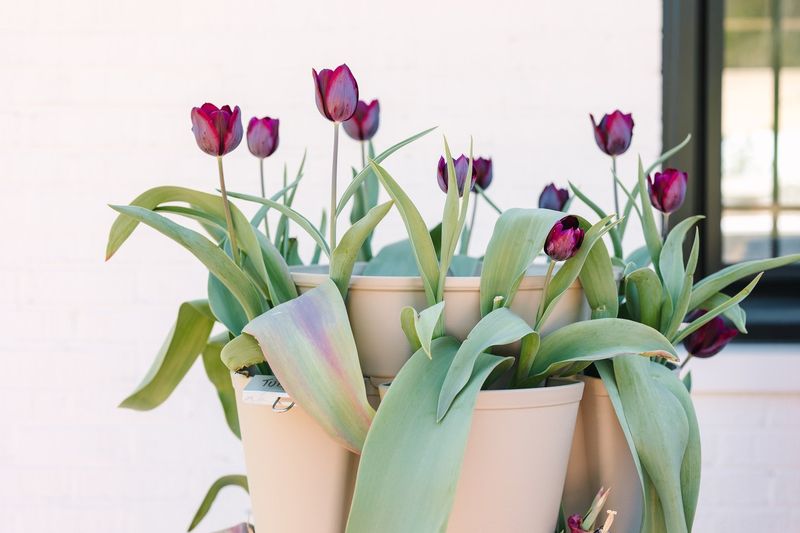
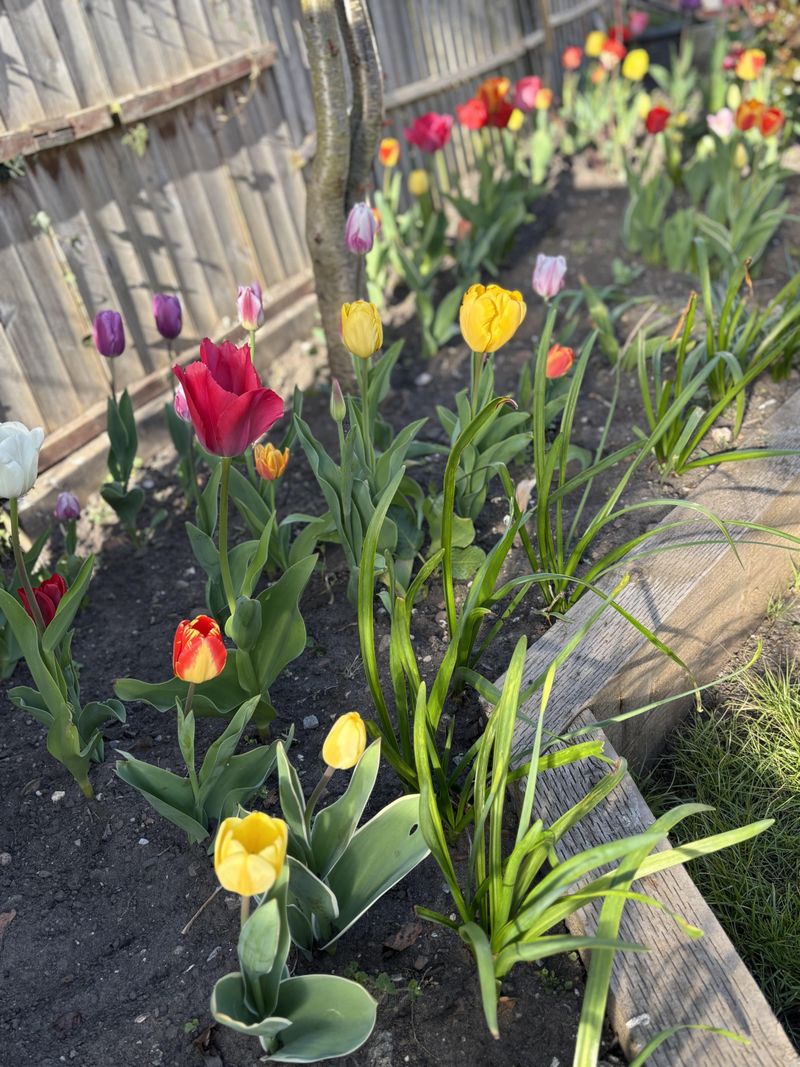
20 Essential Tulip Care Tips to Keep Your Blooms Vibrant and Long-Lasting
There’s nothing like a bed full of tulips to brighten up your spring—but keeping them looking their best takes a little know-how.
I’ve gathered 20 care tips that have helped me get the most out of every bloom, and they’ll work for you too. From planting tricks to post-bloom care, these tips cover it all.
Tulips may be low-maintenance, but a few extra steps can really make a difference. Let’s keep those blooms vibrant, happy, and lasting as long as possible!
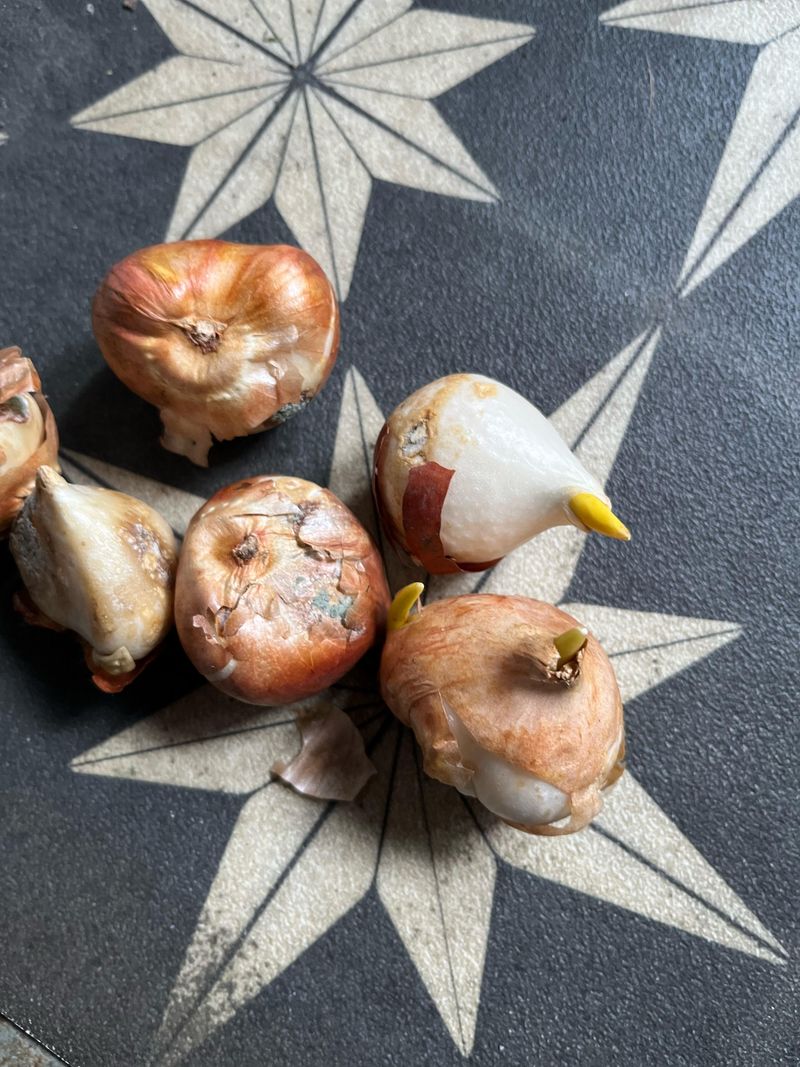
1. Plant Bulbs at the Right Time

Fall is prime planting season for tulip bulbs, ideally when soil temperatures drop below 55°F. This gives the bulbs time to establish strong roots before winter sets in.
Aim to plant about 6-8 weeks before the ground freezes in your area. If you live in warmer climates (zones 8-10), you’ll need to pre-chill your bulbs in the refrigerator for 6-8 weeks before planting.
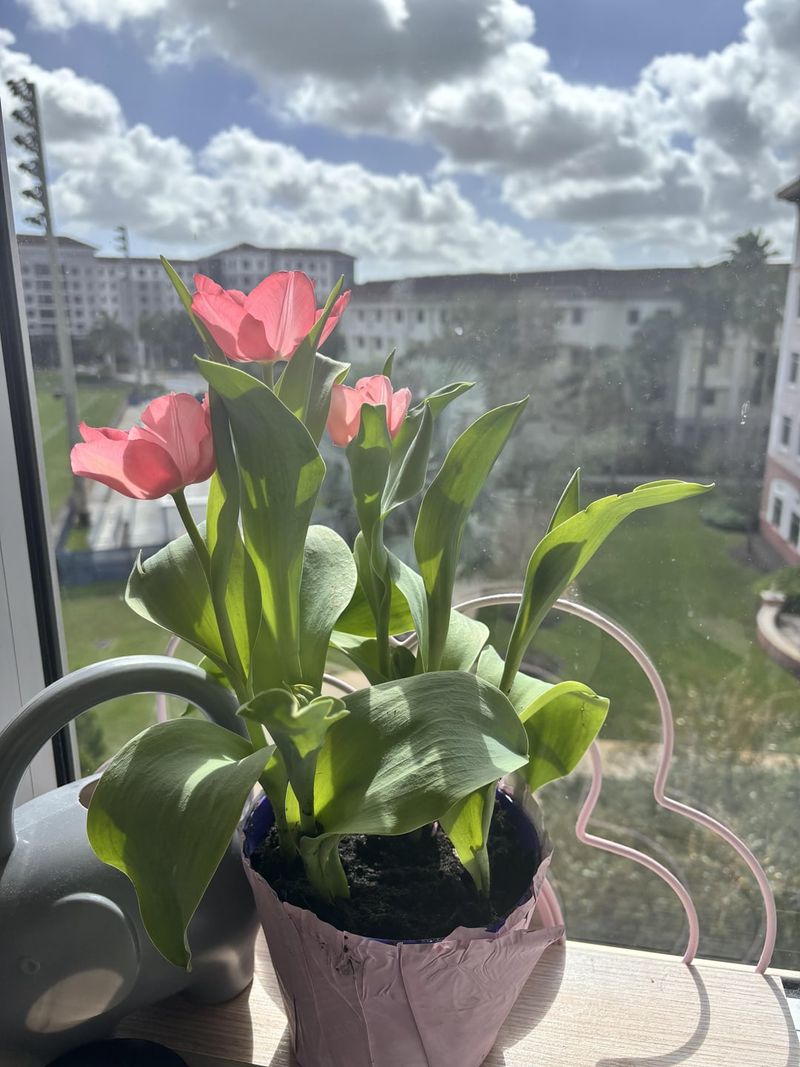
2. Choose the Perfect Location
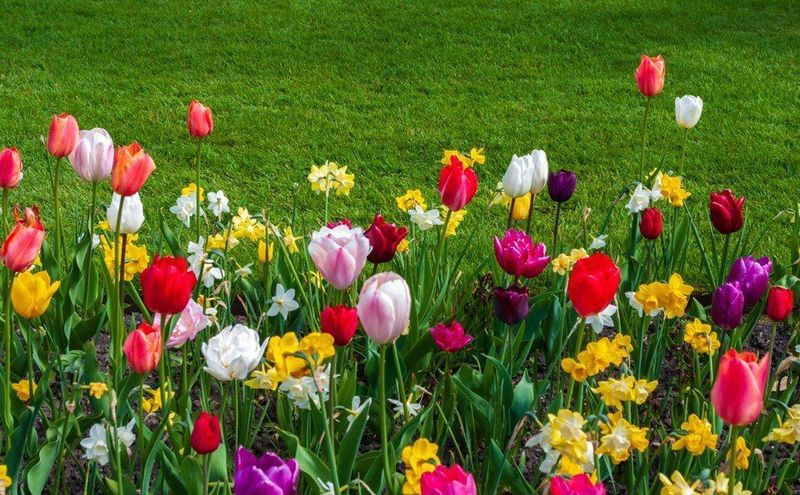
Sunlight requirements for tulips strike a delicate balance. They thrive with 6 hours of daily sun but appreciate afternoon shade in warmer regions to prevent premature wilting.
Well-draining soil prevents bulb rot, so avoid areas where water pools after rain. Consider planting on a slight slope or in raised beds if drainage is a concern in your garden.
3. Prepare Soil Properly

Sandy loam soil creates the ideal growing environment for tulips. Before planting, work in organic compost to improve both fertility and drainage capabilities.
The soil pH should hover between 6.0 and 7.0 for optimal nutrient absorption. Adding a handful of bone meal to each planting hole provides phosphorus that encourages strong root development and more vibrant blooms when spring arrives.
4. Plant at the Correct Depth
Depth matters tremendously for tulip success. Plant bulbs approximately three times deeper than their height – typically 6-8 inches down for standard varieties.
Position bulbs with the pointed end facing upward and the flatter base downward. Space bulbs about 4-6 inches apart to allow proper air circulation while still creating a full, impressive display when they bloom in spring.
5. Water Wisely After Planting

Immediately after planting, give tulips a thorough, deep watering to help settle the soil around the bulbs. This initial moisture kickstarts root development before winter dormancy.
Once established, tulips rarely need additional watering except during prolonged dry spells. Overwatering is actually more dangerous than underwatering, as excess moisture can lead to fungal diseases and bulb rot.
6. Apply Mulch Protection
A 2-3 inch layer of organic mulch works wonders for tulip beds. Materials like shredded leaves, straw, or pine needles help regulate soil temperature and prevent extreme fluctuations that stress bulbs.
Mulch also suppresses weeds that would otherwise compete for nutrients. In colder regions, apply mulch after the ground freezes to prevent rodents from nesting in the warm covering during early winter.
7. Fertilize at the Right Moment
Spring brings the perfect opportunity to boost your tulips’ nutrition. Apply a balanced, slow-release bulb fertilizer when the first shoots emerge from the soil.
Look for fertilizers with a higher phosphorus content (the middle number in the NPK ratio) to encourage bigger, more colorful blooms. Avoid high-nitrogen formulas that promote leafy growth at the expense of flowers.
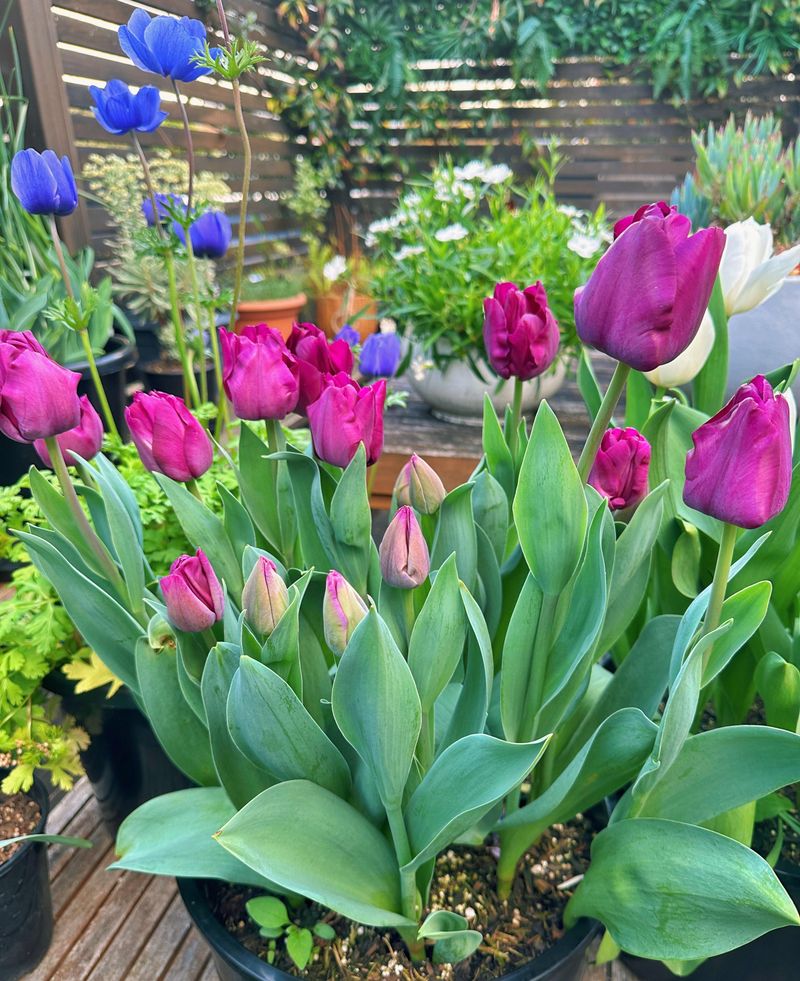
8. Protect from Wildlife
Squirrels, chipmunks, and deer find tulips irresistibly delicious. Physical barriers like chicken wire placed over newly planted beds can deter digging animals.
For protection against deer, try applying repellent sprays containing predator urine or rotten egg compounds. Another clever trick involves planting tulips surrounded by daffodils, which animals typically avoid due to their unpleasant taste.
9. Monitor for Pests and Diseases
Aphids sometimes cluster on tulip stems and buds, weakening the plants. A strong spray of water or insecticidal soap quickly resolves these infestations before they cause serious damage.
Watch for signs of botrytis blight – gray mold on leaves or flowers. Remove affected parts immediately and improve air circulation around plants. Avoiding overhead watering also helps prevent many fungal problems.
10. Deadhead Spent Blooms
Once tulips finish flowering, snip off the faded blooms with clean scissors or pruners. This prevents the plant from wasting energy on seed production.
Leave the stem and leaves intact, however. These green parts continue photosynthesizing and sending energy back to the bulb for next year’s display. The foliage should remain until it naturally yellows and dies back.
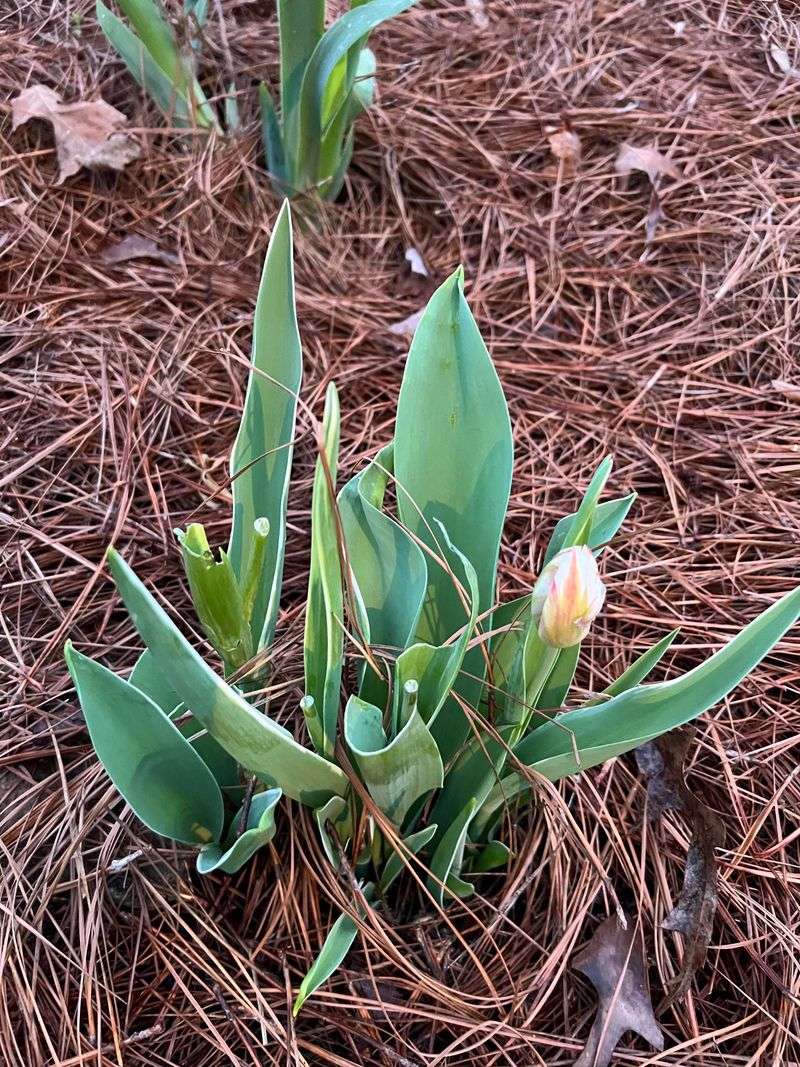
11. Allow Foliage to Die Back Naturally
Patience pays off when it comes to tulip foliage. Resist the urge to cut back leaves while they’re still green, even if they look untidy after flowering.
Those leaves are busy producing food through photosynthesis, strengthening the bulb for next year. Wait until the foliage turns completely yellow or brown – usually about 6 weeks after blooming – before removing it.
12. Consider Lifting and Storing Bulbs
Many tulip varieties, especially the showy hybrid types, gradually produce smaller flowers after their first year. Digging up bulbs after foliage yellows helps maintain vigor.
Clean off excess soil and store bulbs in a cool, dry place with good air circulation. Mesh bags or paper (never plastic) work well. Replant the largest, firmest bulbs in fall for the best display next spring.
13. Cut Flowers at the Right Stage
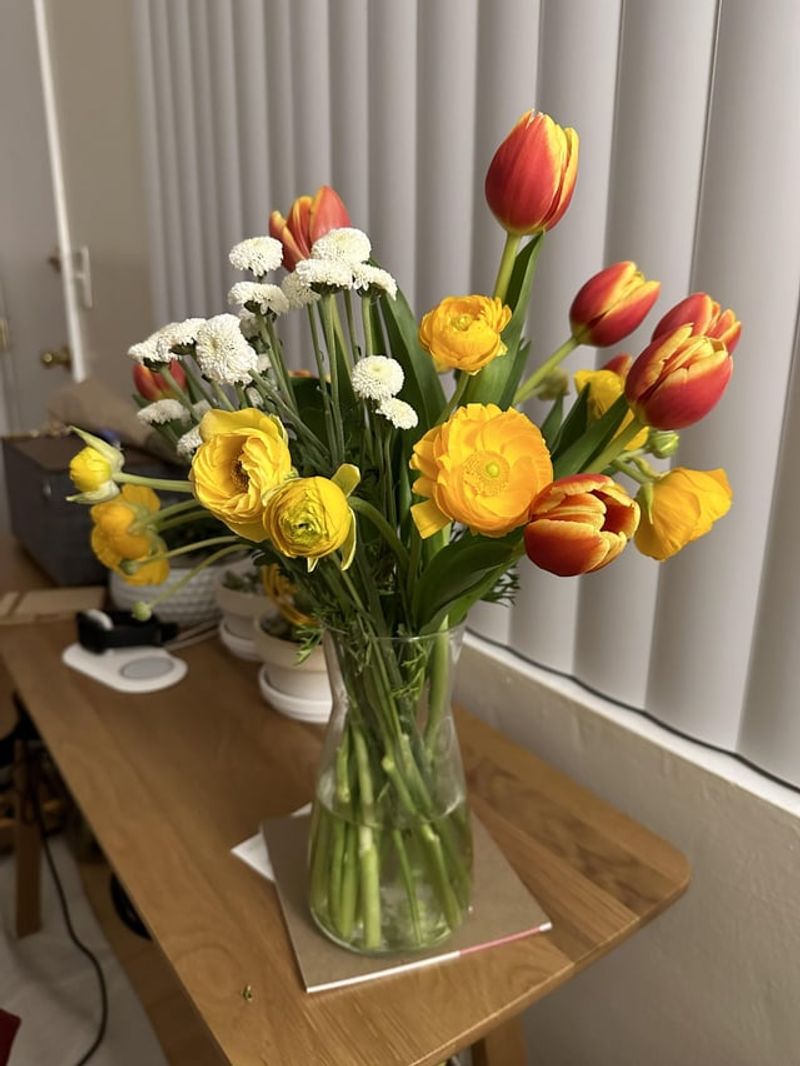
For the longest-lasting cut tulips, harvest them when buds are colored but still closed. Early morning cutting gives stems maximum hydration and coolness.
Use sharp, clean scissors and cut stems at an angle about 1-2 inches longer than needed for your vase. This extra length allows for a fresh cut just before arranging, which improves water uptake.
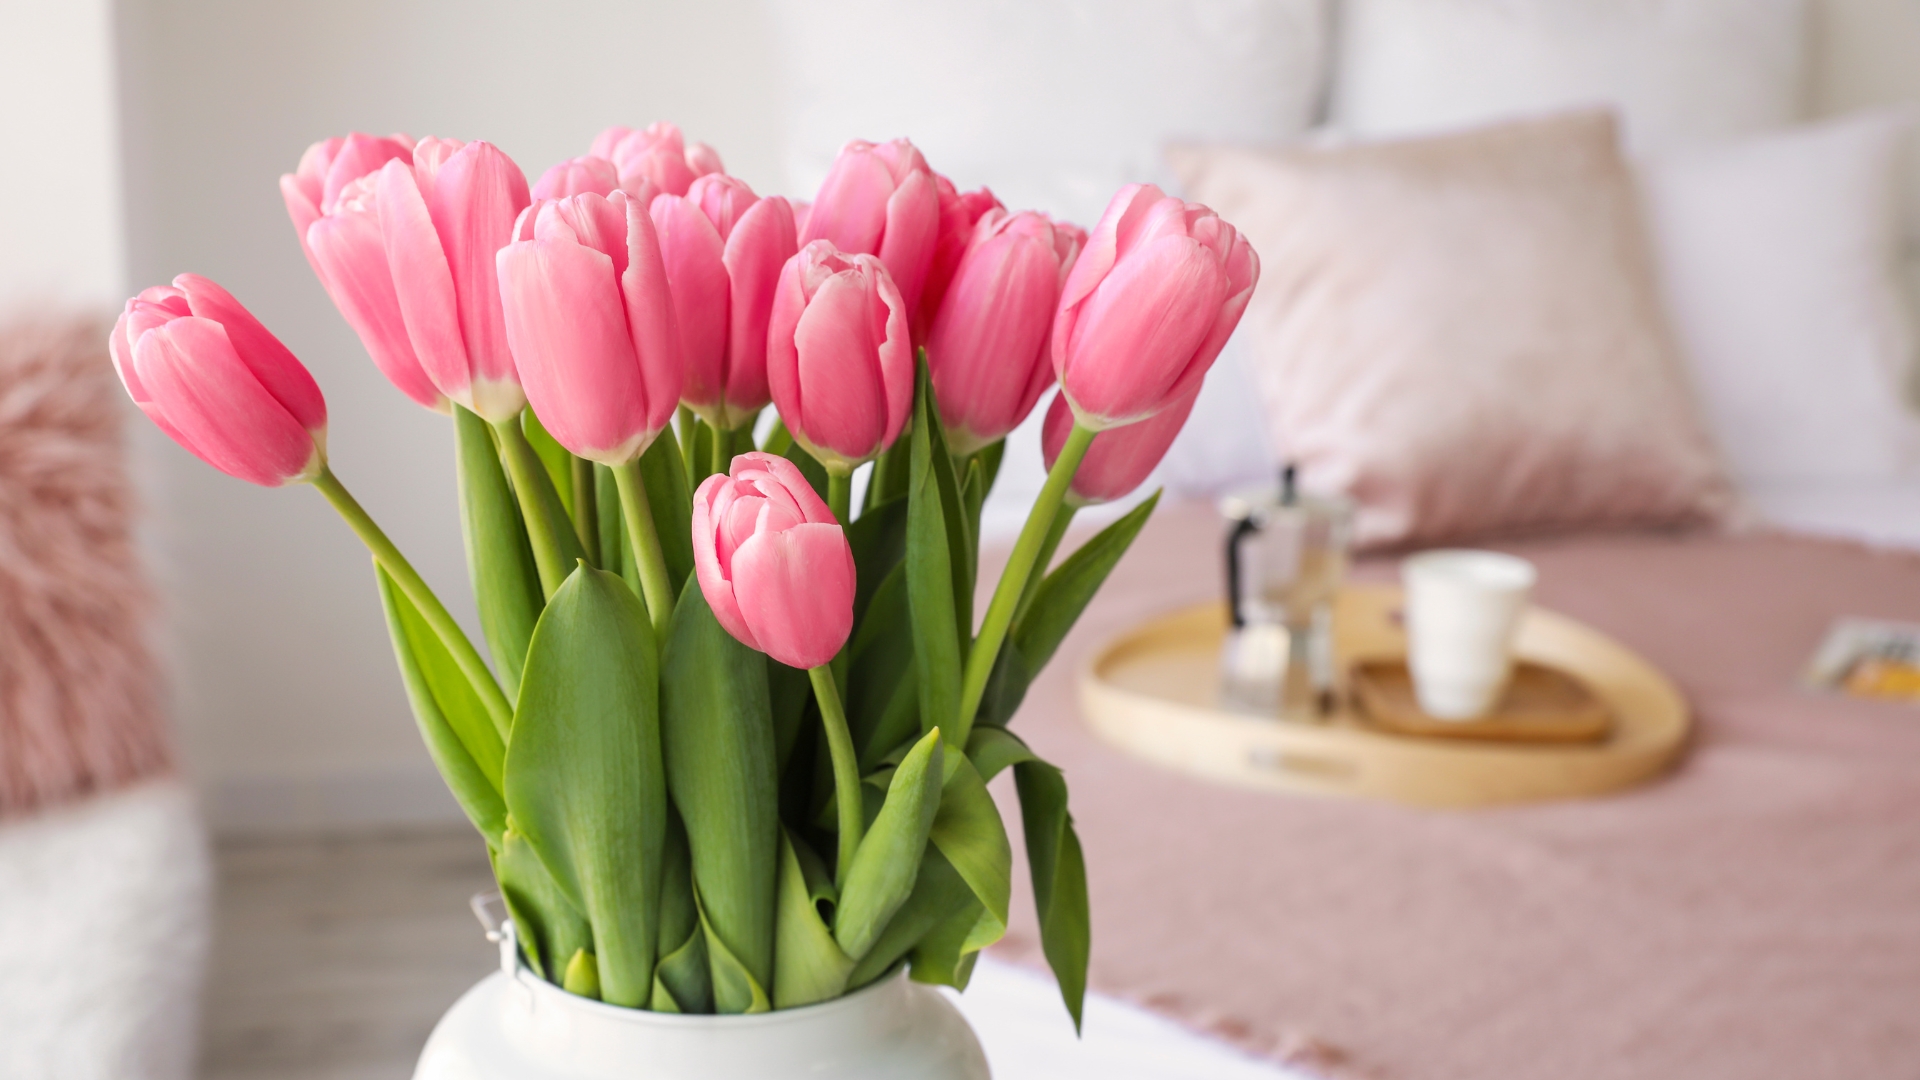
14. Condition Cut Tulips Properly
Wrap freshly cut tulips in paper and place them in cool water for a few hours before arranging. This conditioning process allows stems to take up water and strengthens them.
Remove any foliage that would sit below the waterline in your vase to prevent bacterial growth. A drop of bleach in the vase water also helps keep bacteria at bay without harming the flowers.
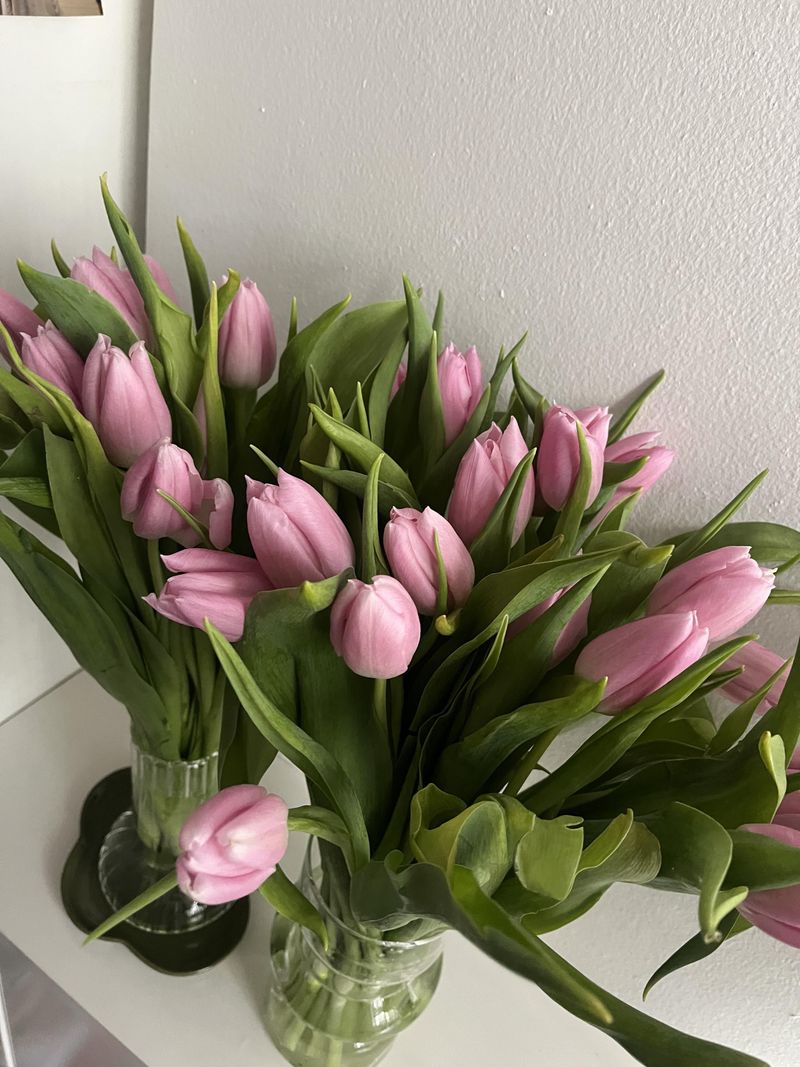
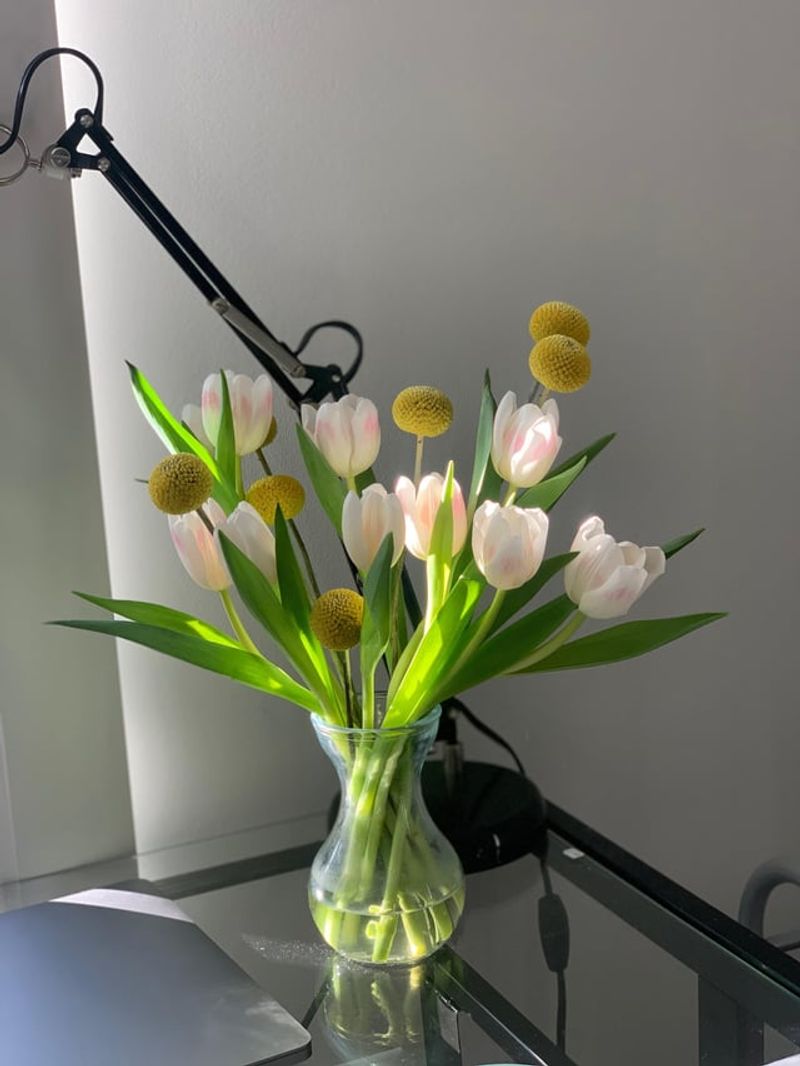
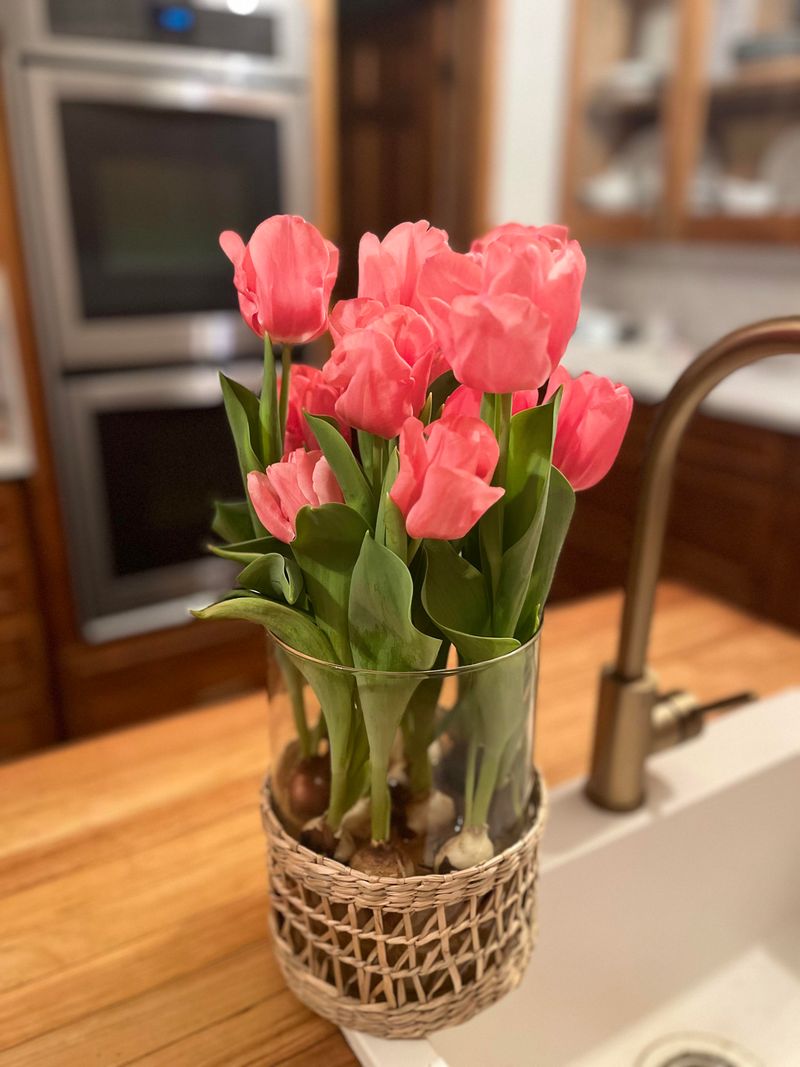
15. Choose the Right Vase
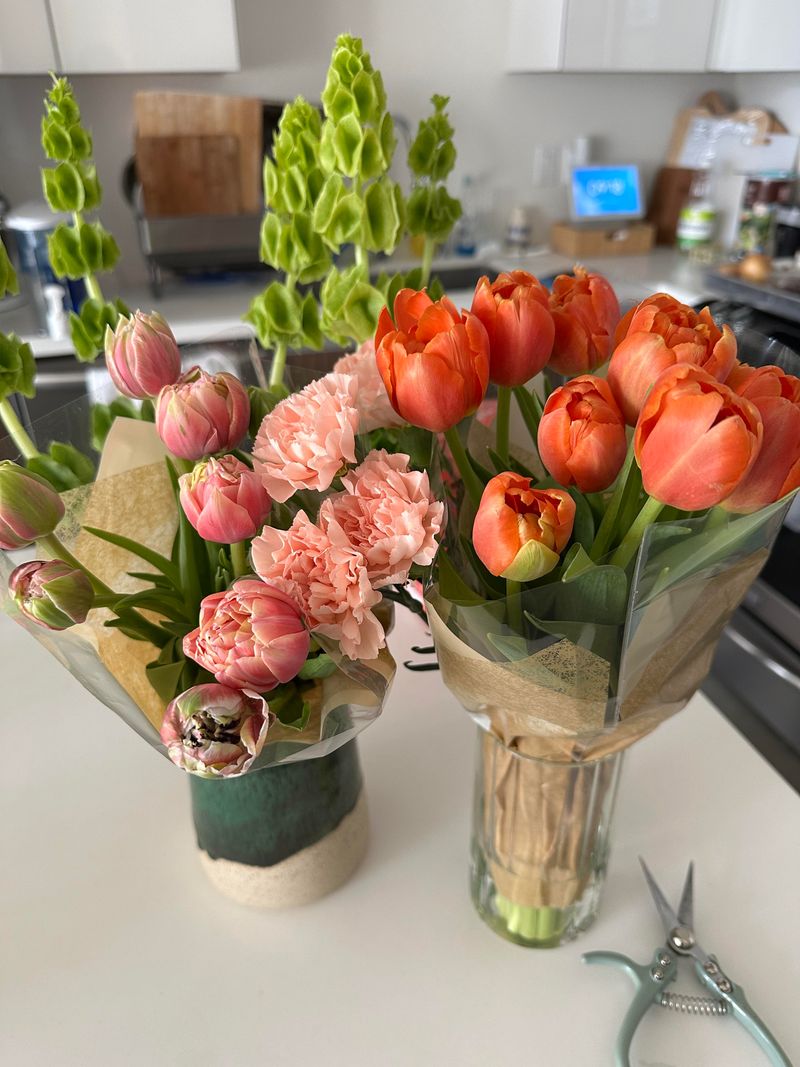
Tulips continue growing after cutting, sometimes extending an additional inch or more. Select a vase that’s tall enough to accommodate this growth while still supporting the stems.
Clear glass vases showcase tulips’ graceful stems, while opaque containers hide their tendency to bend toward light. Fill the vase only two-thirds full with water to prevent stems from sitting too deep.
16. Change Vase Water Frequently
Fresh water makes a dramatic difference in tulip longevity. Replace the water completely every two days, washing the vase with soap each time to remove bacterial buildup.
When refreshing water, recut the stems at an angle about half an inch from the bottom. This removes the portion that may have sealed over and opens fresh channels for water uptake.
17. Keep Cut Flowers Cool
Heat is the enemy of cut tulips, causing them to open too quickly and wilt prematurely. Display arrangements away from direct sunlight, heating vents, and appliances that generate warmth.
For special occasions, you can extend tulip life by moving arrangements to a cool location overnight – even a refrigerator works well. Just protect blooms from fruits and vegetables, which release ethylene gas that speeds flower aging.
18. Add Cut Flower Food

Commercial flower preservatives provide everything cut tulips need: sugar for energy, acid to maintain stem flow, and biocides to prevent bacterial growth. Use according to package directions for best results.
If commercial preservative isn’t available, make your own by mixing 1 teaspoon sugar, 1 teaspoon bleach, and 2 tablespoons lemon juice in a quart of water. This homemade solution works nearly as well.
19. Experiment with Penny Trick
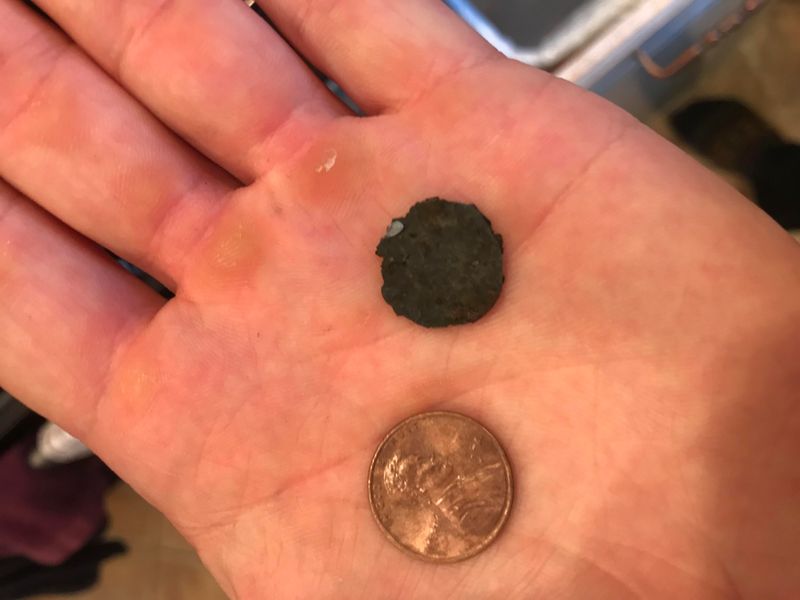
An old florist’s trick involves dropping a clean copper penny into the vase water. The copper acts as a natural fungicide, helping prevent bacterial growth that blocks stems.
For this trick to work, use pre-1982 pennies which contain actual copper. Modern pennies are mostly zinc with a thin copper coating. Some florists also swear by adding a capful of vodka to the water instead.
20. Support Drooping Stems
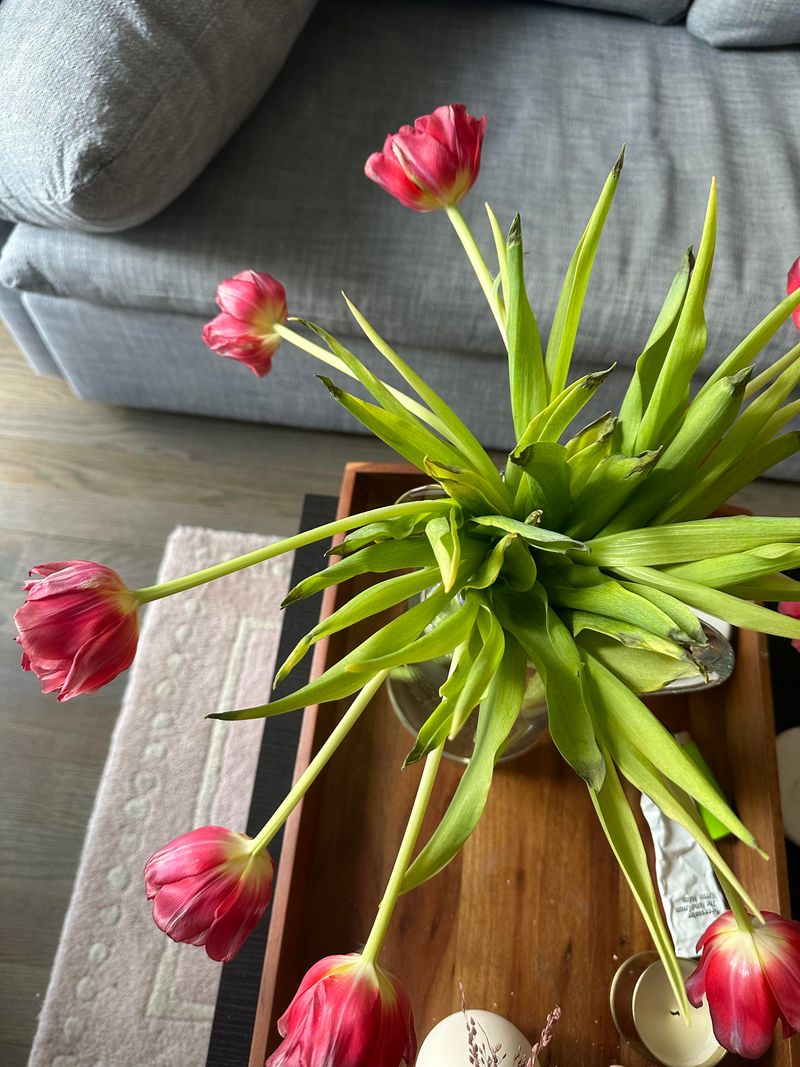
Tulips naturally bend toward light sources, sometimes creating a wild, sprawling arrangement. If you prefer a more controlled look, wrap the stems loosely with clear fishing line or a decorative ribbon.
Another approach embraces their natural movement. Arrange them in shorter, wider vases where the graceful arching creates an artistic display. Some florists intentionally place tulips horizontally across shallow containers for dramatic effect.