17 Tips For Growing The Best Beets In Your Garden (Plus Some You Might Not Have Considered)

Beets are one of those underrated garden heroes that deserve way more love than they get. They’re easy to grow, come in beautiful colors, and you get two crops in one—the earthy-sweet roots and the tender, tasty greens. Once you grow your own, you’ll never look at store-bought beets the same way again.
I still remember my first beet harvest—pulling them from the soil felt like digging up buried treasure. They weren’t perfect, but they were mine, and they tasted better than anything I’d bought before. That moment totally sold me on growing beets every season.
Whether you’re just getting started or already have a few growing seasons behind you, a few simple tips can make a big difference. With the right timing, spacing, and a little attention to soil, your beets will thrive—and you’ll be hooked for life.
1. Choose The Right Variety For Your Goals

You’ll find dozens of beet varieties beyond the classic Detroit Dark Red. Some are sweeter, others mature faster, and many offer unique colors from golden yellow to candy-striped pink and white.
I’ve had great success with Chioggia for its beautiful rings and milder flavor that even my beet-skeptical kids enjoy. For smaller gardens, consider compact varieties like Babybeat that won’t take up much space.
Early season varieties like Early Wonder can be harvested in just 45-50 days, while winter storage types like Lutz Green Leaf hold up for months in cool storage. Match your variety to your climate and cooking preferences.
2. Start With The Right Soil Preparation
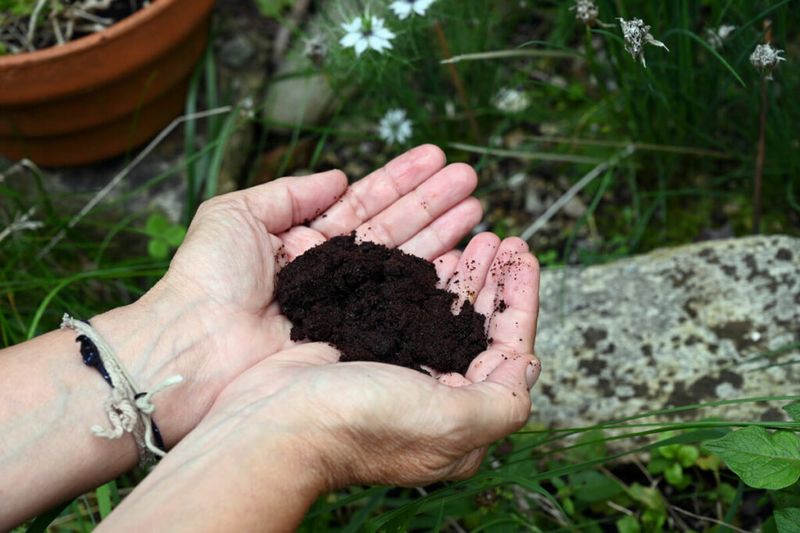
Sandy, rocky soil creates forked, stunted beets that never reach their potential. Before planting, I remove stones and break up any soil clumps that might interfere with root development.
The pH matters tremendously for beets. They prefer slightly alkaline soil between 6.5-7.0, unlike many garden vegetables. When my beets struggled years ago, a simple soil test revealed my acidic soil was the culprit—adding garden lime made all the difference.
Work in aged compost about 8 inches deep, but avoid fresh manure which can cause roots to fork. Beets don’t need extremely rich soil, just well-draining medium with consistent moisture.
3. Direct Sowing Is Usually Best
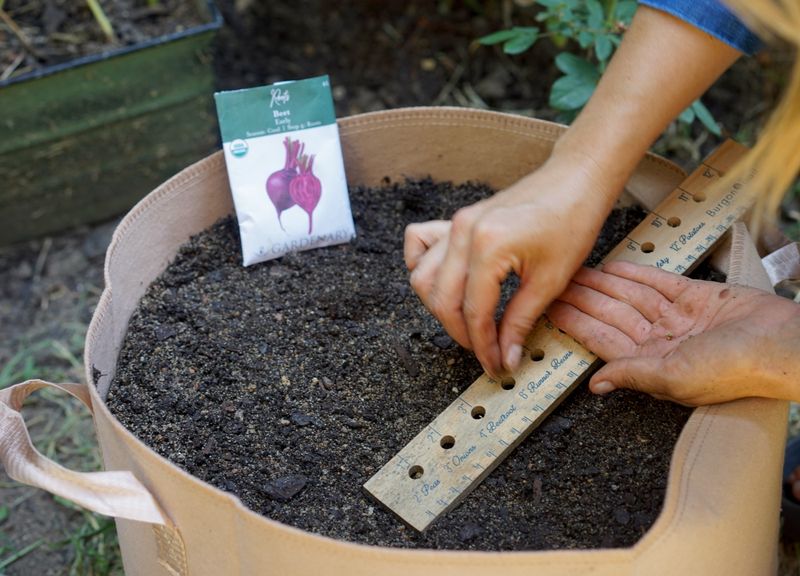
Many gardeners don’t realize that each beet “seed” is actually a seed cluster that produces multiple seedlings. This natural packaging makes direct sowing the simplest approach for most gardens.
The timing matters more than you might think. Soil temperature should be at least 50°F, but beets actually perform better when started in cooler weather. My spring plantings always outperform summer ones.
Plant seeds about ½ inch deep and keep the soil consistently moist until germination. In my experience, pre-soaking the seeds overnight in room temperature water speeds up germination by several days and improves success rates significantly.
4. Don’t Skip The Thinning Step

Thinning feels wasteful to many gardeners, but it’s absolutely critical for beet success. When those seed clusters sprout multiple seedlings, they’ll compete for resources if left crowded together.
Wait until seedlings reach about 2 inches tall, then carefully snip the extras at soil level with scissors. I used to pull them out but learned this disturbs the roots of the keepers. Leave one seedling every 3-4 inches.
Here’s my favorite part: those thinned beet seedlings make delicious microgreens! I toss them into salads or sandwiches—they taste like earthy spinach with a mild beet flavor. Nothing goes to waste in my garden.
5. Water Consistently But Not Excessively
The secret to sweet, tender beets lies in consistent moisture. Irregular watering leads to woody, tough roots with unpleasant texture and flavor—something I learned the hard way during my first attempts.
Aim for about 1 inch of water weekly, adjusting for your climate and soil type. I’ve found that mulching around plants helps maintain even soil moisture and prevents the feast-or-famine cycle that ruins texture.
Morning watering works best in my garden, giving leaves time to dry before evening. Drip irrigation is ideal since it delivers water directly to the soil without wetting the foliage, which can lead to fungal issues in dense plantings.
6. Feed Lightly But Consistently

Heavy nitrogen fertilizers create lush green tops but disappointing roots. For years I made this mistake, wondering why my beautiful beet greens produced such small roots!
Focus instead on balanced nutrition. A light application of compost tea every 2-3 weeks supports steady growth without excess nitrogen. If your beets show yellowing leaves, a foliar spray of seaweed extract can correct micronutrient deficiencies.
Boron deficiency is surprisingly common with beets, causing black spots inside the roots. I add a tablespoon of Borax dissolved in 2 gallons of water for every 100 square feet if this becomes an issue—this simple fix saved my crop last year.
7. Mulch For Temperature And Moisture Control
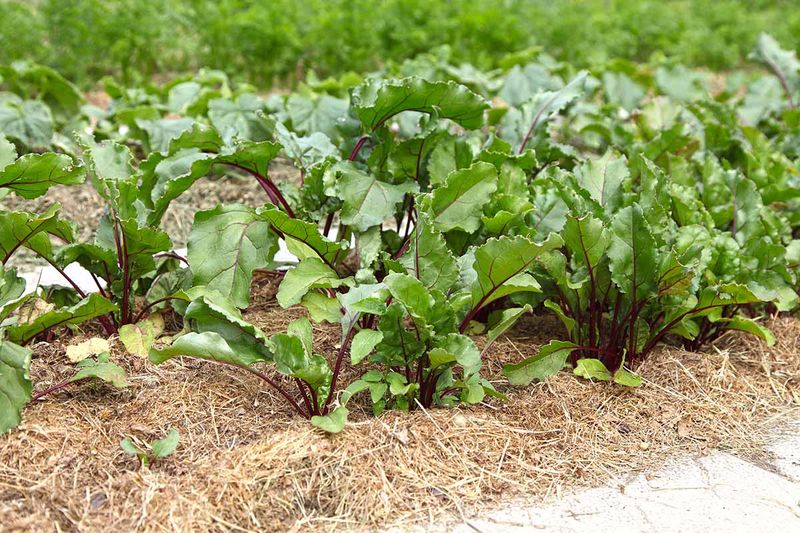
A 2-inch layer of organic mulch around beets creates a microclimate that these temperature-sensitive plants love. Straw, shredded leaves, or grass clippings all work beautifully to moderate soil temperature.
Keep the mulch pulled back slightly from the stems to prevent rot issues. In my humid climate, this small detail prevents fungal problems that once plagued my beet patches.
The mulch layer also suppresses weeds that compete with beets for nutrients. As an added bonus, it keeps soil from splashing onto the leaves during rainstorms, reducing disease problems. When the mulch breaks down, it improves soil structure for future plantings too—a win all around.
8. Try Succession Planting For Continuous Harvests
Rather than planting all your beets at once, stagger plantings every 2-3 weeks throughout the growing season. This simple technique, which I wish I’d learned years earlier, ensures a steady supply rather than a sudden glut.
Spring and fall offer the best growing conditions for beets in most regions. Summer heat often causes bitterness and toughness, so I plant heat-resistant varieties like Cylindra during warmer months if I want continuous harvests.
Label your succession plantings with dates and varieties. I keep a garden journal tracking which plantings performed best, which helps me refine my timing each year. In my zone 6 garden, I can plant from March through September for harvests nearly year-round.
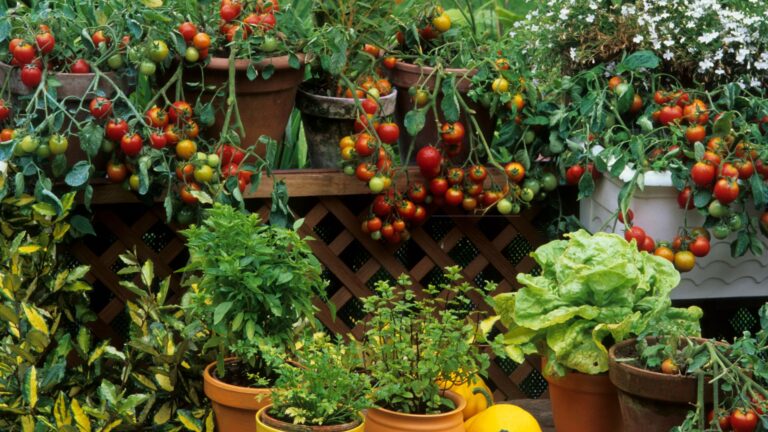
9. Grow In Containers For Small Spaces
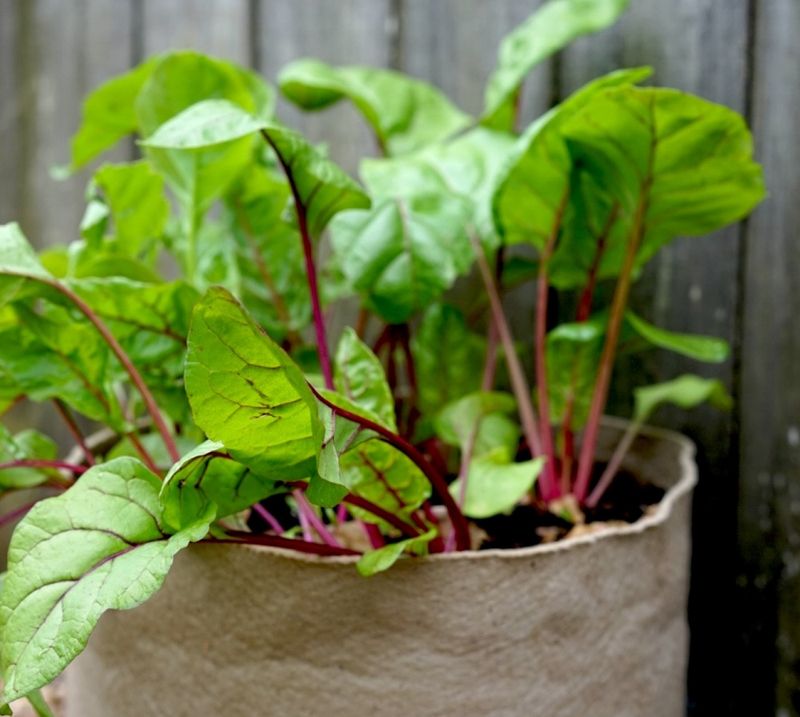
Limited garden space doesn’t mean giving up on homegrown beets. These root vegetables thrive in containers at least 10-12 inches deep, making them perfect for balconies or patios.
Choose compact varieties like Little Ball or Baby Ball for container growing. I’ve successfully grown beets in everything from dedicated planters to repurposed 5-gallon buckets with drainage holes drilled in the bottom.
Container-grown beets need more frequent watering and feeding than in-ground plants. I check moisture daily during hot weather and use a half-strength liquid fertilizer every two weeks. The advantage? Container beets are rarely bothered by soil-borne pests that can plague garden plantings.
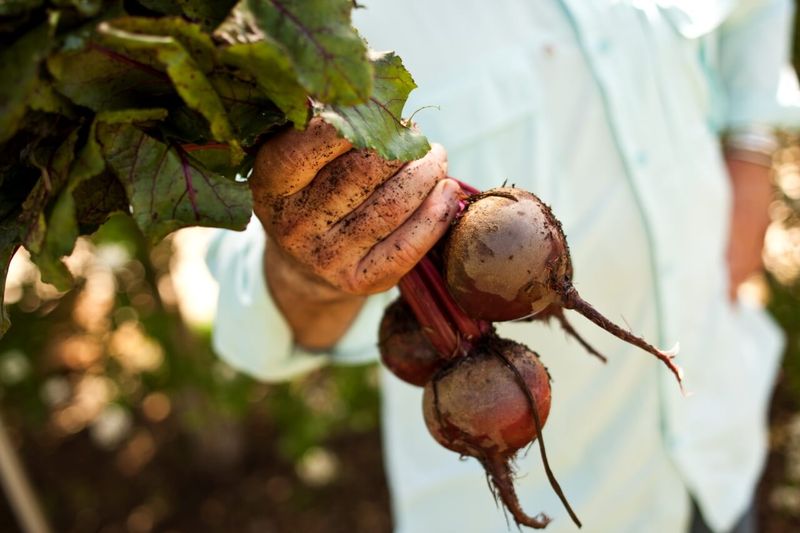
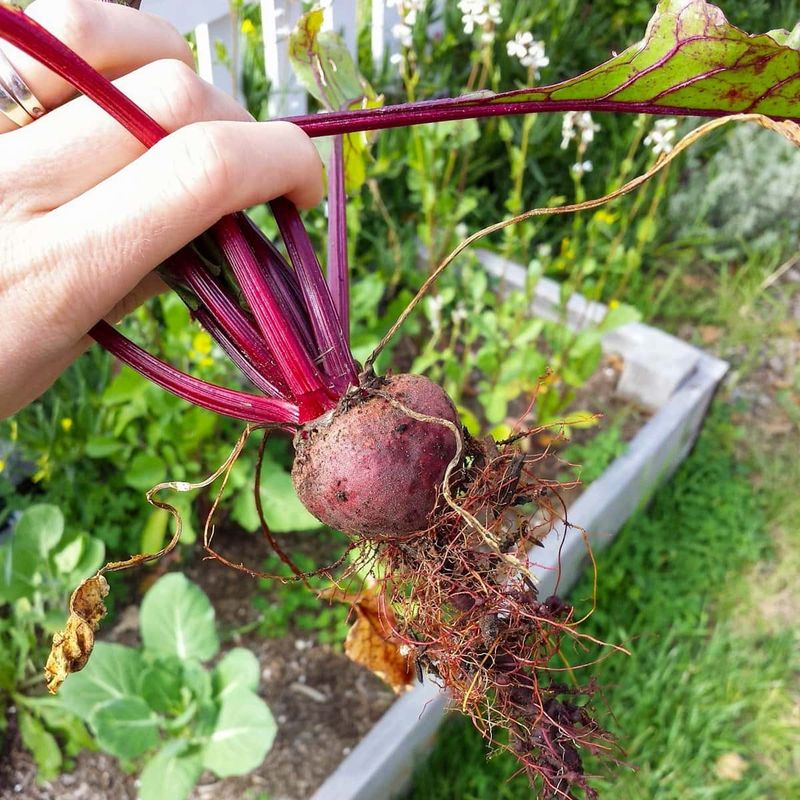
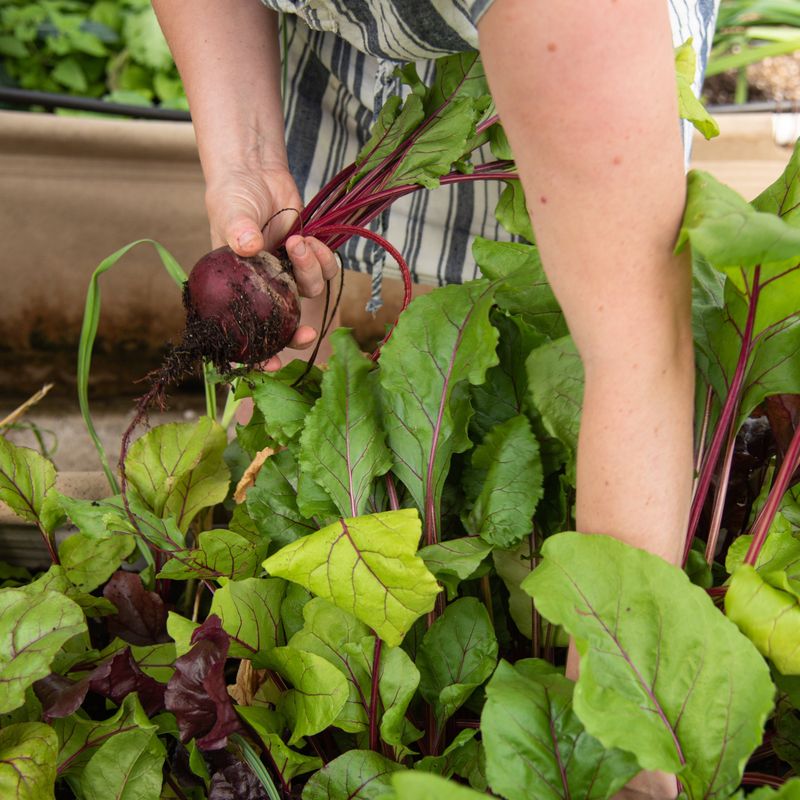
10. Harvest Both Roots And Greens
Many gardeners focus solely on the roots, missing out on the nutritious greens that are similar to Swiss chard. Throughout the growing season, I carefully harvest a few outer leaves from each plant without disturbing the central growth.
Young beet greens make exceptional salad additions with a mild, earthy flavor. Mature leaves can be sautéed like spinach or added to soups. This two-for-one harvest maximizes garden space and nutrition.
For the roots themselves, size matters less than tenderness. Baseball-sized beets often develop woody textures and less sweetness. I’ve found that harvesting when roots are between golf ball and tennis ball size (2-3 inches) ensures the best flavor and texture.
11. Watch For And Control Common Pests
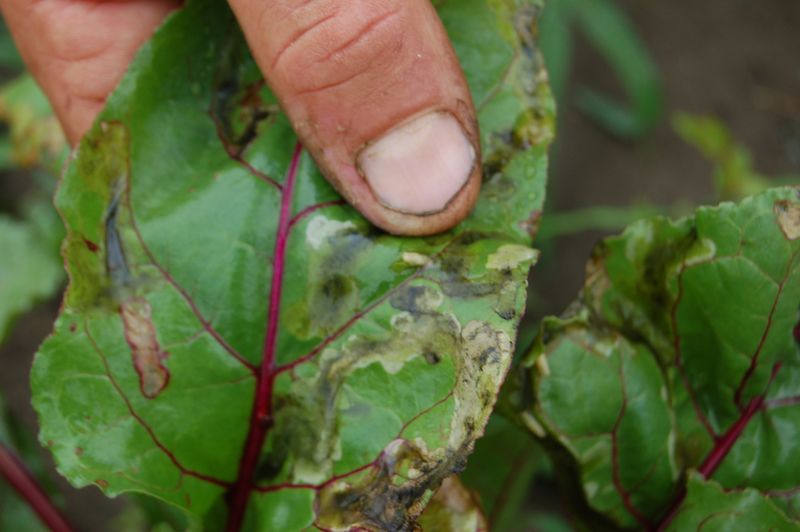
Leaf miners create telltale transparent tunnels through beet leaves, reducing the plant’s ability to feed the developing root. These tiny pests drove me crazy until I started covering young plants with floating row covers.
Flea beetles leave small holes in leaves that look like shotgun damage. A simple spray of insecticidal soap or neem oil usually controls them if applied at the first sign of damage.
For slugs and snails that feast on tender seedlings, I set shallow dishes of beer nearby as traps. It sounds strange, but they’re attracted to the yeast, fall in, and drown. This old-fashioned remedy has saved countless seedlings in my rainy-climate garden.
12. Try Companion Planting For Healthier Beets
Onions, garlic, and mint planted nearby naturally repel many beet pests. I’ve noticed significantly fewer leaf miners since interplanting my beet rows with green onions.
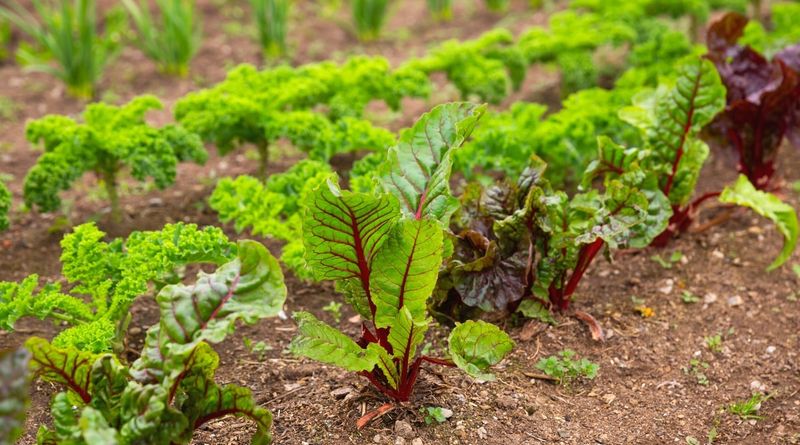
Lettuce makes an excellent companion for beets because they have different root depths and nutrient needs. The lettuce provides ground cover that helps keep the soil cool and moist, while the beets don’t interfere with the shallow-rooted lettuce.
Avoid planting beets near pole beans or mustard greens, which can stunt their growth. In my garden, I learned this lesson when beets planted near pole beans grew to half the size of those elsewhere in the garden—a mistake I won’t repeat!
13. Extend Your Season With Row Covers
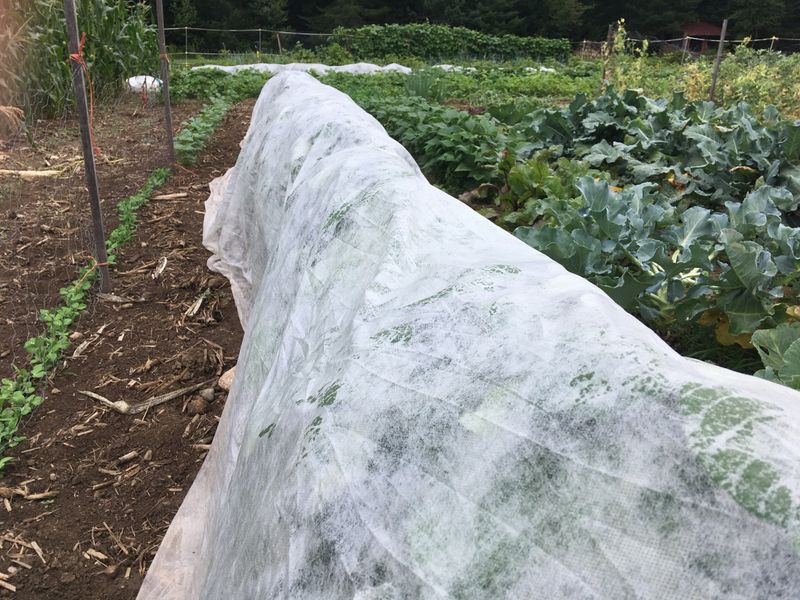
Beets are surprisingly cold-tolerant, especially when protected with simple row covers. Using lightweight floating row covers has allowed me to start planting a full month earlier than my neighbors.
These covers provide about 4°F of frost protection while allowing light, air, and water to reach plants. I secure the edges with soil or landscape pins to prevent them from blowing away in spring winds.
For fall plantings, the same covers extend the harvest well into early winter in many climates. Last year, I was still harvesting fresh beets for Christmas dinner! The covers also protect from pests during crucial early growth stages, giving plants a stronger start.
14. Grow In Raised Beds For Better Drainage
Heavy clay soils often produce misshapen beets with stunted growth. After struggling with my clay-heavy garden, raised beds revolutionized my beet harvests by providing perfect drainage and preventing the waterlogged conditions beets hate.
A bed height of 8-12 inches gives plenty of room for root development. I mix equal parts topsoil, compost, and coarse sand for an ideal growing medium that drains well but retains enough moisture.
Raised beds warm up faster in spring, allowing earlier planting. The defined space also makes it easier to add row covers or shade cloth as needed through the seasons. My beet quality improved dramatically once I switched to this growing method.
15. Manage Weeds Before They Compete
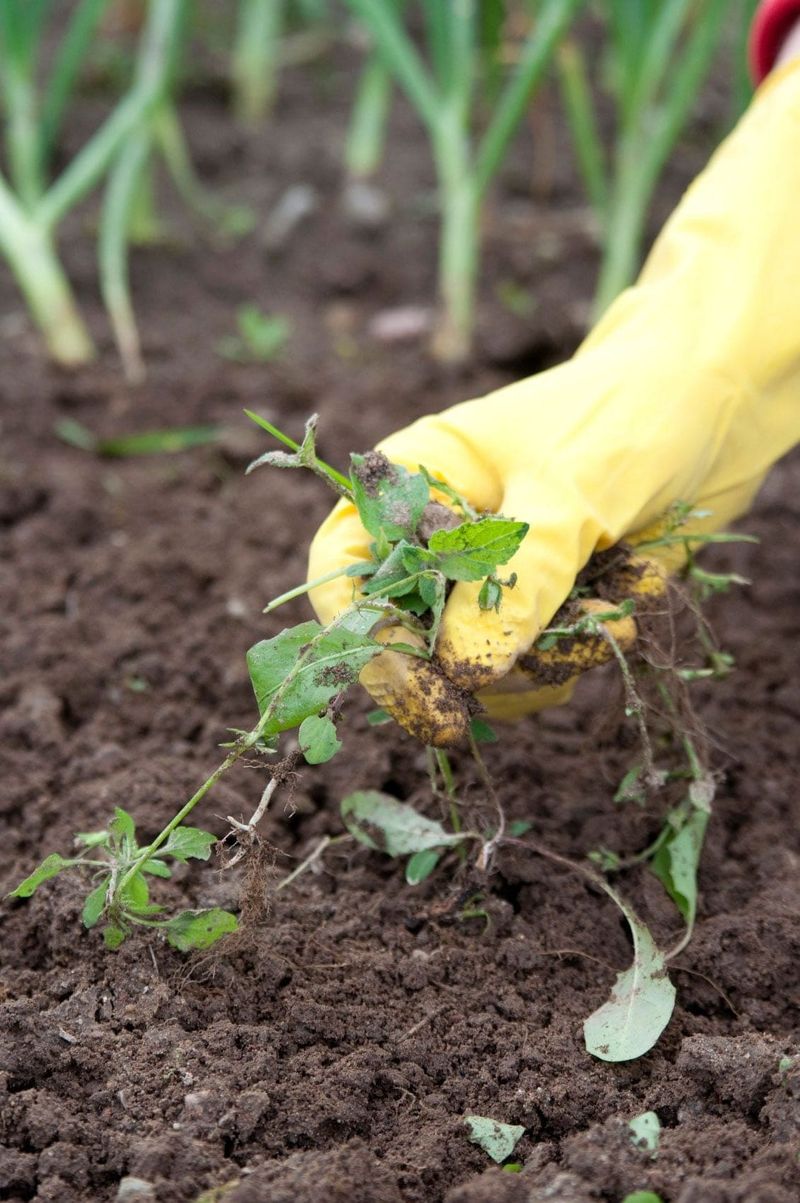
Young beet seedlings struggle when competing with weeds for light, water and nutrients. The first few weeks after germination are critical—I learned this the hard way when weeds once stunted an entire beet planting.
Use a small hand cultivator or hoe to gently disturb the soil surface between rows when weeds first appear. Work carefully to avoid damaging the shallow beet roots, staying at least an inch away from the plants.
Mulching after seedlings reach 2-3 inches tall significantly reduces weeding chores later. I’ve found that a thin layer of compost topped with straw works wonders, suppressing weeds while gradually feeding the soil as it breaks down.
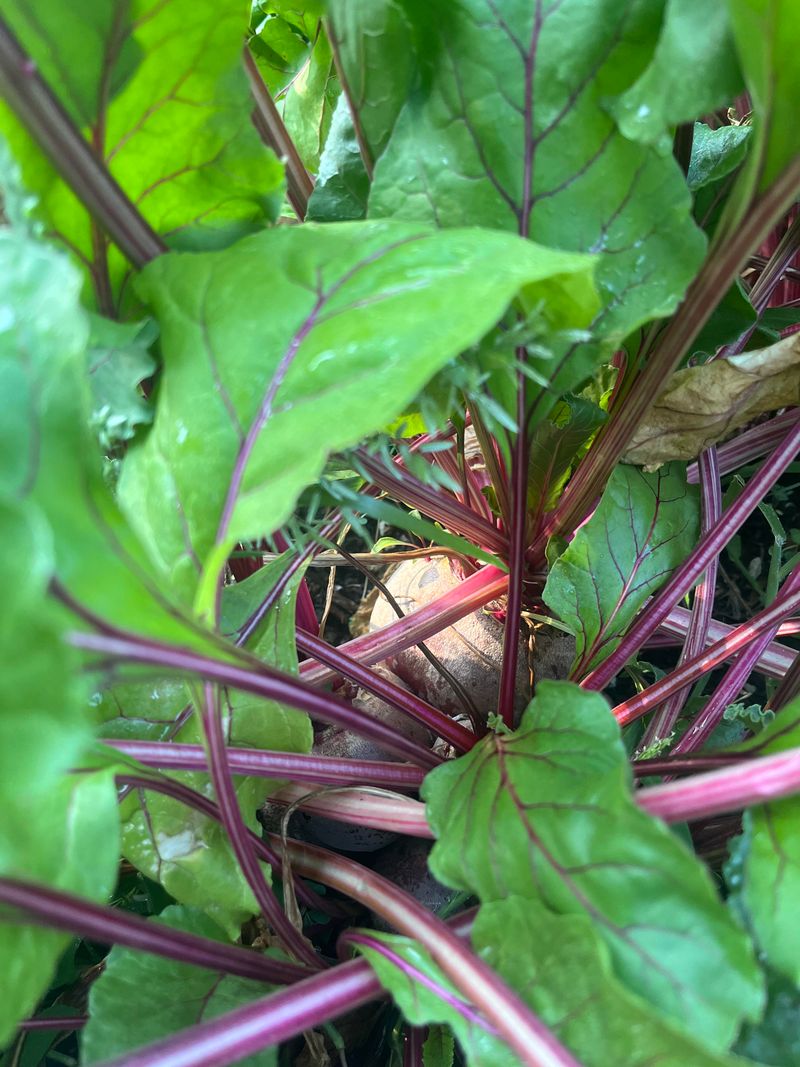
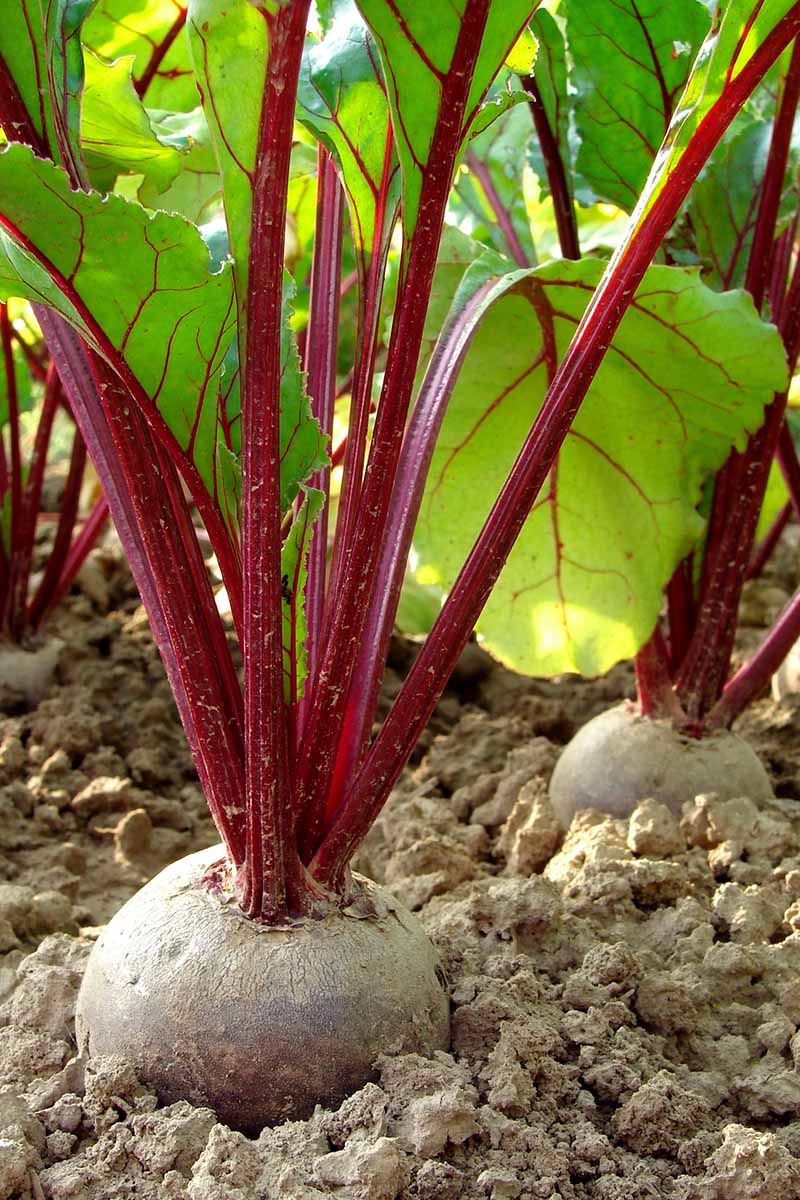
16. Harvest At The Right Time For Best Flavor
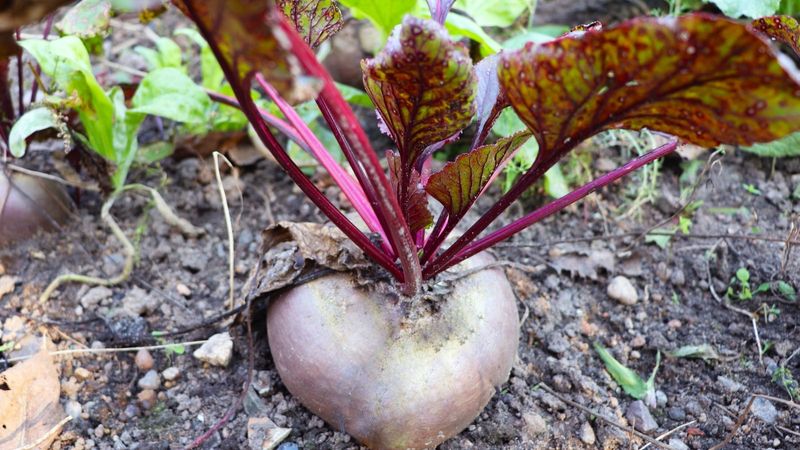
The skin of a properly sized beet should have a slight shine and feel firm when gently squeezed. I’ve found that beets harvested in the morning have noticeably better flavor than those picked during hot afternoons.
Don’t judge solely by what’s visible above ground. Gently brush away soil from the top of the root to assess its true size. For most varieties, 2-3 inches in diameter offers the perfect balance of sweetness and tenderness.
After a light frost, beets actually taste sweeter as the cold triggers the conversion of starches to sugars. Some of my best-tasting harvests have come after the first light frosts of fall, when the roots take on an intensified sweetness that’s worth the wait.
17. Store Your Harvest Properly For Months Of Enjoyment
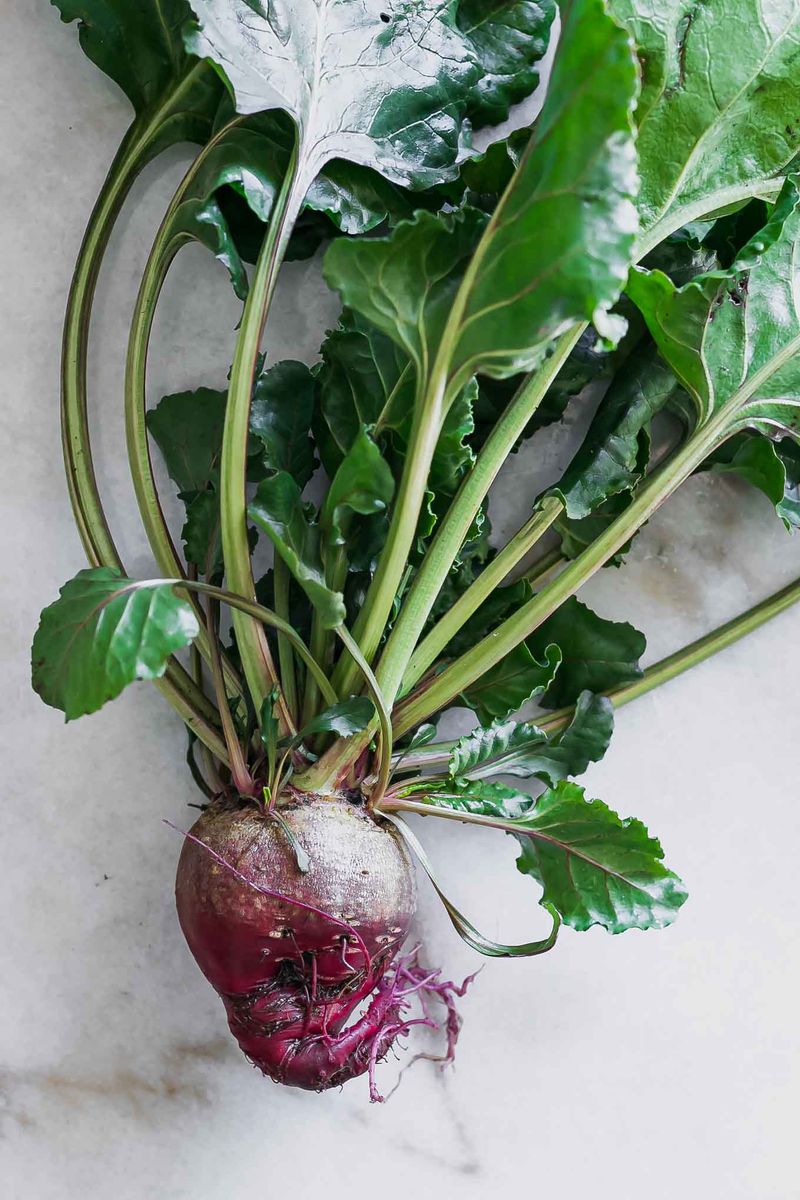
Cut beet tops about 1-2 inches above the root rather than removing them flush. This prevents the roots from “bleeding” and losing valuable nutrients and flavor. I learned this trick from my grandmother, who always had perfect beets through winter.
For short-term storage, unwashed beets will keep in the refrigerator crisper drawer for 2-3 weeks in a perforated plastic bag. Washing removes natural protective elements that extend shelf life.
For long-term storage, mature beets can be kept in boxes of slightly damp sand or sawdust in a cool (32-40°F), humid place like a root cellar or unheated garage. I’ve successfully stored fall-harvested beets this way until spring, enjoying garden-fresh flavor all winter.
18. Save Seeds From Open-Pollinated Varieties
Most gardeners don’t realize that beets are biennial, producing seeds in their second year. I’ve found that selecting and overwintering the most perfect specimens leads to seed stock increasingly adapted to my specific growing conditions.
Choose several healthy roots from open-pollinated varieties (not hybrids), trim the tops to 2 inches, and store them through winter in damp sand in a cool location. Replant these roots in early spring, and they’ll send up tall flowering stalks.
The resulting seed clusters can be harvested when they turn brown and feel dry to the touch. I let mine dry further indoors for a week before storing in paper envelopes. Properly stored beet seeds remain viable for 4-5 years—a great investment in garden self-sufficiency.