15 Gardening Tips That Break All the Rules (But Actually Work)
Gardening advice tends to come with a lot of “shoulds” and “musts,” but over the years, I’ve learned that bending the rules can actually lead to some of the best results. Some of my favorite garden successes happened when I tried something a little different—either out of curiosity or sheer desperation.
From tossing seeds into unprepared soil to planting things way closer than the spacing guides recommend, these little experiments have taught me more than any manual ever could. Sure, not everything worked—but the wins were worth it.
So, if you’ve ever felt the urge to go off-script in the garden, you’re not alone. Here are a few unconventional tricks that might just surprise you—and maybe even impress your local garden club.
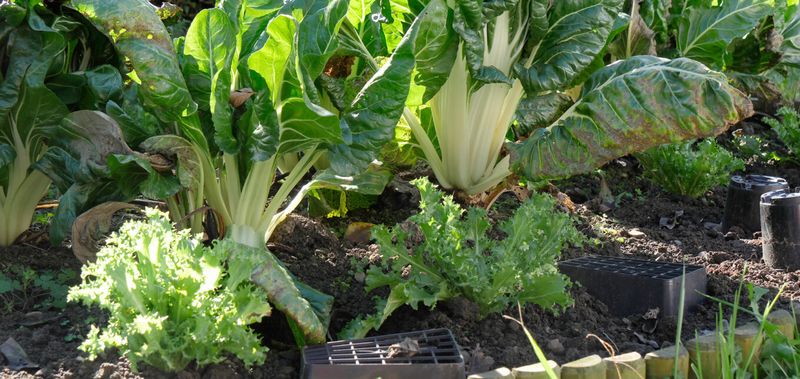
1. Plant Crowding Actually Works

The spacing guidelines on seed packets aren’t always necessary. I’ve deliberately planted vegetables closer together than recommended and found they often thrive. The dense planting creates a living mulch effect, shading out weeds and keeping soil moist.
When I crowded my lettuce and spinach beds, they created their own microclimate. The leaves touched just enough to protect each other without competing too much for nutrients. This method works especially well in raised beds with rich soil.
One caution though: disease-prone plants like tomatoes and squash still need their space. For these, stick closer to recommended distances to allow proper air circulation and reduce fungal problems.
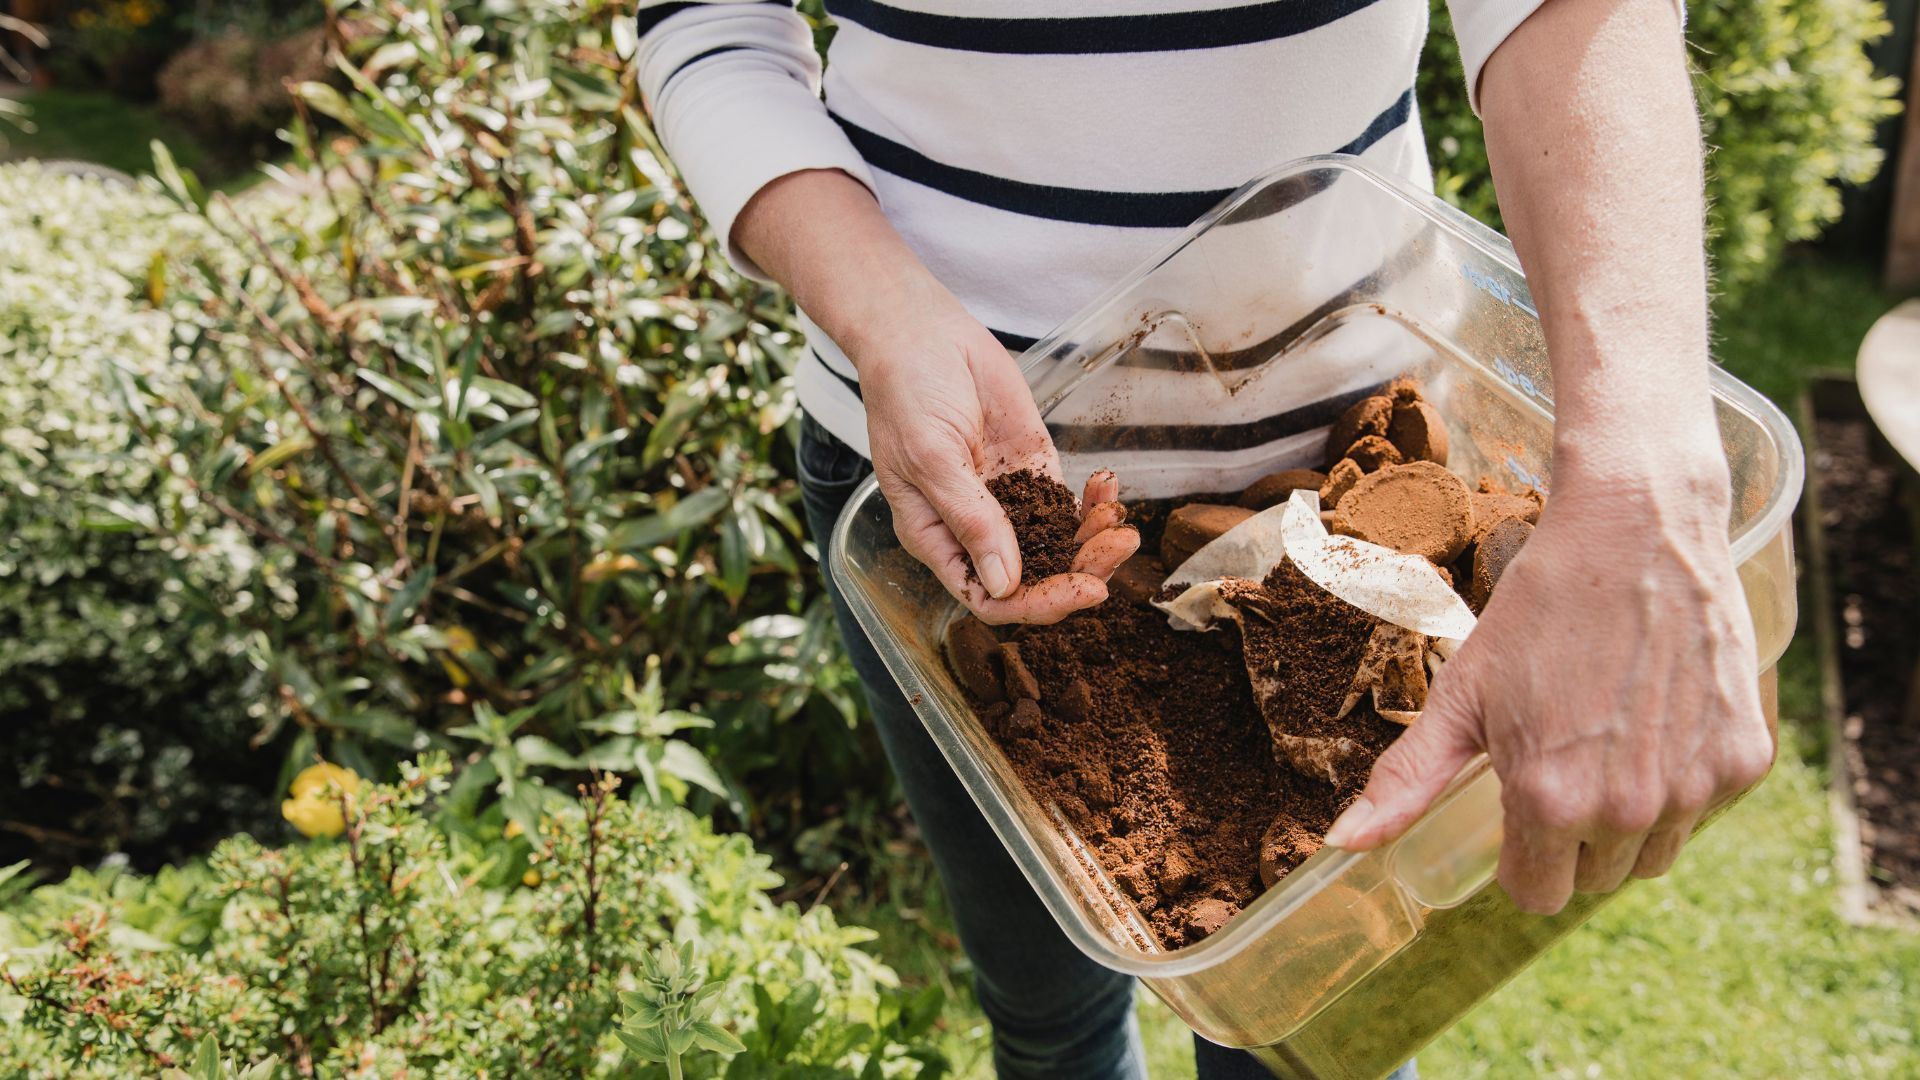
2. Coffee Grounds Directly On Plants
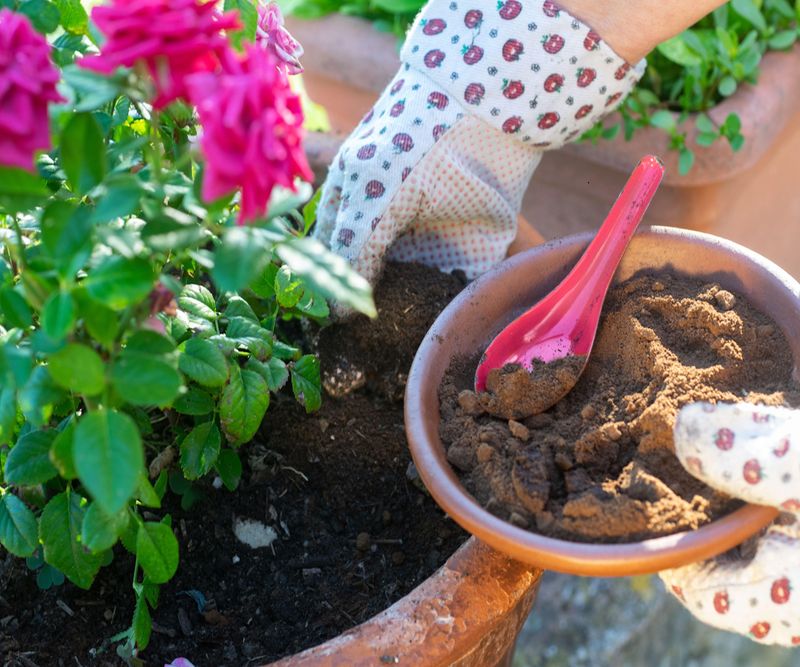
Most gardening advice warns against putting fresh coffee grounds directly on plants because they might burn tender roots. My roses disagree completely. I’ve been dumping used coffee grounds right at the base of my rose bushes for years.
The grounds slowly release nitrogen while improving soil texture. My neighbor thought I was crazy until she saw my roses blooming like mad. The slight acidity seems to make them happier, and I’ve noticed fewer aphid problems since starting this habit.
Start with a small amount – about a handful per plant every few weeks. Some plants like blueberries and azaleas especially love this treatment, while others might not respond as well.
3. Planting In Summer Heat
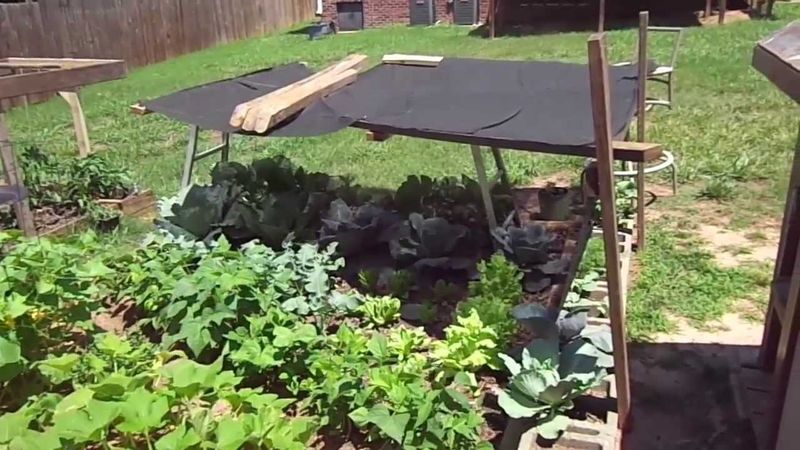
Everyone says to avoid planting during the hottest part of summer. I took a chance one July when my schedule got delayed, planting fall vegetables in 95-degree weather. To my surprise, they established quickly with some afternoon shade and consistent watering.
The key was planting in the evening and using cardboard sun shields for the first week. By planting certain crops in summer heat, I got a jump start on my fall harvest. The seedlings actually seemed to appreciate the warm soil for root development.
Try this with heat-tolerant varieties like chard, kale, and certain bean varieties. Just be prepared to water more frequently until they’re established, and provide temporary shade during the hottest afternoon hours.
4. Burying Kitchen Scraps Directly
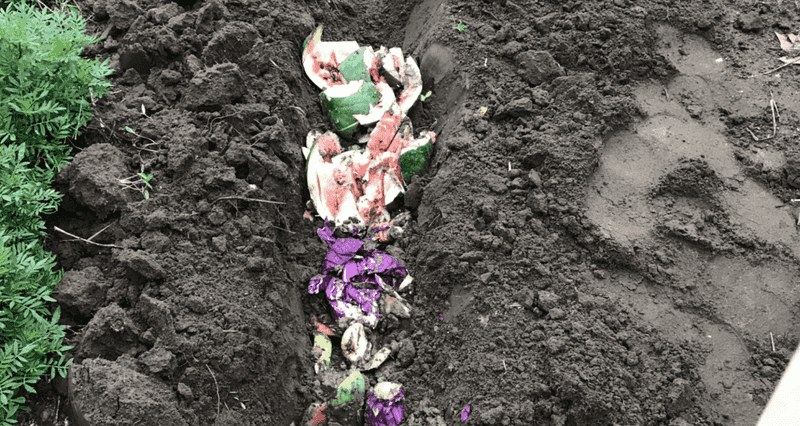
Composting experts insist kitchen scraps need proper composting before going into garden soil. I’ve been secretly burying banana peels, eggshells, and coffee grounds directly in my garden beds for years with amazing results.
Last fall, I dug small trenches between rows and buried kitchen waste throughout winter. By spring, everything had broken down completely, and those rows grew the most vigorous plants. The key is burying the scraps deep enough (at least 8 inches) so animals don’t dig them up.
Avoid meat, dairy, and oily foods which can attract pests. This direct composting method works best in areas where you won’t be planting for at least a month, giving time for decomposition.
5. Pruning During Flowering
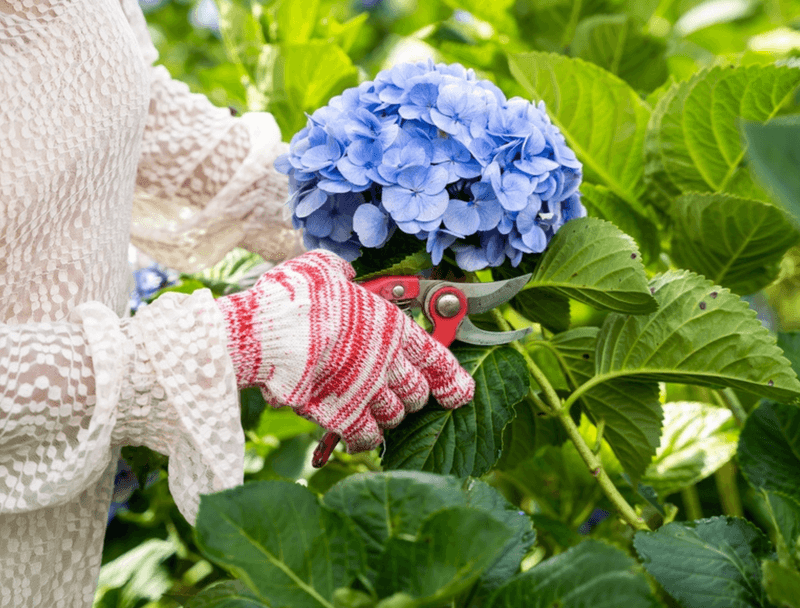
Garden books strictly forbid pruning flowering plants while they’re blooming. When my hydrangeas got damaged in a storm mid-bloom, I had no choice but to cut back broken branches. To my amazement, this triggered even more flower production.
Now I selectively prune about 1/4 of the stems on certain flowering shrubs during their first bloom cycle. This redirects energy and often produces a second flush of flowers when others in the neighborhood have finished. My butterfly bush responds especially well to this treatment.
Be strategic about which stems you remove – look for the oldest or leggiest ones. And don’t do this with spring-only bloomers like lilacs or azaleas, which set next year’s buds right after flowering.
6. Growing Certain Plants In Shade
The labels insist many vegetables need “full sun” (6+ hours daily), but my partially shaded garden disagrees. I’ve successfully grown leafy greens, peas, and even cherry tomatoes in spots that get only 3-4 hours of direct sunlight.
The secret is matching the right varieties to your light conditions. My ‘Sun Gold’ cherry tomatoes produced abundantly in a location that gets morning sun but afternoon shade. The cooler conditions actually extended their productive season well into fall when my neighbor’s full-sun tomatoes had burned out.
Try experimenting with different varieties in your shadier spots. Root vegetables like radishes and beets often do surprisingly well, and many herbs actually prefer the less intense conditions of partial shade.
7. Watering In The Heat Of Day
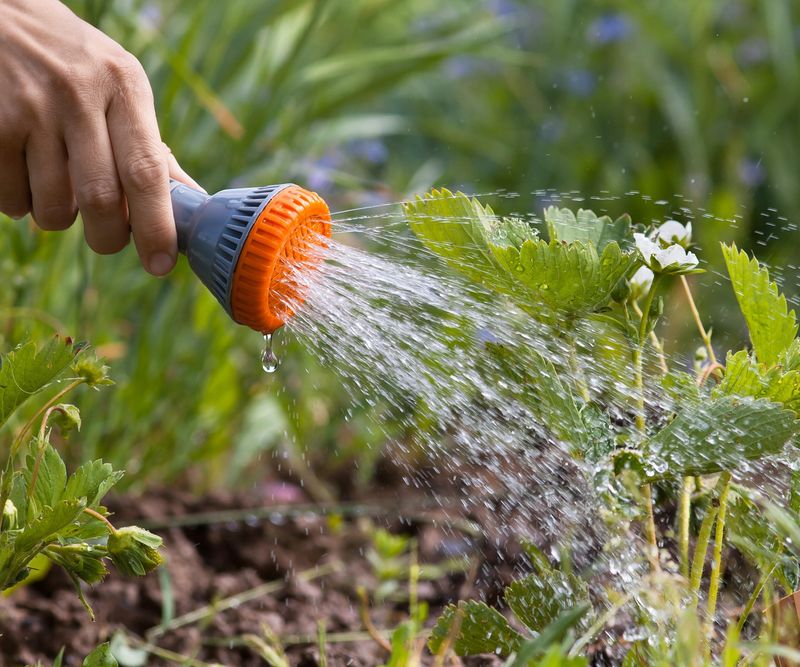
“Never water in midday sun or you’ll burn your plants!” I’ve heard this warning countless times. During a particularly brutal heatwave, I had no choice but to water at noon. Surprisingly, my wilting plants perked right up with no leaf burn whatsoever.
The science backs my experience – water droplets don’t act like magnifying glasses as commonly believed. During extreme heat, plants benefit more from immediate hydration than from waiting for evening. The water cooled the soil and provided immediate relief to stressed plants.
While I still prefer morning watering for efficiency reasons (less evaporation), I no longer panic if I need to water during hot afternoons. Just be sure to water the soil rather than spraying leaves to minimize evaporation losses.
8. Planting Potatoes Above Ground

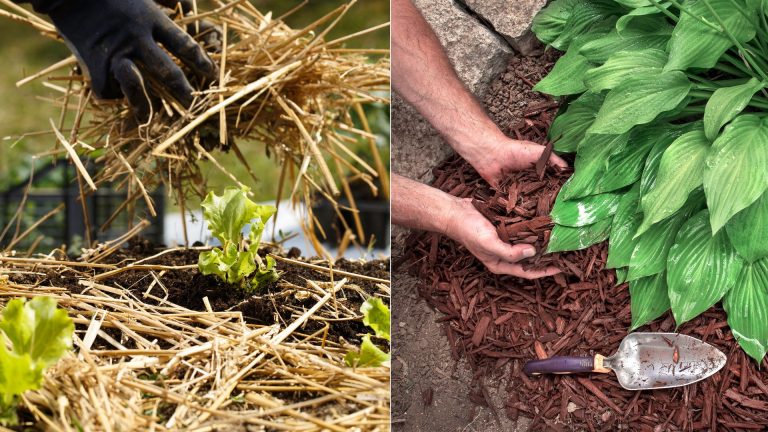
Traditional wisdom says potatoes must be planted in trenches and gradually hilled up. Last year, I tried something completely different: I placed seed potatoes directly on prepared soil and covered them with a thick layer of straw. No digging whatsoever.
The plants grew vigorously through the straw, which I added to throughout the season. At harvest time, I simply pulled back the straw to reveal dozens of clean potatoes sitting on the soil surface. No digging, no damaged tubers, and a significantly easier harvest.
This method works best in areas with consistent moisture since straw can dry out quickly. I water more frequently with this method, but the labor savings at planting and harvest time make it worthwhile for my back!
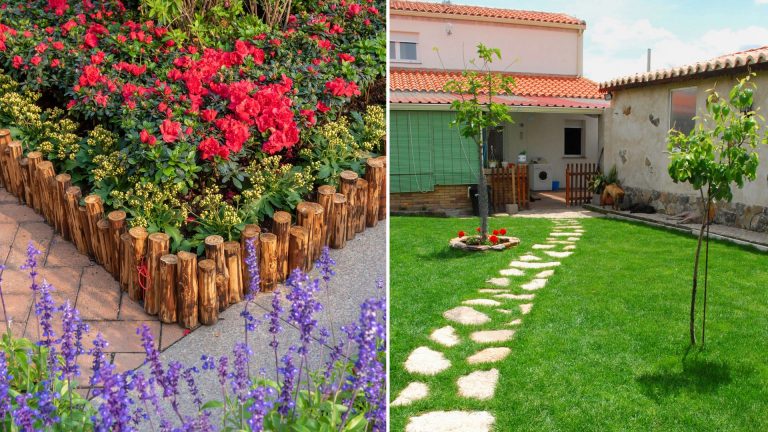
9. Leaving Fallen Leaves In Flower Beds
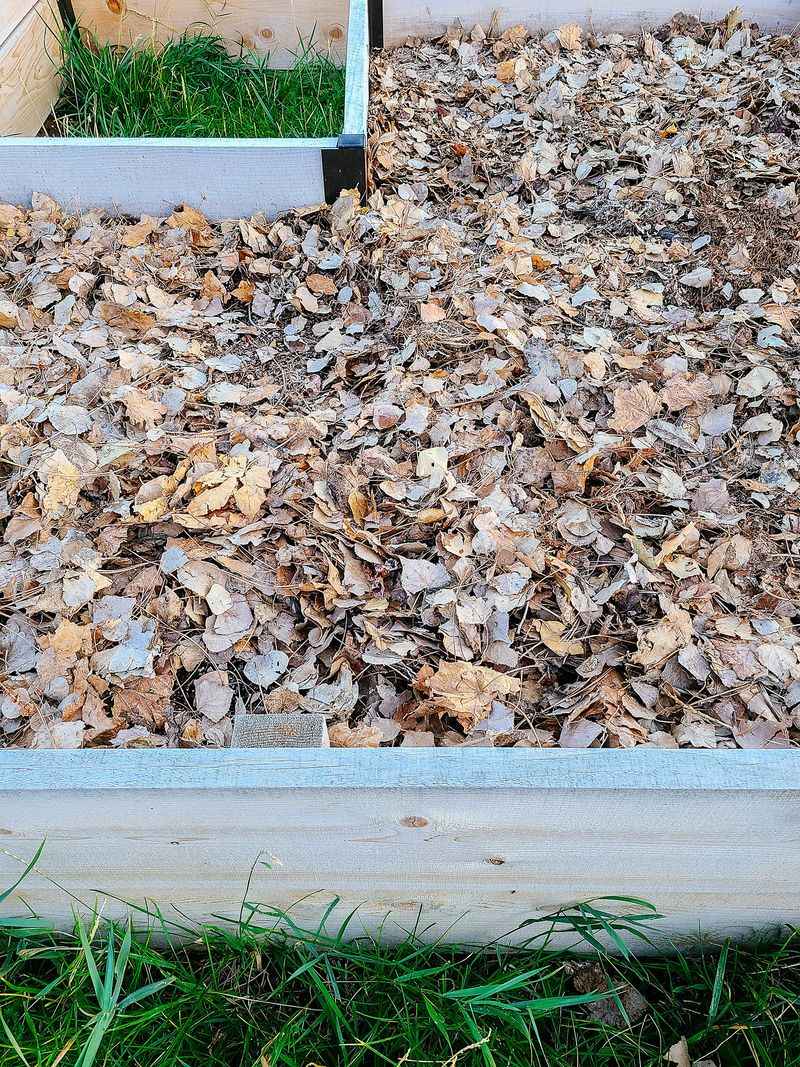
Garden magazines showcase pristine beds cleared of every fallen leaf. I got lazy one autumn and left the leaves where they fell among my perennials. The following spring, those beds outperformed all others in my garden.
The leaf layer had protected plants from freeze-thaw cycles, suppressed early spring weeds, and decomposed to feed the soil. Overwintering beneficial insects also found shelter there. Now I deliberately leave leaves in most beds, only removing them from areas with plants that prefer dry winter conditions.
For ornamental areas visible from windows, I shred the leaves first with a lawn mower for a tidier appearance. This approach saves hours of fall cleanup while improving soil health – a genuine win-win discovered through happy accident.
10. Breaking Seed Starting Rules
Seed packets give specific planting depth instructions, but I’ve found many seeds germinate better with alternative methods. I sprinkle tiny seeds like lettuce and carrots directly on soil surface, then cover with a whisper-thin layer of vermiculite instead of burying them.
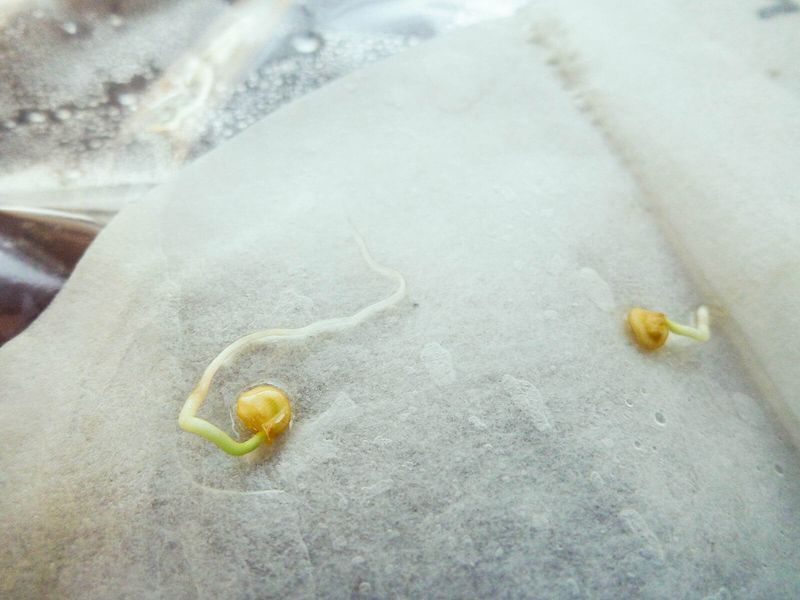
For larger seeds like beans and squash, I’ve had great success pre-sprouting between damp paper towels before planting. This gives me nearly 100% germination rates and lets me select the strongest sprouts. The paper towel method also helps me get a jump start on the growing season.
Even “old” seeds past their expiration dates often germinate fine with these methods. I’ve successfully grown tomatoes from 5-year-old seeds that germinated perfectly when sprouted in damp paper towels before planting.
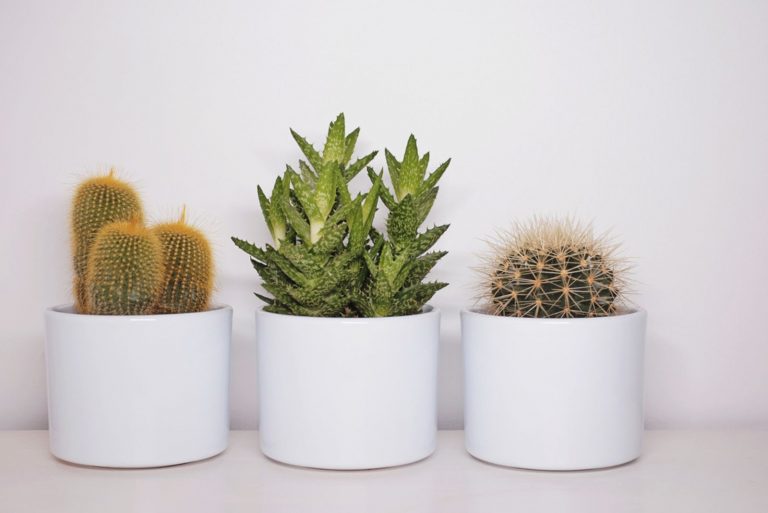
11. Planting Root Vegetables In Containers
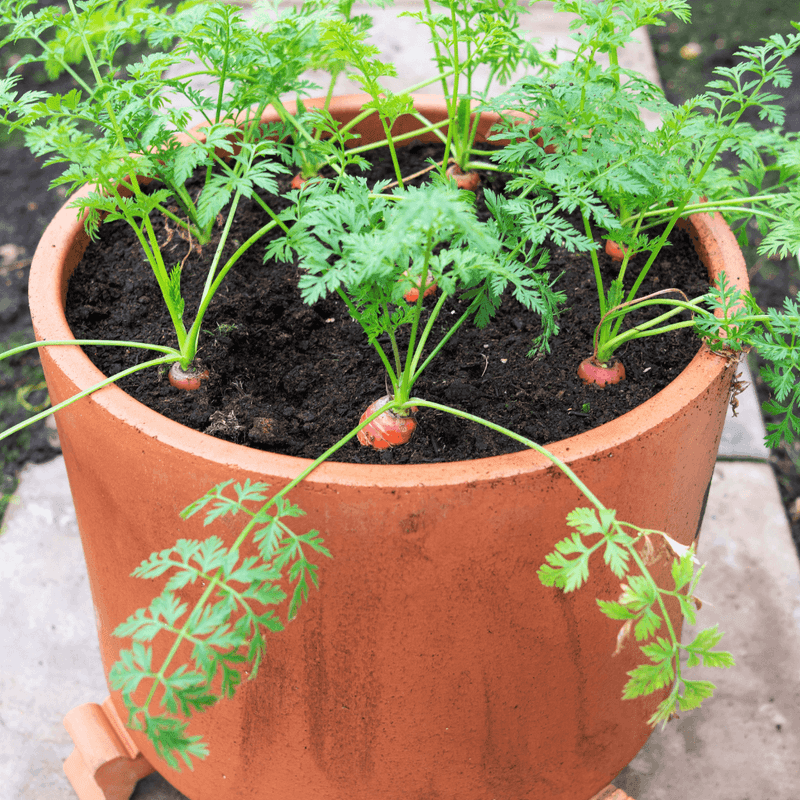
Conventional wisdom says root vegetables need deep garden soil. Facing limited space, I experimented with growing carrots and beets in relatively shallow containers just 8 inches deep. The results were surprisingly good!
I chose shorter varieties like ‘Paris Market’ carrots and ‘Baby Ball’ beets that naturally grow compact. The container-grown roots were uniformly shaped and easier to harvest than my in-ground crops. They actually seemed to prefer the loose potting mix to my clay-heavy garden soil.
The key is consistent moisture and using a container that’s wider rather than deeper. I water more frequently and fertilize lightly every few weeks with diluted fish emulsion. This approach has given me root vegetables in spaces I never thought possible.
12. Using Plain Vinegar As Weed Killer
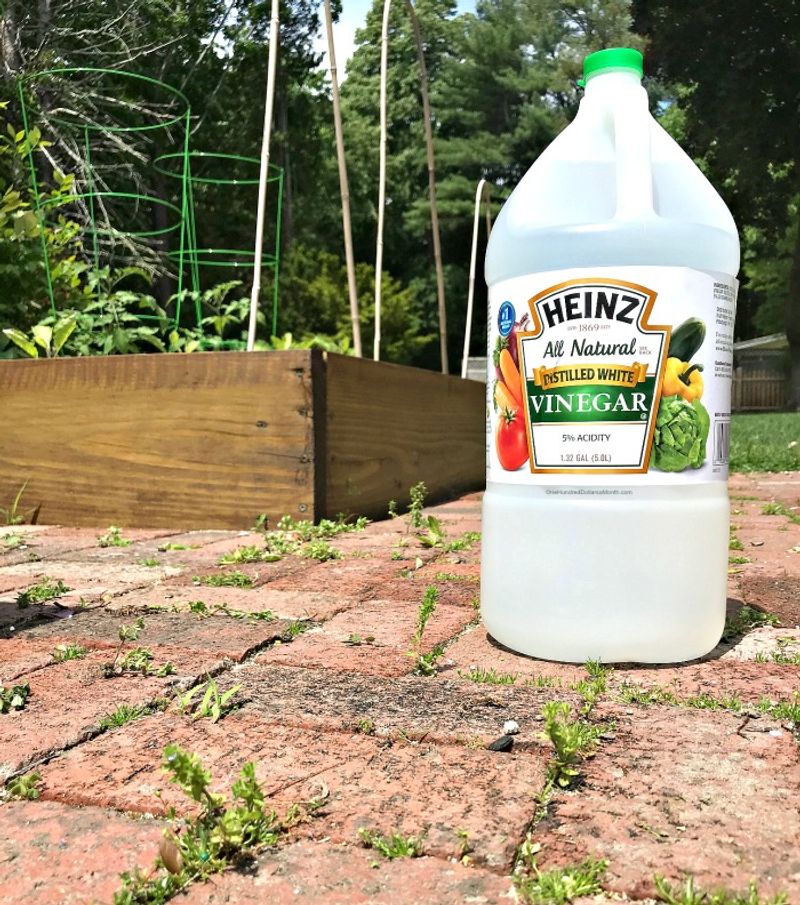
Gardening experts often dismiss household vinegar as too weak for weed control, recommending stronger commercial products instead. Running out of options for my brick pathway, I tried plain white vinegar from my kitchen on a hot, sunny day.
The results were impressive – small weeds shriveled within hours. The key was applying it undiluted during hot, dry weather when weeds were already stressed. I’ve since refined my approach, adding a tablespoon of dish soap to help the vinegar stick to leaf surfaces.
This works best on young weeds and those growing in cracks where you don’t want any vegetation. Be careful around desirable plants, as vinegar doesn’t discriminate between weeds and flowers. Also, it’s most effective on the leaf tissue, not the roots.
13. Skipping Hardening Off Seedlings
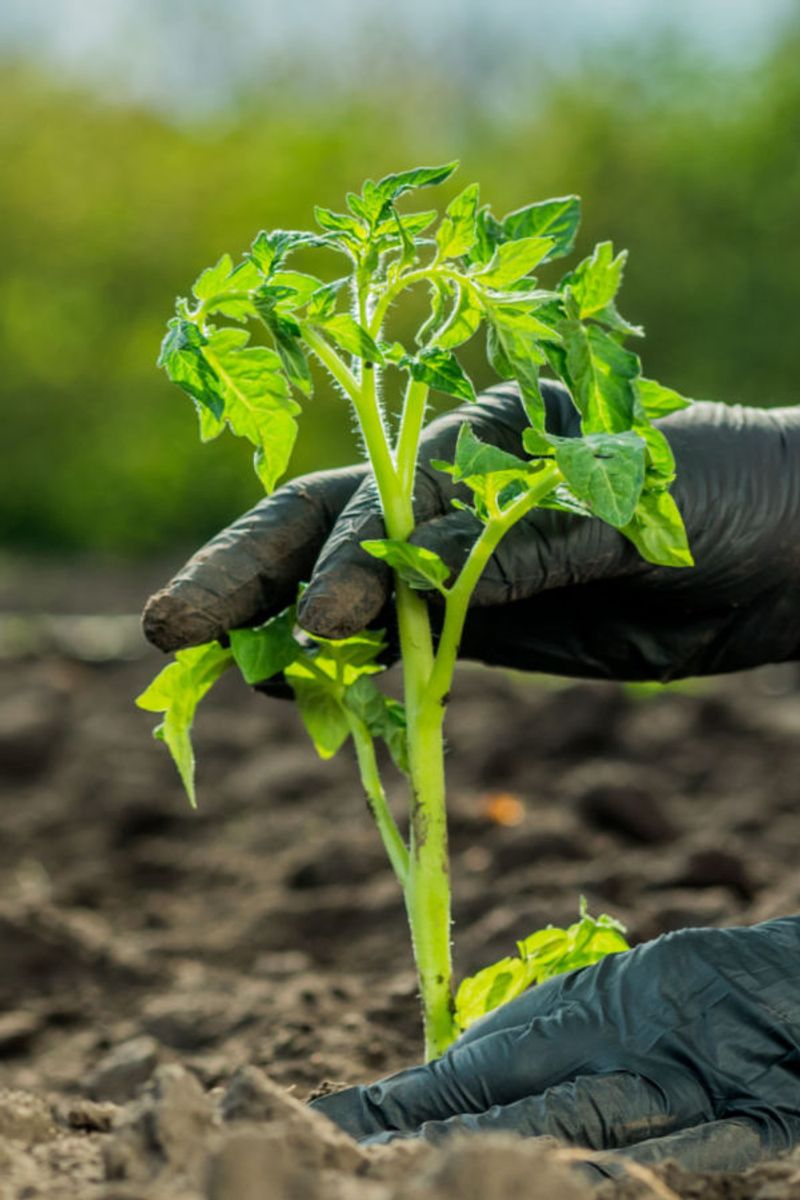
Every gardening resource emphasizes gradually acclimating indoor-grown seedlings to outdoor conditions over 7-10 days. When a sudden schedule change left me no time for this process, I planted my tomato seedlings directly from grow lights to garden with only minimal protection.
I planted in the evening and provided temporary shade with overturned plastic pots for the first 48 hours. Surprisingly, 90% of the plants transitioned perfectly fine with minimal setback. They quickly caught up to and even surpassed properly hardened plants from previous years.
While I wouldn’t make this my standard practice, it’s good to know that seedlings are more resilient than we give them credit for. This shortcut works best with naturally robust plants like tomatoes and peppers rather than more delicate flowers.
14. Reusing Potting Soil Multiple Seasons
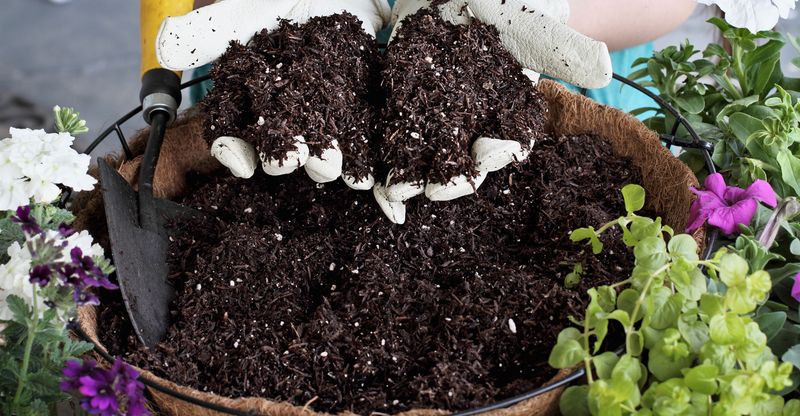
Garden centers insist on fresh potting soil each season, but I’ve been secretly reusing mine for years. After removing old plants, I rejuvenate the soil with compost and continue using it with excellent results.
My method is simple: I dump used potting soil into a wheelbarrow, break it apart, and mix in about 25% fresh compost. For containers that housed diseased plants, I spread the old soil in a thin layer on a tarp in direct sun for a few days to solarize it before reusing.
This approach saves money and reduces waste. I do completely replace soil in containers every third year or so, but this recycling method works perfectly in between. The only exception is for seedling mixes, where I still use fresh, sterile medium.
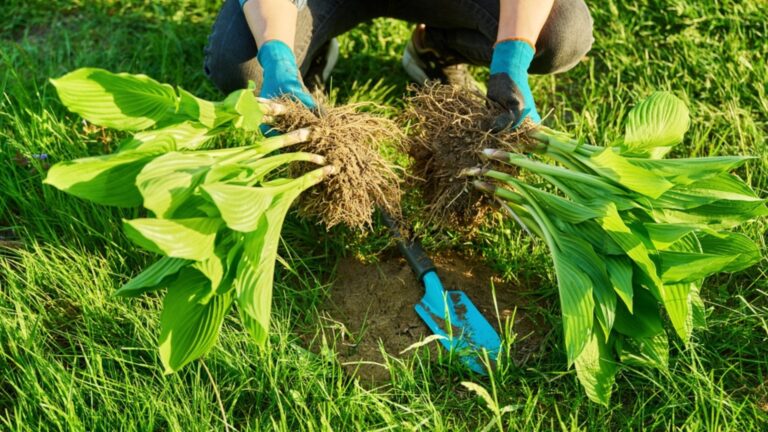
15. Transplanting During Bloom
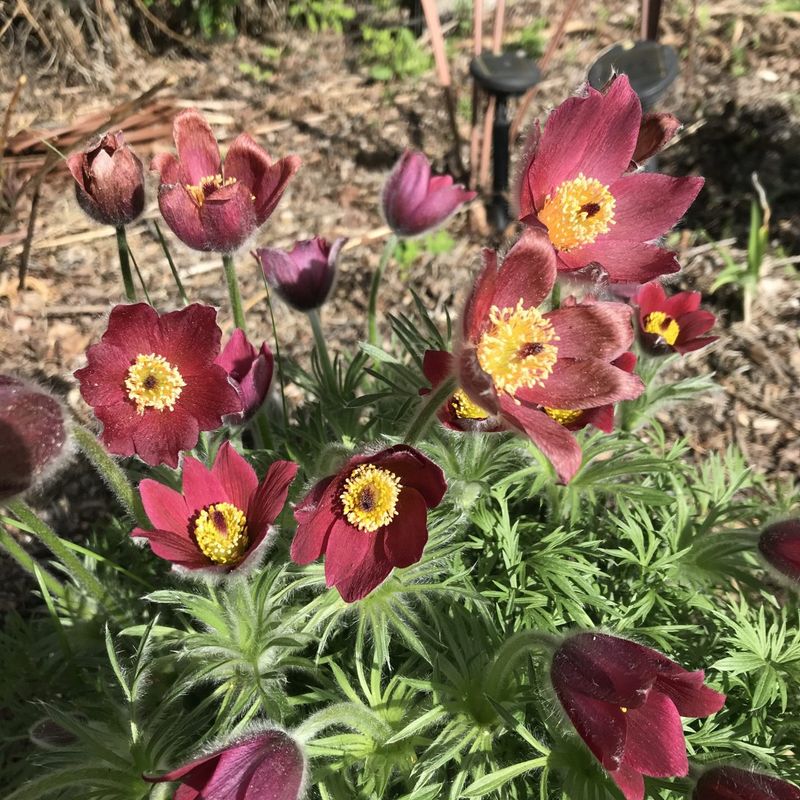
“Never transplant flowering plants” is standard gardening advice I’ve happily ignored. When I found clearance perennials in full bloom, I couldn’t resist, despite warnings they would die from transplant shock.
I removed about half the flowers when planting and watered diligently for the first week. Not only did the plants survive, but they continued blooming while establishing roots. This approach actually helped me better visualize my garden design since I could see exactly how the flowers looked in their new location.
The key is providing extra attention during the first two weeks after transplanting. I water deeply every other day and provide afternoon shade if temperatures are high. This technique works especially well with rugged perennials like coneflowers, black-eyed Susans, and daylilies.