14 Genius Tips For Leveling A Lawn (And 5 Mistakes That’ll Ruin It)
Having a bumpy, uneven lawn isn’t just an eyesore—it can cause water pooling, mowing problems, and even trip hazards. Leveling your lawn transforms it from lumpy to lovely, creating the perfect surface for backyard games and boosting your home’s curb appeal. With the right approach, you can achieve professional results without breaking the bank.
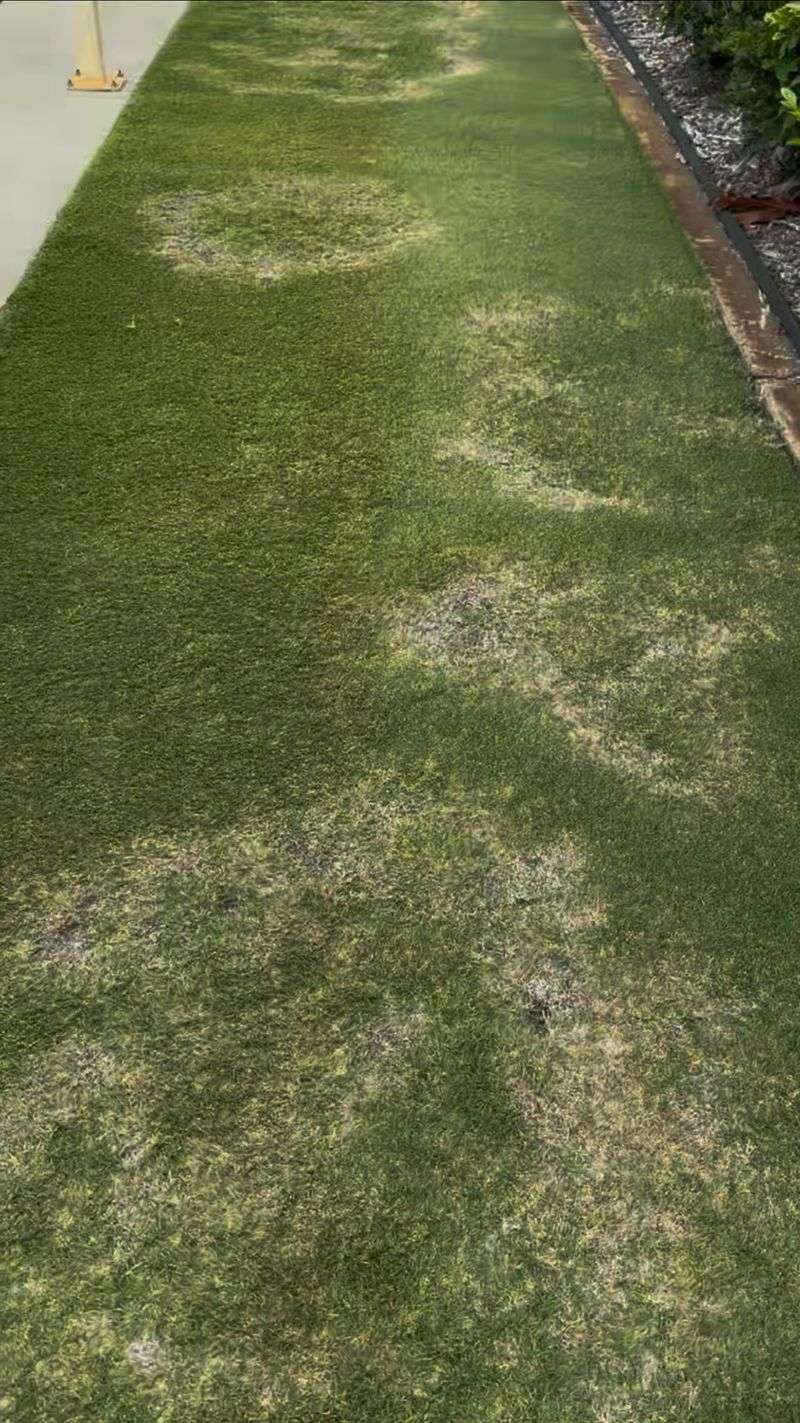
1. Identify Problem Areas First

Walk barefoot across your lawn to feel the dips and bumps that might not be visible to the eye. Mark these spots with small flags or even golf tees so you’ll remember where treatment is needed.
Taking time for proper identification saves materials and prevents overdoing areas that don’t need help. The most common low spots occur near downspouts, along walkways, and in high-traffic zones where soil compaction happens.
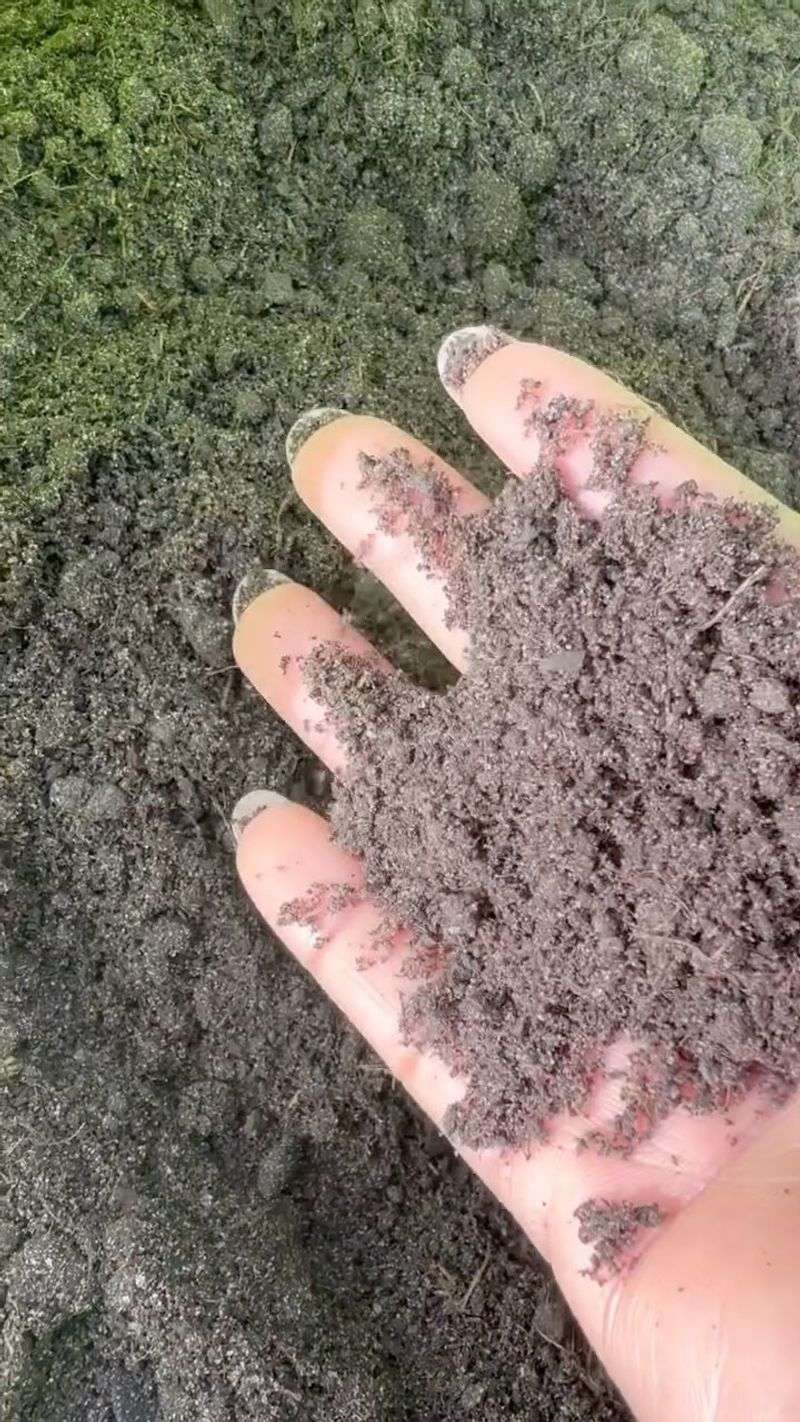
2. Test Your Soil Type
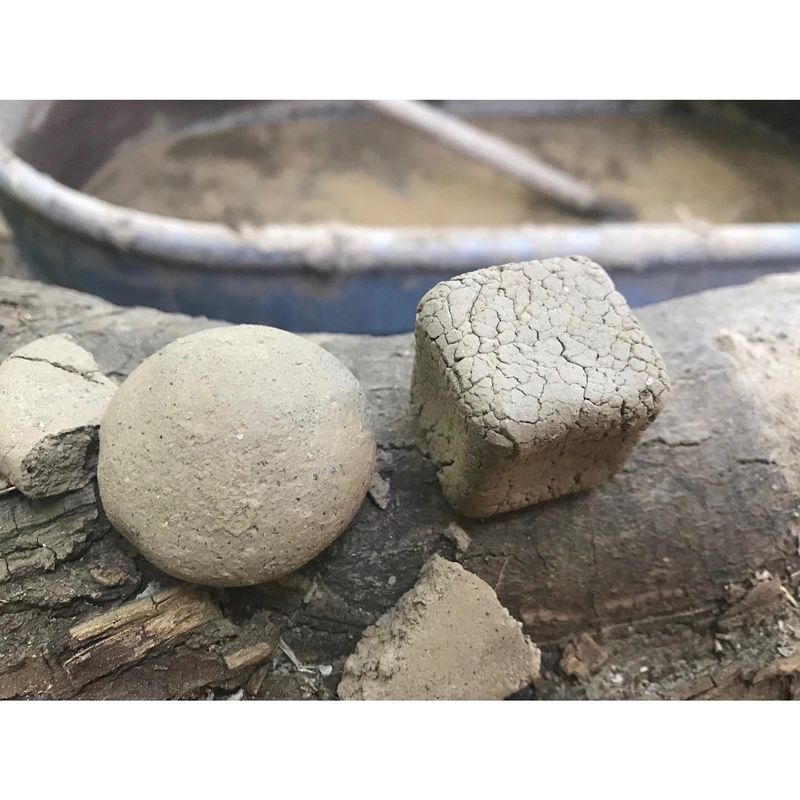
Different soil types require different approaches to leveling. Clay soils hold water and may need more drainage solutions, while sandy soils might wash away easily after leveling.
Grab a handful of moist soil from your yard and squeeze it. If it forms a tight ball that’s hard to break apart, you have clay-heavy soil. If it crumbles easily, you’re working with sandier soil.
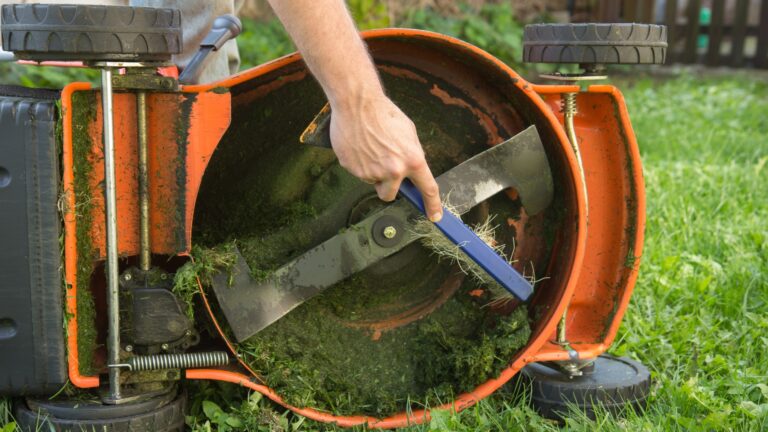
3. Mow Low Before Starting
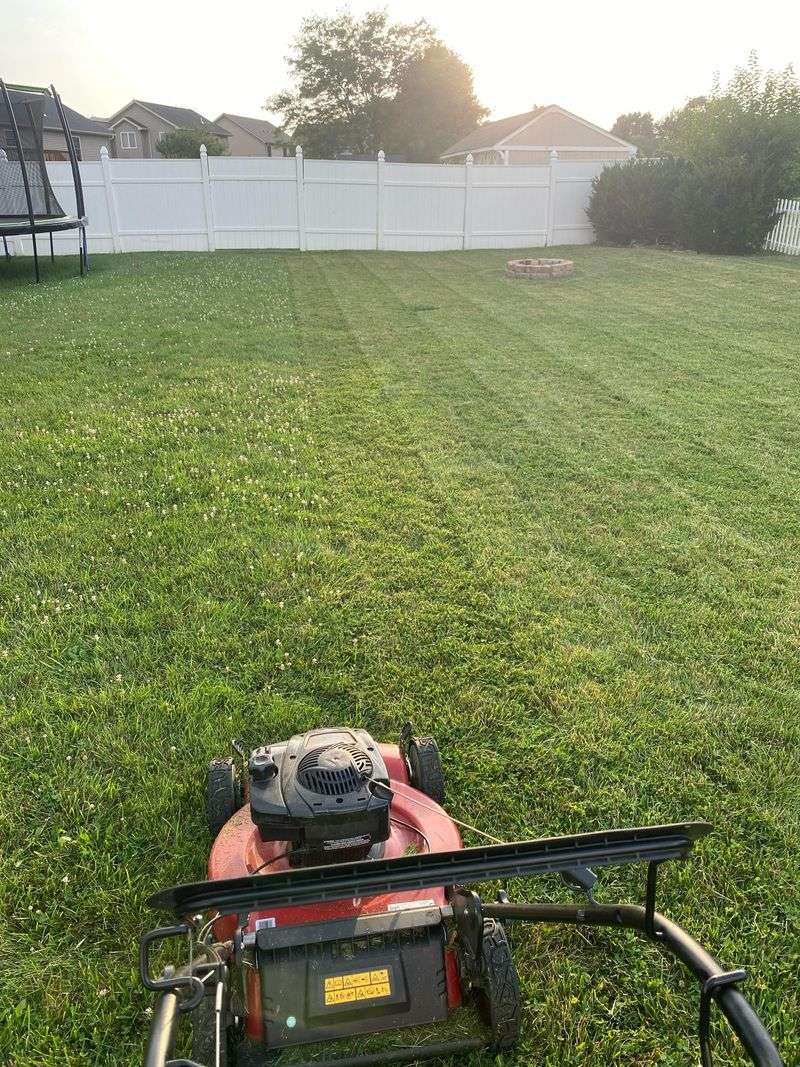
Cutting your grass shorter than usual creates better visibility of the terrain and makes the leveling process more effective. Aim for about 1-1.5 inches in height—significantly shorter than the typical 3-inch recommendation for healthy lawns.
This temporary short cut helps your topdressing material reach the soil surface rather than getting caught in tall grass blades. Remember to sharpen your mower blades first for a clean cut that won’t stress the grass.
4. Create the Perfect Soil Mix
For minor leveling jobs, a mixture of sand, topsoil, and compost in equal parts works wonders. This balanced blend provides nutrients while filling depressions and promoting healthy growth.
For larger depression areas, adjust the ratio to 60% sand, 20% topsoil, and 20% compost. The sand improves drainage and prevents future settling, while the organic components feed your grass as it grows through the new layer.
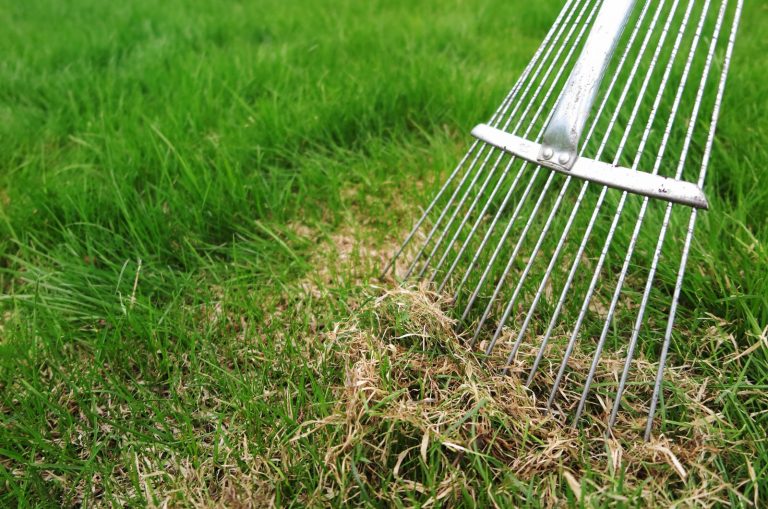
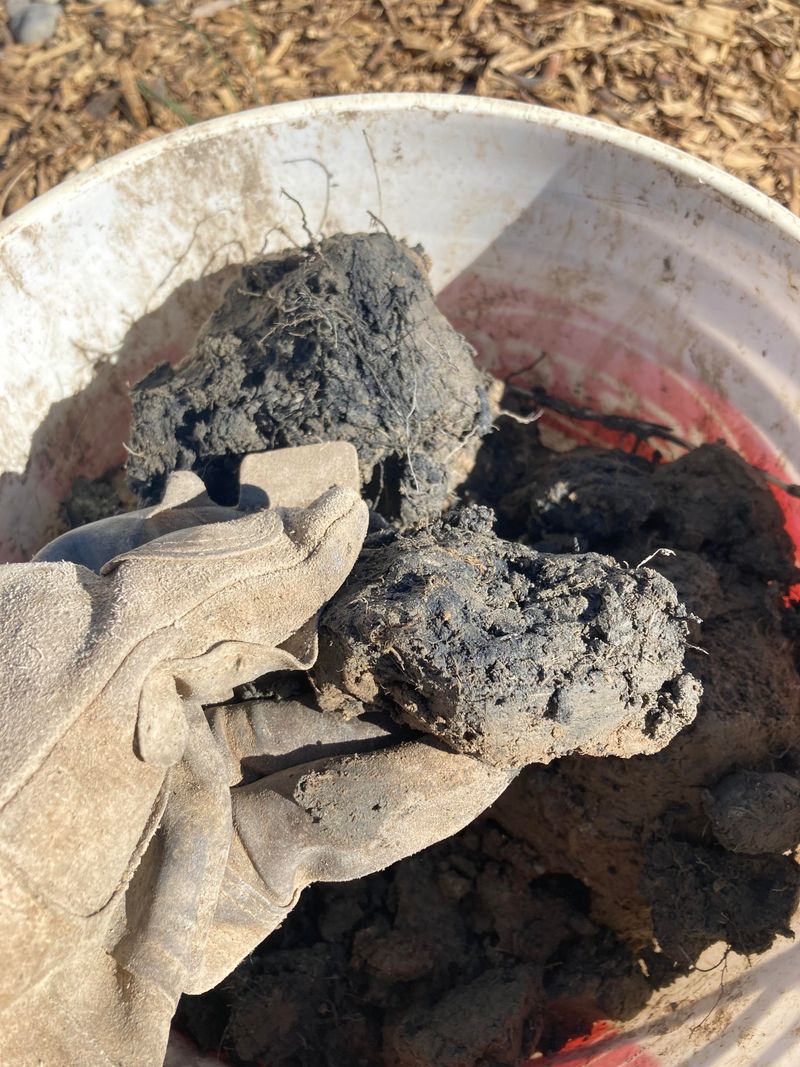
5. Dethatch Before Adding Material
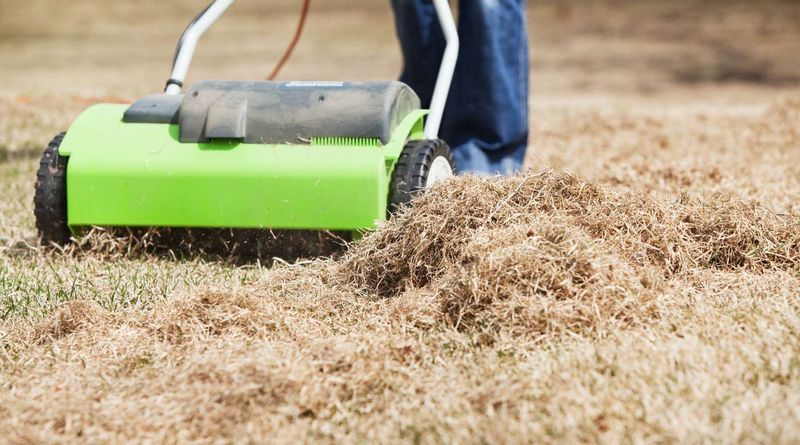
Thatch—that layer of dead grass between soil and living grass—can prevent your leveling material from reaching the soil. Use a dethatching rake or power dethatcher to remove this barrier before starting your project.
Spring or fall are ideal seasons for dethatching when grass is actively growing but not stressed by summer heat. Removing thatch thicker than ½ inch improves water penetration and ensures your leveling materials make direct contact with soil.
6. Use a Lawn Roller for Minimal Unevenness
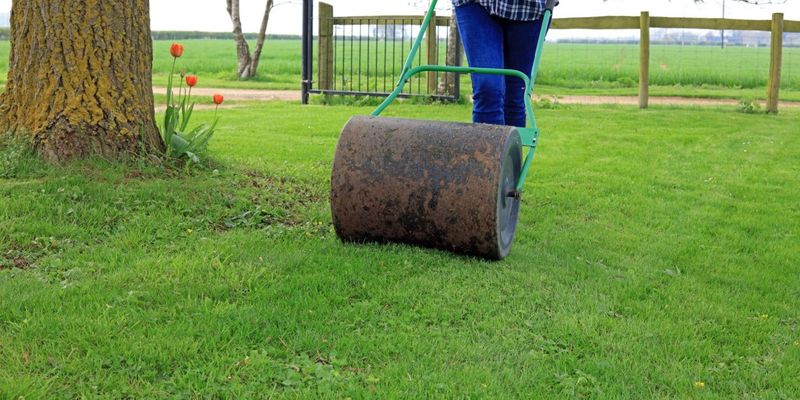
For lawns with slight bumps rather than major depressions, a water-filled lawn roller provides a simple solution. Wait until after rain when soil is soft but not muddy, then make several passes across your lawn.
The weight of the roller gently compresses raised areas without damaging grass roots. Many hardware stores rent rollers by the day, making this an economical fix for minor issues.
7. Apply Material in Thin Layers
Resist the temptation to fill depressions all at once. Adding more than ½ inch of material at a time can smother your grass and create dead patches.
Instead, apply multiple thin layers over several weeks, allowing grass to grow through each application before adding more. This patient approach prevents suffocating your lawn while gradually achieving a level surface.
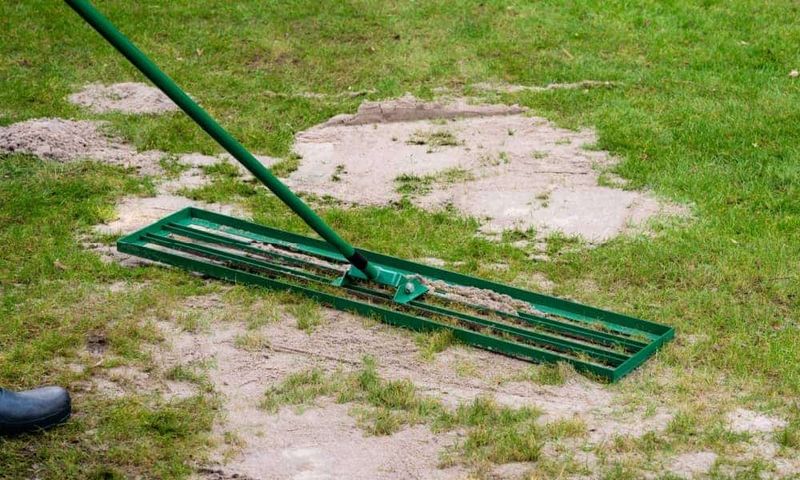
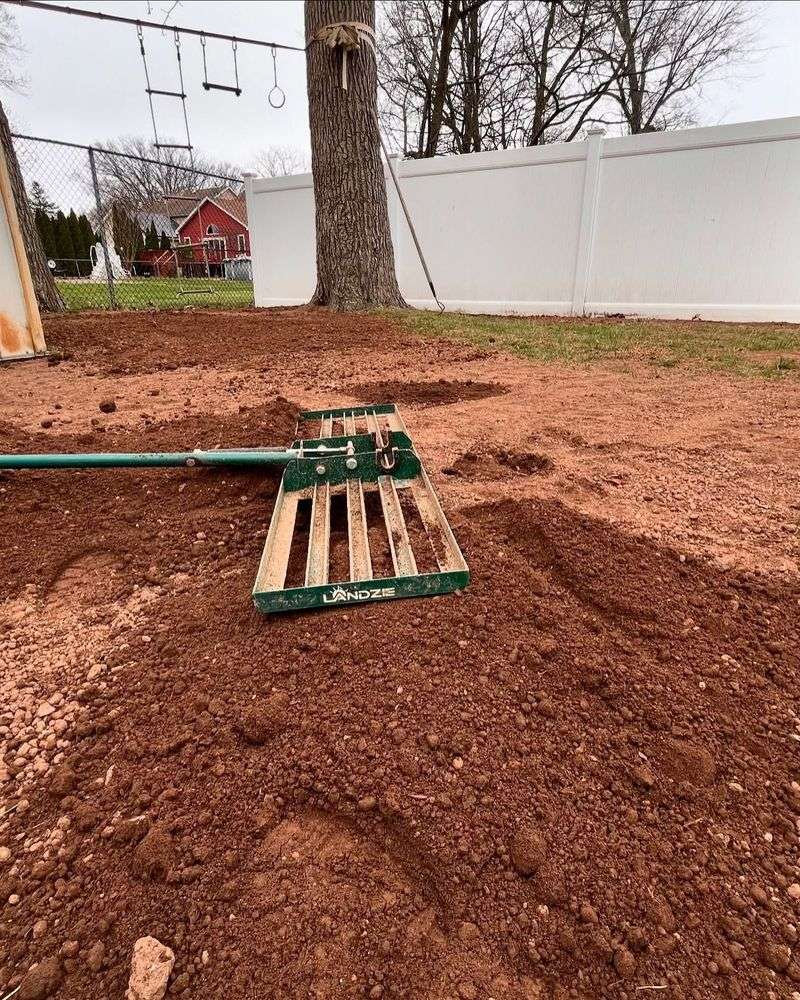
8. Use a Drag Mat for Even Distribution
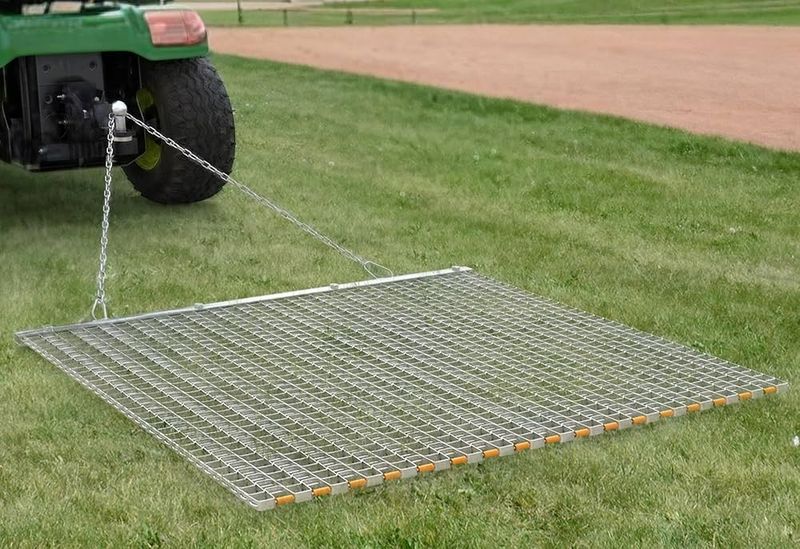
After spreading your leveling mix, a drag mat helps distribute material evenly across the lawn surface. This flexible mat—often made of chain-link fencing or steel mesh—breaks up clumps and works material into low spots.
Attach the mat to your riding mower or lawn tractor for large areas, or simply pull it manually across smaller sections. The back-and-forth motion creates a smooth, consistent layer that grass can easily grow through.
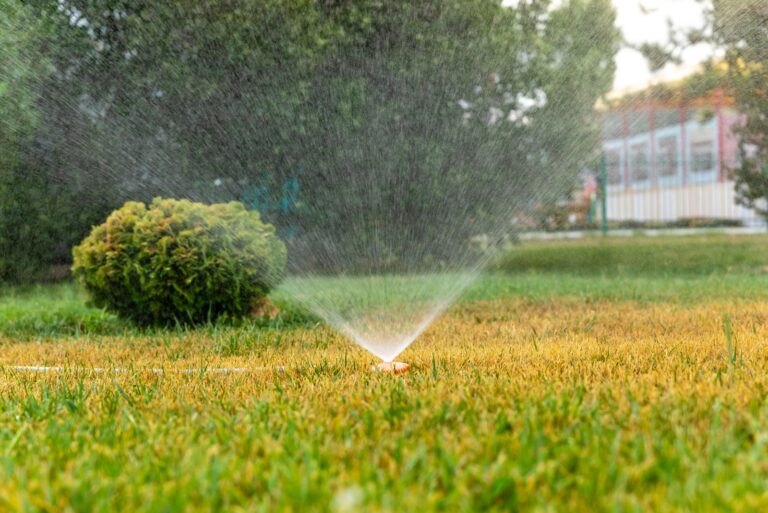
9. Water Thoroughly After Application
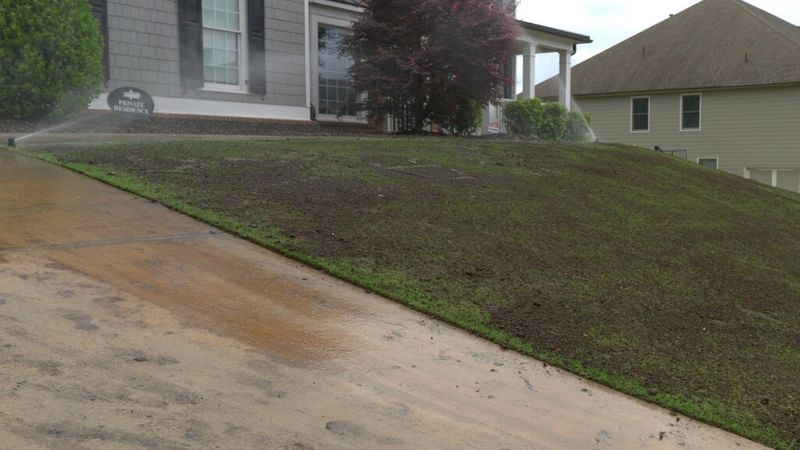
A deep watering after applying leveling material helps settle the soil and prevents it from blowing away. The moisture also encourages grass blades to stand upright through the new layer.
Avoid creating muddy conditions by watering gradually with multiple light passes. A sprinkler set to a gentle shower setting works better than high-pressure spray that might wash away your careful work.
10. Address Drainage Issues Simultaneously
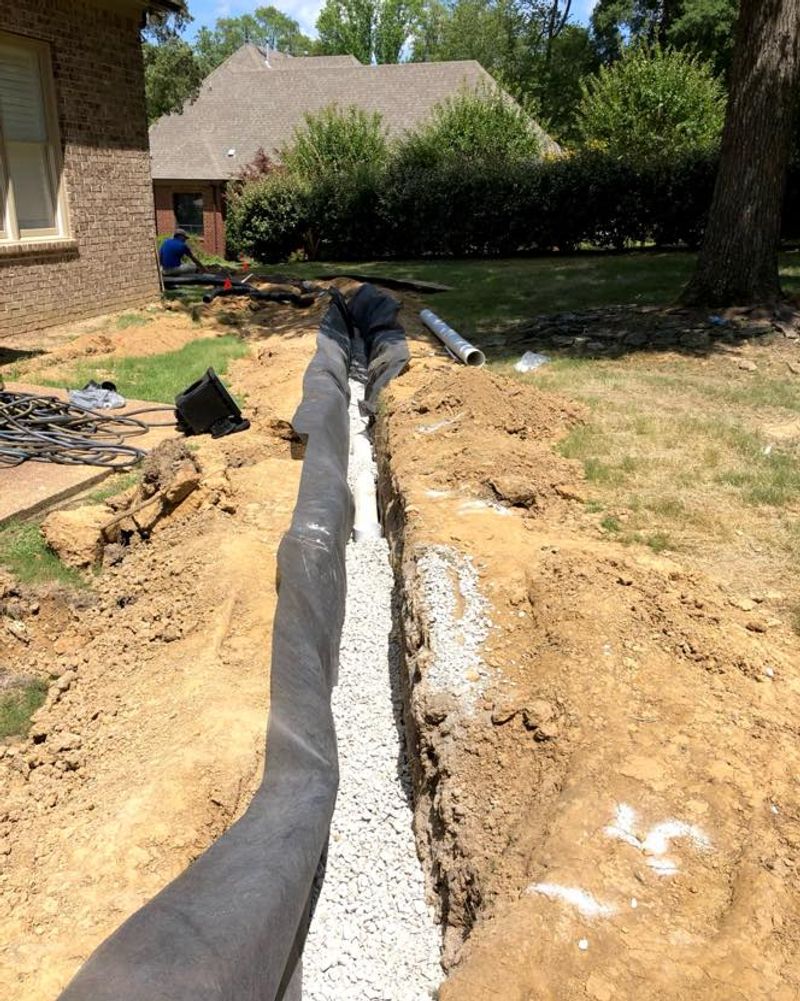
Low spots often indicate drainage problems that will return if not properly addressed. While leveling, consider installing French drains or drainage channels in persistently wet areas.
Creating subtle slopes away from your home’s foundation (about 1 inch drop per 4 feet) prevents water pooling. For severe cases, perforated pipes buried in gravel trenches can direct water away from problem areas before you complete the leveling process.
11. Choose the Right Season
Timing your leveling project during your grass type’s active growing period maximizes success. For cool-season grasses like Kentucky bluegrass, early fall offers ideal conditions.
Warm-season varieties like Bermuda prefer late spring leveling. The active growth helps grass quickly establish through your new soil layer before extreme temperatures arrive. Avoid summer leveling when drought stress might already be challenging your lawn’s resilience.
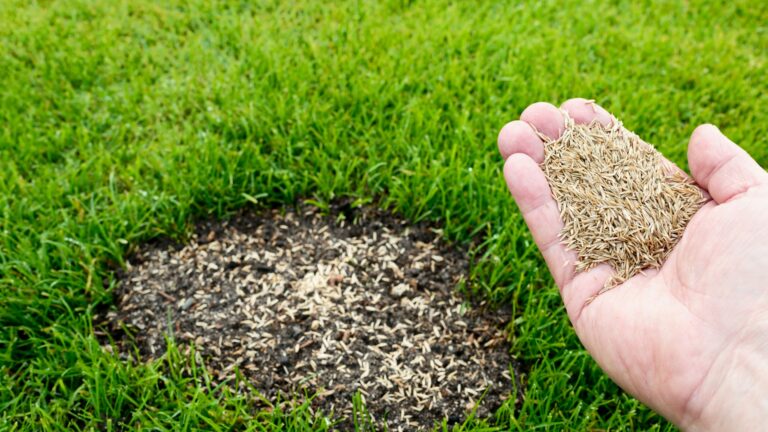
12. Overseed After Leveling

Sprinkling grass seed after leveling helps fill in any bare patches and creates a denser lawn. Match your seed type to your existing grass for a uniform appearance.
Gently rake the seeds into the top layer of your leveling mix for good soil contact. Cover with a thin layer of straw or peat moss to retain moisture and protect seeds from birds. Keep the area consistently moist until new seedlings establish.
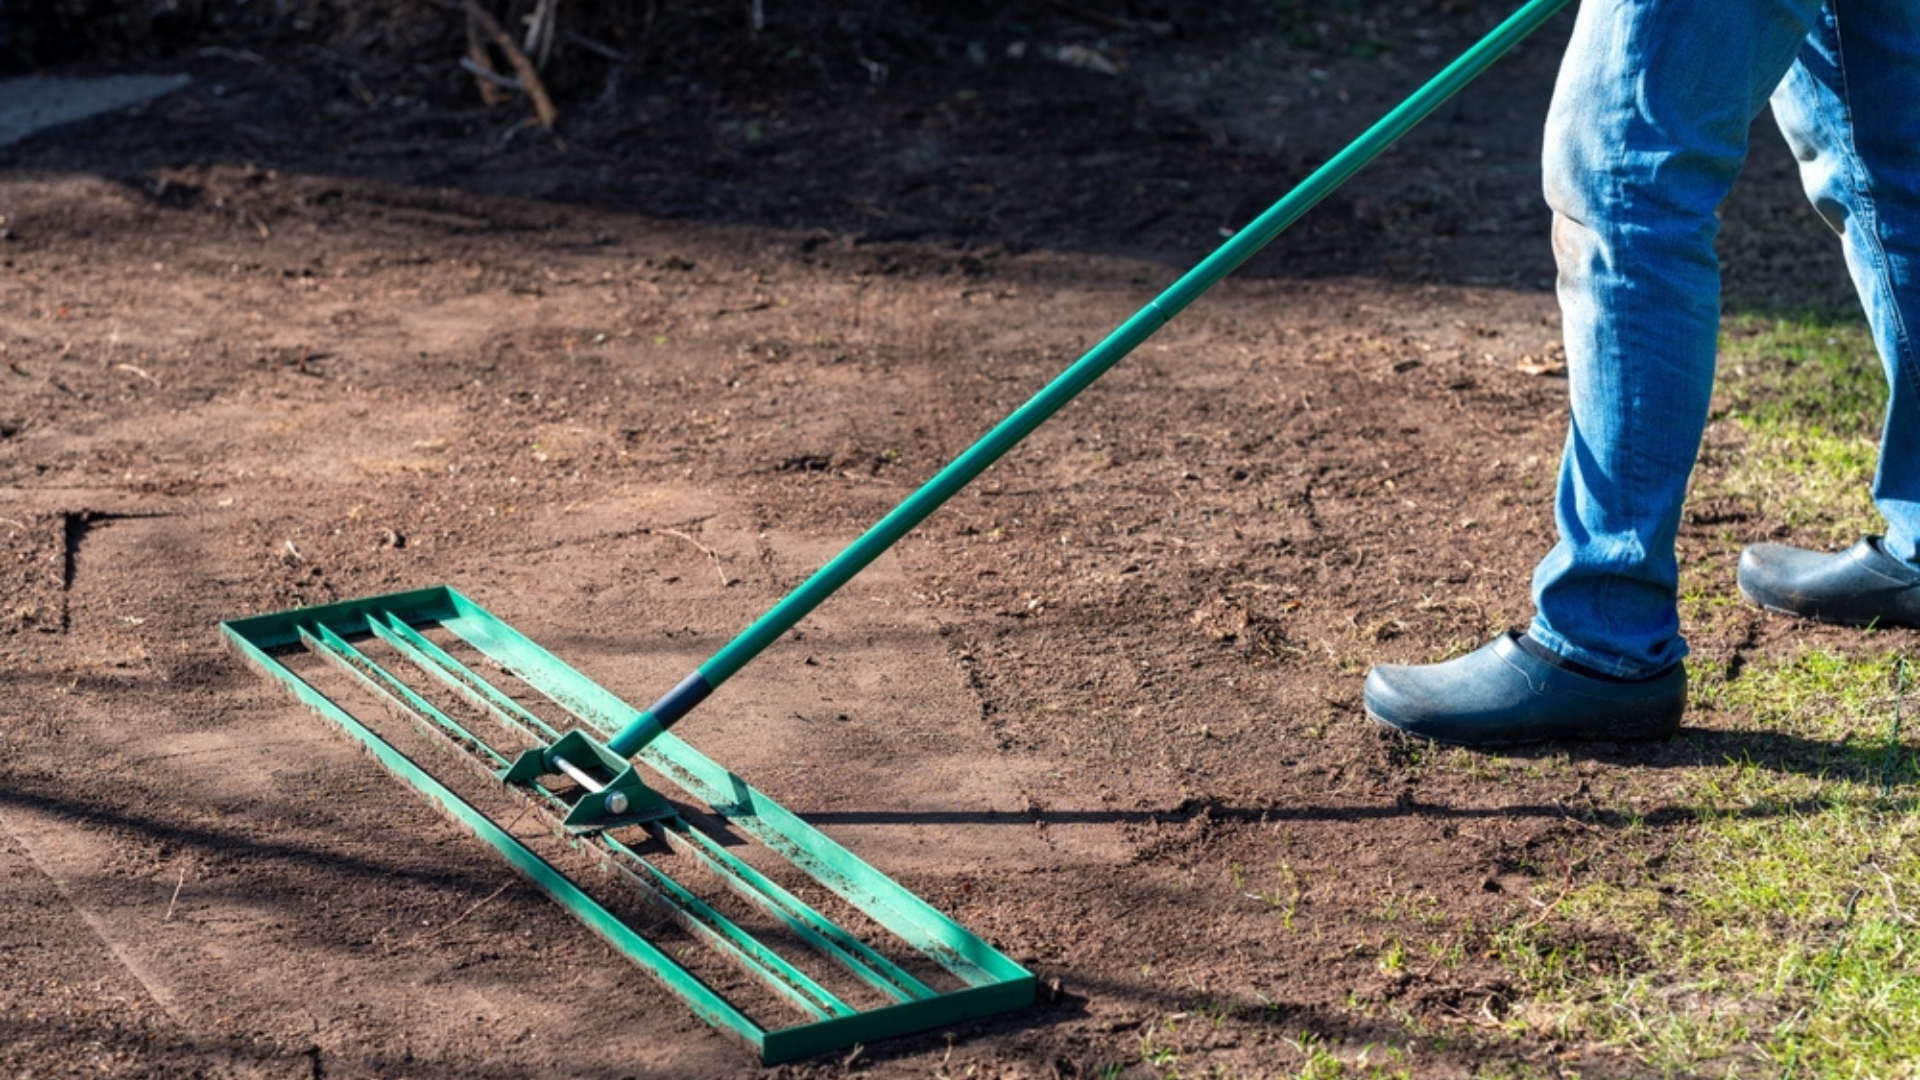
13. Use a Level Board for Larger Areas
For significant depressions, a DIY leveling board helps achieve professional results. Attach a 2×4 board to a rope and drag it across filled areas to create a perfectly smooth surface.
The straight edge of the board removes excess material and identifies spots needing more fill. Make several passes from different directions for best results. This simple tool saves time and creates more consistent results than raking alone.
14. Monitor and Maintain After Leveling
Your lawn leveling journey doesn’t end with the final application. Regularly check treated areas for settling, especially after heavy rains.
Add small amounts of your leveling mix to any spots that sink over time. Most lawns require 2-3 maintenance applications in the year following major leveling work. This ongoing attention prevents minor dips from becoming major problems again.
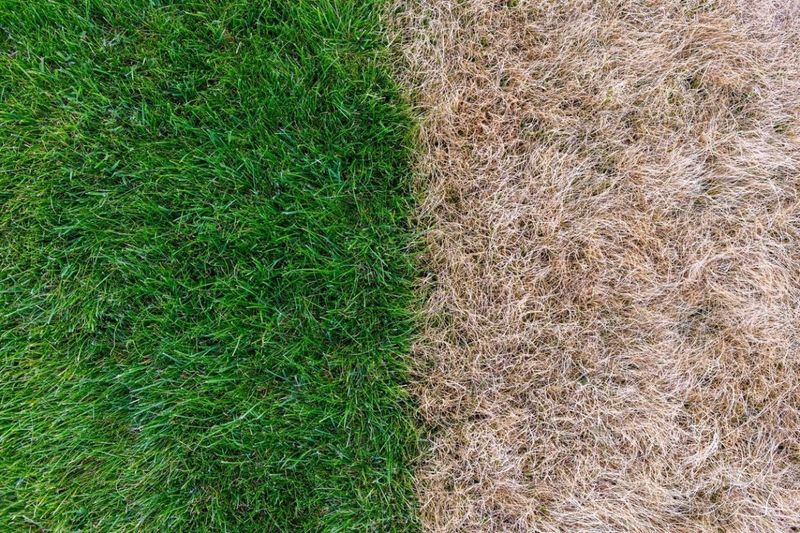
15. Don’t Level During Drought Conditions
Adding soil during drought stresses already struggling grass and often results in dead patches. The dry conditions prevent roots from establishing through new soil layers.
Wait for a period with regular rainfall or when irrigation is unrestricted in your area. Grass needs consistent moisture to recover from the disruption of leveling. If drought is unavoidable, postpone your project until conditions improve rather than risking lawn failure.
16. Never Use Pure Sand on Clay Soils
Applying only sand to clay-heavy lawns creates a concrete-like mixture that damages root systems. The two materials combine to form a compacted layer that prevents proper drainage.
Always mix sand with organic matter when leveling clay soils. The compost prevents hardening and encourages beneficial soil biology. If your lawn sits on heavy clay, consider core aeration before leveling to improve the integration of your soil mix.
17. Avoid Leveling When Grass Is Dormant
Grass needs active growth to push through new soil layers. Dormant grass—whether from winter cold or summer heat stress—lacks this ability and may die under even thin applications.
Check that your lawn shows signs of active growth with new green shoots before starting. The blades should be growing enough to need weekly mowing. This vigor indicates your grass has enough energy reserves to handle the stress of being partially covered.
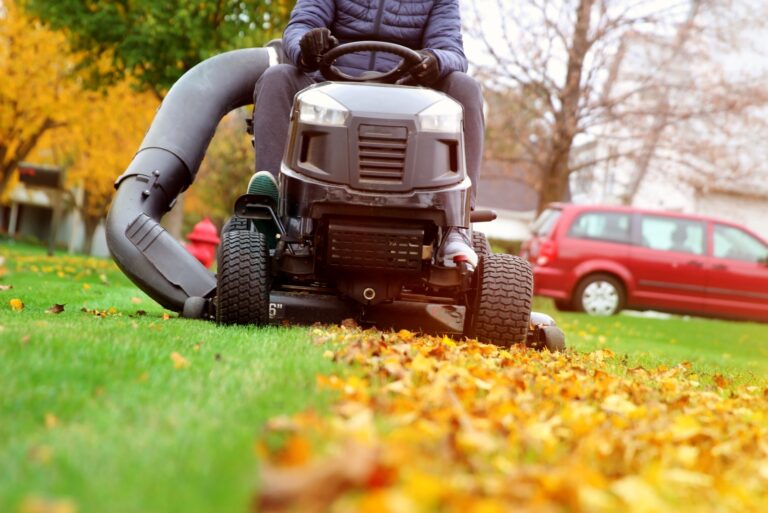
18. Don’t Rush the Process with Heavy Equipment
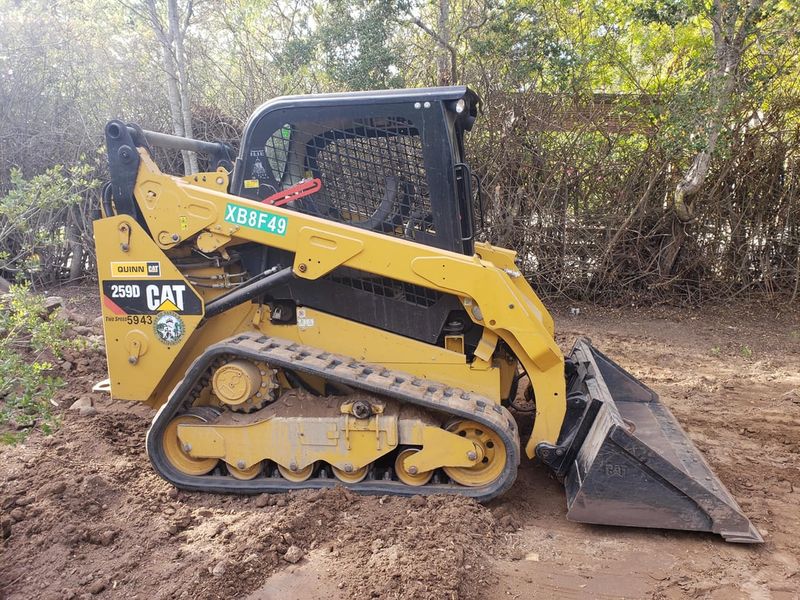
Bringing in bobcats or tractors might seem efficient, but heavy machinery compacts soil and damages grass roots. The weight creates new low spots that appear months later as soil settles.
Stick with wheelbarrows, garden carts, and hand tools for distributing material. Working manually takes longer but preserves soil structure and root systems. For large properties, consider leveling sections over multiple seasons rather than risking damage from heavy equipment.
19. Never Remove Established Turf Completely
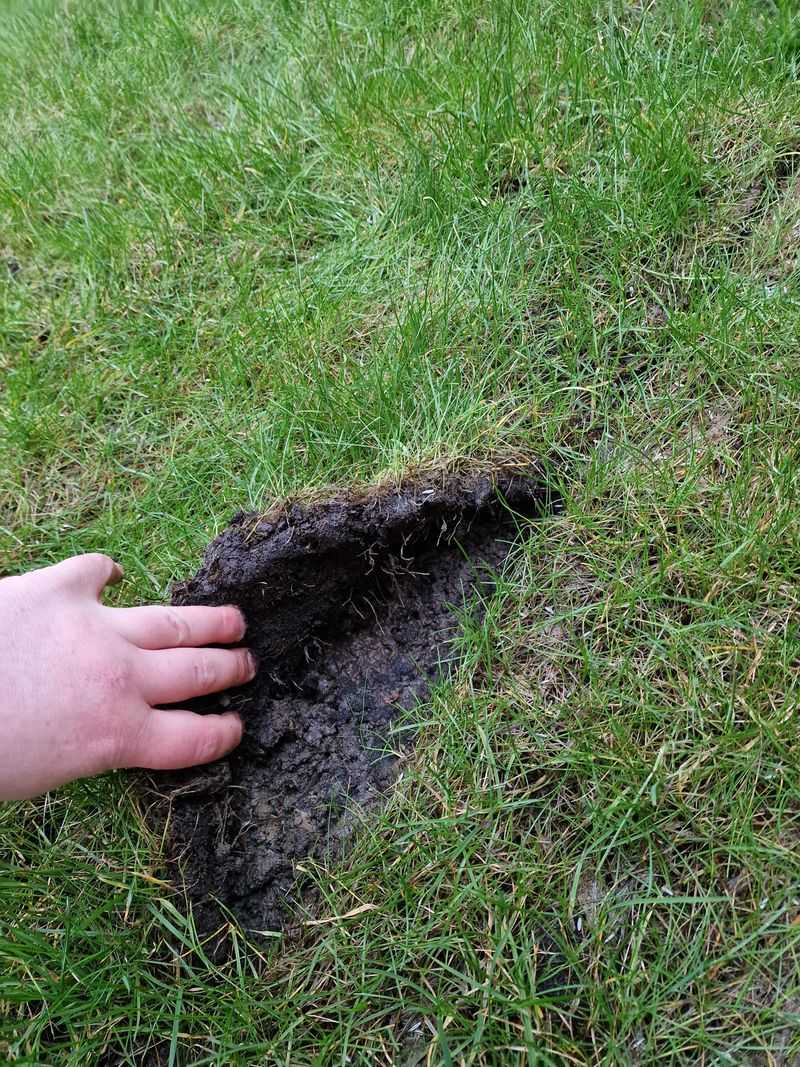
Stripping your entire lawn to start fresh creates erosion risks and removes valuable topsoil. The exposed dirt washes away with rain, taking nutrients with it.
Work with your existing grass whenever possible, using the topdressing method instead. If areas are severely damaged or weedy, consider spot-removing just those sections rather than the entire lawn. Preserving established turf speeds recovery time and maintains soil ecosystem health.