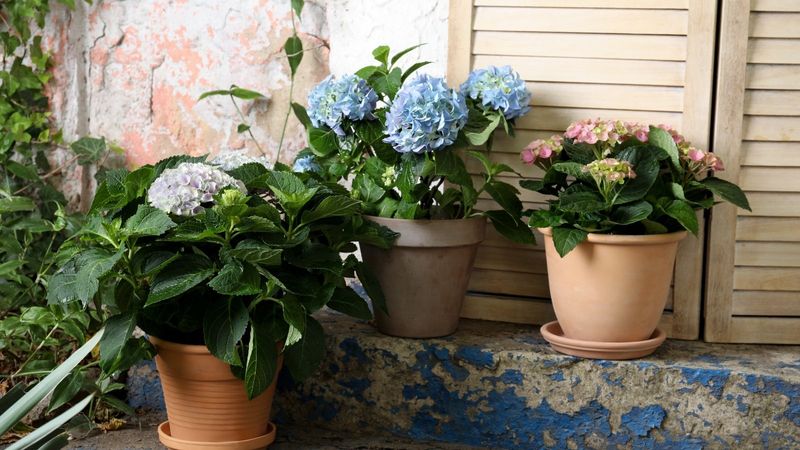
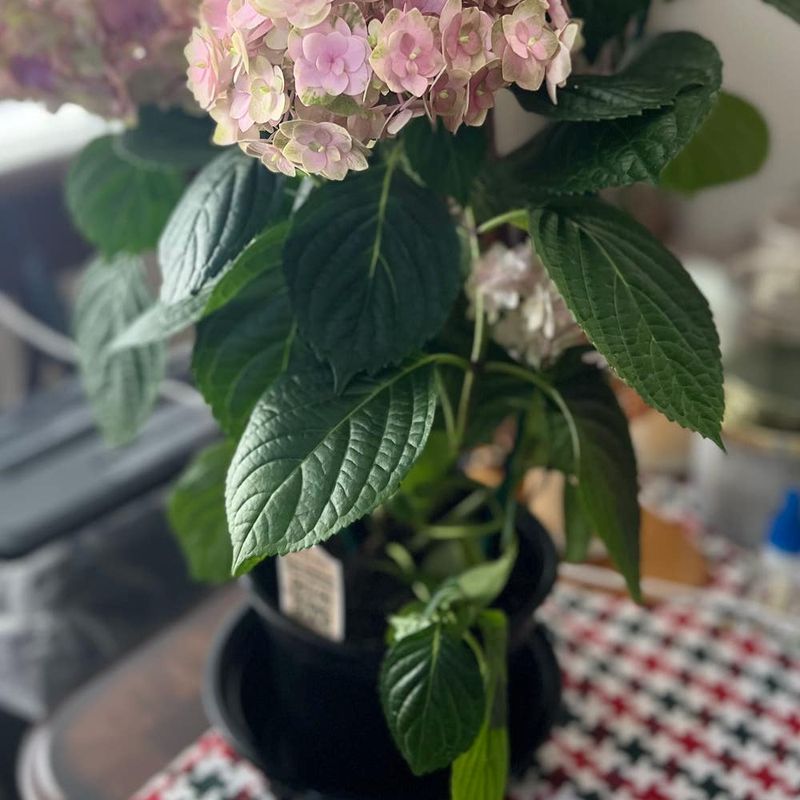
Growing hydrangeas in containers can transform your patio or balcony into a colorful oasis, but it’s not without challenges. These gorgeous flowering shrubs have specific needs that are often overlooked when grown in pots rather than garden beds.
With a few simple adjustments to your container gardening approach, you can enjoy stunning hydrangea blooms season after season.
1. Choosing Containers That Are Too Small
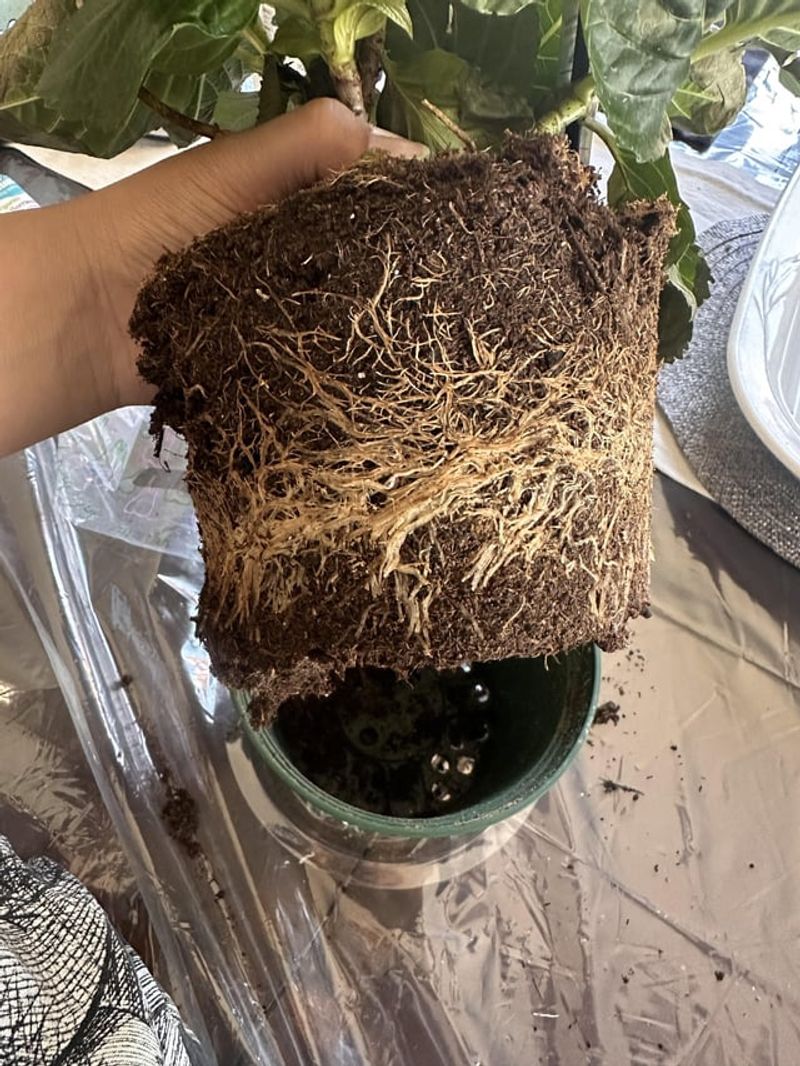
Hydrangeas develop extensive root systems that quickly become cramped in tiny pots. When roots get bound up, your plant struggles to absorb water and nutrients properly, resulting in stunted growth and fewer blooms.
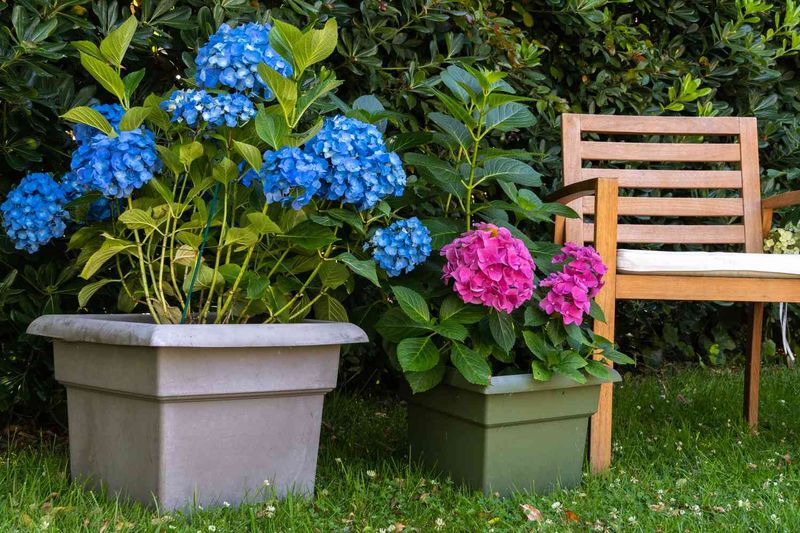
Select containers at least 18-20 inches in diameter and equally deep. This gives roots room to spread out and establish themselves. If you notice roots circling around the bottom or poking through drainage holes, it’s time to size up your pot.
2. Using Garden Soil Instead of Potting Mix
Garden soil becomes compacted in containers, suffocating hydrangea roots and creating drainage problems. The dense texture traps too much moisture against roots, potentially causing rot, while simultaneously making it difficult for air to reach the root zone.
Purchase quality potting mix specifically designed for containers. These mixes contain materials like perlite and vermiculite that maintain proper aeration and drainage while still holding adequate moisture for hydrangea roots.
3. Forgetting About Drainage Holes
Beautiful decorative pots often lack proper drainage, creating a death trap for hydrangeas. Without drainage, excess water pools at the bottom, leading to root rot and eventual plant failure.
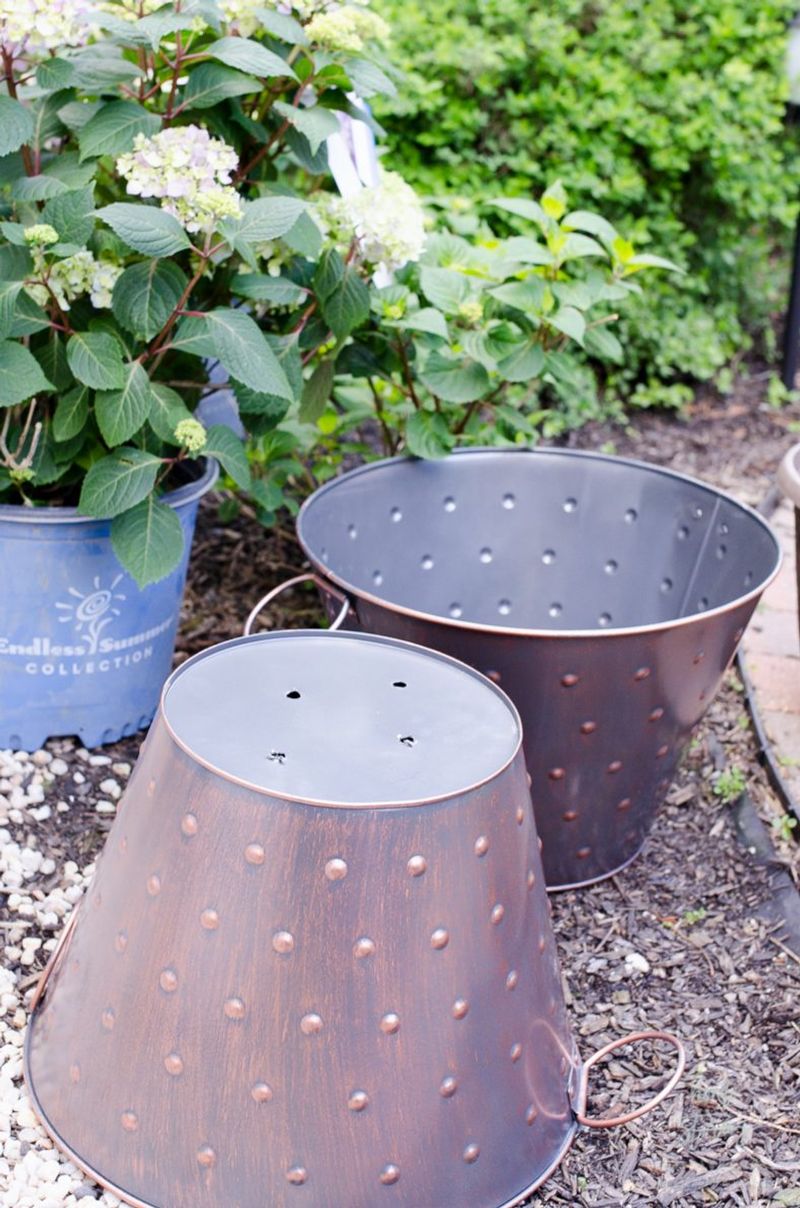
Always check for drainage holes before planting. For decorative pots without holes, either drill some yourself (if possible) or use them as cache pots. Place your hydrangea in a plastic nursery pot with drainage holes, then set that inside the decorative container.
4. Inconsistent Watering Habits
Potted hydrangeas experience moisture fluctuations more dramatically than garden-planted ones. The limited soil volume in containers dries out quickly, especially during summer heat waves, yet can become waterlogged after heavy rain.
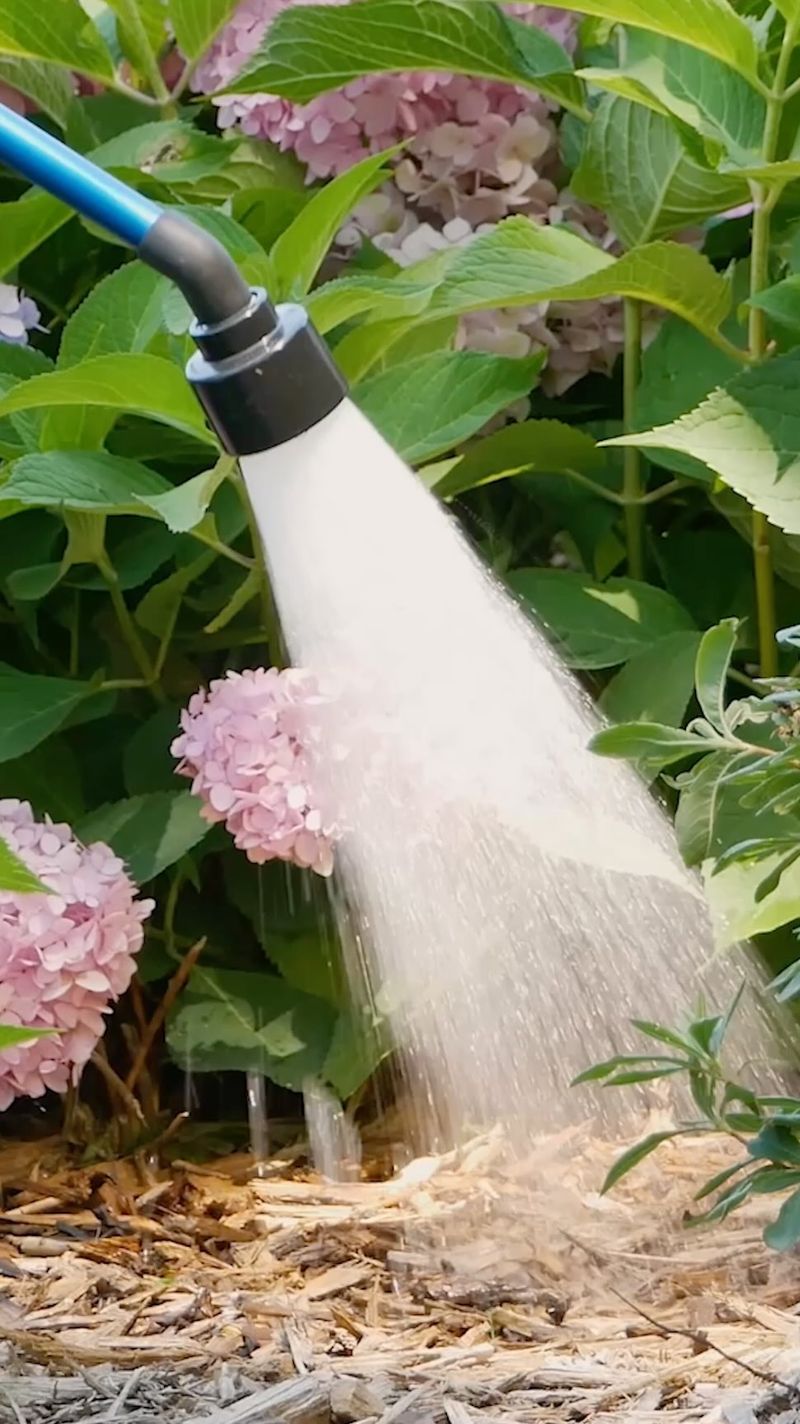
Develop a consistent watering routine based on checking the soil moisture. Stick your finger an inch into the soil – if it feels dry, water thoroughly until it flows from drainage holes. During hot weather, you might need daily watering, while cooler seasons require less frequent attention.
5. Neglecting Seasonal Protection
Container-grown hydrangeas face greater temperature extremes than those planted in the ground. Their roots lack the insulation provided by surrounding soil, making them vulnerable to freezing in winter and overheating in summer.
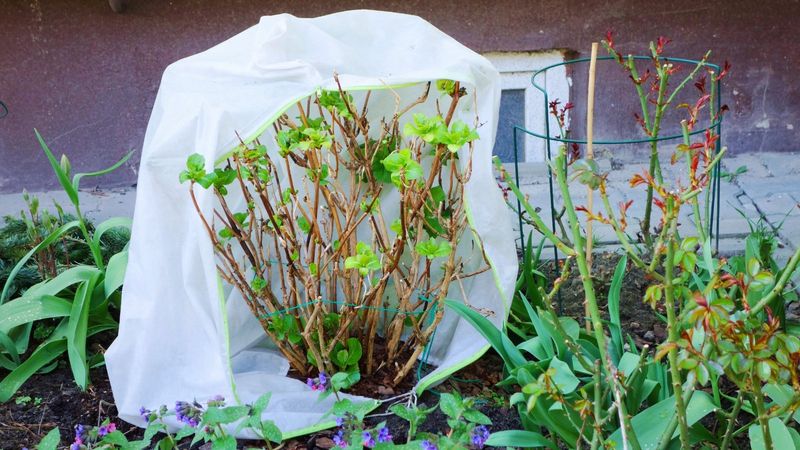
During winter in cold regions, move pots to a protected area like a garage or wrap them with insulating materials. In summer, position containers where they receive morning sun but afternoon shade. This seasonal protection prevents root damage and ensures your hydrangeas return vigorously each year.
6. Planting the Wrong Hydrangea Varieties
Not all hydrangeas perform equally well in containers. Full-sized mophead varieties can quickly outgrow pots, becoming top-heavy and requiring constant repotting.
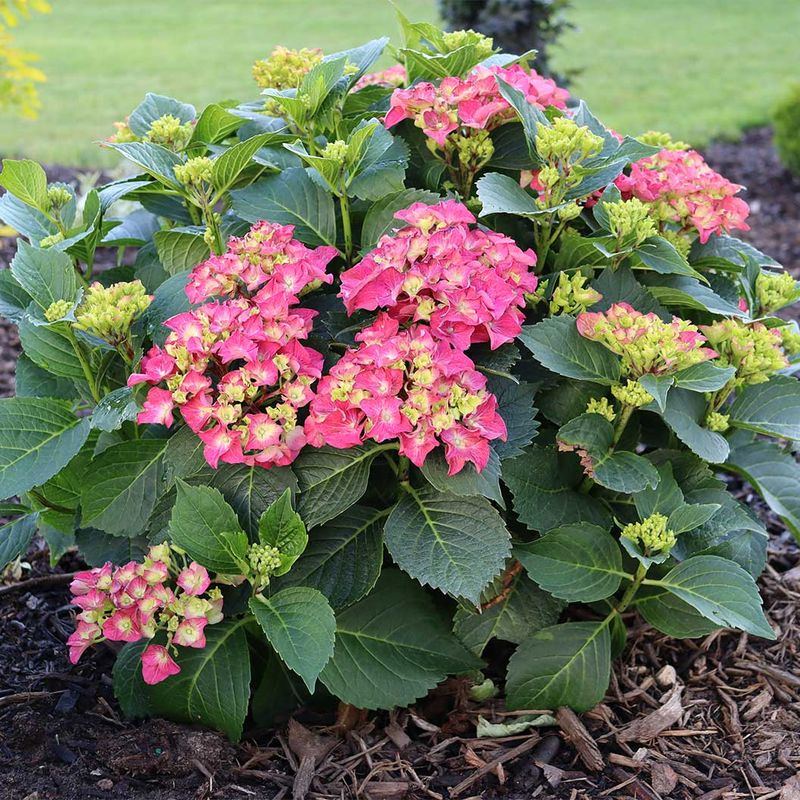
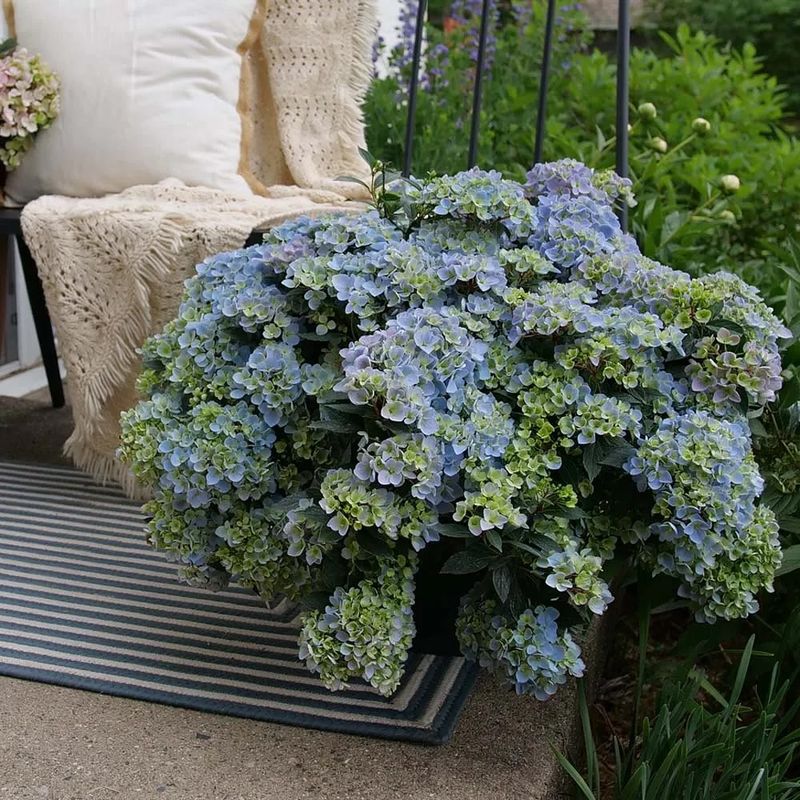
Look for compact dwarf varieties specifically bred for container culture. ‘Cityline Paris,’ ‘Little Lime,’ and ‘Tiny Tuff Stuff’ stay naturally smaller while still producing abundant blooms. These compact varieties require less maintenance and won’t overwhelm your container with excessive growth.
7. Improper Fertilizing Techniques
Container hydrangeas need regular feeding since nutrients leach out with watering. Many gardeners either forget to fertilize or apply too much at once, burning tender roots.
Feed container hydrangeas with half-strength liquid fertilizer every two weeks during growing season. Alternatively, incorporate slow-release fertilizer granules into the potting mix in spring. For blue hydrangeas, use fertilizers low in phosphorus; for pink blooms, choose formulations with higher phosphorus levels.
8. Overlooking pH Adjustments
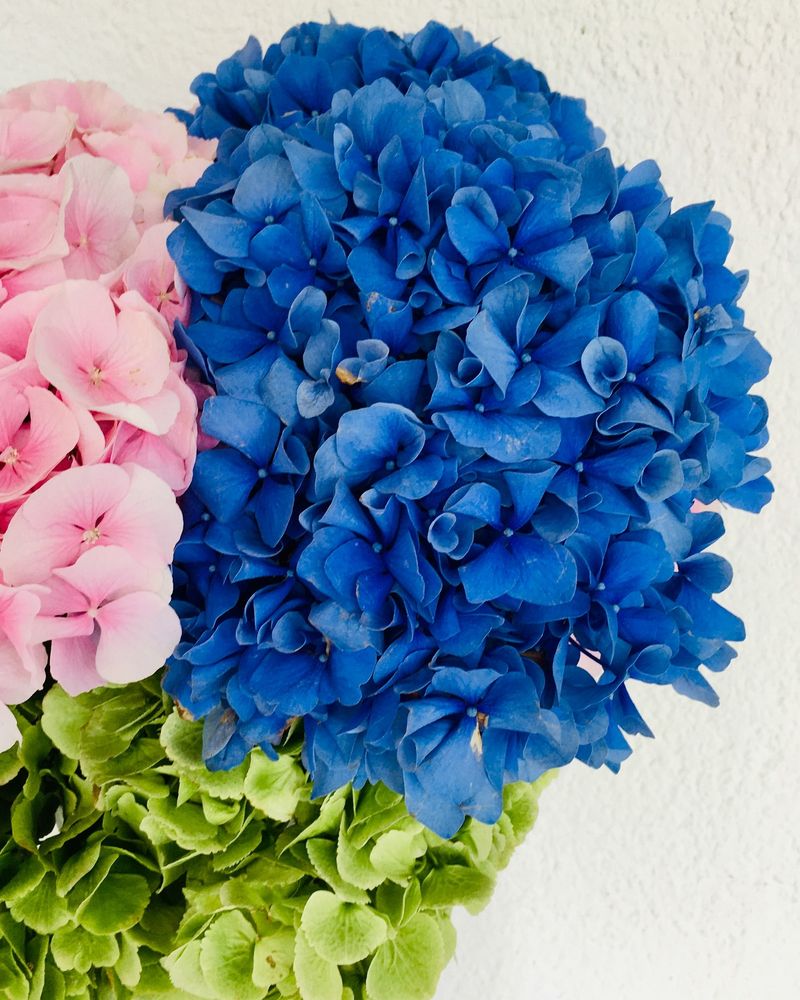
Many gardeners miss the opportunity to manipulate hydrangea bloom colors in containers. The flower color of bigleaf hydrangeas directly responds to soil pH – something easily controlled in pots.
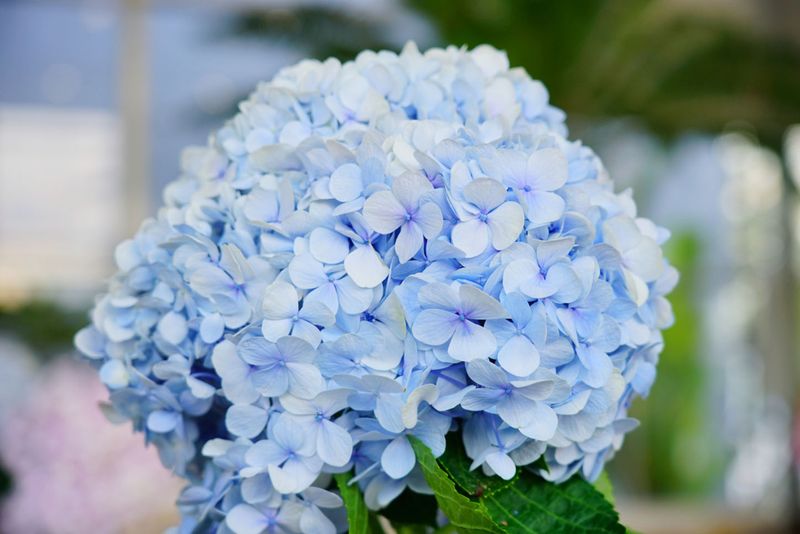
For blue flowers, maintain acidic soil (pH 5.2-5.5) by adding aluminum sulfate to your potting mix. For pink blooms, aim for more alkaline conditions (pH 6.0-6.2) by incorporating garden lime. Test your potting mix pH with an inexpensive meter and adjust accordingly to achieve your desired bloom color.
9. Poor Placement Decisions
Container hydrangeas often end up in spots that are too sunny, too shady, or exposed to harsh elements. Improper placement leads to leaf scorch, weak stems, or failure to bloom.
Most hydrangeas thrive in morning sun and afternoon shade. Place containers where they receive 4-6 hours of gentle morning light but are protected from intense afternoon rays. Avoid windy locations that can damage delicate stems and accelerate moisture loss from both soil and leaves.
10. Ignoring Humidity Needs
Container hydrangeas often struggle in dry air environments, especially when placed on hot patios or balconies. Low humidity causes leaf edges to brown and flowers to wilt prematurely, even with adequate soil moisture.
Group several potted plants together to create a microclimate with higher humidity. Place containers on trays filled with pebbles and water (ensuring pots sit on pebbles, not in water). During extreme heat, mist foliage in the morning to increase ambient moisture without promoting fungal issues.
11. Skipping Regular Repotting
Hydrangeas gradually deplete their potting mix of nutrients and become rootbound when left in the same container for years. This leads to declining health, fewer blooms, and increased susceptibility to pests and diseases.
Repot container hydrangeas every 2-3 years in early spring before new growth begins. Choose a container just 2-4 inches larger than the previous one. Refresh with entirely new potting mix rather than reusing old soil to provide fresh nutrients and proper structure.
12. Pruning at the Wrong Time
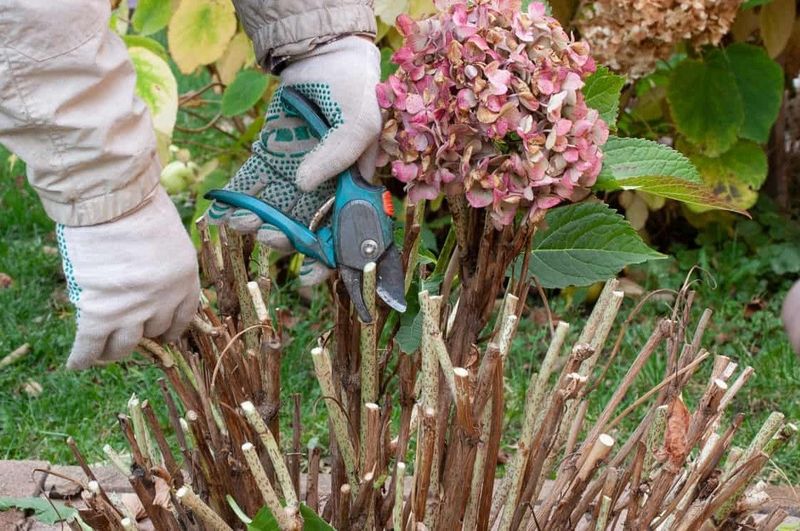
Incorrect pruning often removes the wood where flower buds form. Many gardeners cut back hydrangeas in fall or early spring, unknowingly removing next season’s blooms.
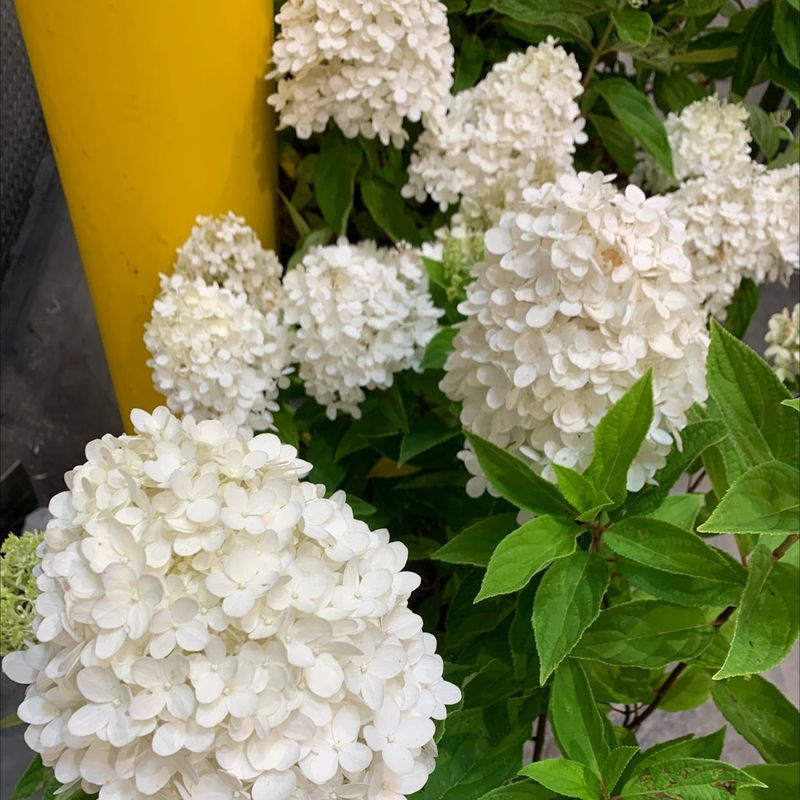
Know your hydrangea type before pruning. For bigleaf and oakleaf hydrangeas, prune immediately after flowering finishes. For panicle and smooth hydrangeas, prune in late winter before new growth starts. Remove only dead or damaged stems on reblooming varieties to maximize flowering potential throughout the season.
13. Failing to Monitor for Pests
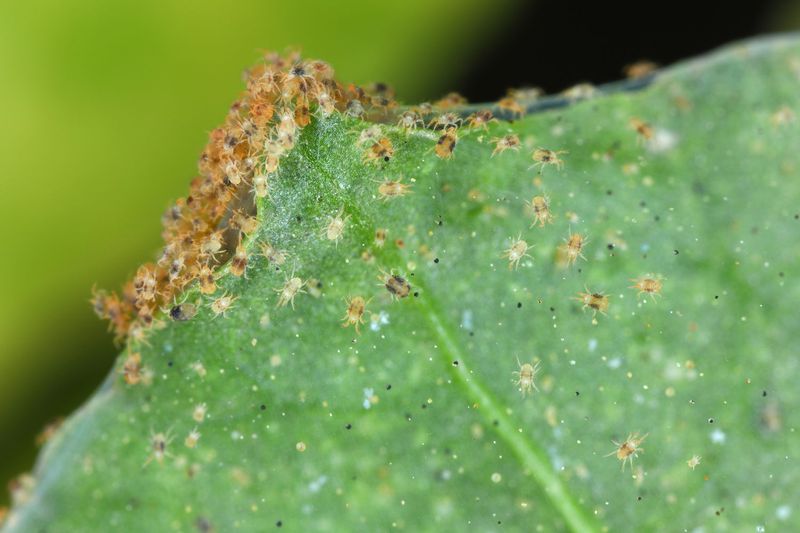
Container hydrangeas often face concentrated pest problems that go unnoticed until damage is severe. Common culprits include spider mites (causing stippled yellowing leaves), aphids (distorting new growth), and scale insects (appearing as bumps on stems).
Inspect both leaf undersides and stems weekly during growing season. Treat minor infestations by spraying plants with strong water streams or insecticidal soap. For organic control, introduce beneficial insects like ladybugs. Prevention through proper watering and avoiding stress keeps plants naturally resistant.
14. Underestimating Winter Storage Needs
Many gardeners lose container hydrangeas during winter by leaving them exposed or bringing them into environments too warm for proper dormancy. Hydrangeas need a cold period but can’t survive with frozen roots.
In zones 5 and colder, move dormant hydrangeas to an unheated garage or shed where temperatures stay between 25-40°F. Water sparingly during winter storage – just enough to prevent complete drying. Alternatively, sink the entire pot into the ground and mulch heavily around it for natural insulation.
15. Forgetting to Mulch Container Plants
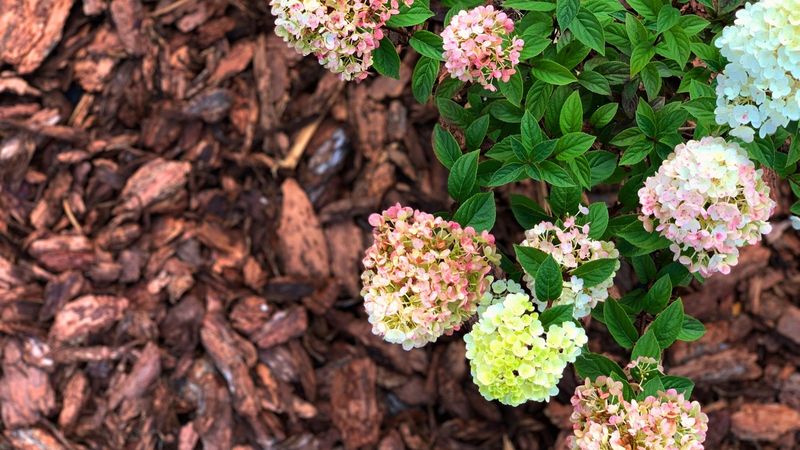
Bare soil in containers leads to rapid moisture loss and temperature fluctuations that stress hydrangea roots. Without mulch, watering becomes more frequent and less effective as water runs off rather than soaking in.
Apply a 1-2 inch layer of organic mulch like shredded bark or pine straw to the soil surface. Leave a small gap around the stems to prevent rot. Mulch conserves moisture, moderates soil temperature, suppresses weeds, and gradually adds nutrients as it breaks down.
16. Using Containers Without Considering Climate
Container material significantly impacts root temperature and moisture retention. Terra cotta pots dry out quickly in hot climates, while plastic containers can overheat roots and provide poor insulation in temperature extremes.
In hot regions, choose thick ceramic or wooden containers that insulate roots from heat. For cold climates, fiber-reinforced plastic or resin pots resist cracking during freeze-thaw cycles. Double-potting (placing a plastic nursery pot inside a decorative container) creates an insulating air space that protects roots year-round.

