10 Quick Methods To Multiply Your Bee Balm (Plus What Most Gardeners Forget to Do)
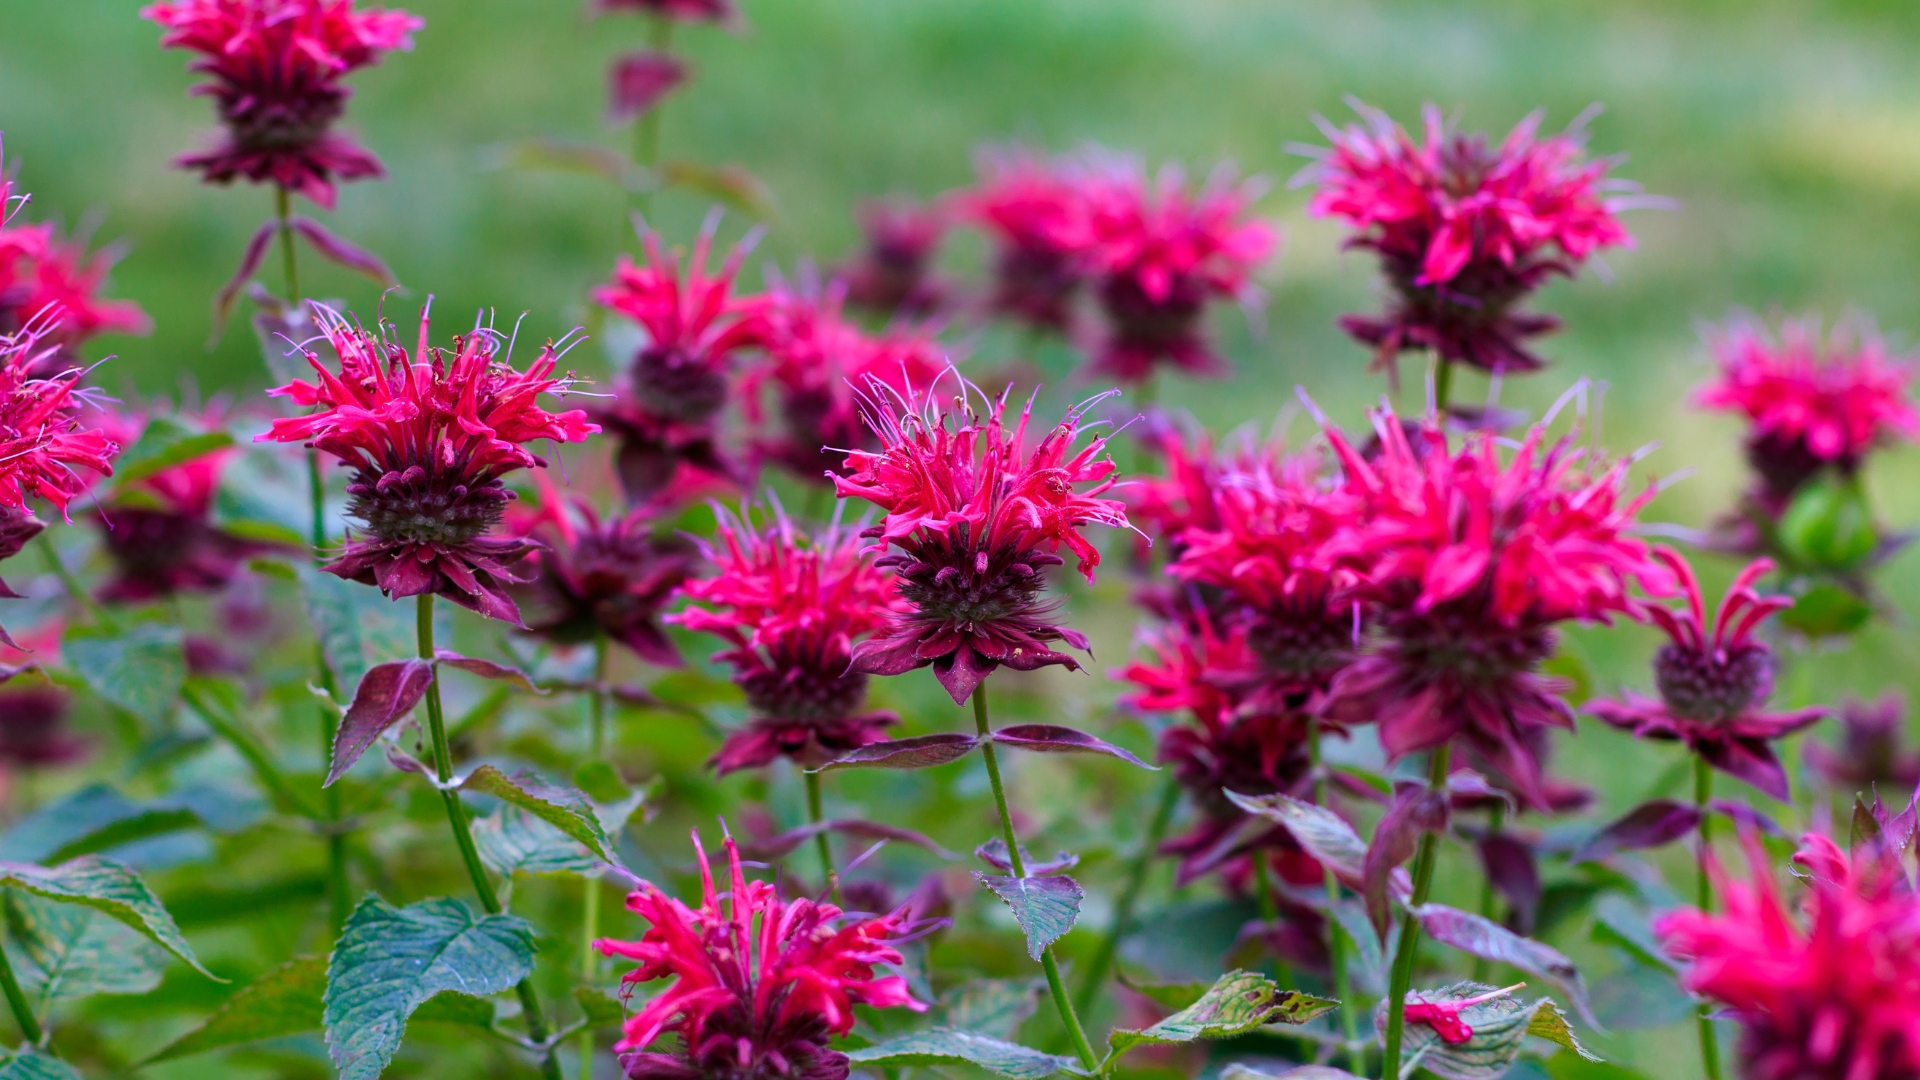
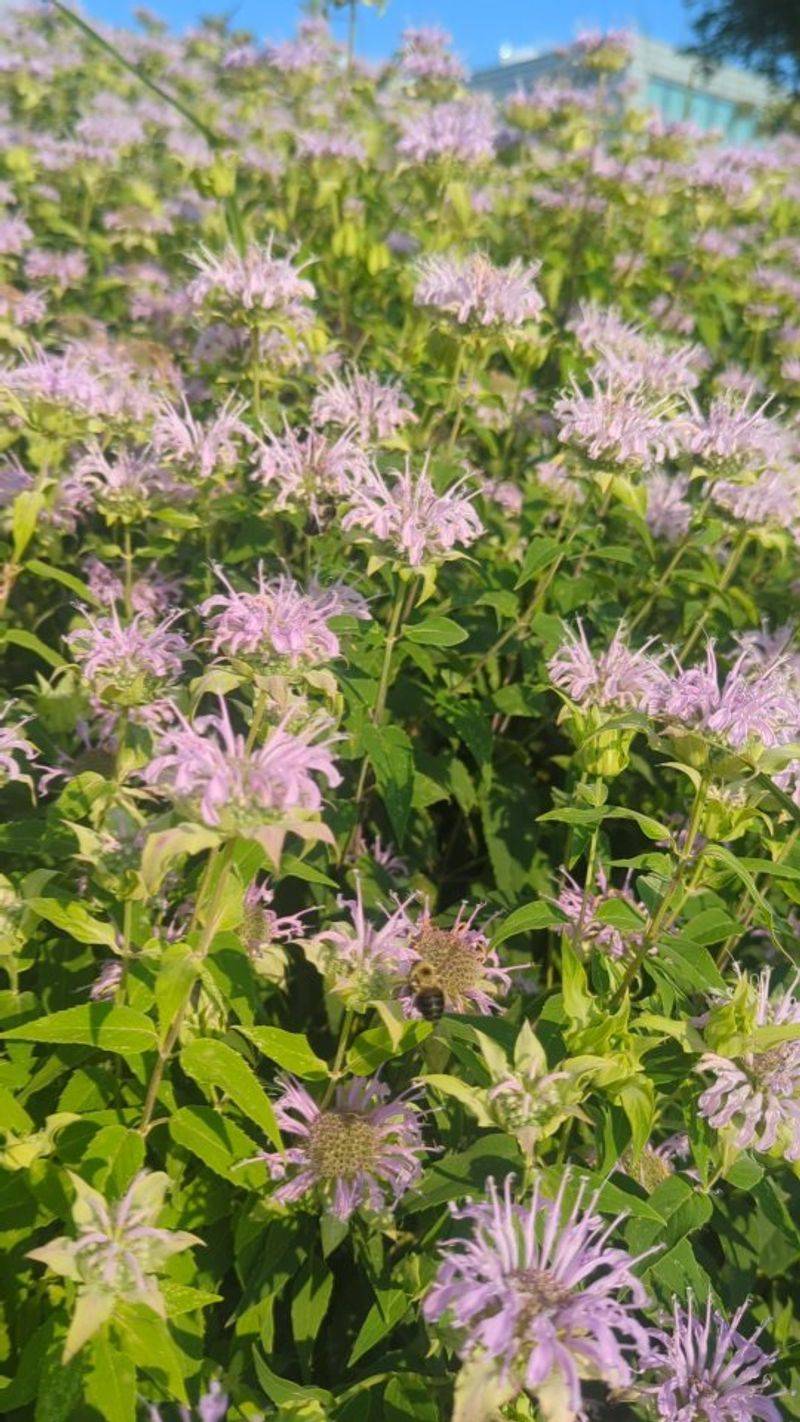
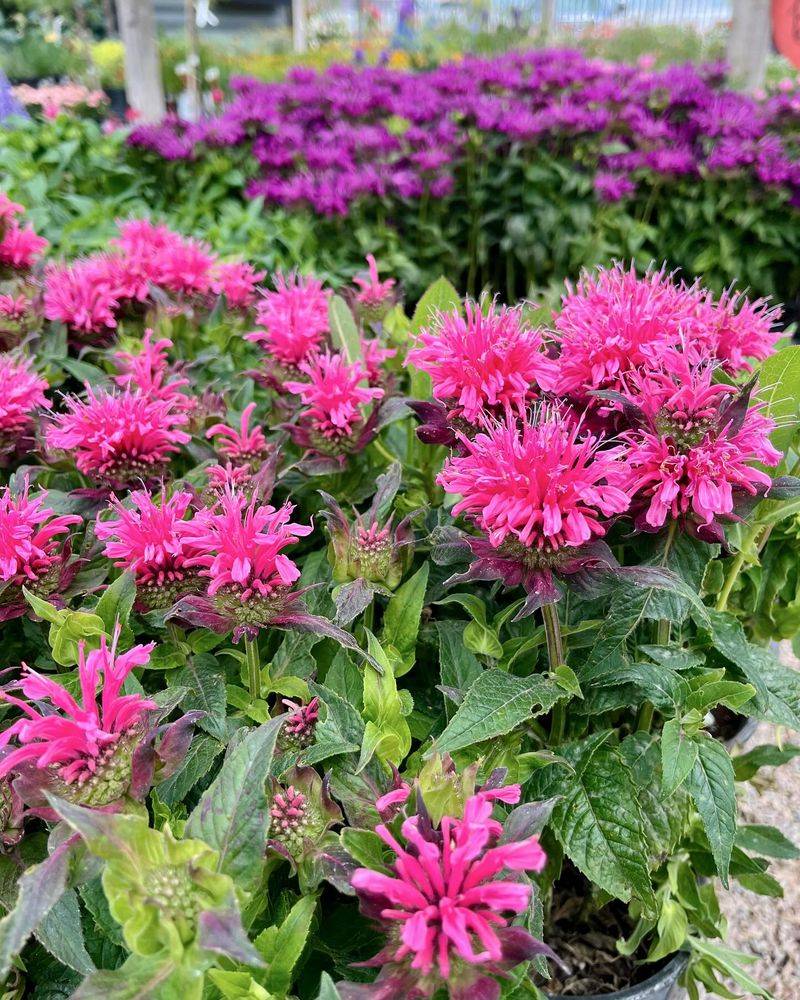
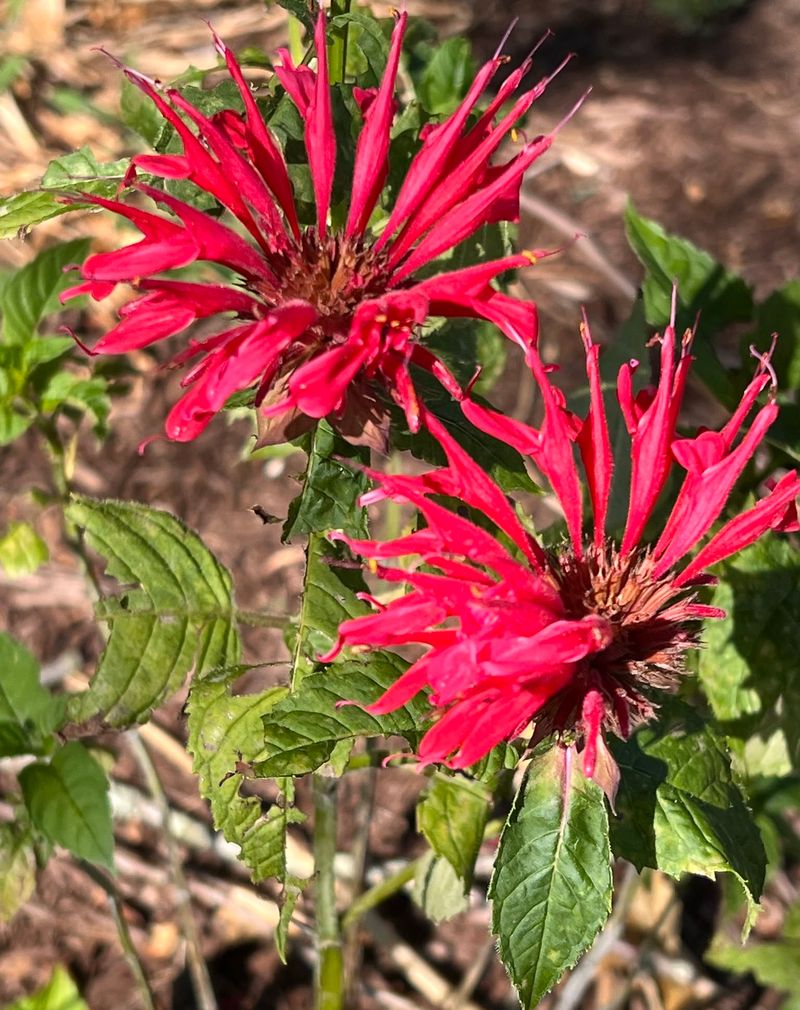
Bee balm is one of those plants that never stops giving—if you know how to help it along. I’ve split, snipped, and spread mine all over the garden, and it just keeps coming back stronger.
It’s easy to grow, but there are a few clever tricks to really make it thrive (and multiply fast). Most people miss one simple step that makes a big difference, but I’ve got you covered.
Let’s get that bee balm buzzing all over your yard in no time.
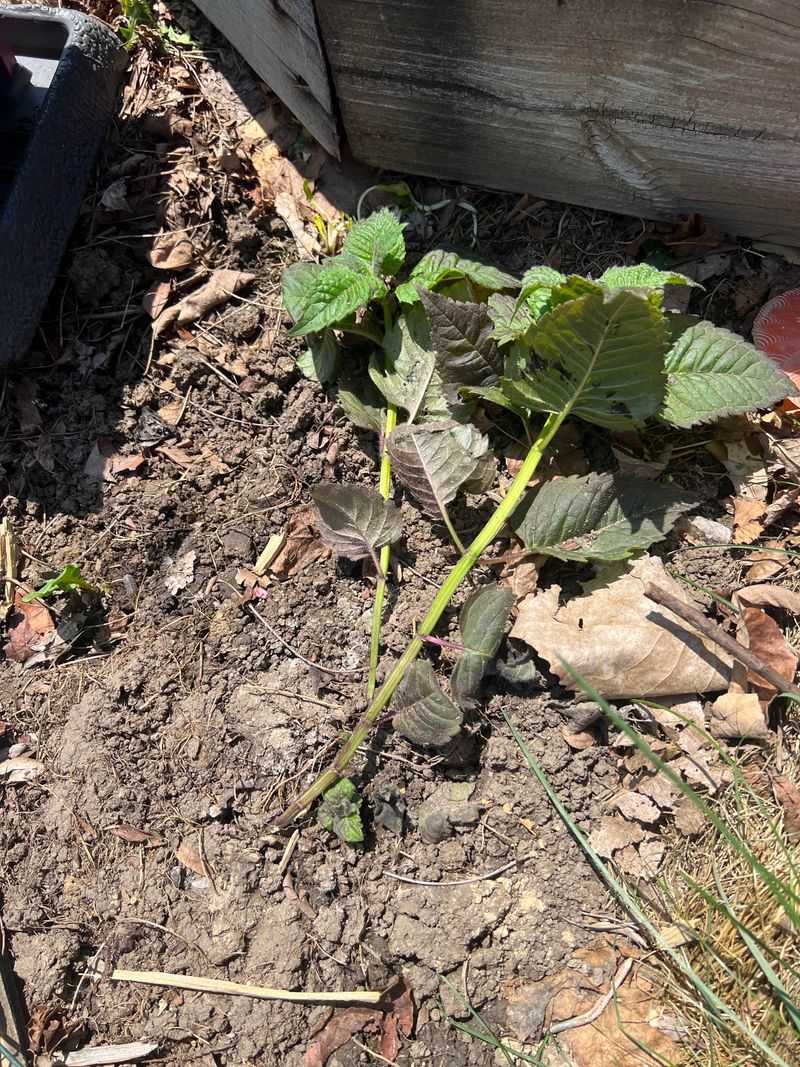
1. Division in Spring
Early spring presents the perfect opportunity to multiply your bee balm through division. When new growth just begins emerging from the soil, dig up established clumps and gently pull them apart with your hands.
Each division should have healthy roots and several growth points. Plant these divisions immediately in prepared soil, keeping them well-watered for the first few weeks while they establish themselves in their new locations.
2. Fall Division Method

Fall division offers another excellent window for multiplying bee balm after flowering has finished. Wait until temperatures cool but before the first hard frost, then lift mature plants carefully from the soil using a garden fork.
Separate the outer sections with the newest growth, discarding the older central portions that may be less vigorous. Replant divisions promptly, spacing them 18-24 inches apart to allow proper air circulation, which helps prevent powdery mildew issues.
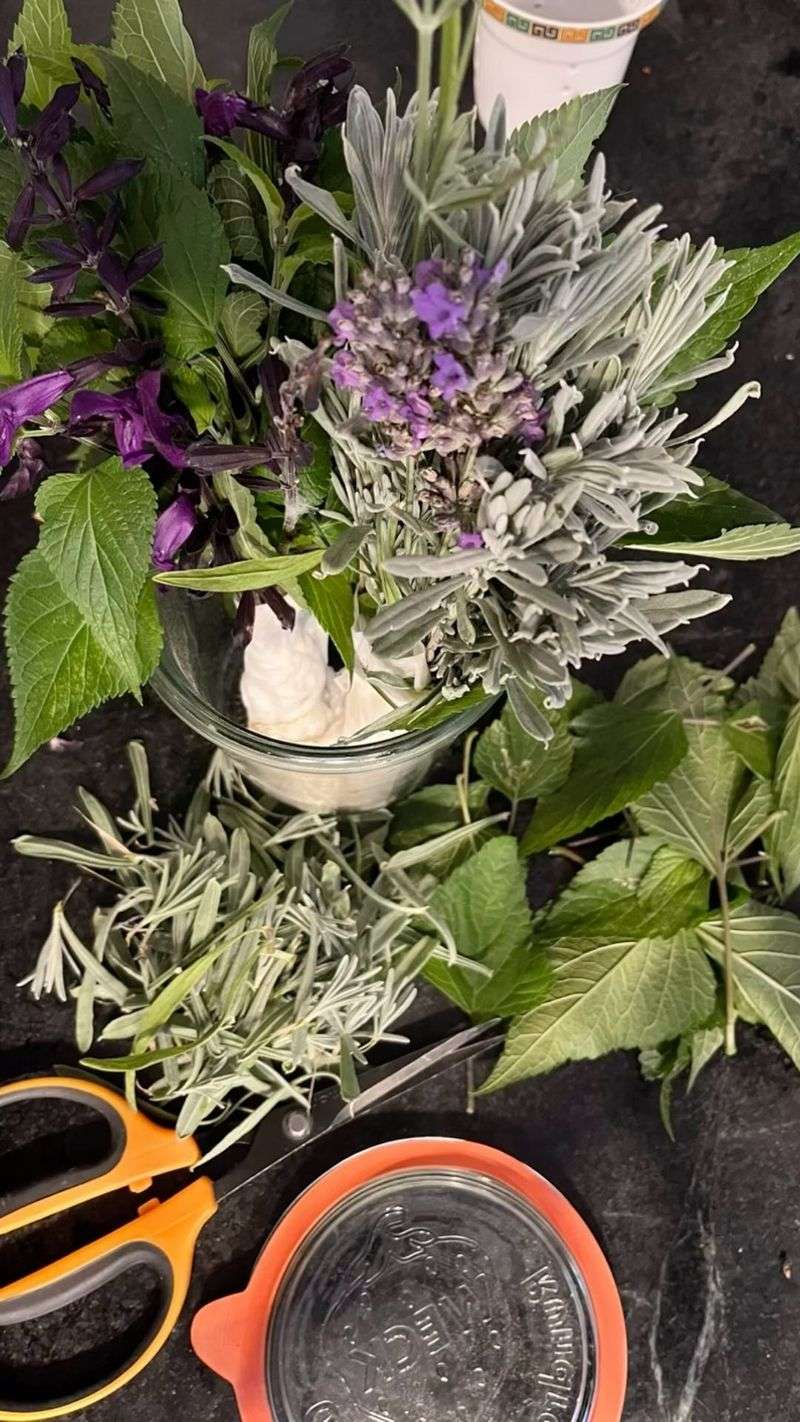
3. Stem Cuttings
Snip 4-6 inch stem tips from healthy bee balm plants in early summer using clean, sharp scissors. Remove leaves from the bottom half of each cutting and dip the cut end into rooting hormone powder if you have it.
Place your cuttings in a container of moist potting mix or even just a glass of water. Keep them in bright, indirect light and maintain consistent moisture. Within 2-3 weeks, roots should develop, signaling they’re ready for transplanting into the garden.
4. Seed Collection
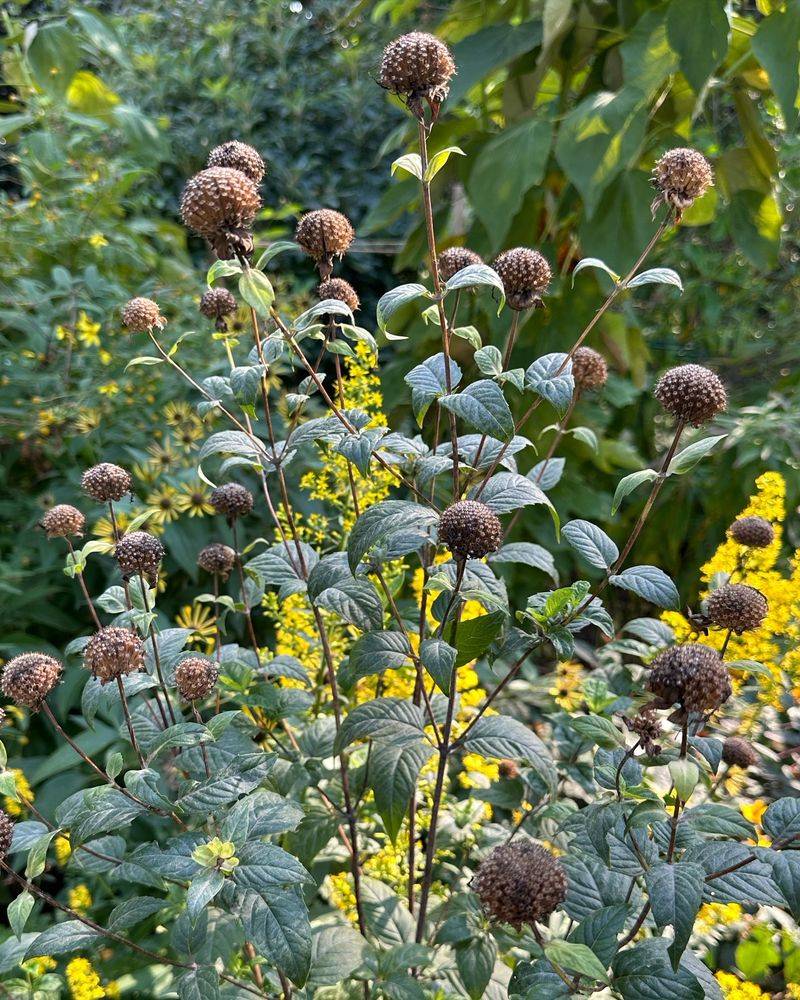
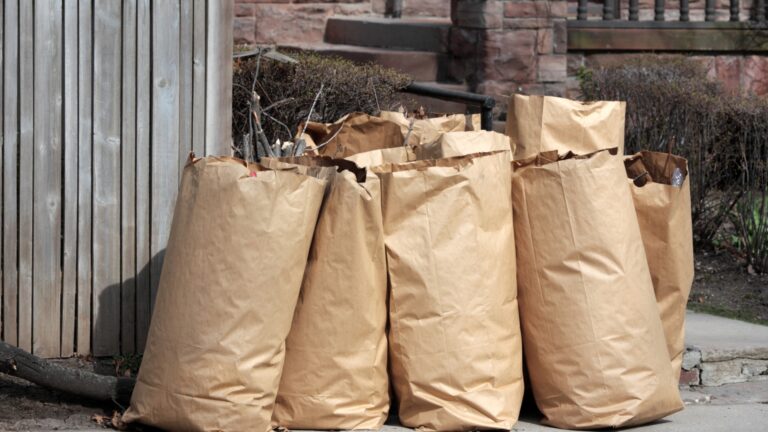
Allow some bee balm flowers to fade naturally on the plant until they form seed heads that turn brown and dry. Collect these seed heads on a sunny day by snipping them into a paper bag to catch the tiny seeds as they fall out.
Store seeds in a cool, dry place in labeled paper envelopes. For best germination results, either sow seeds outdoors in fall to naturally cold-stratify through winter, or refrigerate them for 4-6 weeks before spring planting.
5. Winter Sowing
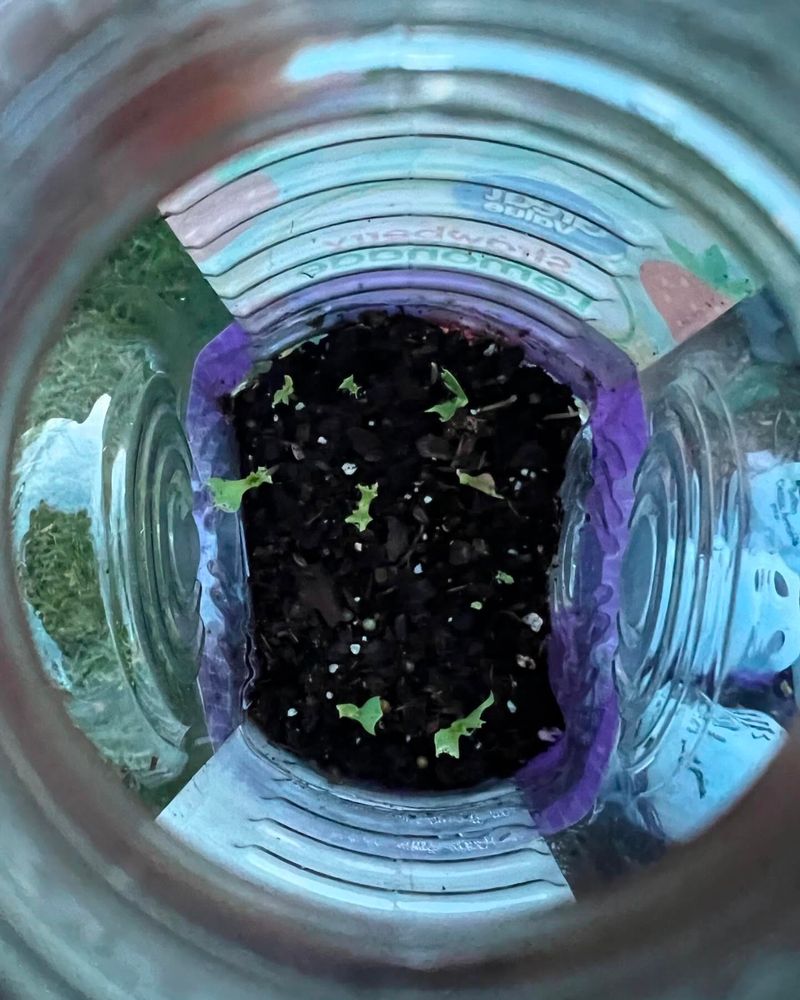
Winter sowing takes advantage of natural cold stratification that bee balm seeds need. Cut the bottom from a milk jug, fill it with moistened seed-starting mix, and sprinkle bee balm seeds on top with just a light covering of soil.
Tape the jug closed, remove the cap for ventilation, and place it outdoors in a protected spot. The mini-greenhouse effect works magic through winter. By spring, seedlings emerge naturally, already hardened off and ready for transplanting without any indoor grow lights.
6. Root Cuttings
Root cuttings offer a less common but effective way to multiply bee balm during late fall or early winter. Carefully dig around a mature plant and expose some of its roots without removing the entire plant.
Snip 2-3 inch sections of healthy roots that are about pencil-thickness. Place these horizontally in trays of moist sand or potting mix, covering them with half an inch of soil. Keep barely moist in a cool location. By spring, new shoots will emerge from these root pieces.
7. Layering Method
Layering lets you create new plants while they remain attached to the parent. Select a flexible outer stem of bee balm and gently bend it toward the ground. Make a small nick in the stem where it will touch soil, then pin that section down with a garden staple or small rock.
Cover the wounded area with soil, leaving the tip exposed. Keep this spot consistently moist. In about 4-6 weeks, roots form at the wounded area, allowing you to snip the stem on either side and transplant your new plant.
8. Tip Layering
Tip layering works wonderfully with bee balm’s naturally arching stems. Simply dig a small hole near the parent plant where a stem tip naturally reaches toward the ground. Bury the tip 2-3 inches deep while keeping the rest of the stem attached to the mother plant.
Place a rock over the buried tip to keep it in place and water regularly. By the end of the growing season, the buried tip develops its own root system. Cut it free from the parent plant and dig up your new bee balm to transplant elsewhere.
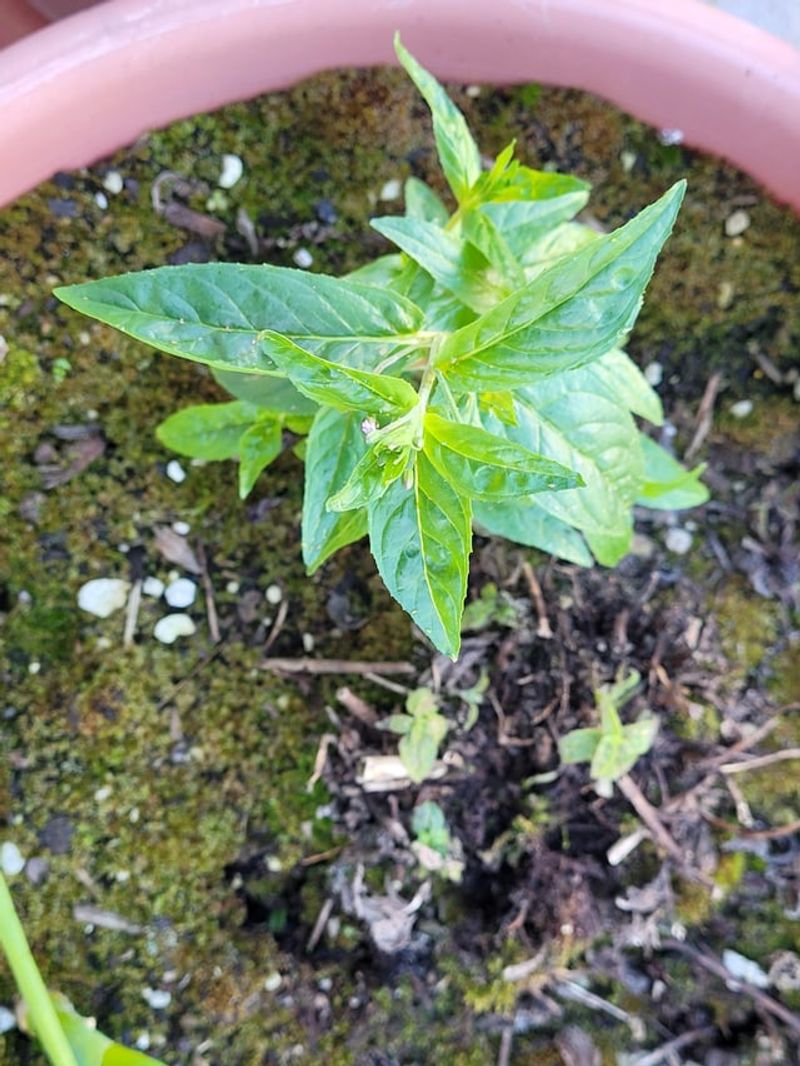
9. Container Division
Potted bee balm makes division particularly easy and can be done more frequently than garden plants. Simply slide the entire plant out of its pot and gently tease the root ball apart into two or more sections using your fingers or a small knife.
Ensure each division has both roots and several stems with growth buds. Repot immediately into fresh potting mix in containers with good drainage holes. Water thoroughly and place in partial shade for a week to reduce transplant shock before returning to their normal growing conditions.
10. Spring Seedling Method
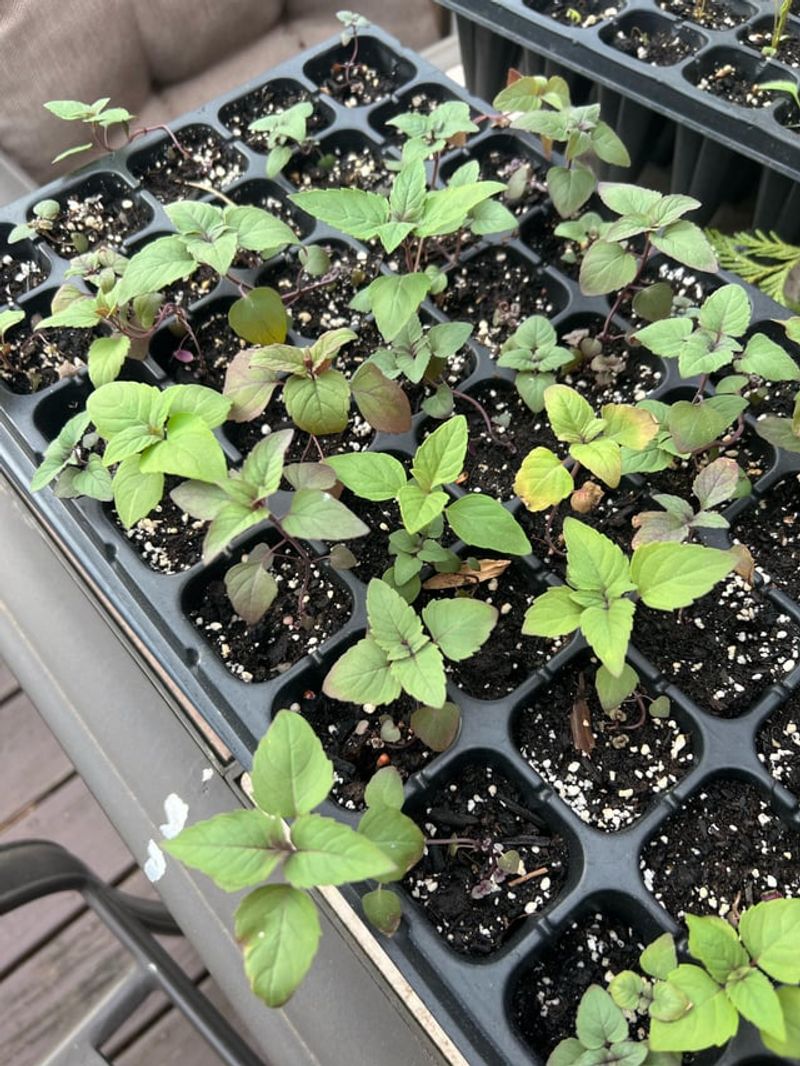
Start bee balm seeds indoors 8-10 weeks before your last frost date. Use seed-starting mix in small cells or pots, pressing seeds lightly into the surface without covering, as they need light to germinate. Mist gently to avoid displacing the tiny seeds.
Maintain temperatures around 70°F and consistent moisture. Seedlings emerge in 10-14 days. Once they develop two sets of true leaves, transplant to individual pots. Harden them off gradually before planting outdoors after all frost danger has passed.
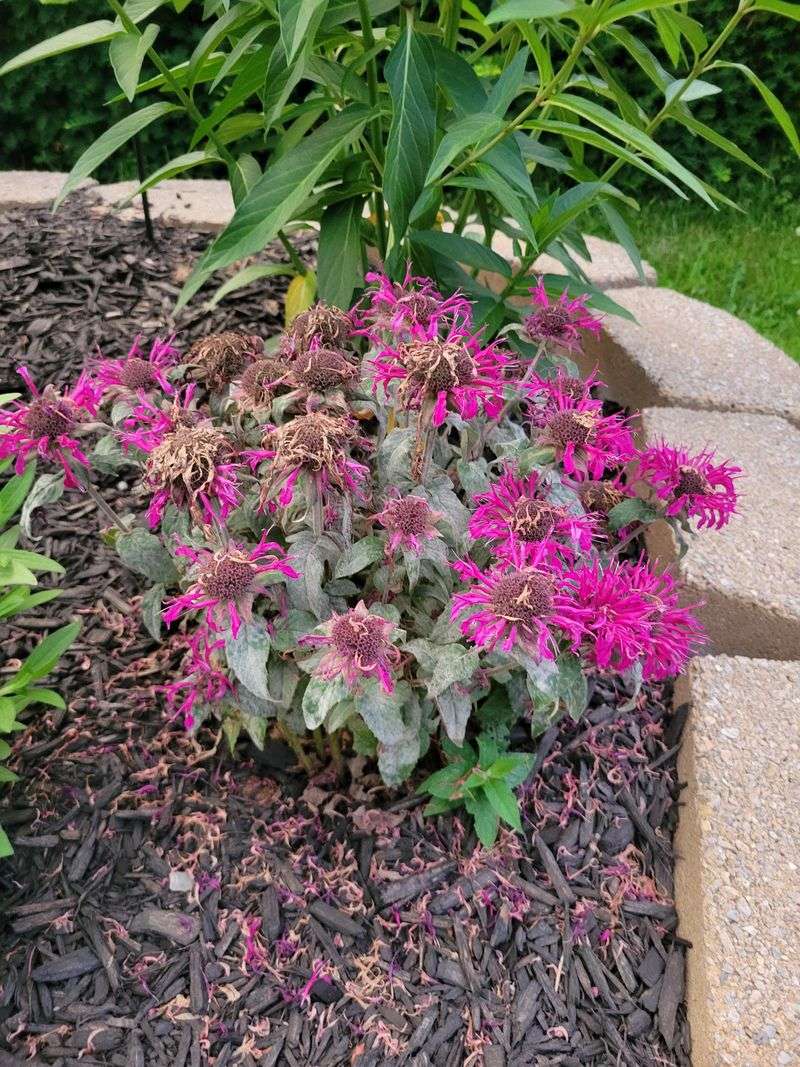
11. Natural Self-Seeding
Harness bee balm’s natural tendency to self-seed by allowing some flower heads to remain on plants at season’s end. The dried flowers release seeds that often germinate successfully on their own the following spring, creating a delightful, naturalized patch.
To manage this process, simply leave flowers on plants in areas where you’d welcome more bee balm. For a more controlled approach, scatter fallen seeds in specific garden spots and lightly rake them in. This method creates the most natural-looking plantings with minimal effort.
12. Division While Blooming
Contrary to conventional wisdom, bee balm can actually be divided during its blooming period in an emergency situation. If you must move or share plants while they’re flowering, water thoroughly the day before digging to minimize stress.
Carefully lift the plant and divide it quickly into sections, keeping as much soil around the roots as possible. Cut back about half the foliage and all flowers to redirect energy to root establishment. Keep newly divided plants consistently moist and provide afternoon shade for two weeks.
13. Water Propagation
For a fun indoor propagation project, try rooting bee balm stems in water. Select healthy, non-flowering stems and cut 6-inch sections just below a leaf node. Remove leaves from the bottom half and place stems in a clear glass container filled with room-temperature water.
Change the water every few days to prevent bacterial growth. Place in bright, indirect light and watch for roots to develop within 2-3 weeks. Once roots reach about an inch long, transplant to pots with well-draining soil mix.
14. Rhizome Spreading
Bee balm naturally spreads through underground rhizomes, creating new plants as it expands. Encourage this natural multiplication by applying a thin layer of compost around existing plants in spring, giving rhizomes rich soil to grow into.
Remove any barriers like landscape fabric that might limit spreading where more plants are desired. For containment in specific areas, install deep edging barriers that reach 12 inches below soil level. Regular monitoring allows you to control spread while benefiting from free new plants.
15. Softwood Cuttings
Take softwood cuttings in late spring when bee balm stems are actively growing but not yet flowering. Cut 3-4 inch sections from the tips of stems, making cuts just below leaf nodes with clean, sharp scissors or pruners.
Remove lower leaves, dip the cut ends in rooting hormone, and insert into a pot filled with moistened perlite and peat moss mix. Cover with a clear plastic bag to create humidity and place in bright, indirect light. Check frequently for moisture needs until roots develop in 3-4 weeks.