15 Simple Steps To Grow Your Own Shiitake Shrooms At Home (Plus Tips For A Bountiful Harvest)
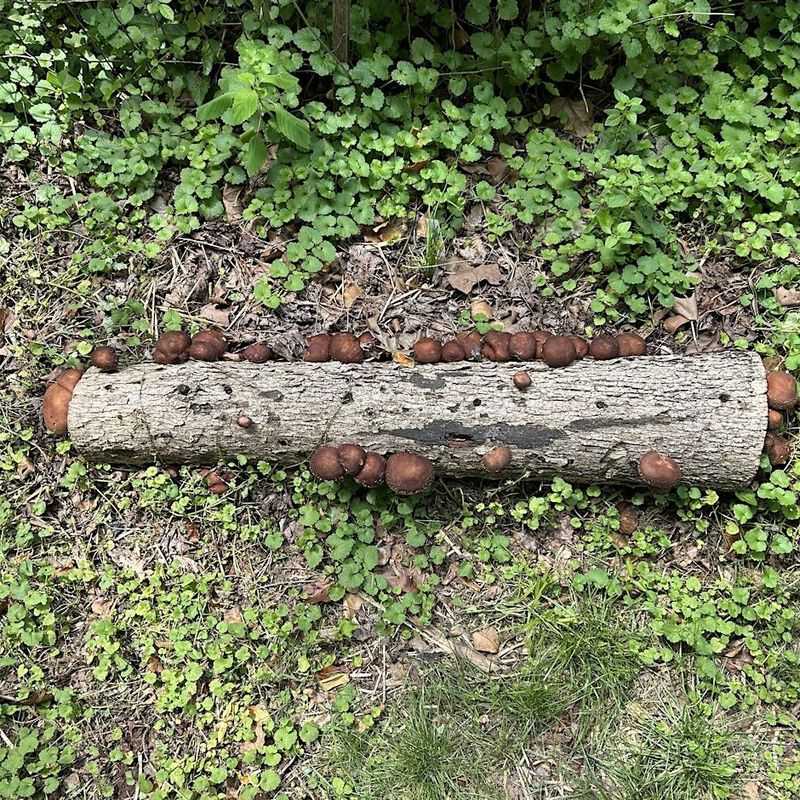
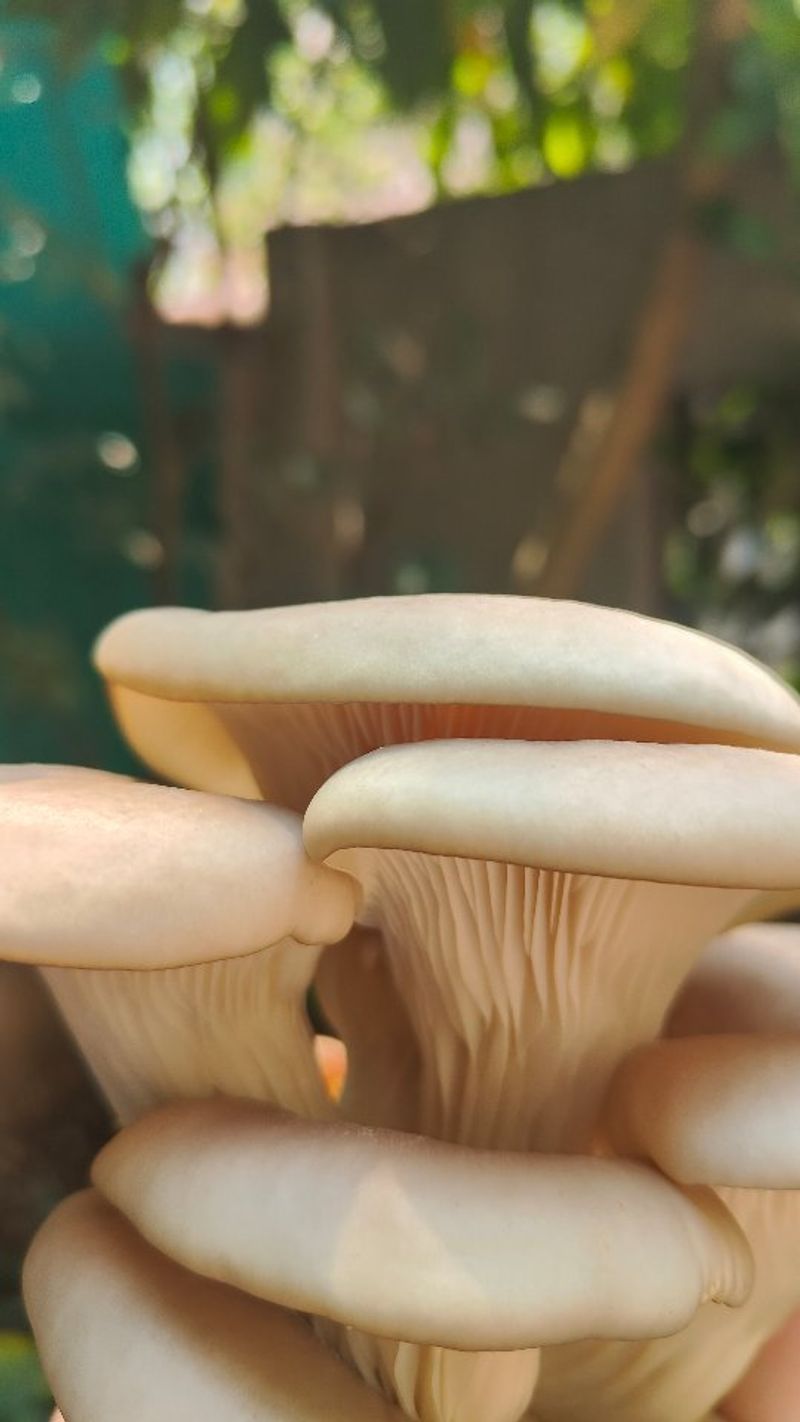
Growing shiitake mushrooms at home is way easier (and way more fun) than you might think. The first time I tried it, I couldn’t believe how satisfying it was to pick fresh shrooms right off a log.
They’re earthy, delicious, and honestly kind of magical to grow. If you’re into tasty rewards and low-effort gardening experiments, this one’s for you.
Let’s break it down into simple steps so you can get growing—and harvesting—in no time.
1. Gather Your Supplies
First things first, you’ll need to collect everything before starting your mushroom journey. The basic supplies include hardwood logs (oak works great), shiitake spawn plugs, a drill with 5/16-inch bit, beeswax, a small brush, and tags for labeling.
Don’t forget protective gear like gloves and safety glasses. Most supplies can be purchased online from specialty mushroom retailers or at well-stocked garden centers.
2. Select Quality Logs

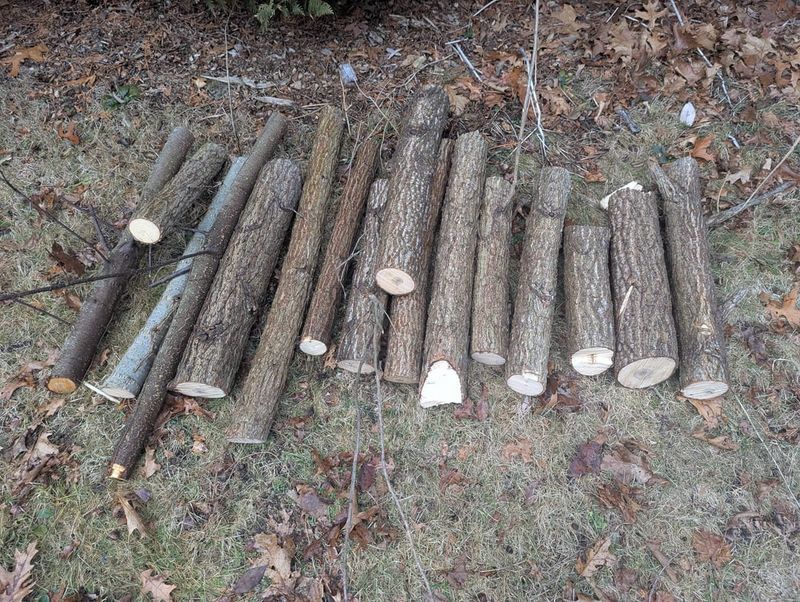
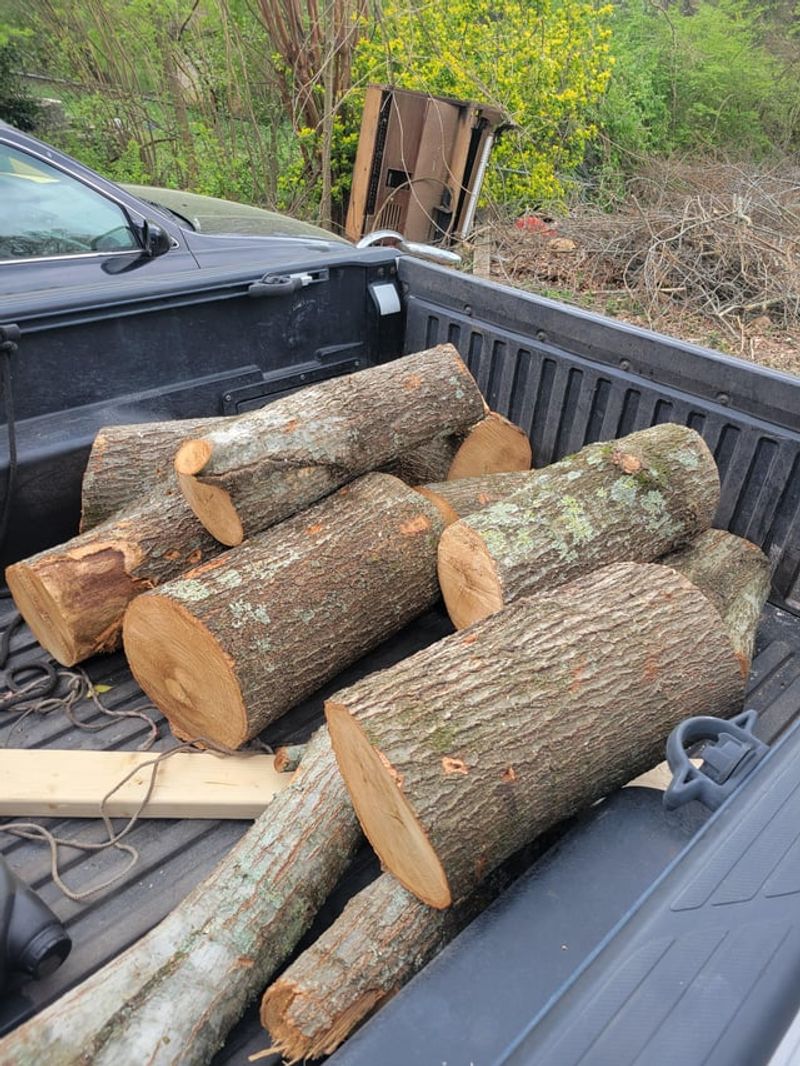
The foundation of successful shiitake growing lies in choosing the right logs. Look for freshly cut hardwood logs from oak, maple, or sweet gum trees that are 3-6 inches in diameter and 3-4 feet long. Avoid logs with signs of decay or existing fungi.
Timing matters tremendously here. The best logs are harvested during winter dormancy when sugar content is highest, making them perfect food sources for your future mushrooms.
3. Prepare Your Workspace
Creating a clean, organized space before you begin inoculating logs will make the process smoother. Set up a table or workbench outdoors or in a garage where you can drill and work comfortably. Have all your tools within arm’s reach.
Cleanliness helps prevent contamination from competing fungi. Wipe down your work surface with a 10% bleach solution and let it dry completely before bringing in your logs and spawn.
4. Drill Holes in Logs

Using your drill with a 5/16-inch bit, create holes about 1¼ inches deep in a diamond pattern around the log. Space holes about 6 inches apart lengthwise and 2 inches apart around the circumference. This pattern maximizes growing potential without weakening the log.
Remember to drill perpendicular to the log surface. A drilling template can help maintain consistent spacing, which promotes even mushroom production throughout the entire log.
5. Inoculate with Spawn

Now comes the fun part – introducing mushroom spawn to its new home! Take your shiitake spawn plugs and gently hammer them into the drilled holes until they’re flush with the log surface. Each plug contains living mycelium that will colonize the log.
Work efficiently but don’t rush. The spawn is sensitive to extreme temperatures and drying out, so keep unused plugs in their original packaging until needed.
6. Seal with Beeswax
Melting beeswax creates a protective seal that prevents the spawn from drying out while blocking competing organisms. Heat your beeswax in a double boiler until liquid, then use a small brush to apply it over each inoculated hole, completely covering the spawn plug.
Be careful not to make the wax layer too thick or thin. Just enough to seal the hole works perfectly. Food-grade cheese wax also works well if beeswax isn’t available.
7. Label Your Logs
Creating proper identification for each log prevents confusion later in the growing process. Attach waterproof tags noting the mushroom strain, inoculation date, and log type. This information becomes invaluable when tracking growth patterns and planning harvests.
Aluminum tags secured with galvanized nails work well because they resist weathering. Some growers even create simple maps of their log layouts for additional reference.
8. Choose Incubation Location
Finding the perfect spot for your logs during the colonization period is crucial for success. Place logs in a shaded area with indirect sunlight, ideally under deciduous trees where they’ll receive dappled light. The area should be protected from strong winds but have good air circulation.
Avoid placing logs directly on the ground where they might be colonized by soil organisms. Instead, use bricks or small logs as a base to elevate them slightly.
9. Stack Logs Properly
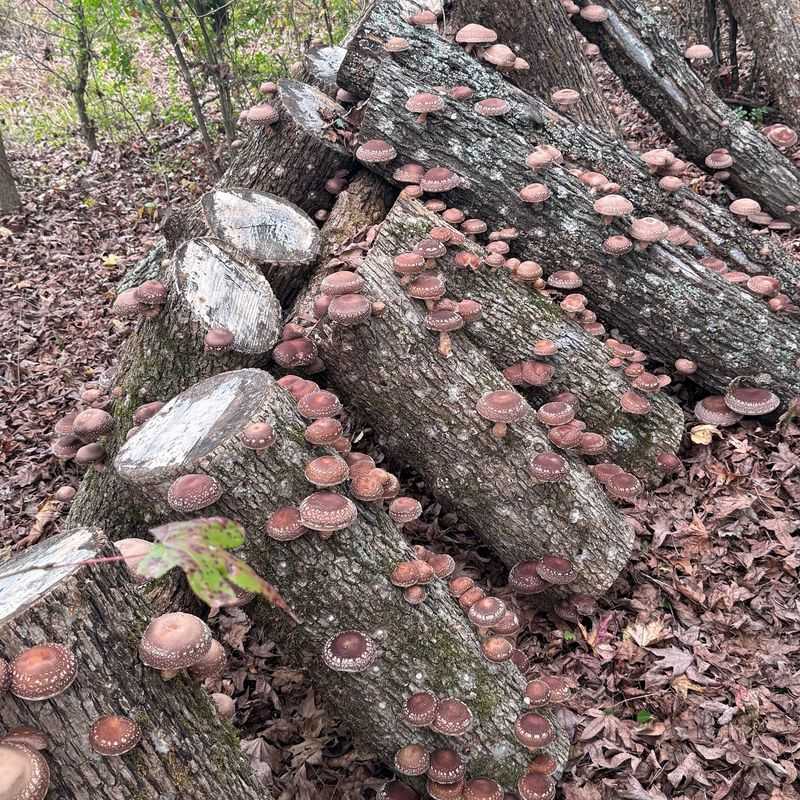
Arranging your logs in the right configuration helps maintain proper moisture and air flow during the long incubation period. The classic crib stack (logs arranged in alternating layers forming a square) works well for most home growers and allows easy access for checking moisture levels.
For smaller operations, leaning logs against a fence in a shaded area also works effectively. Just make sure they won’t be disturbed by animals or strong winds.
10. Monitor Moisture Levels
Keeping logs at the right moisture content is perhaps the most critical aspect of successful shiitake cultivation. Logs should maintain 35-45% moisture content internally. If the bark feels completely dry, it’s time to water.
During dry periods, soak logs in non-chlorinated water for 24 hours or use sprinklers to simulate rainfall. In very dry climates, you might need to water weekly, while in humid areas, natural rainfall might be sufficient.
11. Wait for Colonization
Patience becomes your greatest virtue during the colonization phase. The mycelium needs 6-18 months to fully colonize the log, depending on log size, wood type, and climate conditions. You’ll know colonization is progressing when white growth appears at the log ends.
During this waiting period, continue monitoring moisture levels but otherwise leave the logs undisturbed. This is when the mycelium is building its network throughout the entire log, preparing for eventual fruiting.
12. Force Fruiting
Once logs are fully colonized, you can trigger mushroom production through a process called shocking. Soak logs in cold water for 24 hours, then remove and strike them firmly with a mallet several times along their length to simulate the stress of a falling tree.
This mimics natural conditions that tell the fungus it’s time to reproduce. After shocking, mushroom pins should appear within 7-14 days, depending on temperature and humidity conditions.
13. Create Fruiting Conditions
After shocking, logs need the perfect environment to produce mushrooms. Move them to a location with high humidity (75-85%) and temperatures between 55-75°F. Partial shade works best as direct sunlight can dry out developing mushrooms.
Some growers create simple humidity tents using plastic sheeting over a frame. Misting the area twice daily helps maintain ideal moisture levels during the critical fruiting period.
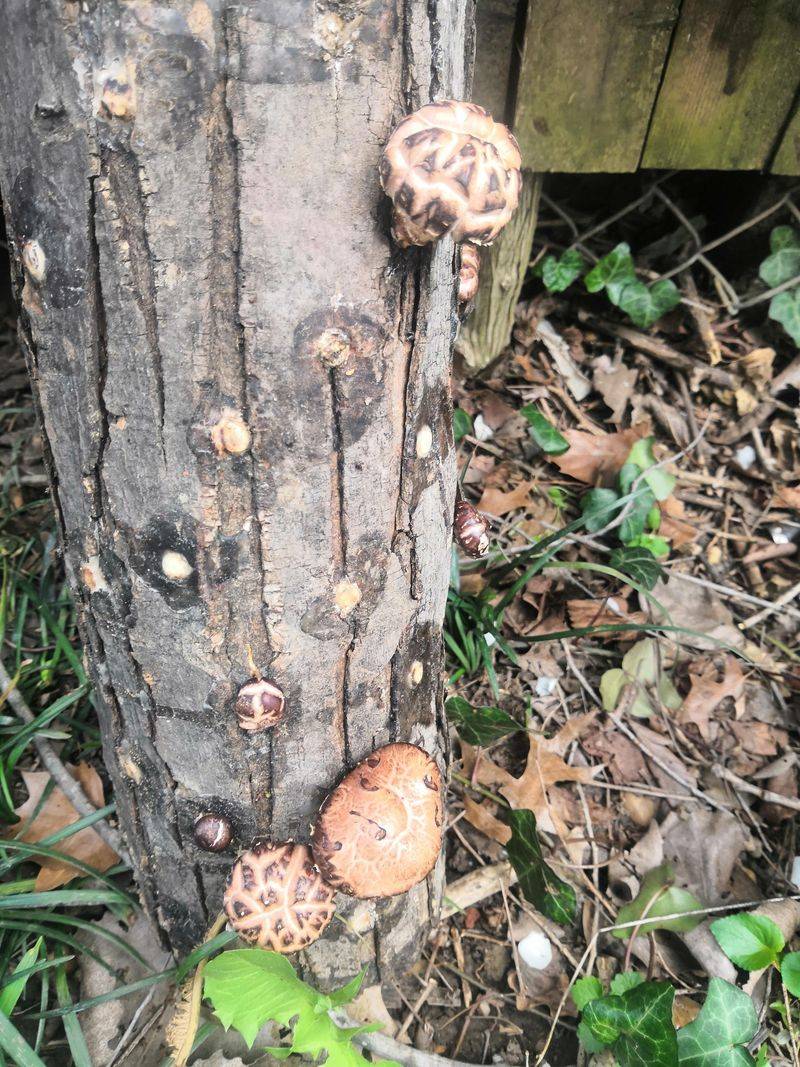
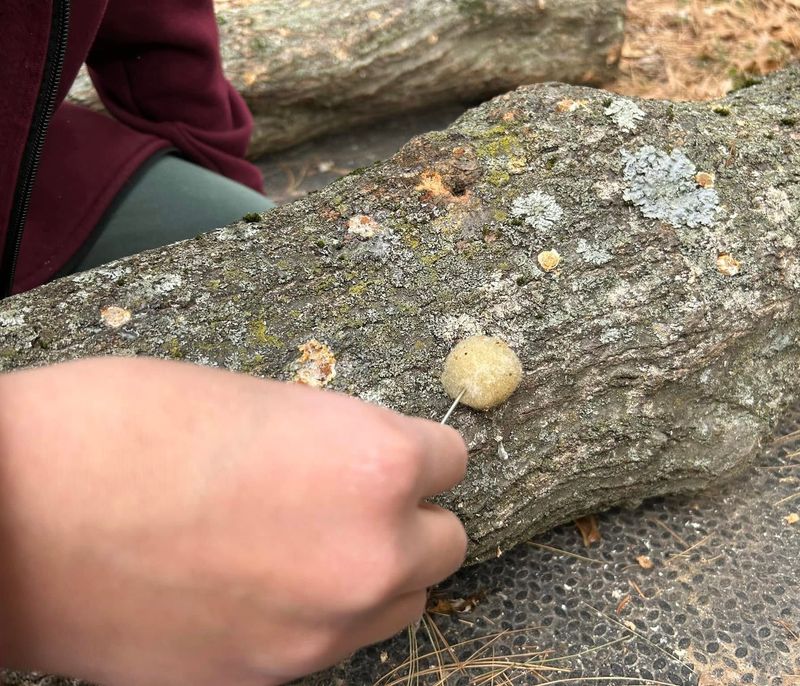
14. Watch for Primordia
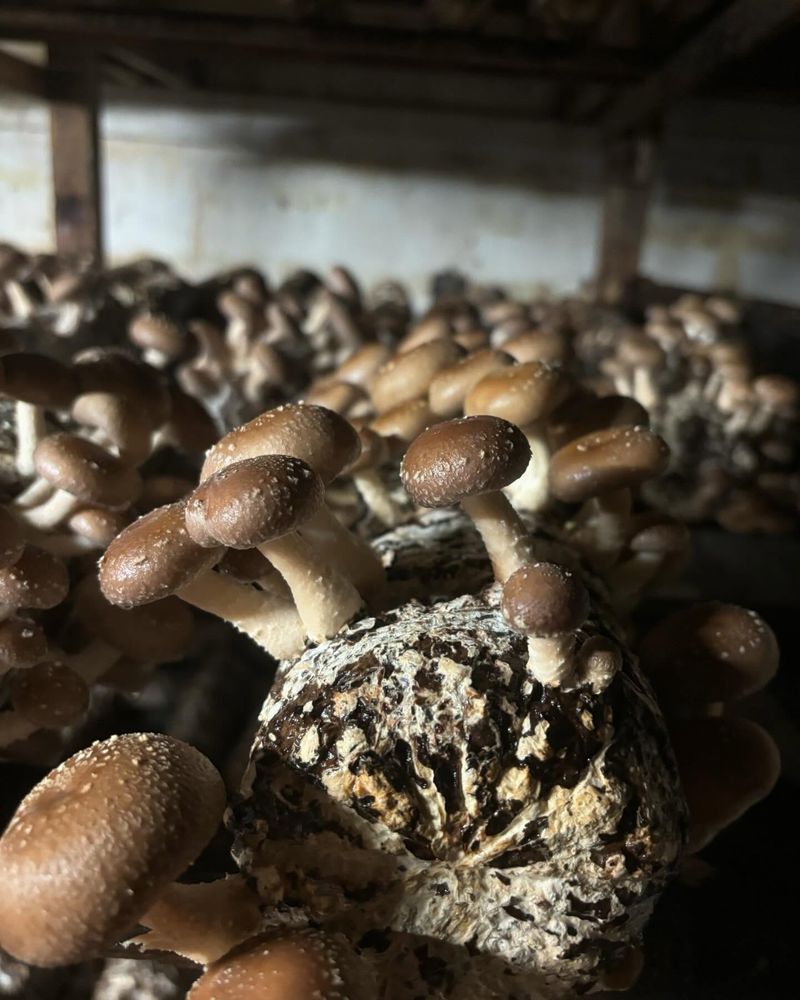
Excitement builds as you spot the first signs of mushroom formation! Primordia (baby mushrooms) appear as small brown bumps pushing through the bark. These typically emerge 7-14 days after shocking if conditions are favorable.
Don’t disturb logs during this critical stage. The emerging mushrooms are fragile and easily damaged. Continue misting the surrounding area to maintain humidity, but avoid spraying water directly on the developing mushrooms.
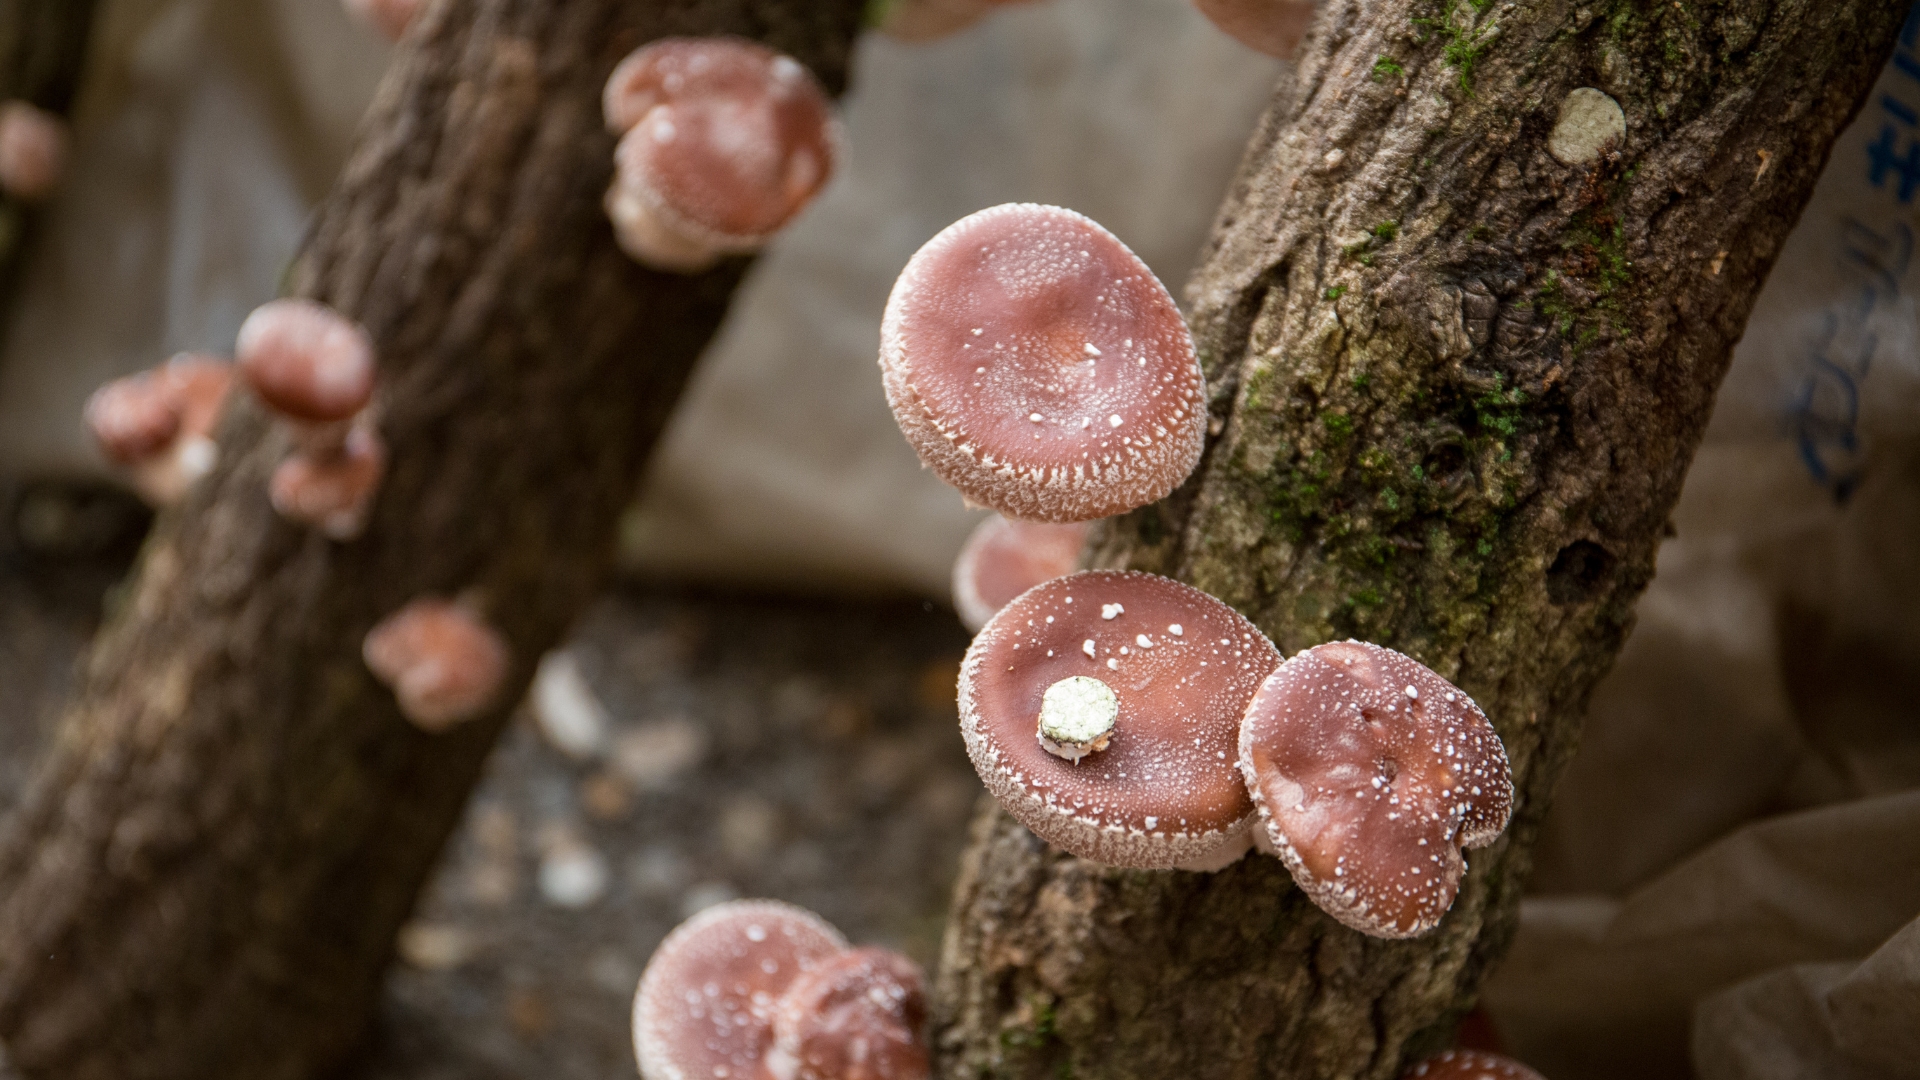
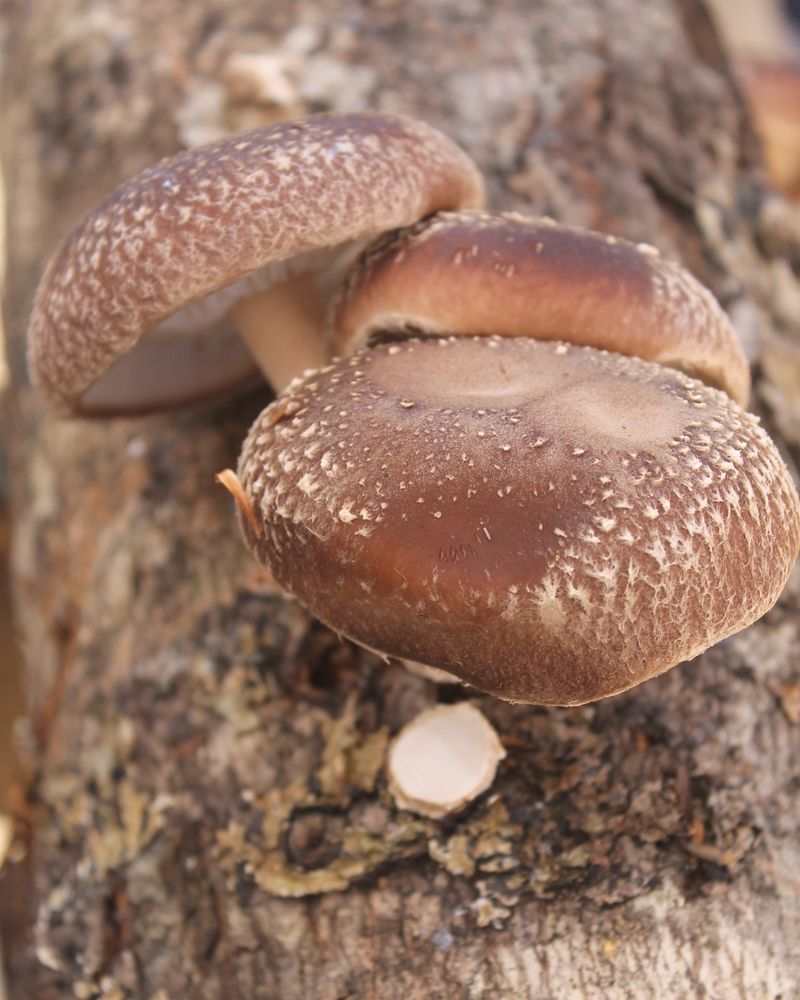
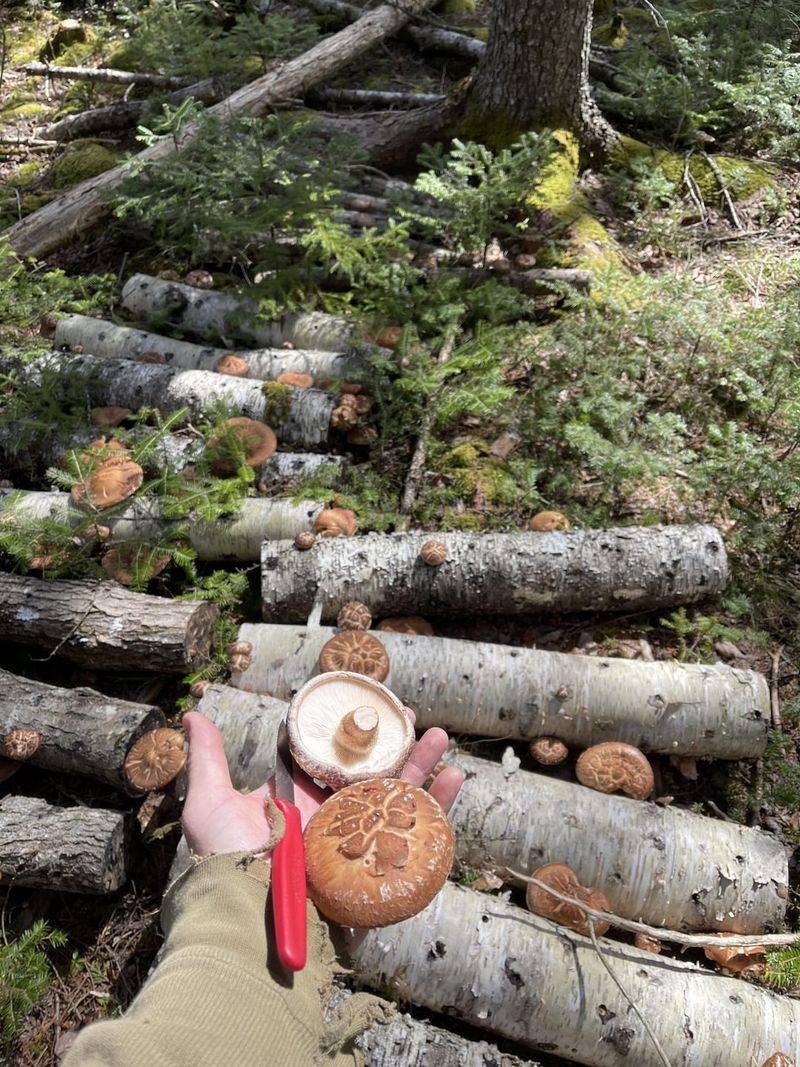
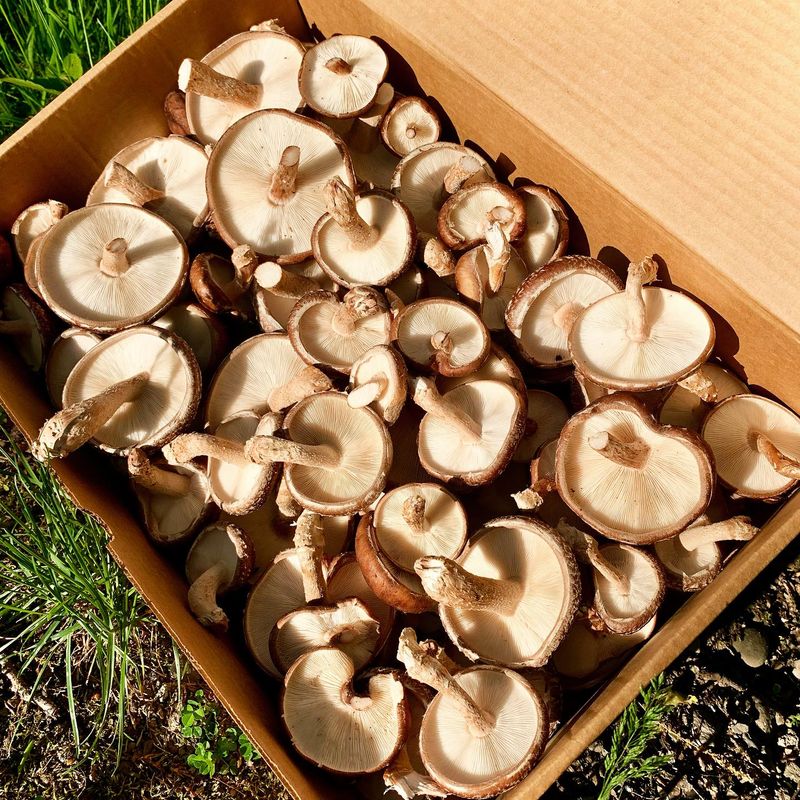
15. Harvest at Perfect Timing
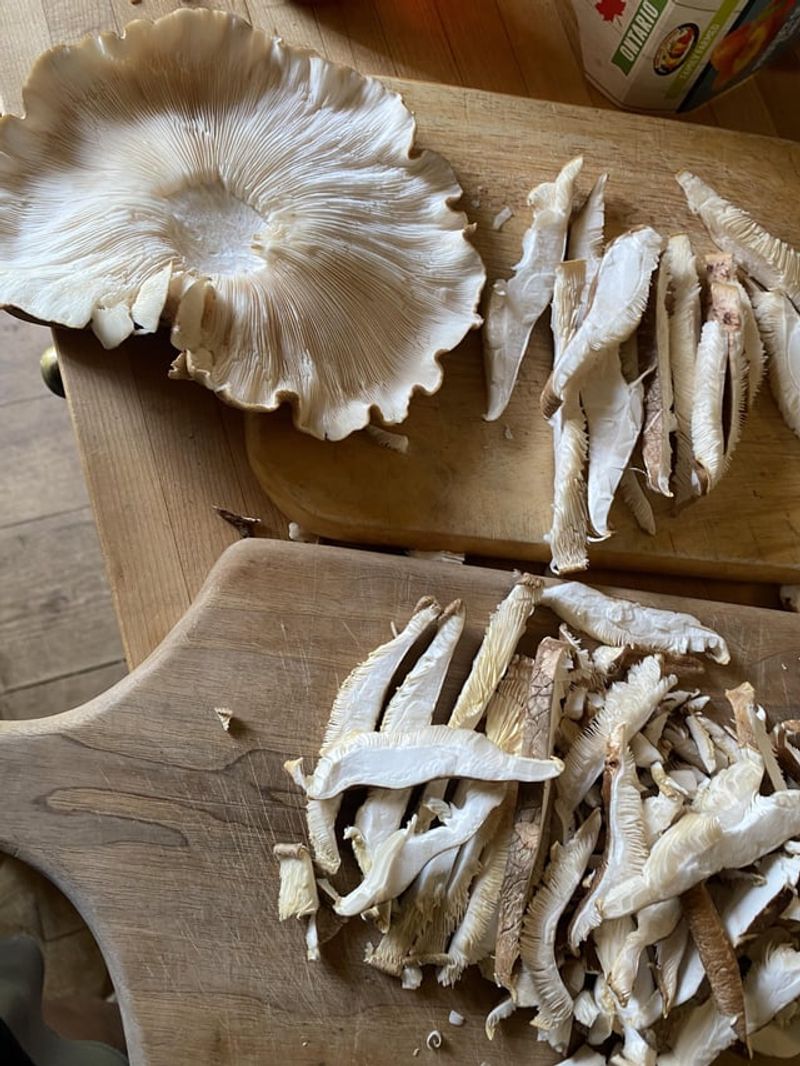
Knowing exactly when to harvest ensures optimal flavor and texture. Shiitakes are ready when caps are 80-90% open but before the edges flatten completely. The ideal size is typically 2-4 inches in diameter with firm, plump caps.
To harvest, grasp the mushroom at the base and twist gently while pulling. Avoid cutting with knives, as the remaining stem can introduce contamination. Morning harvesting generally yields the freshest mushrooms.
16. Rest Your Logs
After harvesting, logs need recovery time to rebuild energy reserves. Allow 6-8 weeks of rest before forcing another fruiting cycle. During this period, keep logs in their normal stack and maintain proper moisture levels.
Some growers rotate their log schedule, shocking different batches in sequence to maintain continuous harvests. A single log can produce mushrooms for 3-5 years before being fully depleted, with peak production typically in years 2-3.
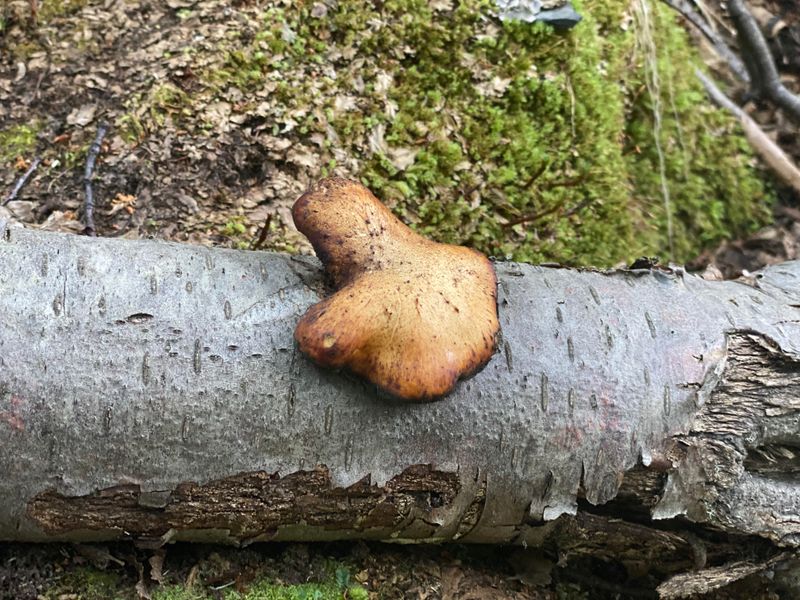
17. Handle Potential Problems
Even with careful management, issues can arise. Watch for competing fungi (identified by different colored growth patterns), insect infestations, or excessive drying. Remove competing fungi immediately by cutting away affected areas and sealing with wax.
For insect problems, briefly submerge logs in water to drown pests. If logs become too dry and stop producing, a 48-hour soak can sometimes revive them, though prevention through regular moisture monitoring works best.
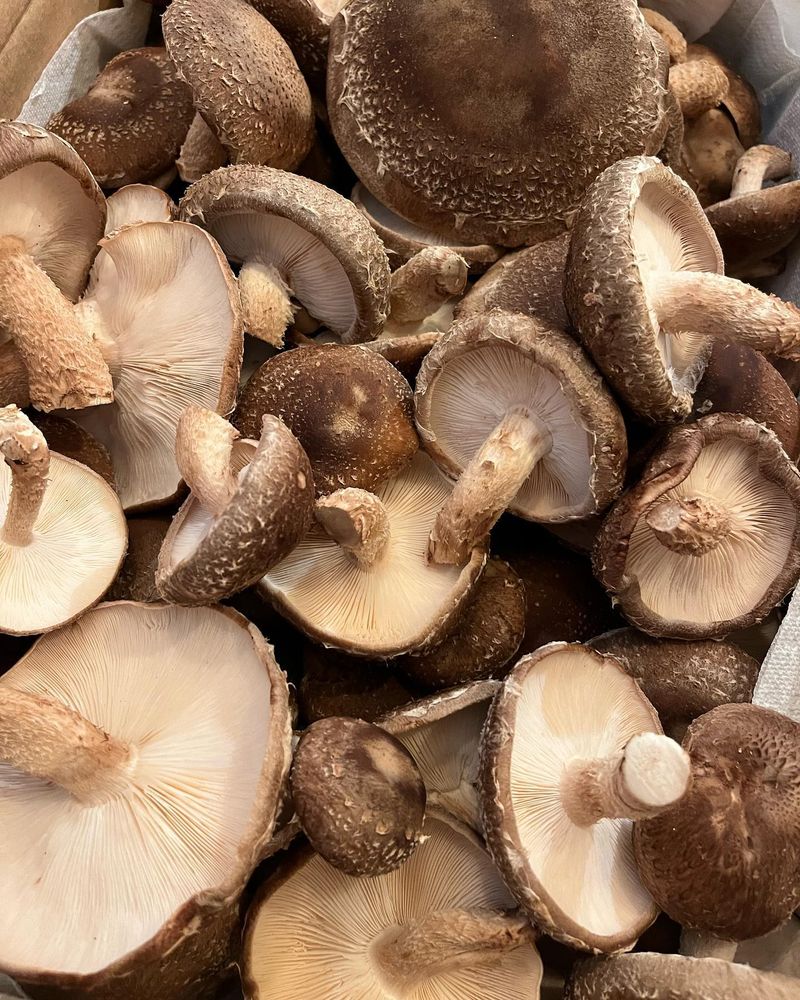
18. Store and Preserve Harvest
Fresh shiitakes keep for about a week in paper bags in the refrigerator. For longer storage, drying is the preferred method – simply string mushrooms on thread and hang in a warm, dry place until completely crisp.
Dried shiitakes develop an intensified flavor and can be stored for up to a year in airtight containers. You can also sauté and freeze mushrooms in portion-sized containers for up to six months with minimal texture loss.