18 Common Causes Of Wrinkled Orchid Leaves (Plus A Simple Way To Revive Them)
Wrinkled orchid leaves always stop me in my tracks—it’s like my plant is trying to tell me something’s wrong. I’ve learned over the years that these subtle signs usually mean there’s an issue hiding below the surface.
Sometimes it’s just a watering mistake (been there), but other times it points to stress from lighting, humidity, or even root trouble. Orchids can be picky, but once you figure out what they need, they bounce back beautifully.
If your orchid’s leaves are looking a little crinkled or tired, don’t panic. Let’s walk through the common causes together and get your plant back on the road to recovery.
1. Underwatering Stress
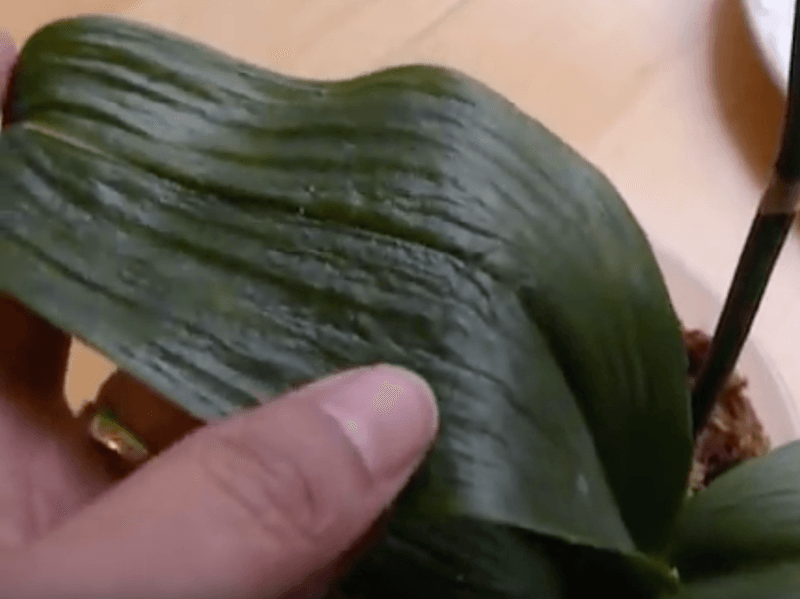
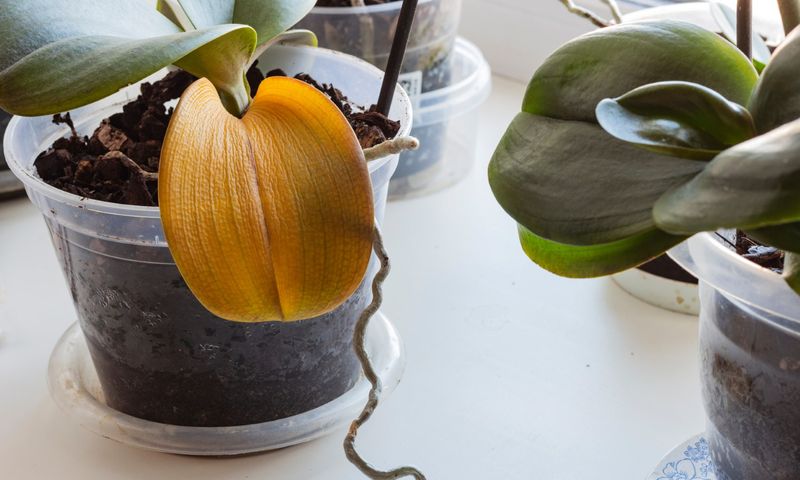
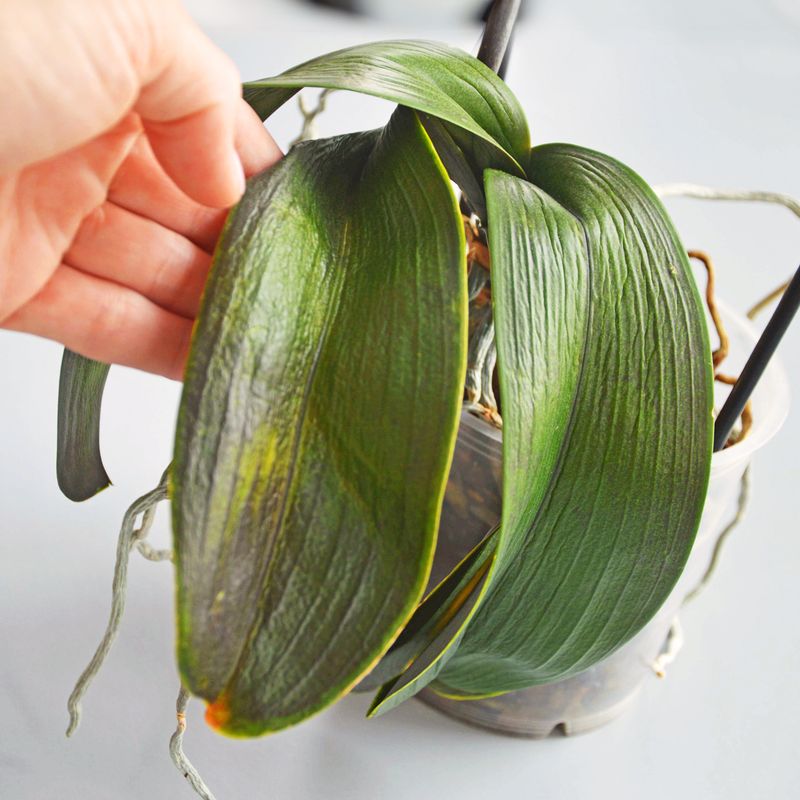
Your orchid’s leaves are pleading for a drink! When water becomes scarce, orchids conserve moisture by shriveling their leaves, creating those telltale wrinkles along the surface. I’ve found this happens most often during winter when indoor heating systems run constantly.
The cells inside the leaves collapse slightly as they lose water content, causing the whole leaf to appear limp and wrinkled. Revive your thirsty plant by soaking the pot in room-temperature water for 15-20 minutes.
Then establish a regular watering schedule based on your orchid type – typically once every 7-10 days for Phalaenopsis varieties.
2. Root Rot Damage

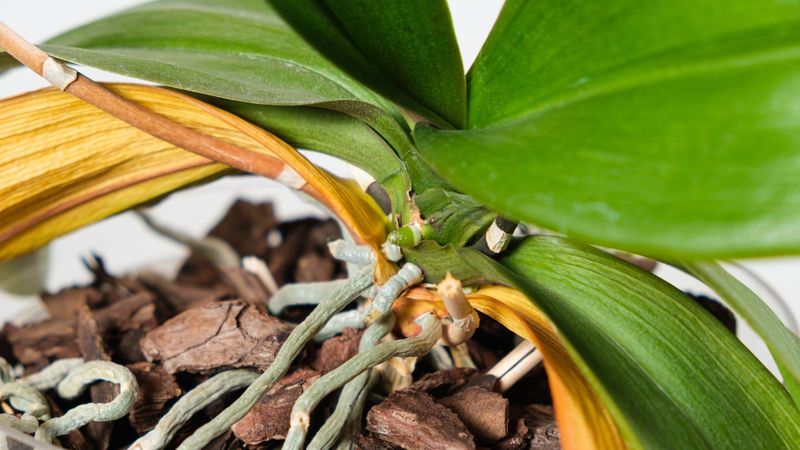
Soggy roots can’t deliver water to leaves properly. When roots rot from overwatering, they turn mushy and brown instead of firm and silvery-green, cutting off the plant’s water supply system even though there’s plenty of moisture around.
The first time I encountered this, I kept watering more, making the problem worse! Wrinkled leaves combined with soft, smelly roots are the classic signs of this common killer.
Remove the orchid from its pot, trim away all rotted roots with sterilized scissors, and repot in fresh orchid medium. Water sparingly until new root growth appears, allowing the medium to dry between waterings.
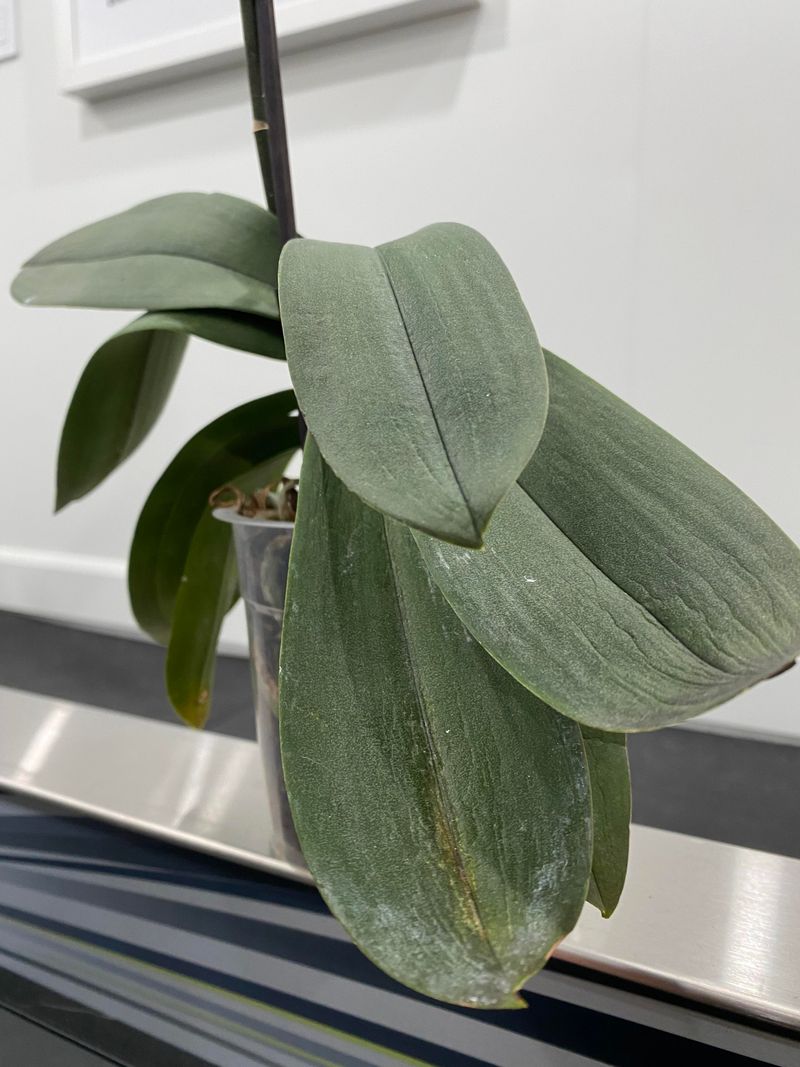
3. Humidity Deficiency
Orchids thrive in humid environments that mimic their tropical origins. When the air becomes too dry, moisture evaporates from leaf surfaces faster than roots can replace it, causing wrinkles and curling edges.
Moving my orchid collection from the bathroom to my bedroom taught me this lesson quickly. Modern homes, especially in winter, often have humidity levels below 30%, while most orchids prefer 50-70%.
Create a humidity tray by filling a shallow dish with pebbles and water, then set your orchid pot on top (not touching the water). Grouping plants together also creates a naturally humid microclimate as they release moisture through transpiration.
4. Temperature Extremes
Sudden temperature changes shock orchids into defensive mode. Leaving my Phalaenopsis near a drafty window during winter caused the leaves to wrinkle overnight as the plant tried to protect itself from the cold stress.
Most household orchids prefer temperatures between 65-80°F during the day and no lower than 55°F at night. When exposed to temperatures outside their comfort zone, the plant’s cellular processes slow down or speed up abnormally.
Keep orchids away from heating vents, air conditioners, and cold windows. A digital thermometer placed near your plant can help monitor conditions and prevent these stress-induced wrinkles from forming in the first place.
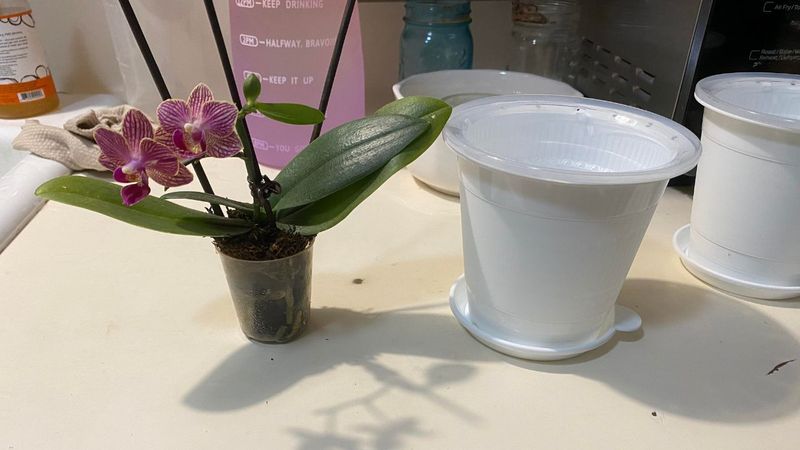
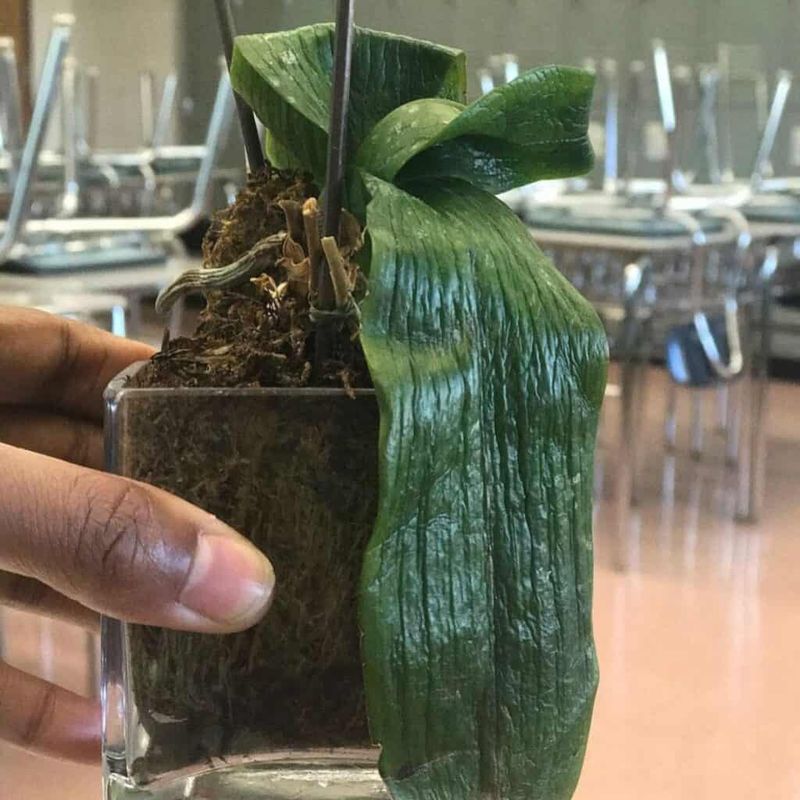
5. Transplant Shock
Recently repotted orchids often develop temporary leaf wrinkles as they adjust to their new home. The disturbance to the root system limits water uptake while the plant recovers and establishes itself.
When I repotted my first orchid, I panicked seeing those wrinkles appear within days. Honestly, this took me a while to understand because everything else looked fine – the roots were healthy, and I wasn’t overwatering. Patience is key here.
Maintain consistent care without overcompensating with extra water. Provide slightly higher humidity and stable temperatures while your orchid recovers. Most plants bounce back within 2-4 weeks as new root growth develops and normal water absorption resumes.
6. Aging Process
Some wrinkles are simply part of growing older. Lower leaves on orchids naturally yellow, wrinkle, and eventually drop off as the plant redirects energy to newer growth. This normal aging process typically affects only the bottom one or two leaves.
The first time I noticed this on my oldest orchid, I worried I’d done something wrong. The difference between natural aging and a problem is that age-related wrinkles affect only older leaves while the rest of the plant looks good.
You can gently remove these aging leaves once they’ve yellowed completely by cutting them at the base with sterilized scissors. This keeps your orchid looking tidy and prevents any potential fungal issues from developing on the dying tissue.
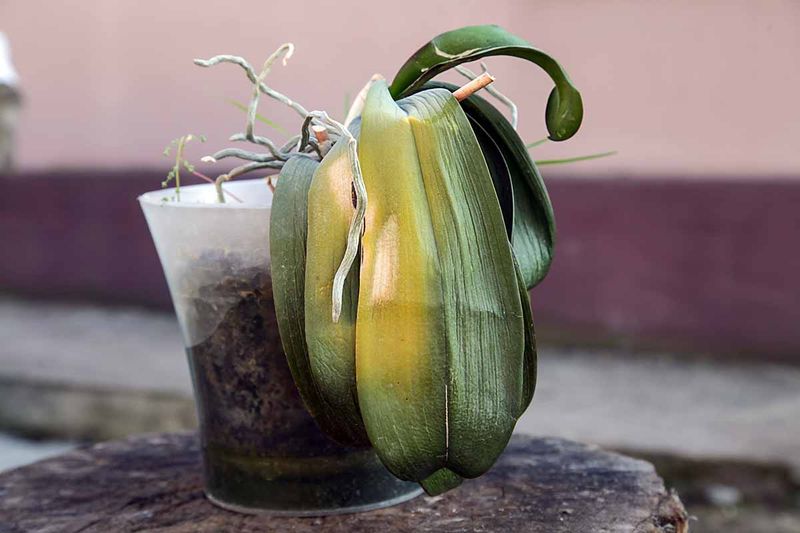
7. Sunburn Damage
Excessive direct sunlight scorches orchid leaves, causing wrinkled patches that often turn yellow or brown. The intense light damages the leaf tissue, creating a permanently dehydrated appearance in affected areas.
In my case, this was the first mistake I made without even realizing it. Moving my orchid to a south-facing windowsill during summer created perfect conditions for sunburn within just two days. Immediately move affected plants to a location with bright but indirect light.
While damaged leaves won’t recover their appearance, you can prevent further injury. Most orchids prefer eastern or northern exposures, or windows with sheer curtains to filter harsh afternoon sun.
8. Pest Infestations
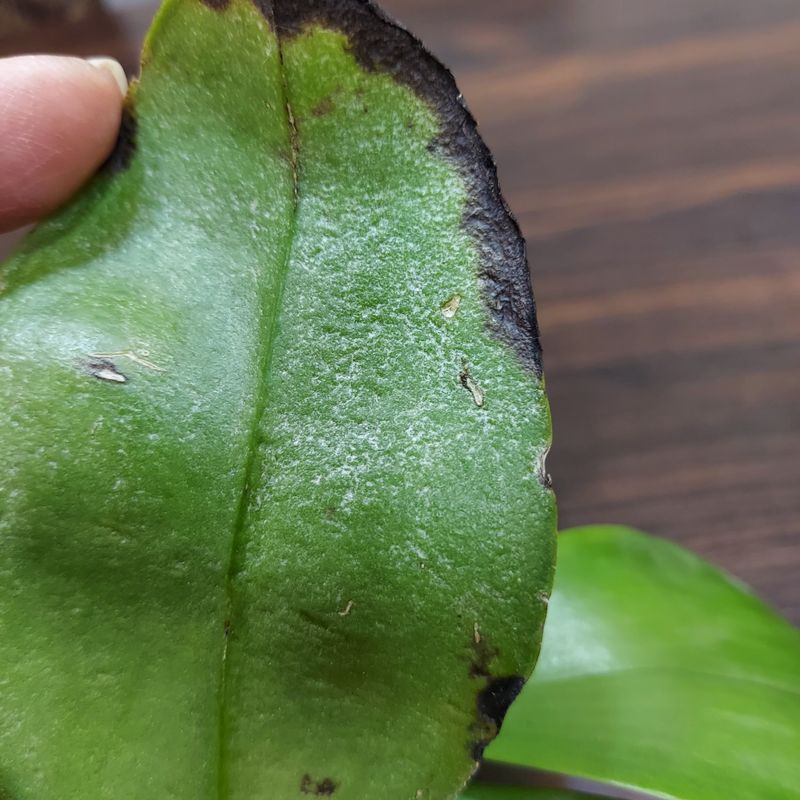
Tiny sap-sucking insects like spider mites, scale, or mealybugs drain moisture directly from orchid leaves, causing wrinkles as they feed. These pests multiply quickly in warm, dry conditions, often hiding on leaf undersides or in leaf joints.
Look for additional symptoms beyond wrinkles – sticky residue, tiny webs, or unusual spots. A magnifying glass helps spot these miniature invaders before they cause serious damage. Isolate infected plants immediately to prevent spreading.
For mild infestations, wipe leaves with a cotton ball soaked in 70% isopropyl alcohol. Severe cases may require insecticidal soap or horticultural oil applications every 7-10 days until all pests are eliminated.
9. Salt Buildup
Fertilizer salts accumulate in orchid potting media over time, drawing moisture away from roots through osmosis. This creates a situation where plants appear underwatered even when the medium feels damp. White crusty deposits on the pot rim or media surface are telltale signs.
The leaf wrinkles from salt buildup often appear alongside burnt root tips and yellowing leaf edges. Flush your orchid thoroughly by running room-temperature water through the pot for 3-5 minutes, allowing it to drain completely.
Do this monthly to prevent buildup and consider reducing fertilizer strength to one-quarter the recommended dose. For me, switching to rainwater made a bigger difference than expected in preventing this issue.
10. Poor Air Circulation
Stagnant air creates the perfect environment for fungal and bacterial problems that damage roots and prevent proper water uptake. Orchids evolved growing on trees with air flowing freely around their roots.
When I moved my collection to a more crowded shelf, several plants developed wrinkled leaves within weeks. The problem wasn’t immediately obvious because everything else in their care remained the same. Space your orchids to allow air movement between plants.
Consider adding a small fan set on low to gently circulate air in growing areas. Choose pots with ample drainage and ventilation holes, and use chunky, loose potting media that allows roots to breathe.
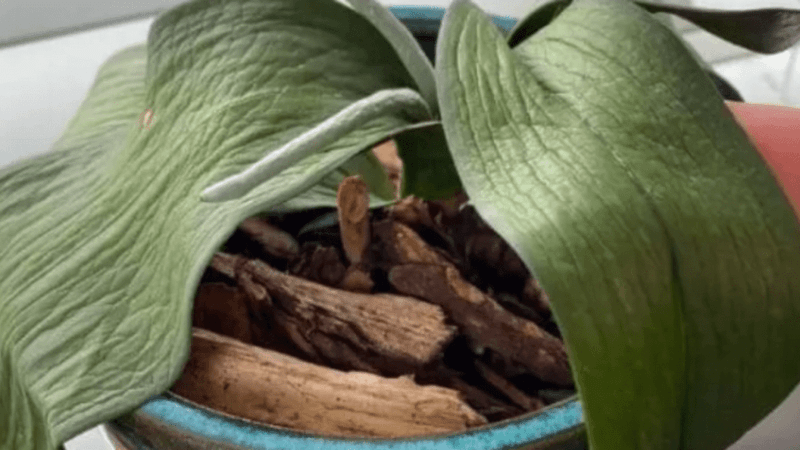
11. Improper Potting Medium
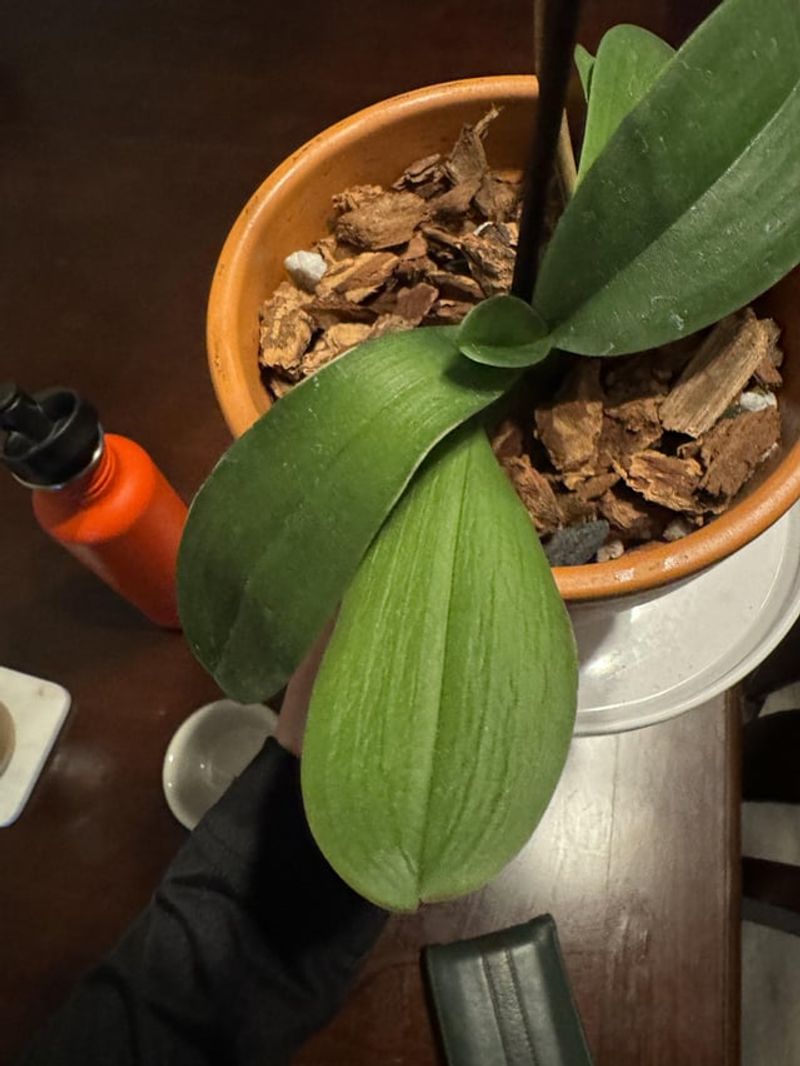
Using the wrong potting mix leads to moisture imbalances that show up as wrinkled leaves. Dense, water-retaining media suffocates roots, while overly chunky materials might dry out too quickly between waterings. Different orchid types require specific media.
Phalaenopsis orchids typically need a mix of bark, sphagnum moss, and perlite, while Dendrobiums prefer a chunkier, faster-draining blend. Repot your orchid in a mix appropriate for its specific variety.
A good rule of thumb: the mix should be damp but never soggy within 5-7 days after watering. As media breaks down over time (usually 1-2 years), it holds more water and less air, signaling it’s time for fresh medium.
12. Water Quality Issues
Tap water containing high levels of chlorine, fluoride, or dissolved minerals can damage sensitive orchid roots over time. The chemical buildup prevents proper water absorption, resulting in chronically dehydrated, wrinkled leaves.
Municipal water treatments vary significantly between locations. What worked for your orchids in one home might cause problems in another due to different water chemistry. Collect rainwater when possible or use distilled water for sensitive varieties.
If using tap water, let it sit uncovered for 24 hours to allow chlorine to dissipate. Water filtration systems can help, but remember that softened water often contains salt, which creates its own problems.
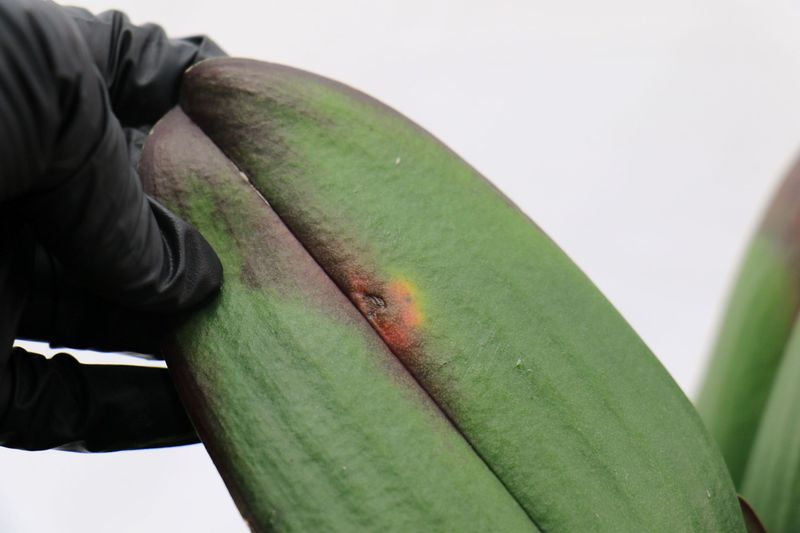
13. Bacterial Or Fungal Infections

Pathogens attack orchid tissues, causing cellular collapse that appears as wrinkles, often alongside dark spots or unusual discoloration. These infections typically start in areas with poor air circulation or where water has remained on leaves for extended periods.
The wrinkles from disease look different from those caused by watering issues – they’re often localized to specific areas and may have distinct borders or unusual coloration patterns. Isolate infected plants immediately and improve air circulation.
Remove severely affected leaves with sterilized tools. Apply a copper-based fungicide or bactericide according to package directions. Prevention is key – avoid overhead watering and never leave water sitting in leaf joints overnight.
14. Excessive Fertilizer
Over-fertilizing burns delicate root systems, preventing proper water uptake. The plant can’t transport water effectively to leaves, resulting in dehydration symptoms despite regular watering.
The damaged roots can’t function properly, leaving the orchid in a perpetual state of thirst. Fertilizer burn often shows up as wrinkled leaves with yellowing or browning tips and edges. Flush the potting medium thoroughly with plain water to remove excess fertilizer salts.
For recovery, hold off on fertilizing for at least a month. When you resume, use a balanced orchid fertilizer at quarter-strength. Remember the old orchid grower’s wisdom: “Weekly, weakly” is better than occasional strong doses.
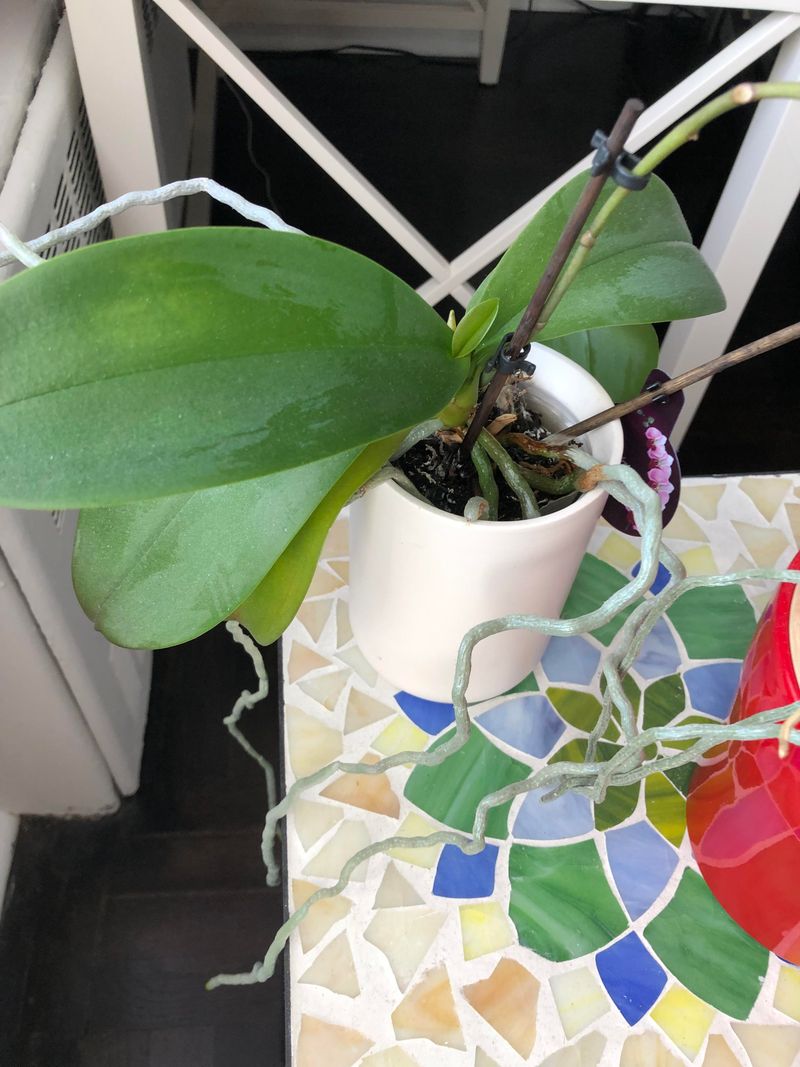
15. Compacted Roots
Rootbound orchids struggle to absorb water efficiently when their root systems become too dense and tangled. The compressed roots can’t access moisture or nutrients properly, leading to dehydration symptoms like wrinkled leaves.
You’ll often notice roots circling around the pot’s interior or even growing out drainage holes. The plant might also start lifting out of its container as the root mass expands.
Repot in a container 1-2 inches larger than the current one, gently untangling roots and trimming any dead sections with scissors. Choose a pot with plenty of drainage holes and use fresh orchid medium. Water thoroughly after repotting to help the plant settle into its new home.
16. Sudden Environmental Changes
Orchids are creatures of habit that react poorly to abrupt changes in their growing conditions. Moving a plant from a greenhouse to your home, or even from one room to another, can trigger stress responses including leaf wrinkling.
When I brought home my first nursery orchid, it developed wrinkles within days despite careful watering. The plant was simply adjusting to the dramatic shift in humidity, light, and air movement. Acclimate orchids gradually to new environments whenever possible.
If purchasing from a greenhouse, ask about their growing conditions so you can minimize the shock. During the adjustment period, provide slightly higher humidity and stable temperatures while avoiding fertilizer until the plant shows signs of new growth.
17. Physical Damage To Roots

Broken or crushed roots during repotting or handling can severely limit water uptake, causing leaves to wrinkle as the plant struggles to hydrate properly. The damaged pathways simply can’t transport enough moisture to maintain firm, healthy leaves.
Roots are surprisingly delicate despite their robust appearance. Even careful repotting can inadvertently snap or bruise these vital structures, especially when untangling densely packed root systems. Handle roots gently during any maintenance.
If damage occurs, trim affected sections with sterilized tools and dust cuts with cinnamon (a natural antifungal). Provide higher humidity during recovery but avoid overwatering, which can lead to rot in damaged tissues. New root growth is your sign that the plant is healing.
18. Inadequate Pot Size Or Type
Using pots that are too large encourages excess moisture retention, while too-small containers restrict root growth. Either extreme interferes with proper water uptake, manifesting as wrinkled leaves despite your best care efforts.
The perfect pot size allows for about 1-2 inches of growing space around the root system. Transparent pots are actually ideal for many orchids, as they allow light to reach the photosynthetic roots and help you monitor moisture levels.
Choose a container appropriately sized for your specific plant. Terracotta pots work well for growers who tend to overwater, as they allow for more evaporation. Plastic or ceramic retain moisture longer, benefiting those who water less frequently.