15 Reasons Your Potted Hydrangeas Are Struggling (Plus How To Bring Them Back To Life)
Are your potted hydrangeas looking more sad than stunning? Don’t throw in the trowel just yet! These beautiful blooms can be a bit finicky, but once you know what’s going wrong, you’ll be back in full flower in no time.
From root rot to rookie mistakes, we’re digging into 15 common reasons your hydrangeas are struggling—and how to bring them back to life before they bite the dust.
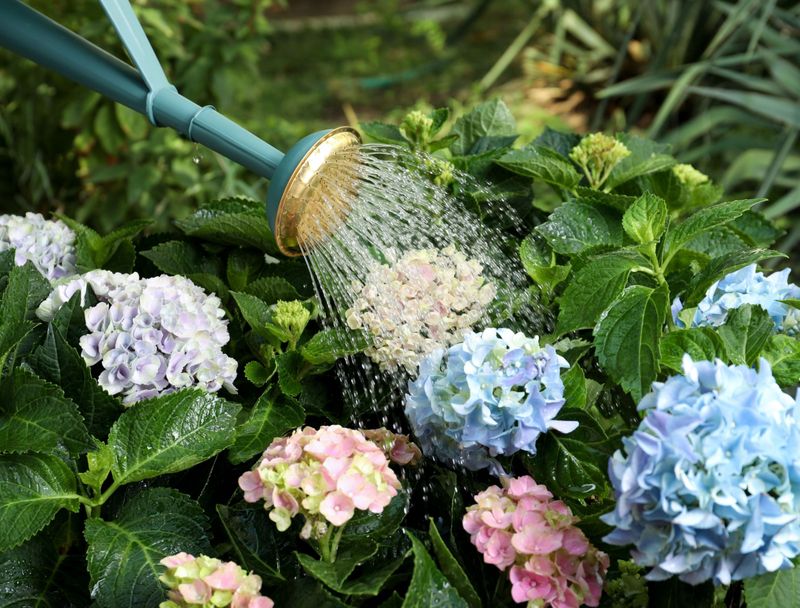
1. Improper Watering Habits
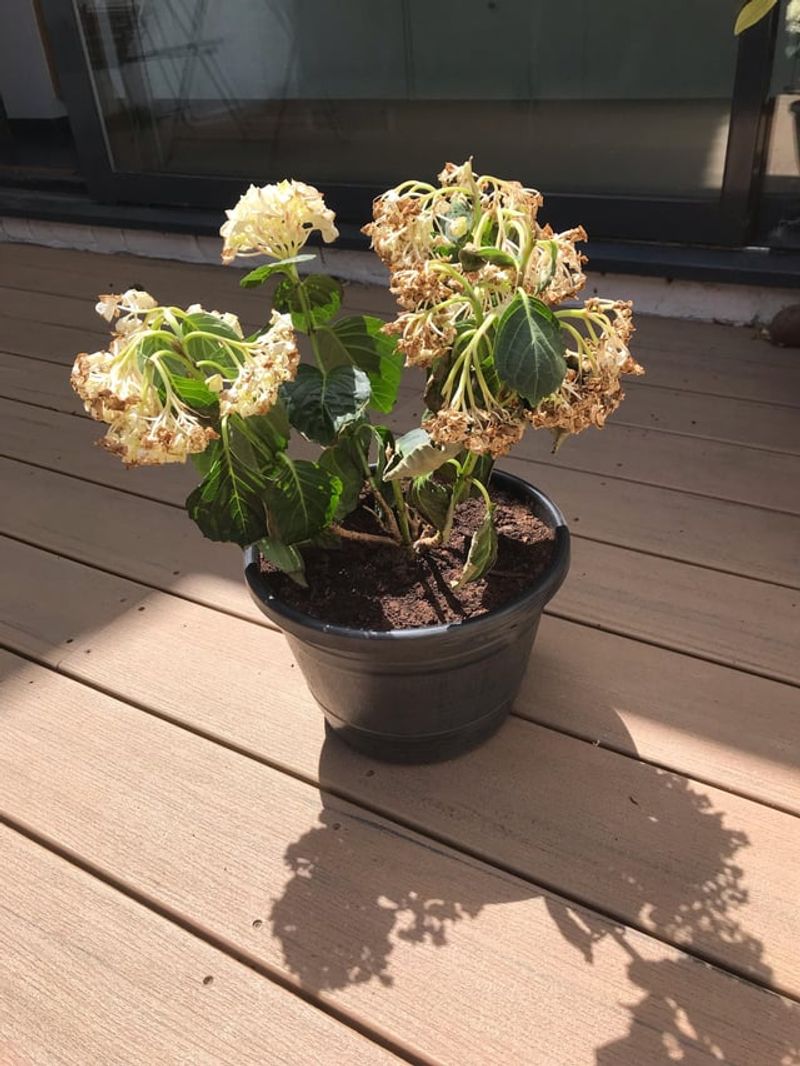
Hydrangeas are thirsty plants that need consistent moisture, but drowning them is just as harmful as letting them dry out. During hot weather, your potted hydrangea might need daily watering, while cooler days require less frequent attention.
Check the soil before watering by sticking your finger about an inch deep – if it feels dry, it’s time to water. Aim for soil that stays damp like a wrung-out sponge, not soggy or bone dry.
2. Wrong Container Size
Hydrangeas develop extensive root systems that quickly become cramped in small pots. When roots circle around inside the container, they struggle to absorb water and nutrients effectively, causing your plant to decline.
Choose a pot at least 18-20 inches in diameter with adequate drainage holes. A properly sized container gives roots room to spread and supports healthy growth. If you notice roots poking through drainage holes, it’s time to size up.
3. Poor Drainage Issues
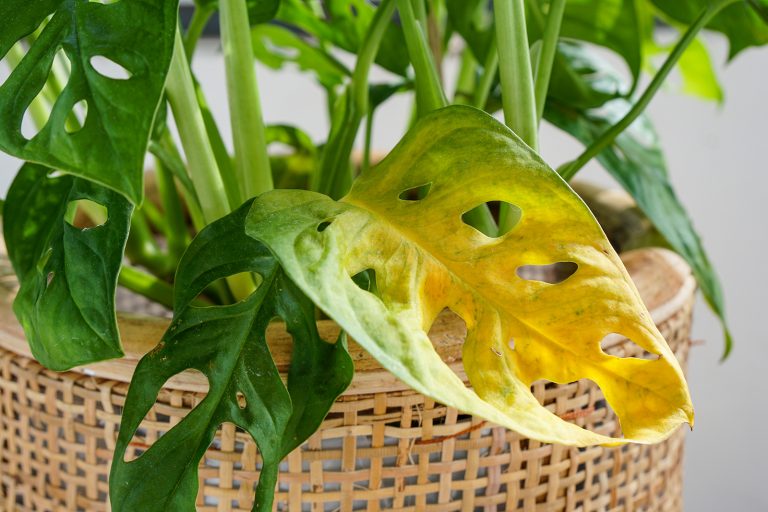
Standing water is a death sentence for hydrangeas. When water can’t escape, roots suffocate and rot, leading to yellowing leaves and eventual plant death.
Make sure your container has several drainage holes at the bottom. Add a layer of gravel beneath the soil to improve drainage. Never let your pot sit in a saucer full of water – empty it after watering.
Lifting your pot slightly off the ground with pot feet also helps excess water escape more efficiently.
4. Incorrect Soil Mixture
Regular garden soil becomes compacted in containers, suffocating hydrangea roots. The perfect potting mix balances moisture retention with adequate drainage.
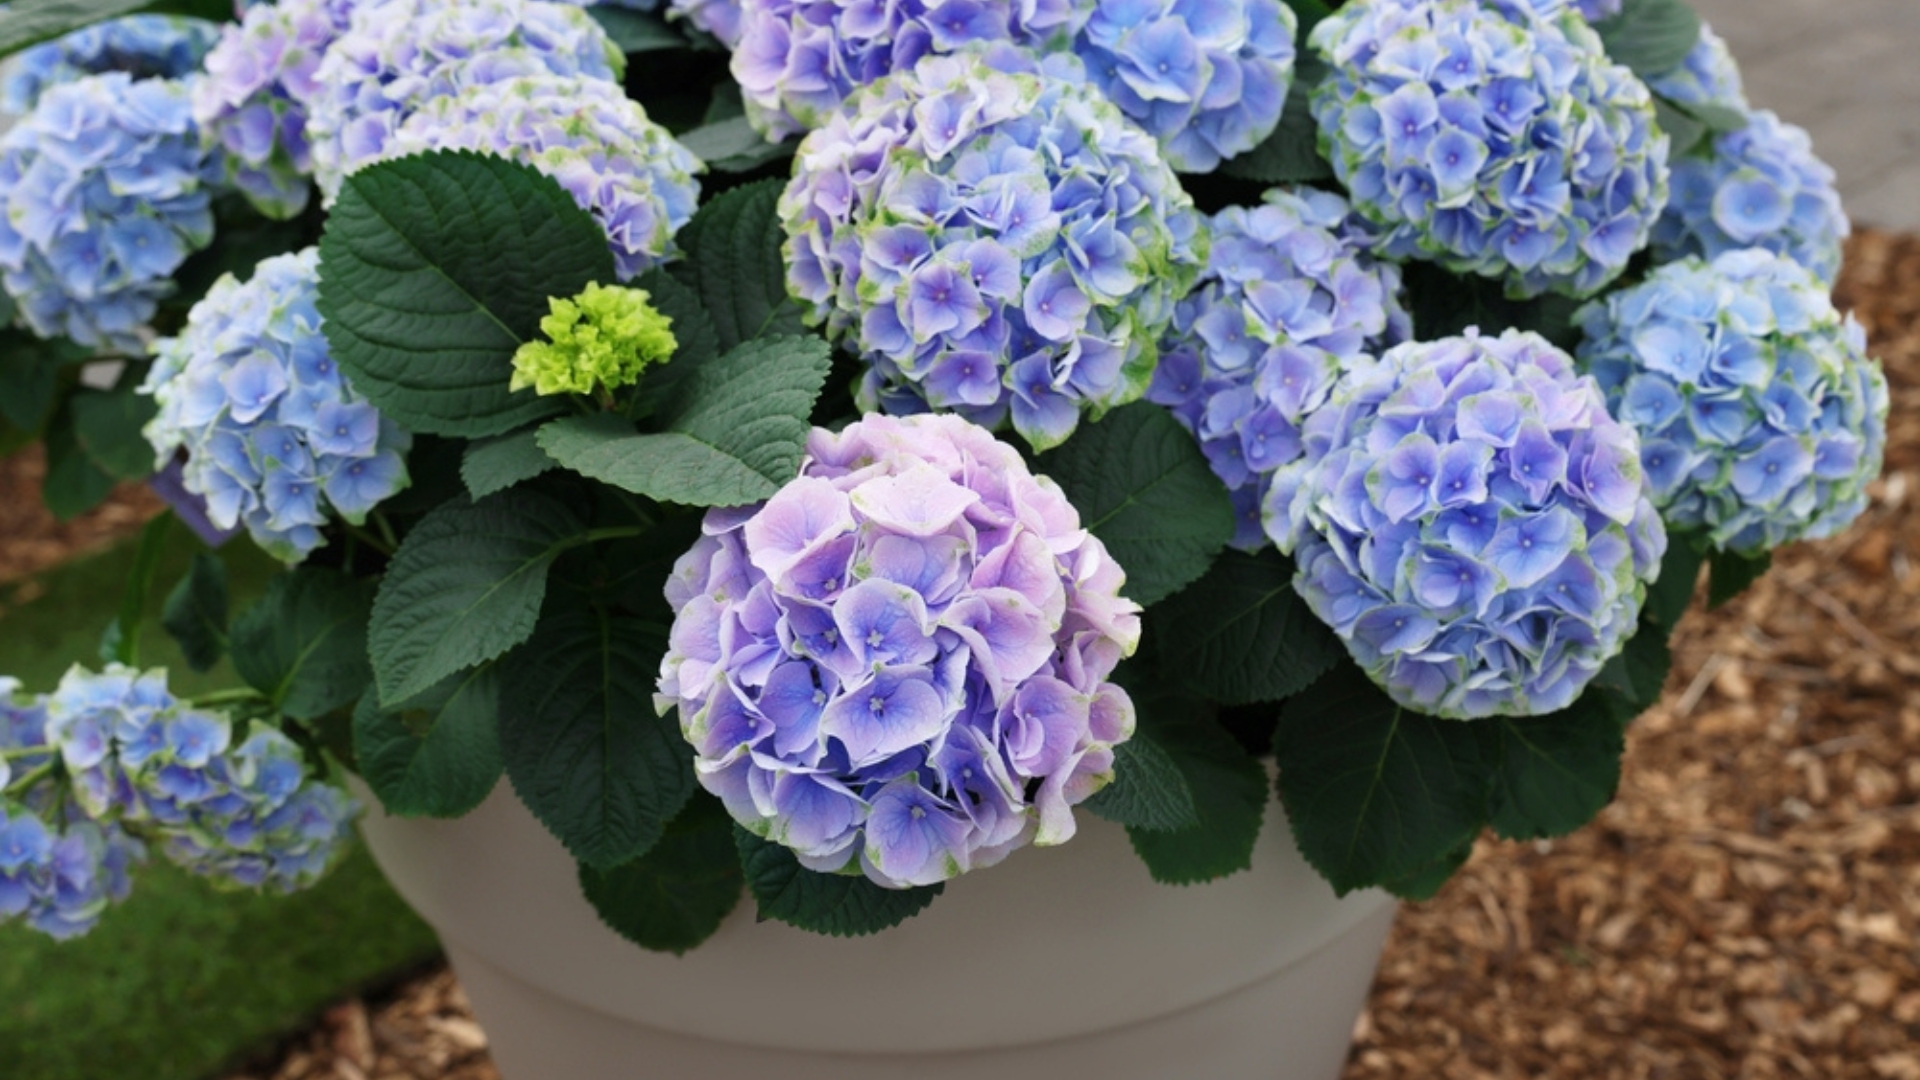
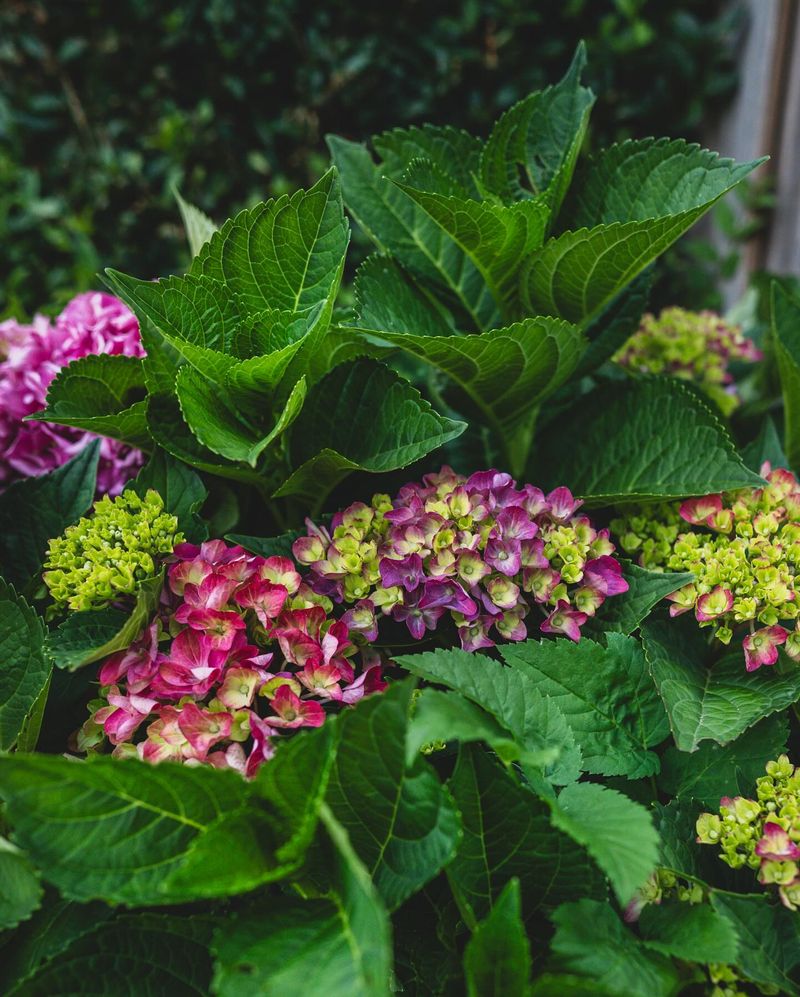
Create a custom blend with equal parts quality potting soil, peat moss, and perlite or pumice. For blue hydrangeas, use acidic soil with a pH between 5.2-5.5. Pink varieties prefer slightly alkaline soil with a pH of 6.0-6.2.
Refresh the top few inches of soil annually to replenish nutrients and improve drainage.
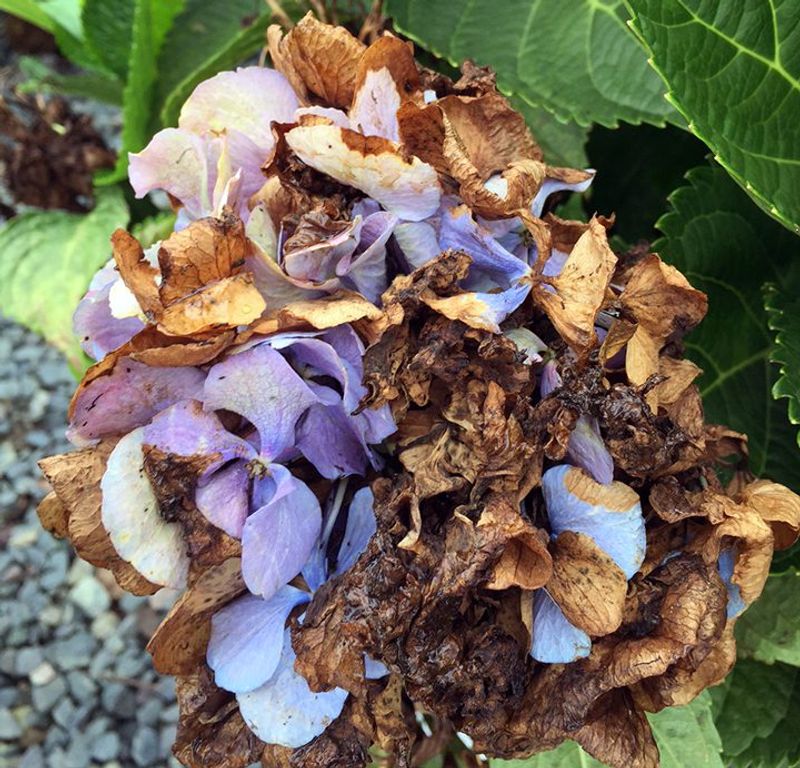
5. Sunlight Exposure Problems
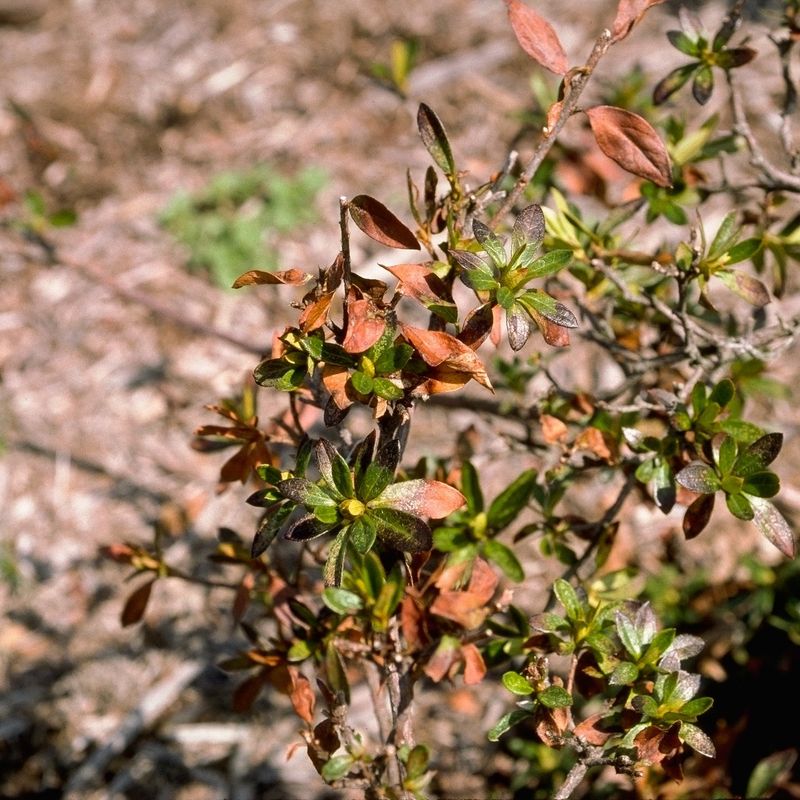
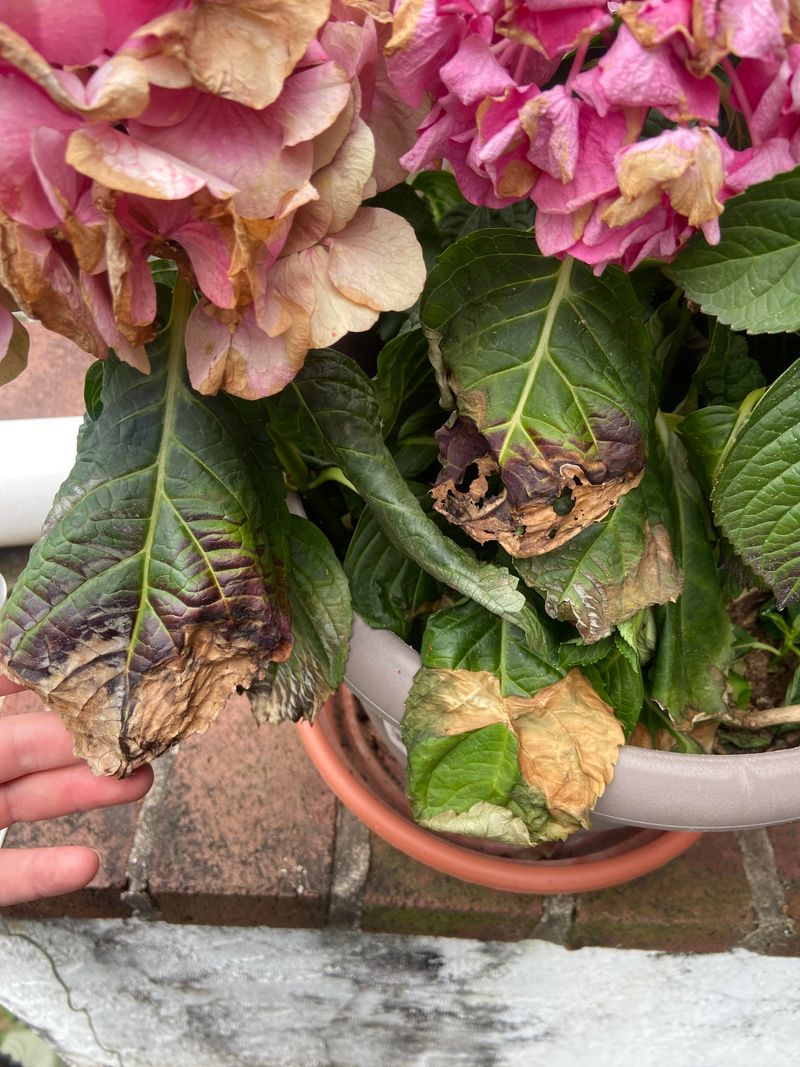
Scorched leaves with brown edges signal too much direct sun, while sparse flowering indicates insufficient light. Hydrangeas need a delicate balance – morning sunshine with afternoon shade is ideal.
Eastern exposures work wonderfully for most varieties. If your hydrangea sits in all-day sun, consider moving it to a more sheltered spot during summer’s peak heat.
In very hot climates, your hydrangea might benefit from light shade throughout the day to prevent stress.
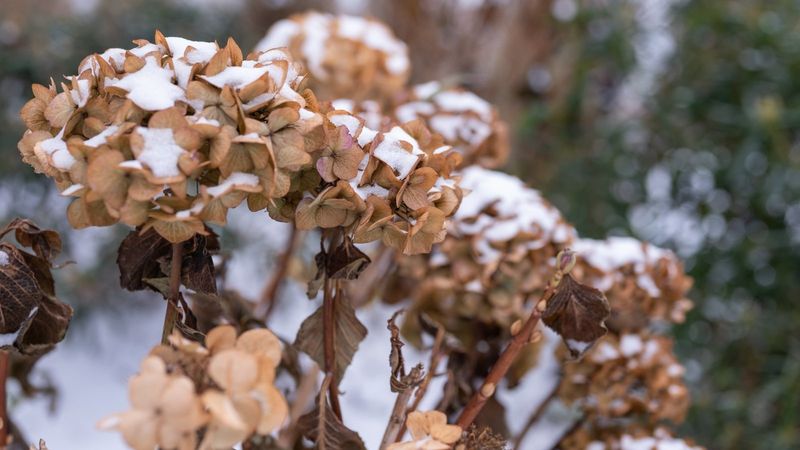
6. Temperature Extremes
Hydrangeas can’t handle temperature rollercoasters. Sudden cold snaps can kill emerging buds, while scorching heat waves stress the entire plant. Most varieties struggle when temperatures drop below 32°F or soar above 85°F.
During winter, move pots to a protected area like a garage or wrap them in burlap. In summer heat waves, create shade with umbrellas or move containers to cooler spots.
Remember that potted plants experience more extreme temperature fluctuations than garden-planted ones.
7. Fertilizer Mistakes
Over-fertilizing burns hydrangea roots, while under-fertilizing leads to weak growth and poor flowering. Brown leaf edges often signal fertilizer burn from applying too much.
Feed potted hydrangeas with a slow-release fertilizer formulated for acid-loving plants in early spring. Apply at half the recommended strength to avoid root damage.
Stop fertilizing by August to allow plants to prepare for dormancy. Excess nutrients in fall can stimulate vulnerable new growth that won’t survive winter.
8. Pest Infestations
Tiny pests can cause major damage to potted hydrangeas. Spider mites create fine webbing and cause stippled yellowing on leaves, while aphids cluster on new growth, distorting leaves and buds.
Regularly inspect the undersides of leaves for early signs of trouble. A strong spray of water often dislodges minor infestations before they become serious.
For persistent problems, try insecticidal soap or neem oil, applying in the evening to prevent leaf burn and protect beneficial insects.
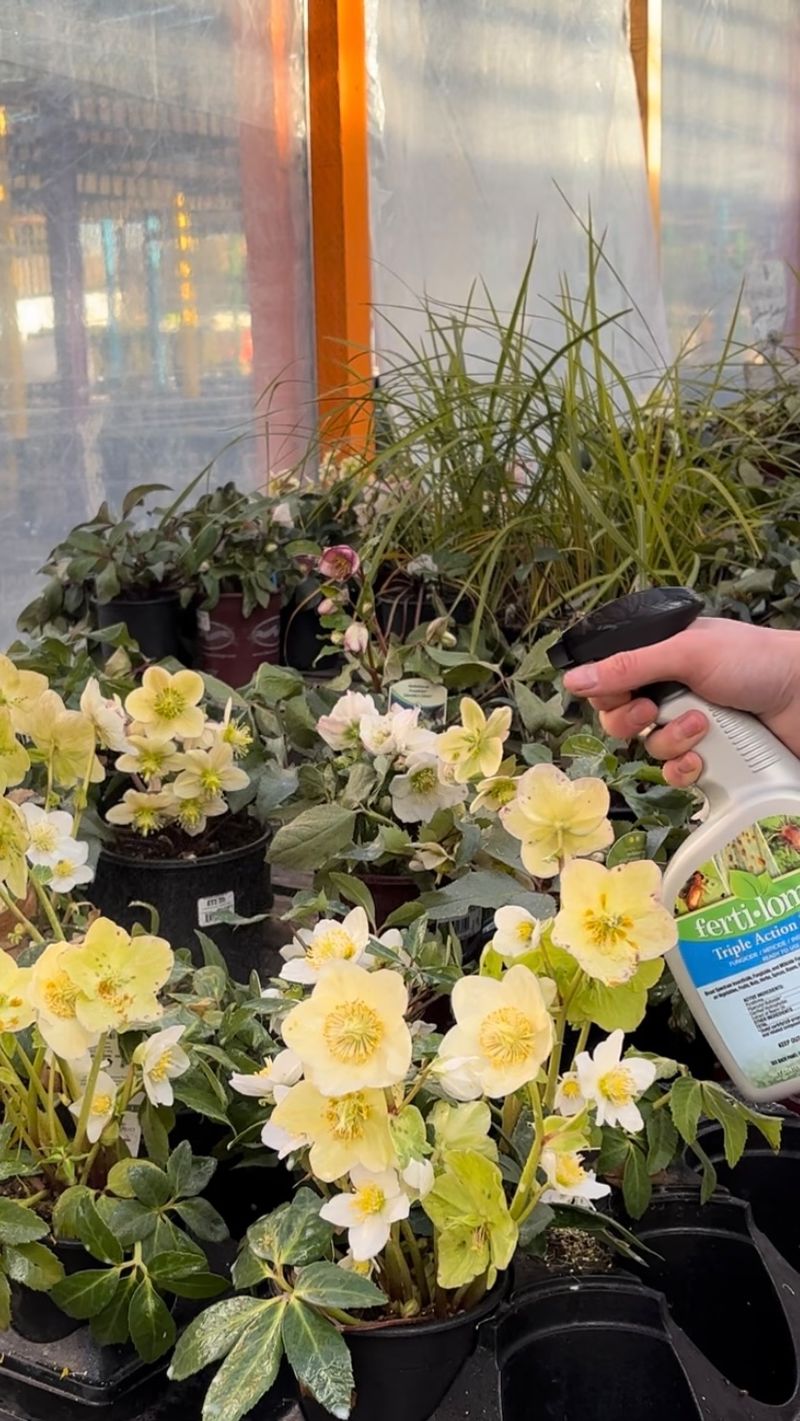
9. Disease Development
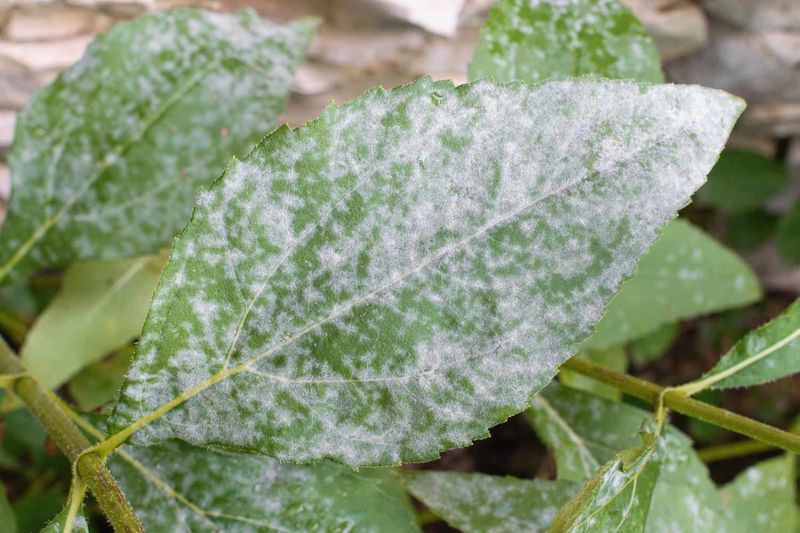
Fungal issues like powdery mildew and leaf spot thrive in humid conditions with poor air circulation. White powdery coating or dark spots on leaves indicate fungal problems that weaken your plant over time.
Water at the base rather than overhead to keep foliage dry. Space potted plants properly to allow air movement around leaves.
Remove and dispose of affected leaves immediately, and apply a fungicide labeled for hydrangeas if problems persist. Prevention is much easier than curing established fungal diseases.
10. Improper Pruning Timing
Cutting hydrangeas at the wrong time removes next year’s flower buds. Most hydrangeas form flower buds during late summer and fall for the following year’s blooms.
For big-leaf hydrangeas (Hydrangea macrophylla), prune right after flowering finishes. Panicle and smooth hydrangeas can be pruned in late winter before new growth begins.
Always use clean, sharp pruners and remove no more than one-third of the plant at once. When in doubt, limit pruning to removing only dead or damaged branches.
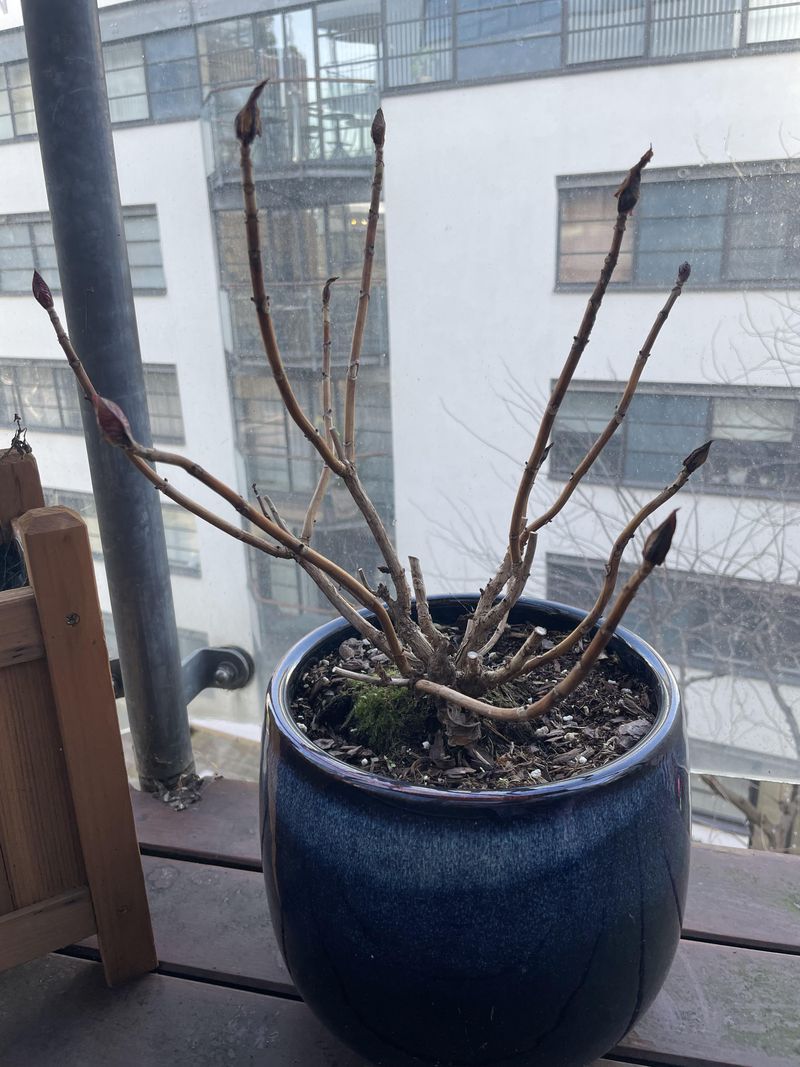
11. Winter Protection Failure
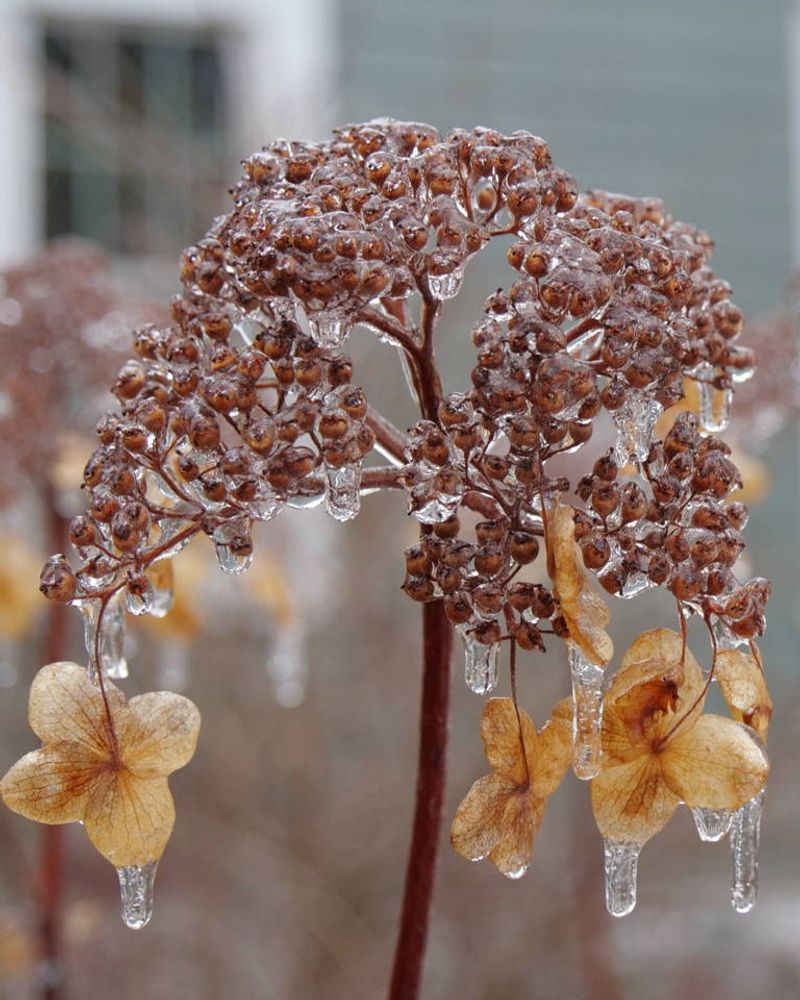
Potted hydrangeas are more vulnerable to winter damage than garden-planted ones because their roots aren’t insulated by surrounding soil. Frozen roots often kill plants even when the top looks fine.
Move containers to a protected location like an unheated garage or basement during winter. Aim for temperatures that stay between 25-40°F.
If you must leave pots outdoors, wrap them with bubble wrap or burlap and place against a sheltered wall. Mulch heavily around the base for extra insulation.
12. Ignoring Dormancy Needs
Hydrangeas require a period of winter rest to reset their growing cycle. Without proper dormancy, plants become weak and eventually stop flowering altogether.
Allow your hydrangea to experience cooler temperatures in fall as days shorten. Reduce watering slightly but never let the soil completely dry out.
Don’t bring potted hydrangeas indoors as houseplants during winter – they need that chilling period. A cool garage or basement provides ideal conditions for their necessary winter nap.
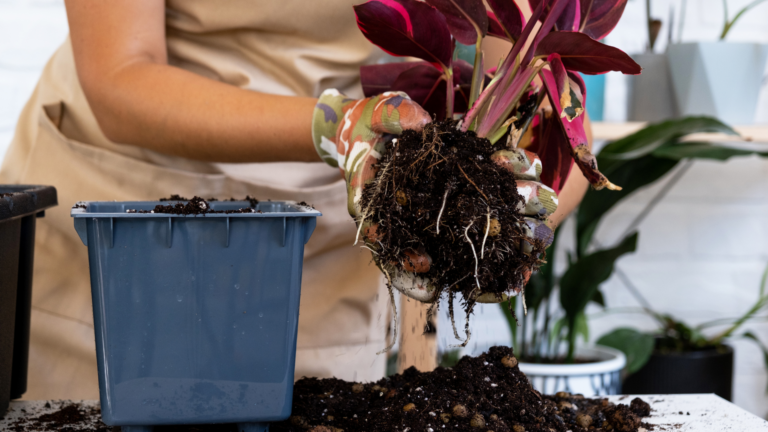
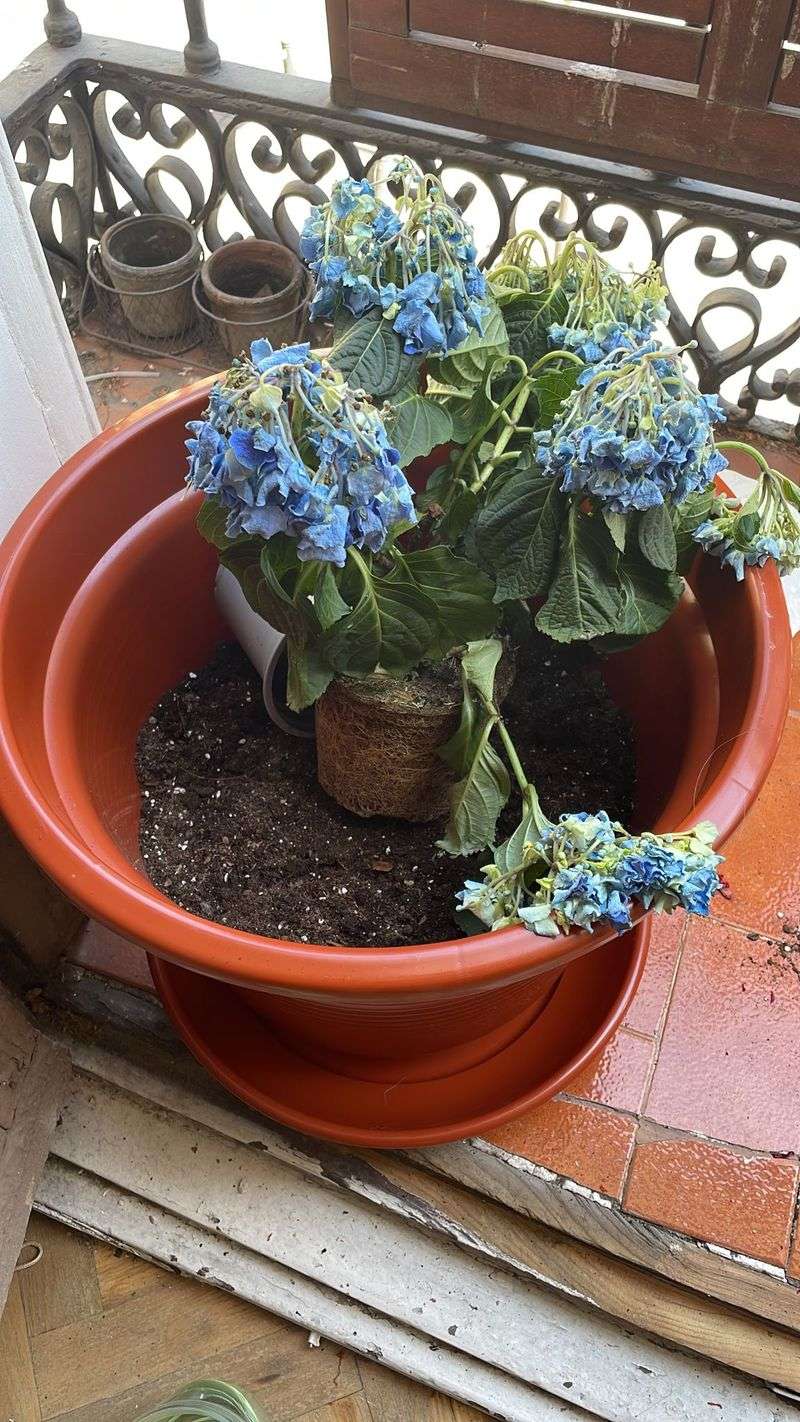
13. Transplant Shock
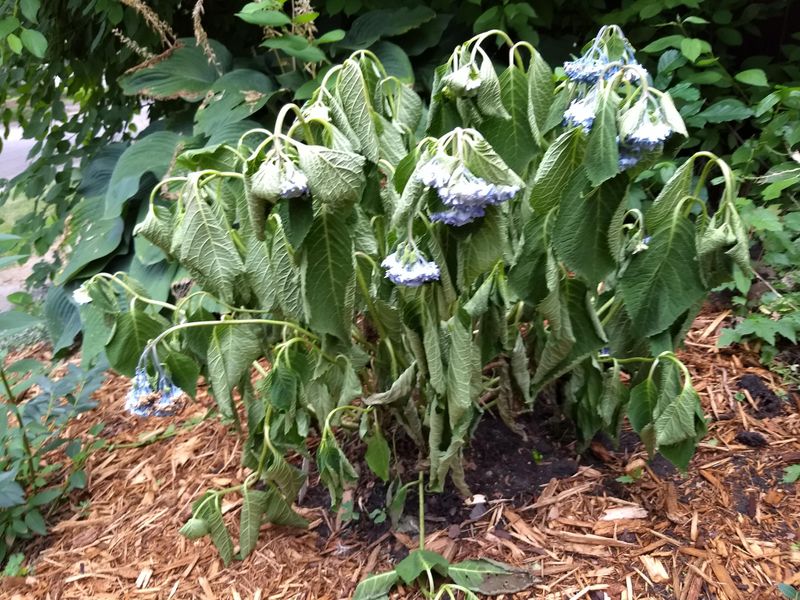
Hydrangeas sulk after being moved to new containers, showing wilting despite adequate water. Their delicate roots easily damage during repotting, causing temporary stress.
Minimize transplant shock by repotting in early spring before new growth emerges. Keep as much of the original root ball intact as possible.
After repotting, place the plant in shade for a week and water thoroughly. Avoid fertilizing until you see new growth, which signals that your hydrangea has recovered from the move.
14. Water Quality Issues
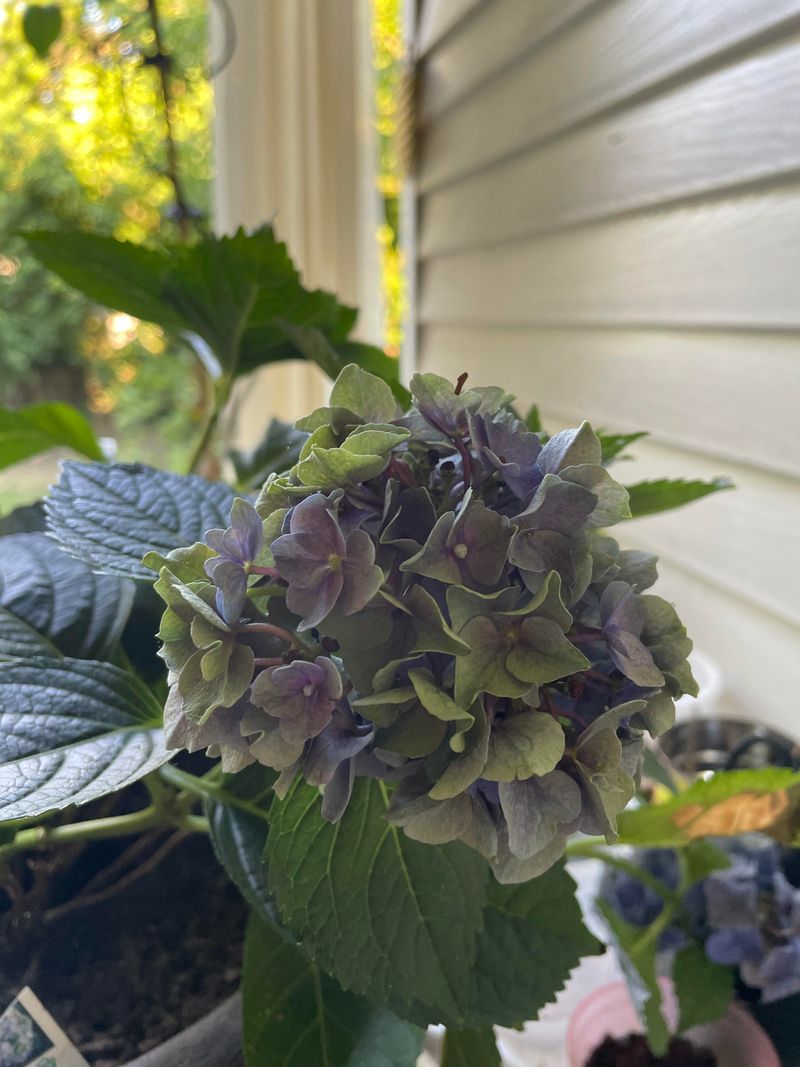
Hydrangeas can be sensitive to chemicals in tap water. Chlorine, fluoride, and high salt levels may cause leaf browning or affect flower color, especially in blue varieties.
If possible, collect rainwater for your hydrangeas – they’ll thank you with lusher growth. Letting tap water sit overnight before using allows chlorine to dissipate.
Consider installing a simple rain barrel to harvest nature’s perfect hydrangea water. Your plants will respond with healthier growth and more vibrant blooms.
15. Forgetting to Replenish Nutrients
Container plants deplete their soil nutrients much faster than garden plants. Over time, even the best potting mix becomes exhausted, leaving plants hungry and weak.
Topdress potted hydrangeas annually by removing the top 2-3 inches of old soil and replacing it with fresh potting mix and compost. This refreshes nutrients without disturbing established roots.
Every 2-3 years, completely repot your hydrangea in fresh soil. Spring is the ideal time for this more significant root disturbance.