18 Game-Changing Tips For Growing A Persimmon Tree From Seed
Dreaming of plucking sweet, golden persimmons from a tree you grew yourself? It all starts with a single seed—and a little know-how. Growing a persimmon tree from seed might sound tricky, but with the right tips (and a bit of patience), you’ll be well on your way to a thriving, fruit-filled backyard beauty.
In this guide, we’ll walk you through 18 game-changing tips to help you sprout, nurture, and grow your own persimmon tree—straight from the seed to sweet success.
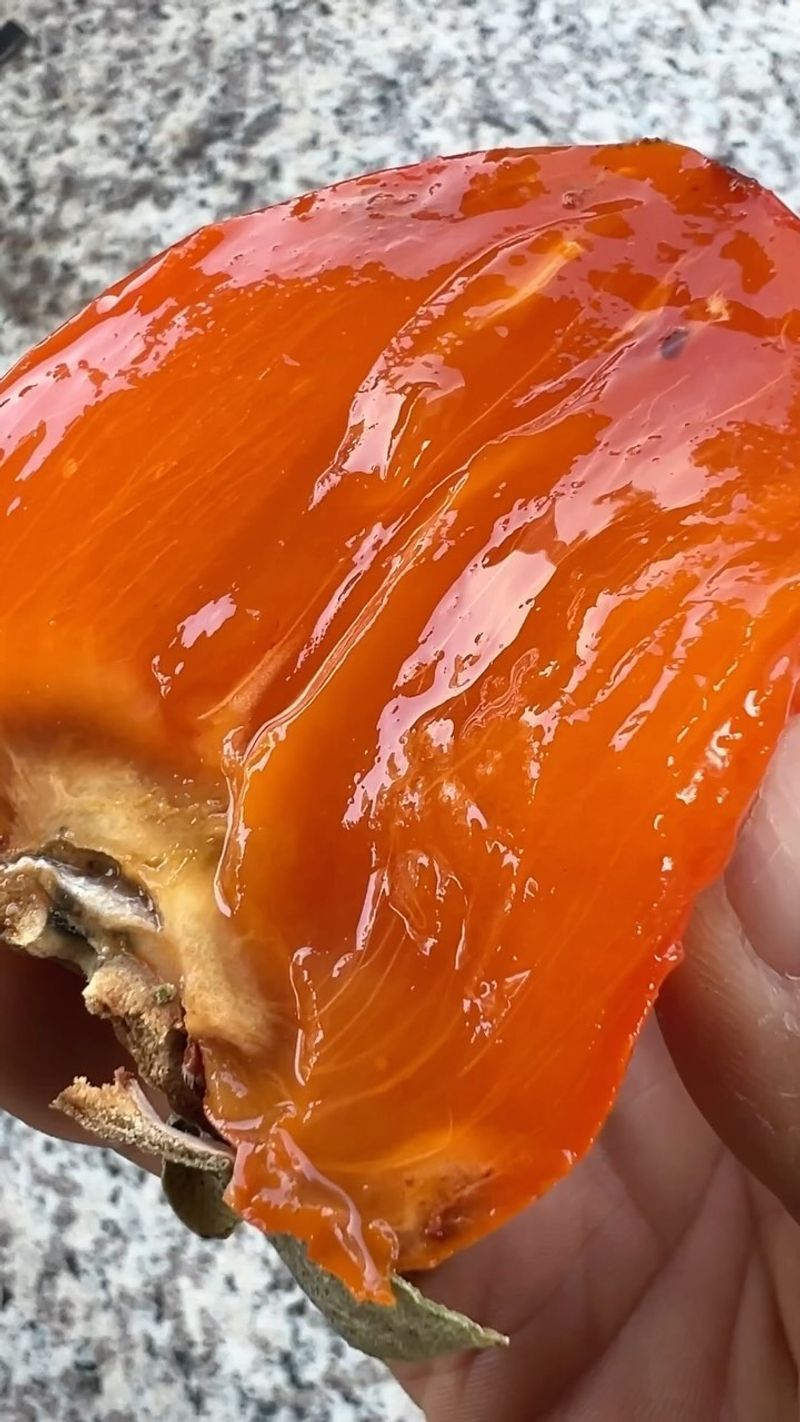
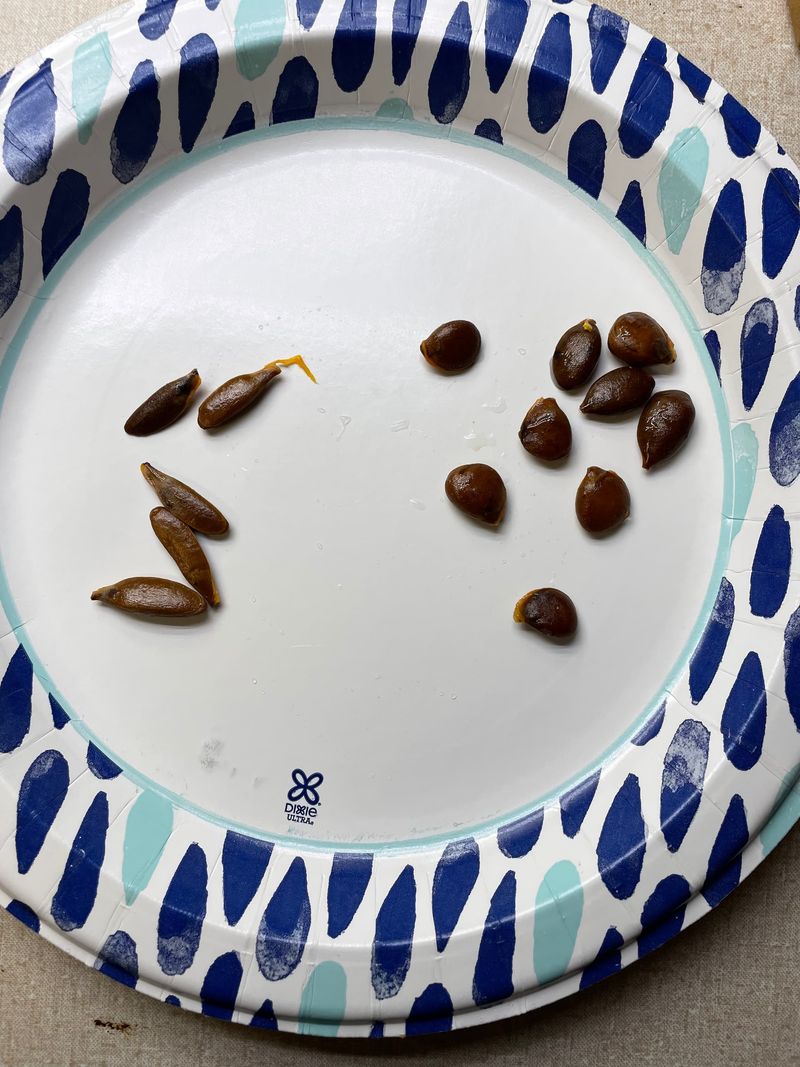
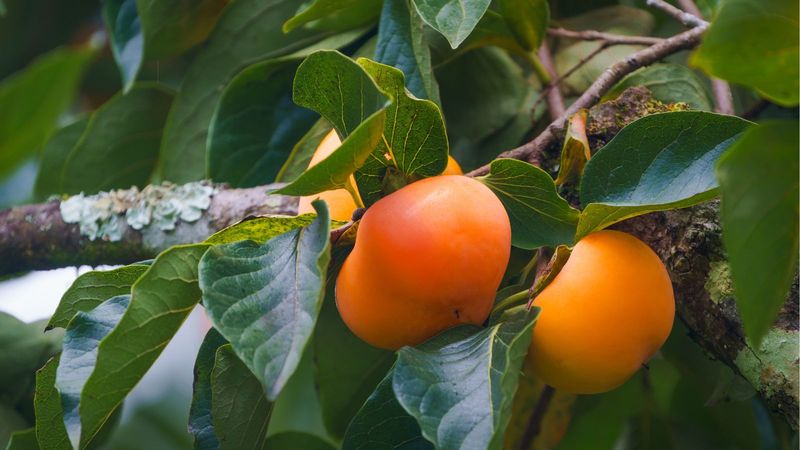
1. Harvest Seeds From Ripe Fruit
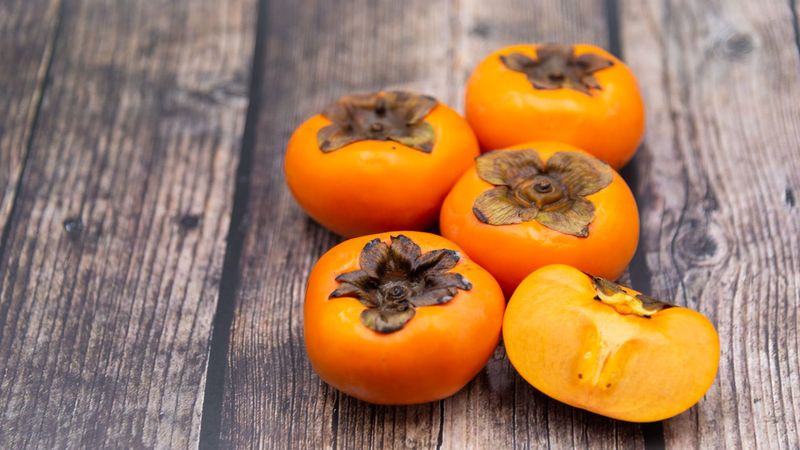
The journey begins with selecting fully ripe persimmons – they should be soft and deep orange in color. Cut the fruit open and gently remove the flat, oval seeds inside. You’ll typically find between 4-8 seeds per fruit. Rinse them thoroughly under cool water to remove any fruit flesh.
Good seeds are plump and brown, not shriveled or discolored. Fresh seeds have the highest germination rates, so try to plant them within a few days of harvesting.
2. Clean Seeds Properly
After extracting seeds from the fruit, soak them in a small bowl of water for about 24 hours. This helps soften any remaining fruit pulp and begins the hydration process that encourages germination. Gently scrub the seeds with your fingers under running water until they’re completely clean.
Persimmon seeds are slippery when wet, so work over a strainer to avoid losing any down the drain. Proper cleaning prevents mold and fungal issues during germination.
3. Cold Stratification Magic
Persimmon seeds need a cold period to break dormancy, mimicking winter conditions. Place clean seeds in a damp paper towel, then seal them in a plastic bag and store in your refrigerator (not freezer) for 2-3 months.
Check weekly to ensure the paper towel stays moist but not soaking wet. You might spot tiny roots appearing toward the end of stratification – that’s a good sign! This process dramatically increases germination success by simulating natural seasonal changes.
4. Perfect Planting Medium
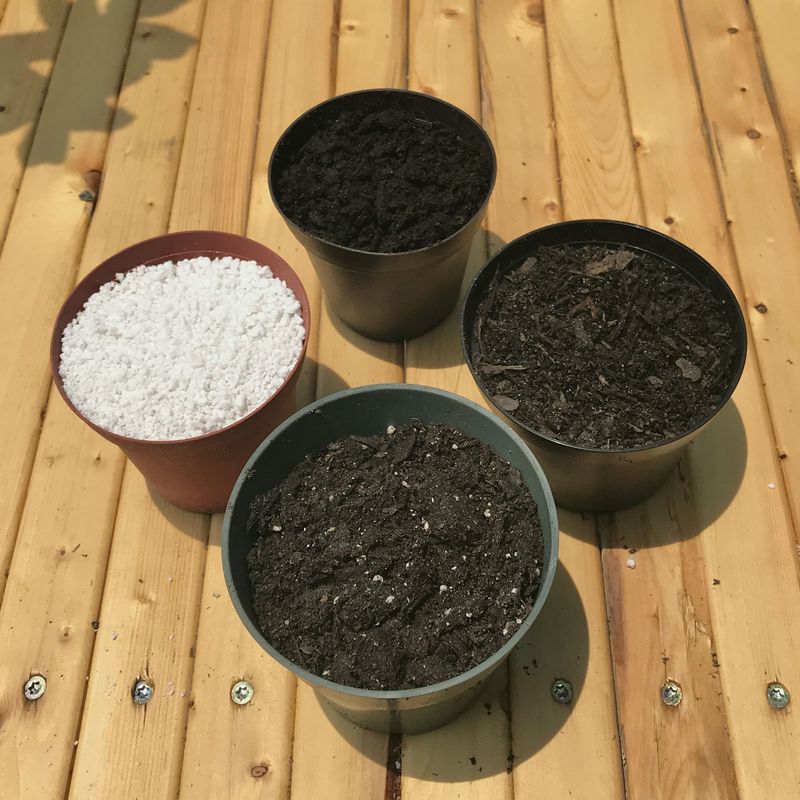
Mix equal parts of peat moss, perlite, and vermiculite to create an ideal seed-starting medium. This blend provides excellent drainage while retaining just enough moisture for germination. Fill small pots about 3 inches deep with this mixture.
Avoid using garden soil which may contain pathogens or weed seeds. The lightweight texture of this special mix makes it easy for delicate seedling roots to grow and expand. Pre-moisten the medium before planting to ensure even moisture distribution throughout.
5. Proper Planting Depth

Plant each stratified seed about 1 inch deep in your prepared pots. Position the seed horizontally rather than vertically for best results. Cover gently with soil without compacting it too firmly. Mark each pot with the planting date using waterproof labels.
The correct depth protects seeds while allowing emerging sprouts to reach sunlight easily. Too shallow, and they might dry out; too deep, and they’ll exhaust energy reserves before reaching the surface.
6. Maintain Consistent Moisture
Keep the soil consistently moist but never soggy during the germination phase. A spray bottle works perfectly for gentle watering that won’t disturb the seeds. Cover pots with clear plastic to create a mini-greenhouse effect that maintains humidity.
Remove the cover briefly each day to prevent mold growth. Once seedlings emerge, gradually reduce humidity by removing covers for longer periods. The delicate balance of moisture is crucial – too dry and seeds won’t sprout; too wet and they might rot.
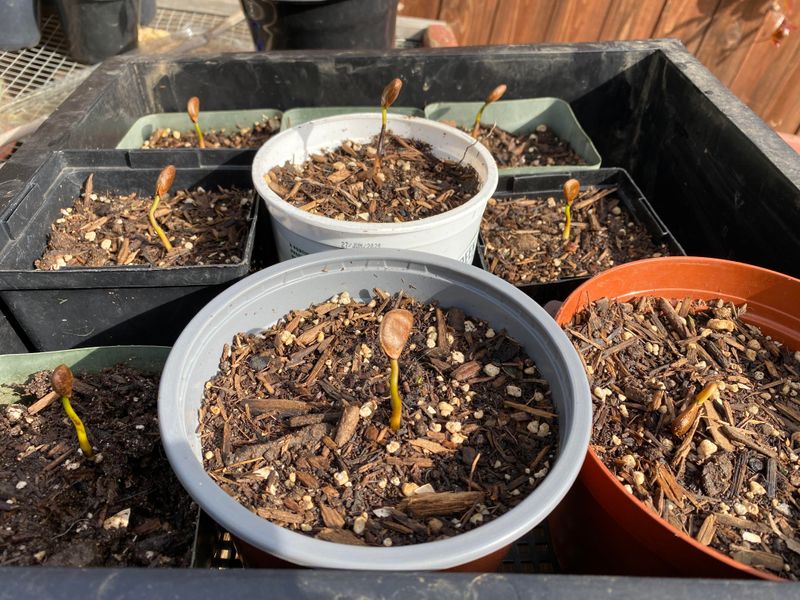
7. Warmth Speeds Germination
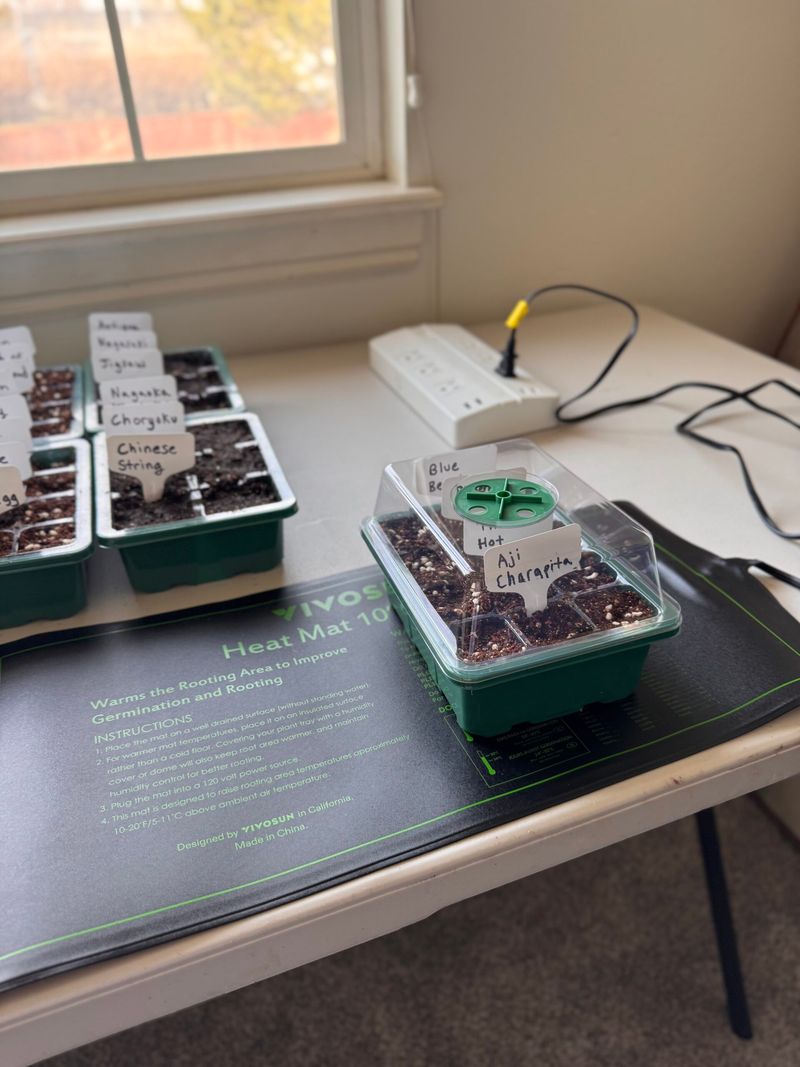
Persimmon seeds germinate best at temperatures between 70-85°F (21-29°C). Place pots in a consistently warm location like on top of a refrigerator or use a seedling heat mat to maintain optimal temperature. Avoid windowsills that fluctuate between hot days and cold nights.
Consistent warmth signals to the seed that growing conditions are favorable. With proper temperature, stratified seeds typically sprout within 3-6 weeks, though some may take longer.
8. Light Requirements After Sprouting
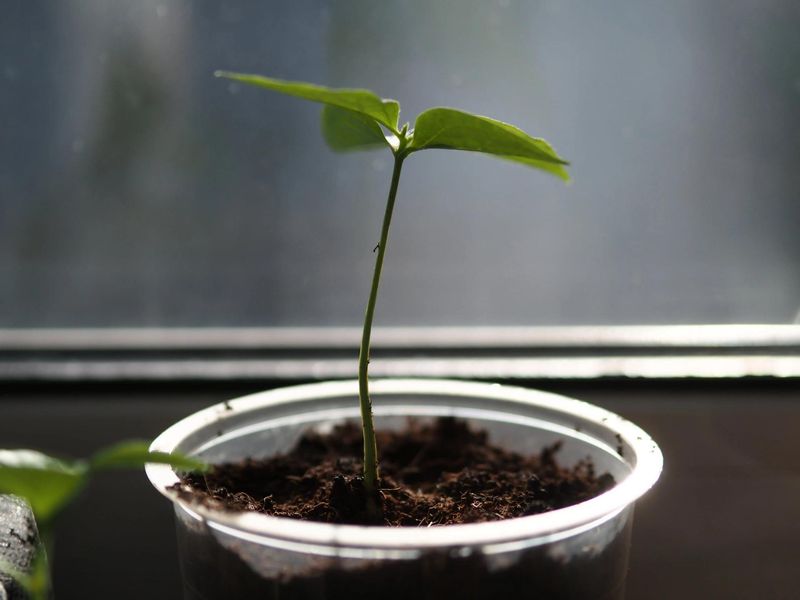
Once your persimmon seeds sprout, move them to a spot with bright, indirect sunlight. Direct afternoon sun can scorch delicate seedlings, so east-facing windows are ideal for morning light exposure. If natural light is limited, use grow lights positioned 3-4 inches above the seedlings for 14-16 hours daily.
The right light intensity encourages strong, compact growth rather than weak, leggy stems. Rotate pots weekly to ensure even growth on all sides.
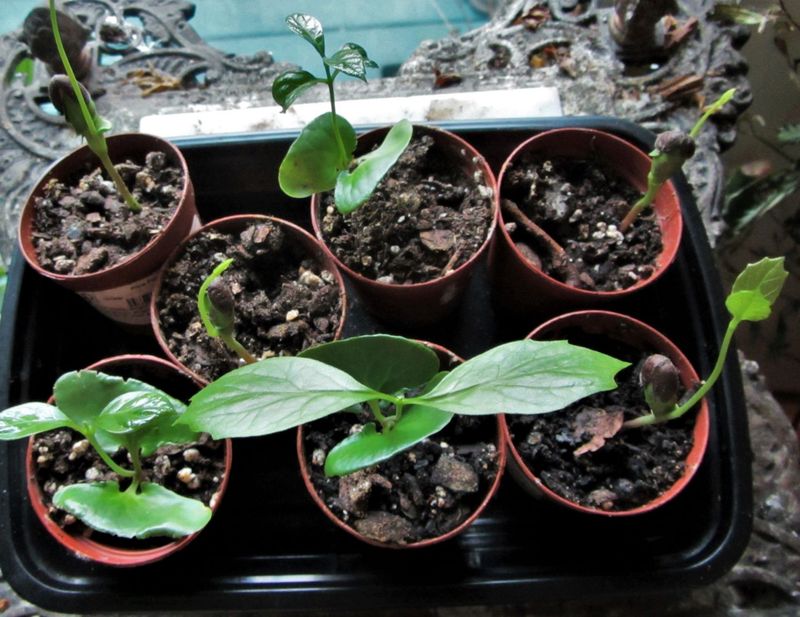
9. First Transplant Timing
Wait until seedlings develop at least 2-3 sets of true leaves before their first transplant. This usually happens 8-10 weeks after germination. The first leaves that emerge are cotyledons (seed leaves), but true leaves look different and mark established root development.
Choose a day when seedlings aren’t stressed – avoid hot, sunny days for transplanting. Carefully move each seedling to a 6-inch pot with fresh potting mix. This step provides more growing space for developing roots and prevents seedlings from becoming rootbound.
10. Hardening Off Process
Before moving persimmon seedlings outdoors permanently, they need to adjust gradually to outdoor conditions. Start by placing them outside in a sheltered, shady spot for just 1-2 hours, then bring them back indoors. Increase outdoor time by 1-2 hours daily over a two-week period.
Gradually introduce more sunlight and wind exposure. This hardening off process strengthens cell walls and cuticle layers, preventing shock when permanently planted outdoors. Skip this step and your seedlings might wilt, sunburn, or even die.
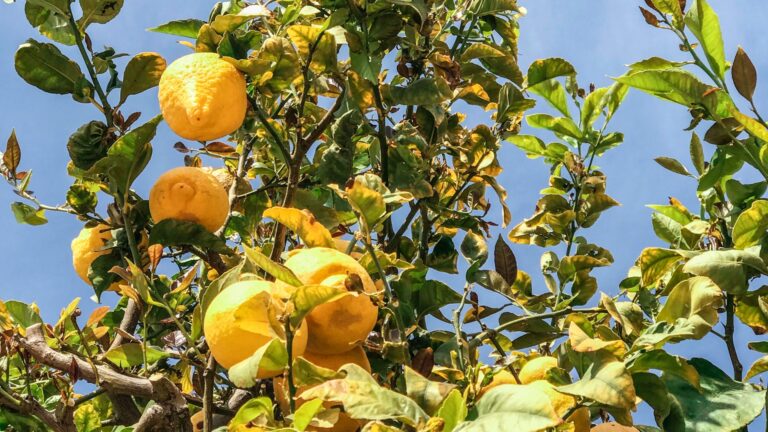
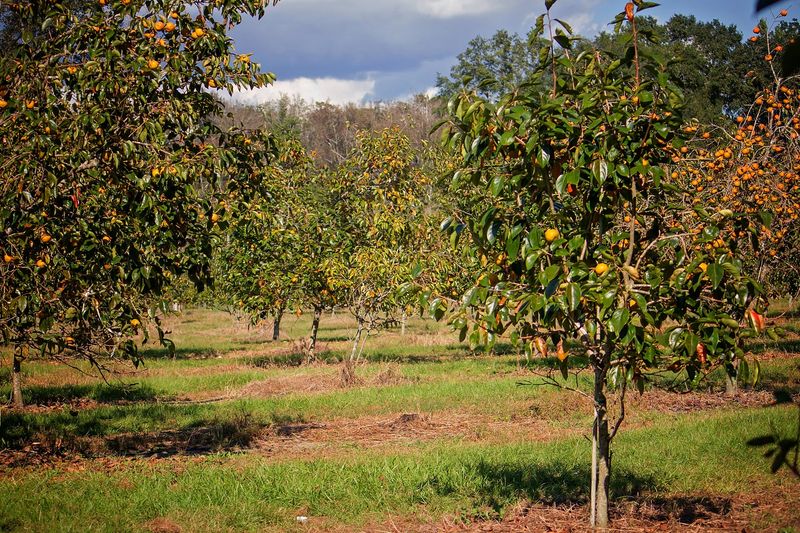
11. Final Planting Location Selection
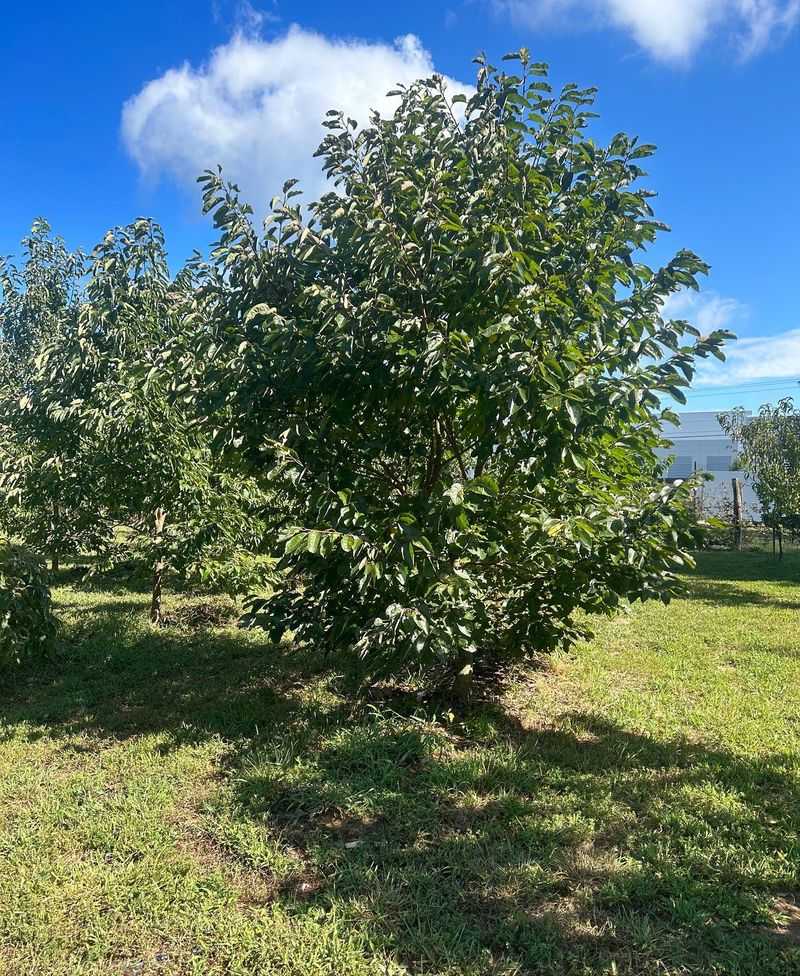
Persimmon trees thrive in full sun locations with well-draining soil. Select a spot with at least 6-8 hours of direct sunlight daily and protection from strong winds. These trees can reach 25-30 feet tall, so avoid planting near buildings or power lines.
Consider the mature spread of 25 feet when spacing multiple trees. Persimmons prefer slightly acidic to neutral soil (pH 6.0-7.0). The perfect location provides enough space for roots to expand and branches to spread without competition from other large trees.
12. Proper Hole Preparation
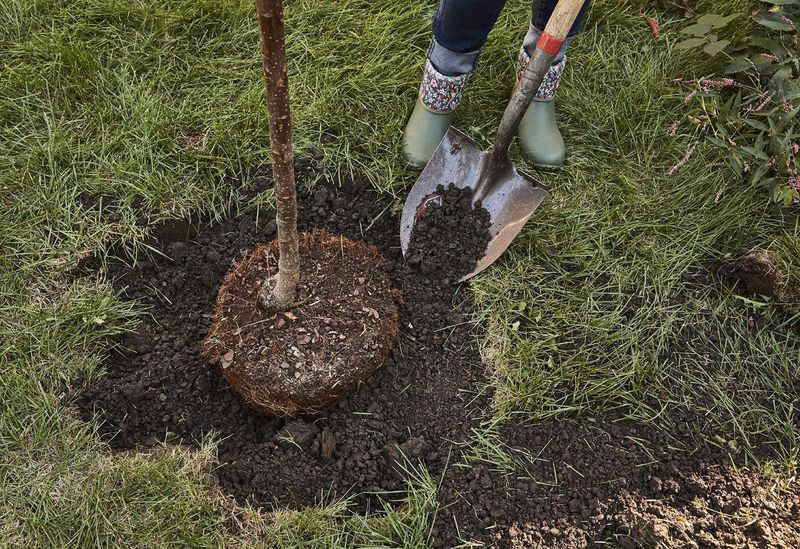
Dig a hole twice as wide as your seedling’s root ball but only as deep. This width encourages horizontal root growth while maintaining the proper planting depth. Mix some compost into the native soil you’ve removed – about 30% compost to 70% native soil.
Roughen the sides of the hole with your shovel to prevent the roots from circling. Creating this ideal planting environment helps young trees establish quickly. Avoid amending the soil too much, as roots need to adapt to native conditions eventually.
13. Watering Schedule For Young Trees
Newly planted persimmon seedlings need deep, regular watering. Give them about 5 gallons weekly, divided into 2-3 sessions during the first growing season. Water slowly at the base to encourage deep root development.
Create a 3-foot diameter water basin around the trunk to prevent runoff. Adjust your schedule during rainy periods – the goal is consistent moisture, not waterlogged soil. After the first year, gradually reduce watering frequency but increase volume per session to promote drought tolerance.
14. Mulching Benefits And Methods
Apply a 3-4 inch layer of organic mulch around your persimmon tree, keeping it 3-4 inches away from the trunk. Shredded bark, wood chips, or straw work wonderfully to retain soil moisture and suppress weeds. Extend the mulch ring to match the drip line of the tree. This protective layer moderates soil temperature extremes and gradually adds nutrients as it decomposes. Refresh the mulch annually in spring as it breaks down, adding just enough to maintain the recommended depth.
15. First Year Pruning Approach
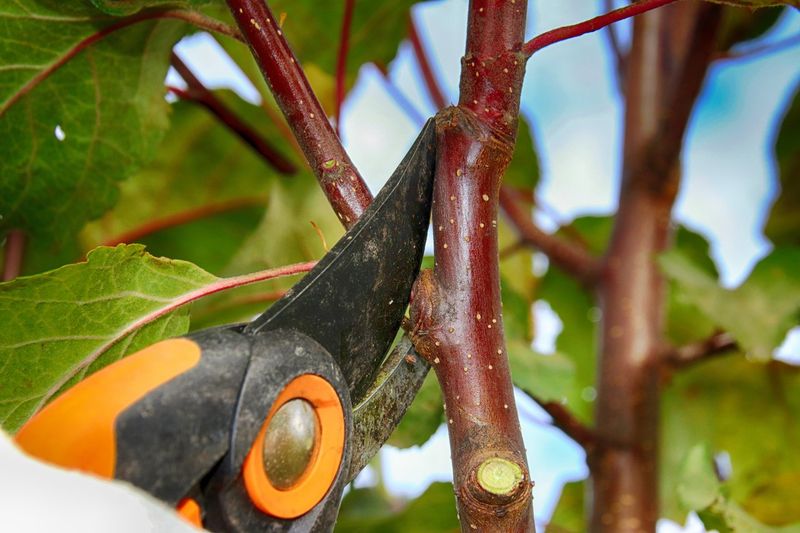
During the first dormant season after planting, prune your young persimmon to establish a strong framework. Select 3-5 well-spaced branches to form the main scaffold, removing competing or inward-growing branches. Cut back the central leader slightly to encourage lateral branching.
Make all cuts at a 45-degree angle just above an outward-facing bud. Minimal early pruning focuses on structure rather than fruit production. This foundation pruning creates a vase-shaped tree that will support fruit loads and allow good air circulation.
16. Fertilizing Young Persimmon Trees

Hold off on fertilizing immediately after planting. Wait until the tree shows active growth, typically in the second growing season. Then apply a balanced, slow-release organic fertilizer with equal NPK numbers (like 10-10-10) in early spring. Use about 1/2 pound per year of tree age, up to a maximum of 5 pounds.
Spread fertilizer in a ring starting 6 inches from the trunk and extending to the drip line. Over-fertilizing can burn roots and create excessive leafy growth at the expense of fruit development.
17. Protection From Wildlife
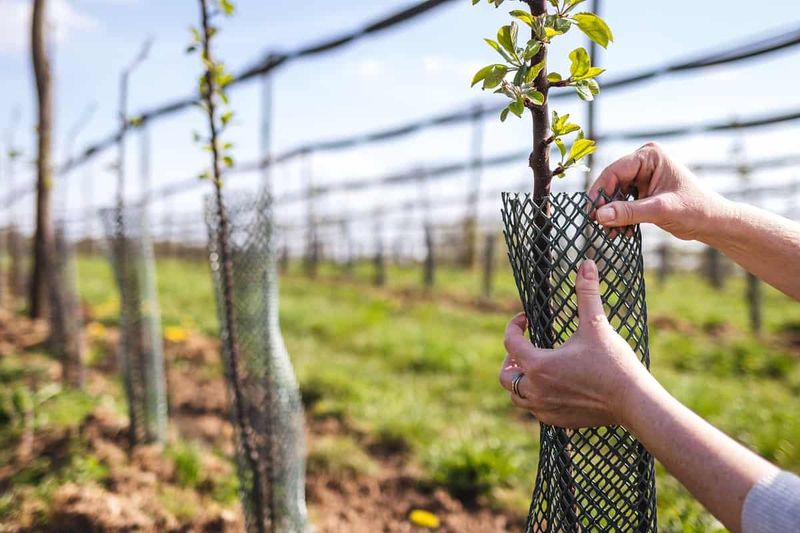
Young persimmon trees are particularly attractive to deer, rabbits, and other wildlife. Install a 3-foot cylinder of hardware cloth around the trunk, pushed 2-3 inches into the soil to prevent rabbit damage. For deer protection, use taller fencing or commercial repellents. Birds may target ripening fruit in later years – lightweight netting can help during harvest season. Protecting your investment from wildlife damage is especially crucial during the first few years when trees are most vulnerable. Check protective measures regularly to ensure they haven’t become restrictive as the tree grows.
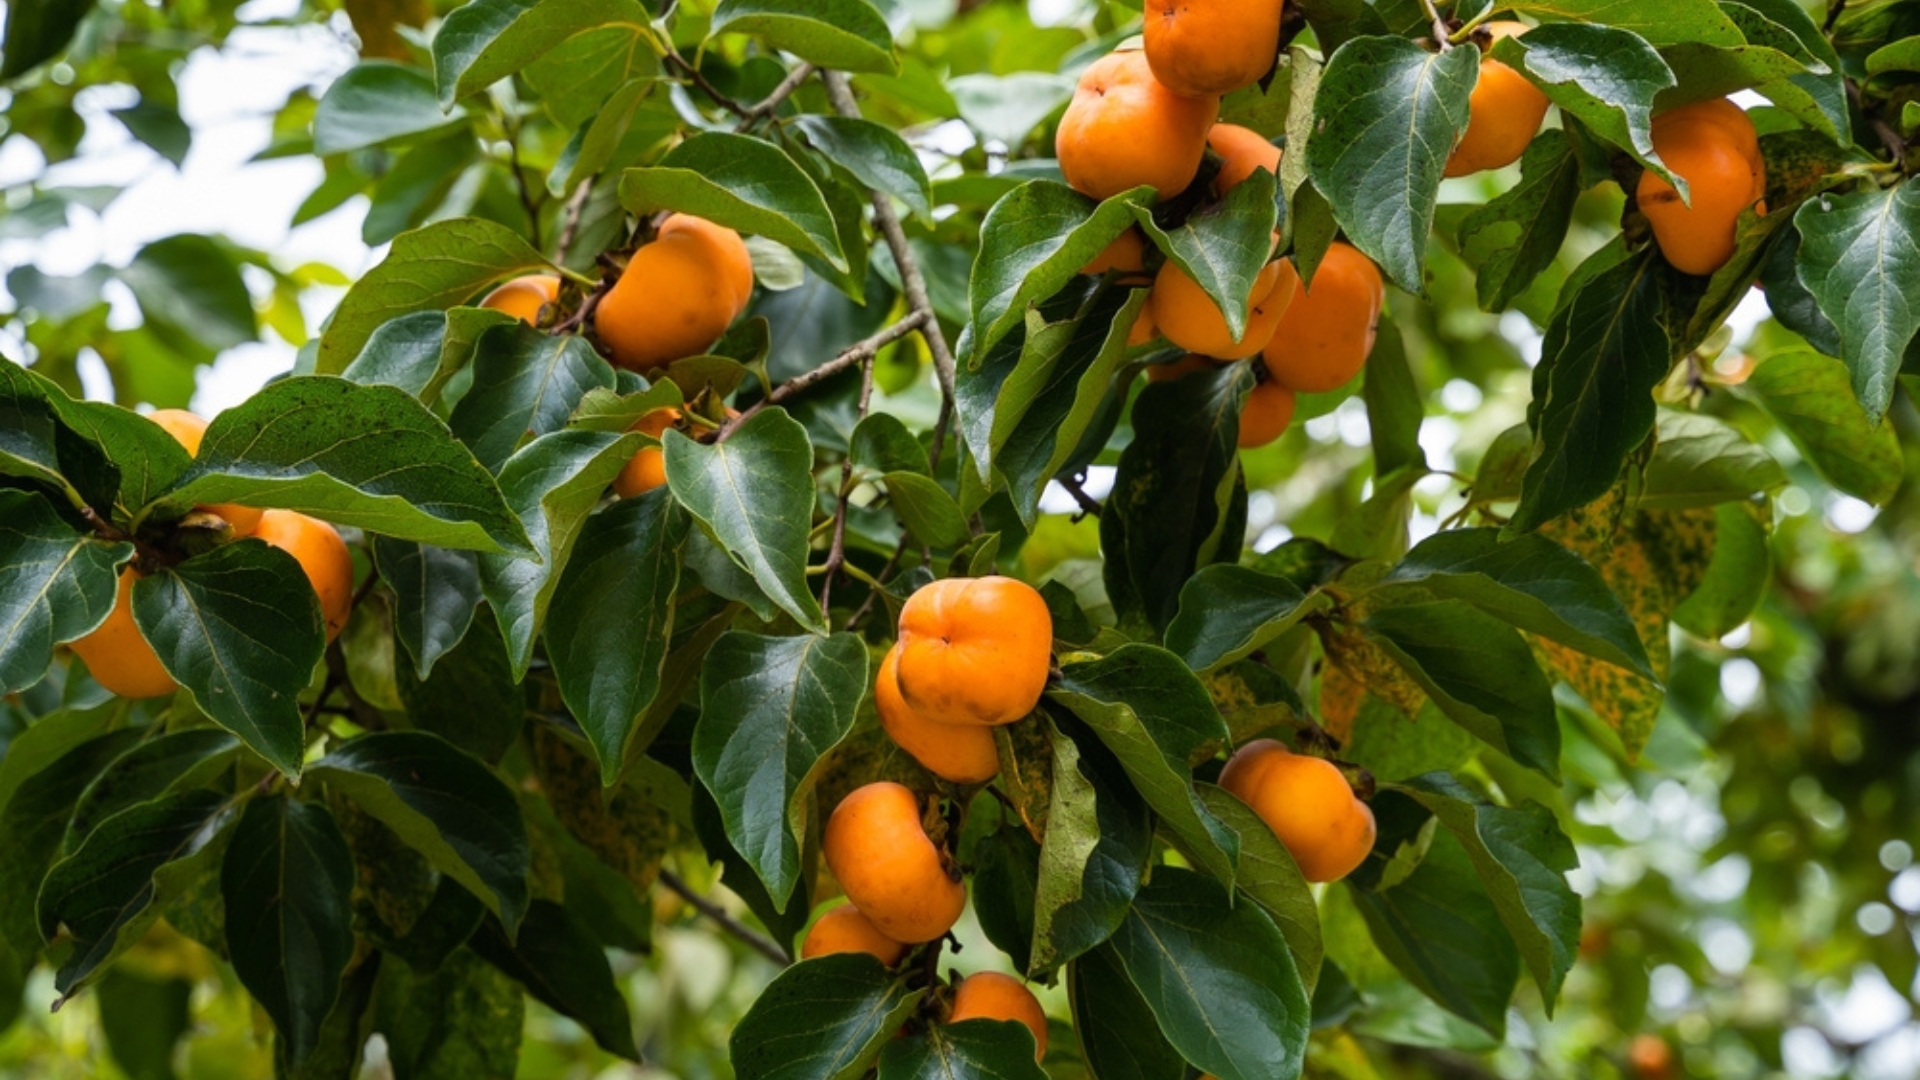
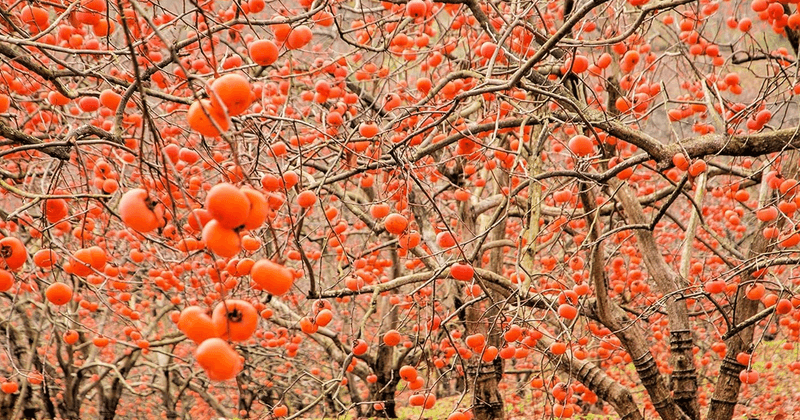
18. Patience With Fruit Production
Persimmon trees grown from seed typically take 5-7 years before producing their first fruit. This long waiting period tests gardeners’ patience but results in stronger, longer-lived trees. Seedling trees may produce fruit that differs somewhat from the parent.
Focus on tree health rather than rushing fruit production. Some growers remove flower buds in early years to direct energy into root and branch development. The reward for patience is decades of beautiful fall color and sweet, nutritious fruit that improves with each passing year.