15 Fixes For A Dying Garlic Crop (Plus 3 Mistakes That Could Be Making It Worse)
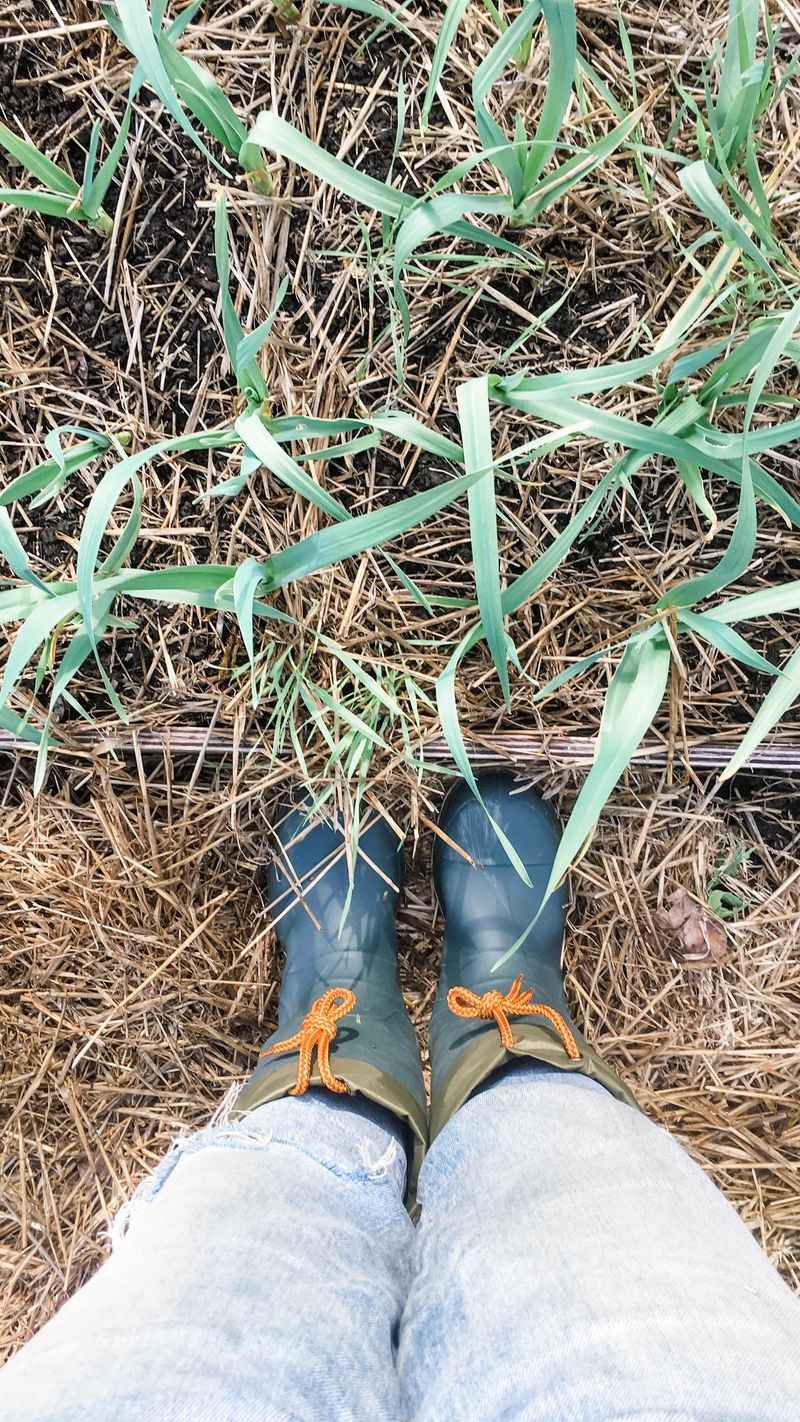
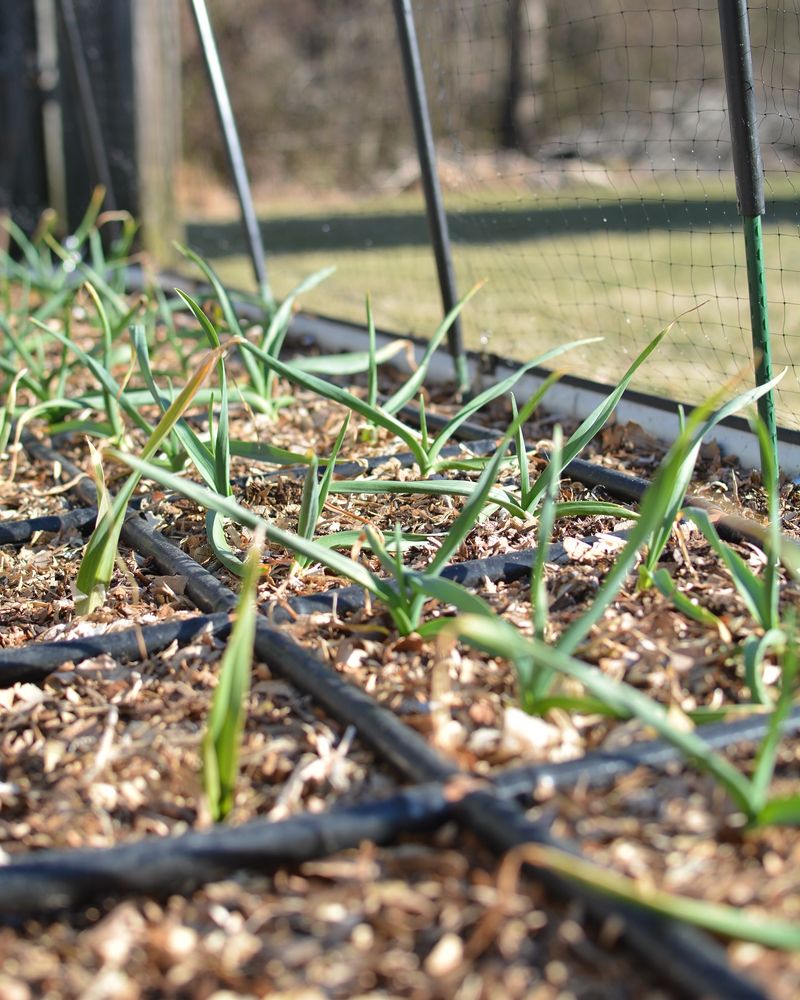
Growing garlic can be rewarding, but sometimes things go south and those promising green shoots start yellowing or wilting before your eyes. Last season, I almost lost my entire crop when strange spots appeared on the leaves – turns out my watering routine was all wrong.
Many gardeners face similar challenges with their garlic, from mysterious fungal issues to pest problems that seem to appear overnight. The frustration is real when those bulbs you’ve nurtured for months suddenly take a turn for the worse.
The good news? Most garlic problems have straightforward solutions. With a few adjustments to your growing practices, you can rescue struggling plants and prevent future issues from taking root in your garden beds.
1. Check Your Soil PH
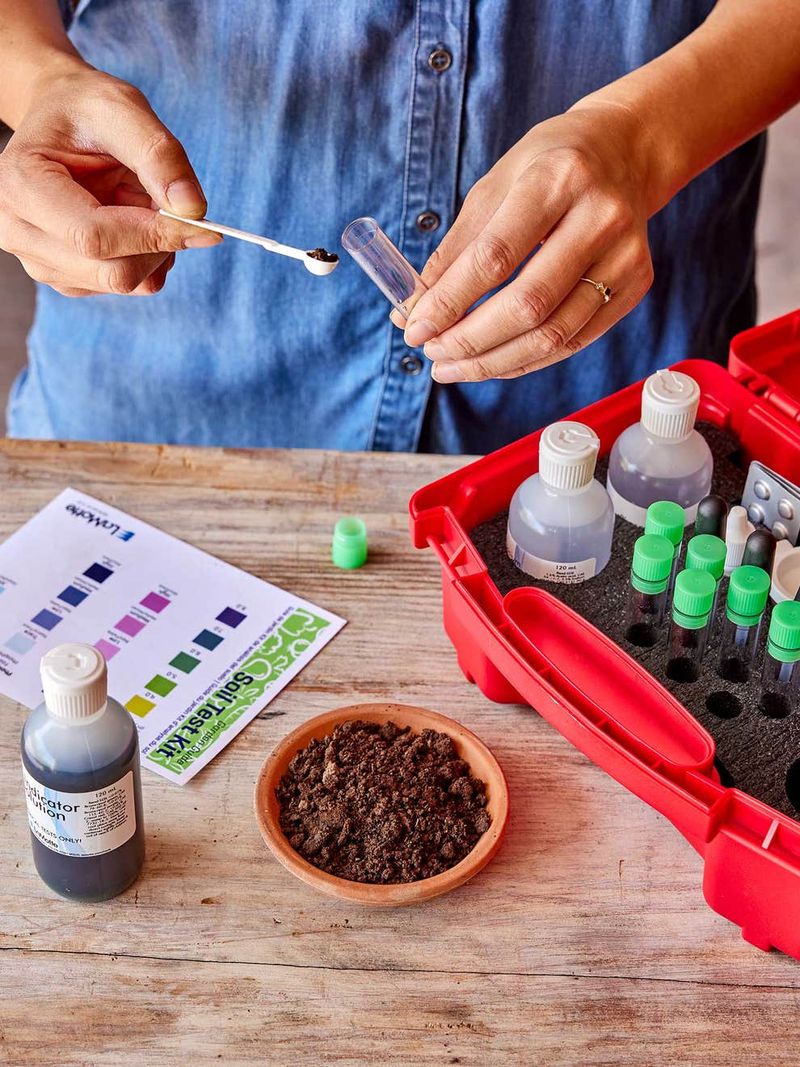
Garlic thrives in slightly acidic soil with a pH between 6.0 and 7.0. When my plants started looking sickly last spring, a simple pH test revealed my soil was too alkaline at 7.8.
You can easily lower pH by adding sulfur or pine needle mulch around your plants. For soil that’s too acidic, incorporate some garden lime. The difference proper pH makes is remarkable – my previously yellowing plants greened up within two weeks after adjustment.
Most garden centers sell inexpensive soil test kits that make checking pH a five-minute job. It’s worth testing annually, as soil conditions change over time.
2. Improve Drainage Immediately
Garlic absolutely hates wet feet. I learned this lesson when half my crop rotted after a particularly rainy April. The plants simply couldn’t handle the waterlogged soil.
If your garden bed tends to hold water, create raised rows for your garlic or add plenty of coarse sand and organic matter to improve drainage. For container growers, make sure your pots have adequate drainage holes and consider mixing in perlite or vermiculite.
A quick fix for existing beds is to carefully dig shallow trenches between rows to channel excess water away from the root zone.
3. Adjust Your Watering Schedule
Finding the sweet spot for watering garlic can be tricky. My neighbor waters daily and wonders why her bulbs rot, while I once let mine get too dry during a critical growth phase.
Garlic needs consistent moisture when actively growing, but ease off as harvest approaches. A good rule is to provide about an inch of water weekly during spring growth, then reduce watering when the lower leaves begin to yellow naturally (about 2-3 weeks before harvest).
Morning watering works best, giving foliage time to dry before evening – this simple timing change reduced disease in my garden by half.
4. Feed With Balanced Fertilizer
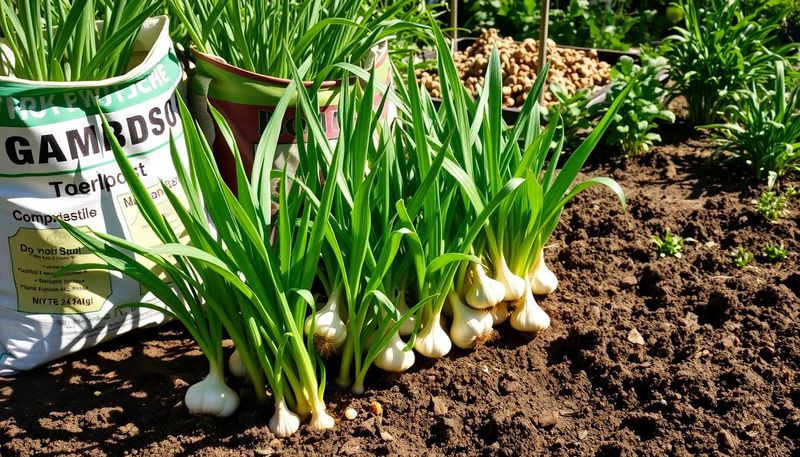
My garlic crop turned the corner when I finally got the feeding right. Those pale, stunted plants were literally starving before my eyes!
Apply a balanced organic fertilizer (like 10-10-10) when planting in fall, then follow up with a nitrogen-rich feeding when shoots emerge in spring. A third light feeding when bulbs begin forming works wonders. I’ve had success using fish emulsion diluted with water for that mid-season boost.
Just remember to keep fertilizer away from direct contact with stems and leaves to prevent burning. My method is to apply it in a ring around each plant, about 2 inches from the stem.
5. Tackle Fungal Diseases Promptly
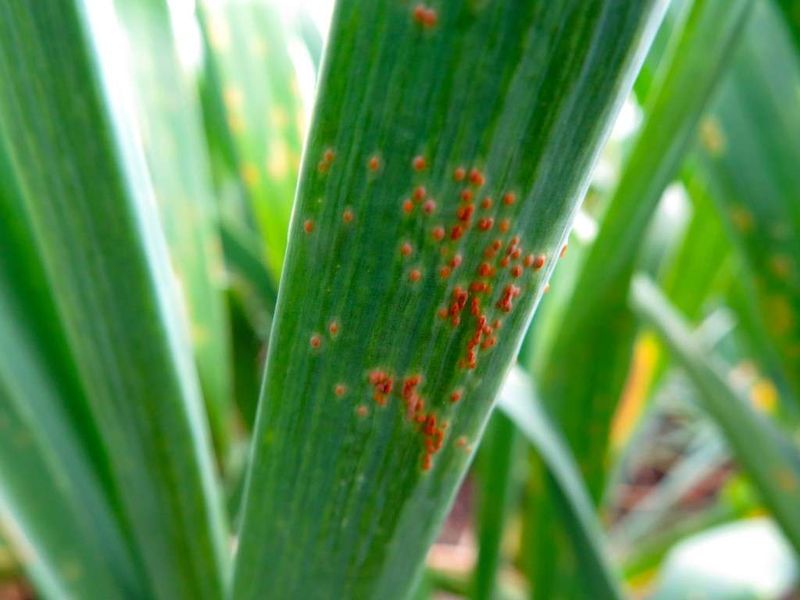
Those rust-colored spots that appeared on my garlic leaves last season? Classic fungal infection. I ignored them at first, thinking they’d go away on their own – big mistake.
At the first sign of rust, white rot, or botrytis (recognizable as orange spots, white fuzzy growth, or gray mold), remove affected leaves and treat with an organic fungicide containing copper or sulfur. Improving air circulation by thinning plants can prevent these issues from spreading.
I’ve found that a preventative spray of neem oil every two weeks during humid weather keeps most fungal problems at bay without harsh chemicals.
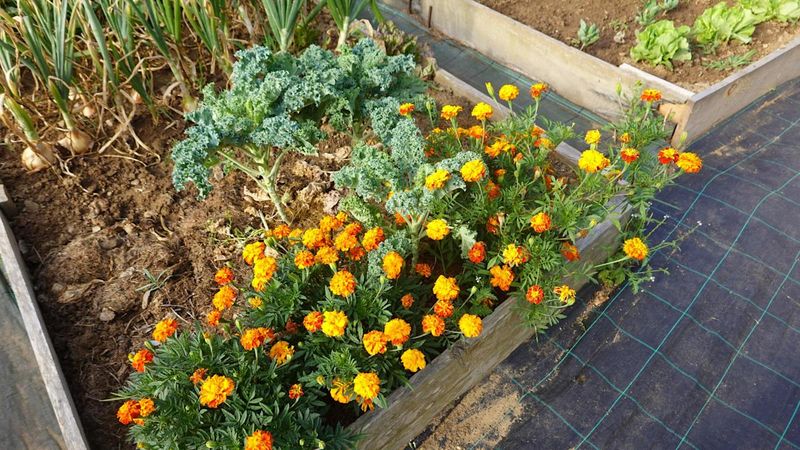
6. Control Pests Naturally
Those tiny holes appearing in my garlic leaves had me puzzled until I flipped one over and spotted the culprits – thrips! These miniature pests can seriously weaken plants if left unchecked.
Introduce beneficial insects like ladybugs or lacewings to combat aphids, thrips, and other small pests. A strong spray of water can dislodge many insects, while sticky traps help monitor and reduce populations. For more serious infestations, insecticidal soap works without harming the garlic.
My secret weapon has been companion planting with marigolds and nasturtiums, which naturally repel many garlic pests while adding color to the garden.
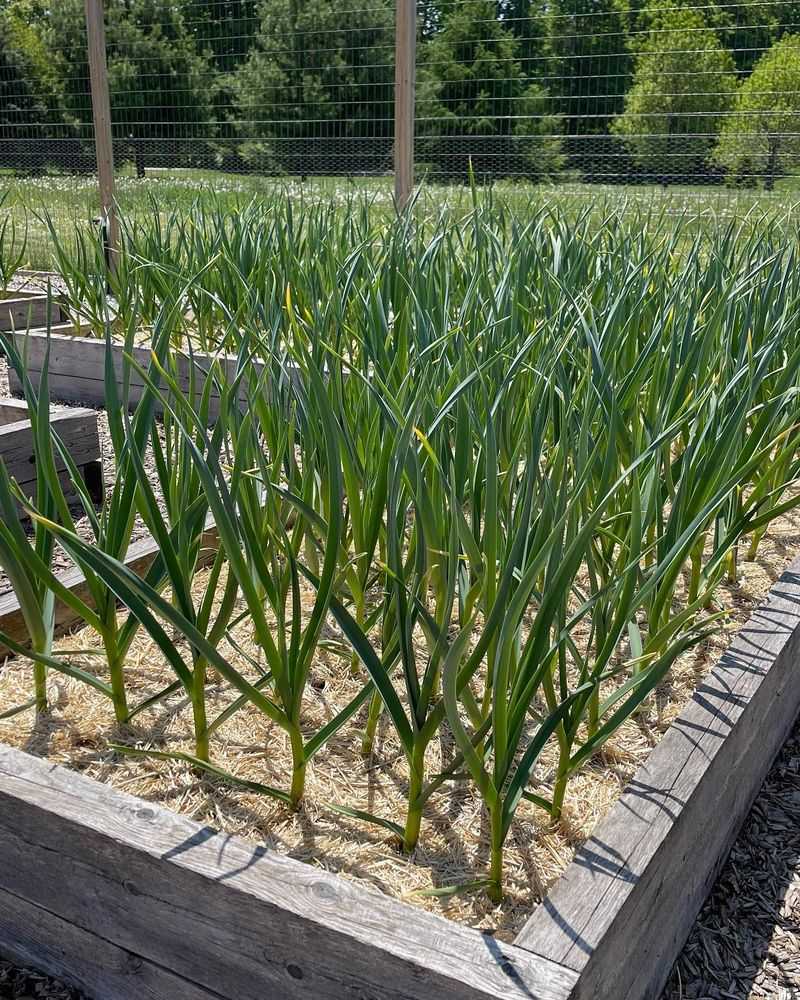
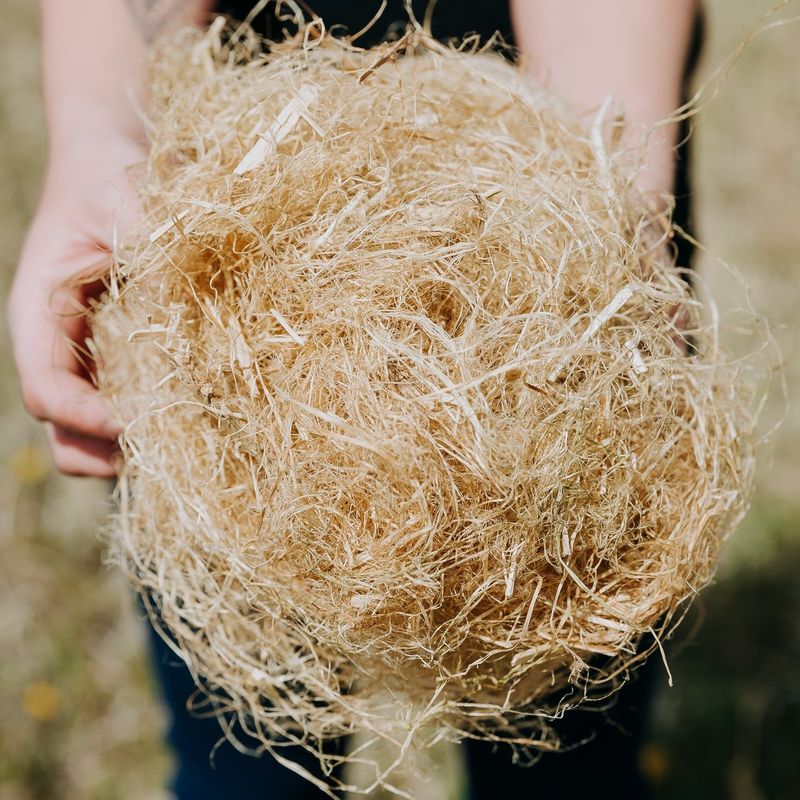
7. Mulch To Retain Moisture
The year I started mulching my garlic was transformative. Before that, I battled constant moisture fluctuations that stressed my plants and led to uneven bulb development.
Apply a 2-3 inch layer of straw, leaf mulch, or grass clippings around plants after the shoots emerge. This conserves moisture, suppresses weeds, and regulates soil temperature. As an added bonus, the mulch slowly breaks down, adding organic matter to your soil.
Just keep the mulch pulled back slightly from the stems to prevent rot issues. I refresh mine midway through the growing season when it starts to decompose and thin out.
8. Rotate Your Crop Location
My worst garlic season followed planting in the same spot three years running. The soil was depleted, and disease pressure had built up dramatically.
Never plant garlic in the same location more than two years in a row. Ideally, wait 3-4 years before returning garlic to a previous spot. This breaks disease cycles and allows soil nutrients to recover. I now map my garden rotations in a notebook to keep track.
If space is limited, try growing in containers with fresh soil each season. Even a one-year break can make a significant difference in plant health and yield.
9. Choose Disease-Resistant Varieties
After losing half my crop to white rot one year, I switched to ‘German Extra Hardy’ and ‘Music’ varieties, known for their disease resistance. The difference was night and day.
Research which garlic types perform best in your climate and have natural resistance to common local problems. Hardneck varieties generally offer better disease resistance than softneck types, though there are exceptions. Many specialty garlic suppliers provide detailed information on disease profiles.
Starting with healthy, certified disease-free seed garlic is equally important – I learned this after inadvertently introducing disease with bargain bulbs from an unknown source.
10. Correct Planting Depth
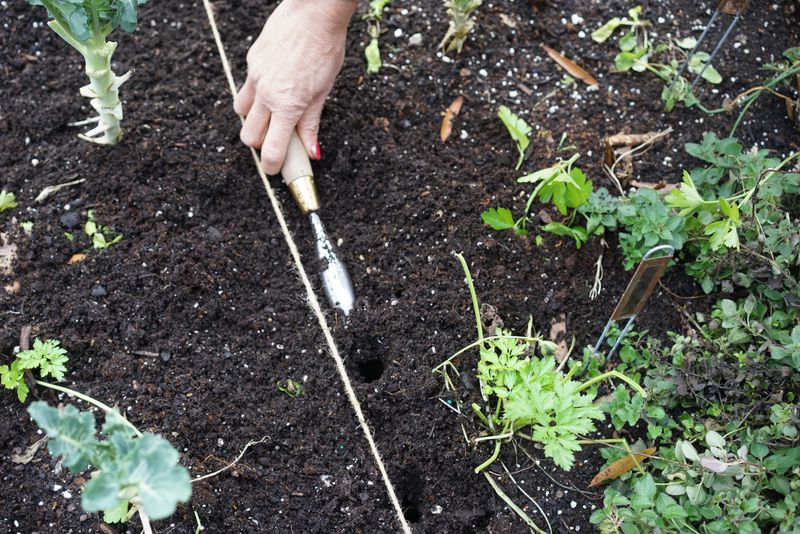
My early attempts at growing garlic produced tiny, underdeveloped bulbs. The culprit? I was planting them too shallow, leaving them vulnerable to temperature fluctuations and frost heaving.
Plant cloves 2-3 inches deep, with the pointed end facing upward. In colder climates, aim for the deeper end of this range to protect from freezing. Proper depth provides stability for the developing plant and insulates against extreme weather.
I use a dibber tool with depth markings to ensure consistent planting. This simple adjustment increased my bulb size by nearly 30% the following harvest.
11. Space Plants Properly
The year I tried to maximize my harvest by cramming more garlic into the same space was a disaster. The crowded plants competed for nutrients and created the perfect humid environment for disease.
Give each garlic plant room to thrive by spacing cloves 4-6 inches apart in rows that are 12-18 inches apart. Proper spacing improves air circulation, reduces disease pressure, and allows each plant adequate access to nutrients and water.
I now use a planting template made from cardboard with holes at the correct intervals – it makes the job quick while ensuring perfect spacing every time.
12. Remove Scapes At The Right Time
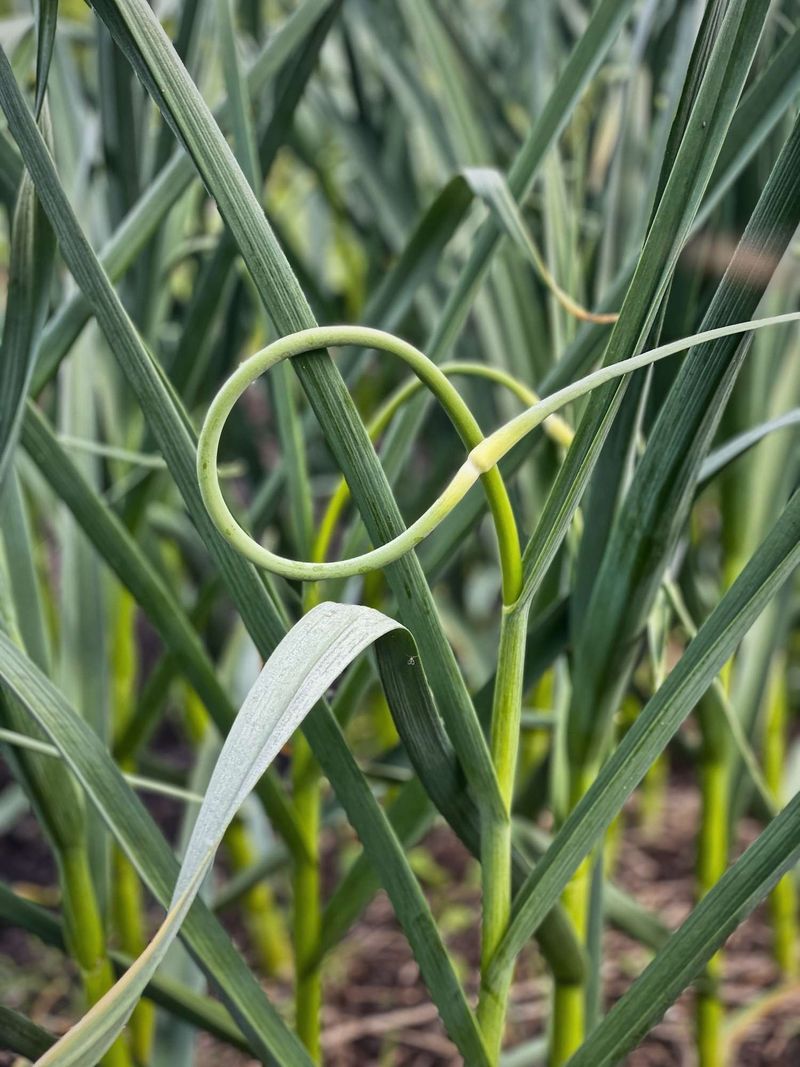
I used to let those curly scapes (flower stalks) grow because they looked so interesting. Then a farmer friend explained they were sapping energy from my bulb development.
For hardneck varieties, cut scapes when they form their first curl but before they straighten out. This redirects the plant’s energy to bulb formation rather than seed production. As a bonus, the harvested scapes make delicious pesto or stir-fry additions.
The timing makes a difference – cutting too early or too late won’t maximize the benefit. I’ve found that removing scapes at the right moment can increase bulb size by up to 25%.
13. Provide Winter Protection
My first garlic crop was decimated by a harsh winter when the protective snow cover melted during a January thaw, then temperatures plummeted again. The exposed plants couldn’t handle the shock.
In cold regions, apply 4-6 inches of straw mulch after the ground freezes but before deep cold sets in. This insulates plants from freeze-thaw cycles that can push cloves out of the ground. Remove or thin the mulch in spring when shoots are actively growing.
For extra protection in extreme climates, I’ve successfully used floating row covers over the mulch layer during particularly harsh weather events.
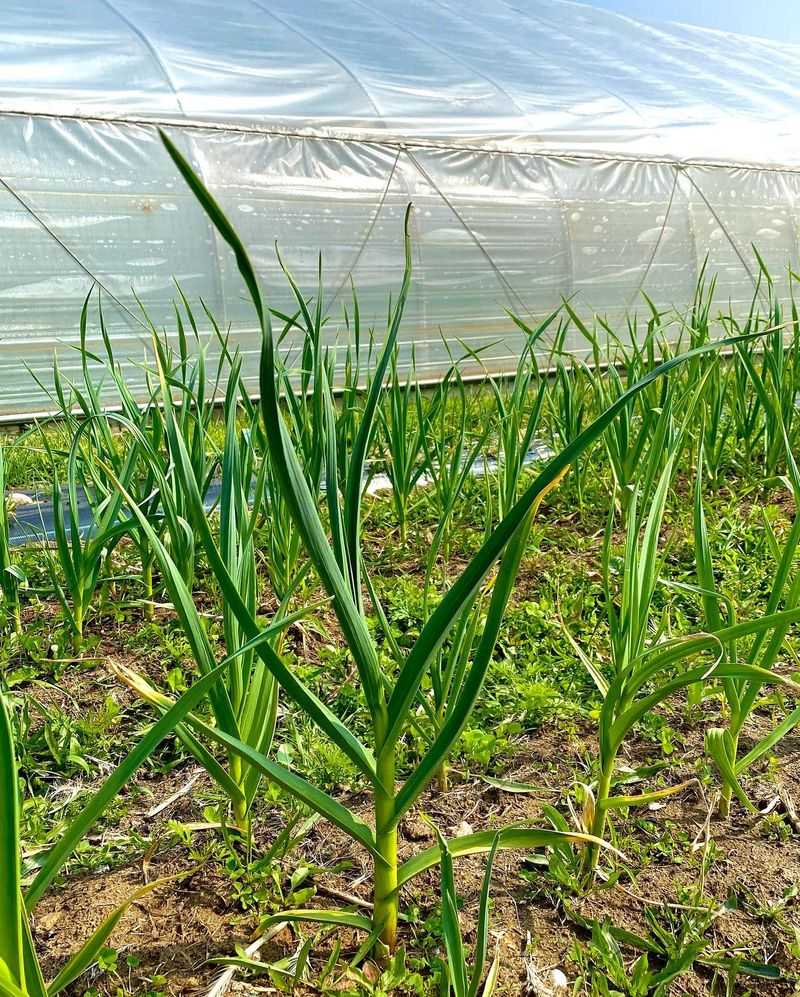
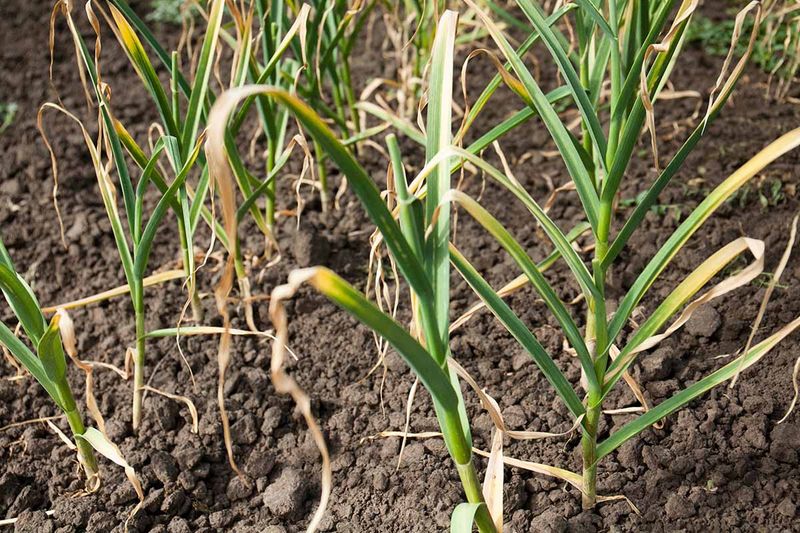
14. Harvest At The Perfect Moment
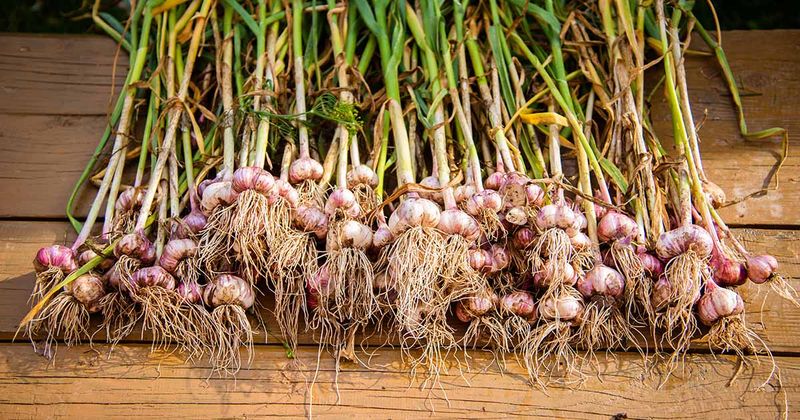
Timing is everything with garlic harvest. I’ve pulled bulbs too early (underdeveloped) and too late (split cloves) before finding that sweet spot.
The ideal harvest time is when the lower third of the leaves have yellowed but the top leaves are still green. This usually happens in early to mid-summer, depending on your climate and variety. Dig a test bulb if you’re unsure – the bulb should be well-formed with intact papery wrappers.
I mark my calendar when half the leaves turn yellow as a reminder to check daily. Harvesting during dry weather helps prevent mold during the curing process.
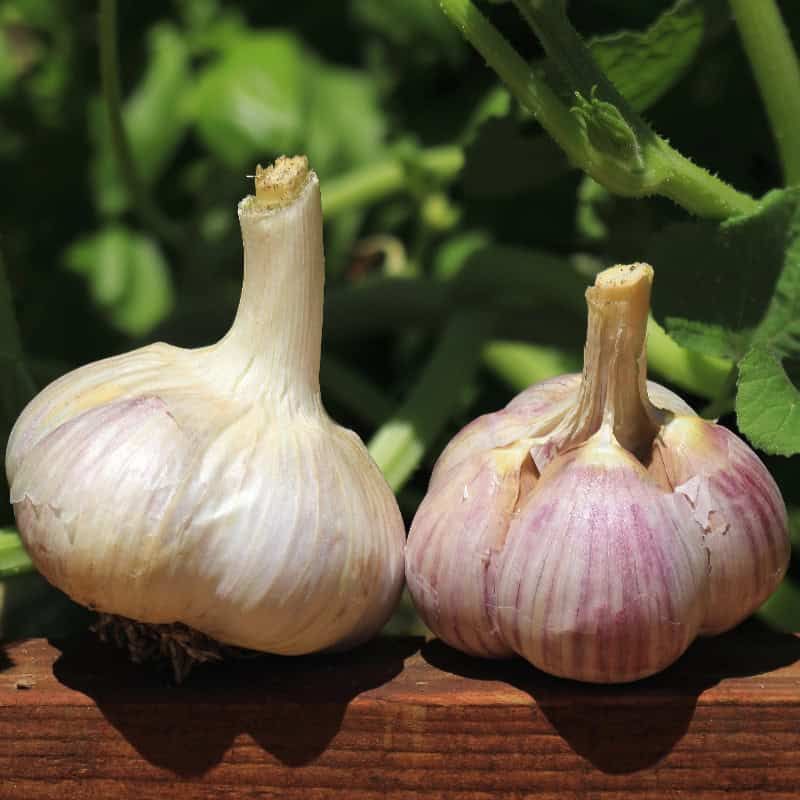
15. Cure Properly After Harvest
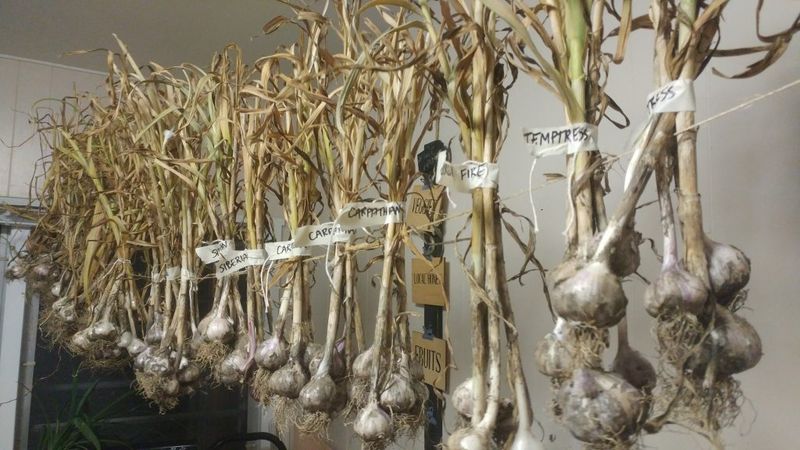
My first attempt at curing garlic involved hanging it in my damp basement – a rookie mistake that resulted in moldy, unusable bulbs. Proper curing is essential for storage longevity.
After harvest, brush off excess soil (don’t wash the bulbs) and hang in bundles of 10-15 plants in a well-ventilated, shady location with good air circulation. A covered porch or garage works well. Allow 2-3 weeks for the necks to dry completely and outer wrappers to become papery.
I use a fan on low setting during humid weather to keep air moving around the curing garlic – this simple addition has eliminated mold problems entirely.
16. Overwatering Your Crop
The single biggest mistake I’ve made with garlic? Treating it like other garden vegetables that need frequent watering. This well-intentioned error nearly destroyed an entire season’s crop.
Garlic needs consistent moisture but absolutely cannot tolerate waterlogged conditions. Overwatering leads to root rot, fungal diseases, and stunted bulbs. Signs include yellowing leaves, soft stems, and a foul odor from the soil.
I now check soil moisture by inserting my finger an inch deep – if it feels damp, I hold off watering. This simple habit has dramatically improved my harvest quality while actually reducing my garden workload.
17. Using Grocery Store Garlic
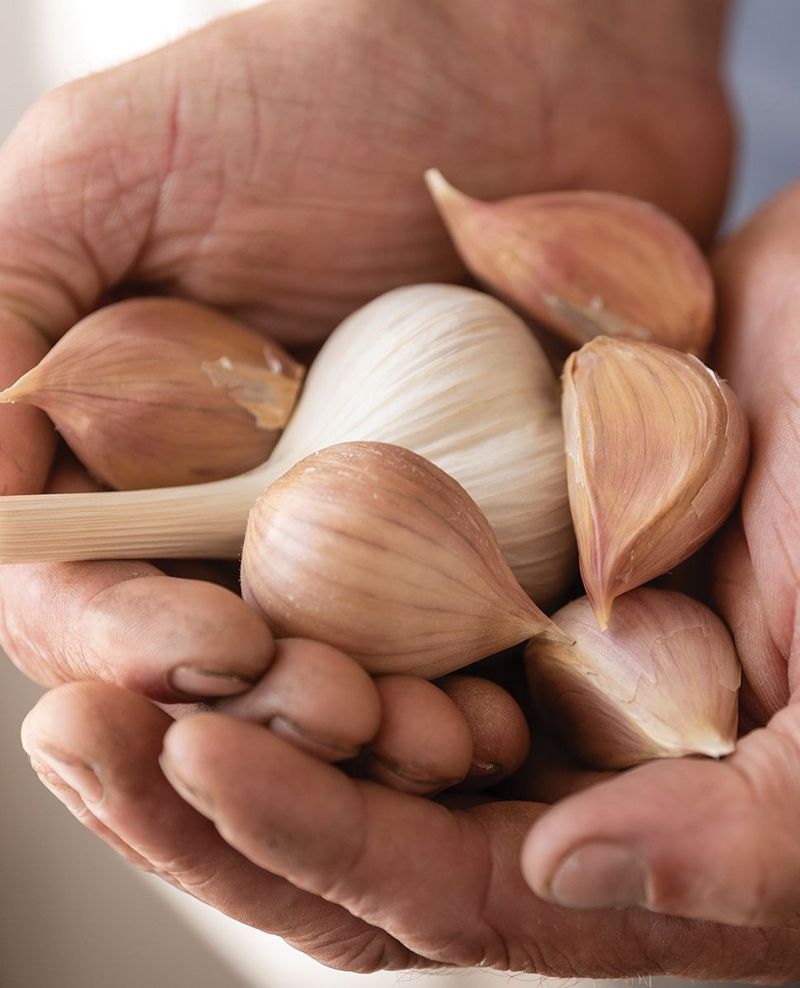
The bargain bag of garlic from the supermarket seemed like a money-saving shortcut for planting. Unfortunately, those perfect white bulbs produced weak, sickly plants that never thrived in my garden.
Commercial garlic is often treated with growth inhibitors to prevent sprouting on store shelves. Many varieties are also ill-suited to home gardens or your specific climate. Additionally, non-organic sources may introduce diseases that persist in your soil for years.
I now purchase certified seed garlic from reputable nurseries or farmers markets. The initial investment is higher, but the resulting harvest quality and quantity more than compensate for the extra cost.
18. Harvesting Too Late
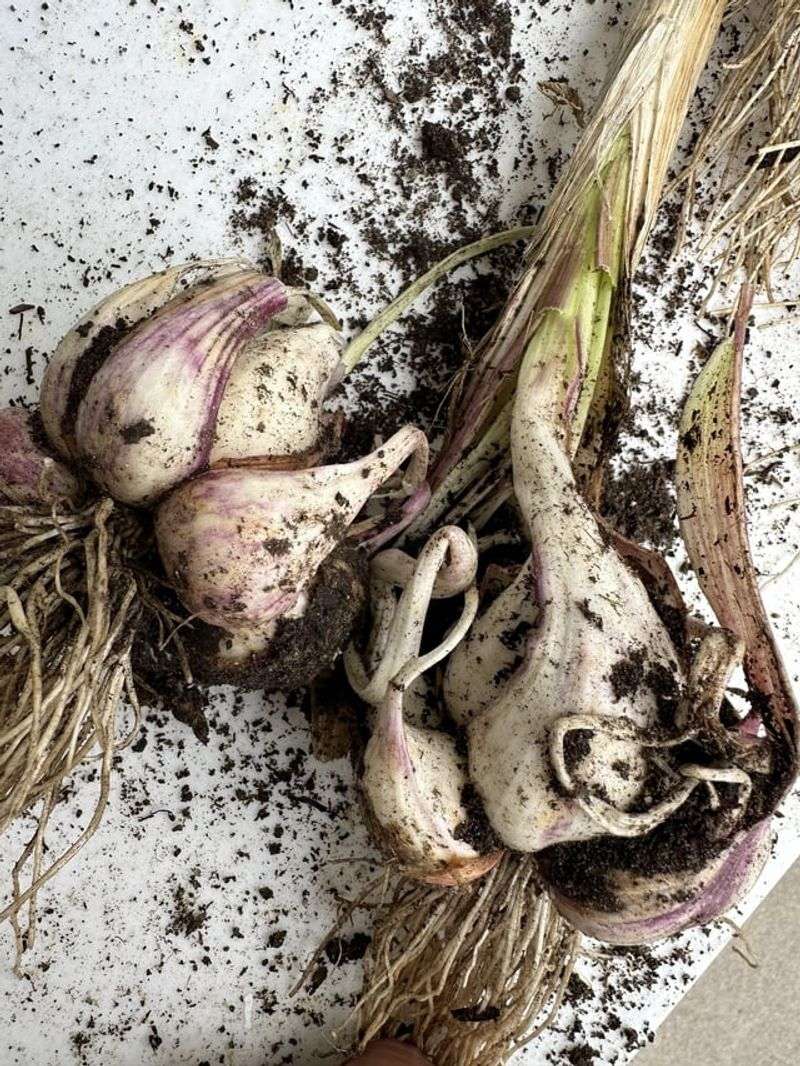
The season I decided to let my garlic grow “just a bit longer” taught me a painful lesson. Those extra two weeks in the ground resulted in bulbs with split wrappers and separated cloves – perfect for immediate use but terrible for storage.
When garlic over-matures in the ground, the protective papery wrapper deteriorates and cloves begin to separate. This dramatically reduces storage life and makes the bulbs susceptible to disease and dehydration. Some varieties can even begin re-sprouting while still in the soil.
I now pull a test bulb when the lower leaves yellow, rather than waiting for the entire plant to dry out completely.