A Complete Guide Through All The Zinnia Growth Stages
Zinnias have a special place in my heart! They were and still are a common sight in many outdoor gardens.
What I especially like about Zinnias is that they require little maintenance, and it’s pretty easy to keep them in bloom throughout the season.
Therefore, you can enjoy the beauty of Zinnia blooms without putting in too much effort. But there’s one important thing to understand; these aren’t perennials, which means you can only have beautiful flowers for one season.
This is one of the major reasons why it’s essential to know all the stages of growth of Zinnia plants. This is the best way to ensure healthy growth as the needs of this plant change based on the growth stage it’s in.
In this article, I’ll teach you about all the Zinnia growth stages and give you some tips for planting and growing Zinnias so that you get the most out of these lovely annual plants.
Let’s get started!
Zinnia Growth Stages
Zinnia plants will go through 5 stages of growth before reaching maturity:
• Seed germination
• Active growth
• Pollination
• Flowering stage
• Seed Retrieval
Pay close attention to its growing requirements during each stage to help your Zinnia grow healthily.
Let’s get into the details!
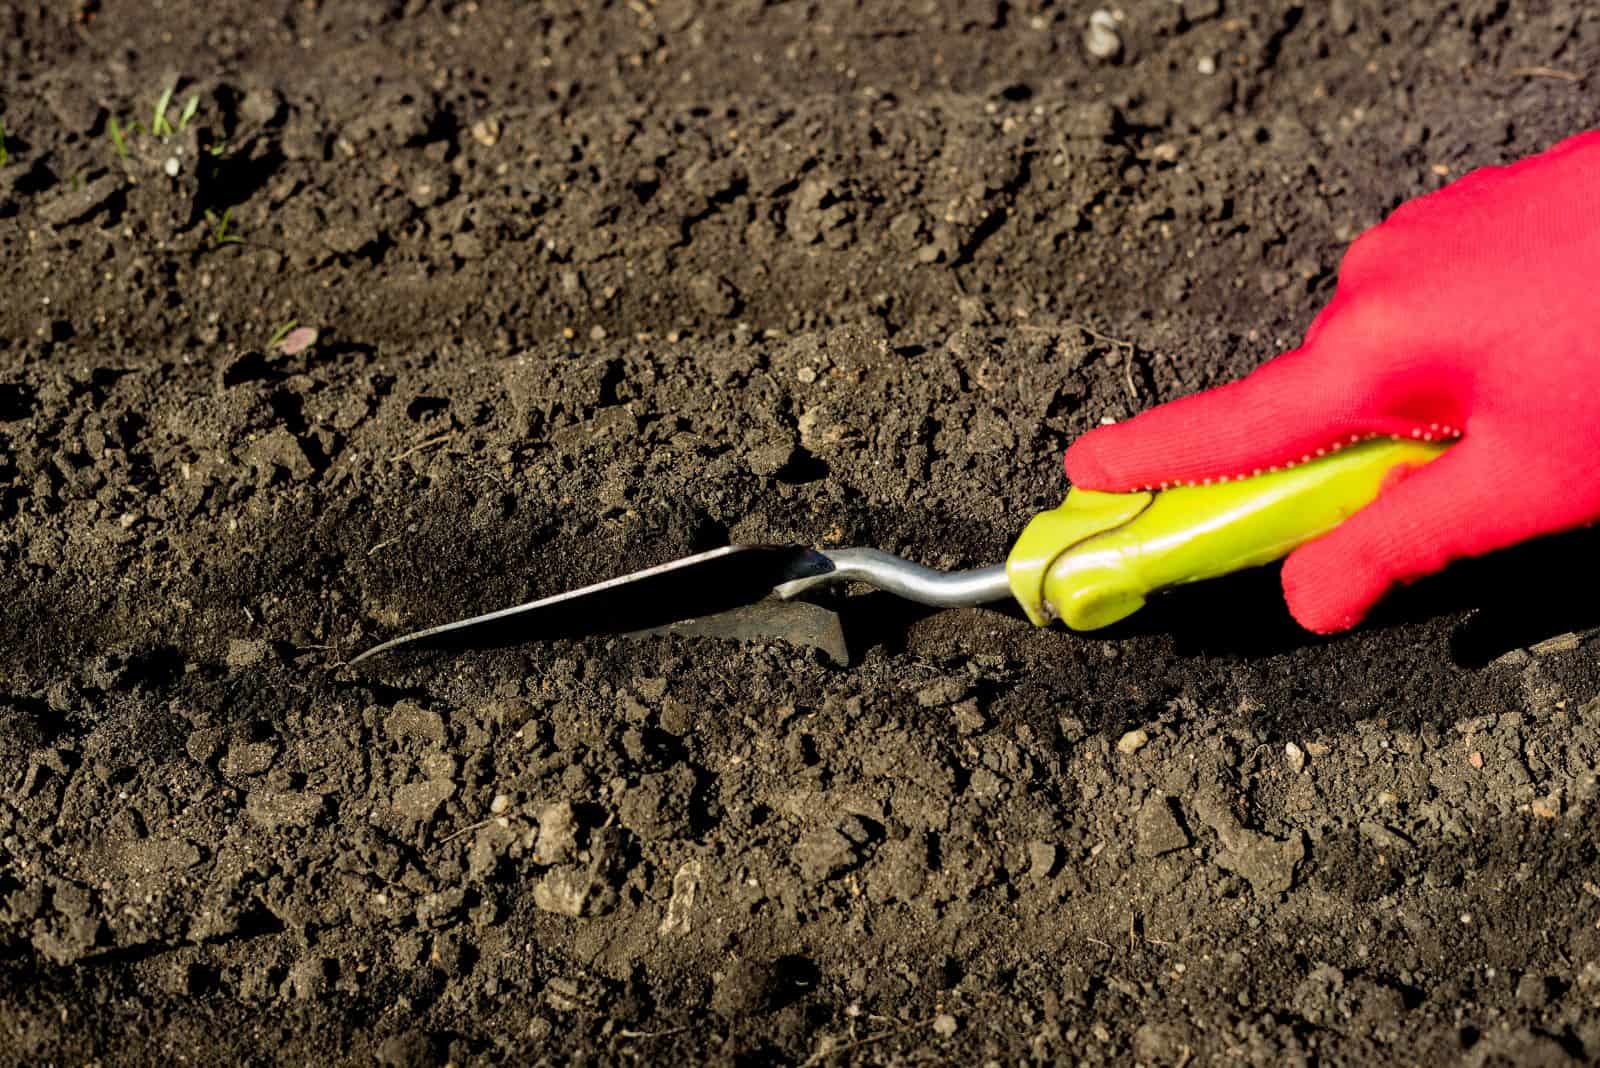
Zinnia Seed Germination
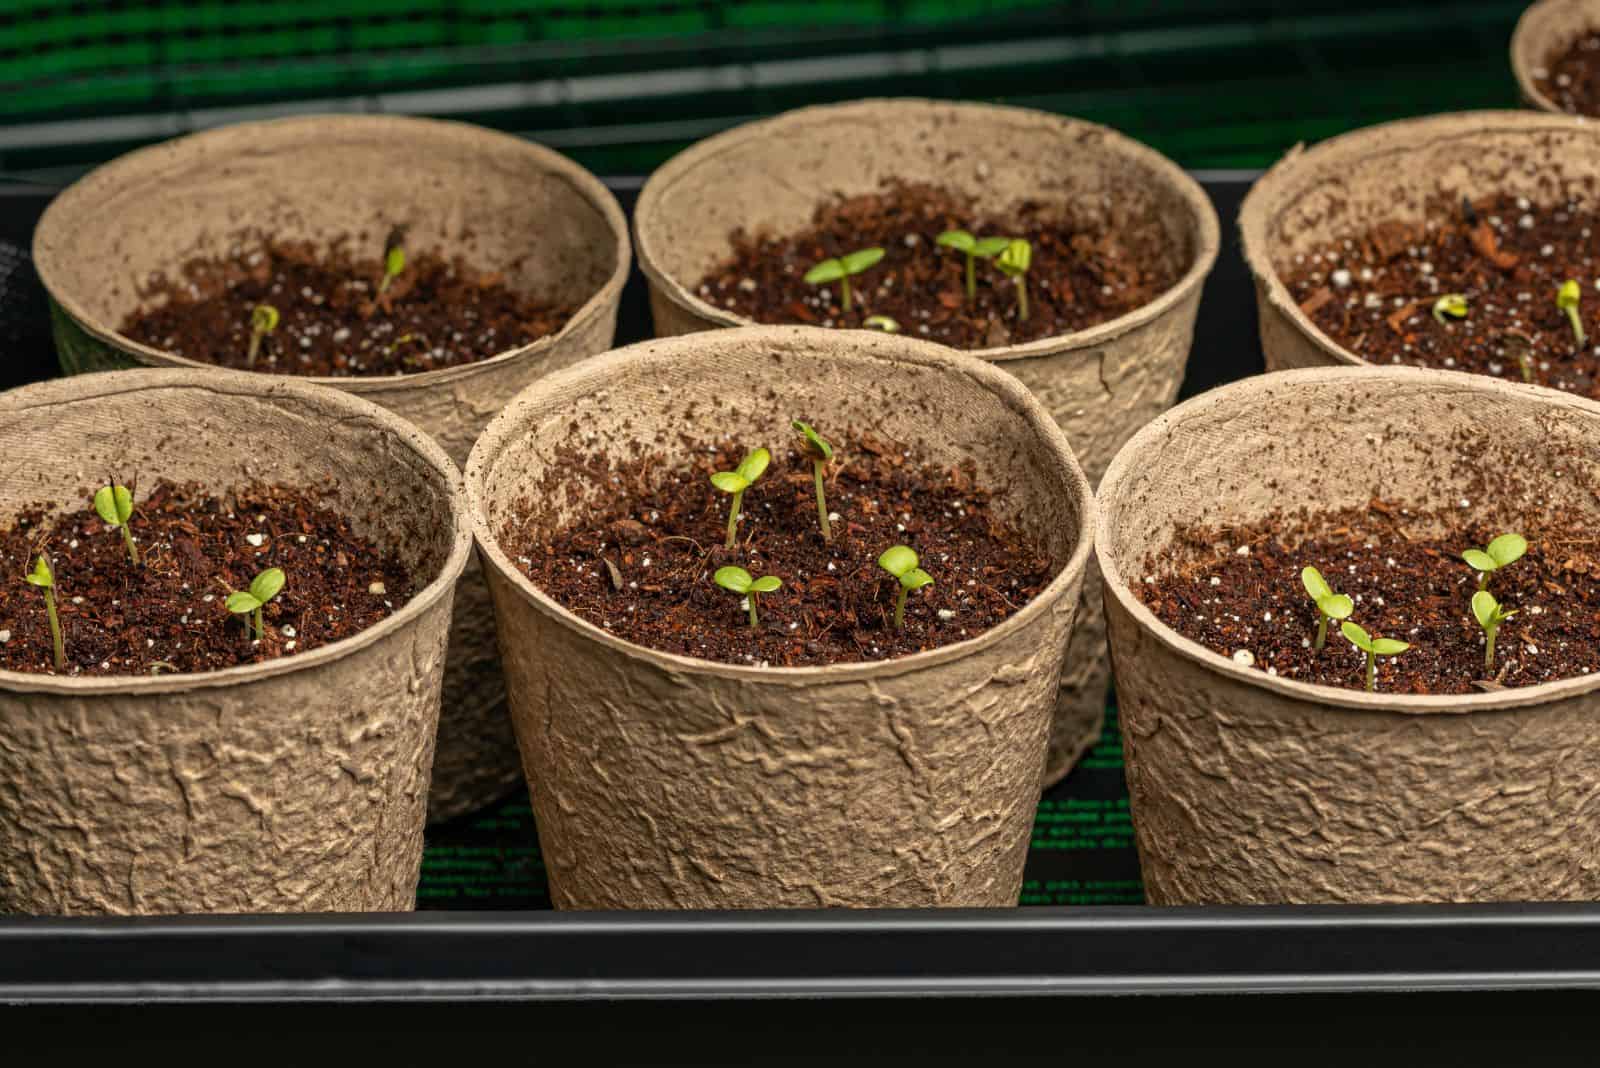
As with every other plant, the life of a Zinnia starts with seed germination. When the cover of the tiny Zinnia seed cracks open during germination, the delicate roots begin to poke through and start developing.
It typically takes about a week for Zinnia seed germination to occur.
You need to know how to germinate the seeds, as that’s the only way to further their development.
It’s essential to ensure adequate temperatures, correct light levels, ideal soil type, and moisture for the seeds.
Regarding soil type, the first thing NOT to do is use old potting soil, i.e., soil from another plant. I recommend buying a ready seed-starting mix, available in all plant stores and online.
You also need to ensure plenty of sun and make sure temperatures are around 70 degrees Fahrenheit.
You must also keep the soil moist, as the seeds of all plant species germinate only if they have enough moisture.
The easiest way to get evenly moist soil is by spraying it with water using a spray bottle.
Let’s see some tips on planting Zinnias!
How To Plant Zinnias
Before you start a Zinnia from seeds, prepare a seed packet, a seed tray, heat mats, and artificial lights. The last two aren’t obligatory, but should help if you struggle with maintaining the correct temperatures and light.
Zinnia seedlings are available in plant stores, so if you don’t want to grow them from seeds, seedlings are an excellent option.
No matter if you start Zinnias from seeds or seedlings, make sure you don’t plant them outdoors before the last frost date.
Here are the steps for planting Zinnia seeds:
1. Fill the seed tray with seed-starting mix.
2. Make a tiny hole about ¼ of an inch deep and plant seeds.
3. Keep the soil damp by spraying it with water frequently. Zinnias are a shallow-rooted plant and can’t withstand too much water in the soil.
4. Put the seed trays in a sunny spot and maintain temperatures at around 70 degrees Fahrenheit.
Active Growth
The second growth stage of the lovely Zinnia plant is active growth. The sprouts require an additional six to eight hours of full sun to end the seed germination stage and enter the active growth stage.
Remember that Zinnias won’t survive frost, so don’t take it out until the threat has passed.
These plants can be planted directly in the ground, but are also a perfect choice for container gardening.
Pay attention to container size if you decide on this way of cultivation. Even if the roots don’t penetrate too deep, they need a lot of space to spread.
Find a sunny place in your outdoor garden for the Zinnia sprouts to reach the next developmental stage.
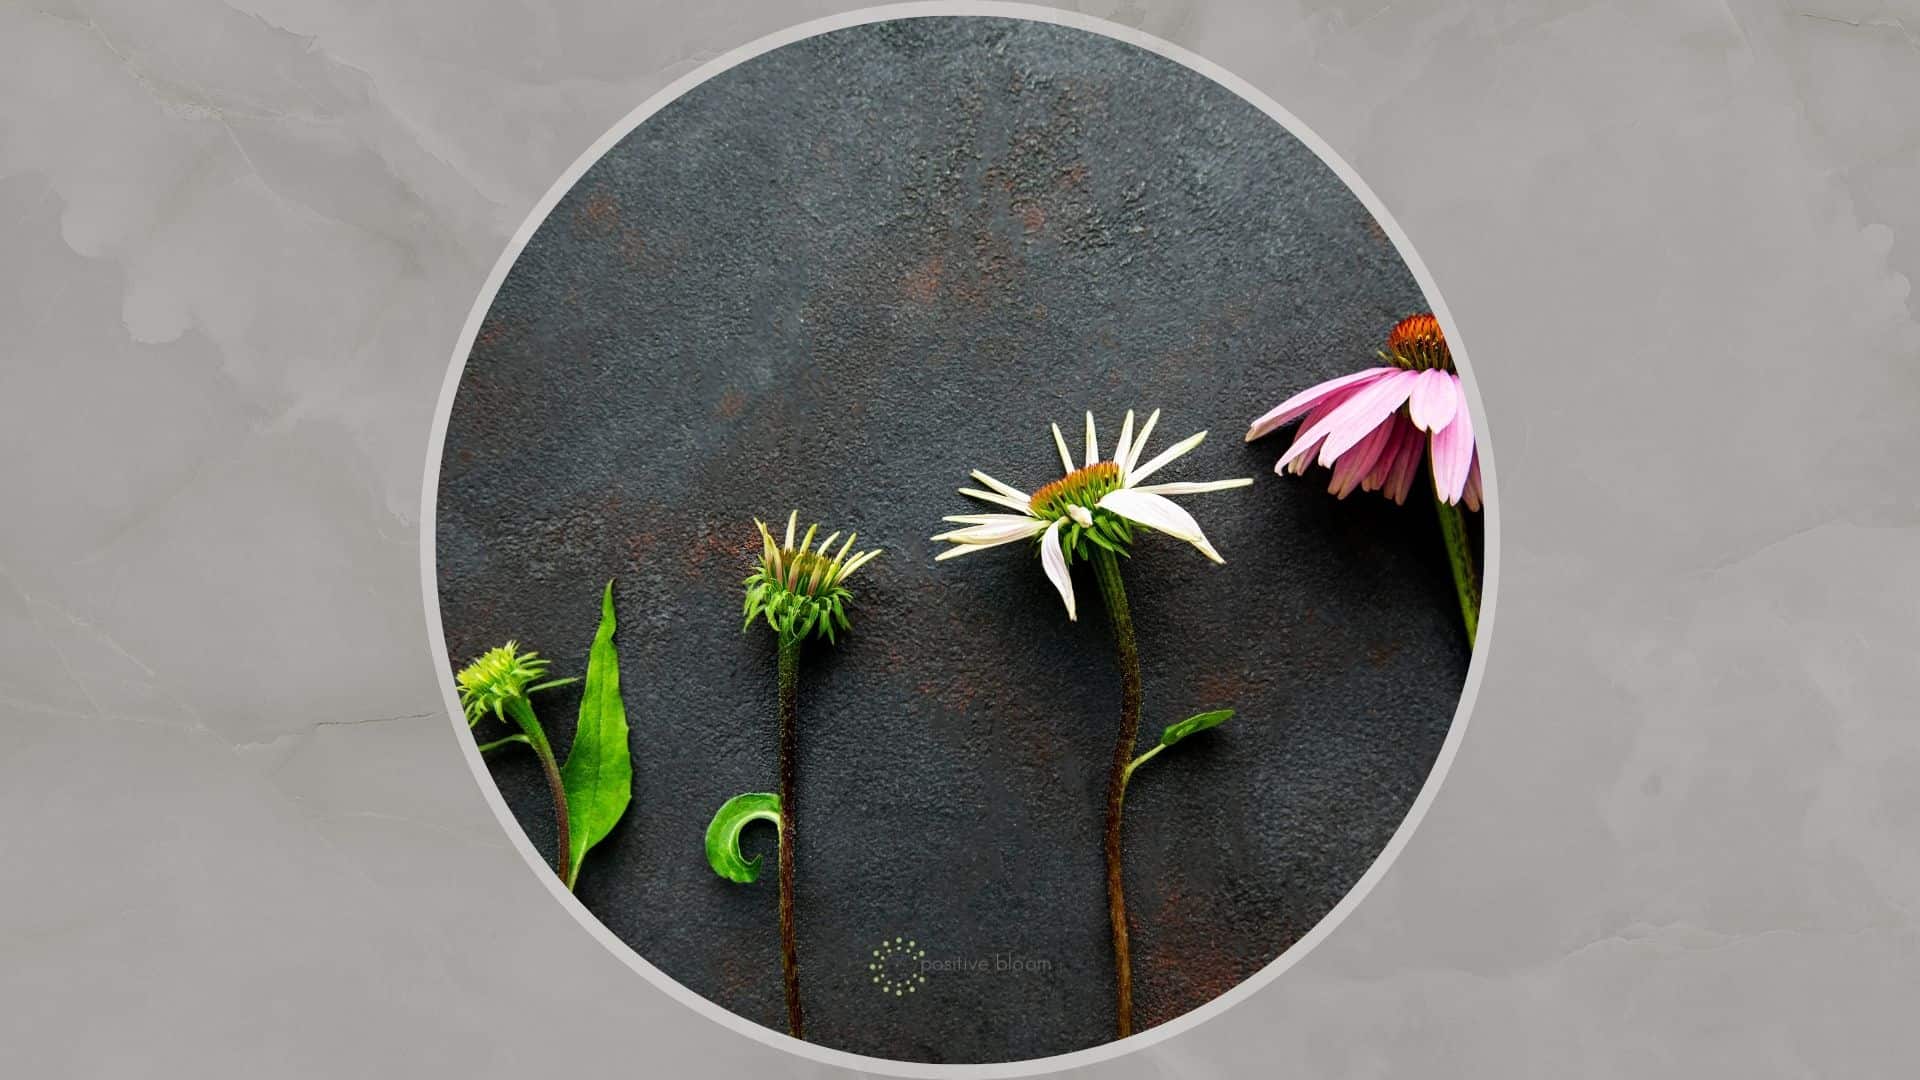
Flowering Stage
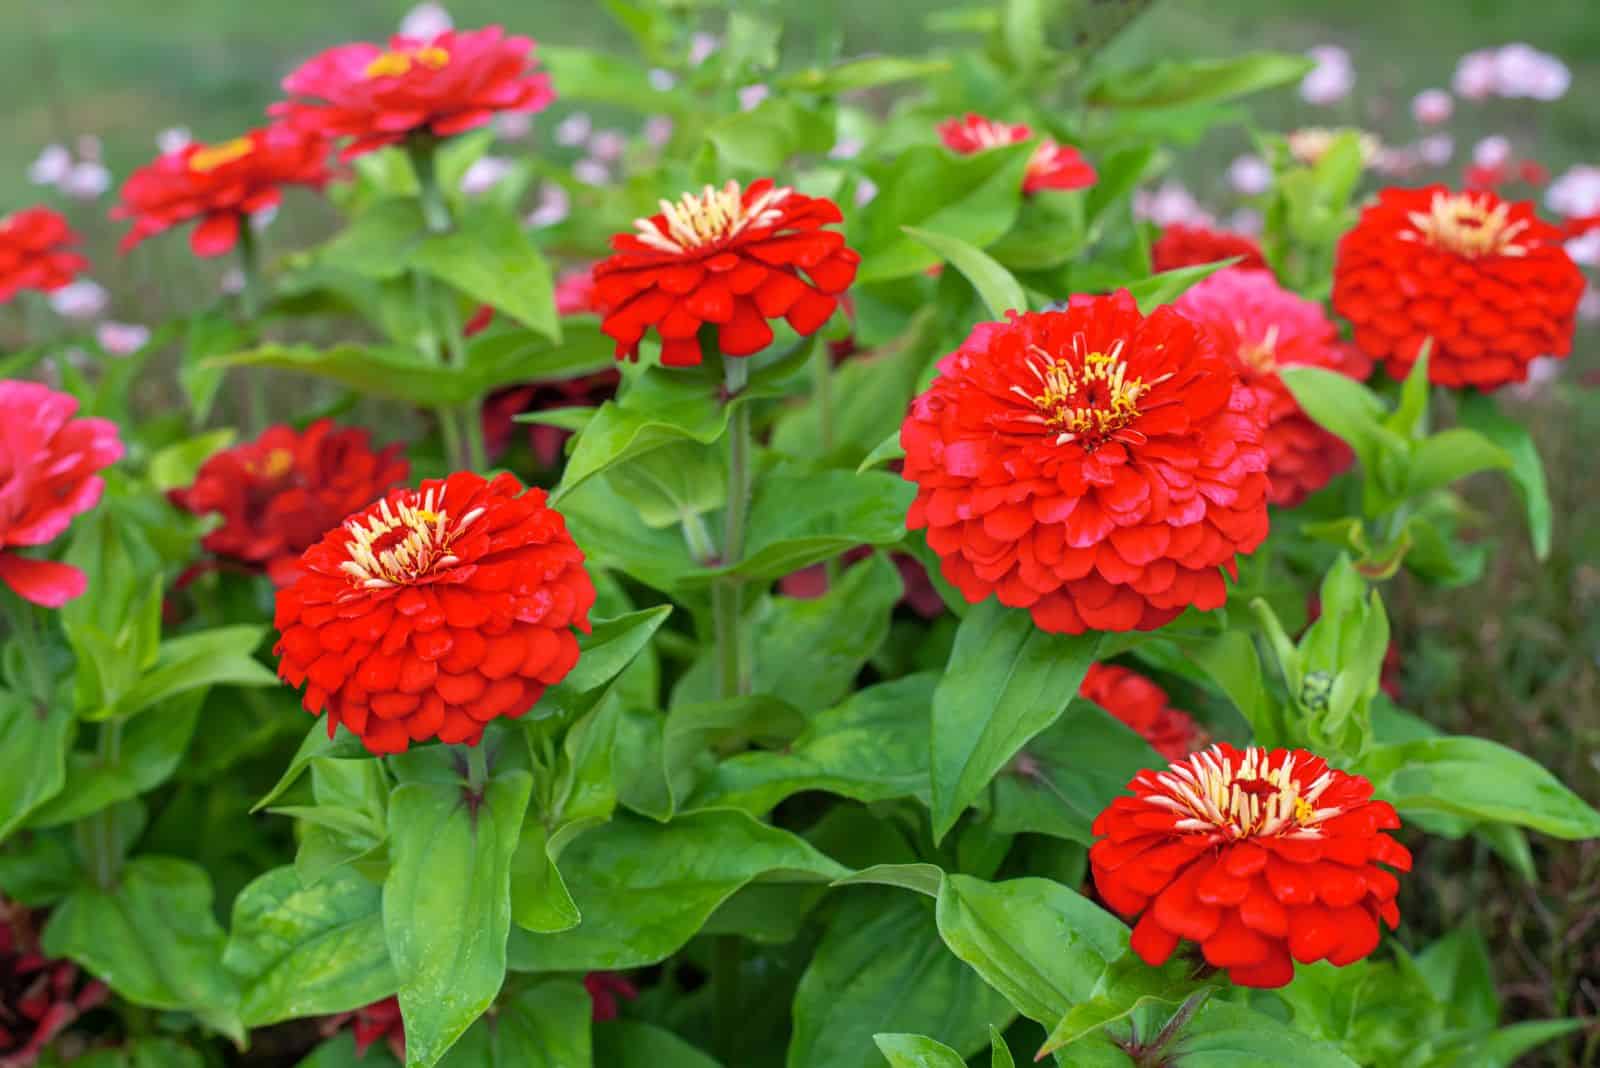
Now comes the stage that makes everyone fall in love with the Zinnia and its cultivars!
In this part of the Zinnia’s lifecycle, you can expect an abundance of beautiful flowers that come in stunning hues.
The blooming stage of this plant typically lasts from mid-summer until the fall.
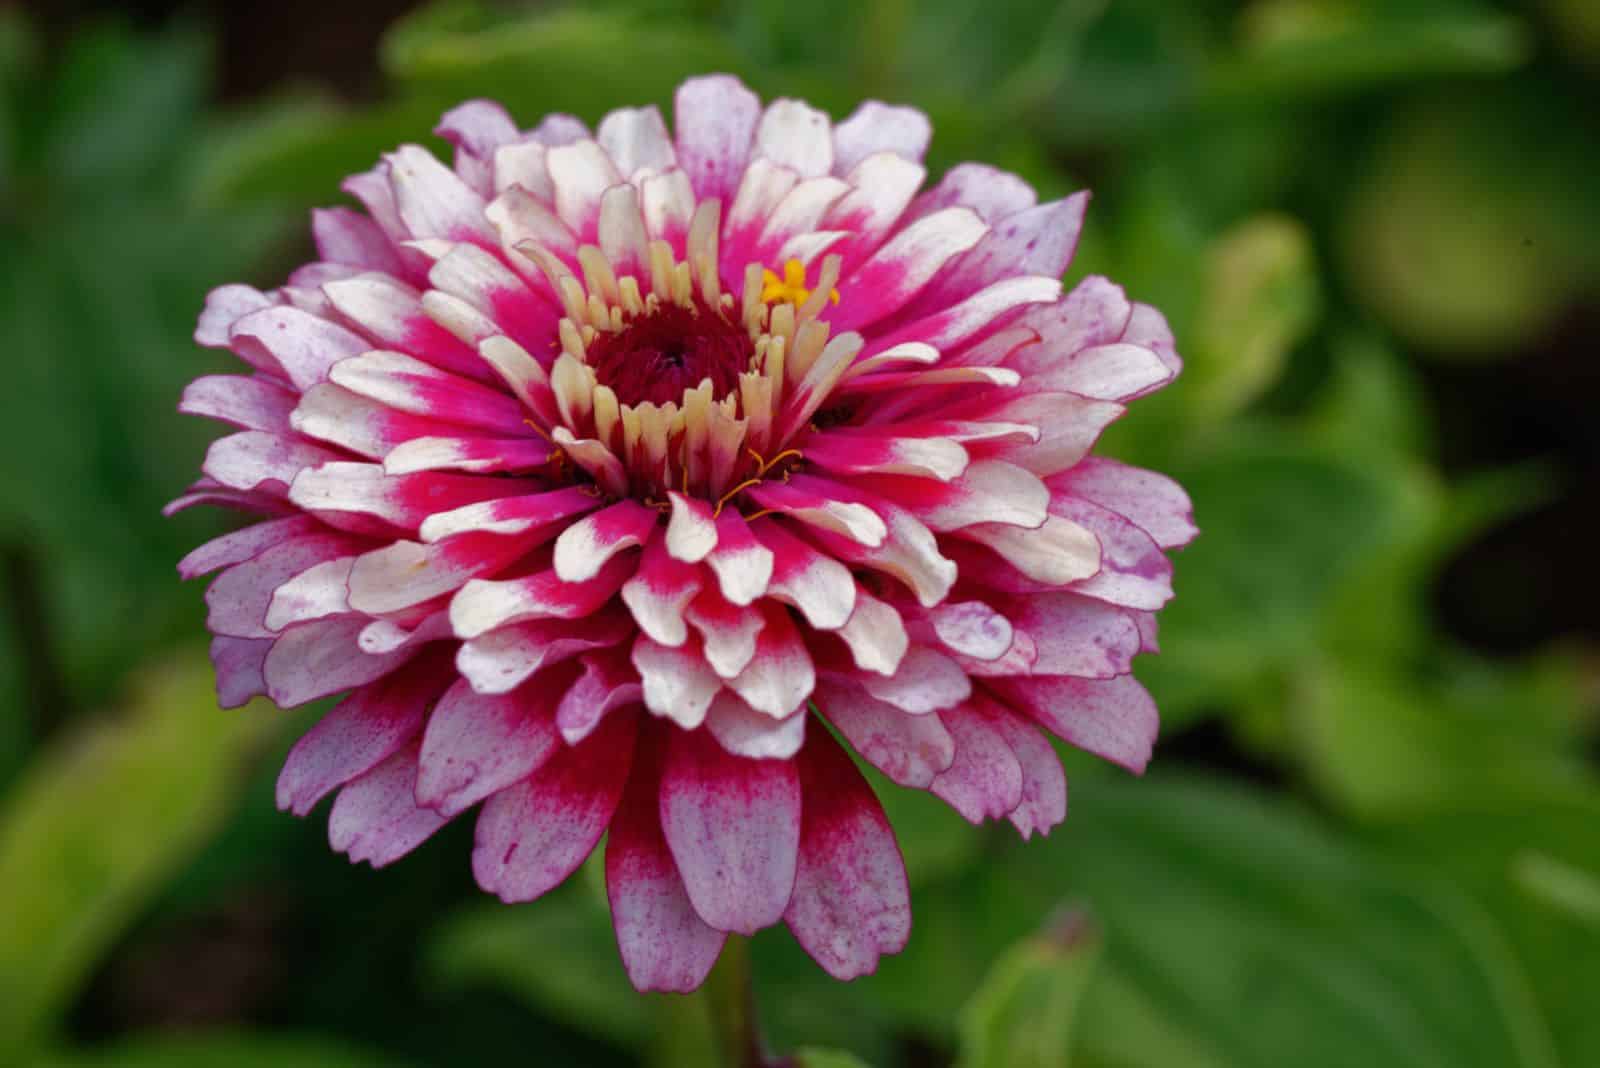
Each stem develops one flower, which comes in a variety of hues such as white, red, and pink, and some may feature several hues!
Giant Zinnias produce lovely blossoms, and their size ranges from 1 to 7 inches.
Interestingly, Zinnia flowers can form a few rows of petals. Each petal can develop in a variety of curves and forms.
These unique plants are renowned for having an extended flowering season. They can keep producing flowers for a few weeks.
Believe it or not, some Zinnias can produce flowers for 5 months, making them one of the best flowering plants ever!
How To Keep Your Zinnias Blooming
Luckily, there are some ways to encourage blooming and extend the blooming season.
A very important part of Zinnia plant care is feeding. Apply liquid fertilizer twice a month during this developmental stage for the best results!
Another useful technique for promoting the blooming of Zinnias (rather than focusing on seed production) is deadheading.
Remove all spent flower heads to encourage your Zinnias to produce more fascinating blossoms!
As the end of the flowering season approaches, you can start cutting back on watering. Moisture levels in the soil should still be high, but not as high as during other developmental stages.
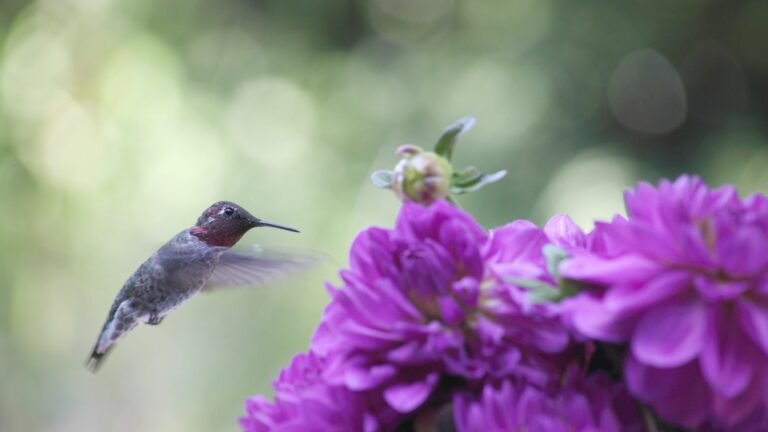
Pollination
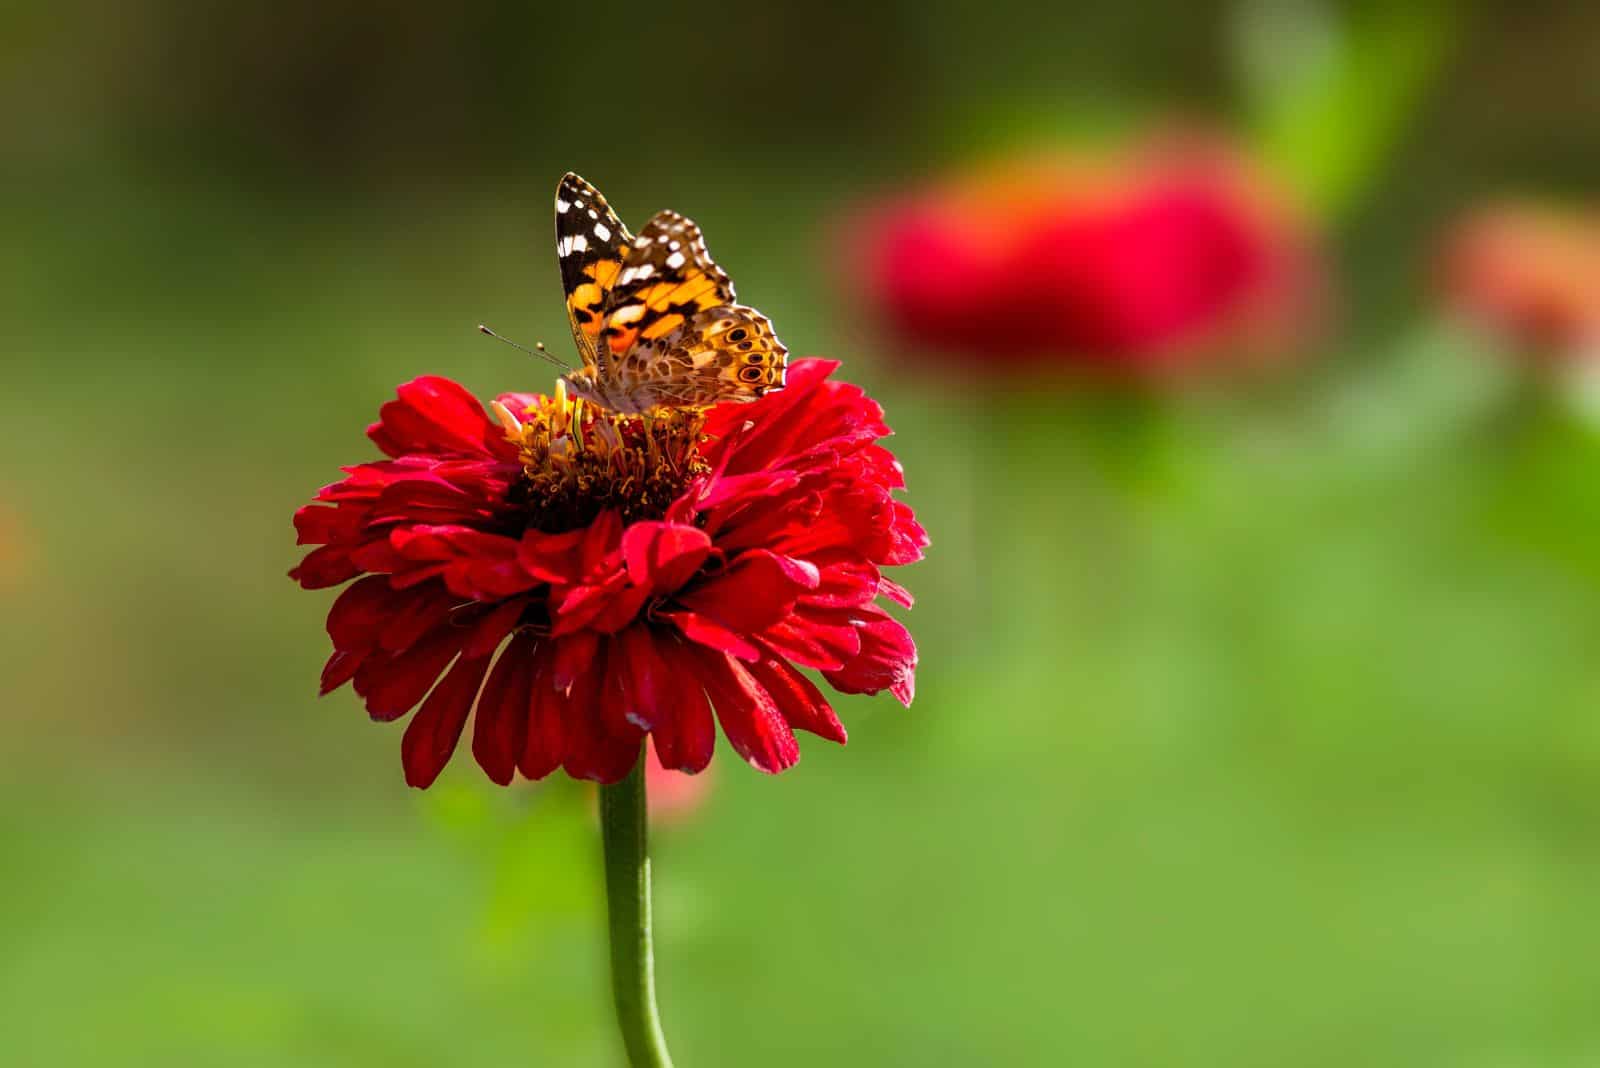
The next growth stage of these incredible plants is pollination. Many people skip growing Zinnias because they only last for one season. Still, they aren’t aware of the advantages of these plants.
There are two advantages of Zinnias regarding pollination.
First, these plants feature stamens and pistons, which basically means they can self-pollinate. Of course, pollinators such as butterflies and hummingbirds will also aid pollination.
The second advantage of Zinnias is that its flowers attract hummingbirds and butterflies.
Therefore, Zinnias help nearby plants that lack the capacity for self-pollination receive pollinator interest as well!
That’s one of the reasons Zinnias make great Celosia companion plants.
Additionally, this plant makes an excellent companion to the classic Dusty Miller plant.
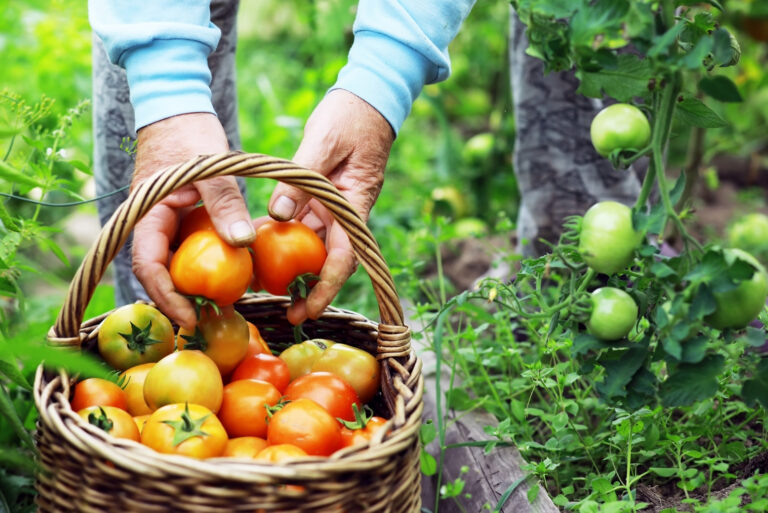
Retrieving Seeds
Your Zinnia will end its life cycle with the retrieval of seeds. How does this feature benefit us? Well, if you want to save some money and develop your gardening skills further, you can collect and save the seeds for next season!
Let’s first discuss how to collect the seeds. The possibility of seed germination increases if you collect the seeds from entirely dry flower heads.
Immature seeds won’t develop further when planted in the ground.
How can you tell whether a blossom is sufficiently dry? When the flower is kinda crunchy to the touch and turns brown, it’s ready for harvest.
How To Collect And Store The Seeds
When browning occurs, you can separate the petals from the flower and gently tap the head to remove the seeds.
When the flowers of my Zinnias turn brown, I take the heads and carefully rub them between my hands.
If you want to save the seeds for next season, you need to store them properly. The first step is drying, and I recommend placing your seeds on a paper towel and then putting them on a mesh screen to allow them to dry well.
After that, store the seeds in a cool spot with good air circulation and keep them until the following growing season!
6 Excellent Tips For Growing Zinnias
The Zinnia’s lifecycle ends with the seed retrieval stage, which means the plant won’t grow back in the following season.
Your Zinnias will thrive and adorn your flower bed for one season if you provide them with the right conditions. This may not seem like long, but when you think of the beauty of the flowers, it’s definitely worth it!
I’ll give you 6 tips for promoting the growth of Zinnia plants. If this is your first time growing these plants, I’m sure you’re gonna make it!
1. Prepare the plot
Zinnias and weeds are bitter enemies, so if you have weeds like pokeweed, make sure to get rid of them. If you add mulch or any other similar substrate over the ground, don’t use mushroom compost because these plants hate it!
2. Start your Zinnias in containers
If this is your first time growing Zinnias, I highly recommend starting the plants in containers. Put a layer of peat moss on the seeds, and when they’re ready for planting, put them in a container with a proper potting mix.
3. Instal a drip irrigation system
Incorrect watering techniques can lead to severe issues and eventually kill your Zinnias. If you water your plants over the foliage, they can rot and cause the flowering season not to occur. Therefore, I highly recommend installing a drip irrigation system for your Zinnias to thrive.
4. Prune your Zinnias
Pruning can encourage healthier growth and more blossoms, so don’t skip it! I recommend trimming the main stalk above the side shoots in juvenile plants. This will encourage your plants to develop more stems and, of course, more single rows or several rows of petals on blossoms!
5. Prevent and control pests
Trust me; you don’t want to mess up with pests! Act immediately if you notice aphids, mealybugs, or spider mites munching on your Zinnia leaves. There are several excellent methods to control pests during flowering, such as neem oil or insecticidal soap.
6. Prevent and control diseases
Zinnias, just like all other plants, may struggle to develop from seed to flower due to their susceptibility to fungal diseases like leaf spot and powdery mildew. Poor air circulation, lack of sunlight, and watering issues can lead to the development of fungal diseases. Ensure the correct potting mix, more exposure to full sun, and only water in the mornings to prevent these diseases.
Suggested Uses
Yes, these plants last for only one season, but there are a couple of excellent ways to use them in your outdoor garden.
Here are some suggestions.
1. Flower beds: If you’ve dreamed of having a colorful flower bed full of different plant species, I recommend growing Zinnias, Dahlias, and Marigolds together. They look incredible when planted together due to the various flower colors and shapes.
2. Borders: Zinnias look absolutely fantastic if grown as border plants. I recommend using giant Zinnia varieties for this purpose, such as Benary’s Giant and Uproar Rose varieties.
3. Cut flowers: Cut flowers of Zinnia elegans plants last for a long time in vases and look remarkable in flower bouquets. I have to mention that you need to wait until the flower fully opens, as it won’t continue blooming if removed from the plant.
4. Companion planting: As mentioned, Zinnias make perfect companion plants for many species. One of the major reasons is that these plants attract hummingbirds and butterflies to gardens. Additionally, their roots don’t penetrate deep, so they won’t compete for the soil’s nutrients with other plant species.
FAQs
What color are zinnias when they bloom?
The real question is, what color aren’t Zinnias when they bloom? The only color these plants don’t produce is blue.
For instance, the Zinnia Isabellina cultivar produces yellow blossoms, Holy Scarlet flowers come in a scarlet color, and the Double Zahara Cherry produces cherry-red blossoms.
You can also choose between some multi-colored cultivars, such as Unicorn, Peppermint Stick, and Mazurkia.
No matter which species you choose, it’ll make an attractive addition to your outdoor garden and look incredible as cut flowers.
What is a seedling?
The seedlings of the plant appear from the seeds during the germination growth stage.
Development is conditioned by several factors, such as air circulation, light, temperature, and soil moisture content. The requirements for successful sprouting vary depending on the plant species.
Wrapping Up
If you are wondering which plant to add to your flower bed, look no further than Zinnias! These plants have low care requirements, so you’ll get an abundance of colorful blossoms with little effort.
It’s crucial to learn the Zinnia growth stages and the plant’s requirements during each stage. This will ensure healthy growth, and your Zinnia will go from seed to flower as fast as possible.
Find a sunny spot, irrigate accordingly, and ensure enough nutrients for your Zinnia to thrive. Once the flowering season occurs, feed your plant more often, prune it, and don’t forget to deadhead it.
One more thing; prevent pests and diseases by ensuring the right conditions and performing regular inspections!
Until next time!
Like this post? Share or pin it for later!