What To Expect During The 9 Different Watermelon Growing Stages
Growing watermelons isn’t too difficult, and much of it depends on the climate and weather conditions. One thing that can really help you fulfill this plant’s needs is becoming familiar with the watermelon growing stages.
Before we get carried away by the details, let’s look into some basic specifics about watermelon plants:
[table id=182 /]Those are just the basics about watermelons, and there is so much more to learn about growing this delicious fruit (or vegetable, it’s an ongoing debate!).
This article contains a detailed presentation of the watermelon growth stages so you know how you need to care for it every step of the way.
We also included a care guide for growing watermelons and some common issues you may encounter along the way. It’s best to be prepared for everything!
Let’s get started.
The 9 Watermelon Growing Stages
There are nine watermelon stages of growth, and we’ll examine each of them more closely in this section.
It’s important to understand these stages as they are vital for the proper care of this fruit. For example, they don’t require the same amount of water immediately after planting and right before harvesting.
Also, zucchinis, cucumbers, cantaloupes, and pumpkins belong to the same family as watermelons, and are known collectively as the Cucurbitaceae family, so if you know something about the pumpkin growth stages, for instance, it might help you master the watermelon growing stages more quickly.
1. Planting
The first stage is planting, and you need to decide which watermelon variety you’re going to choose before you begin. If you live in a colder region, you might want to go with an early-season variety because watermelons have a long growing season and need all the sunny days they can get.
On the other hand, if you live in a warm climate you have more options and you won’t have to plant watermelon seeds in early spring as there’ll be more warm days.
If you live in a colder climate you should start your watermelon seeds indoors approximately four weeks before the last frost date, and then transplant them when the soil temperature reaches at least 70°F (21°C).
You should also consider chitting the seeds, which causes them to root before planting. Simply place some watermelon seeds on a damp paper towel, place them in a container, and cover them with plastic wrap. The seeds will produce roots within 2-3 days. This allows you to plant only viable seeds, which will save you trouble and ensure a larger yield.
Plant the seeds an inch (2.5 cm) deep and approximately six feet (1.8 m) apart, which will give them the space they need to grow and spread, or use trellises to plant them vertically.
Finally, ensure that the planting medium is loamy and well-draining and that the place you chose for your watermelon gets 8-12 hours of sunlight. Water the seeds thoroughly.
Here are some tips that can help you with planting watermelons and adjusting the soil to its needs:
2. Seed Germination
The first growing stage is seed germination, and it begins as soon as you cover the seed with soil. However, if you plant the watermelon seeds in a medium with a temperature lower than 65 degrees Fahrenheit (18°C), they won’t germinate, so you need to be careful about that.
Also, water is essential for germination, and without it no roots will come out of the seed shell. We already mentioned starting the germination process on a damp tissue, and this process isn’t that different.
You won’t see this, but a hypocotyl (a small stem), roots, and radicles start growing from the seed. It takes between 3-12 days for the seeds to fully germinate and for you to see tiny green sprouts protruding from the soil
3. Sprouting
After the seeds have germinated, you’ll notice sprouts, the first two leaves which are commonly known as embryonic leaves.
These young watermelon seedlings are vulnerable, so you should protect them from the wind and animals if you decide to start them outside. Don’t forget to water them and keep the soil moist, but never wet, as that can lead to overwatering and kill the plant before it even gets the chance to live.
If you start the seeds indoors, you should wait until more leaves appear and the vine is 6-10 inches (15-25 cm) long.
4. Vegetative Growth
After the seeds have germinated and sprouted, you will notice that the plant grows faster and faster. The first set of true leaves should appear within 5-10 days, and you’ll see how they differ from the embryonic leaves.
These first true leaves start photosynthesizing so the plant gets the food and energy necessary for its growth. You’ll notice rapid growth within two weeks, and as the time passes it will get longer and the leaves will become more prominent.
The vine usually grows to about 12 feet (3.6 m) long, and one month after planting you’ll notice new vines.
5. Branching
The appearance of new vines is known as branching, and you don’t necessarily have to remove them. However, you should give additional nutrients to your watermelon, and adding half a cup (120 ml) of bone meal to the soil might be just what it needs.
Gently mix the bone meal into the soil, but be careful not to damage the root system. At this stage, the watermelon plant grows rapidly so you should water it more often. Giving it an inch of water (2.5 cm) twice a week is enough.
The vines and leaves will continue to grow until your plant starts flowering.
6. Production Of Flowers And Pollination
You might have heard about male and female watermelons, but that’s a myth. Actually, male and female watermelon flowers exist and they produce unisex fruit.
Male flowers are the first to appear, but female flowers soon follow and pollination can then begin. Male flowers contain pollen that is transferred onto the female ova, and if the pollination is successful the fruit sets.
Bees, bumblebees, and wasps can help you with pollination and do the hard work. However, if you want to avoid cross-pollination, then hand-pollination is the way to go. You should separate your watermelons from the other flowering plants and transfer pollen from a male flower to a female one using a Q-tip.
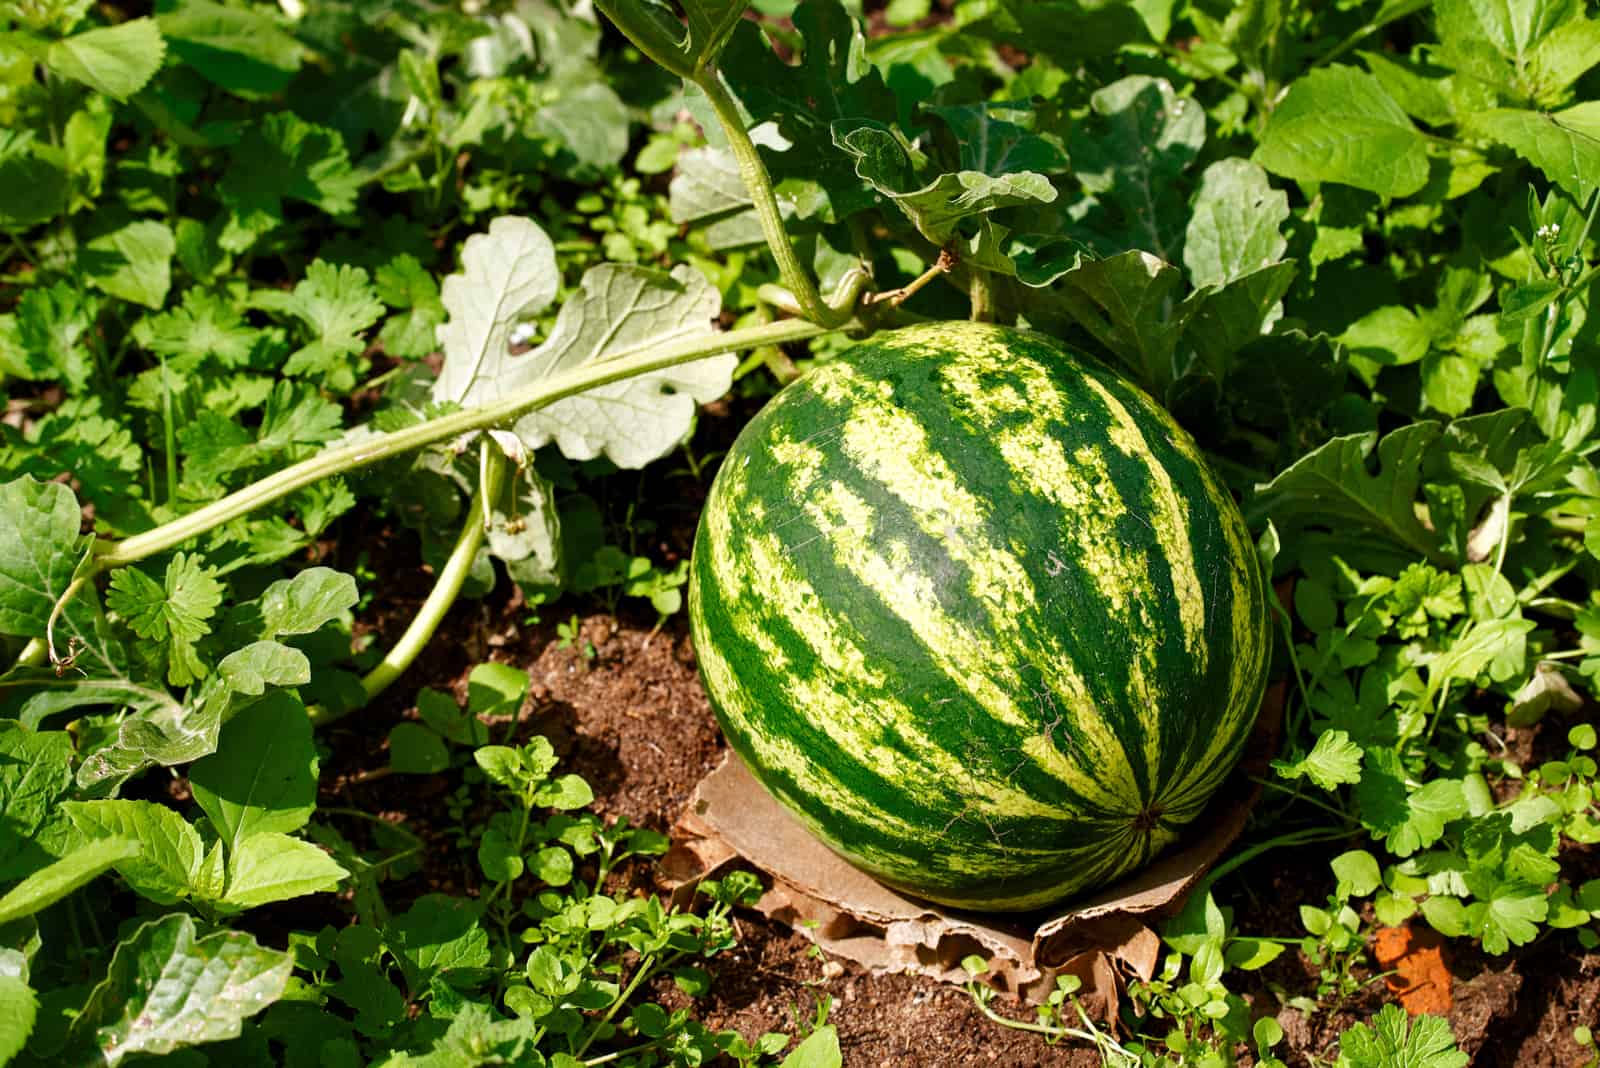
7. The Setting Of Fruit
If the flowers are pollinated properly, the fruit will begin to form. First, you’ll notice a small bulge behind a female watermelon flower, which will slowly swell and become larger, producing the watermelon fruit as we know it.
Once the fruit starts growing, you can fertilize your plant with a low-nitrogen fertilizer such as 5-10-10. At this stage, you’ll also want to reduce watering to an inch of water (2.5 cm) a week, as you don’t want the fruit to get a watery taste.
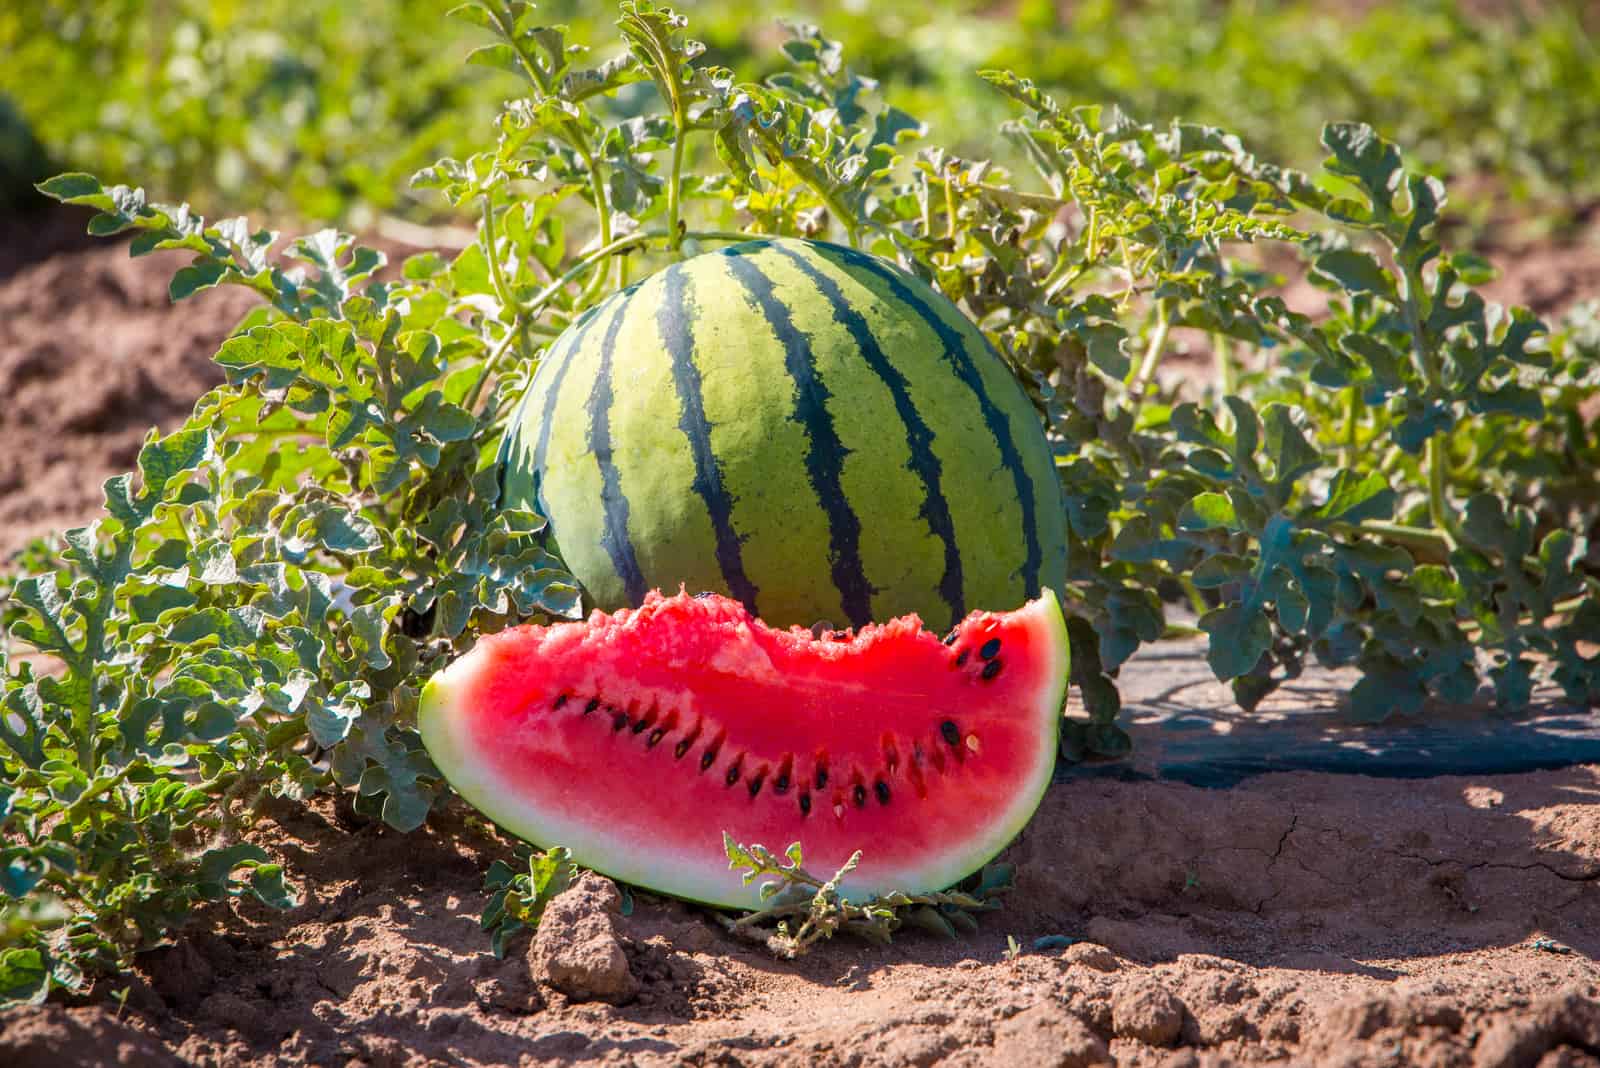
8. Harvesting
It takes about a month for the fruit to mature, but there are some signs of ripeness that can help you know when to harvest watermelons.
A yellow spot on the rind is the first thing we’re looking for when picking watermelons, as they are a sure sign that the fruit is ripe. Also, if you notice that your fruit is webbed you should be happy, as they are believed to be a sign of sweetness.
Dark green and oblong watermelons that produce hollow sounds are said to be the sweetest ones (although we can never tell whether the sound is hollow or not).
However, some varieties are light green, so research the variety you’ve grown and its growing season.
9. Drying
Everything has its end, and so does a watermelon’s life cycle. After harvesting, watermelon vines begin to dry and die out.
Don’t let it get to you. You can save the seeds from the fruit (unless you’ve grown seedless watermelons) and let them dry. The seeds can be planted once they harden, but you might want to wait until spring to do so.
How Long Does It Take To Grow Watermelons?

It takes about three months for a watermelon to fully mature, but it depends on the variety; some watermelons need four months to ripen.
In the first two months, vines and leaves form and grow, and flowers appear and are pollinated near the end. In the final month, these pollinated flowers set fruit that matures and becomes ready to harvest.
This depends on the variety, and smaller watermelon varieties generally mature sooner than larger ones .
Finally, watermelons are annual plants, so they mature relatively quickly and produce a high yield for all your friends and family to enjoy!
How To Grow Watermelons
Now you know the watermelon growing stages and some of their main requirements, but there are more things you need to look out for when growing this delicious fruit.
This section is basically a short care guide that will help you fill your vegetable garden with watermelon fruit in no time.
Light Requirements
Watermelons need full sun to thrive, and that means at least six hours of sunlight each day. However, you don’t have to dread the shade as some shade can even be beneficial in hotter climates as it stops the sun scorching the plant.
Plant the watermelon somewhere it can get enough sunlight in the morning and be protected from the afternoon sun.
Water And Humidity
You already know that watermelons have different water requirements at different growth stages, and that you should adapt the amount of water you’re using in order to get sweeter-tasting fruit.
Water thoroughly immediately after planting, and during its growing and flowering stage, give it 1-2 inches (2.5-5 cm) of water depending on the weather. Once the fruit starts growing, reduce the watering to get sweeter-tasting fruit.
Always water at the soil level and avoid wetting the leaves because it can lead to powdery mildew and other infections. Water until the top six inches (15 cm) of the soil is moist.
It’s essential not to overwater watermelons as it can lead to root rot, which really affects the yield.
Humidity
Humidity levels vary for different growth stages. Right after you plant the watermelon, the humidity should be between 65-75%. It should then be reduced to 60-70% in the flowering stage, and even more so when fruit production takes place.
However, these are all minute differences and your watermelons won’t die if you miss their preferred humidity by 5%.
Temperature
During their growing season, the ideal temperature for watermelons is between 65 and 95°F (18-35°C). Anything lower than 50°F (10°C) and higher than 95°F (35°C) can really stunt their growth.
Different varieties have different needs, so it’s best to find the variety that best suits your region. Also, if the temperatures get really high you should water the plants more to help them cope with it.
Soil And Fertilizer
Watermelons prefer mildly acidic to neutral soil with a pH between 6.0-7.0. The substrate should be well-draining and rich in nutrients and organic material, so adding some compost before planting is highly recommended.
This plant also prefers loose soil, so clay soils that are compact and retain too much water can be a real issue.
Watermelons benefit from mulching, especially during periods of intense heat, as it retains some moisture and keeps the roots cool. You can use straw, grass clippings, or shredded newspaper as mulch. However, it would still be best to research the advantages or disadvantages of grass cuttings or some other type of mulch before using it in your vegetable garden.
Fertilizer
Watermelons benefit from additional nutrients provided by fertilization, so you should use well-balanced, nitrogen-rich fertilizers such as triple 10 during its vegetative growth stage.
However, once the flowers appear and the fruit starts to grow, reduce nitrogen as it will only delay flowering and lead to a smaller yield. Fertilizer such as 5-10-10 is rich in phosphorus and potassium, which are extremely important for flower and fruit development.
Transplantation
If you live in a colder region, you might want to start your watermelon seeds indoors and then transplant them once the threat of frost has passed.
One of the advantages of transplantation is early harvest, as you already have a few weeks of growth before anyone else.
However, don’t wait too long to transplant your watermelons. Once they have formed the third set of true leaves you should transplant them because larger plants can intertwine and break during the process.
If you don’t grow watermelons on a trellis, you should leave them plenty of room in case they surprise you and spread further than expected. We always plant watermelons 6-20 feet (1.8-6 m) apart depending on the variety. This way they don’t bother the other crops.
To keep the soil warm enough and pests at bay, growers from colder climates might want to use black plastic mulch or row covers in the early spring after the transplant.
Finally, it’s important to harden the plants before transplanting, which you can do by gradually introducing watermelon seedlings to outdoor lighting conditions.
After you have transplanted the seedlings, remember to water them thoroughly.
Here are some great tips for transplanting watermelons for beginners:
Pruning
Pruning is not something you should be afraid of. In fact, it even promotes healthier growth and increases fruit size.
You should remove every yellow, dead, or diseased leaf and vine right where it connects to the main vine. You can also remove side vines that don’t have many flowers or look weak, which will save energy for the healthy and strong parts of the plant and increase the yield.
Pro tip: Prune the vines only when they are dry as moisture promotes the spread of infections and parasites.
Common Issues With Watermelons
Watermelons are unfortunately prone to pests and diseases, but there are some methods and techniques that can help you deal with those problems.
In this section, you will learn about the usual pests and diseases that attack watermelons, as well as some quick solutions.
Pests
Some of the most common pests that attack watermelons are aphids, thrips, spider mites, cucumber beetles, and cabbage loopers.
Luckily, most of them can be killed with insecticidal soaps. If the infestations aren’t too wide-spread, you can simply pick them off one by one or introduce their natural enemies, such as ladybugs for aphids or soldier beetles for cucumber beetles.
Diseases
Some of the most common diseases that affect watermelons are anthracnose and powdery mildew. Anthracnose develops in moist and warm conditions, and you can recognize it by small brown spots that later turn black and can kill the entire vine.
You can manage it with crop rotation, planting resistant varieties, and using fungicides.
Powdery mildew thrives in humid conditions and is commonly caused by wetting of the leaves. It first forms a white, powder-like structure on the upper leaves, vines, and young parts. If left unattended, it can turn brown and lead to the defoliation and death of the entire plant.
You should treat the diseased plant with a fungicide as soon as you notice its appearance, which will minimize your losses.
FAQ
We realize that you still might have some unanswered questions, so we decided to answer some of them in the following section.
We chose some of the most commonly asked questions about watermelons to put your mind at ease.
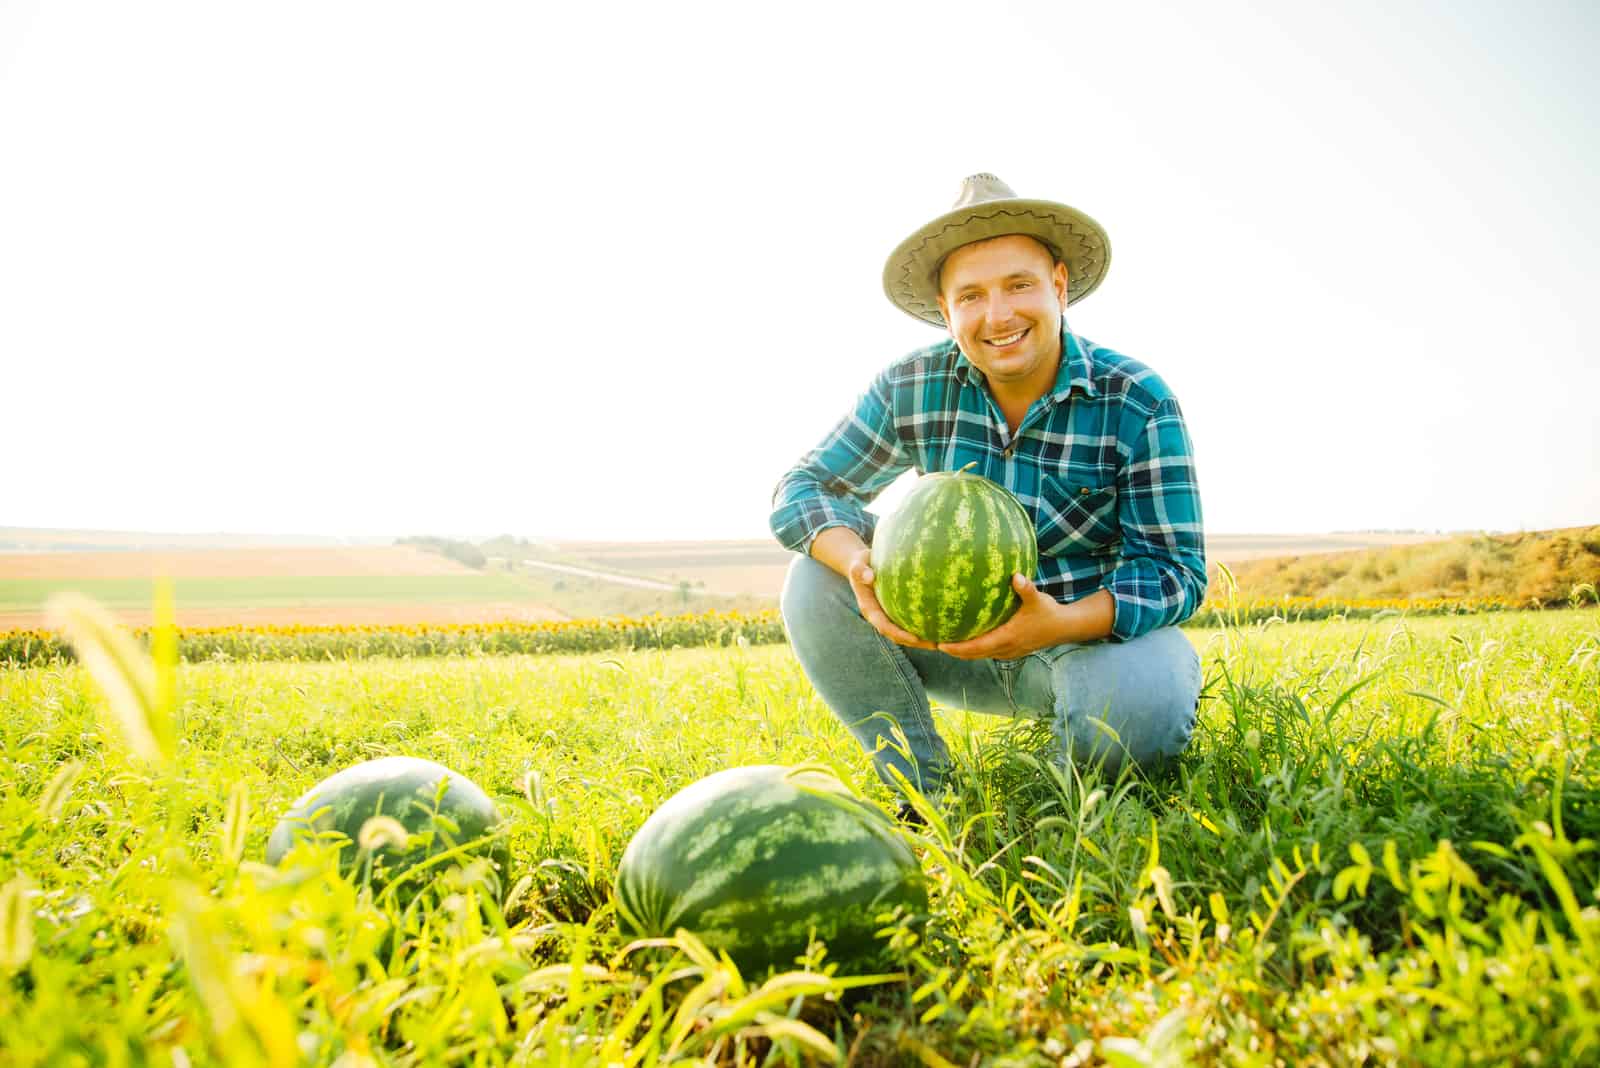
What is the average weight of a watermelon?
An average large watermelon weighs 20 pounds (9 kg), whereas small watermelons usually weigh around 5 pounds (2.3 kg), according to the Watermelon Board.
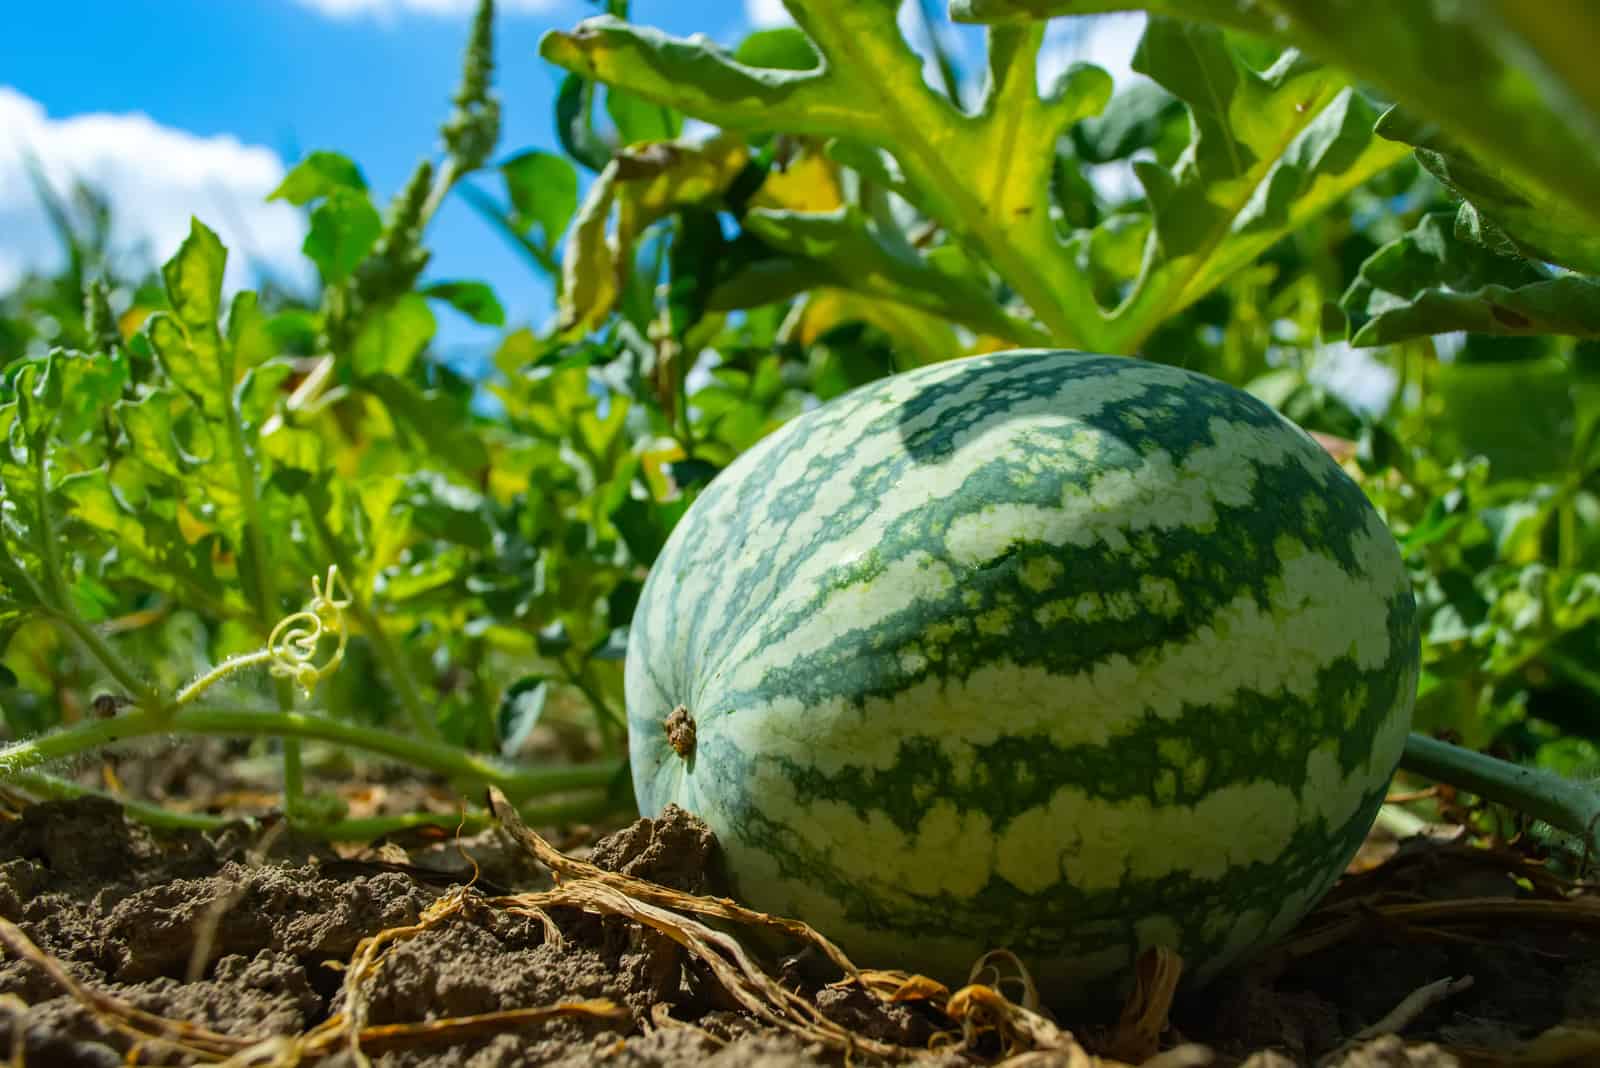
How can you differentiate between a green and ripe watermelon?
There are many ways to tell the difference between ripe and green watermelons, and the first thing you should look out for is the field spot (the part that touches the ground); green watermelons have a white field spot, and ripe watermelons have a yellow one.
Green watermelons resonate with a high-pitched sound when you knock them, while a ripe watermelon makes a hollow sound.
The vine that is immediately connected to the watermelon will turn brown when the watermelon is ripe, but remain green in the parts further away from the fruit.
Finally, you can always turn to your calendar and check the date of planting so you know whether the plant has had enough time to ripen.
To Sum Up
Watermelons are just the refreshment you need on a hot summer day, so knowing more about the watermelon growing stages will come in quite handy, especially if you want to try and grow them for the first time.
A watermelon’s needs are different at different growth stages. For instance, they need a lot less water after flowering than before.
We also brought you a short care guide for watermelons so you can grow this red fruit on your own and enjoy their fresh taste. They aren’t that needy, but you do need to water them a couple of times a week during their vegetative growth stage.
Other than that, just plant them in a sunny spot with loose, loamy, well-draining soil, and they’ll thrive. You can give them a hand by fertilizing them during their growing season to improve the yield.
Good luck, and send us a pic of your homegrown watermelon!
Until next time!
Like this post? Share or pin it for later!