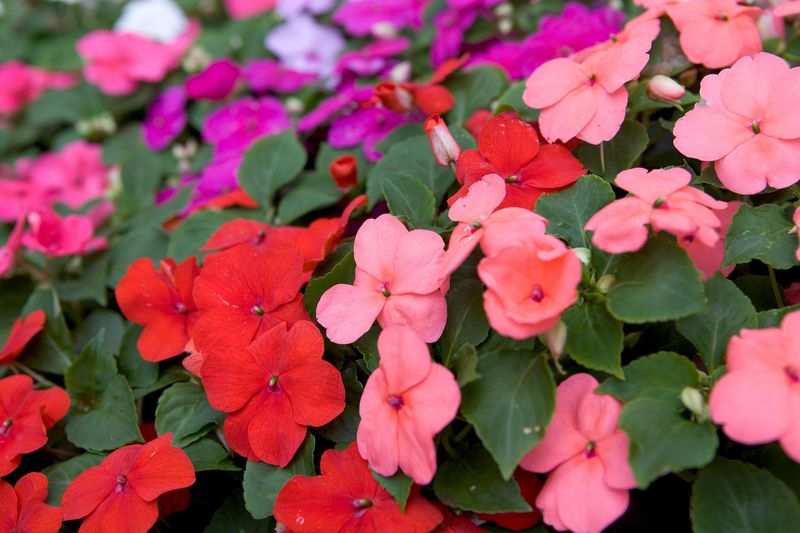
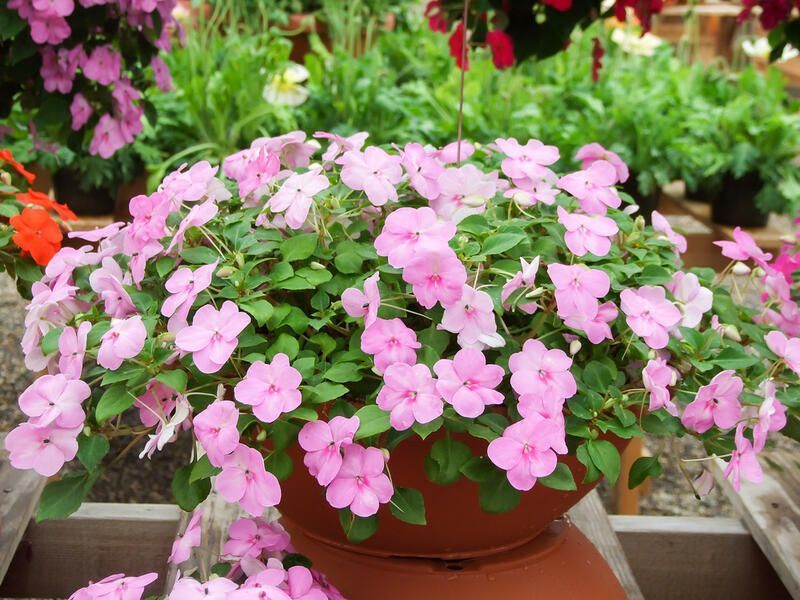
17 Essential Tips For Growing Impatiens From Seed On A Budget
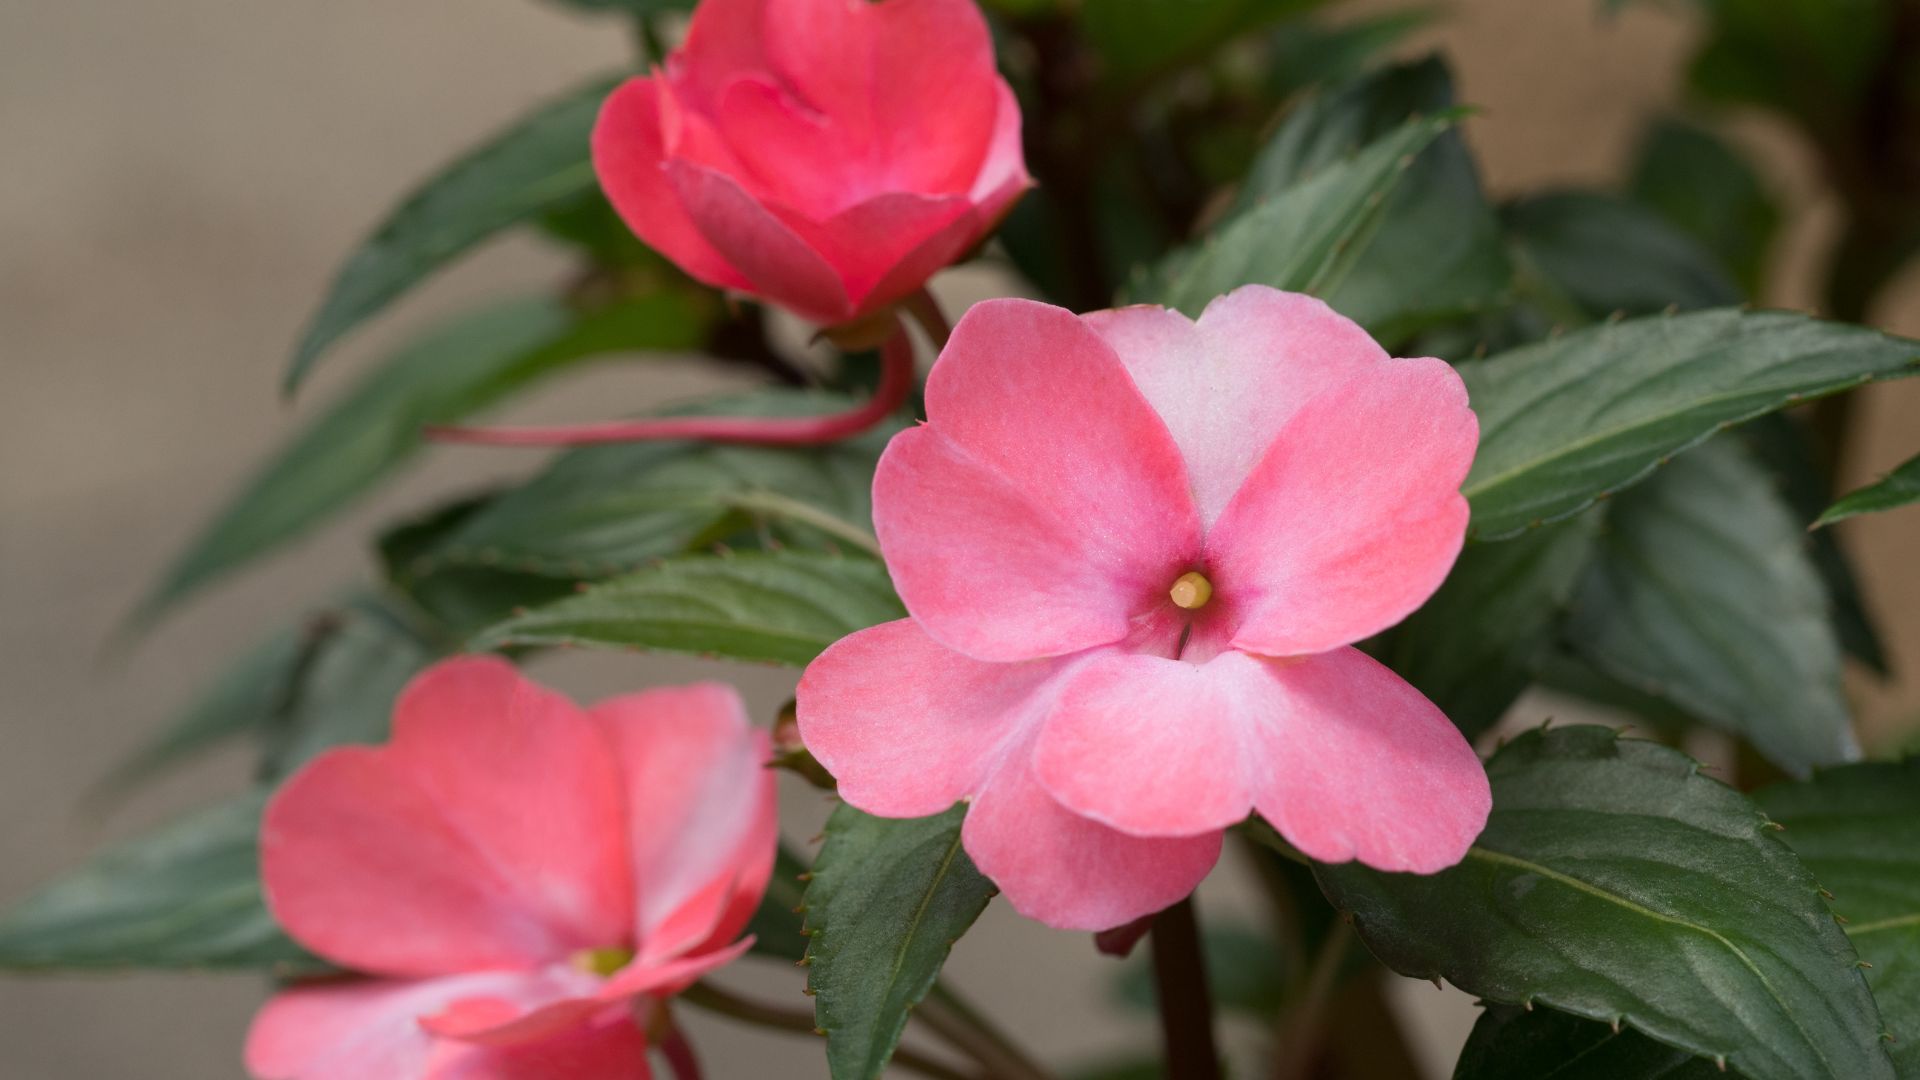
Growing colorful flowers doesn’t have to drain your wallet. When I first tried growing impatiens from seed, I was amazed at how much money I saved compared to buying flats from the garden center. A single packet can yield dozens of plants for the price of just a few store-bought seedlings.
The trick lies in knowing a few key techniques that make the process both economical and successful. I’ve learned that these delicate seeds respond wonderfully to certain budget-friendly approaches.
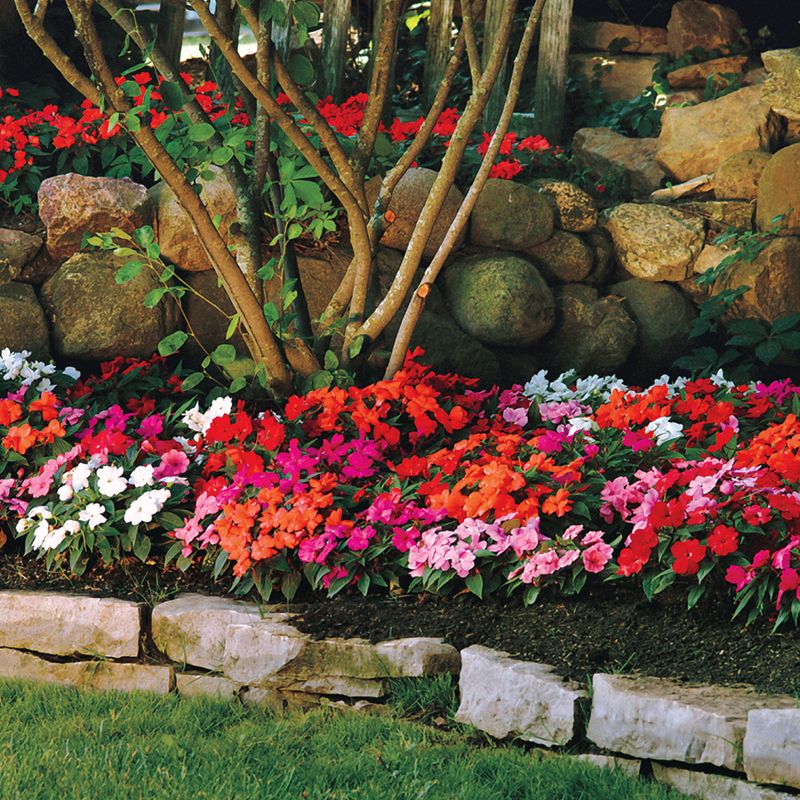
Last spring, my patio overflowed with beautiful blooms that cost me less than $10 to grow. Whether you’re looking to fill shady spots in your garden or brighten your containers, these money-saving tips will help you grow gorgeous impatiens without breaking the bank.
1. Start With Quality Seeds
Bargain hunting is smart, but not when it comes to your seeds. I’ve learned the hard way that investing in fresh, high-quality seeds from reputable sources pays off tremendously in germination rates.
Look for sales at the end of the growing season when many suppliers offer discounts of 50% or more. One $3 packet can produce hundreds of plants, making it far more economical than buying seedlings at $1-2 each.
Store leftover seeds in a cool, dry place in an airtight container with a silica gel packet to use next season.
2. Reuse Household Containers
Those yogurt cups and egg cartons gathering dust? Perfect seed-starting containers! After poking drainage holes in the bottom with a heated nail, they work just as well as expensive nursery pots.
Plastic clamshell containers from berries or salad greens make excellent mini-greenhouses when closed. I’ve grown hundreds of seedlings in takeout containers that would have otherwise ended up in the recycling bin.
Just be sure to clean them thoroughly with a mild bleach solution (1 part bleach to 10 parts water) to prevent disease issues.
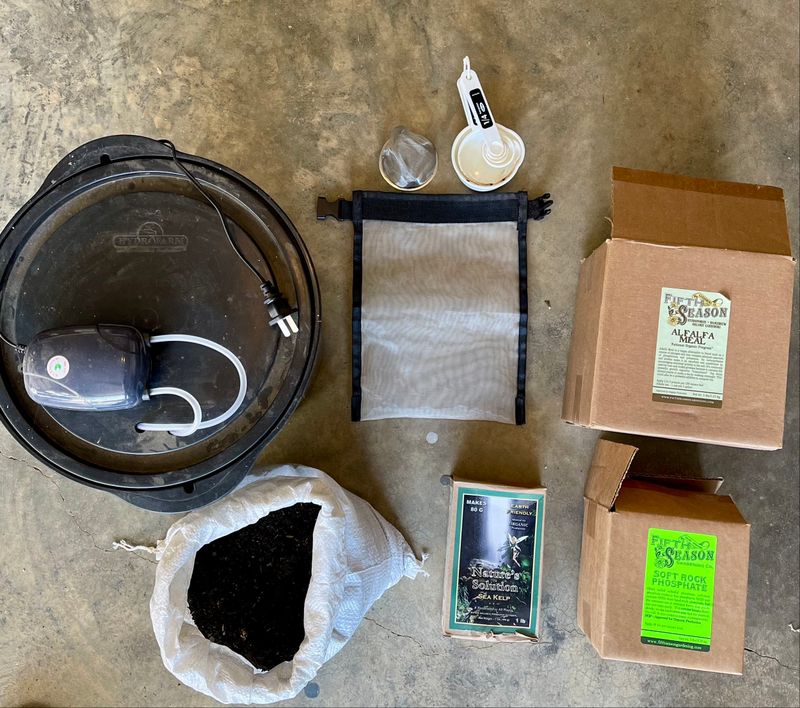
3. Mix Your Own Seed Starting Medium
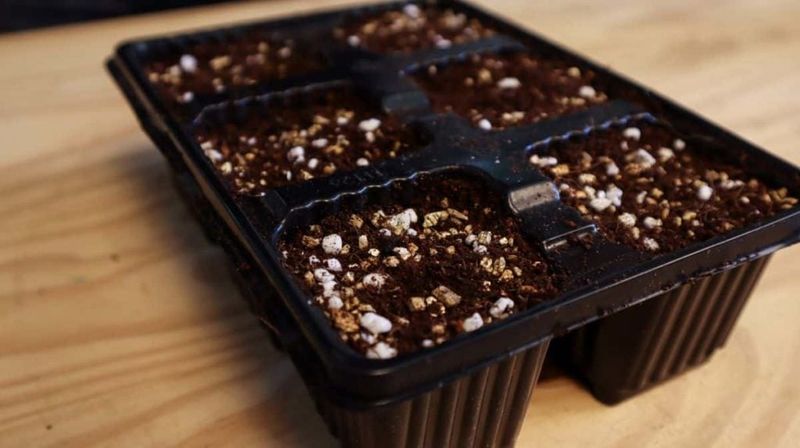
Commercial seed-starting mix can be surprisingly expensive. My wallet-friendly alternative combines equal parts coconut coir (or peat moss) and perlite or vermiculite. This homemade mix costs about a third of pre-made versions.
For extra savings, I add a small amount of compost I make myself. The resulting mix retains moisture beautifully while providing the drainage impatiens seedlings need.
Sift everything through a kitchen colander to remove large chunks that might impede tiny impatiens seeds from germinating properly.
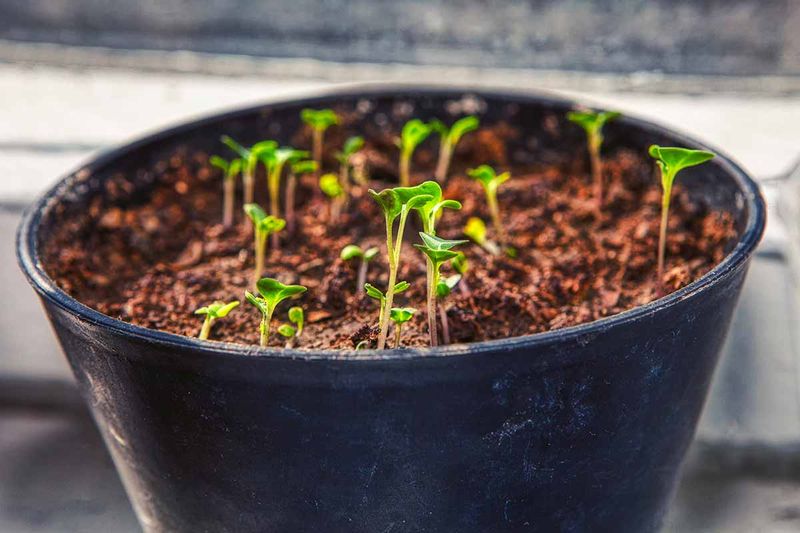
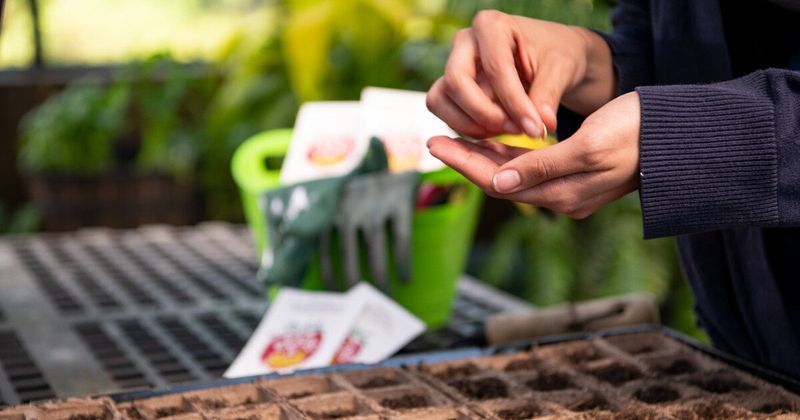
4. Master The Art Of Sowing Tiny Seeds
Impatiens seeds are incredibly small – almost dust-like! To avoid wasting them, I mix them with fine sand in a salt shaker for more even distribution. This trick has saved me countless seeds over the years.
Another method involves using a dampened toothpick to pick up individual seeds. For either approach, don’t cover the seeds with soil since they need light to germinate.
Simply press them gently onto the surface of your growing medium and mist with water from a spray bottle to avoid washing them away.
5. Create A Free Humidity Dome
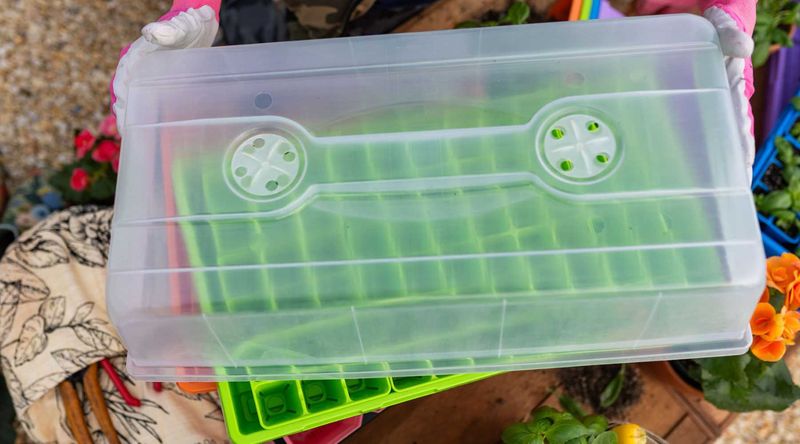
Plastic wrap works wonders as a budget-friendly humidity dome! After sowing seeds, I cover containers with clear plastic wrap and secure it with a rubber band, poking a few small holes for air circulation.
This creates the perfect humid environment impatiens seeds need to germinate. The plastic traps moisture, reducing how often you need to water and preventing the tiny seeds from washing away.
Remove the cover gradually once seeds germinate, starting with an hour the first day and increasing time until seedlings adjust to normal humidity levels.
6. Use Bottom Watering Techniques
Overhead watering can displace tiny seeds and delicate seedlings. My solution costs nothing – simply place seed containers in a shallow dish of water and let them absorb moisture from below for about 15 minutes.
The growing medium will wick up exactly what it needs without disturbing your precious seeds. I keep a dedicated plastic lid from a storage container just for this purpose.
Remove containers once the top of the medium appears damp, and never let them sit in water for extended periods as this can lead to root rot and fungal problems.
7. Make A DIY Grow Light Setup
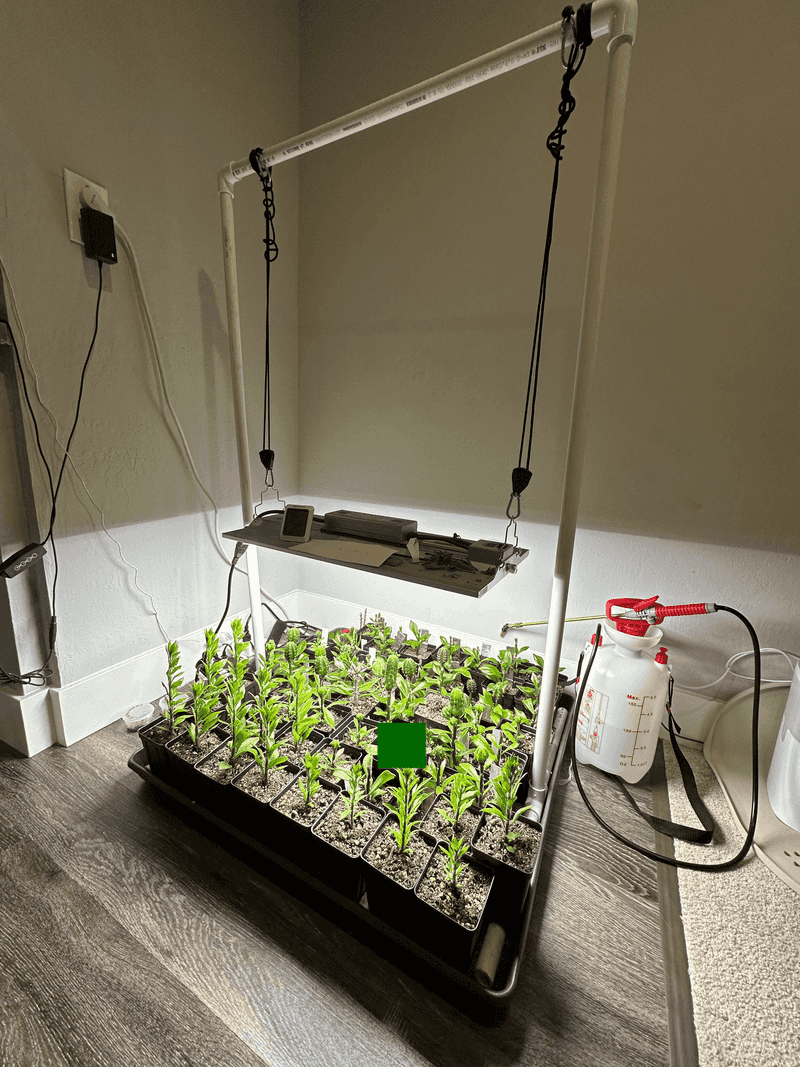
Fancy grow lights aren’t necessary for successful seedlings. Regular fluorescent shop lights hung about 3-4 inches above seedlings work perfectly. My setup uses an adjustable clothing rack with lights attached using S-hooks and chains.
Set timers (even manual ones from thrift stores work) for 14-16 hours of light daily. As seedlings grow, adjust the height to maintain proper distance.
This simple system has produced stocky, healthy seedlings that outperform many of my leggy, window-grown plants from previous years.
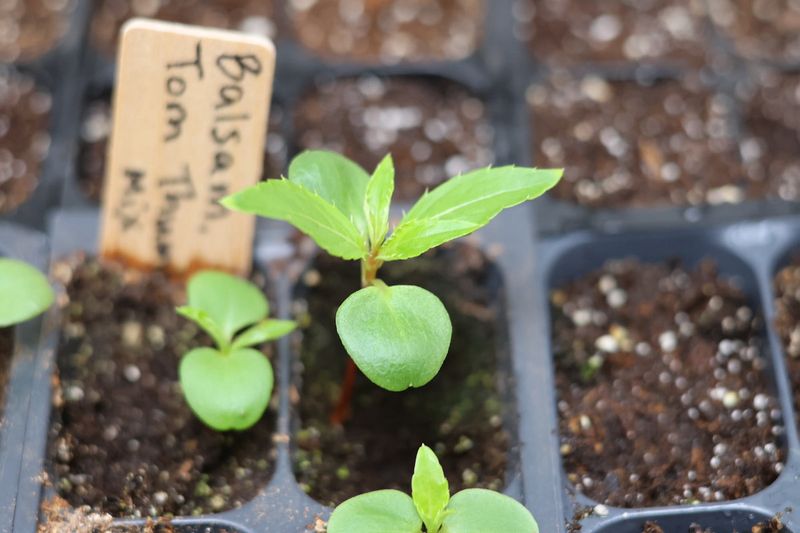
8. Thin Seedlings Without Waste
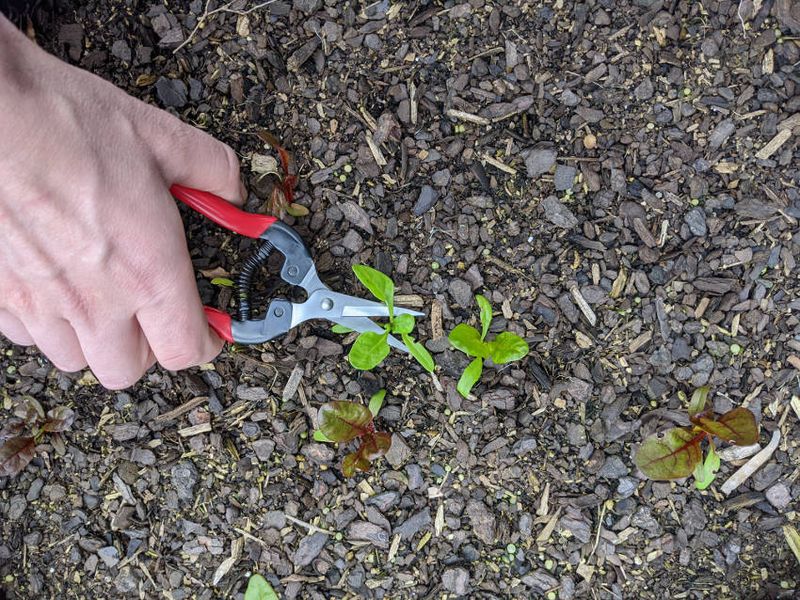
Rather than discarding extra seedlings, I use clean, sharp scissors to snip them at soil level. This prevents disturbing the roots of remaining plants and eliminates competition for resources.
The thinned seedlings make excellent additions to salads with a peppery, slightly sweet flavor similar to nasturtiums. Not many gardeners know impatiens leaves are edible!
For best results, thin when seedlings develop their first true leaves, leaving the strongest plant every 1-2 inches. This spacing allows proper air circulation and reduces disease problems.
9. Create A Gentle Breeze
Strong stems develop through gentle movement. Instead of purchasing a special fan for seedlings, I simply run my hand lightly over them for a minute or two whenever I pass by.
Another free option is placing seedling trays near a slightly open window where natural air currents can reach them. The slight resistance helps build stronger stems that won’t flop over when transplanted outdoors.
Just be careful not to expose tender seedlings to cold drafts or excessive wind that could damage or dry them out too quickly.
10. Feed With Homemade Fertilizer
Commercial seedling fertilizers can be pricey. My go-to alternative is a weak compost tea made by soaking a handful of compost in a gallon of water overnight, then straining.
For seedlings, I dilute this tea further until it’s the color of weak tea. The gentle nutrients promote steady growth without the risk of burning delicate roots that comes with chemical fertilizers.
Apply this homemade solution once every two weeks after seedlings develop their first true leaves for healthy, strong plants without spending a dime.
11. Harden Off Seedlings Gradually
Shocking seedlings by moving them directly outdoors can set them back weeks or kill them outright. My cost-free hardening off method involves placing seedling trays in a sheltered spot (like under a tree) for increasing periods over 7-10 days.
Start with just an hour the first day, then gradually increase exposure to outdoor conditions. A garden cart or wagon makes this process easier, allowing you to wheel plants in and out.
Watch weather forecasts carefully during this period – even hardened plants may need protection from late frosts or extreme conditions.
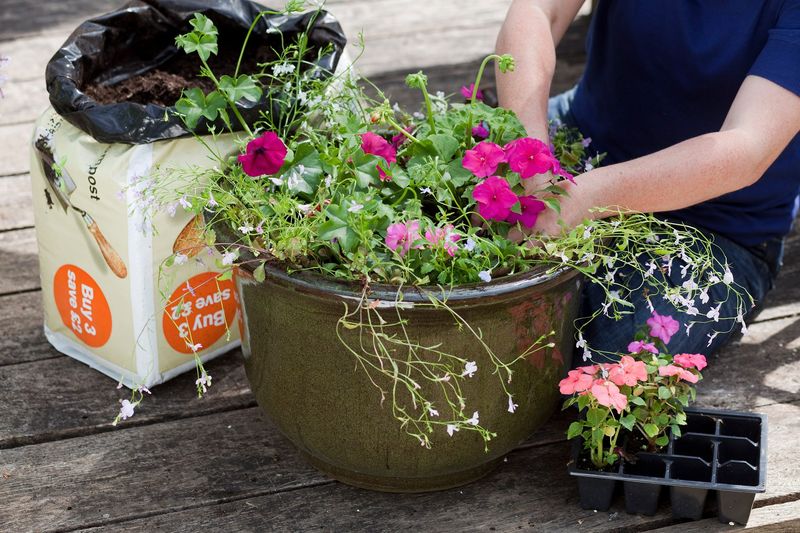
12. Time Transplanting Wisely
Patience saves both plants and money. Waiting until soil temperatures reach at least 60°F before transplanting impatiens outdoors prevents cold damage that could force you to buy replacement plants.
I’ve found that planting on overcast days or in the evening reduces transplant shock significantly. Water thoroughly before and after transplanting to ease the transition.
For extra protection without spending a dime, reuse plastic bottles with the bottoms cut off as mini-greenhouses over newly transplanted seedlings for their first week outdoors.
13. Mulch With Found Materials
Shredded leaves, grass clippings, or pine needles make excellent free mulch for impatiens. Last year, I collected bags of fallen leaves from my neighborhood that would have gone to waste and shredded them with my lawnmower.
Apply a 2-inch layer around plants to retain moisture, suppress weeds, and gradually add nutrients to the soil as they break down. This approach cut my watering needs nearly in half during summer heat.
Just keep mulch a few inches away from plant stems to prevent rot issues that could compromise your budget-friendly plants.
14. Collect Rainwater For Irrigation
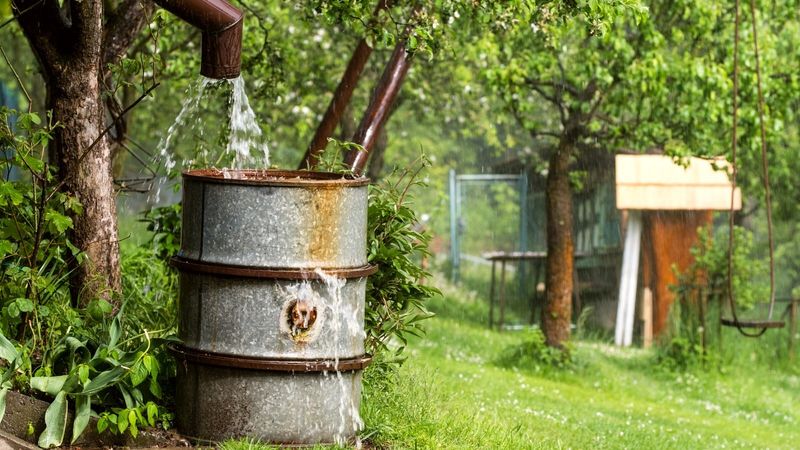
Impatiens are thirsty plants, but your water bill doesn’t have to suffer. Simple containers placed under downspouts collect free rainwater that’s perfect for these moisture-loving flowers.
I use cleaned 5-gallon buckets, old trash cans, and even kiddie pools to harvest rainwater. Even a modest rain shower can provide enough water for several days of plant care.
As an added benefit, rainwater lacks the chlorine and other chemicals found in tap water that can sometimes stress sensitive plants like impatiens.
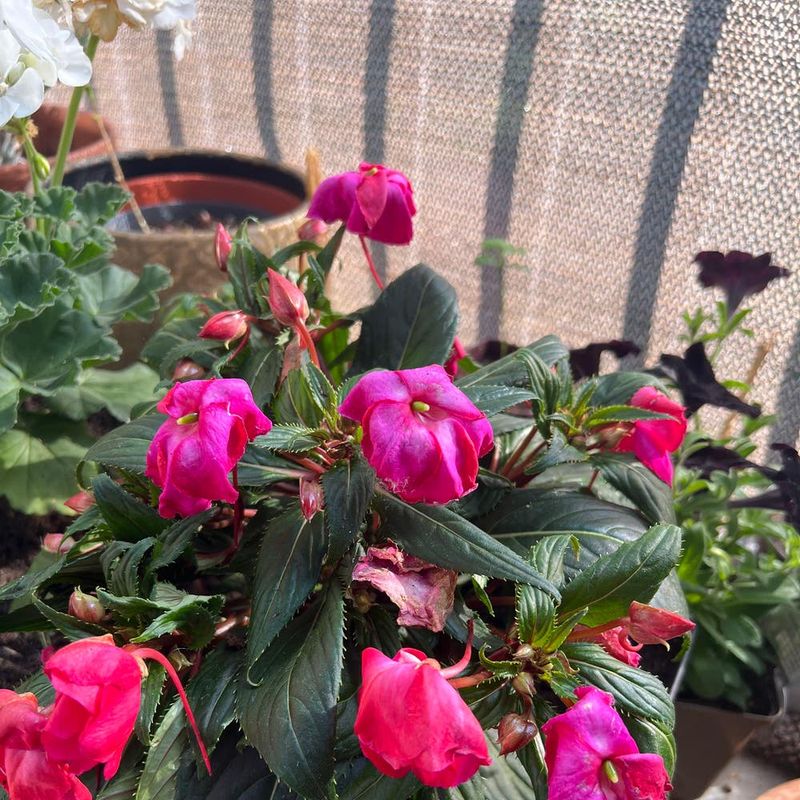
15. Propagate From Cuttings
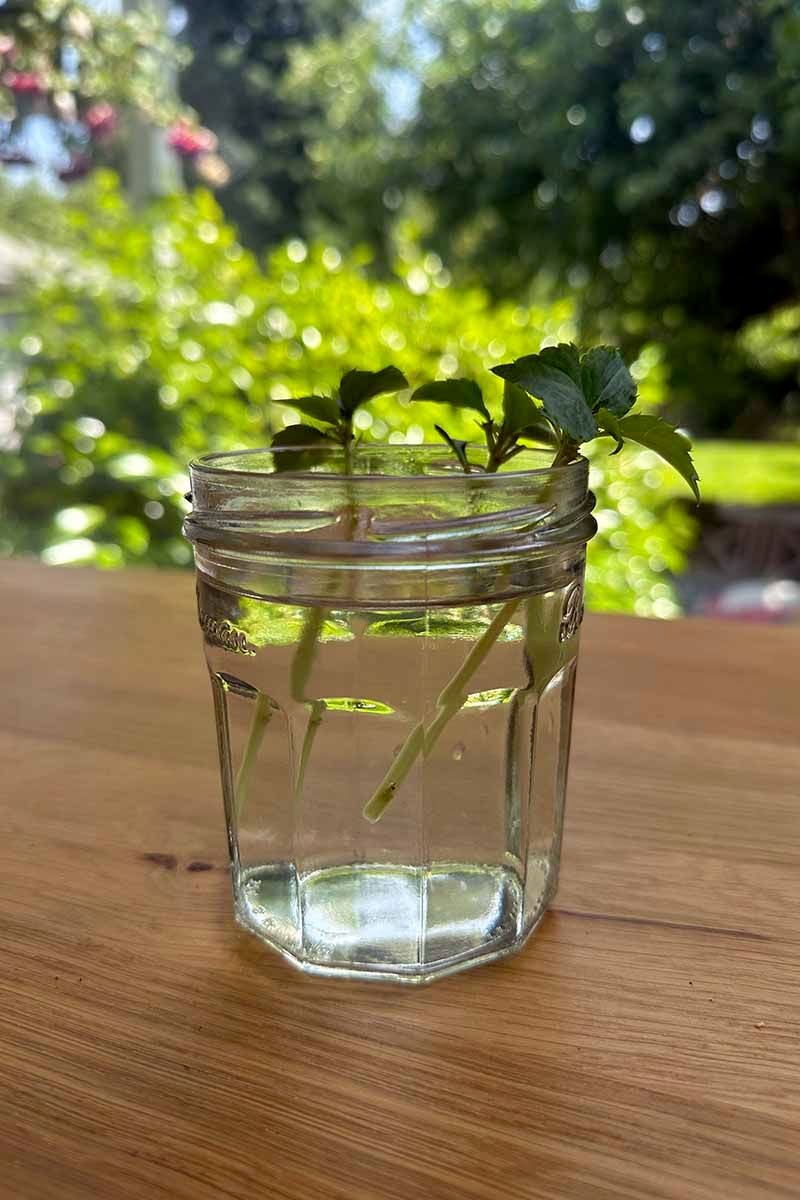
Once your seed-grown impatiens are established, they become a free source of new plants! Simply snip 3-4 inch stem pieces, remove lower leaves, and place in a glass of water.
Roots typically form within 1-2 weeks, at which point they can be planted in soil. From just a few original plants, I’ve created dozens of new ones without spending an extra penny.
This technique works particularly well in mid-summer when your plants have filled out, allowing you to expand your garden or replace any plants that didn’t thrive.
16. Save Seeds For Next Season
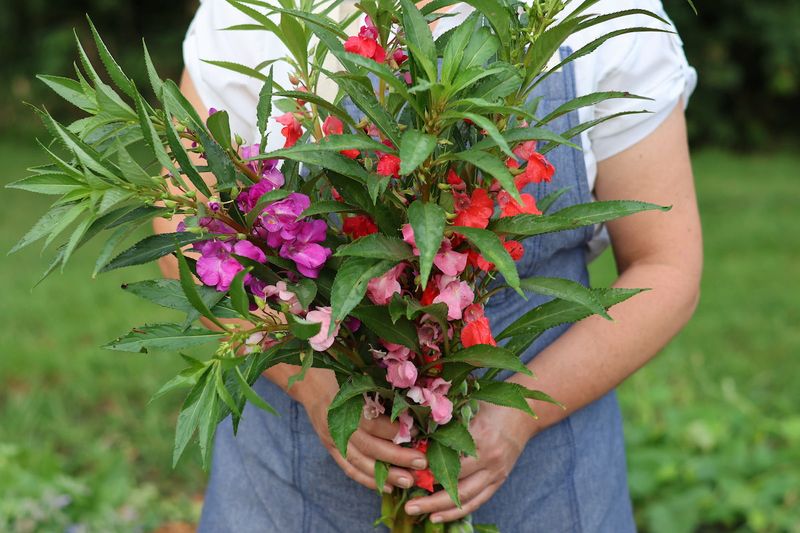
The ultimate budget gardening move is collecting your own seeds. Allow a few impatiens flowers to develop seed pods, which look like small, light green capsules that eventually turn tan when ready.
Watch carefully as mature pods burst open at the slightest touch – I place small paper bags over ripening pods to catch seeds when they explode. One healthy plant can produce hundreds of viable seeds for next year.
Store collected seeds in labeled paper envelopes in a cool, dry place, and you’ll never need to buy impatiens seeds again!
17. Create Shade With Repurposed Materials
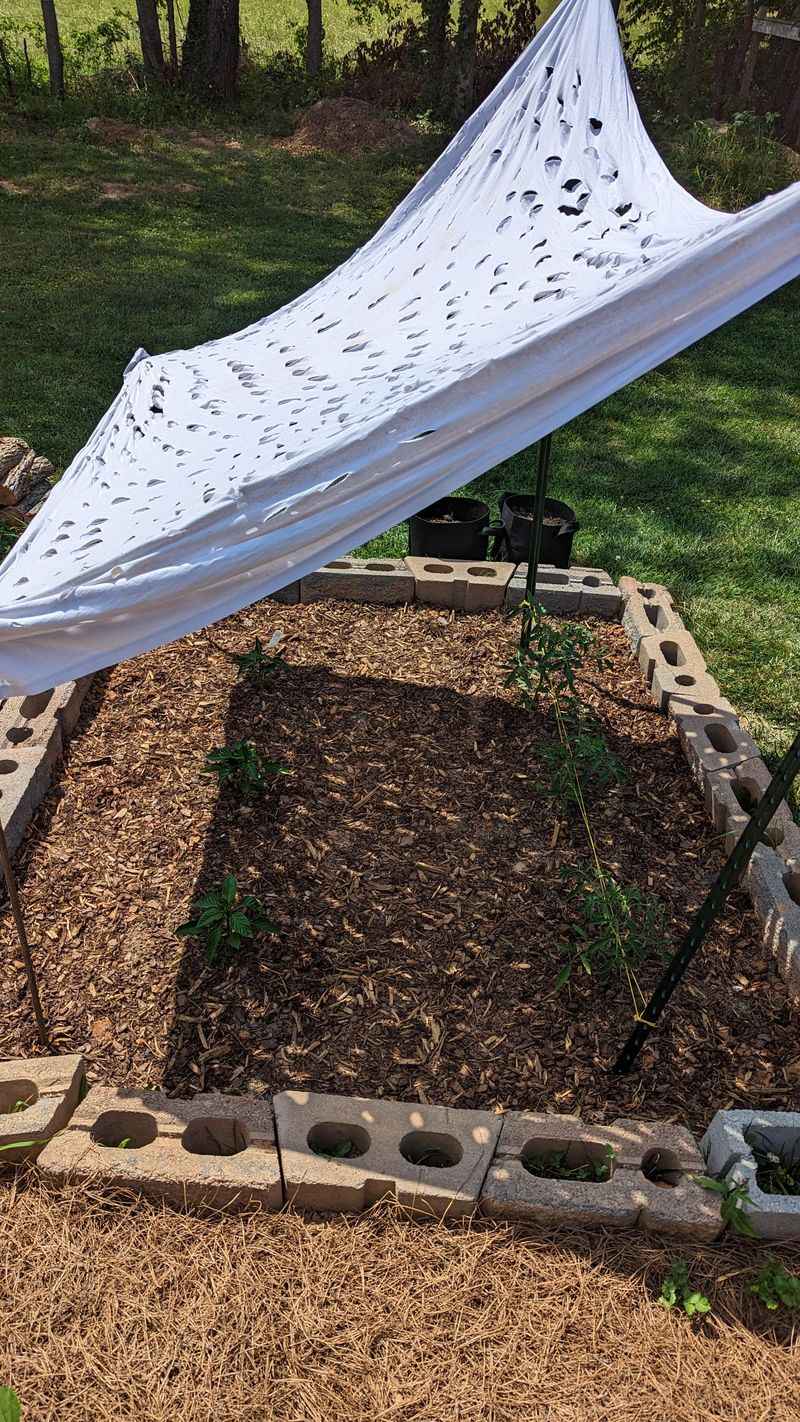
Impatiens thrive in shade, which can be created for free using materials you already have. Old sheer curtains stretched between stakes provide perfect filtered light for these shade-lovers during harsh summer days.
I’ve used bamboo poles salvaged from a neighbor’s trash with an old bedsheet draped over them to create a shade structure. Lattice panels leaned against supports work well too.
This approach not only saves money on commercial shade cloth but also reduces water needs by protecting plants from intense afternoon sun that can quickly dry out soil.