15 Signs That Show Your Lilies Are In Trouble (And What To Try Before Giving Up)
Lilies are such stunning flowers, but sometimes they send little signals when something’s not quite right. I’ve been there—watching my lilies struggle and feeling unsure what to do next.
Before you throw in the towel, it’s worth spotting these signs early and trying a few simple fixes. With a bit of care, you might bring those beautiful blooms back to life.
Let me guide you through what to watch for and how to help your lilies bounce back strong!
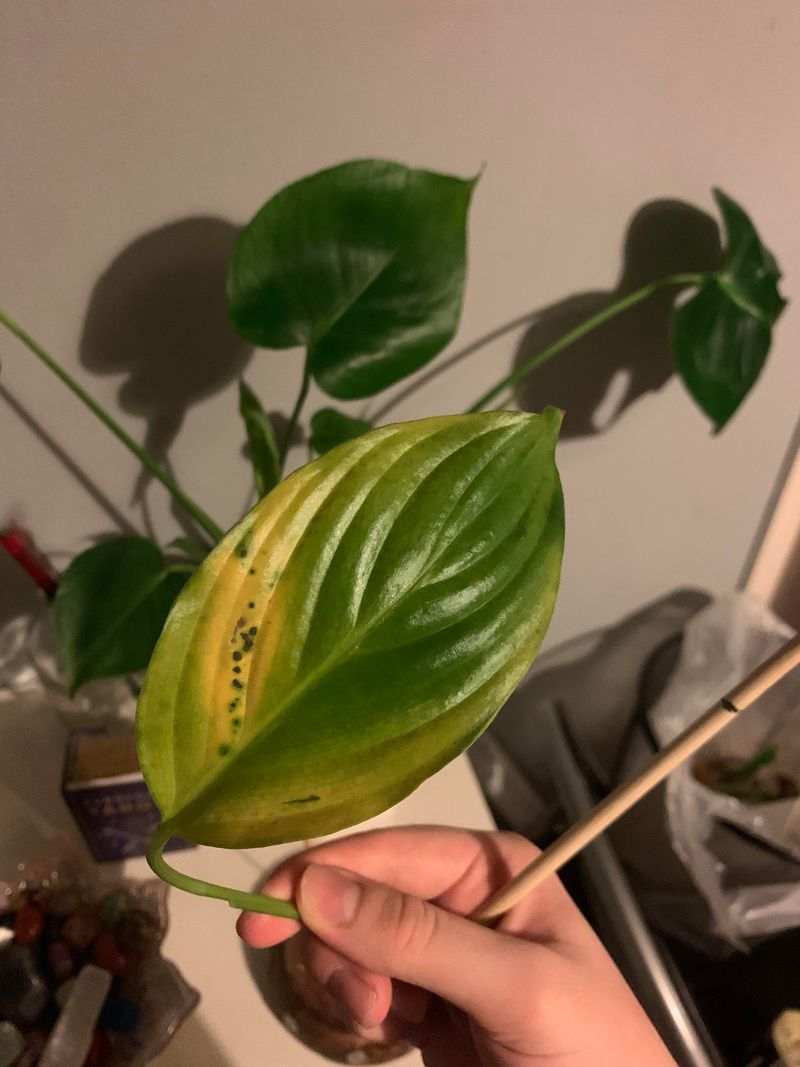
1. Yellowing Leaves
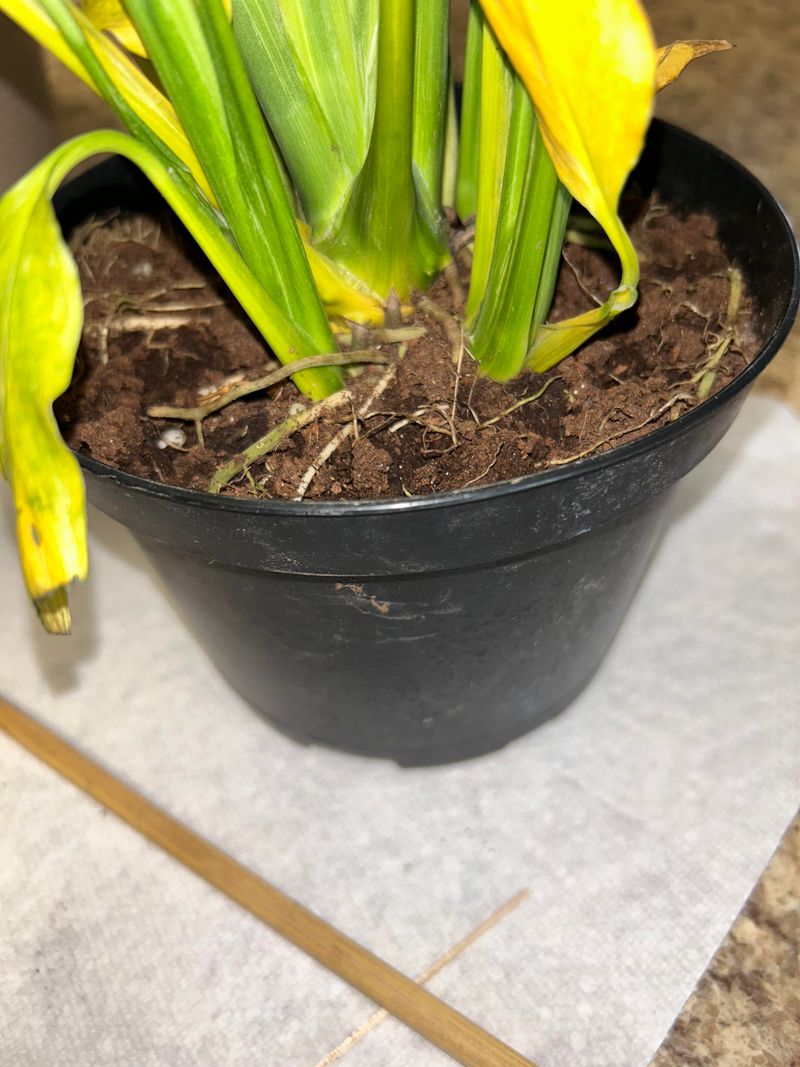
Those vibrant green leaves turning yellow are your lily’s cry for help. Yellowing often indicates overwatering or poor drainage that’s drowning your plant’s roots.
Check the soil moisture by sticking your finger an inch deep—if it feels wet days after watering, you’ve found your culprit. Reduce watering frequency and consider repotting with well-draining soil. For outdoor lilies, improve drainage by adding sand or perlite to the soil.
2. Brown Leaf Tips
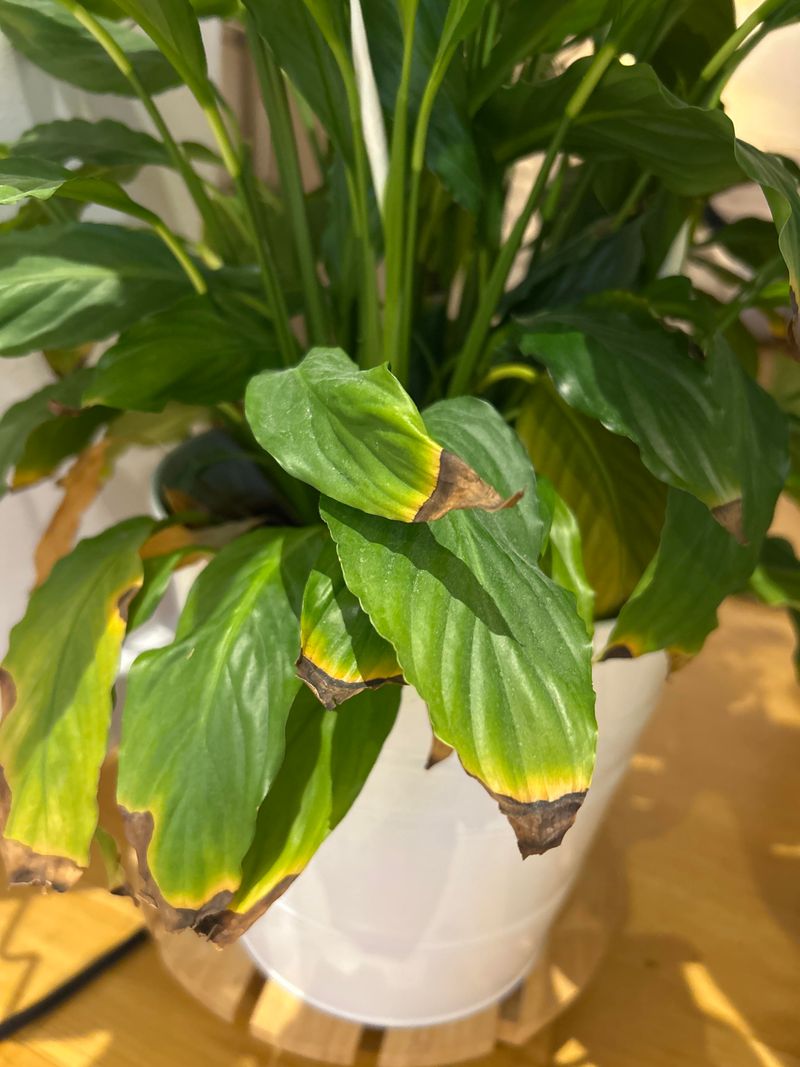
Crispy brown edges on your lily’s leaves signal environmental stress, usually from insufficient humidity or excessive fertilizer. The browning starts at the tips and gradually spreads inward if left untreated.
Try misting your indoor lilies regularly or place them on a pebble tray with water. For outdoor plants, mulch around the base to retain moisture. If over-fertilization is suspected, flush the soil thoroughly with water to remove salt buildup.
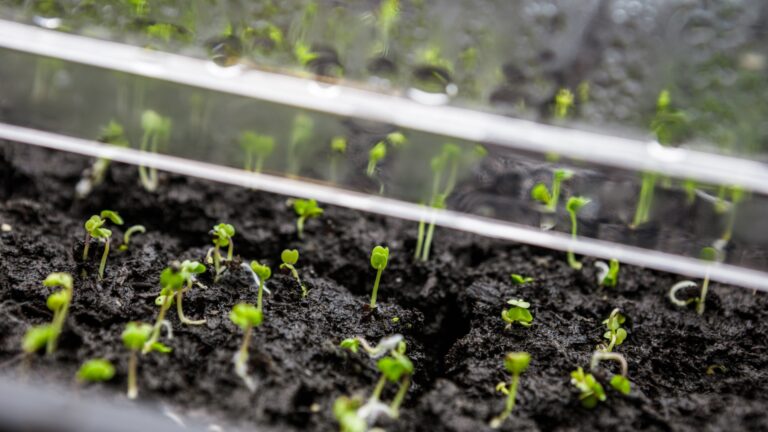
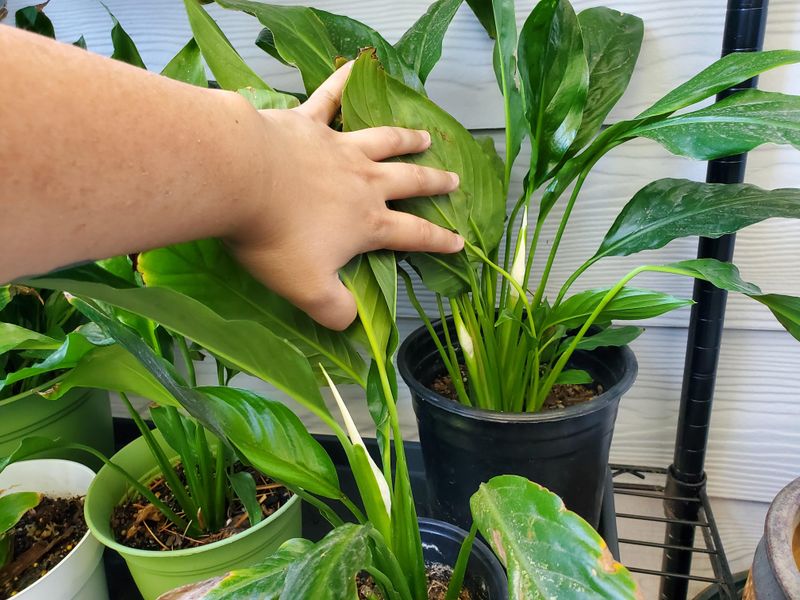
3. Stunted Growth
When your lilies seem frozen in time, not growing taller or producing smaller-than-normal leaves, they’re telling you something’s wrong. Stunted growth often points to nutrient deficiencies or compacted soil limiting root expansion.
Gently loosen the soil around your plants without disturbing the roots too much. Apply a balanced, slow-release fertilizer specifically formulated for flowering bulbs. Consider a soil test to identify specific nutrient deficiencies that might be holding your lilies back.
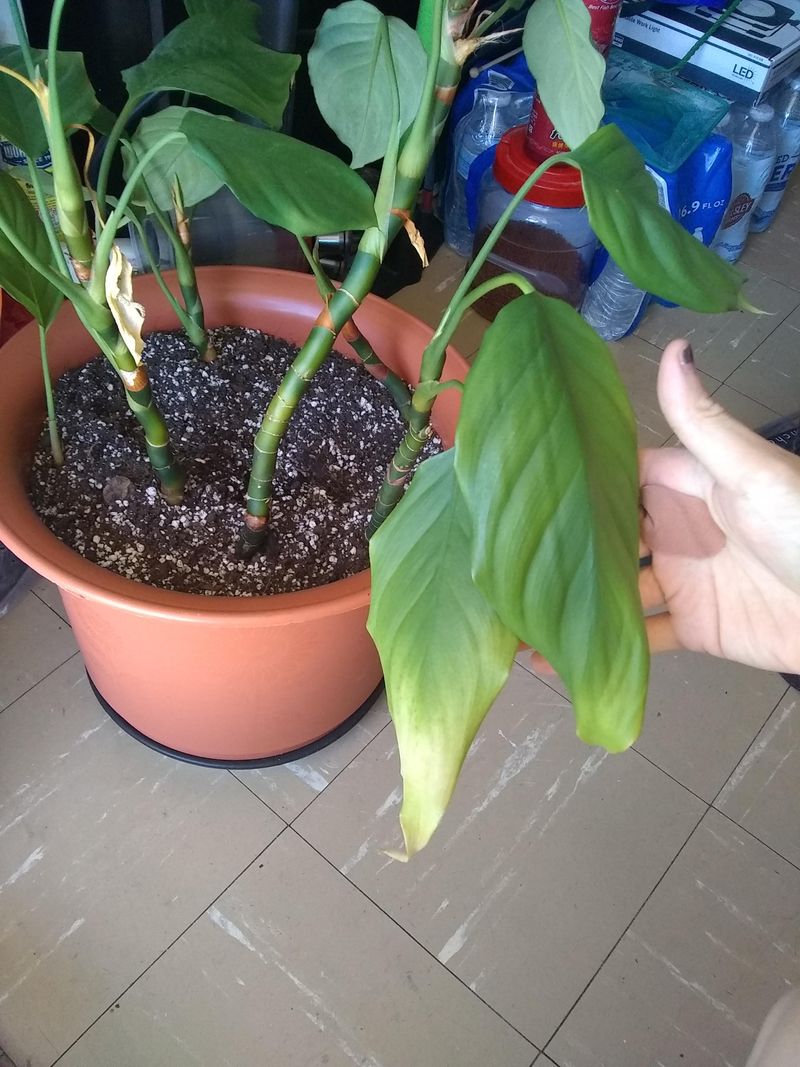
4. Wilting Despite Watering
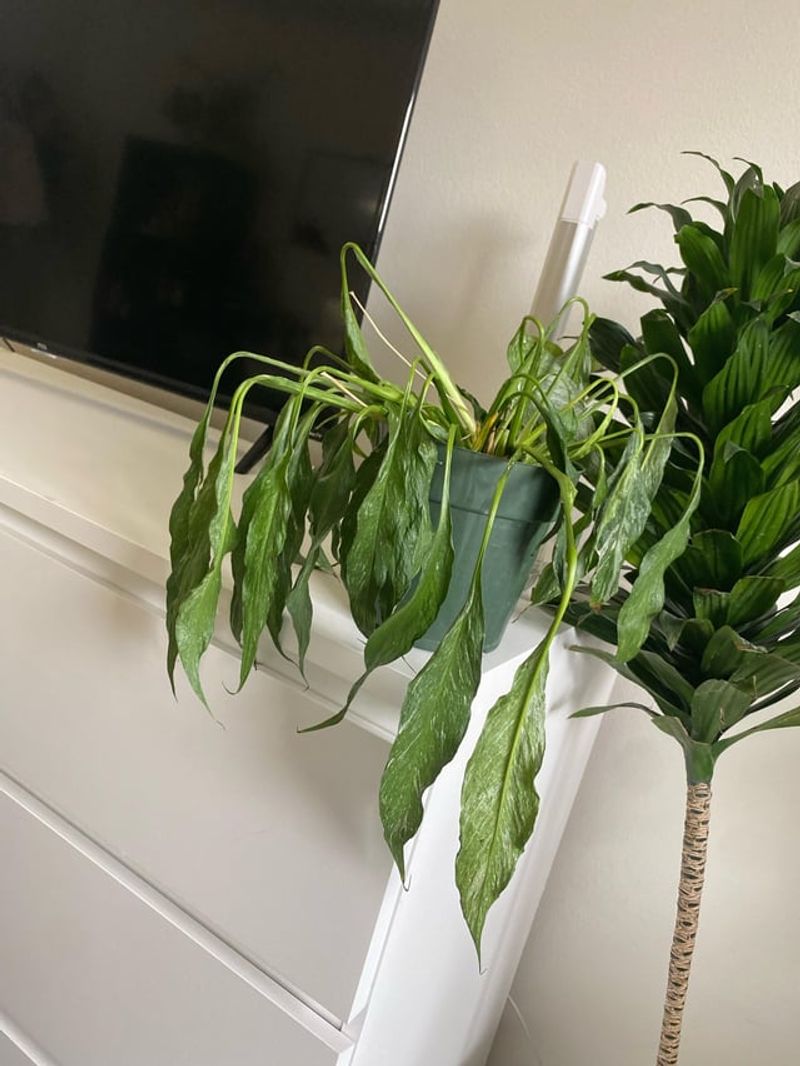
Finding your lilies drooping even after proper watering can be puzzling. This paradoxical wilting often indicates root damage, possibly from disease or pests tunneling below the surface.
Carefully dig around the base to examine the roots—healthy ones should be firm and light-colored. Cut away any soft, dark, or foul-smelling sections with sterilized shears. Treat remaining roots with fungicide before replanting in fresh soil, and water moderately until new growth appears.
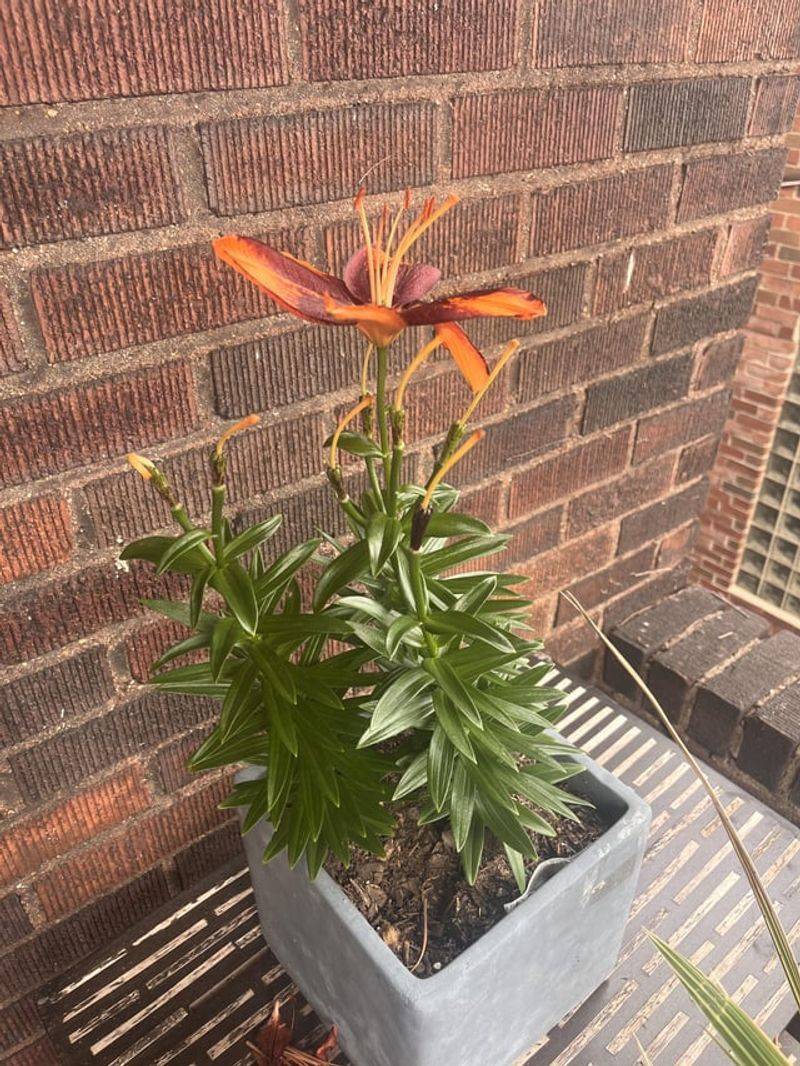
5. Deformed Flowers
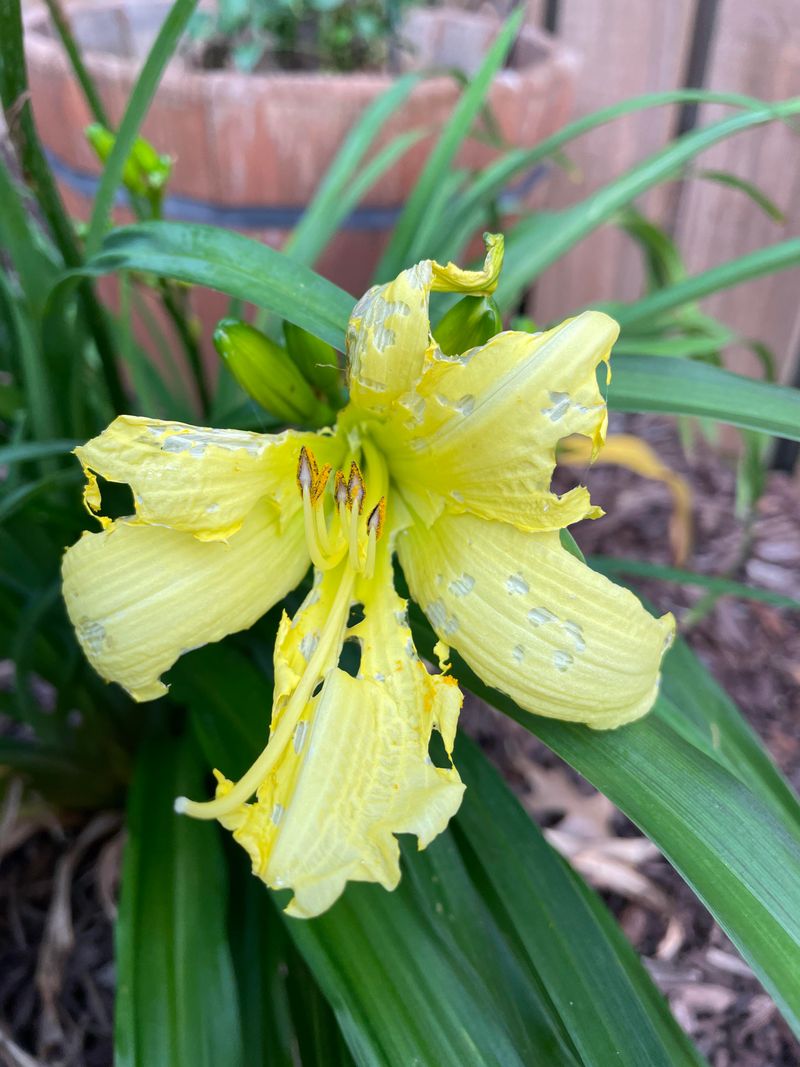
Twisted, asymmetrical, or incomplete blooms indicate your lily is struggling during the critical flowering stage. Flower deformities can result from temperature fluctuations, thrips, or botrytis infection.
Remove affected flowers immediately to prevent disease spread. Check for tiny insects by tapping the bloom over white paper—if thrips are present, treat with insecticidal soap. Ensure consistent temperatures and avoid overhead watering which can promote fungal issues affecting flower development.
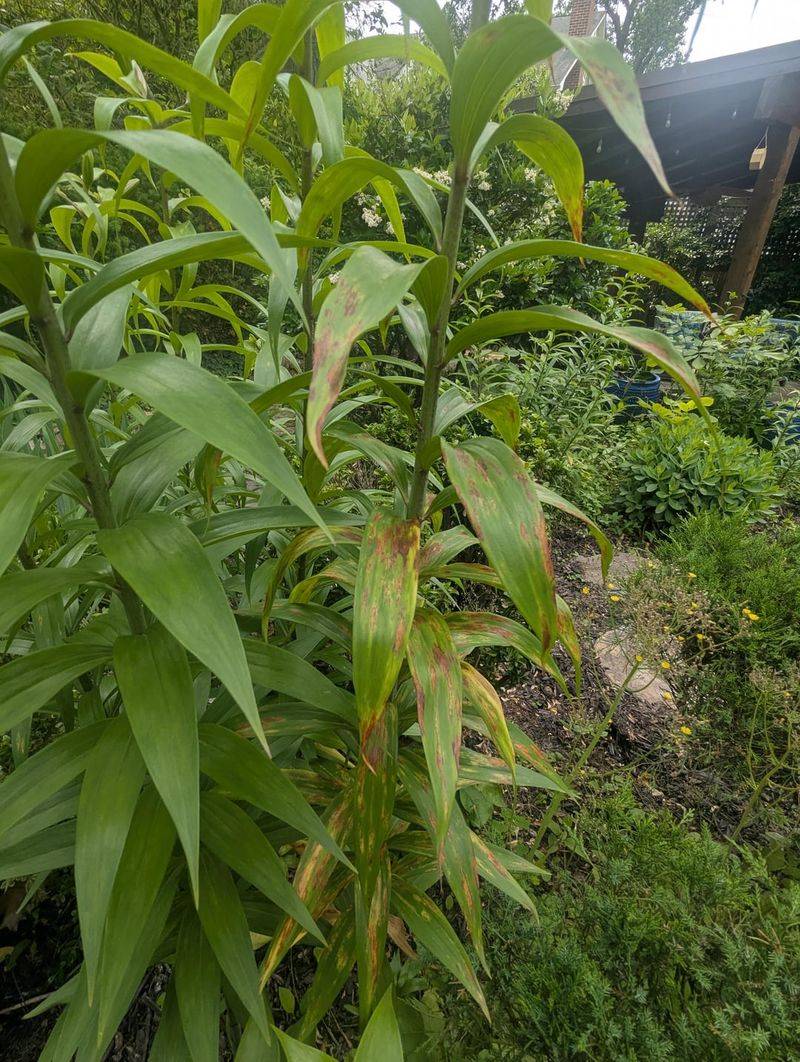
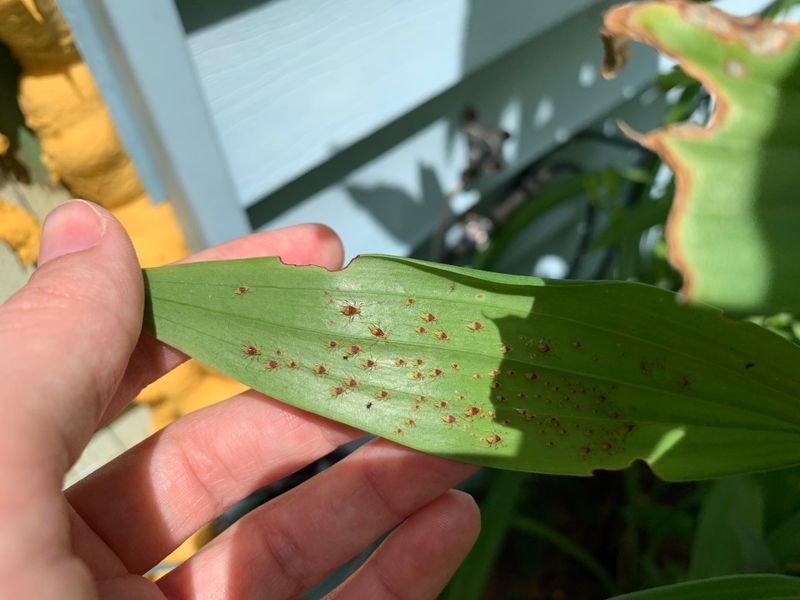
6. Leaf Spotting
Mysterious spots appearing on your lily leaves aren’t just cosmetic concerns—they’re warning signs of fungal or bacterial infections. These spots may start small but can quickly spread, eventually killing entire leaves.
Improve air circulation by spacing plants properly and removing nearby weeds. Water at the base rather than overhead to keep foliage dry. Apply a copper-based fungicide according to package directions, and remove severely affected leaves to prevent the infection from spreading to healthy tissue.
7. Disappearing Buds
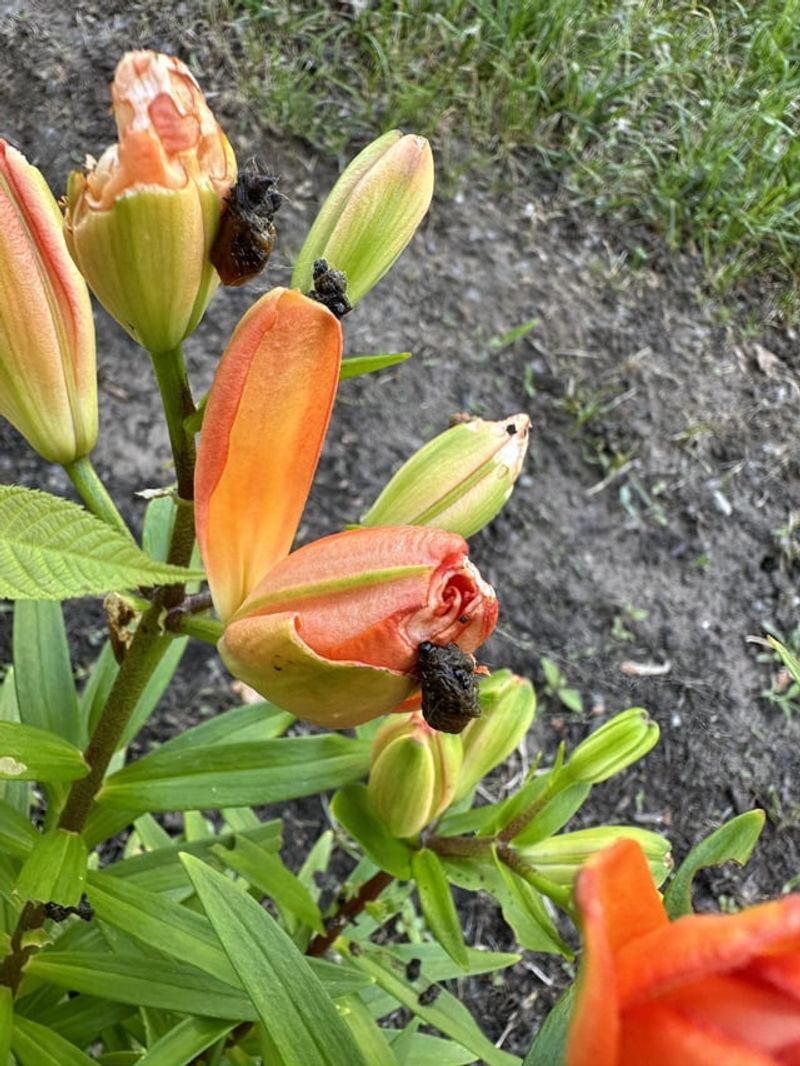
Watching promising lily buds vanish overnight can be heartbreaking. This mysterious disappearance usually points to nighttime visitors—deer, rabbits, or rodents finding your lilies irresistibly delicious.
Create physical barriers using chicken wire cages or netting around your prized plants. Alternatively, try commercial repellents containing predator urine or blood meal. Some gardeners swear by homemade deterrents like garlic spray or human hair scattered around plants to keep hungry critters at bay.
8. Stem Discoloration
Dark streaks or patches on lily stems indicate serious trouble brewing beneath the surface. These discolorations often signal vascular diseases that block water and nutrient flow, essentially strangling your plant from within.
Act quickly by cutting affected stems down to healthy tissue using sterilized tools. Disinfect cutting tools between each cut with alcohol to prevent spreading the infection. Unfortunately, some vascular diseases are incurable, so you may need to remove severely affected plants entirely to protect others.
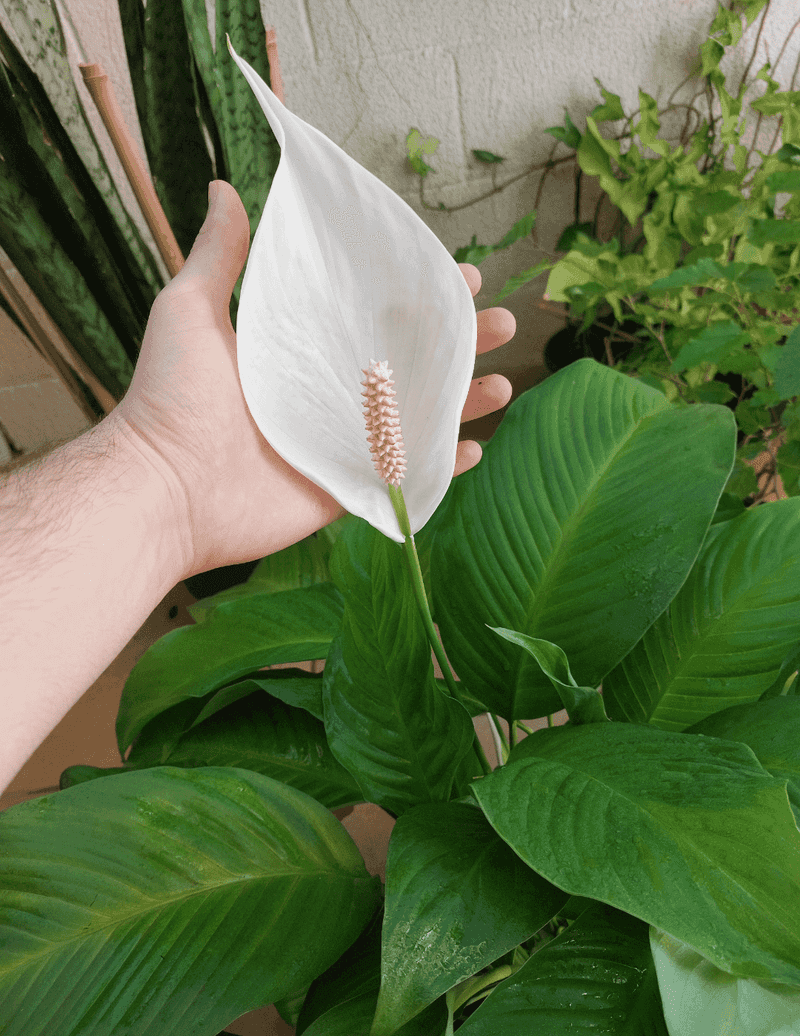
9. Faded Flowers
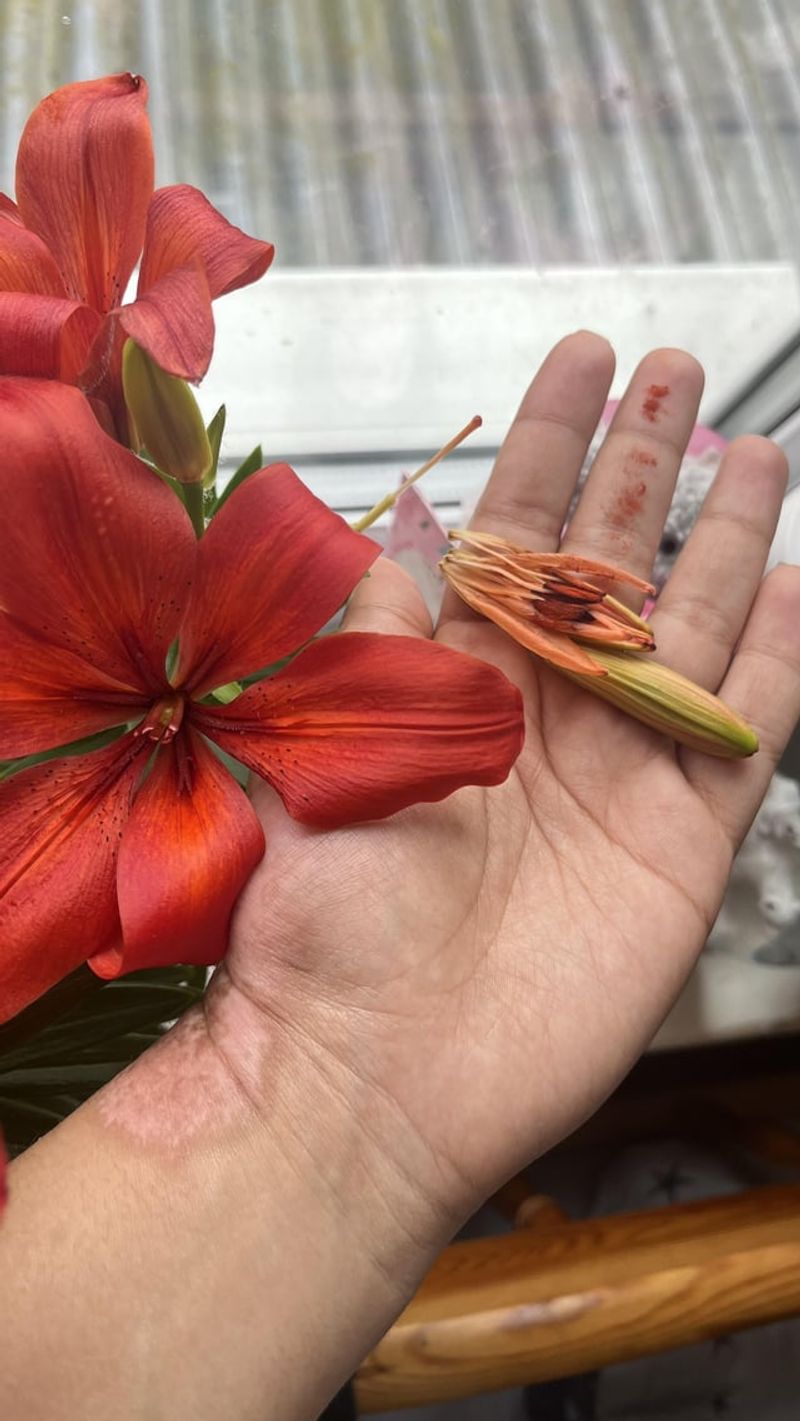
Prematurely fading blooms that lose their vibrant color or wilt quickly point to environmental stress. Lilies naturally hold their color for weeks, so rapid fading indicates something’s amiss.
Check your lily’s location—too much direct sunlight can bleach delicate petals. Move potted lilies to morning-sun locations with afternoon shade. Ensure consistent watering during flowering, as drought stress accelerates petal drop. Remove spent blooms promptly to redirect energy to remaining flowers.
10. Weak Stems
Floppy, unable-to-support-themselves stems indicate your lilies aren’t getting what they need to build strong structure. Weak stems often result from insufficient light causing the plant to stretch, or from nutrient deficiencies.
Provide support using bamboo stakes and soft plant ties while addressing the underlying cause. Move indoor lilies to brighter locations, ensuring they receive at least 6 hours of sunlight daily. For outdoor plants, supplement with phosphorus-rich fertilizer which strengthens stems and roots.
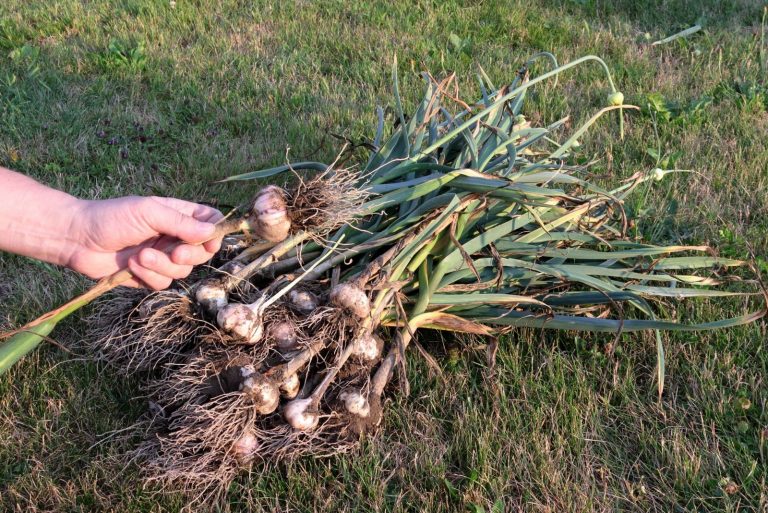
11. Bulb Softness
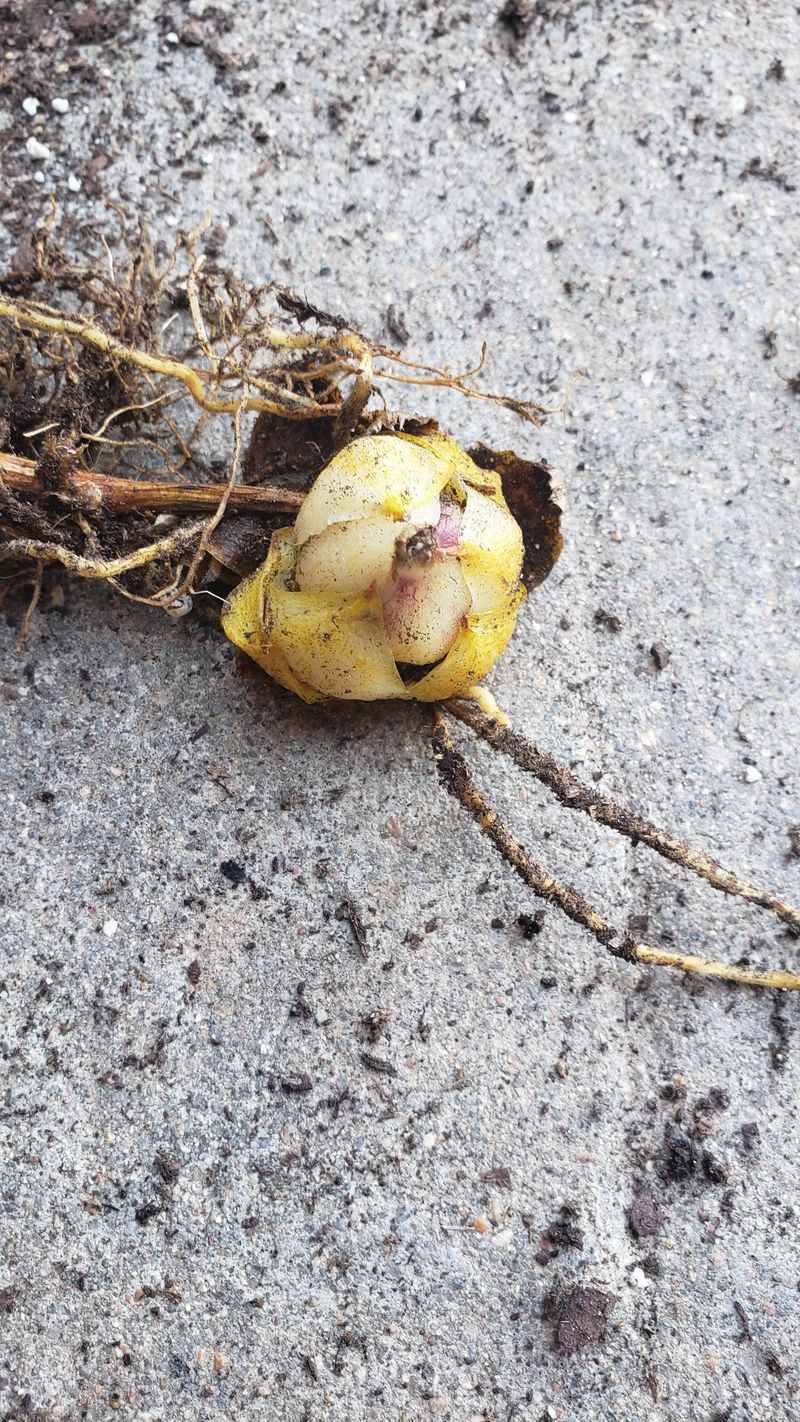
Healthy lily bulbs should feel firm and solid when gently squeezed. Soft, mushy, or hollow-feeling bulbs indicate rot has set in, usually from excessive moisture or fungal pathogens.
Carefully dig up affected bulbs and assess the damage. If only portions are soft, trim away diseased sections with a clean knife and dust cut surfaces with fungicide powder. Allow bulbs to dry for a day before replanting in fresh, well-draining soil, positioning them at the proper depth.
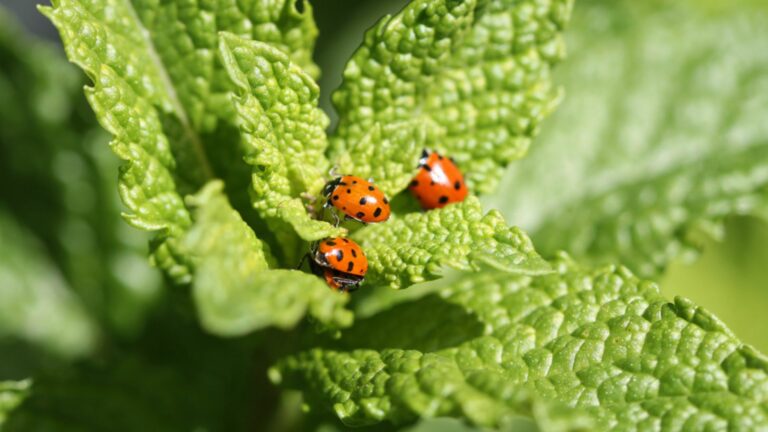
12. Sticky Residue
Finding a shiny, sticky substance on your lily leaves means unwelcome guests have moved in. This honeydew is produced by sap-sucking insects like aphids or scale, which drain your plant’s vitality while potentially spreading viruses.
Examine the undersides of leaves and stem joints where pests typically hide. For small infestations, wipe leaves with a damp cloth or spray with strong water jets. Larger problems may require insecticidal soap applications every 7-10 days, focusing on leaf undersides where pests shelter.
13. Leaf Curling
Curling or cupping leaves signal your lily is trying to protect itself from stress. This defensive posture might be triggered by insect damage, herbicide drift, or environmental extremes.
Inspect for tiny pests like spider mites, especially during hot, dry weather. If mites are present, treat with miticide or horticultural oil. For herbicide damage, flush soil thoroughly and avoid using lawn chemicals near garden beds. Protect plants from harsh winds and temperature swings with temporary shelters during extreme weather.
14. Failure to Bloom
When lilies produce healthy foliage but no flowers, something’s interrupting their blooming cycle. This frustrating situation typically stems from improper planting depth, insufficient chilling periods, or energy depletion.
Verify bulbs are planted at the correct depth—generally three times the bulb’s height. Ensure winter temperatures in your area provide adequate chilling for your lily variety. Boost flowering potential by applying phosphorus-rich fertilizer when shoots first emerge and deadheading spent blooms to prevent seed formation.
15. White Powdery Coating
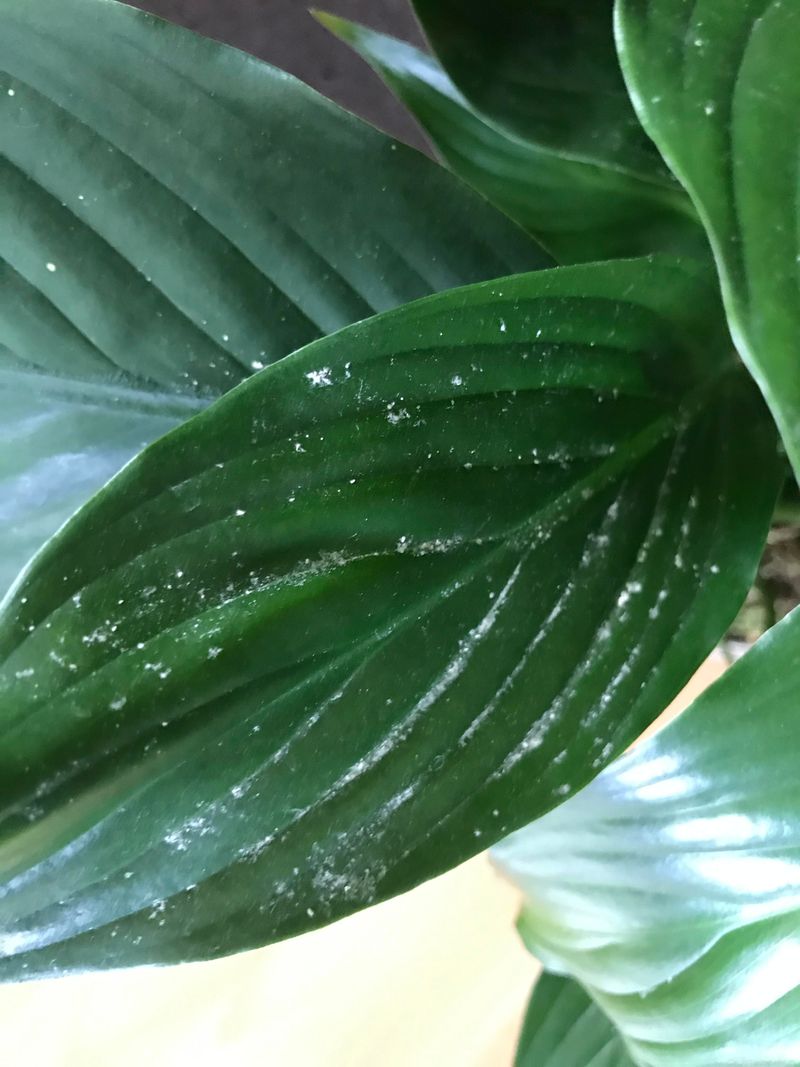
A flour-like white coating on your lily’s leaves indicates powdery mildew has taken hold. This fungal infection thrives in humid conditions with poor air circulation, gradually weakening your plant.
Increase spacing between plants to improve airflow. Remove and destroy severely affected leaves, being careful not to shake spores onto healthy plants. Apply neem oil or a sulfur-based fungicide labeled for powdery mildew control. Water at the base rather than overhead to keep foliage dry.